How to track and manage your talks
Speakers usually show up to an event to increase engagement and provide information about the event to listeners. For that reason, our Events app provides a feature that allows schedule and track your talks.
Activate the function
Navigate to Events ‣ Configuration ‣ Settings, at the Events section, select Schedule & Tracks ‣ Save.

Note
To create and track the talks, you need to activate developer mode.
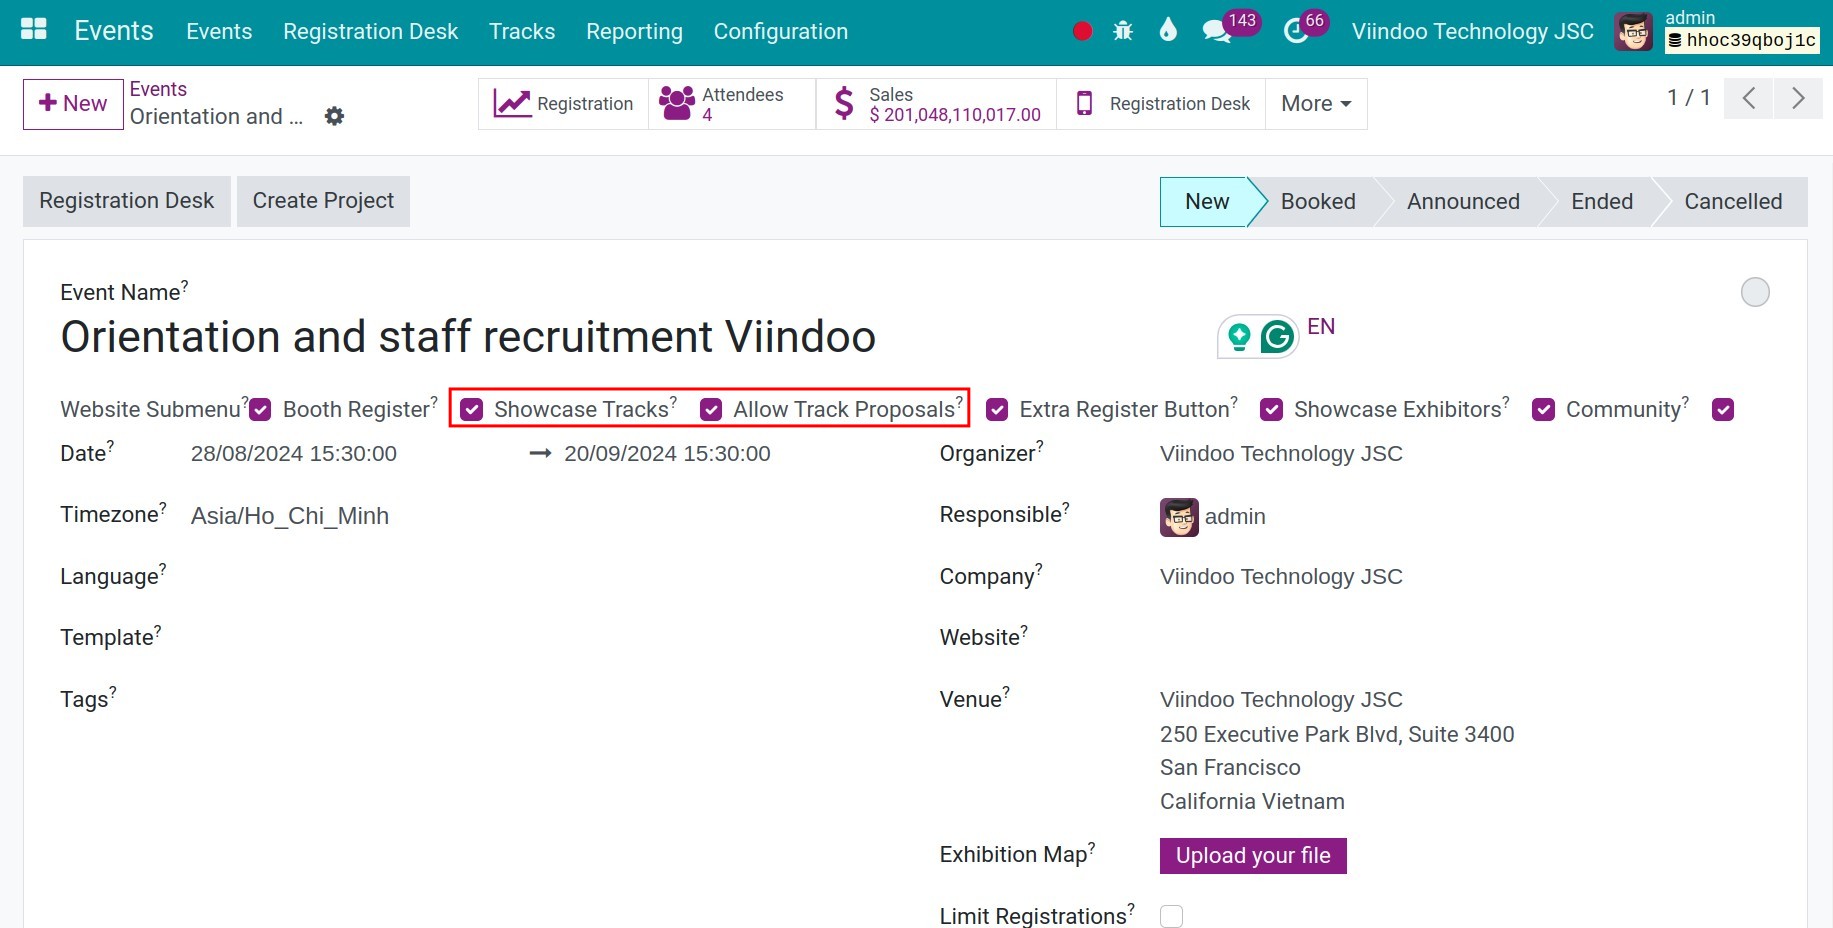
At the event details, check Showcase Tracks and Allow Track Proposals to publicize the talks so that customers can register.
How to create and track your talk
Create talks
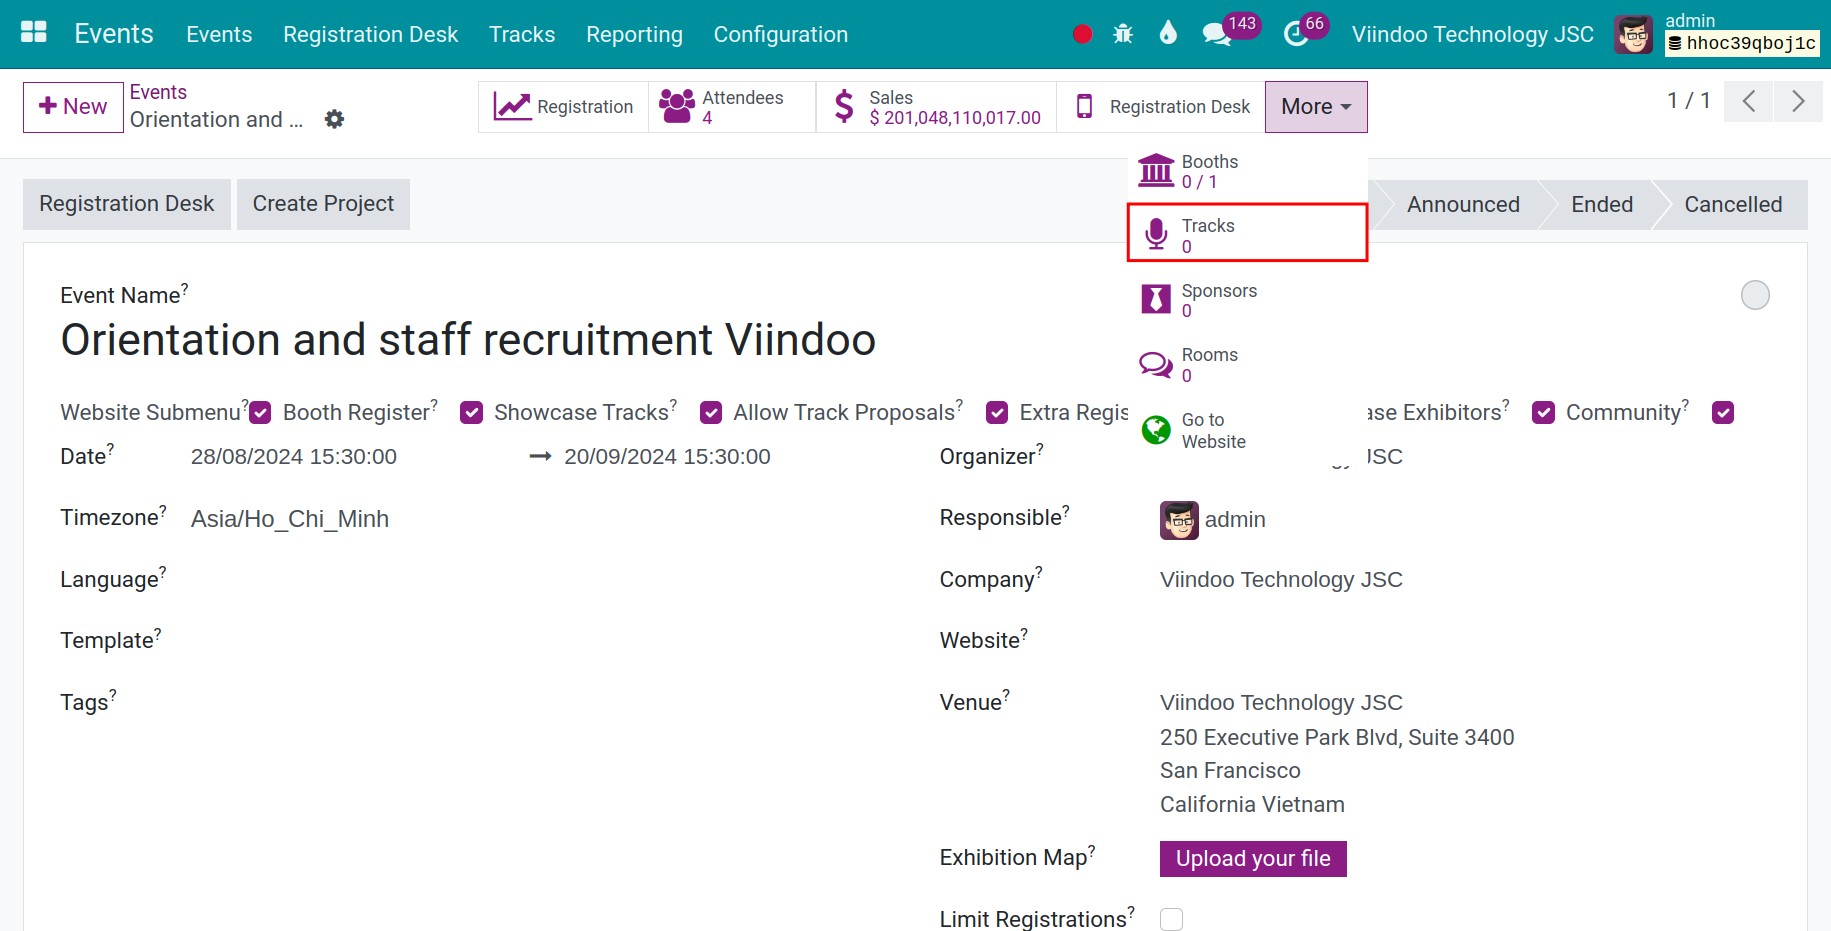
At the event detail, select Tracks and + New to create a new talk.
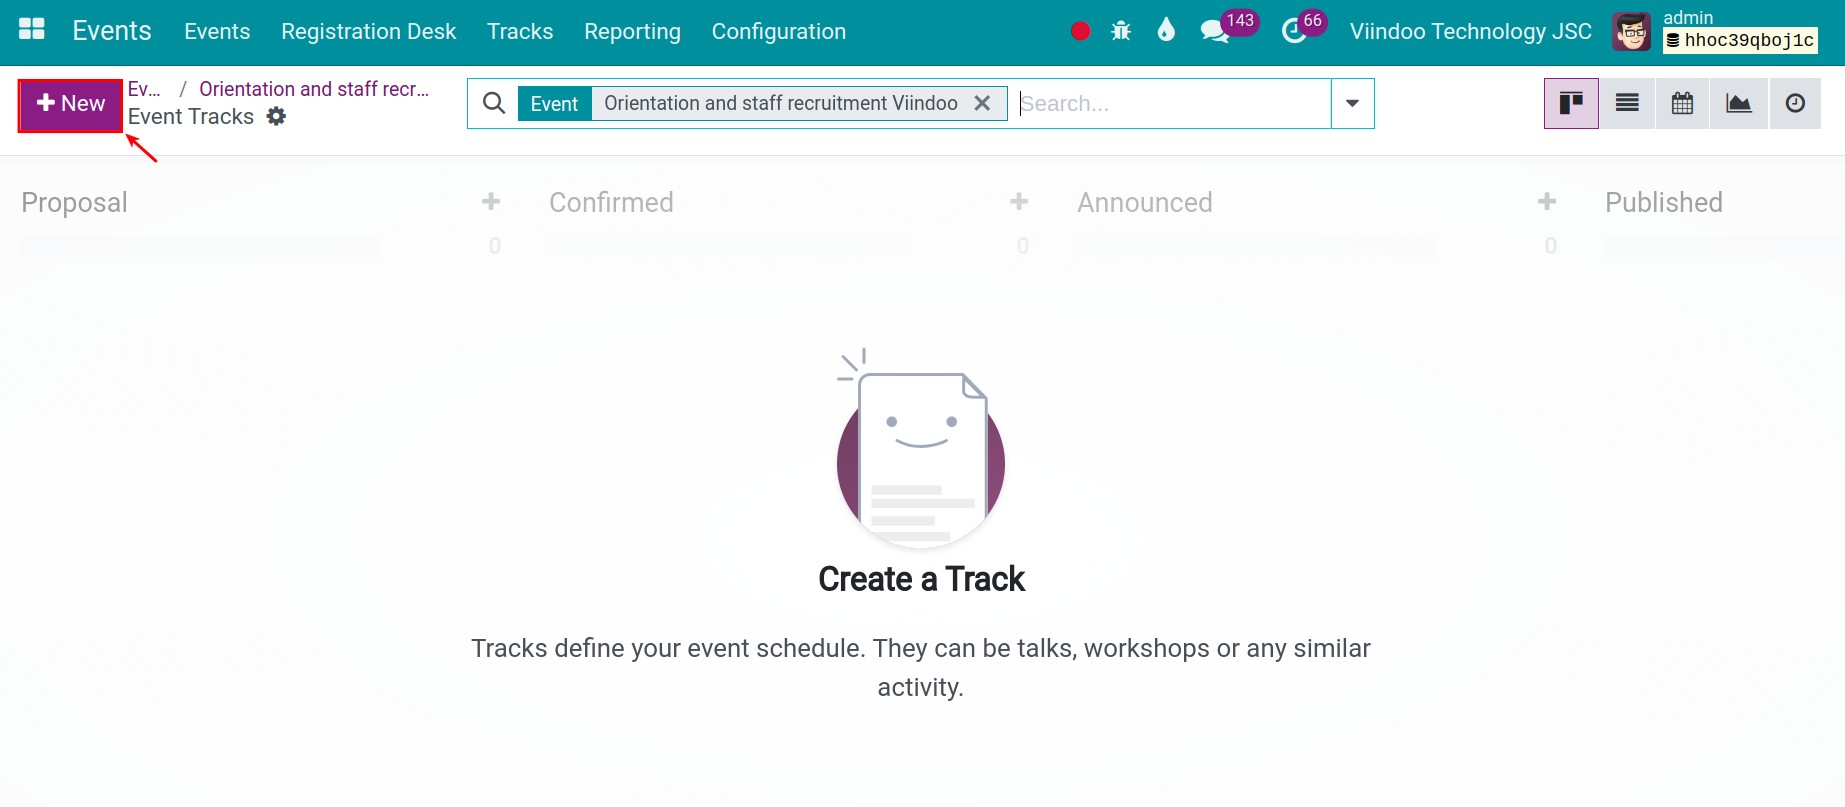
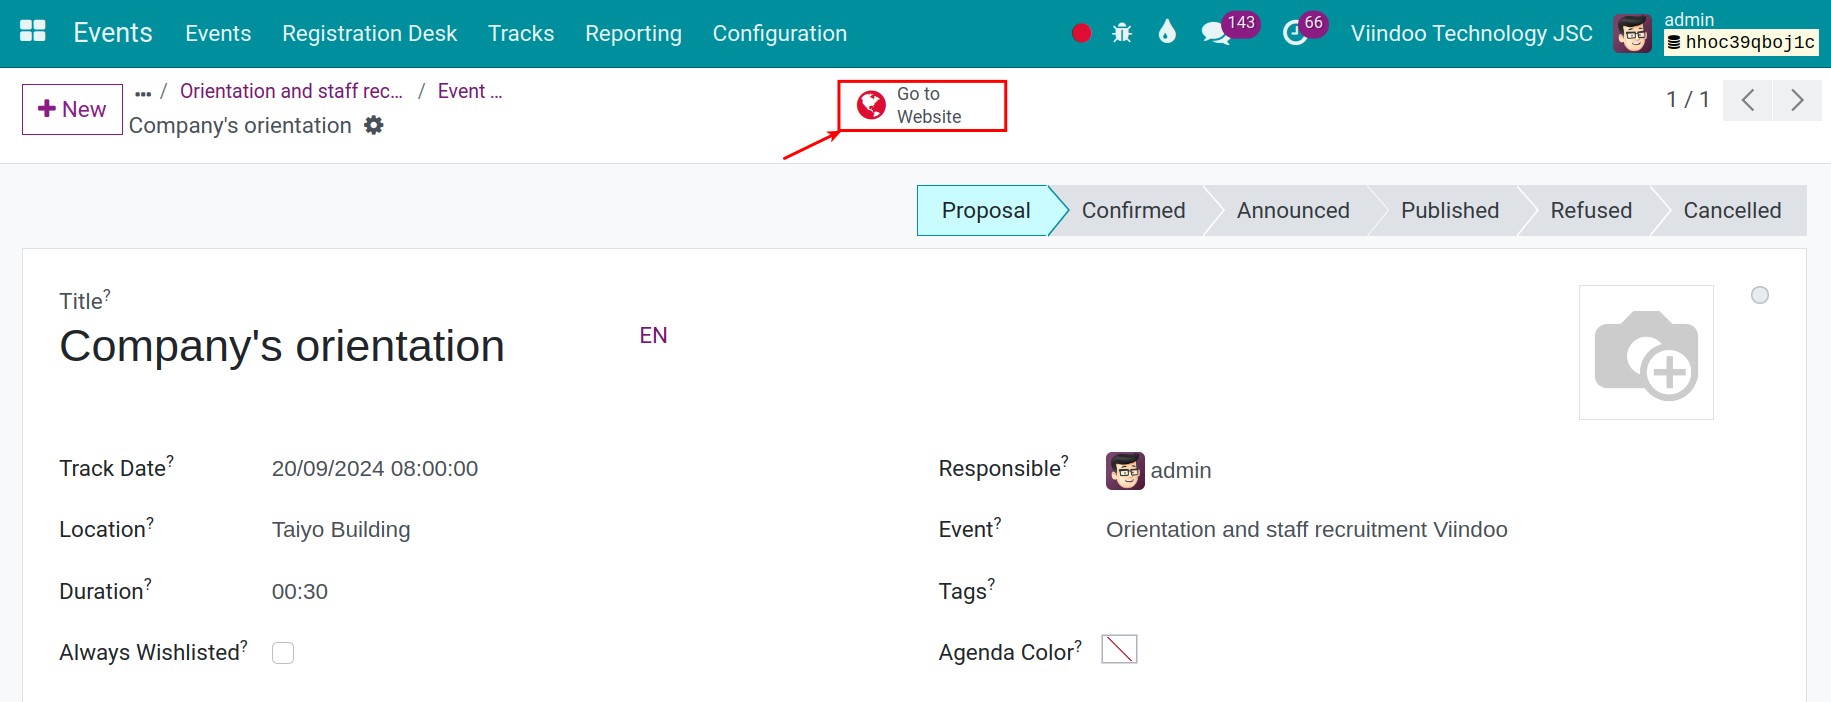
You need to fill in some information for your new talk as follows:
Title: The title of the talk.
Track Date: The time the talk occurs.
Location: Enter the location where this talk will be organized.
Duration: How long the talk lasts.
Always Wishlisted: The talk will be marked favorite for each registration. This mark is used to record the talk’s attendees. With this option, the event’s attendees will also be the talk’s attendees by default.
Responsible: The internal user who responsible for the talk.
Event: At which event that the talk occur.
Tags: To make it easier for attendees to find the talk.
Agenda Color: Help distinguish the talks.
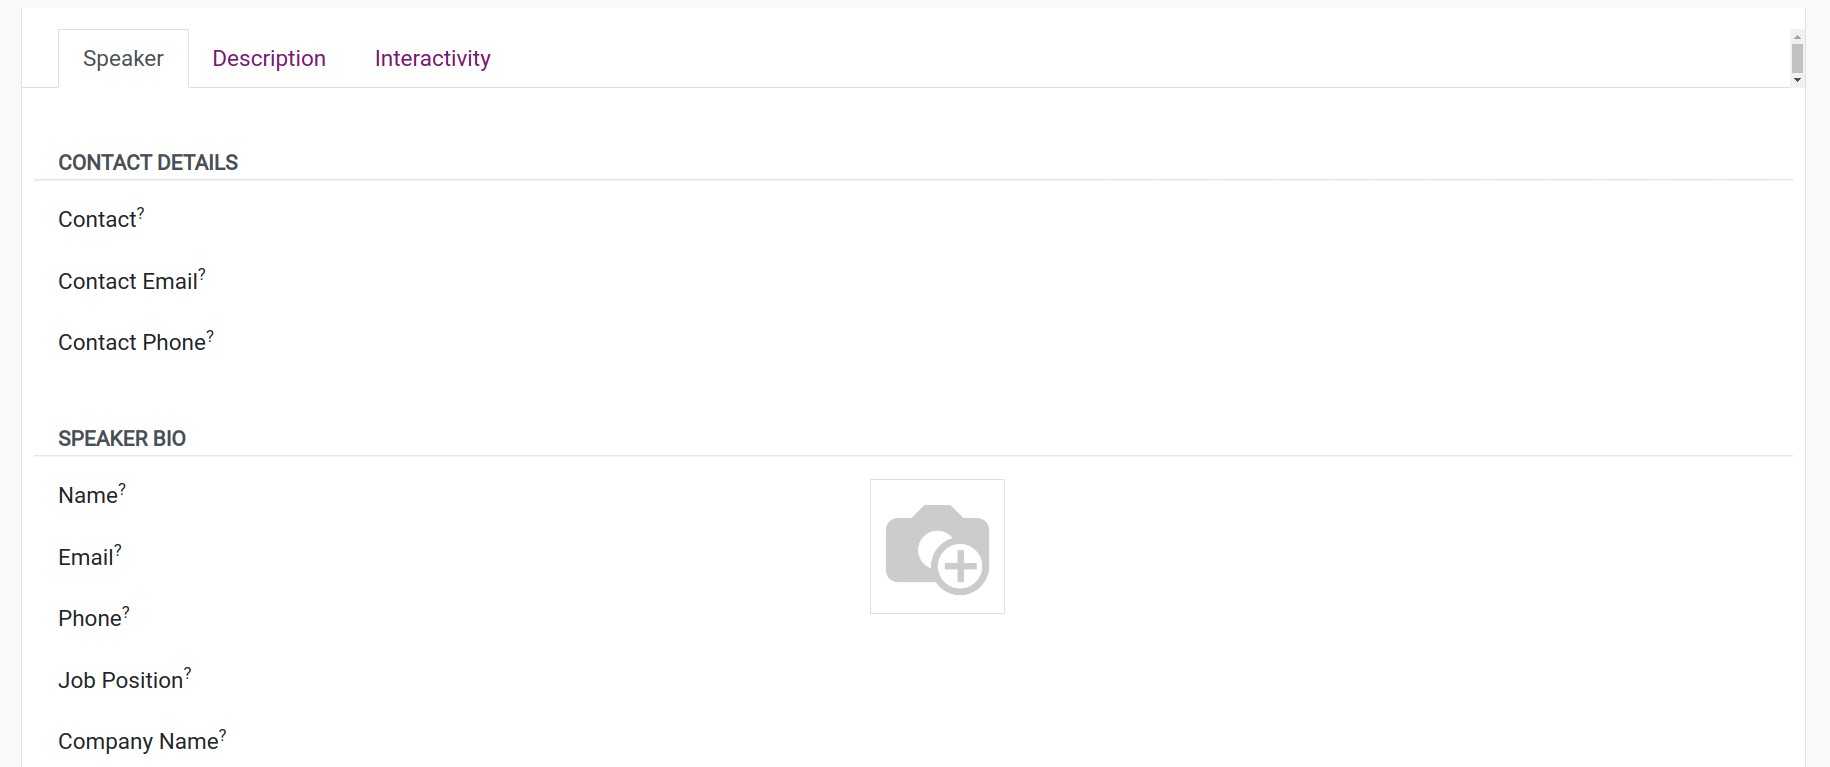
Speakers tab: Enter the speaker’s information such as name, email, job position, biography, etc.

Then, you click the Save manually icon to save this setting.
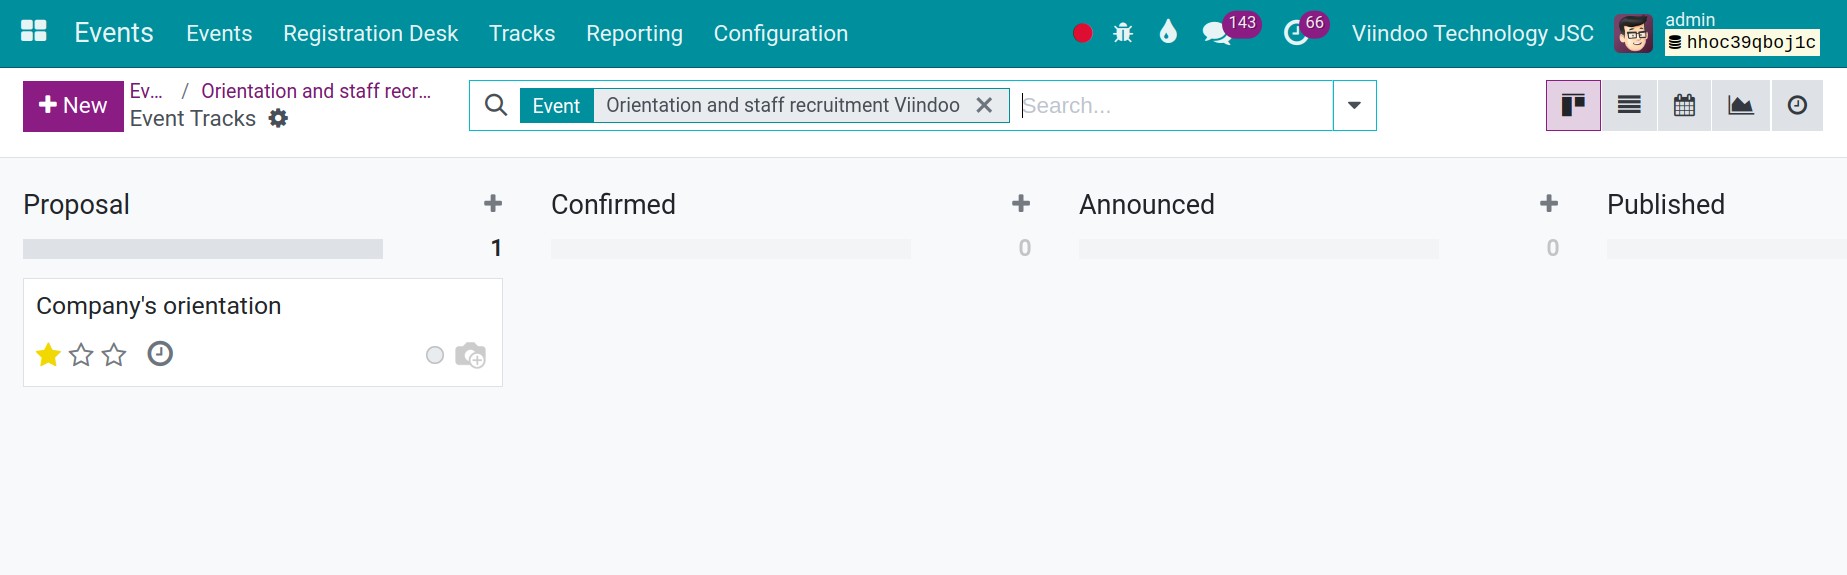
Manage the talk
After creating the talk, you can easily view it on a kanban view .
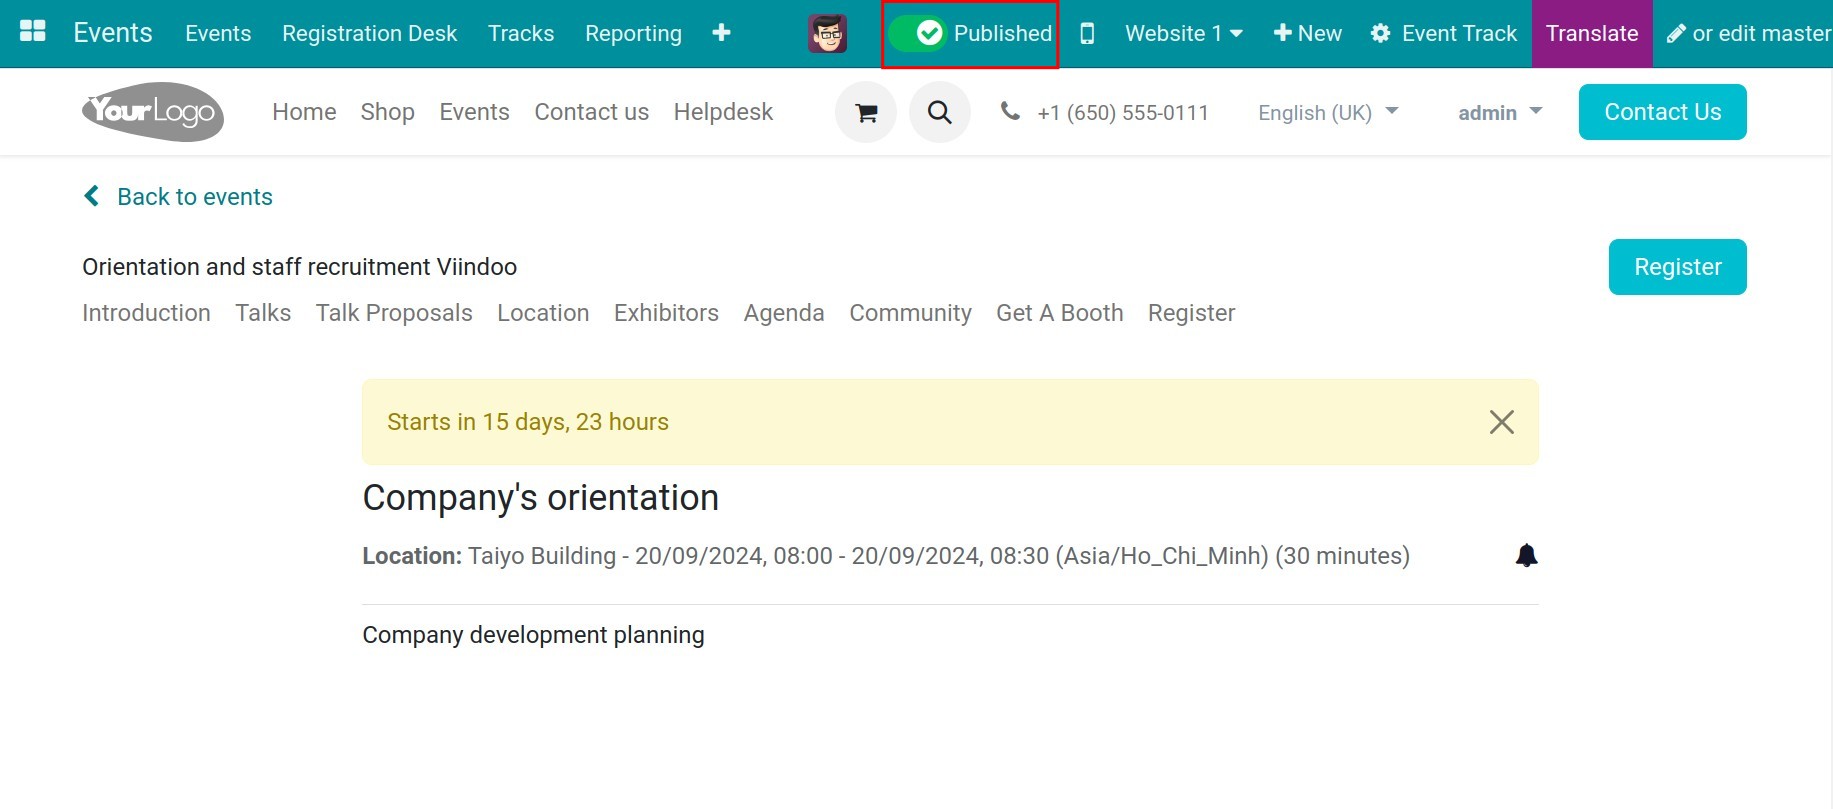
Go to the website to public the talk.
Press to Published button to green to publish the talk.
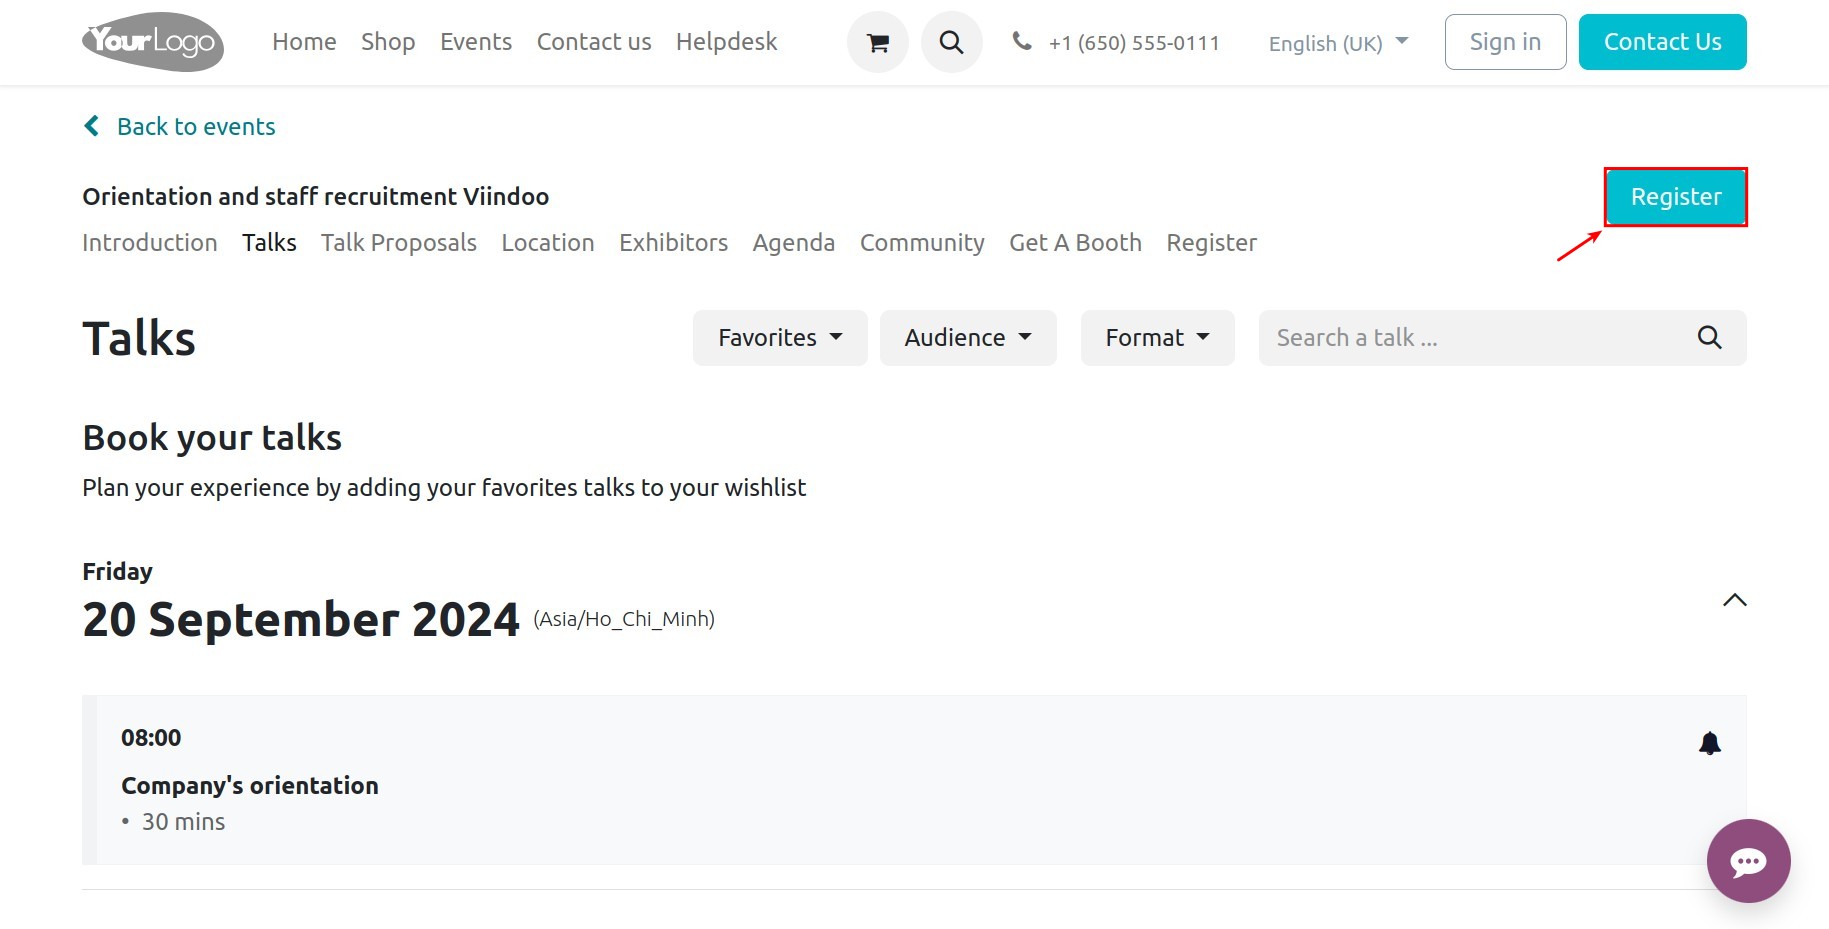
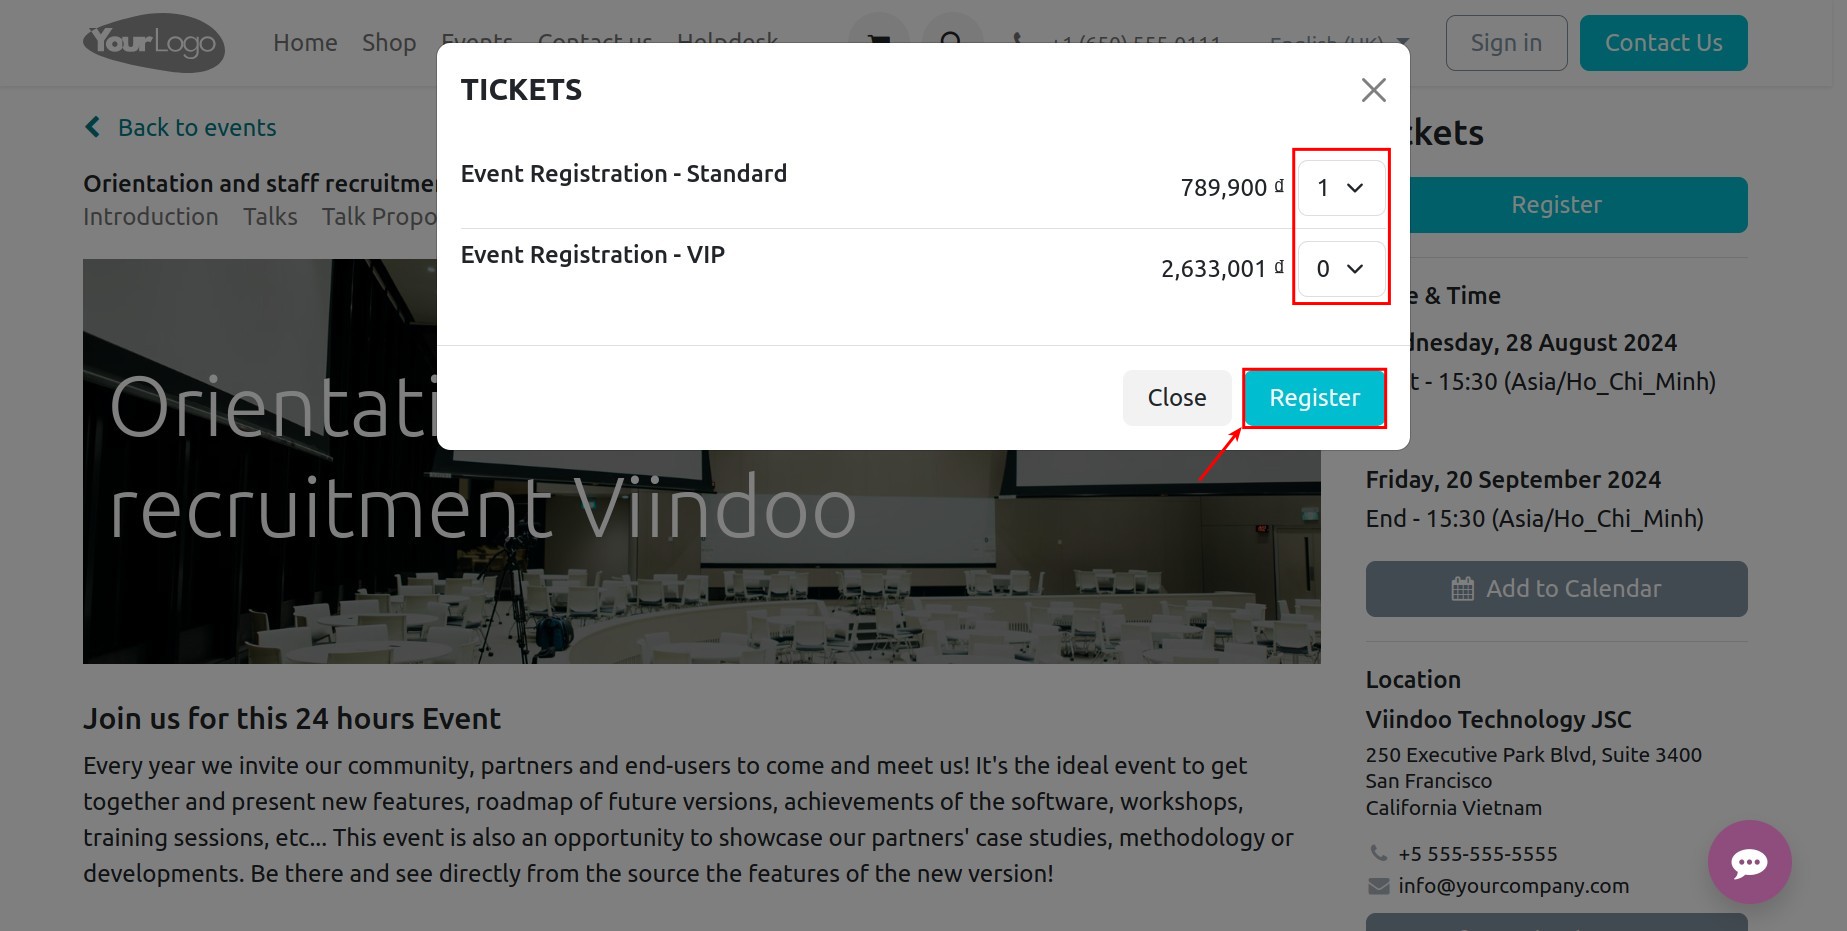
Once published, website visitors can register for the talk, access the Website ‣ Event ‣ Select an event ‣ Talks ‣ select the talk they want to participate in, and click the Register button:
Here you enter the number of people attending the event and do the Registration :
The system will display a list to enter attendee information, then click the continue button:
Name: enter the attendee’s name;
Email: enter attendee email;
Phone: enter the participant’s phone number.
Interview questions (if any)

Visitors can also mark their favorite talks by pressing the bell icon next to the talks.

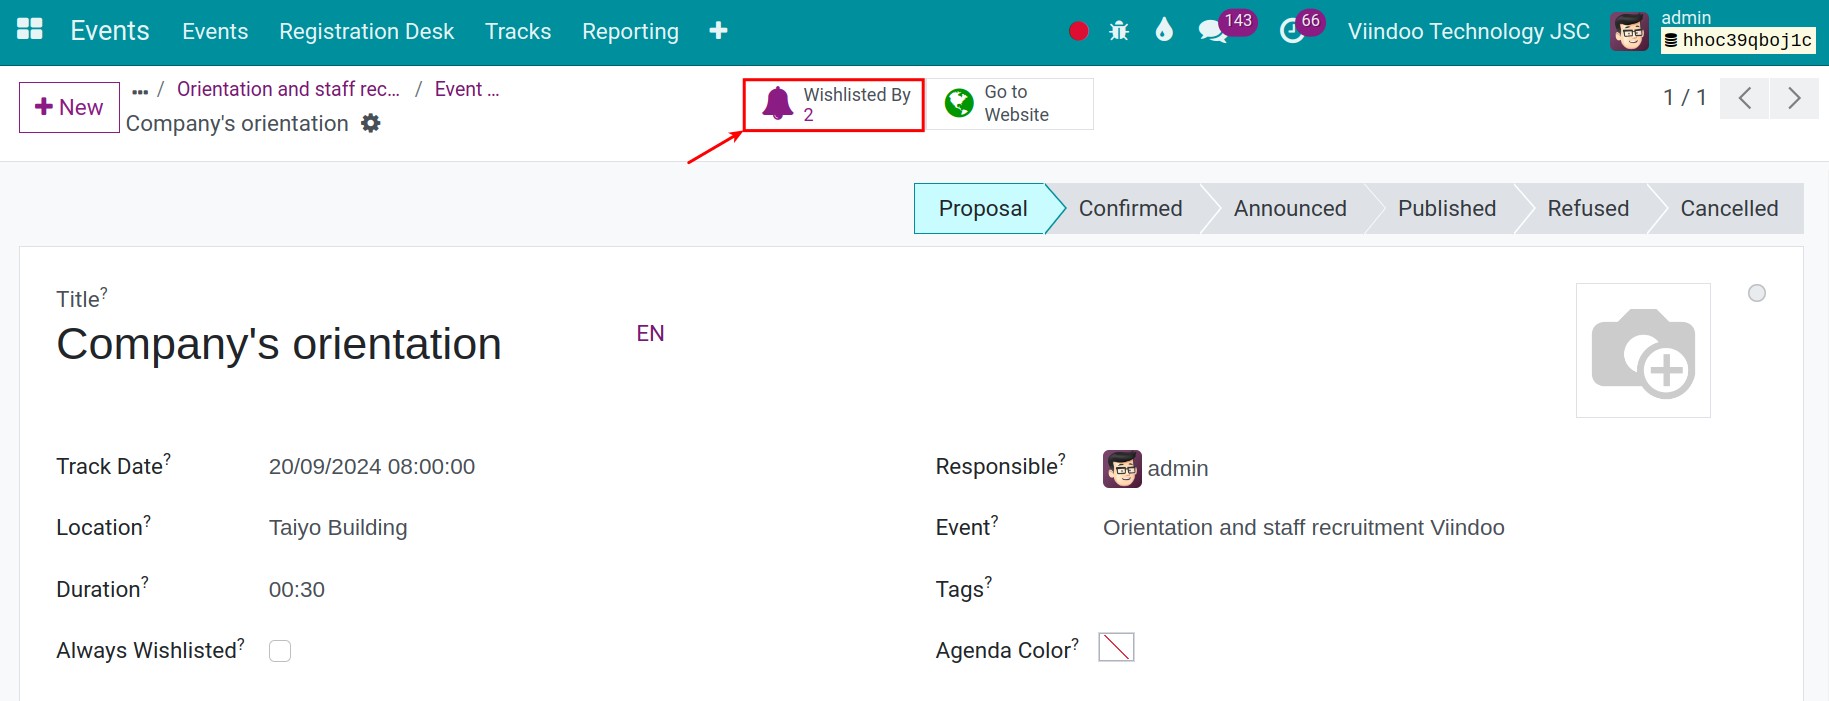
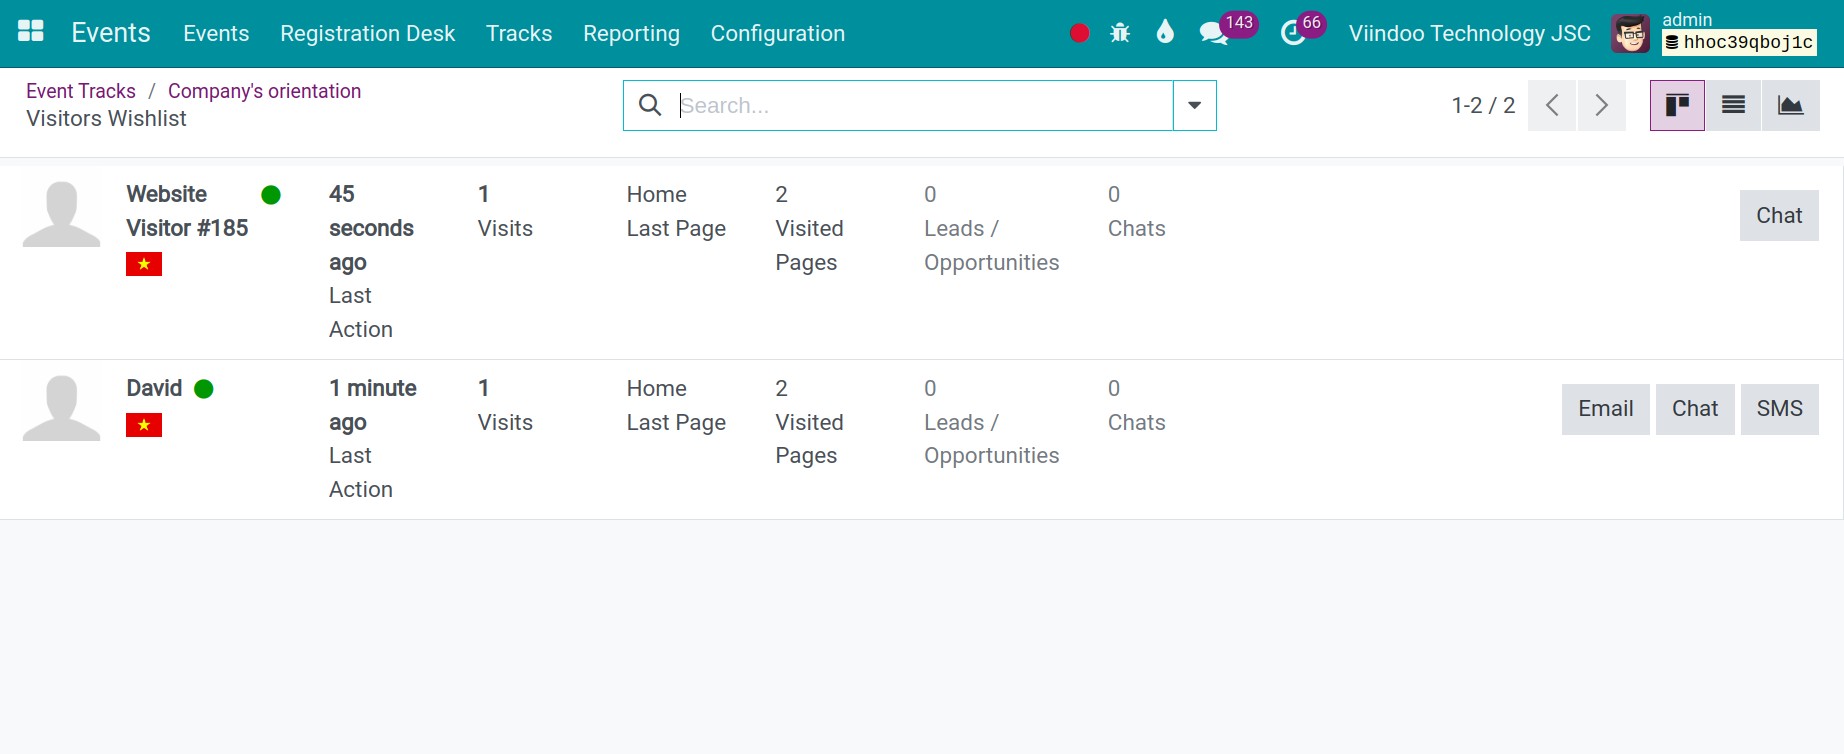
You can manage the registration number by accessing the event. Select Tracks and select the talk. The Wishlisted By button will show the number of registrations who marked favorite. Press this button to view the registration list.
Note
If a customer has an account on the website and clicks on the bell icon while logged in, the system will display their name on the registration list view. However, if they click on the bell icon without logging in, the system will not be able to identify who confirmed the talk. In this case, the system will display the name as Website Visitor
See also
Related articles
Optional modules