Efficiently support your customer with Chatbots
A Chatbot is a program designed to imitate a conversation with a real person. It follows pre-written steps, carefully crafted to anticipate and respond to visitors’ queries and needs. This interactive experience guides users through a series of questions and answers, providing assistance and information that resembles interacting with a live team member.
Requirements
This tutorial requires the installation of the following applications/modules:
How to create Chatbots
To create a new chatbot, navigate to Live Chat > Configuration > Chatbots.

By default, the system has created the Welcome Bot and the Lead Generation Bot, click + New to create a new Chatbot.

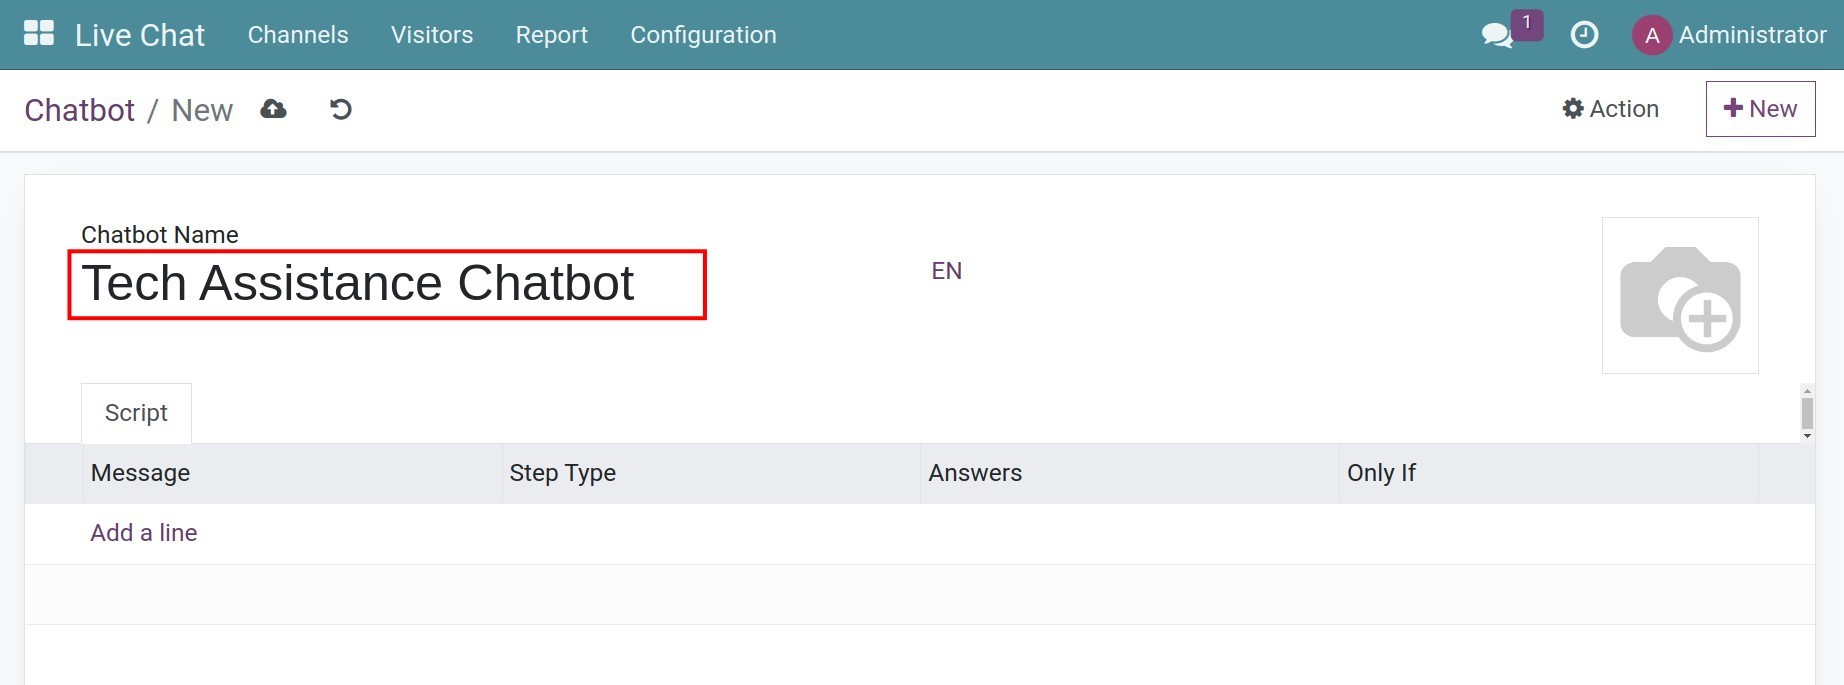
Next, you need to name the Chatbot.
Create a script for the Chatbot
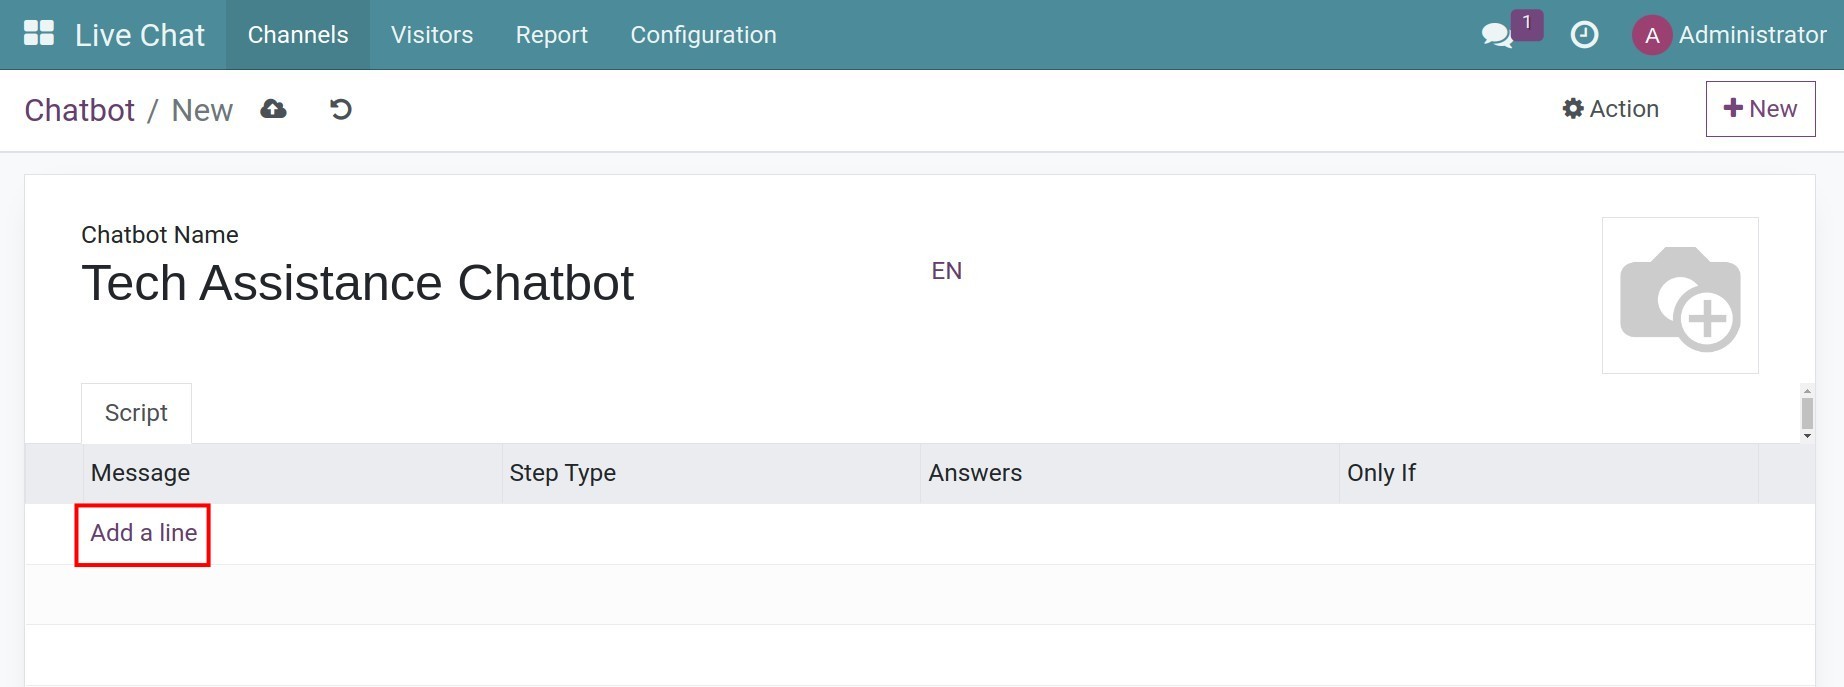
Chatbot interactions are guided by a script that consists of various lines of dialogue. Each line is strategically crafted to either provide information or gather relevant details. To create a script, simply click on Add a line on the Script tab.
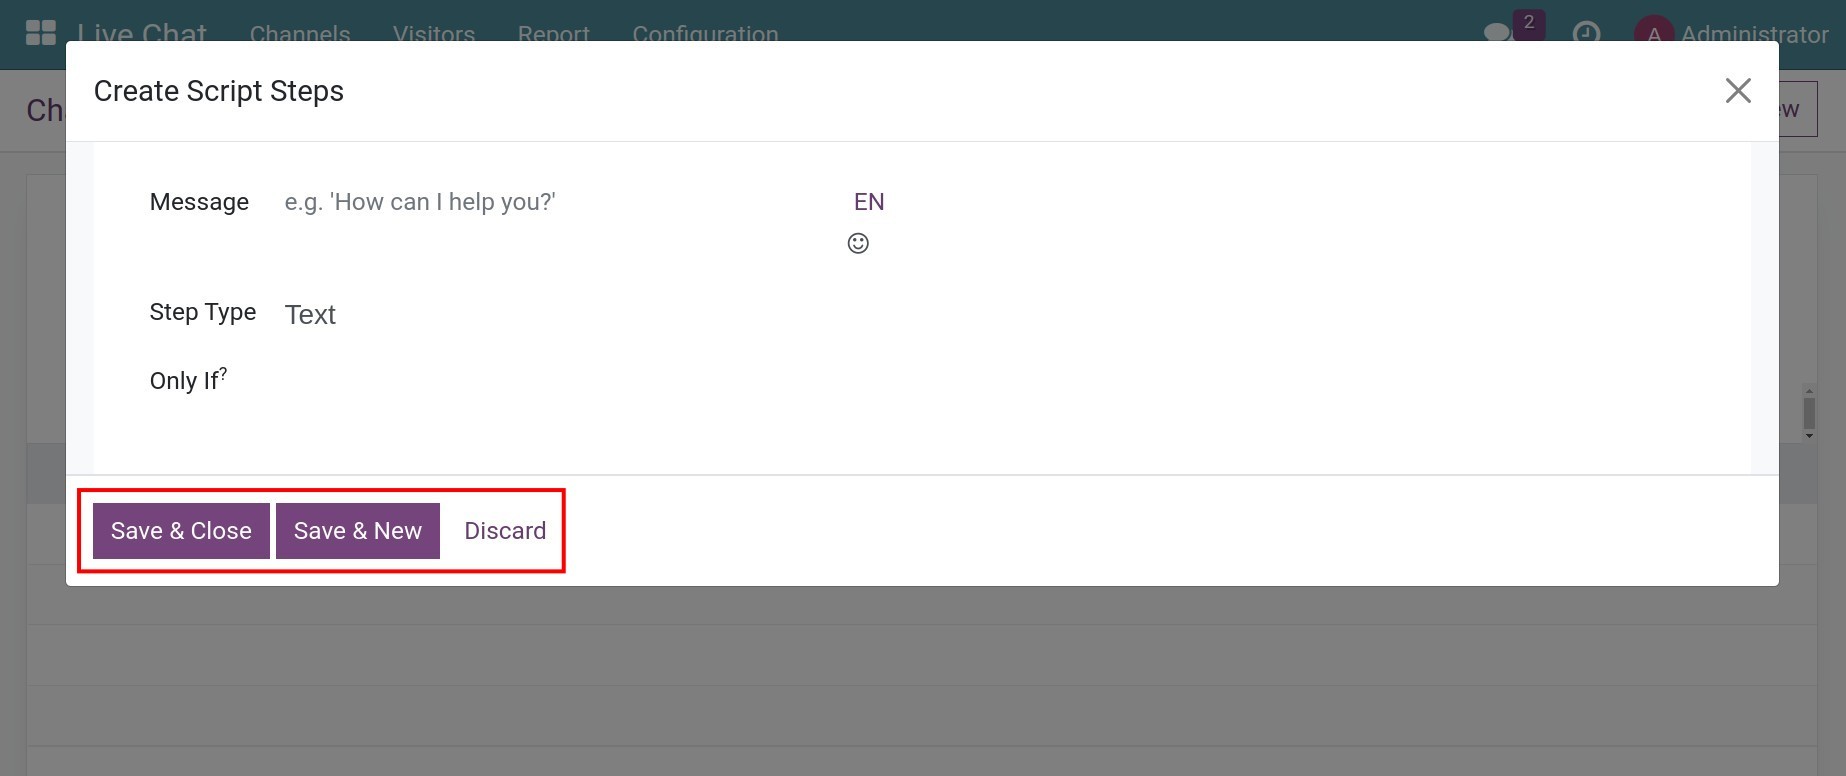
The Create Script Steps pop-up form will appear.
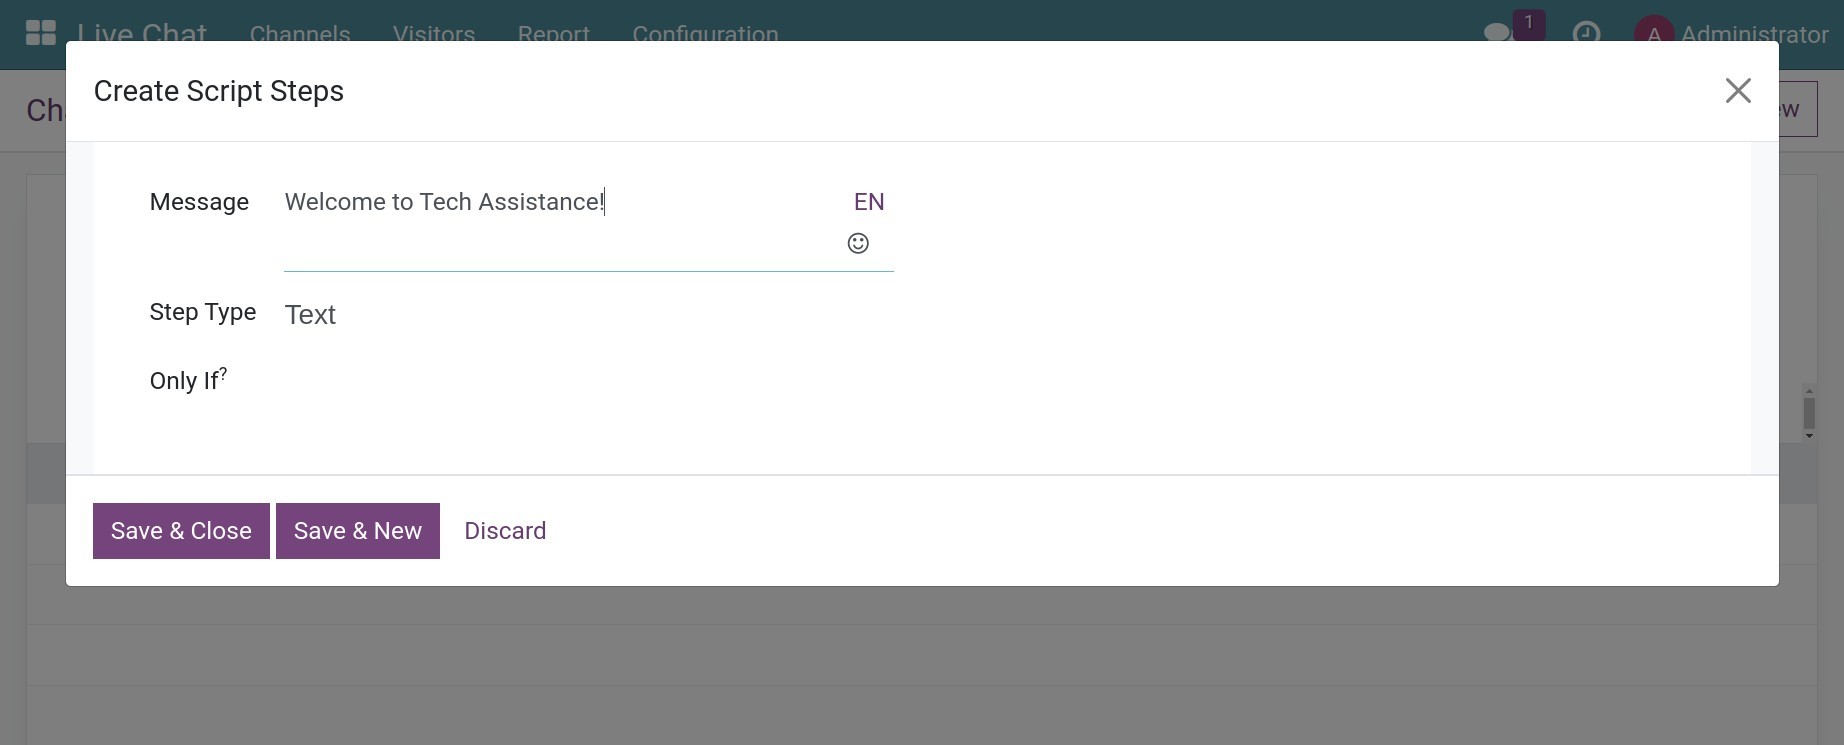
You need to fill in the information of the step as follows:
Message: The message to show to the visitor (e.g. Hi! Welcome to chatbot, or How can we help you?).
Step Type: Select the suitable type for the step.
![Select step type]()
Text: Select this type when no answer from the visitor is expected, it should only be used to deliver information or greeting. Therefore, after a Text step, you should follow up with another step to keep the conversation going;
Question: Select this type when you want to ask the visitor a question. You will also need to provide a list of answers so that the visitor can select, each answer that will lead to the next step in the conversation or an optional link to a webpage;
Email: Select this type when you want to ask visitors for their email address. Their answer must be in the format of an email, if it doesn’t, the chatbot responds with a message stating it does not recognize the information submitted;
Phone: Select this type when you want to ask visitors for their phone number;
Forward to Operator: This step will transfer the conversation to a live chat operator who can continue assisting the visitor. If there are no operator available, the chatbot will continue the conversation with the visitor. Therefore, it is necessary to add additional steps after this one to ensure that the conversation does not abruptly end.;
Free Input: Select this type to allow visitors to input information in a single line on this step;
Free Input (Multi-Line): Select this type to allow visitors to input information in multi-lines on this step;
Create Lead: This step creates a Lead in the Viindoo CRM app. You can select a Sales Team to assign this lead to;
Only If: Select the conditions that activate this step. For example:
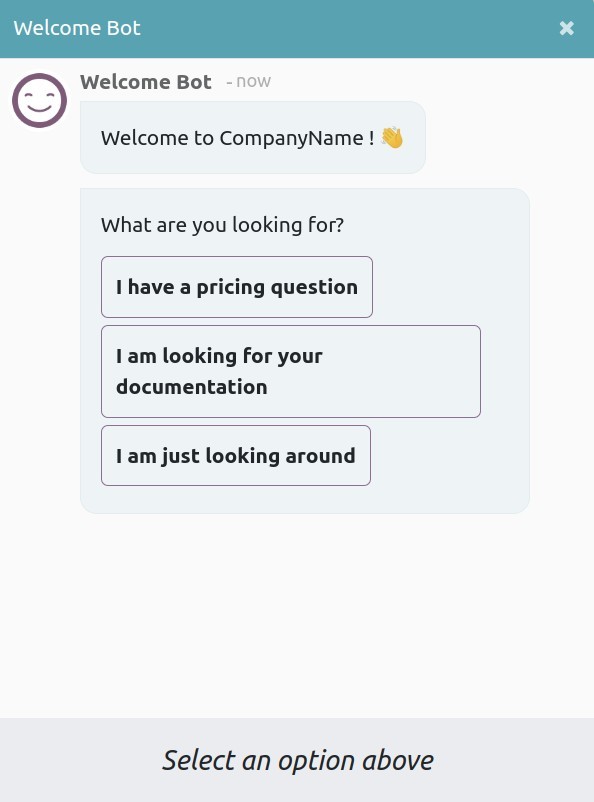
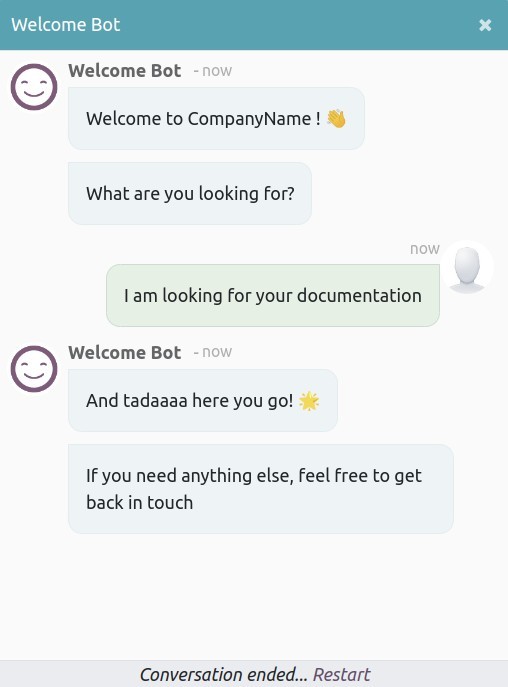
With the What are you looking for? question, for each answer that the visitor selects, the chatbot will have a different way to reply to the visitor. That means the answer that the visitor selected will be the condition for the next reply.
After filling in the information, click Save & Close to finish or Save & New to create the next step.
Test the Chatbot
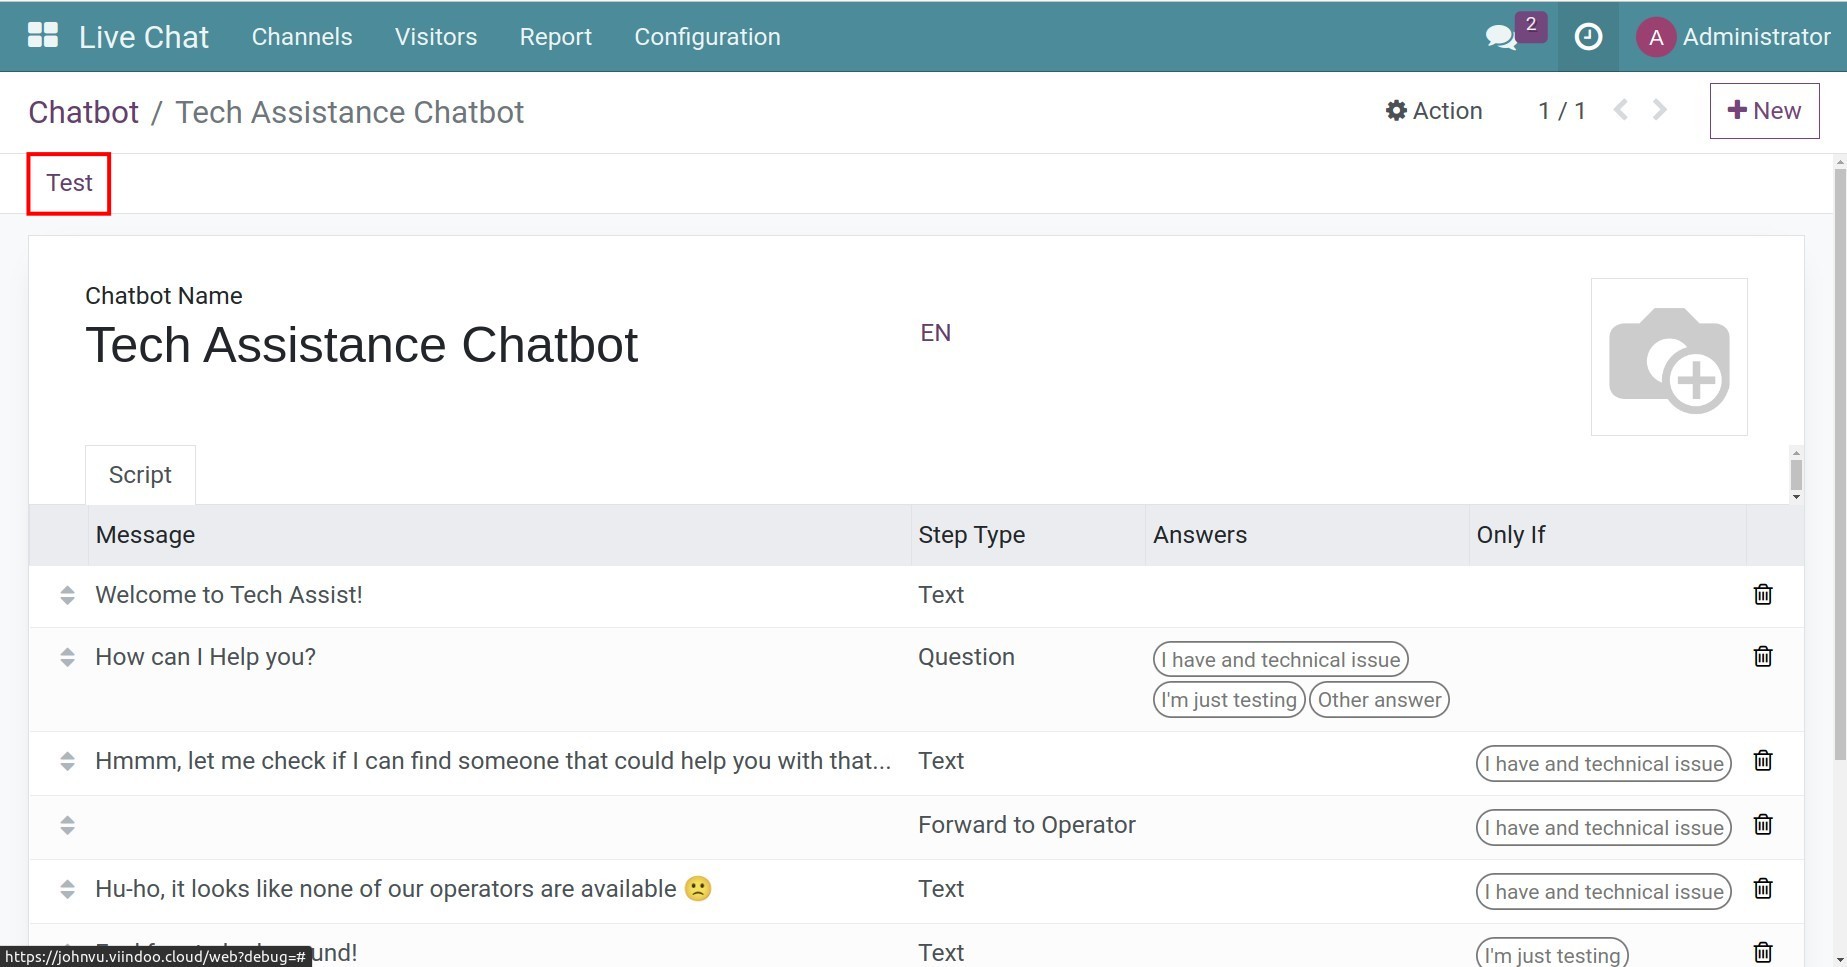
After finish creating the script, you can test to see how the chatbot works by clicking the Test button on the top-left corner.
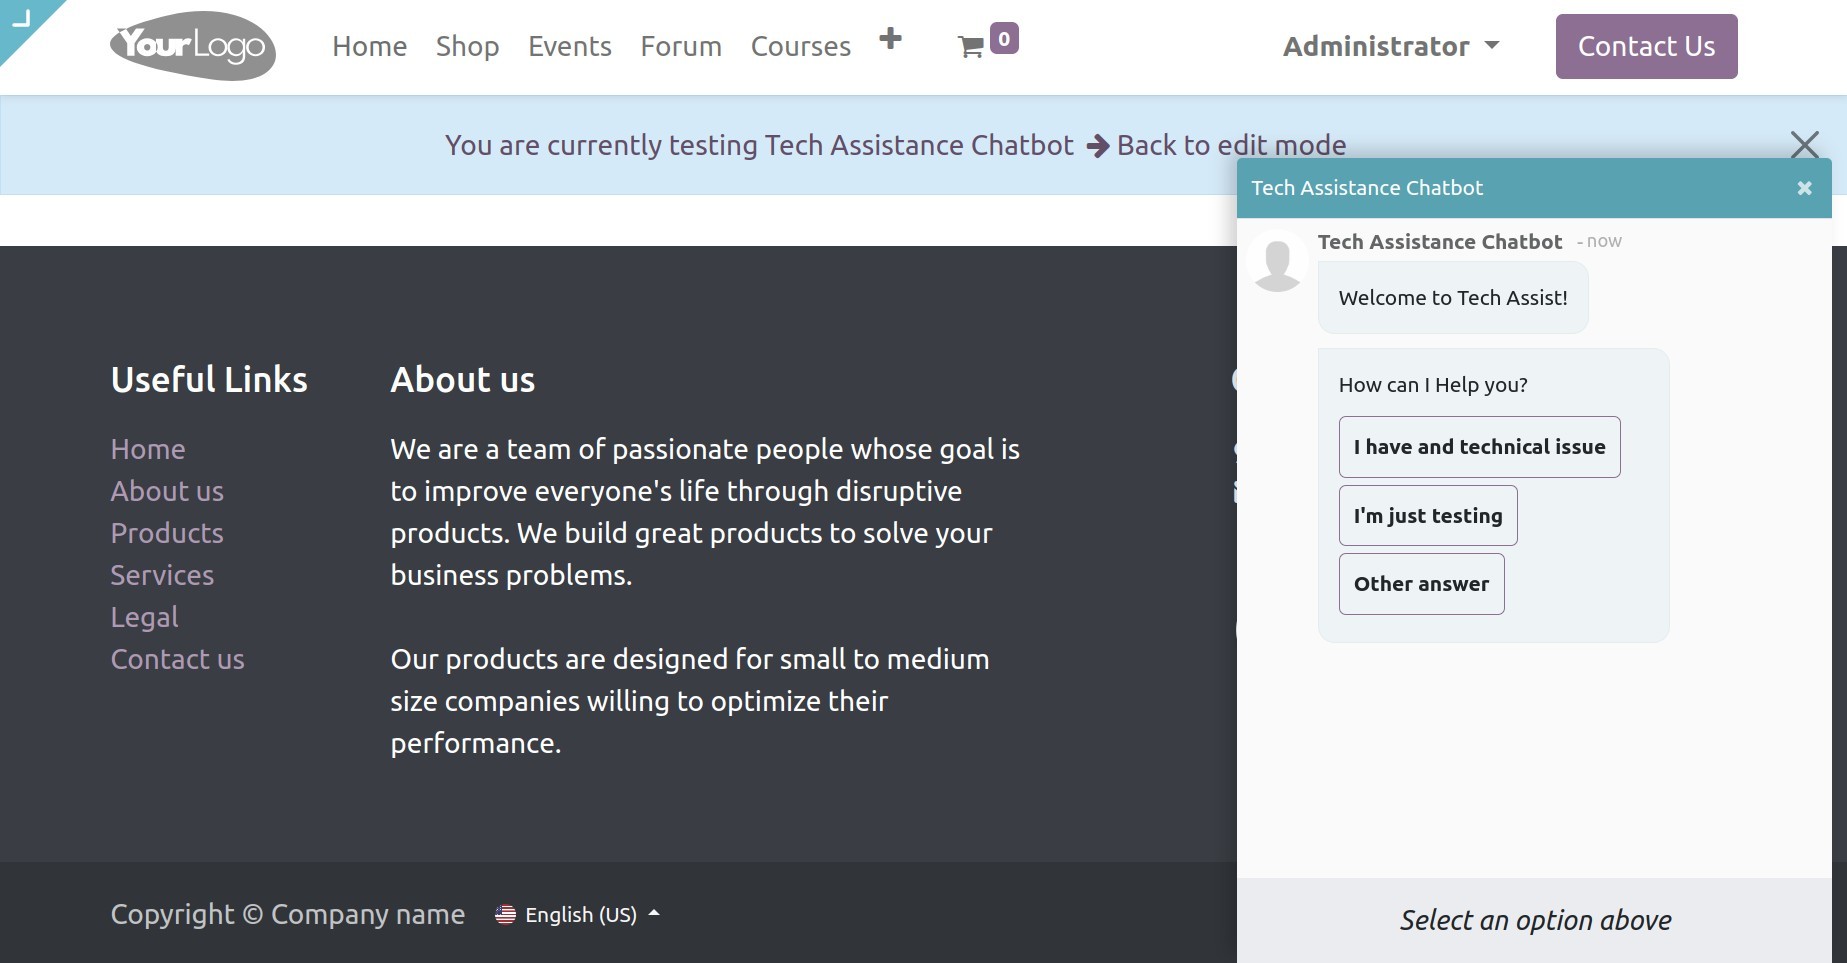
You will be navigated to the front end to test. If the chatbot doesn’t respond as expected, you can go back to continue improving it.
Add Chatbot to a channel
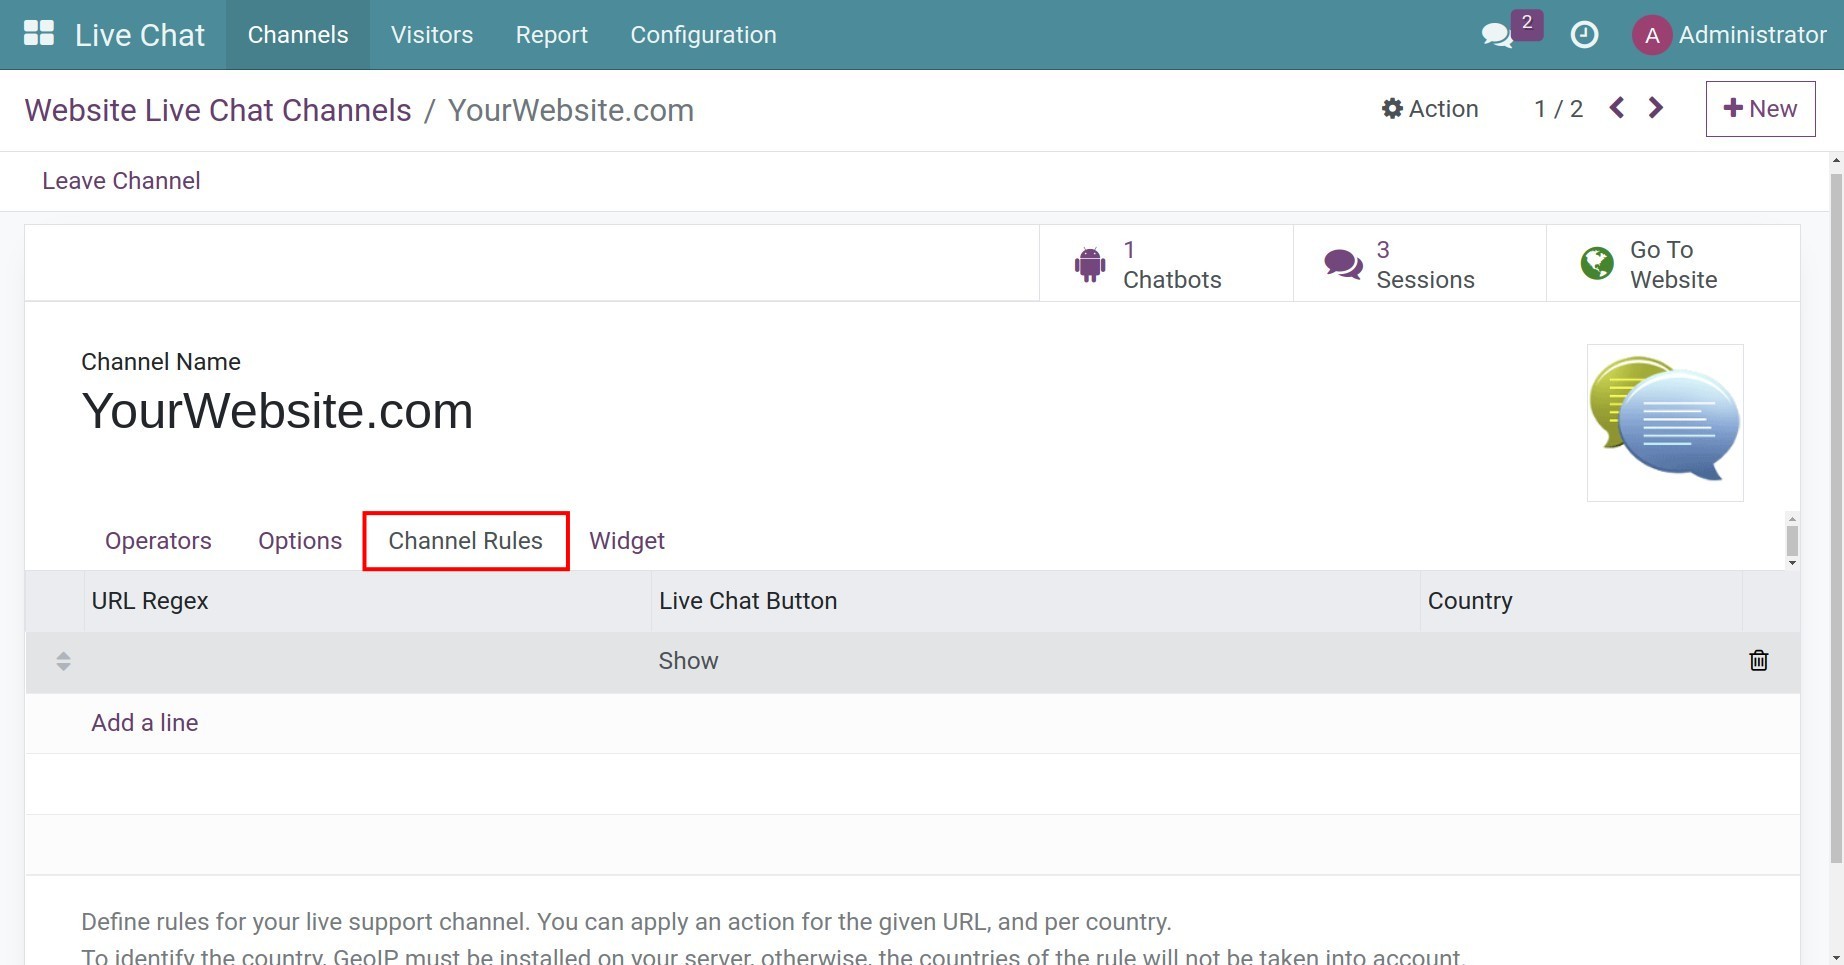
To add a Chatbot to a channel, navigate to Live Chat > Channels, select an existing channel or create a new one.
On the Channel Rules tab, click on an existing rule or click Add a line to create a new rule.
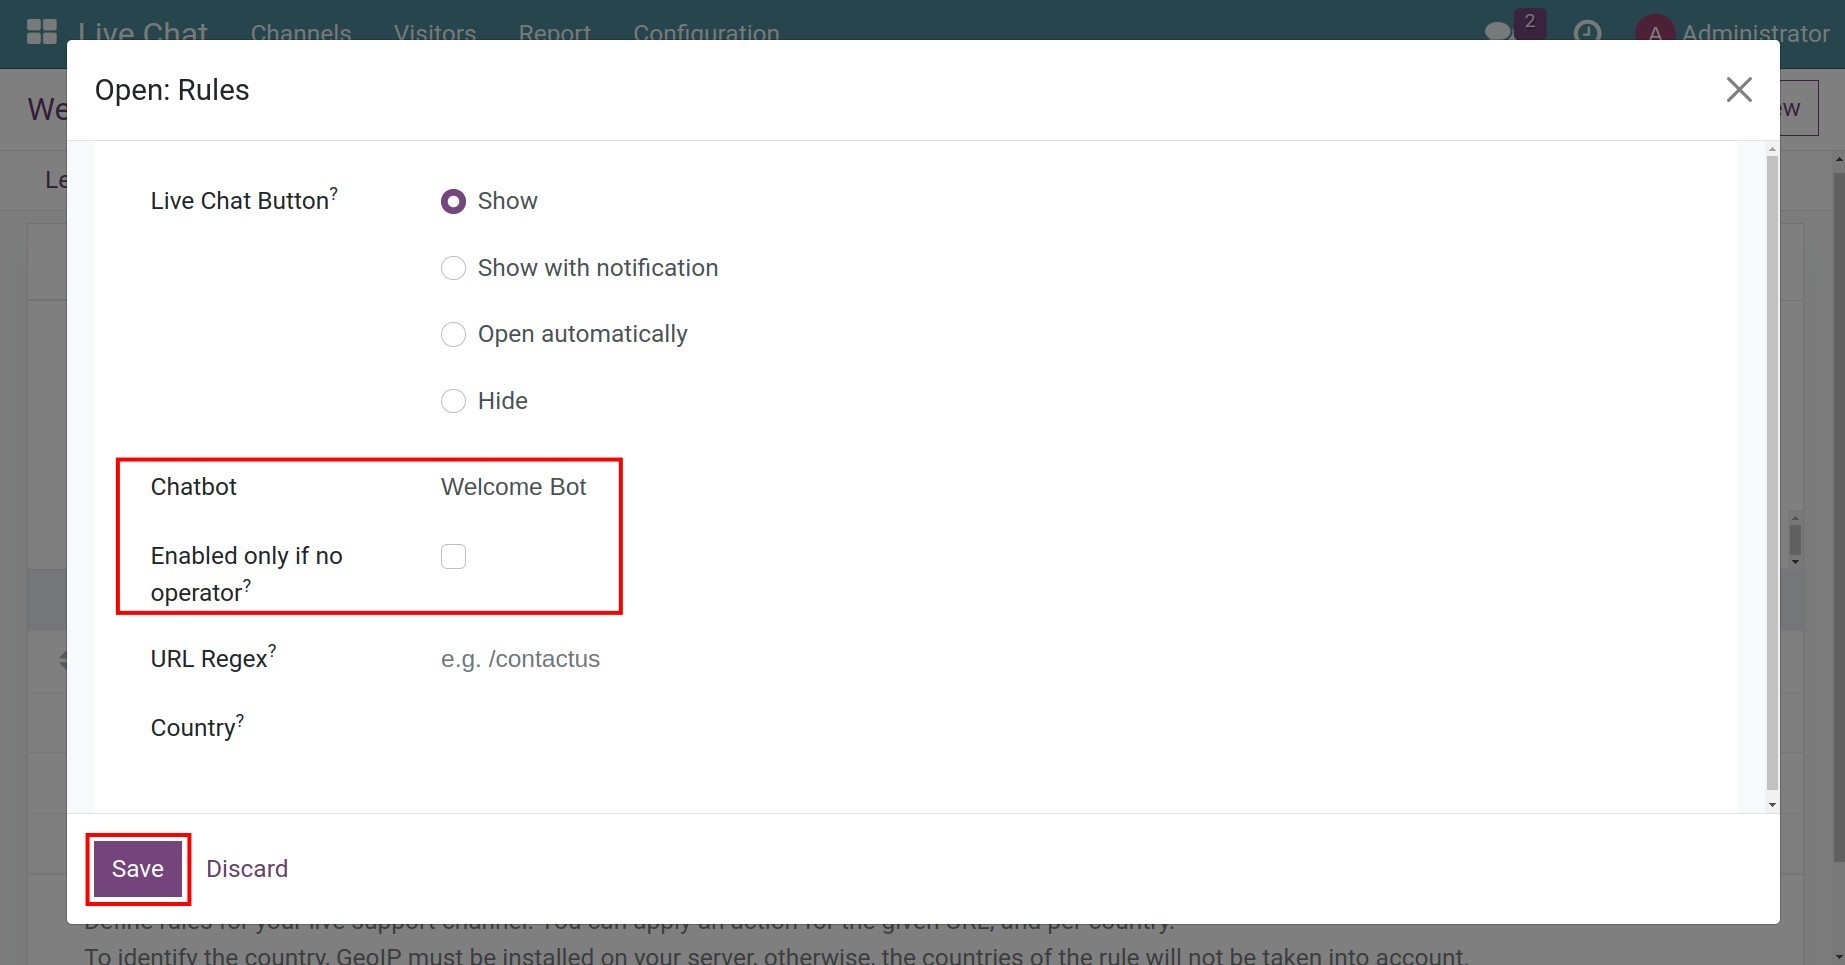
On the Chatbot field, select the suitable chatbot and click Save to finish.
Note
You can check on Enabled only if no operator to allow the chatbot to respond only when no operator is available.
See also
Optional module
