Build a website from an existing theme with Viindoo
Requirements
This tutorial requires the installation of the following applications/modules:
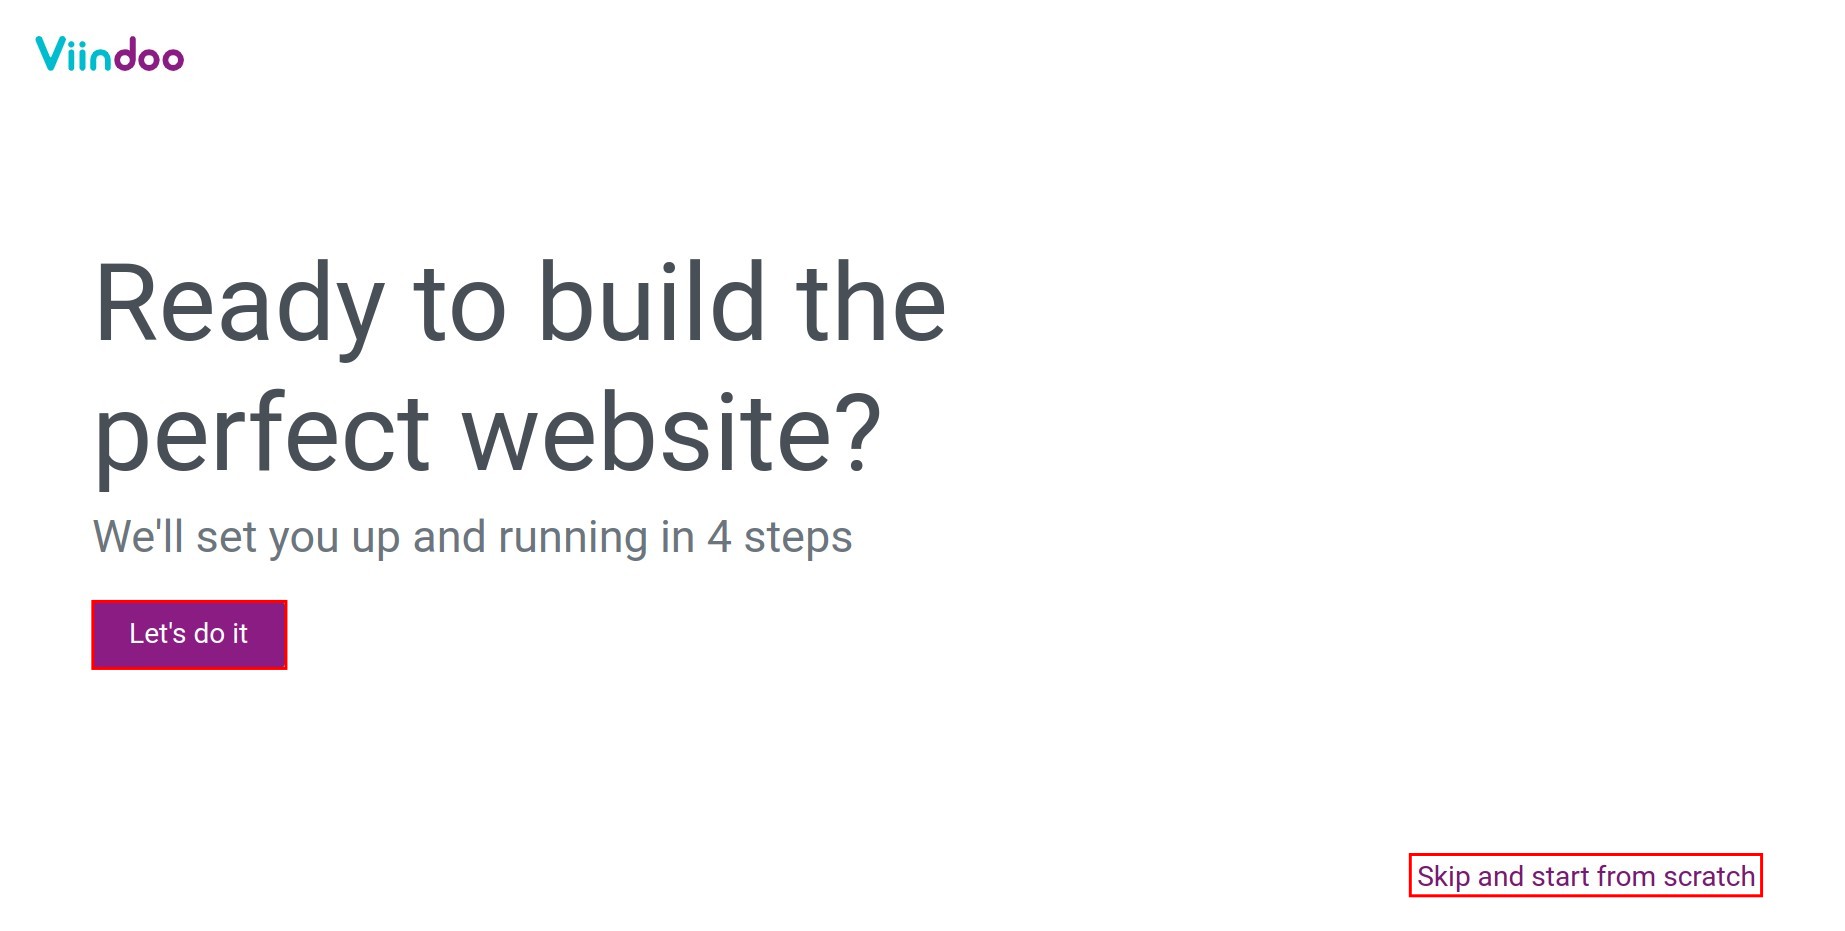
After installing the Website Application, you will be directed to the interface to start building a new website:
Note
During the initial settings process, you can press Skip and start from scratch to avoid these steps and return to the initial website theme selection interface.
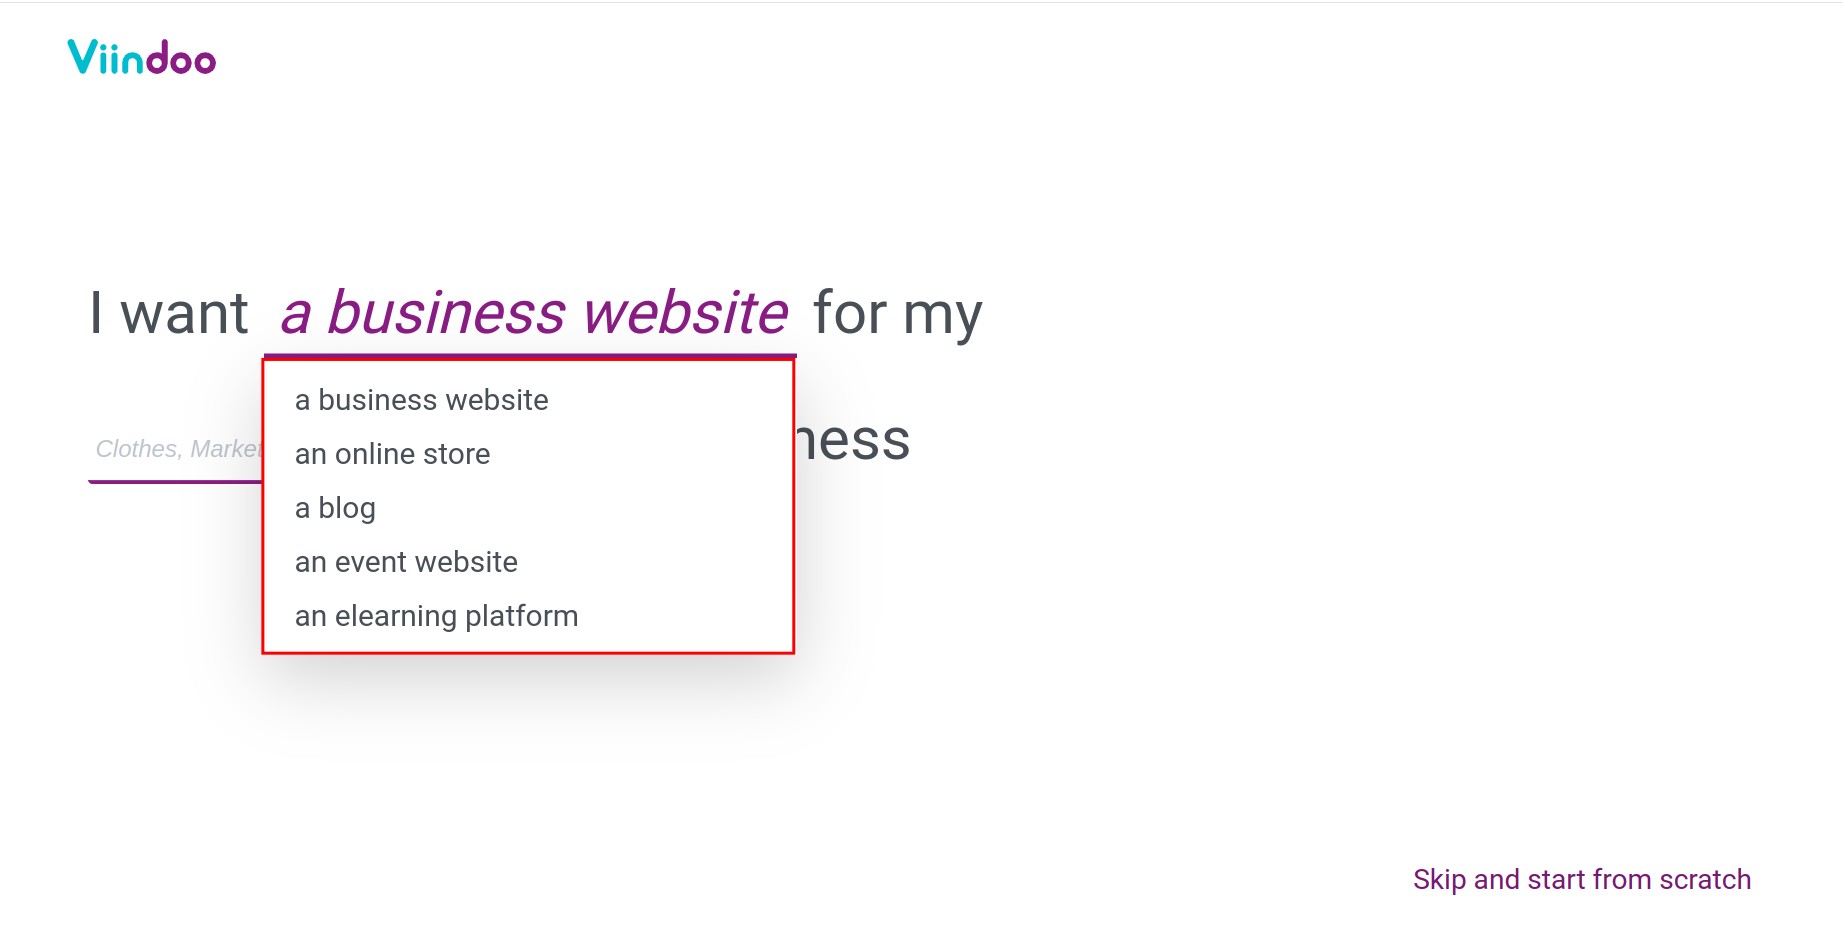
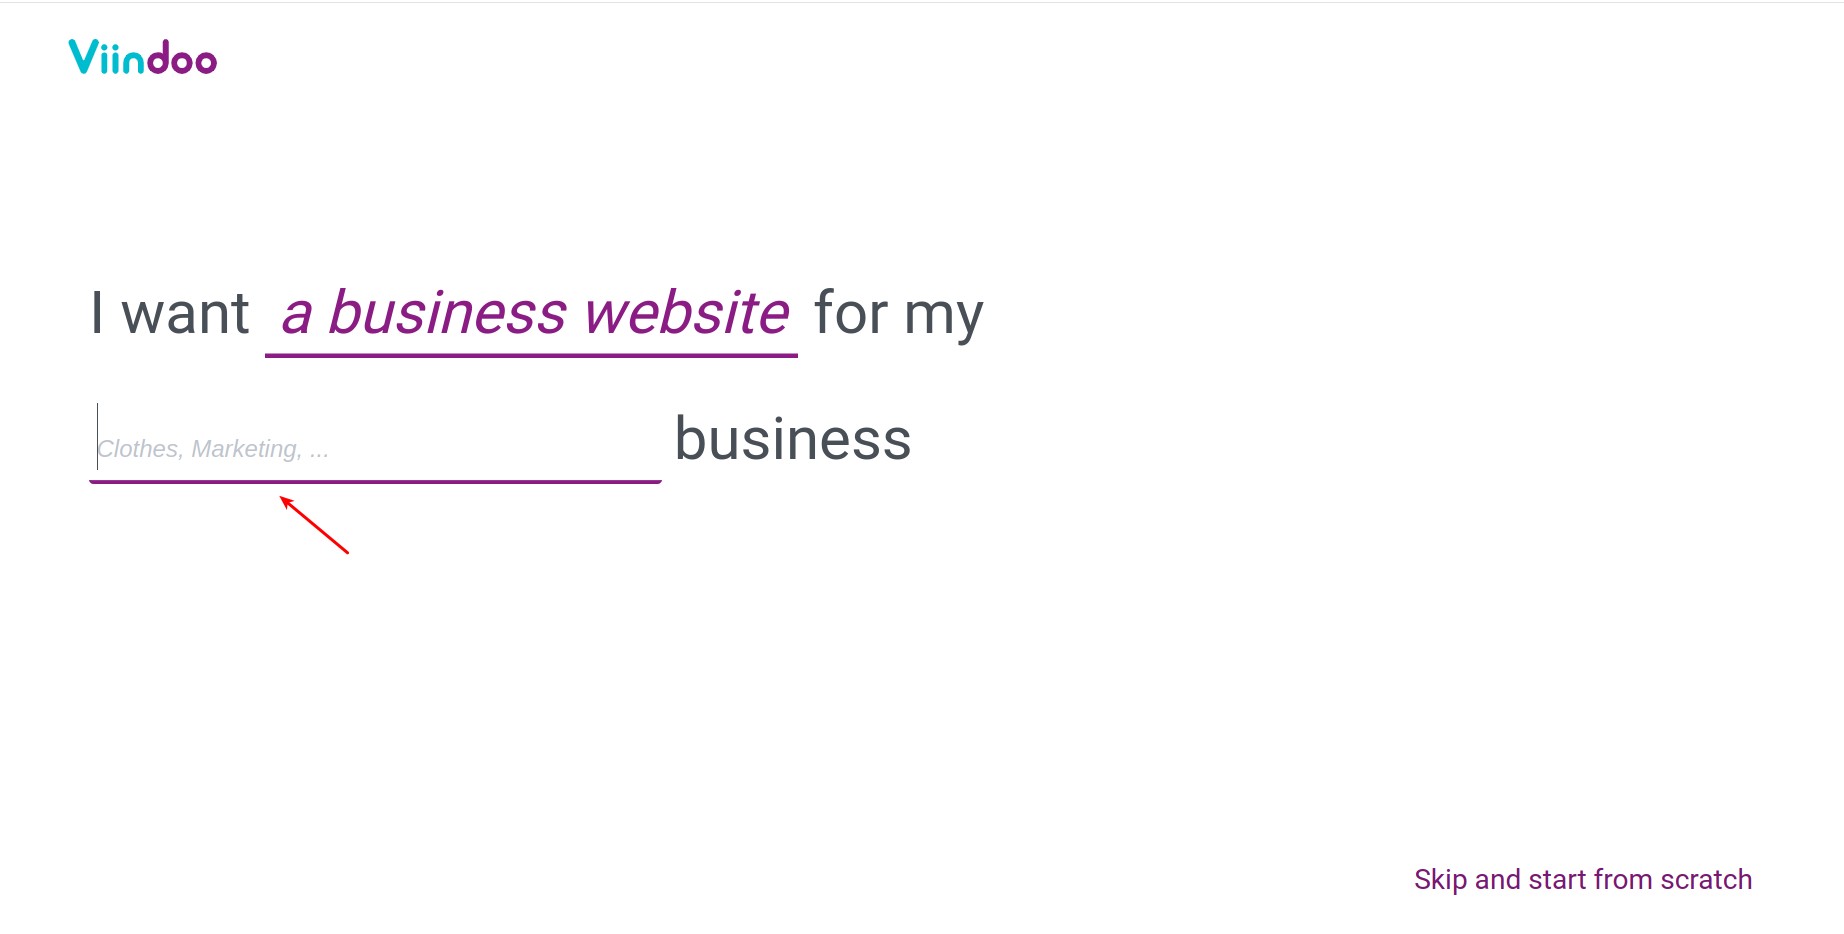
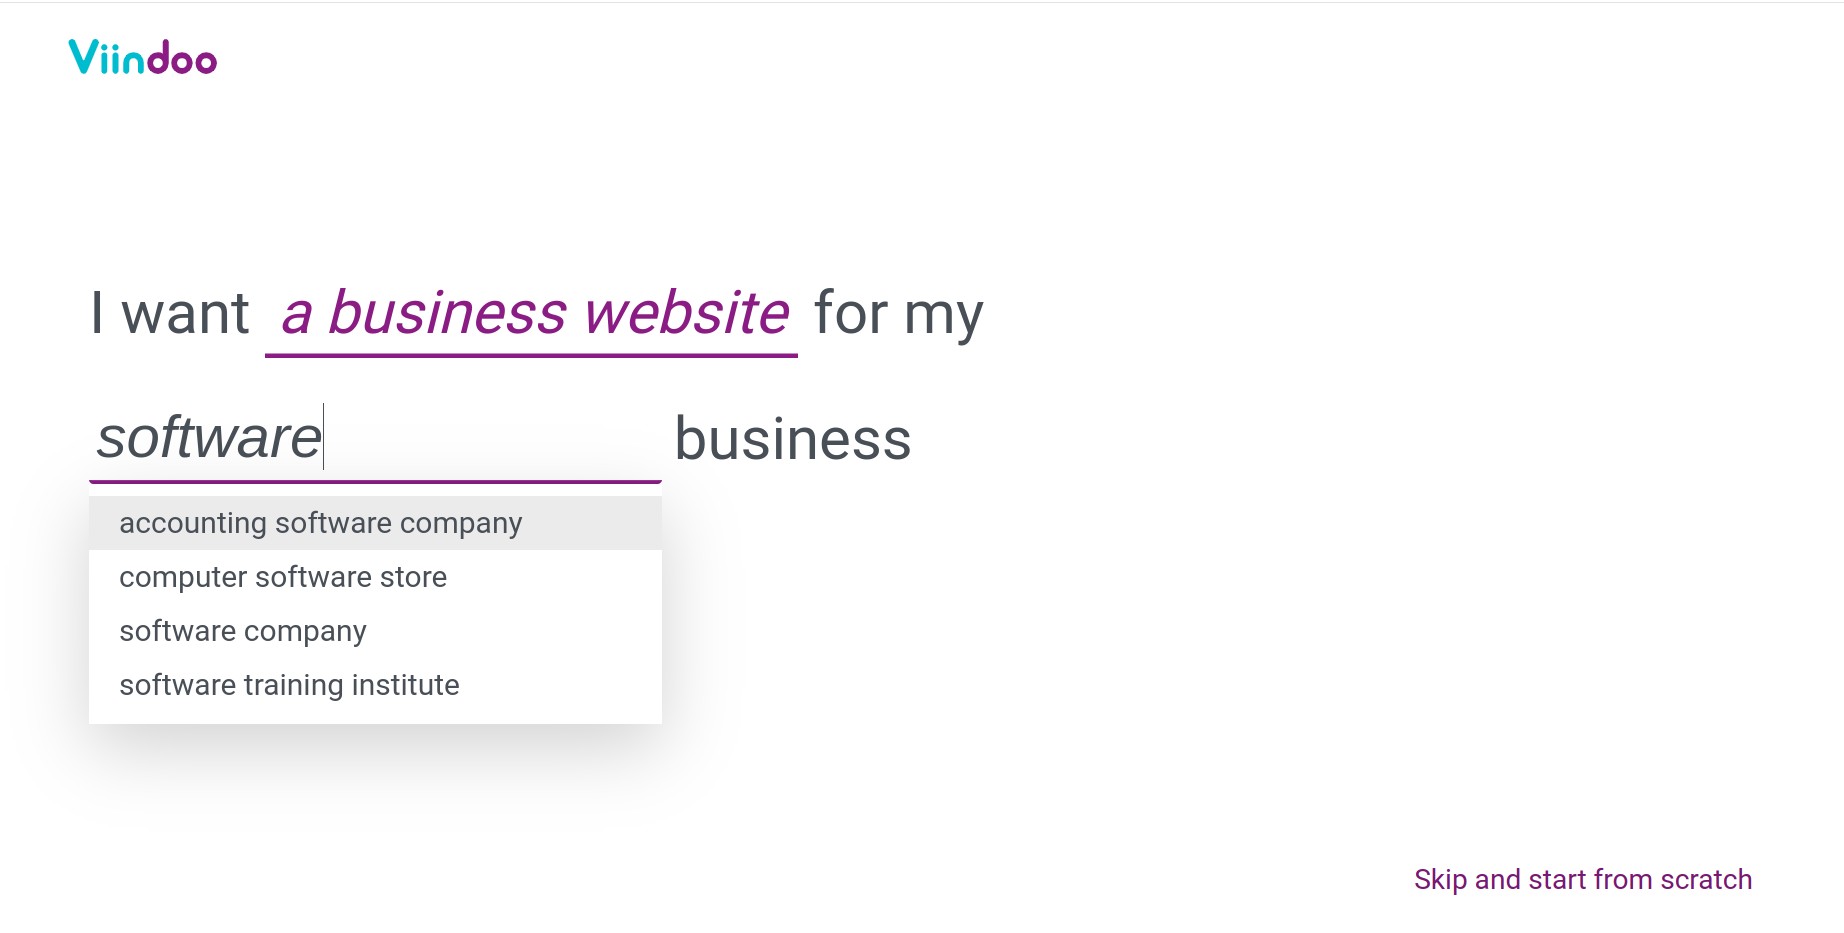
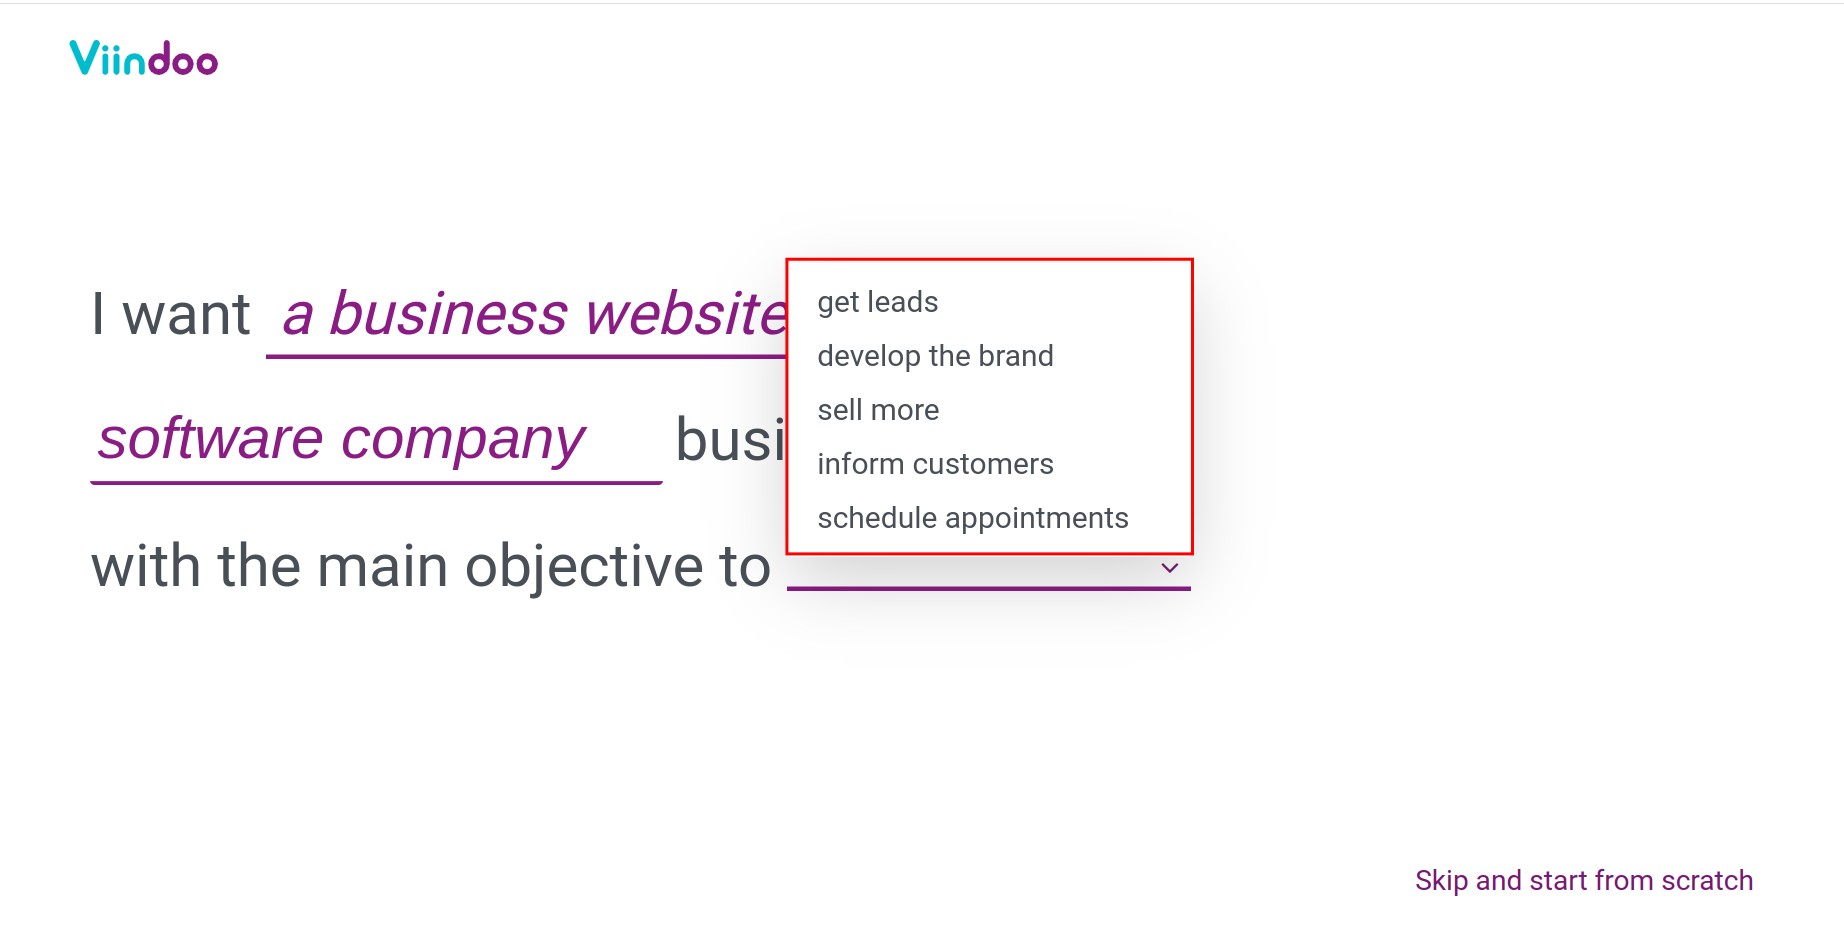
Define the business of your company and the purpose of your website. These actions will not only help the system authenticate your needs, but also allow you to refine and clarify your objectives when you start using the Website application.
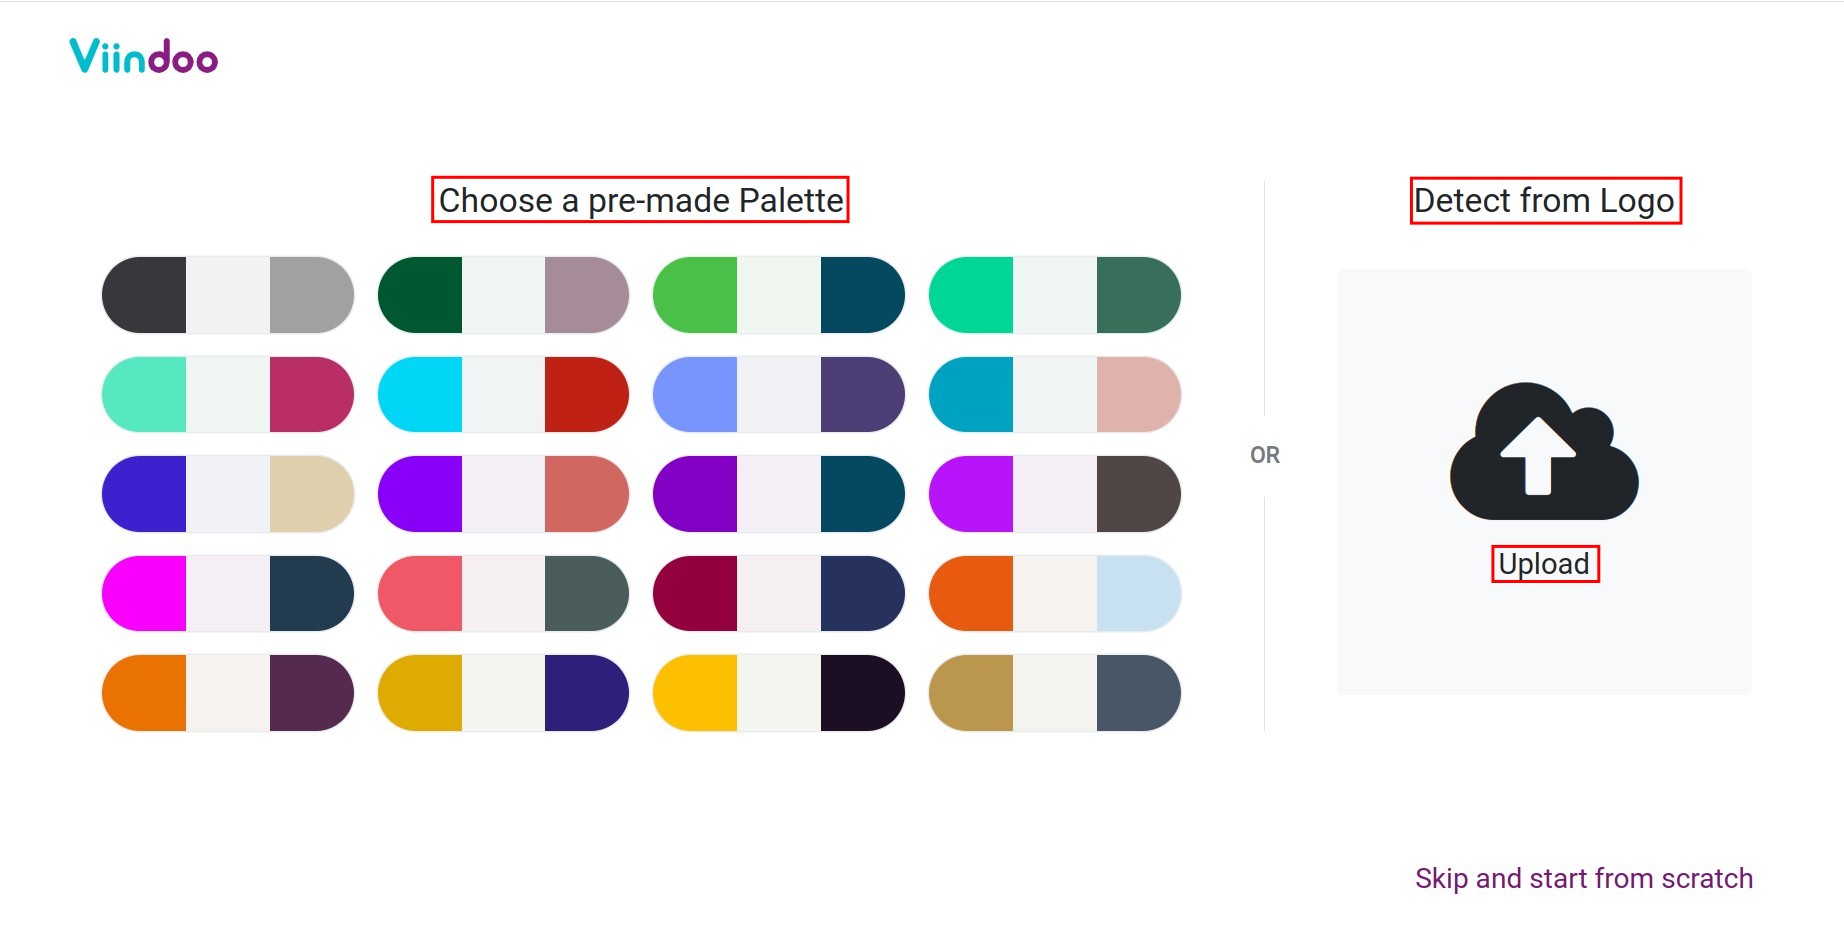
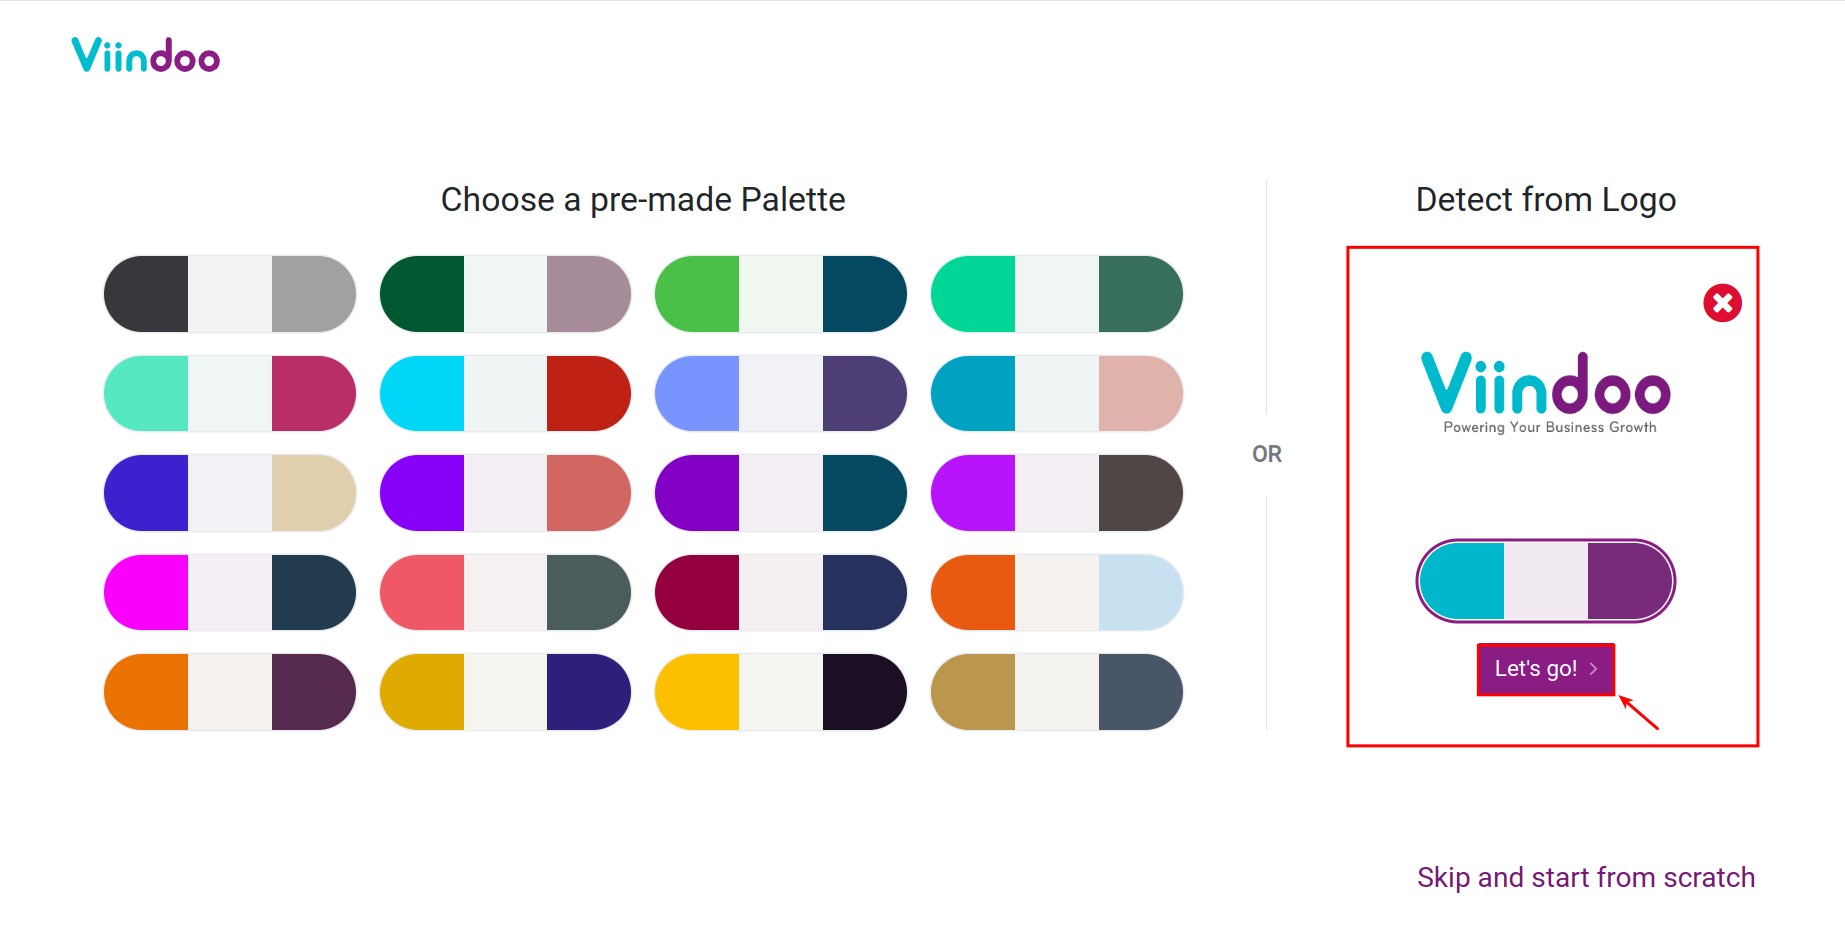
After that, you select the color scheme for your website theme. You can Choose a pre-made Palette from the selection suggested by Viindoo, or upload your company logo to have the pre-made palette detected automatically. For example, you upload a company logo, and then you will see that the system will automatically suggest a palette.
Tip
If you have configured your company logo at the initial company set up in Viindoo, your logo will be automatically detected here.
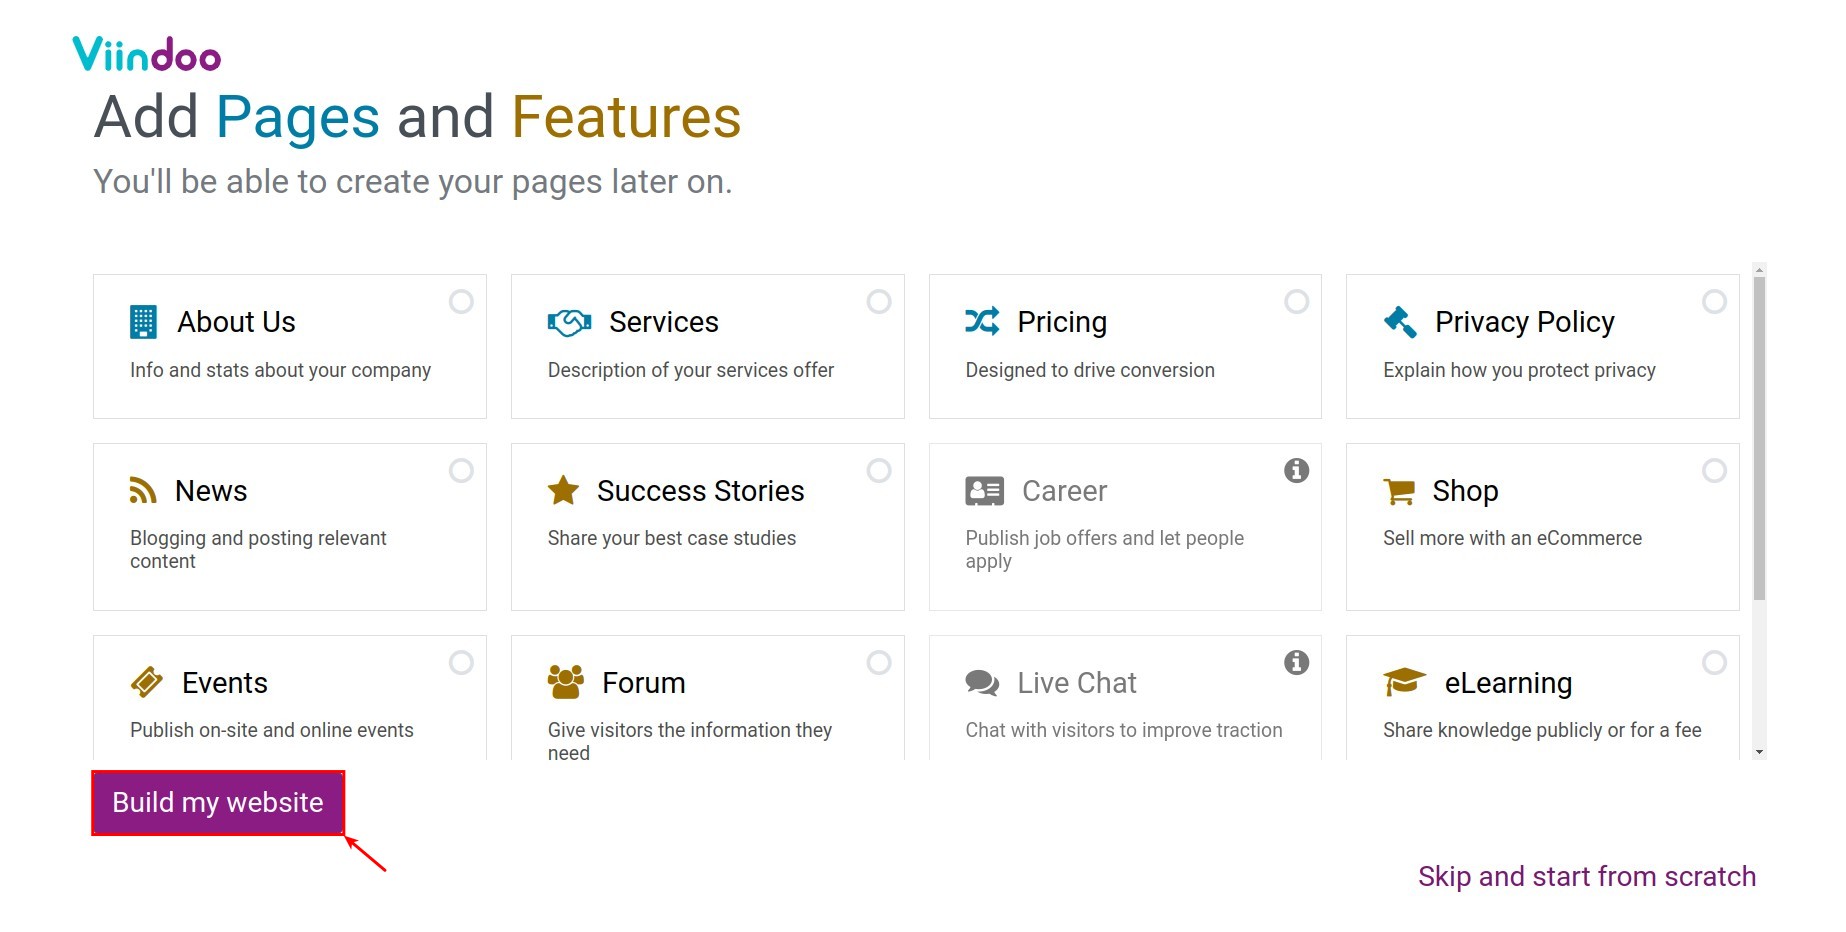
Next, you select the pages and features that you want to add to your website. Then click on Build my website.
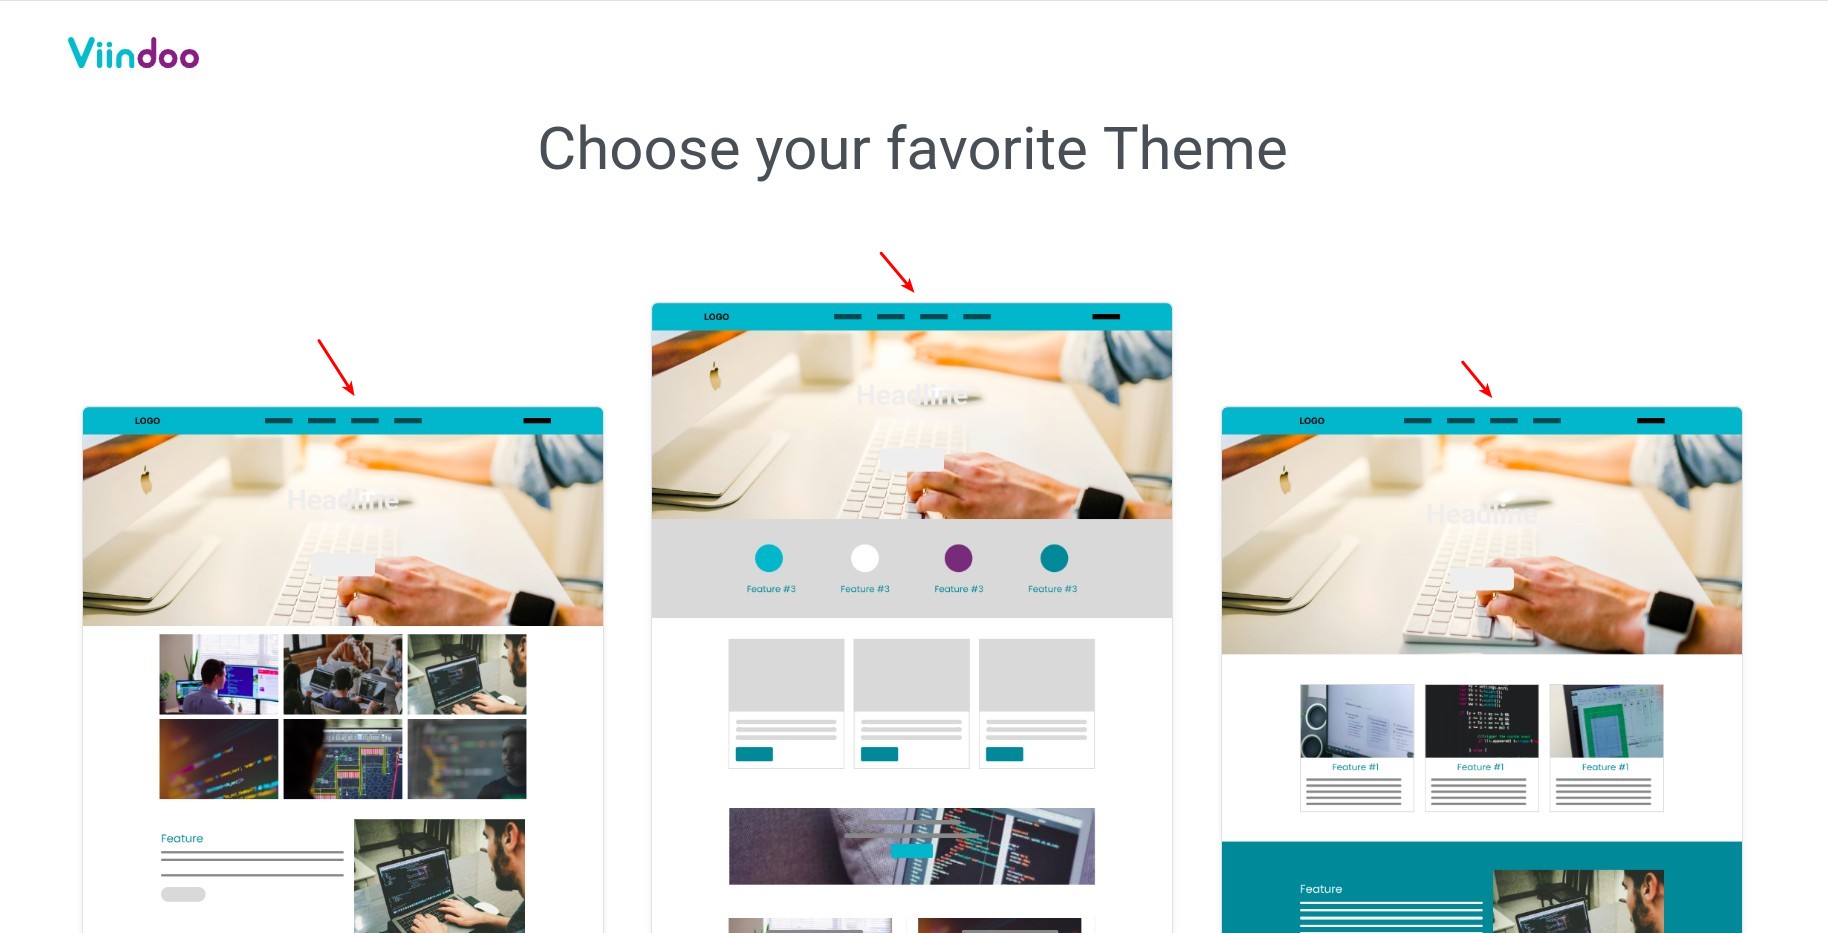
After you follow the steps mentioned above, the system will present several display interface samples. You can select one of these samples and wait for the website to be built.
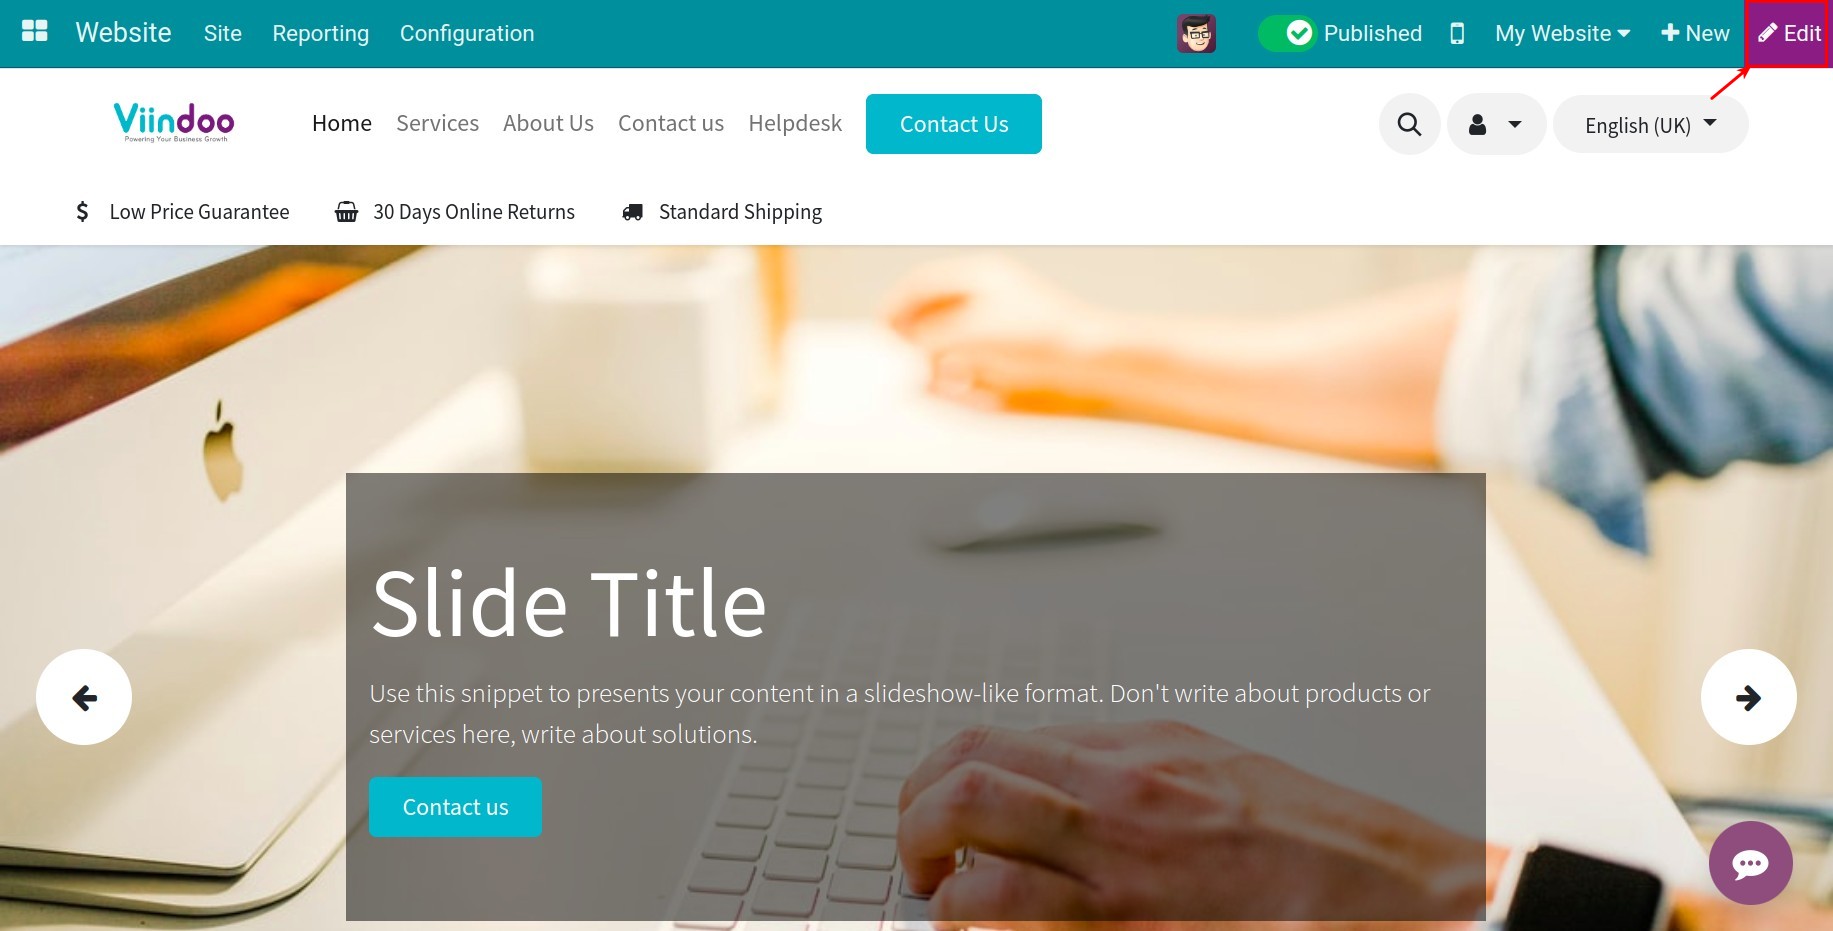
Once the website is successfully built with your desired pages and features, you will be redirected to your website. You can start customizing your website by clicking the Edit button in the upper right corner.
Note
Depending on the number of pages and features you have selected, the building time may take from a few seconds to a few minutes. Be patient!
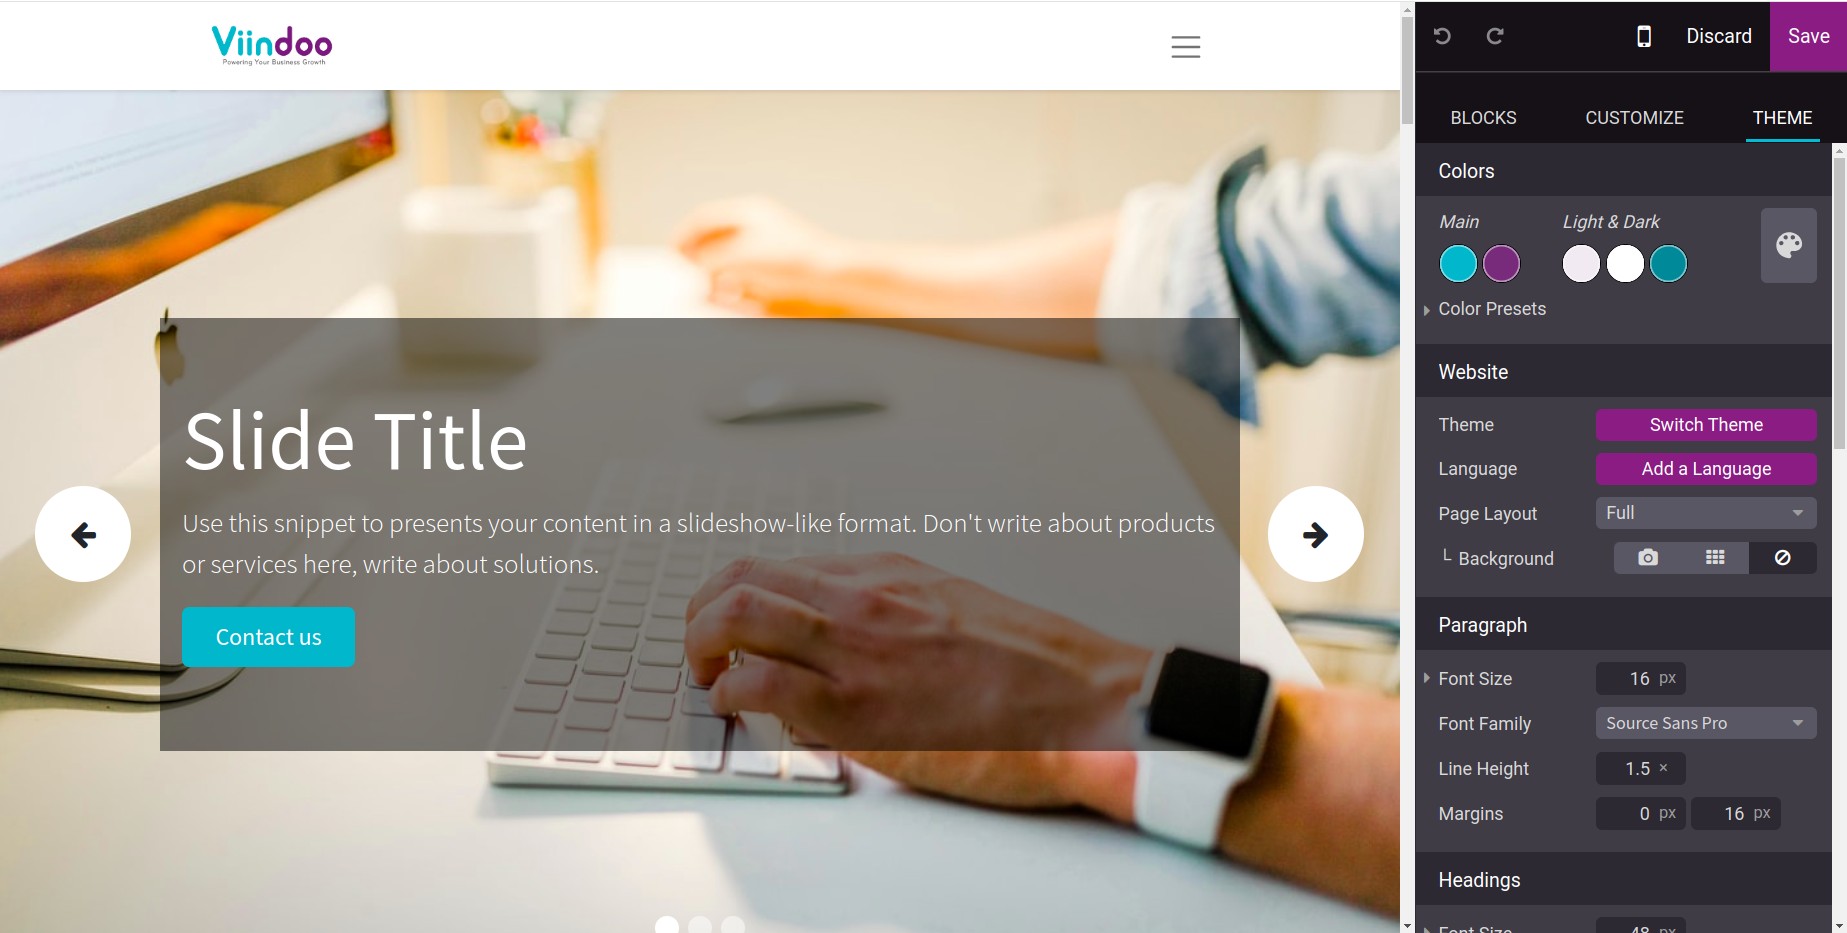
Your website is now displayed with colors suggested based on your company logo. To change the color palette, click on Edit > Theme and select a new color palette.
Website Language configuration
You can use the default languages or add a new language to your website.
Navigate to Website > Configuration > Settings and go to the Languages section.
Install new language: Click on the Install languages button.
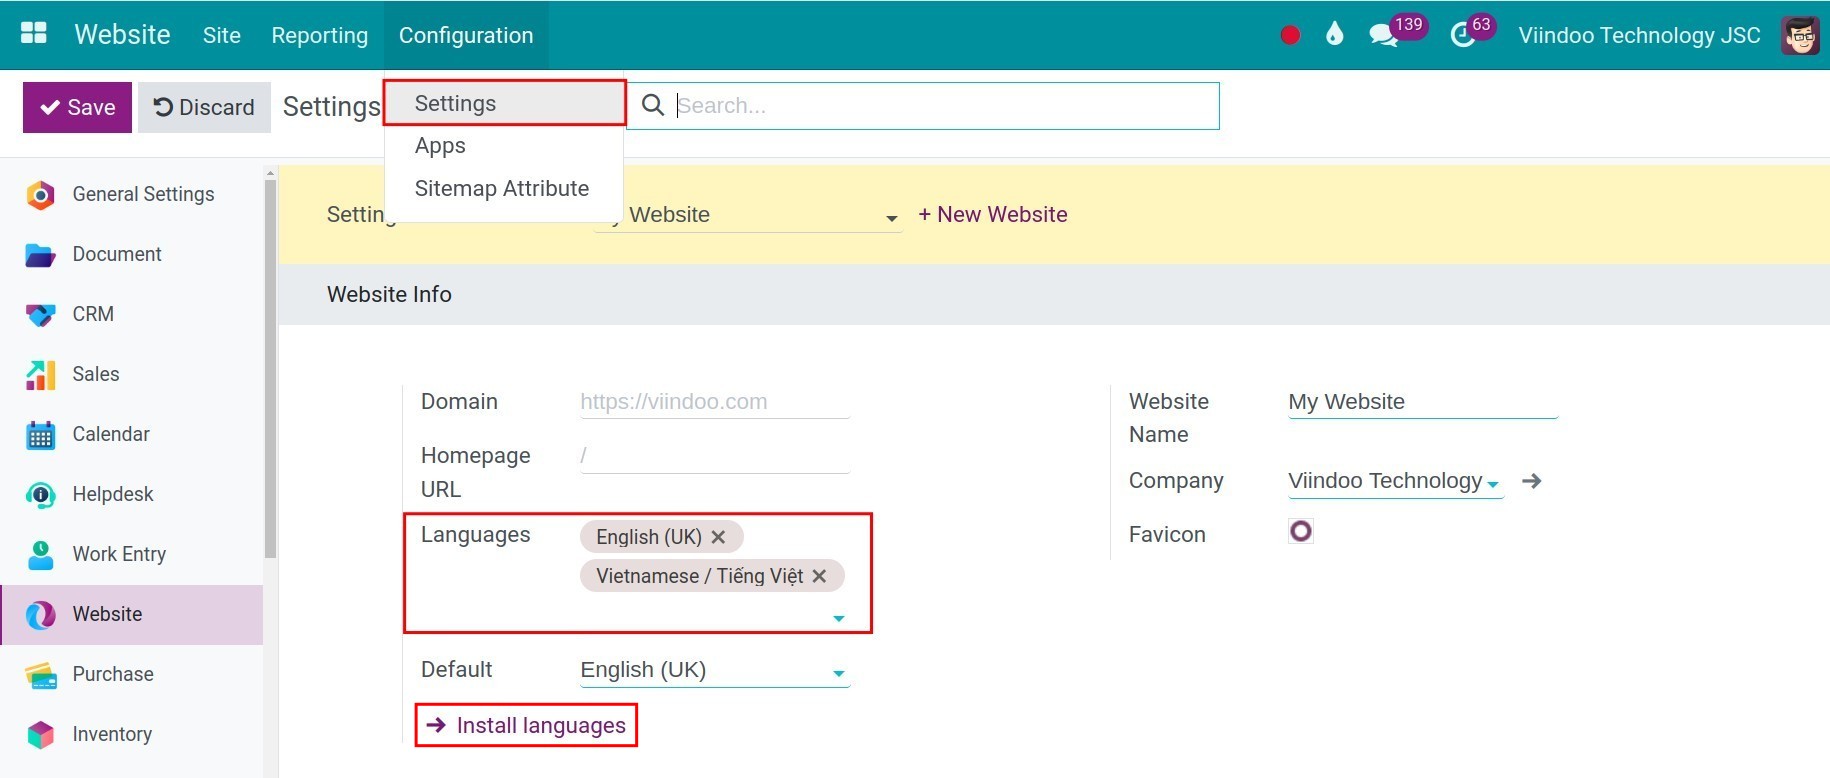
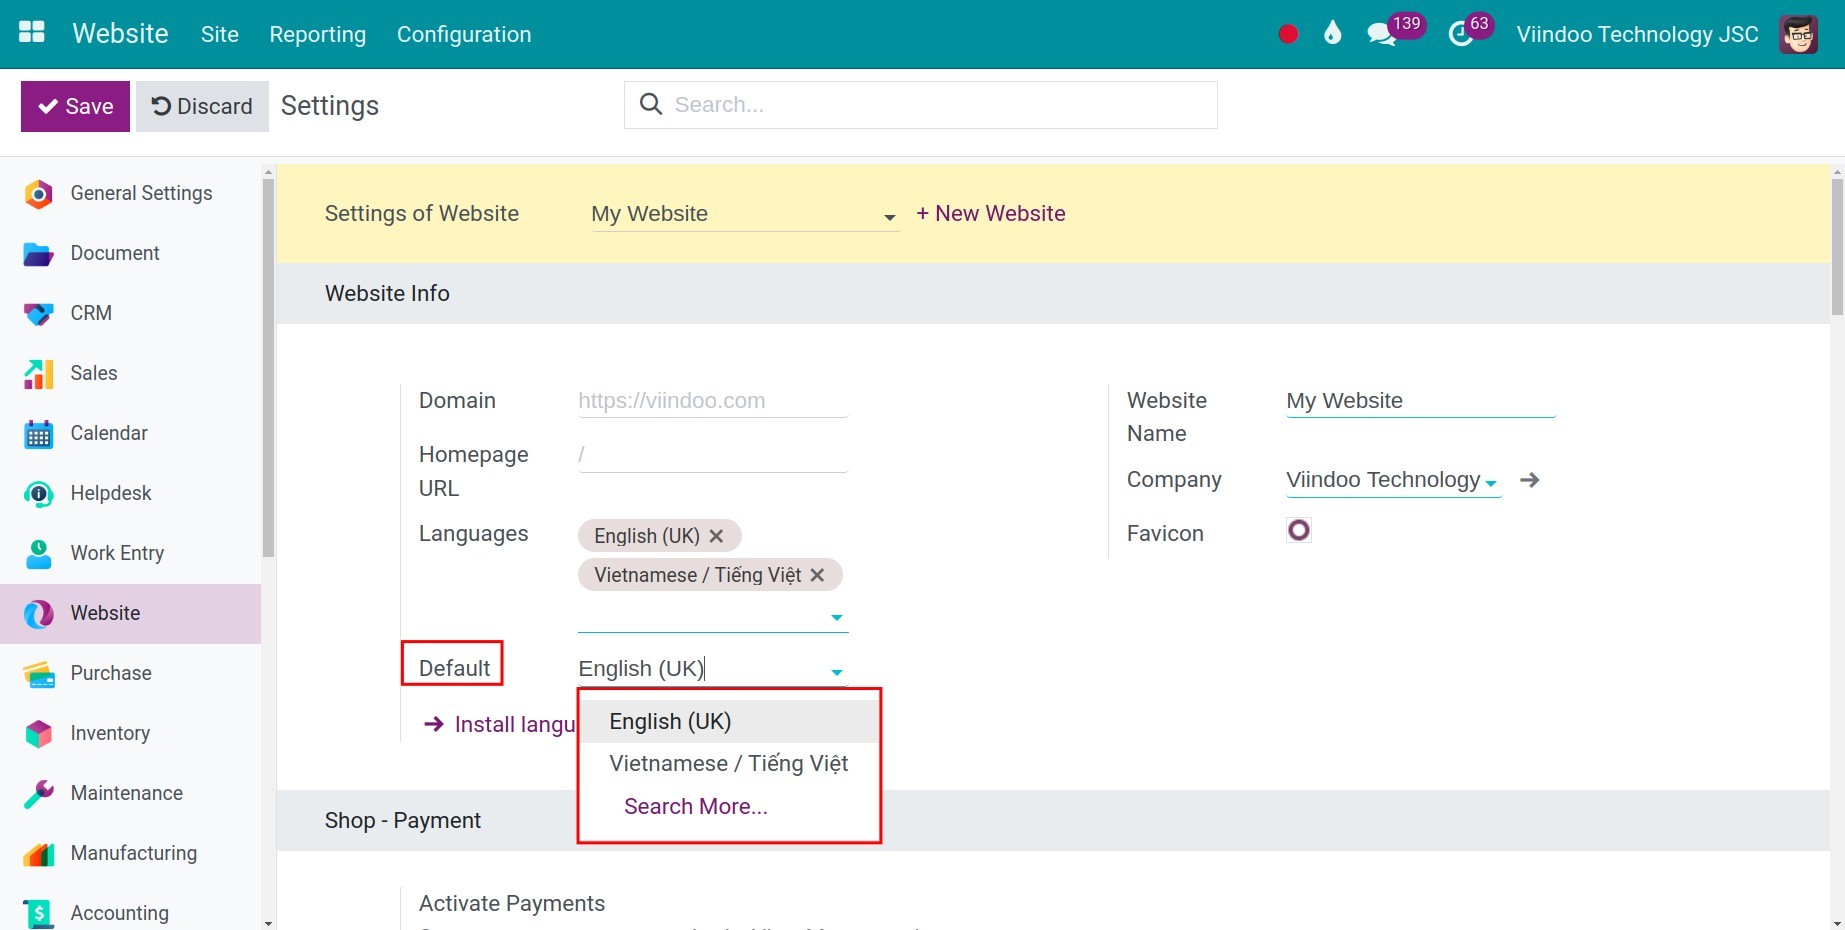
Default: You can pick one of the languages you have added above as the default language of your website.
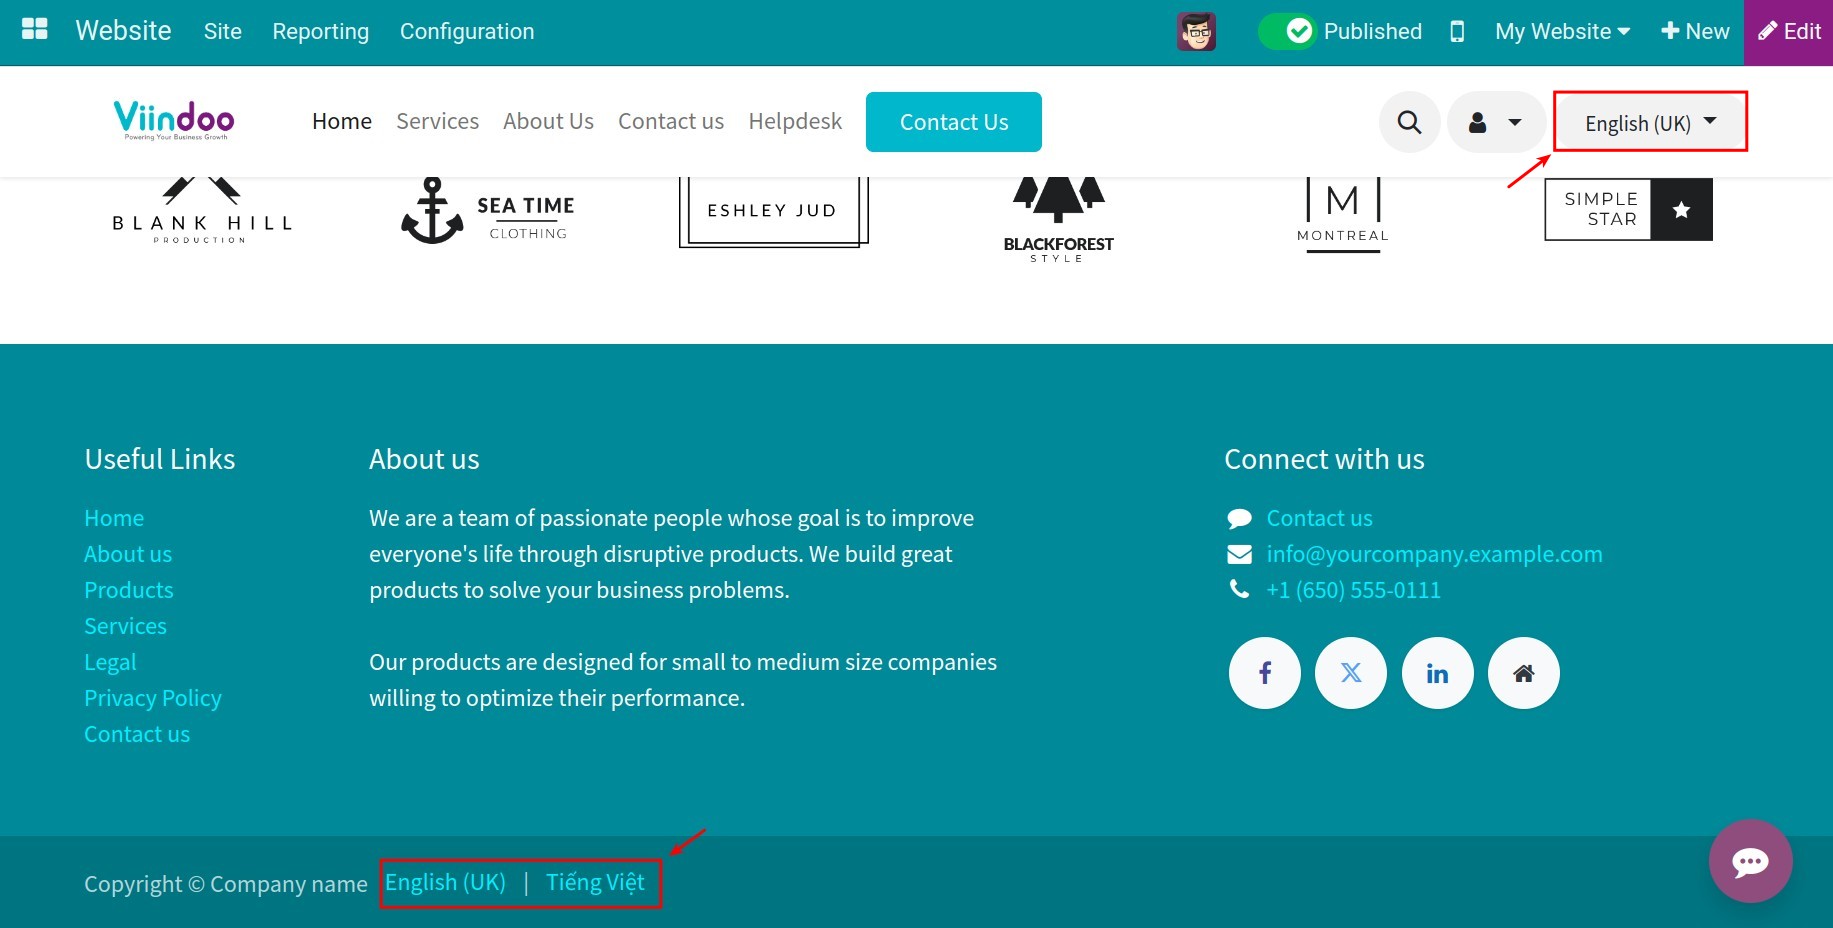
Click Save then go to the website to check how the language selector is displayed. You will see that the language selector is visible in two locations: in the upper right corner and at the bottom of the interface. However, if you don’t want the language selector to appear in one of these two locations, you can click the Edit button and make the necessary changes.
Do you know?
Viindoo Website App:
Supports up to 85 languages. You can install multiple languages and respective translations for your website at the same time.
The language displayed on the website will follow the IP address and the browser language of the visitor.
Brand identity configuration
Title and favicon of your website
Go to Website > Configuration > Settings:
Name: The name of your website. You can enter another name for your website.
Favicon: The Company Favicon set up at the initial company settings is displayed here by default. You can also upload a new one if necessary.
Tip
The standard sizes of Favicon on the website are: 16×16 pixels (recommended); 32×32; 48×48; 64×64.
Website logo
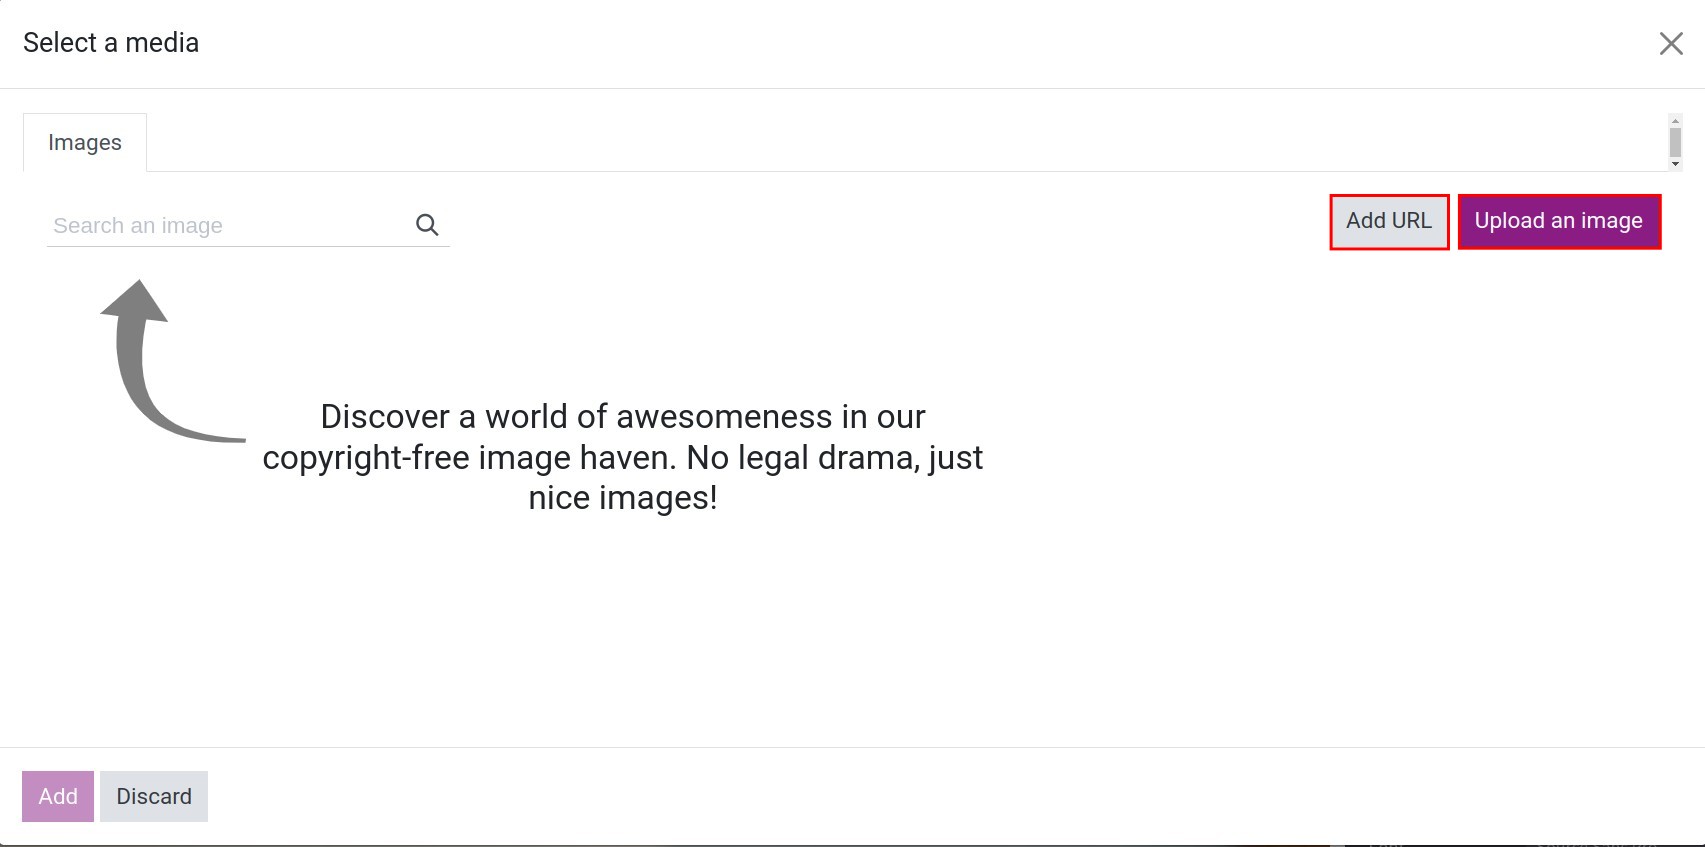
You can change your website logo by navigating to the website and clicking Edit, double-click on the logo icon then upload a new image.
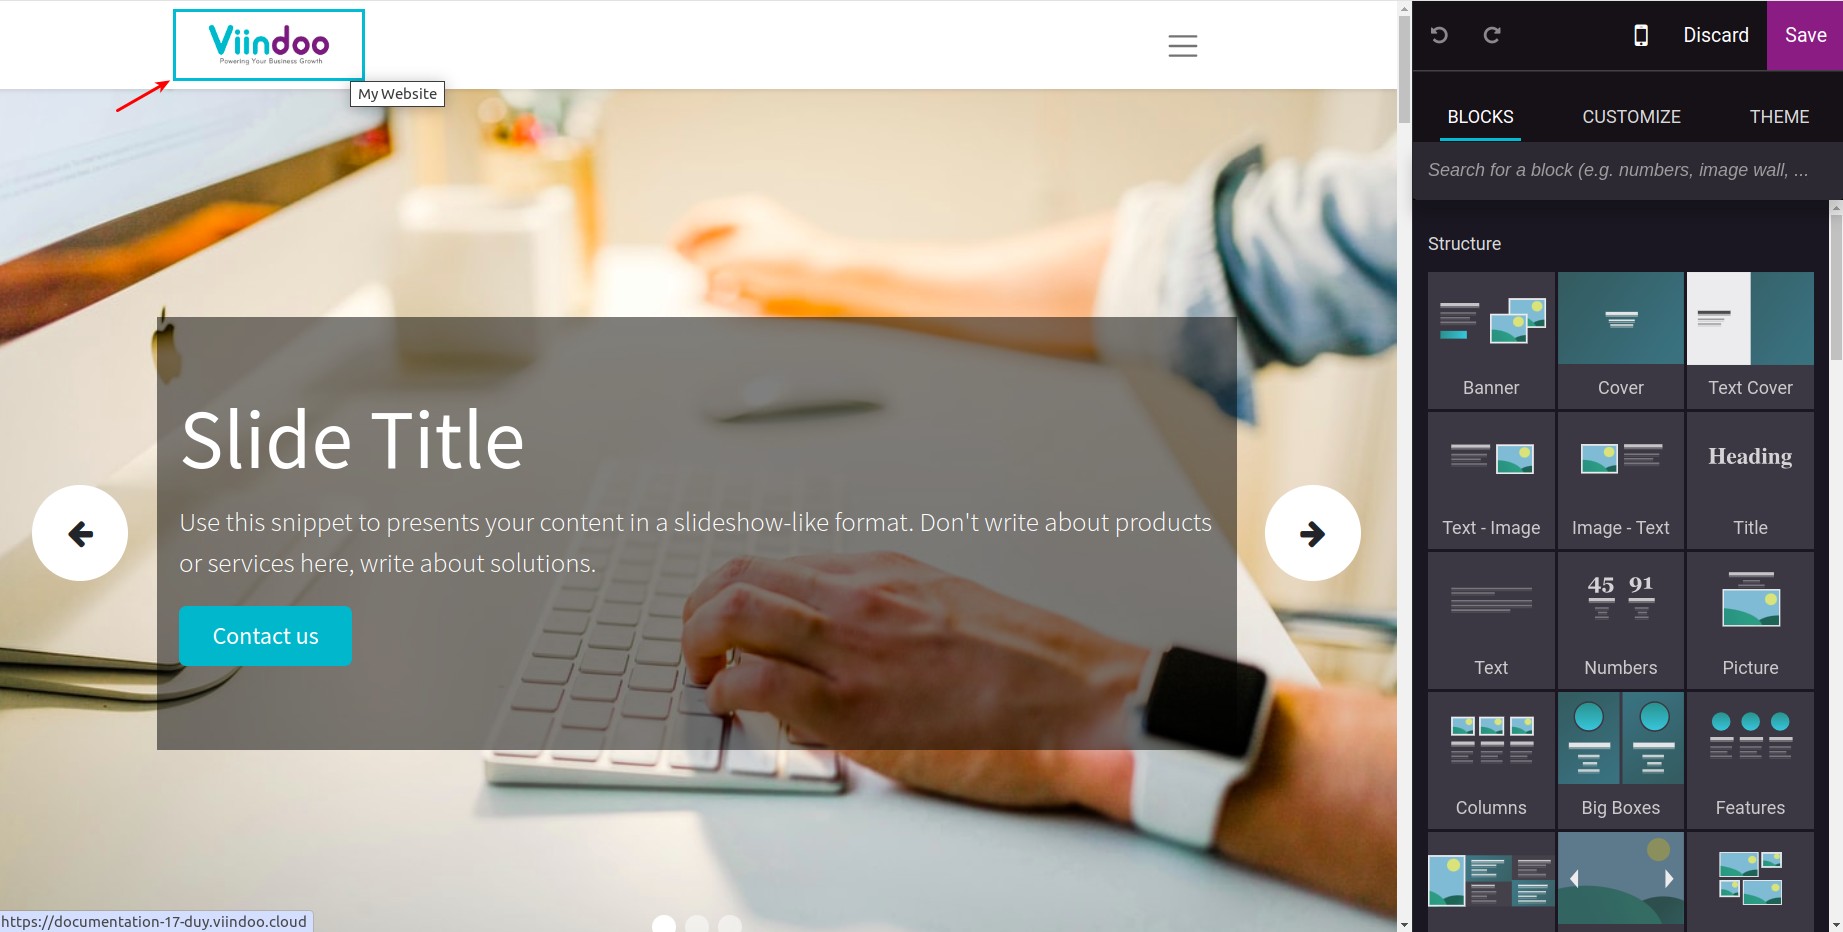
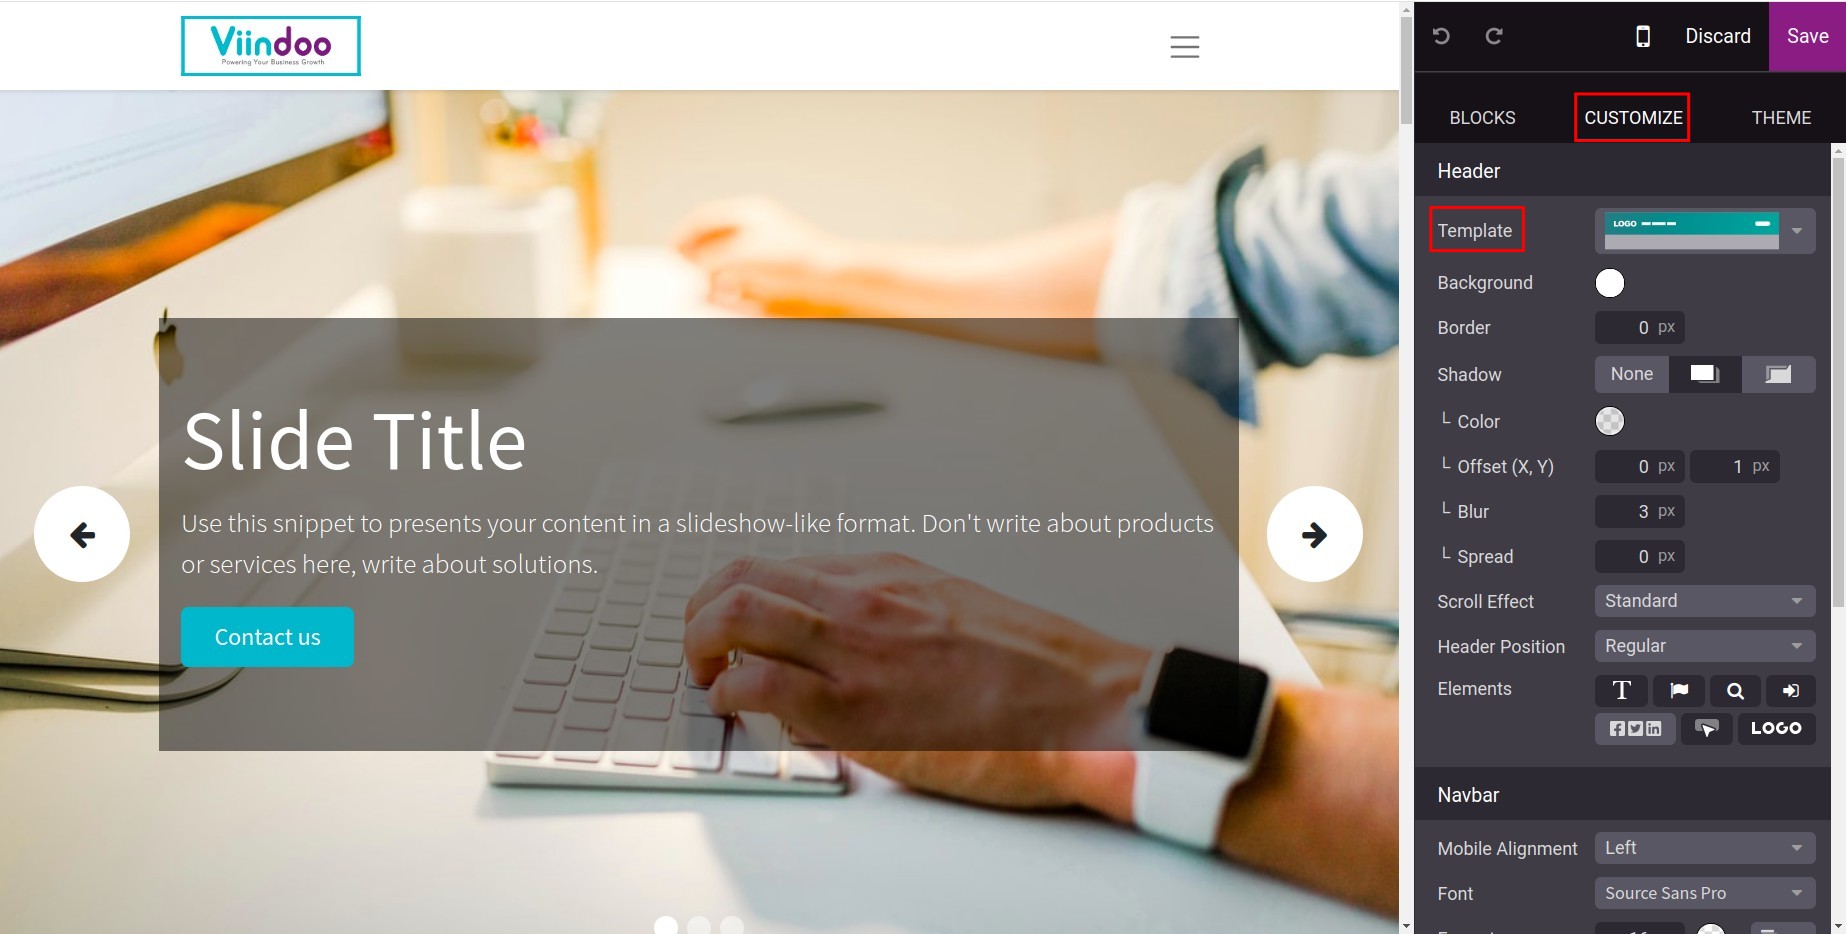
Select a website logo display style in the template field.
After the above configuration, you can also track your website traffic with:
See also
Related article
Optional module