eCommerce products
The trend of online shopping is increasing, so putting your products on an eCommerce website is an easy way for your customers to reach them.
Requirements
This tutorial requires the installation of the following applications/modules:
Create products
Create products from back-office
To create new products from back office, you can follow the steps provided in this article: Steps to create a new product in Viindoo.
Create products on website
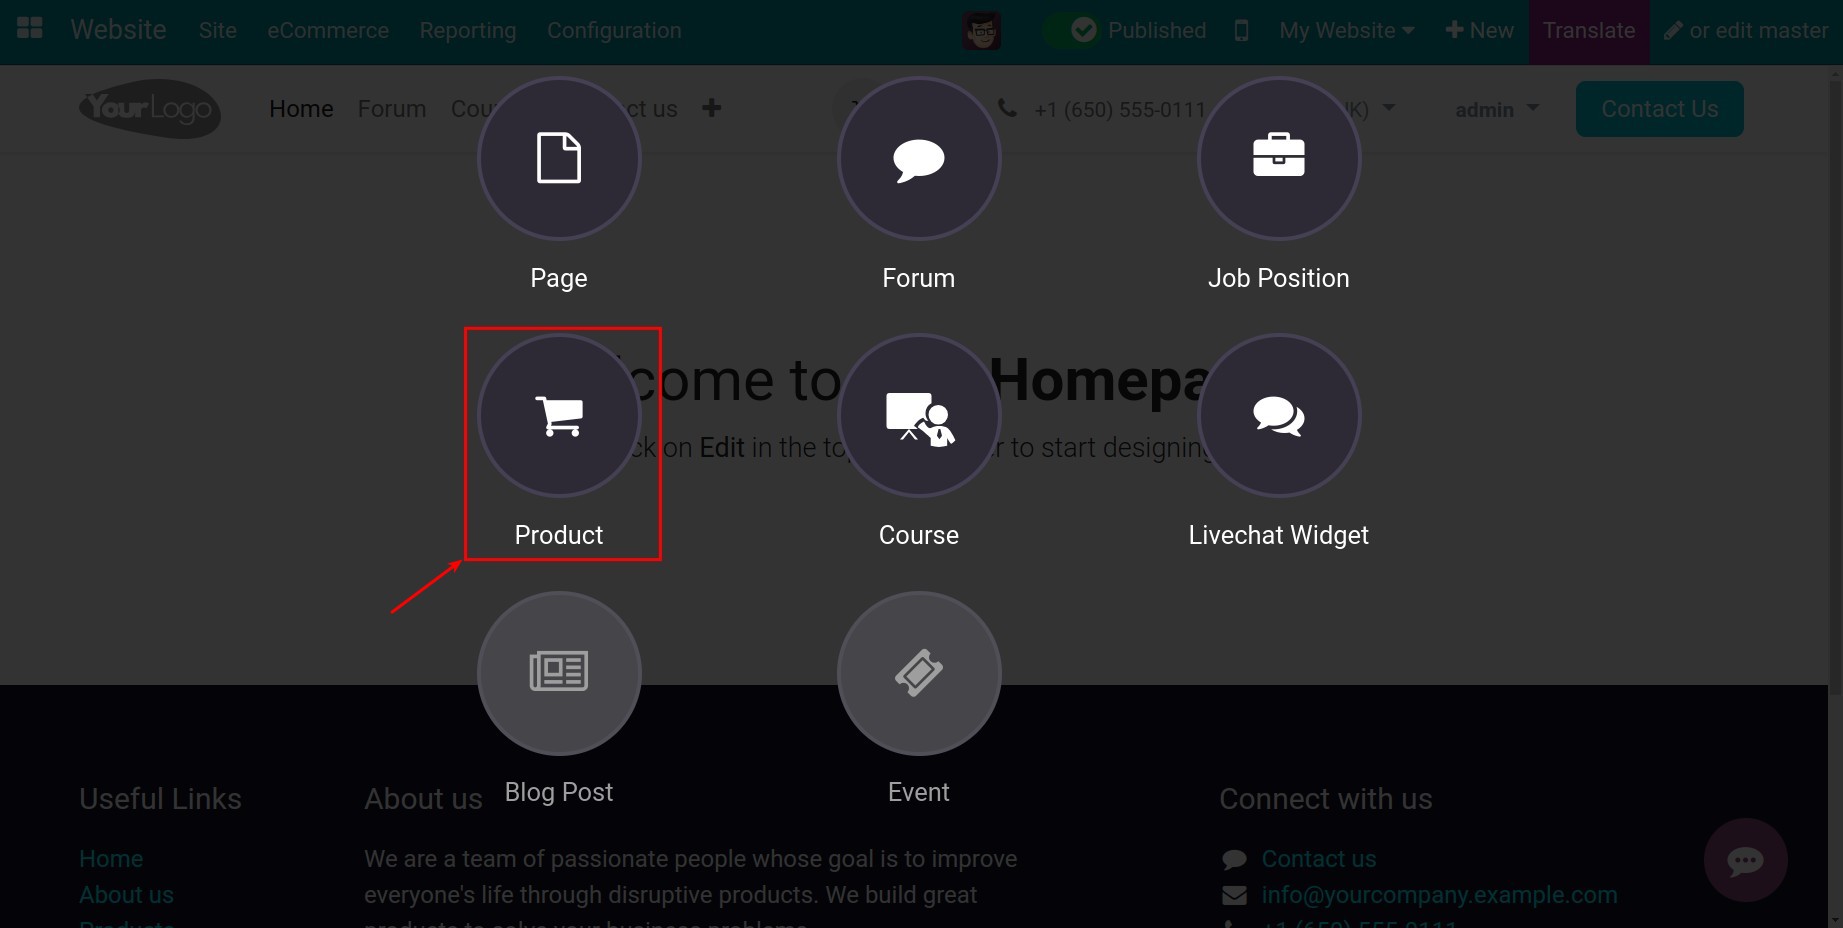
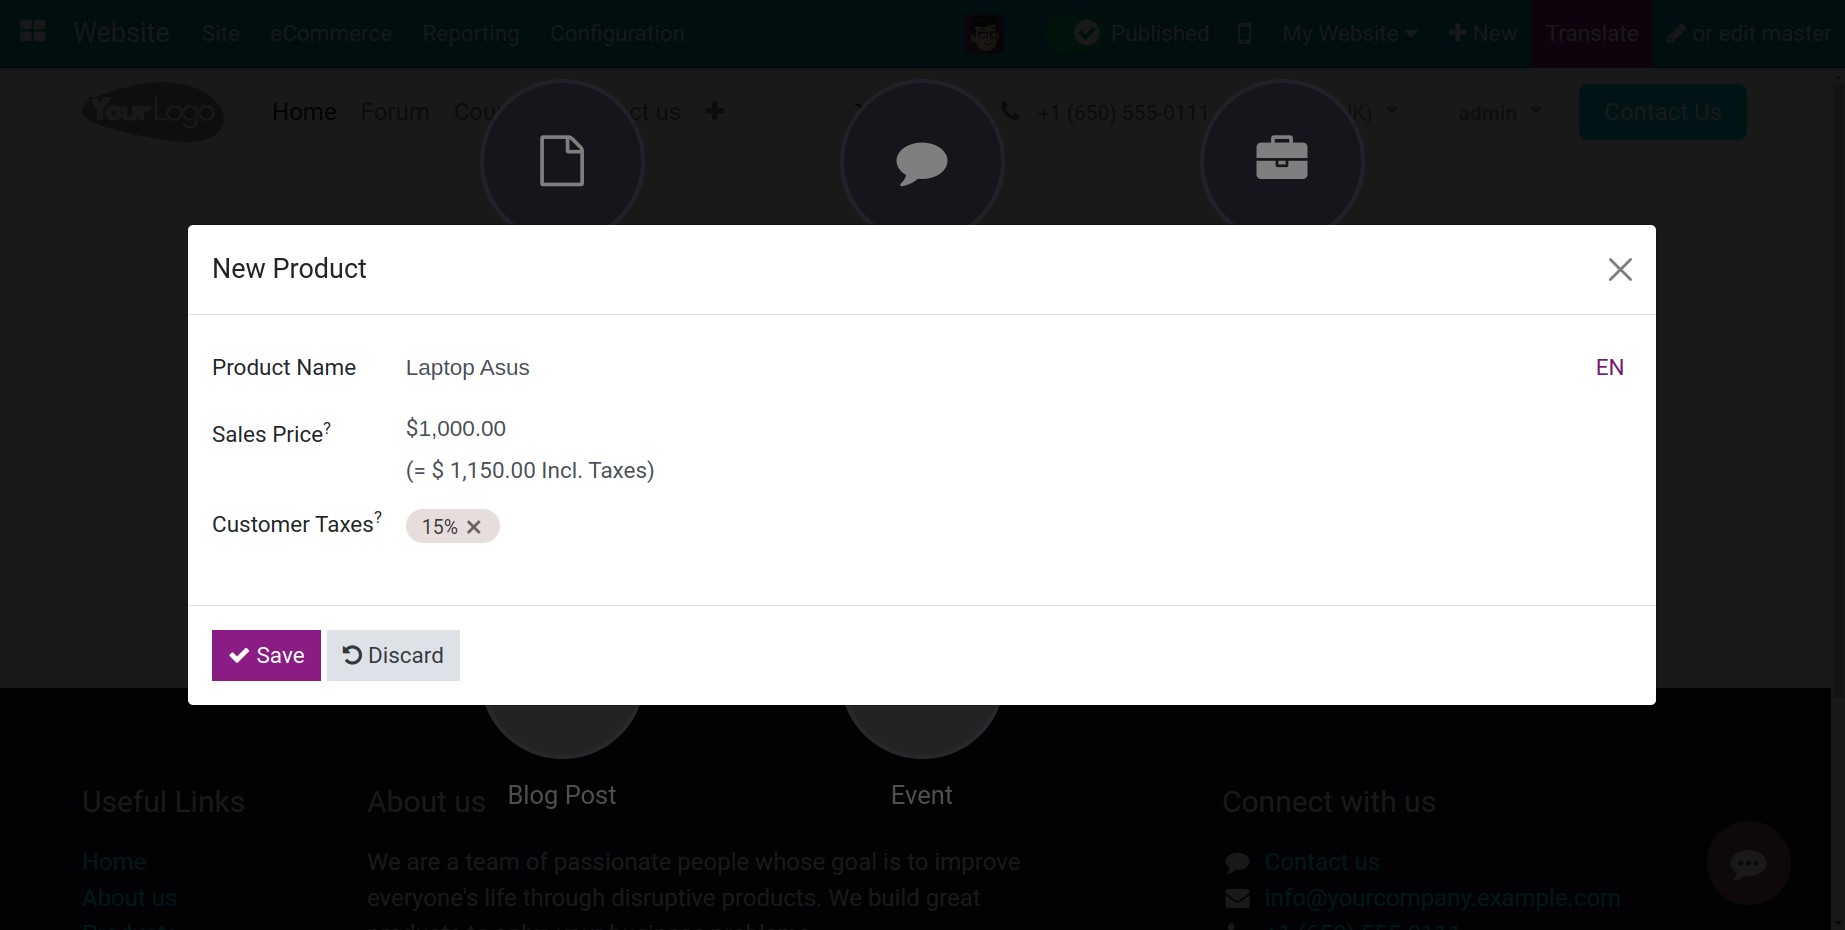
To create new products from website, you go to . A wizard will be displayed and allow you to enter the product name and price. Click on the Add button to record the product name.
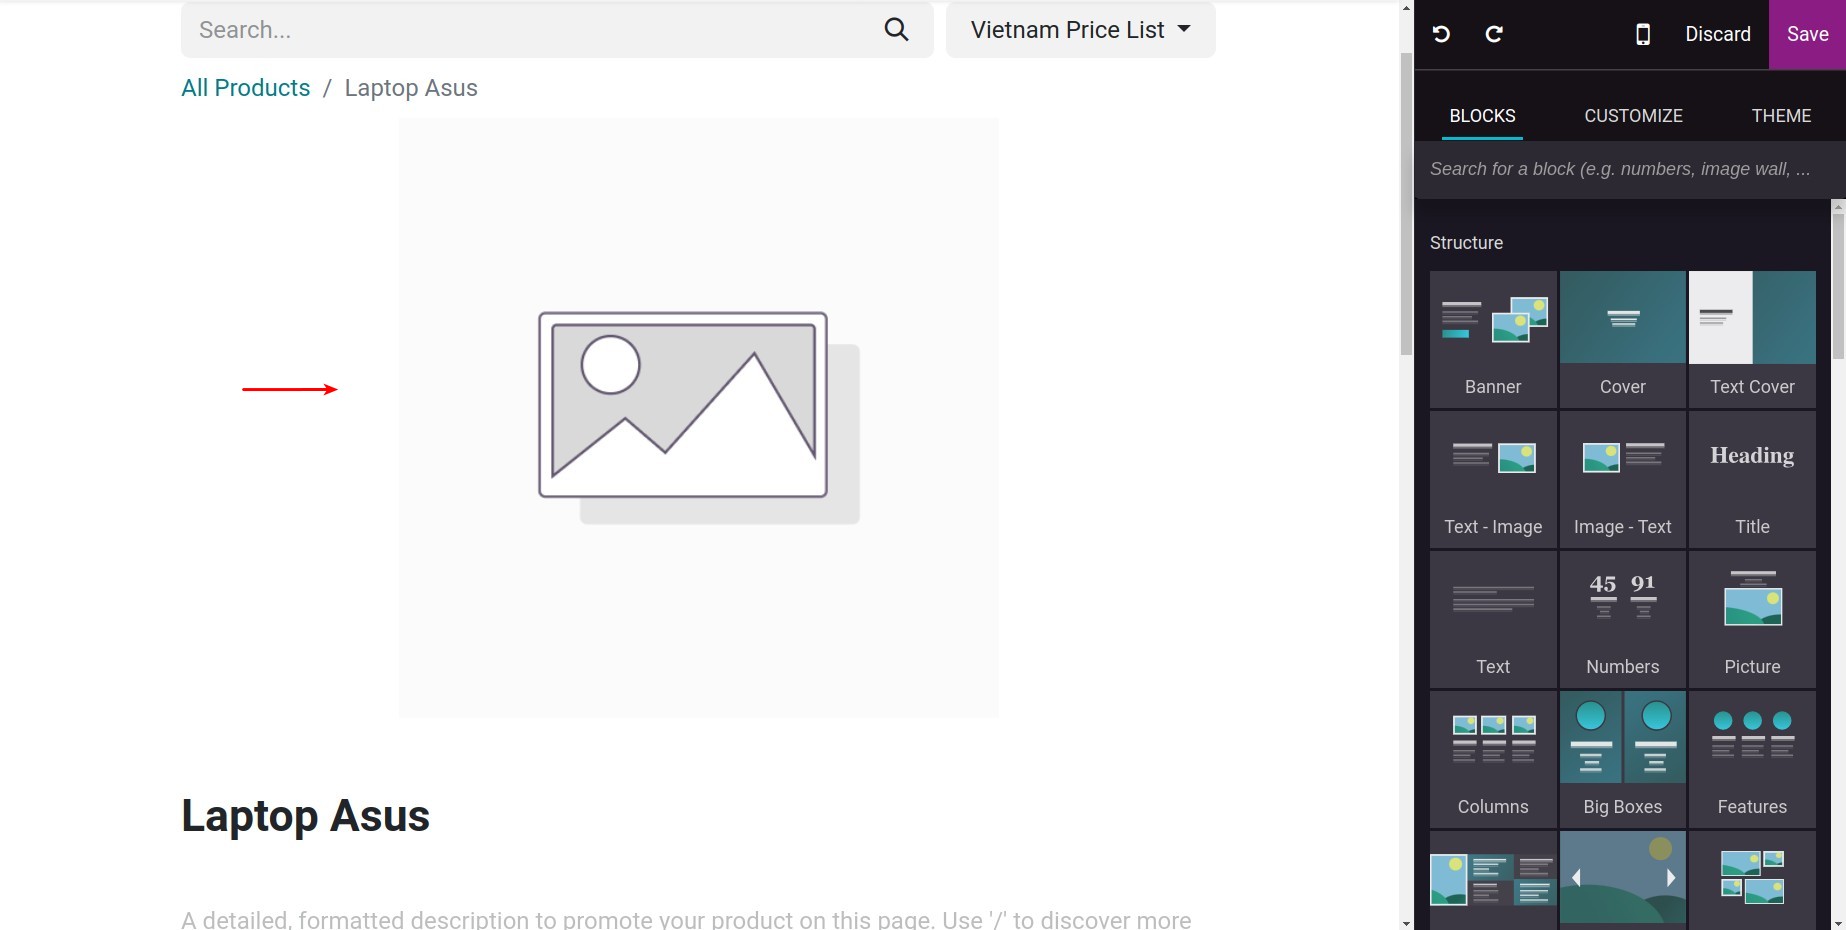
First, you can edit the product image. At the product view, click on Edit > Double-click on the image, the system will show the view for the image adjustment.
You can change the image by uploading it from your computer, adding a URL, or typing a keyword in the search box.
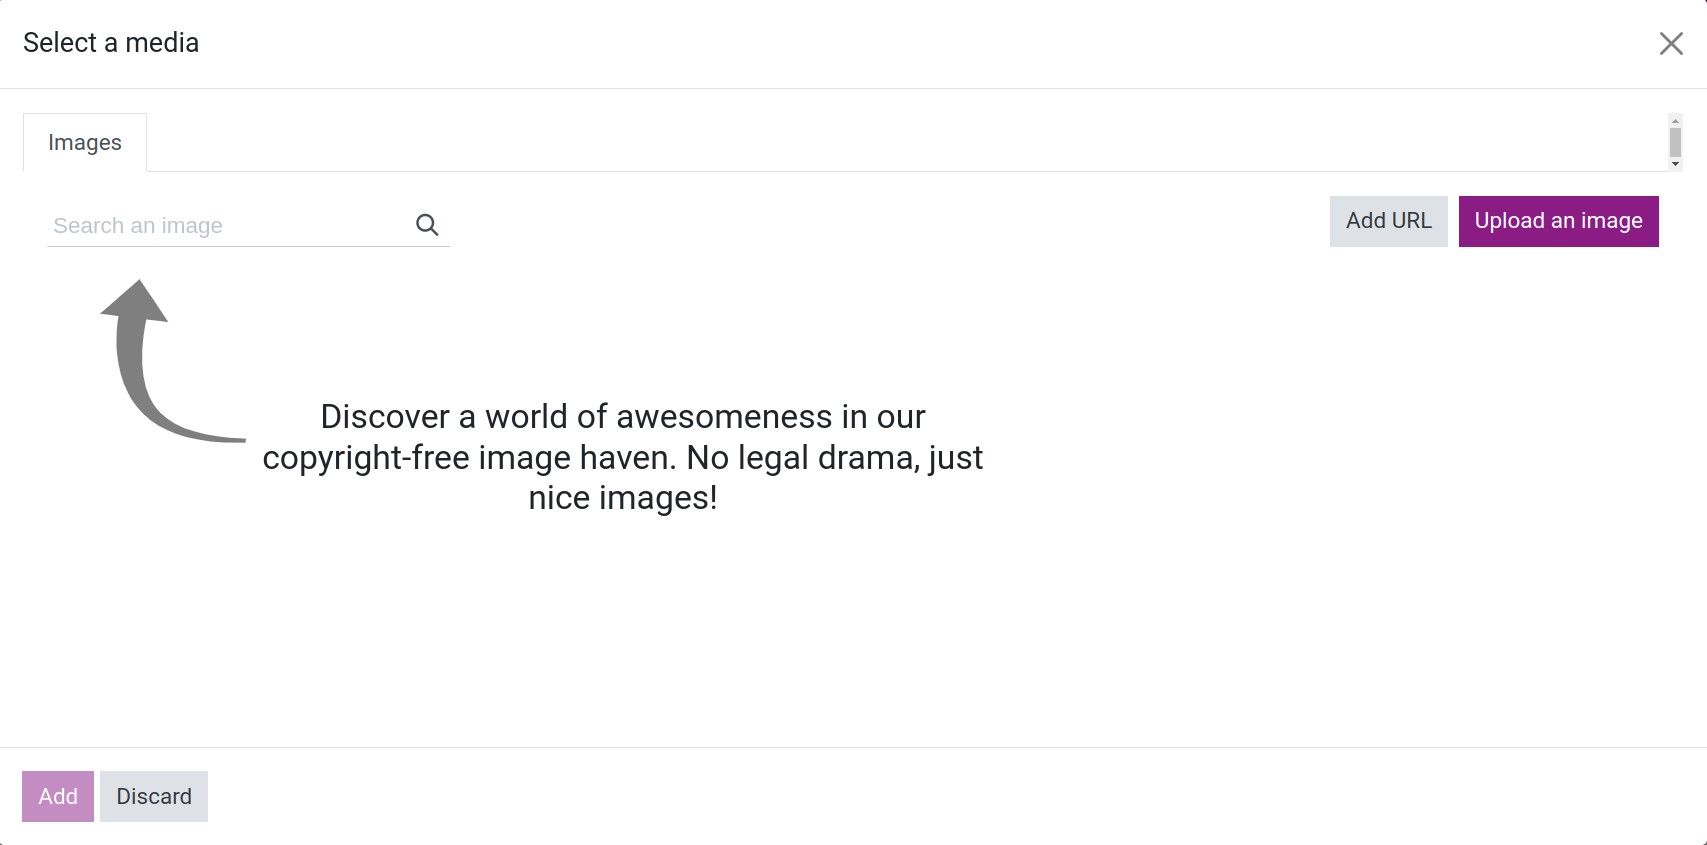
Click on the Add button to update the products’ images.
Then, you can configure some information for your products on the website as follow:
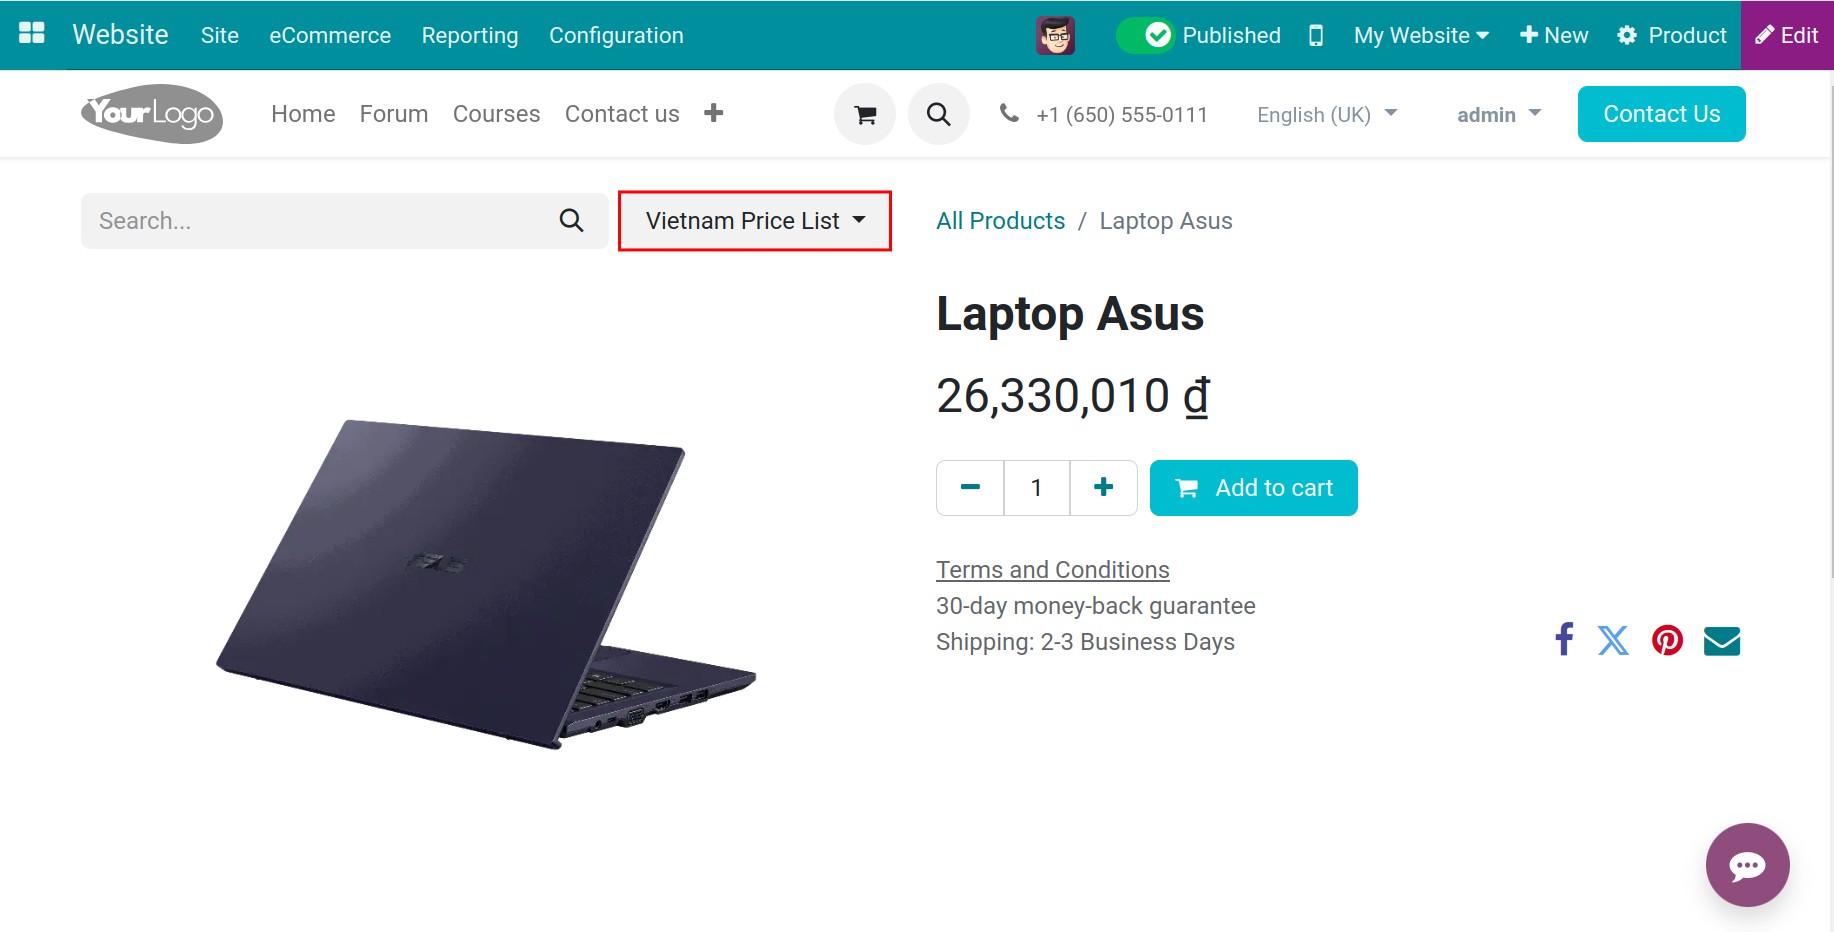
- Pricelist.On the website, you can select the price list which will be applied to the products.
![Pricelist]() For the pricelist configuration, please read this article: How to configure pricelist.
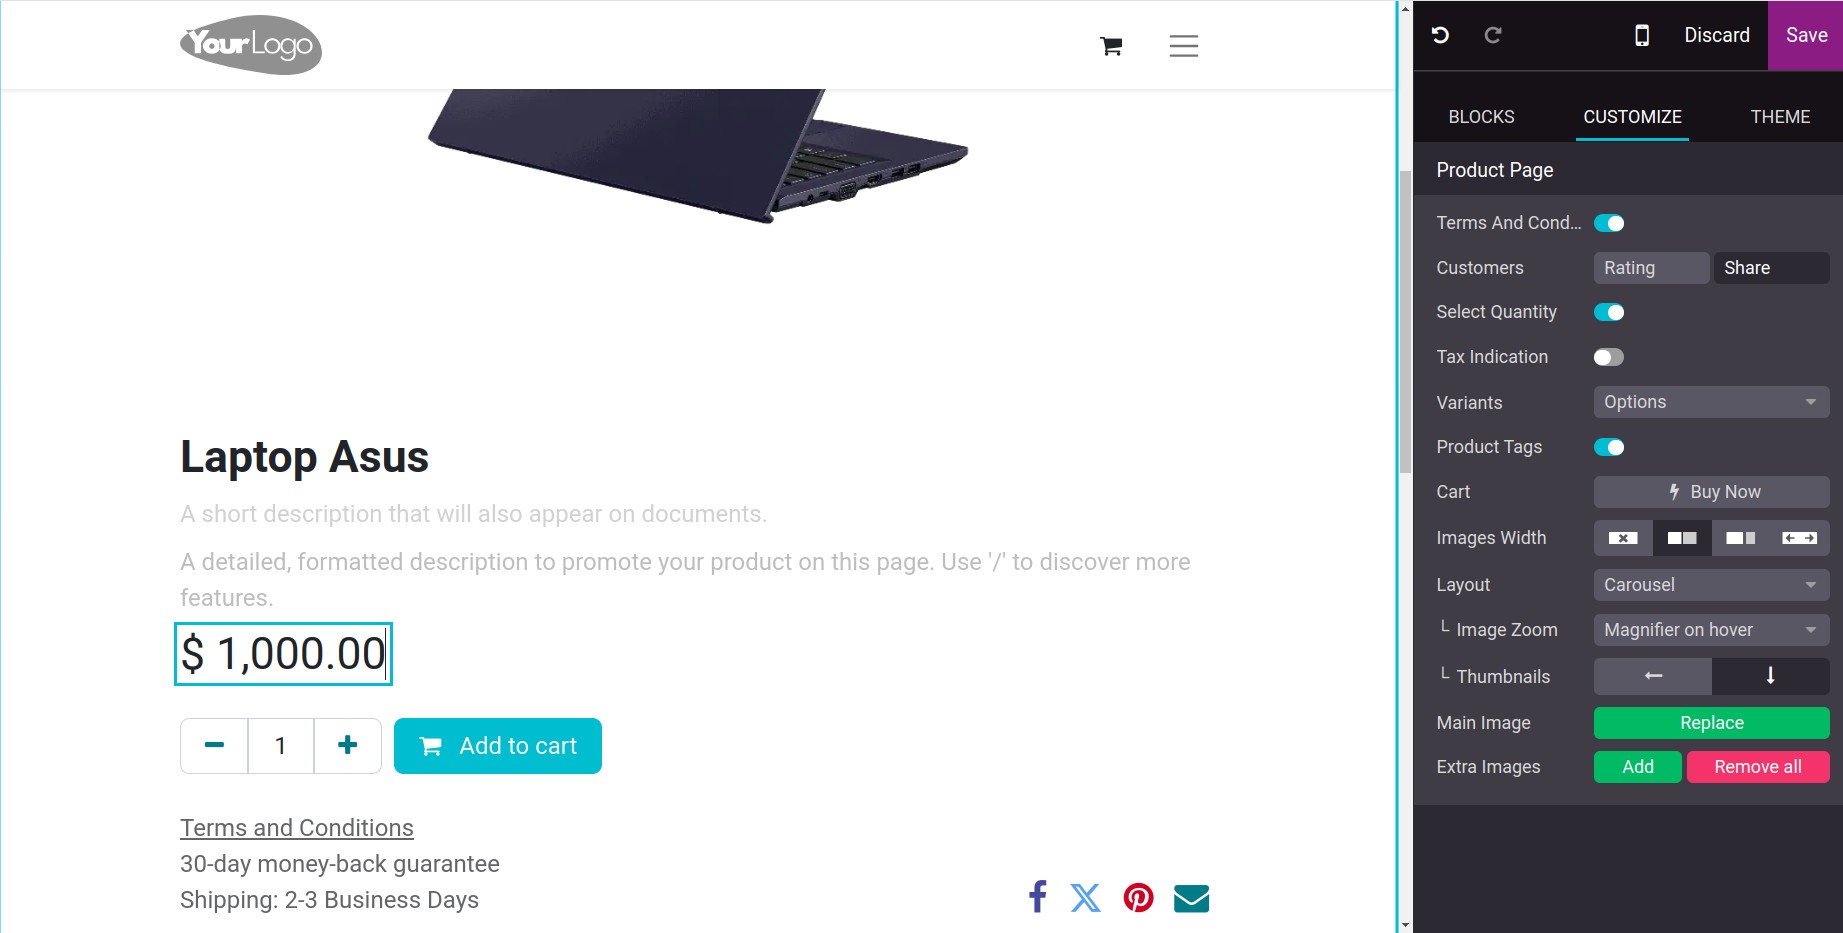
For the pricelist configuration, please read this article: How to configure pricelist. - Price.In order to configure price of product, you click on Edit.
![Price product]()
- Product Variants.Product variants are the list of product versions with different attributes in Viindoo system. For example: HP Laptop has different year of production such as 2019, 2020, 2021… To configure the product variants, please read this article: Guideline to use product variants.
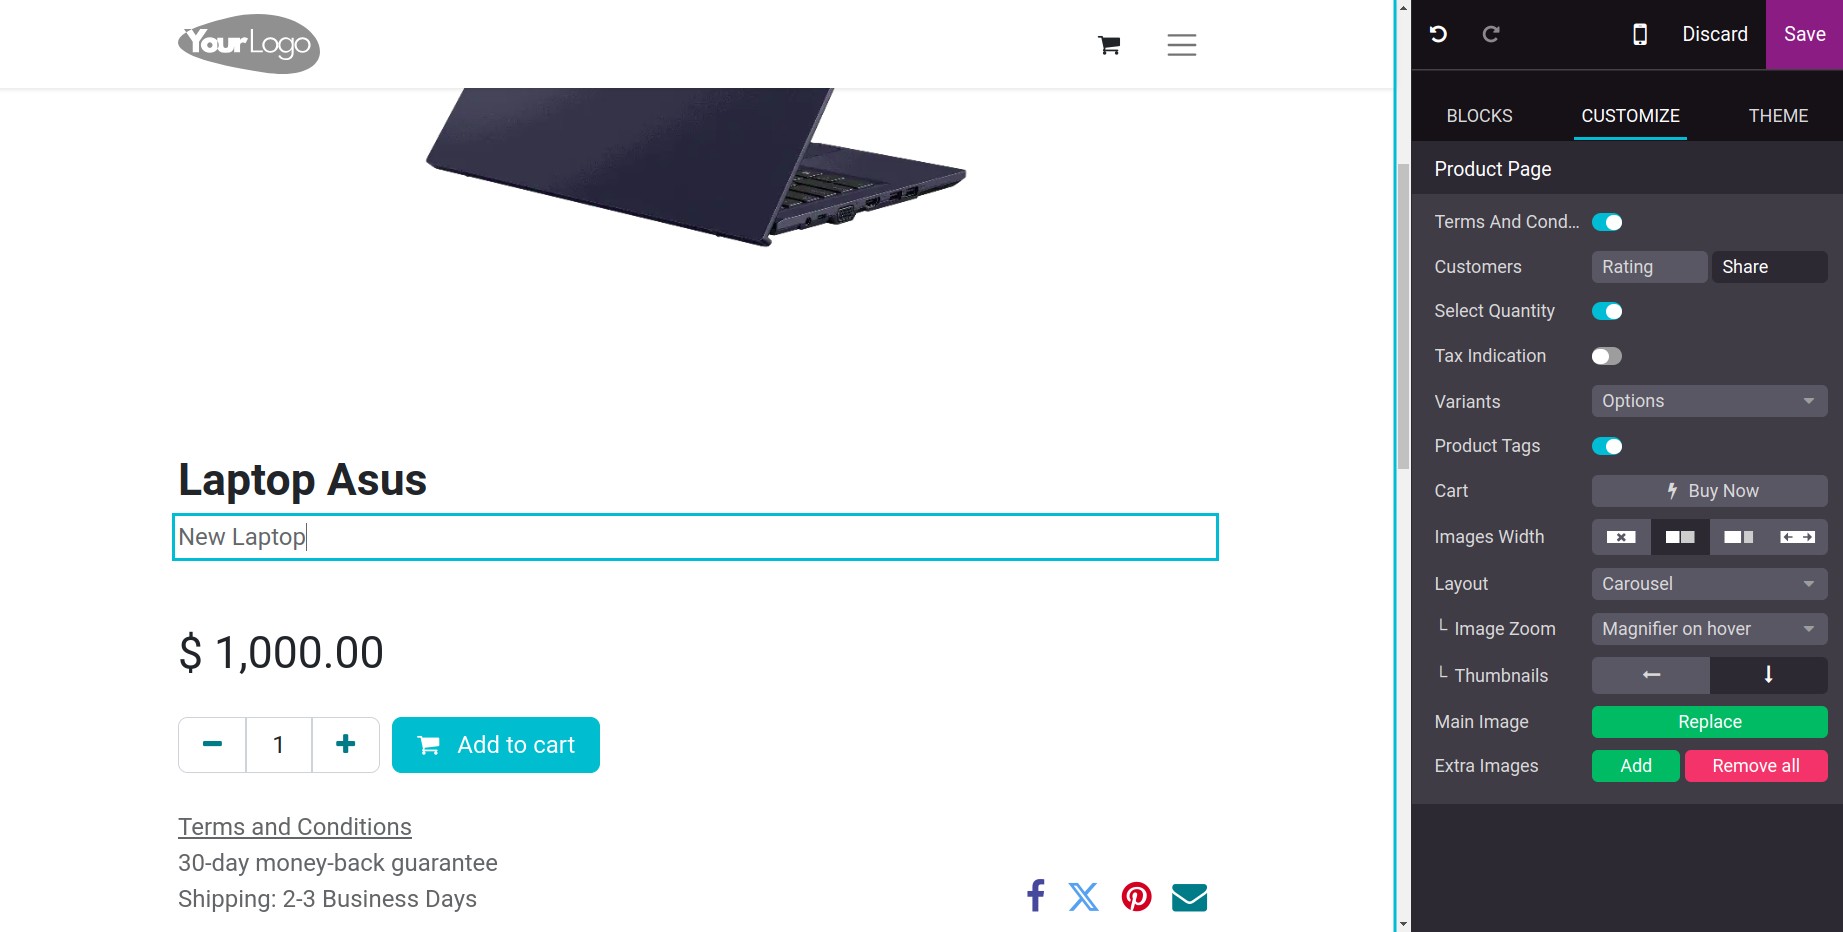
- Product Description.The system allows you to enter the information, the main features of the product.
![Product description 1]()
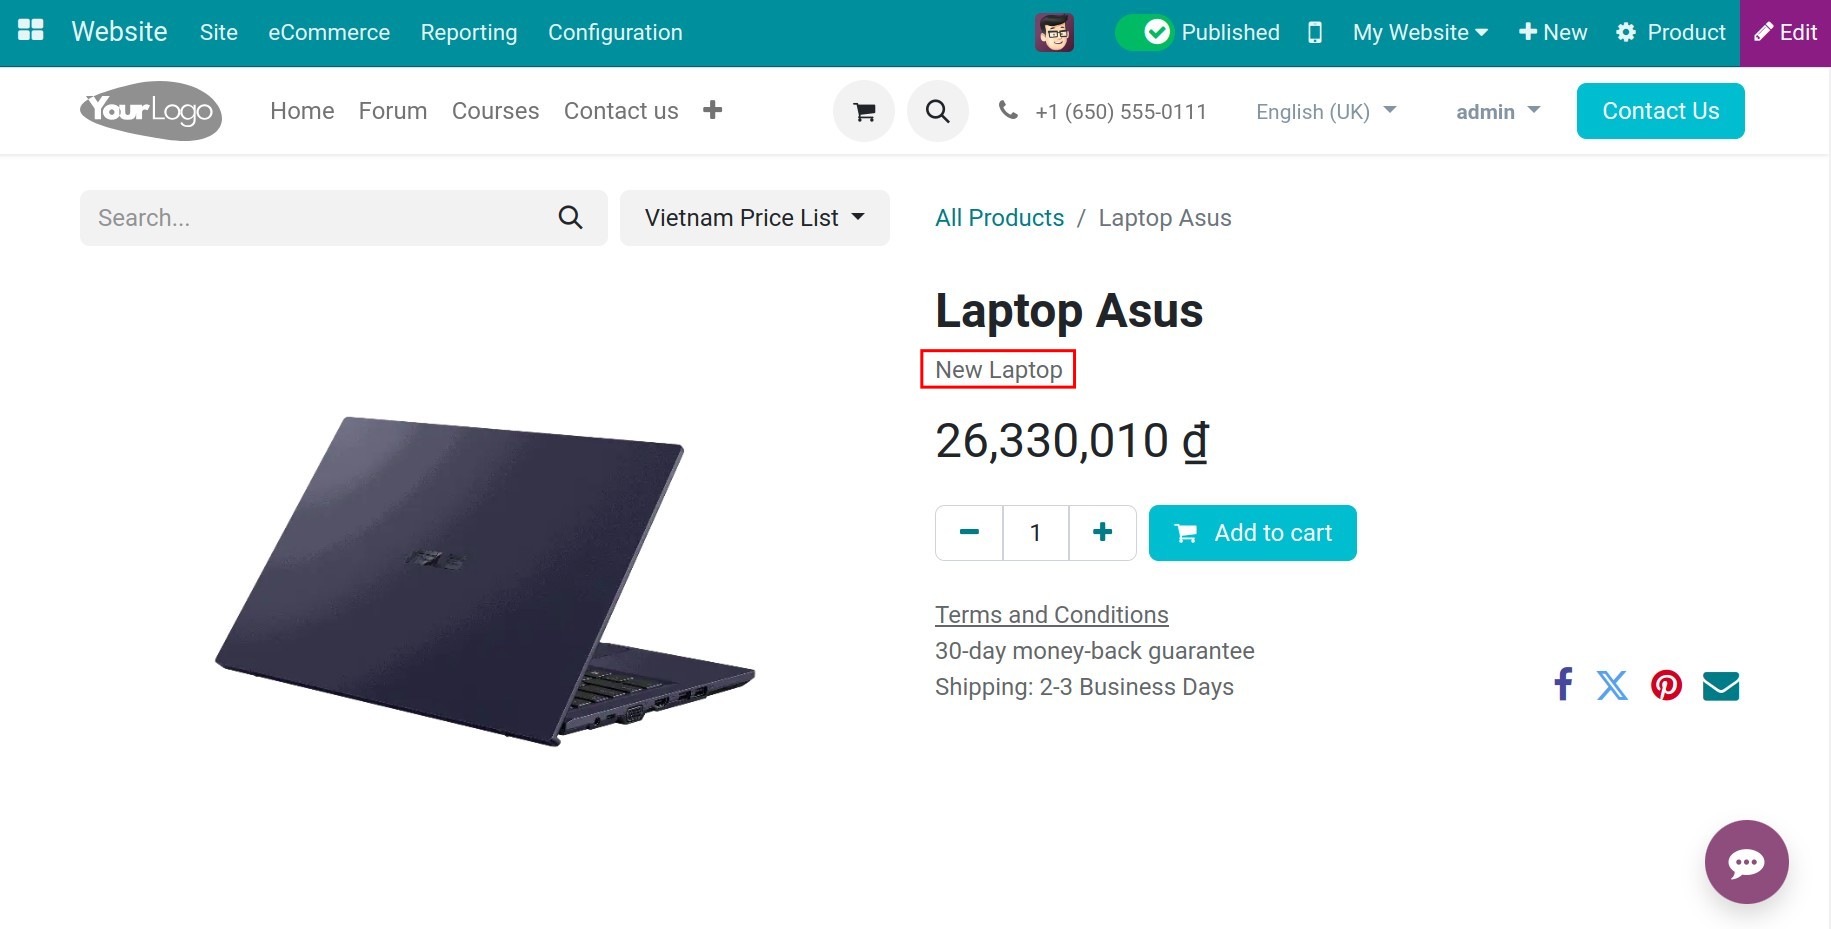
![Product description 2]() To view how this feature will be displayed, please read this article: Steps to design, customize your Shop in Viindoo. Click on the Save button to record the configuration.
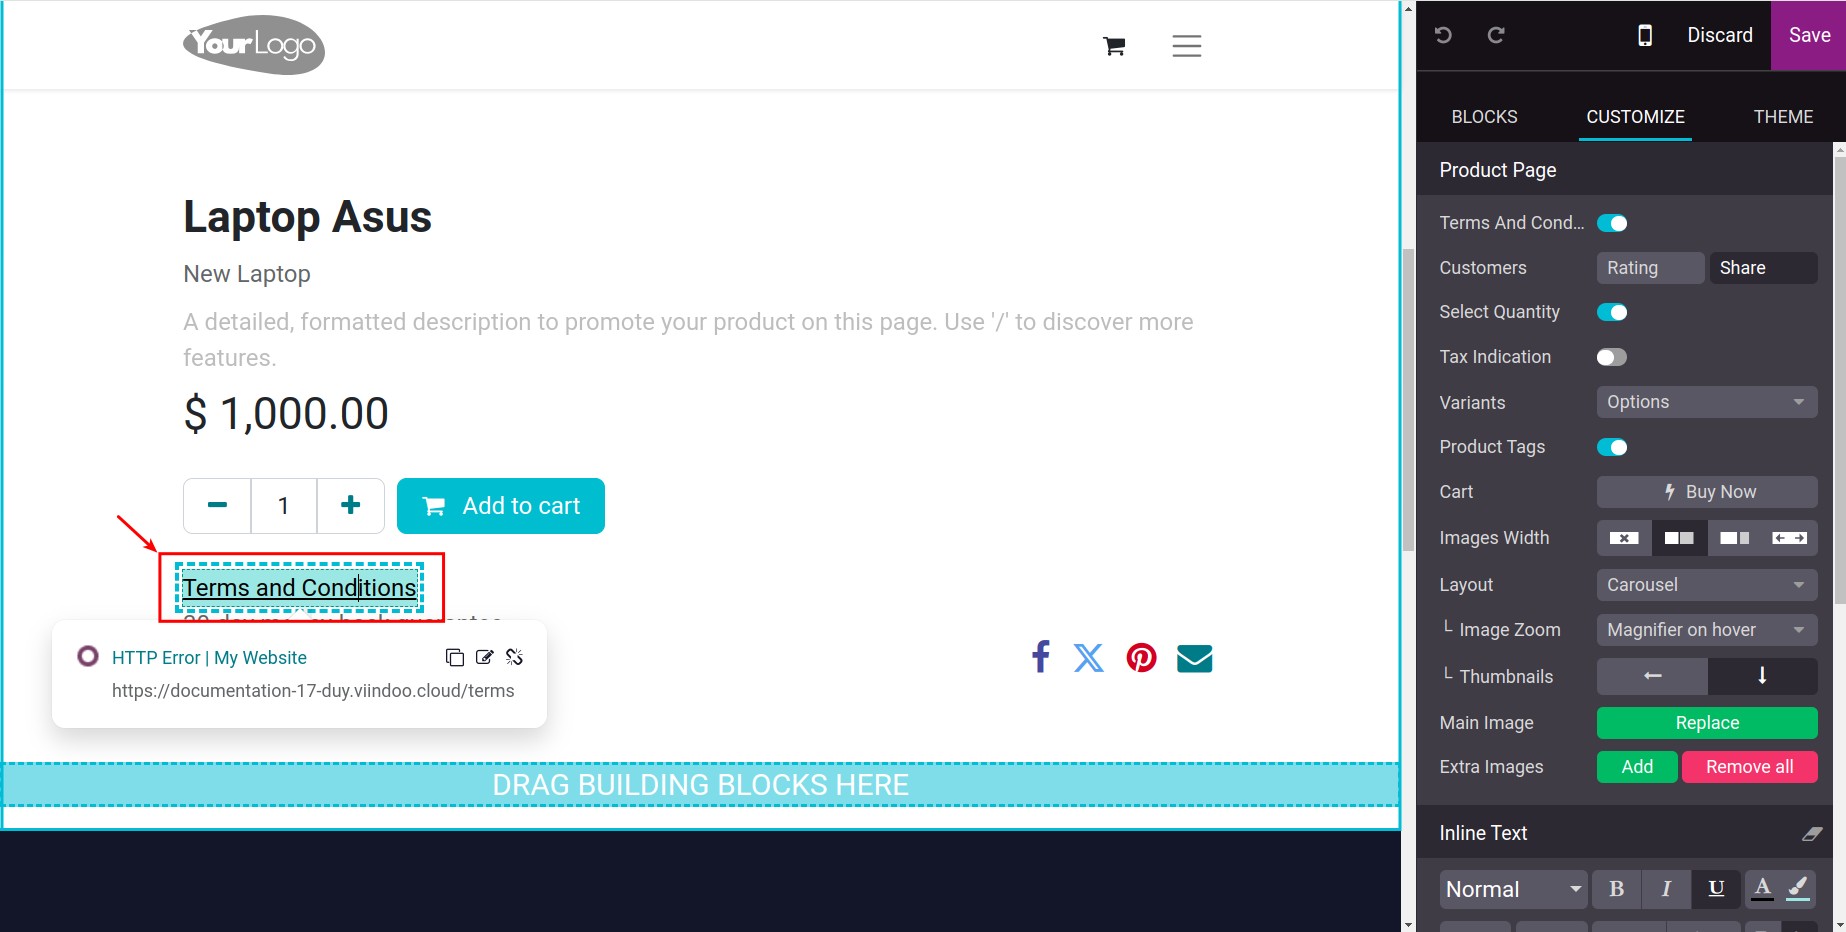
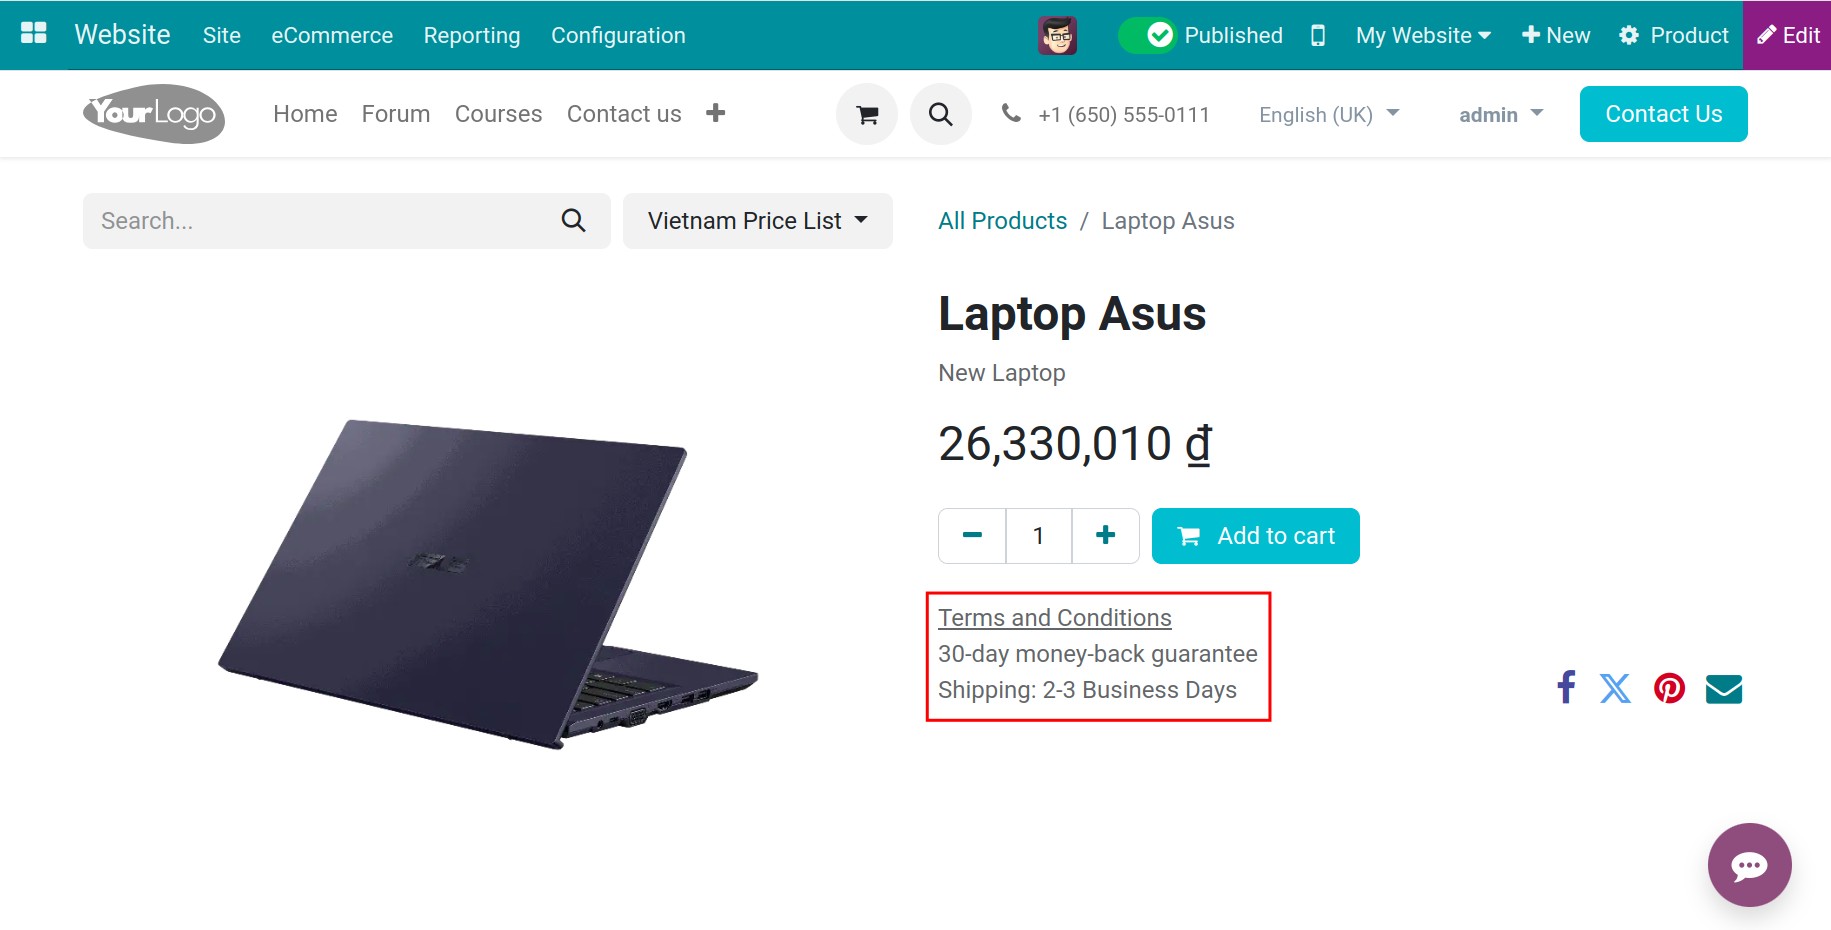
To view how this feature will be displayed, please read this article: Steps to design, customize your Shop in Viindoo. Click on the Save button to record the configuration. - Terms and Conditions.Navigate to Website > Edit, the system will allow you to enter the terms, the shipping prices, the returning policies, the secure payment methods, and the conditions.
![Terms and Conditions Feature]()
![Terms and Conditions]()
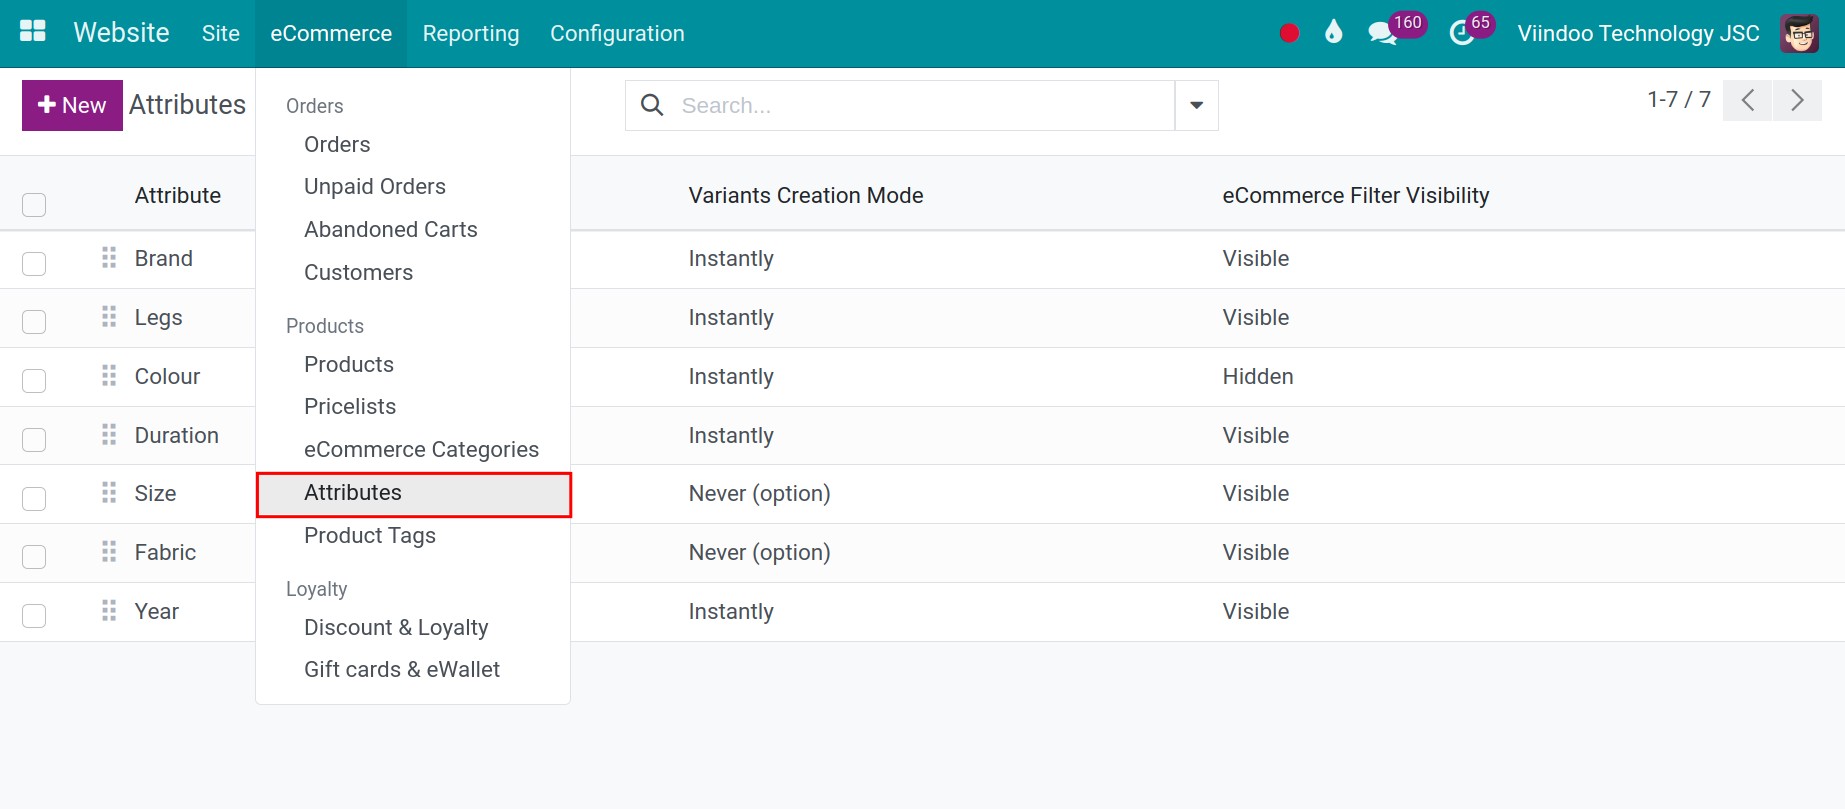
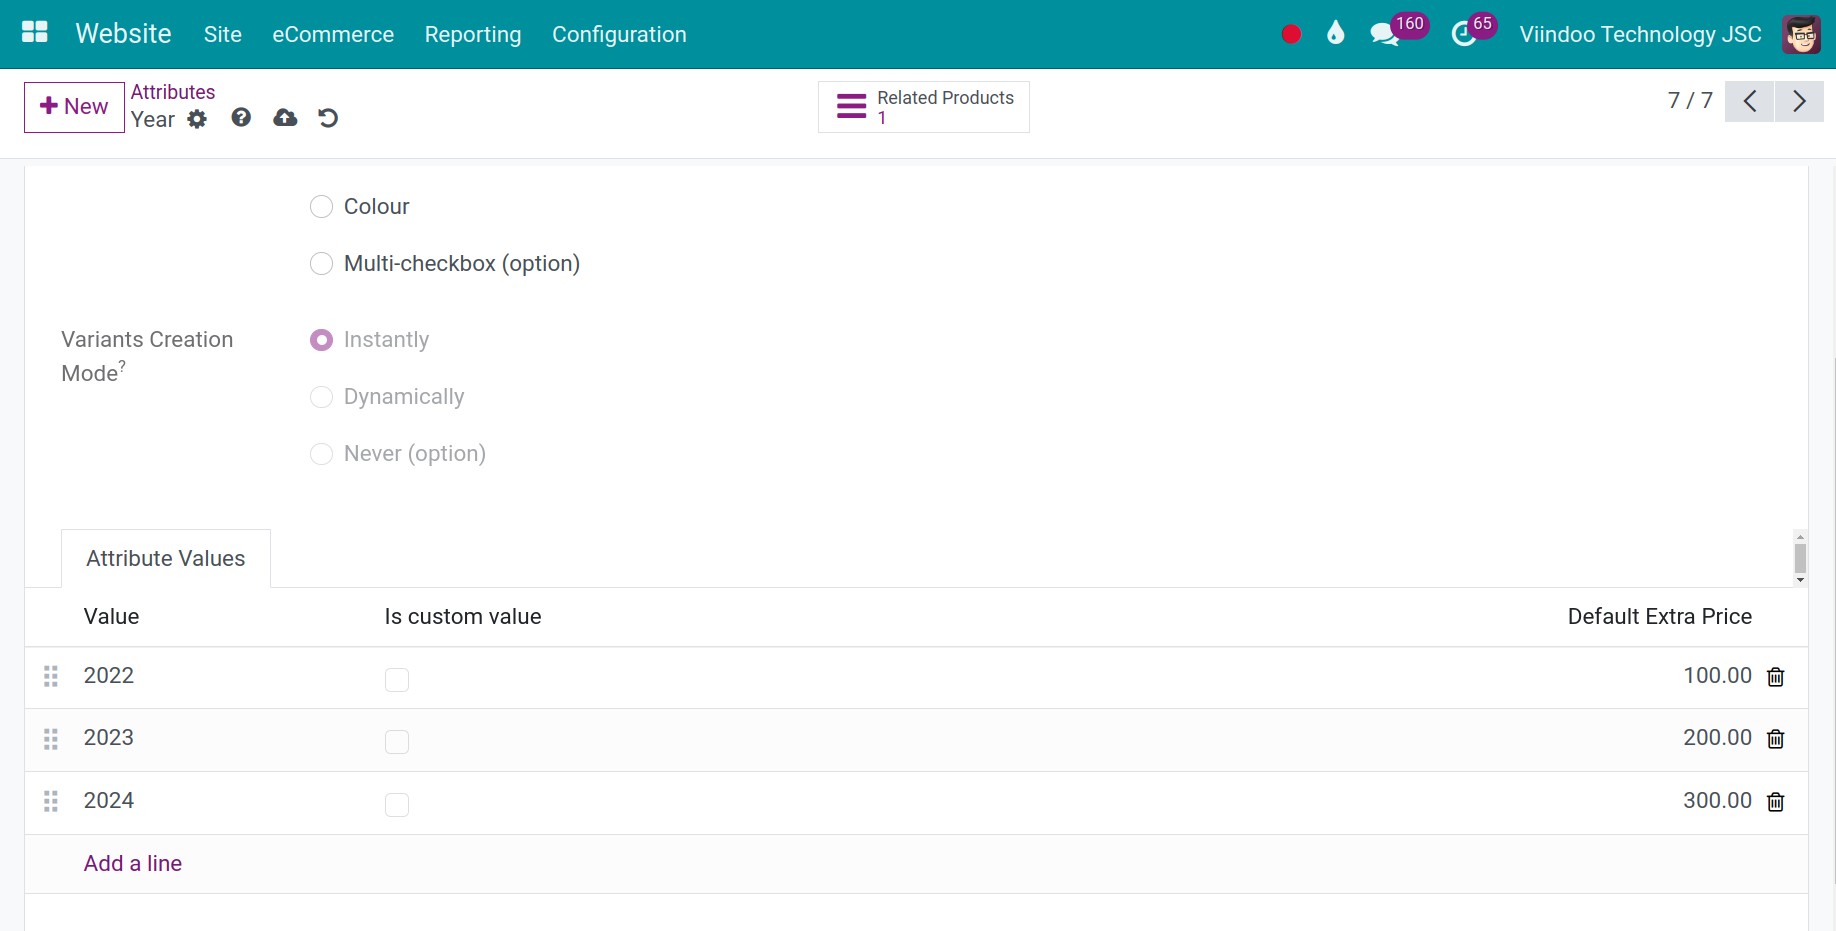
- Additional selling priceNavigate to Website > eCommerce > Attributes. This interface allows you to create product attributes such as size, year, brand, etc. You can click on the New button to create a new attribute, or you can select an existing attribute to edit it. For example, you may have an attribute named Year. Refer to How to use Product variants and Product Attibutes in Viindoo
![create product attributes]()
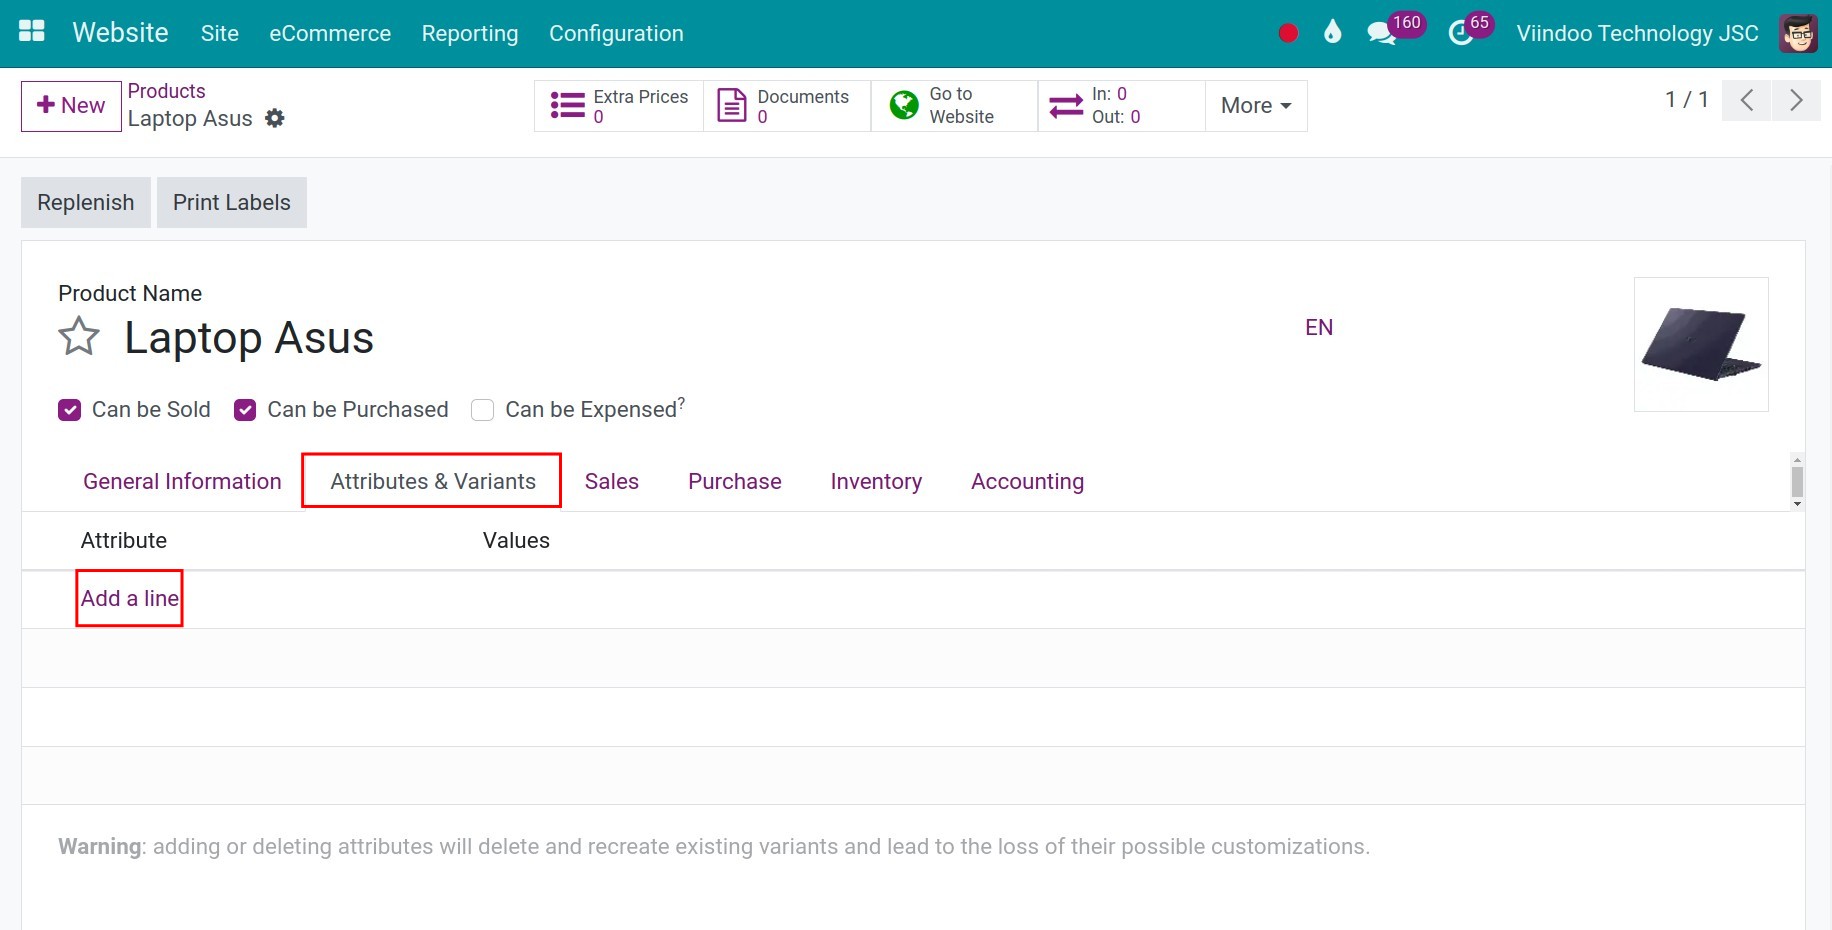
![add price]() After that, navigate to Website > eCommerce > Products, search for the desired product, and move to the Attributes & Variants tab. Then, you click on the Add a line button to add the attribute.
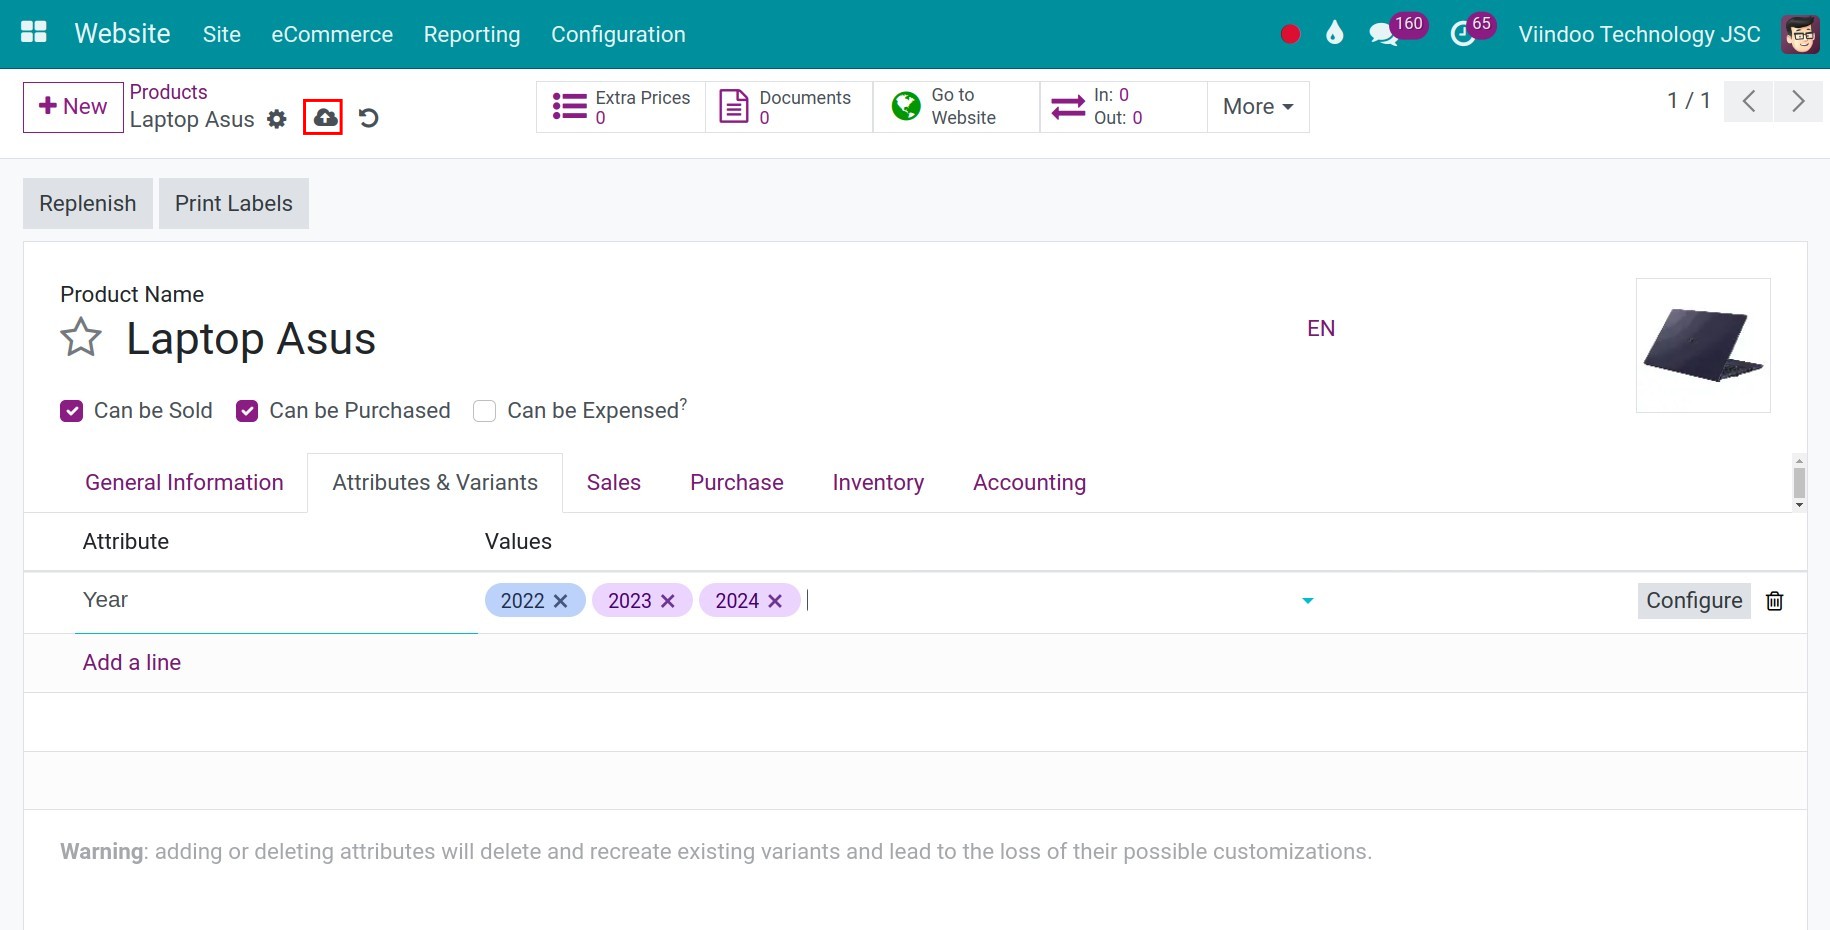
After that, navigate to Website > eCommerce > Products, search for the desired product, and move to the Attributes & Variants tab. Then, you click on the Add a line button to add the attribute.![enter attributes]() You click on the Save icon to save this set up.
You click on the Save icon to save this set up.![save this set up]()
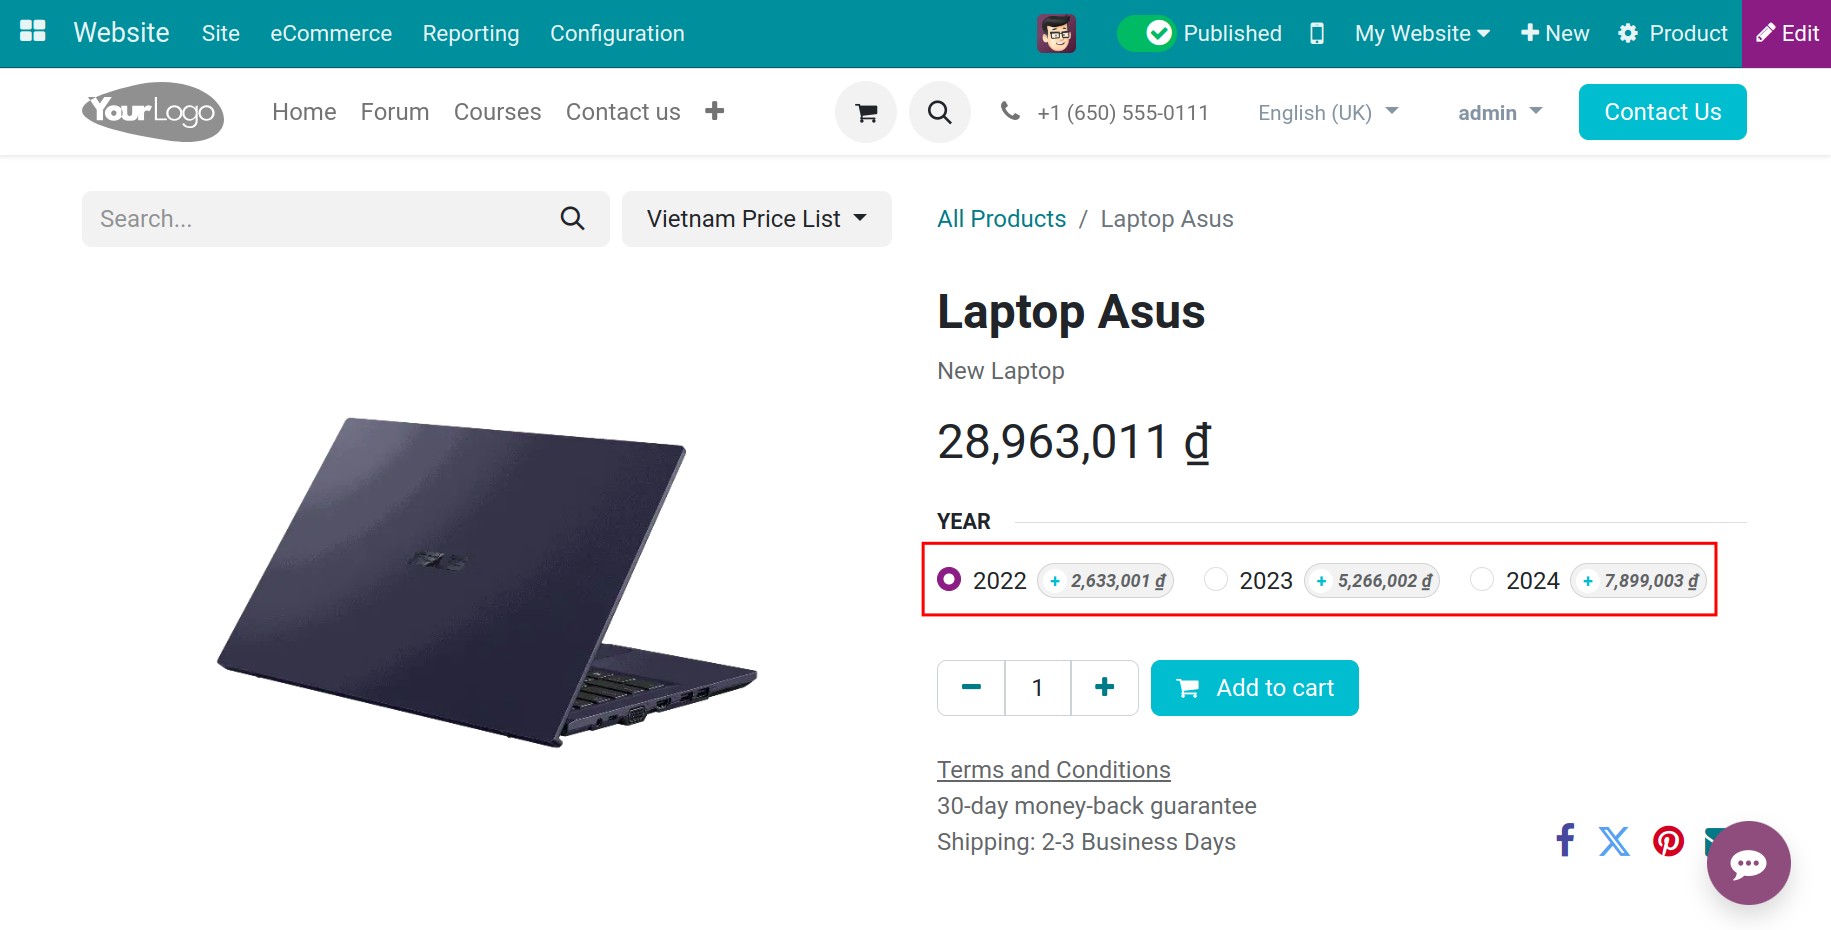
![display on the website]()
- Discussion and Rating.The detailed configuration will be provided in this article: Enable comments and ratings on the website.
- Alternative Products.The detailed configuration will be provided in this article: How to configure alternative products upselling.
Activate and manage products on your website
How to activate the product to display on the website?
If you create a new product directly on the website, the system will automatically publish it. However, if you create a new product within the software, you will need to follow additional steps to publish it on the website.
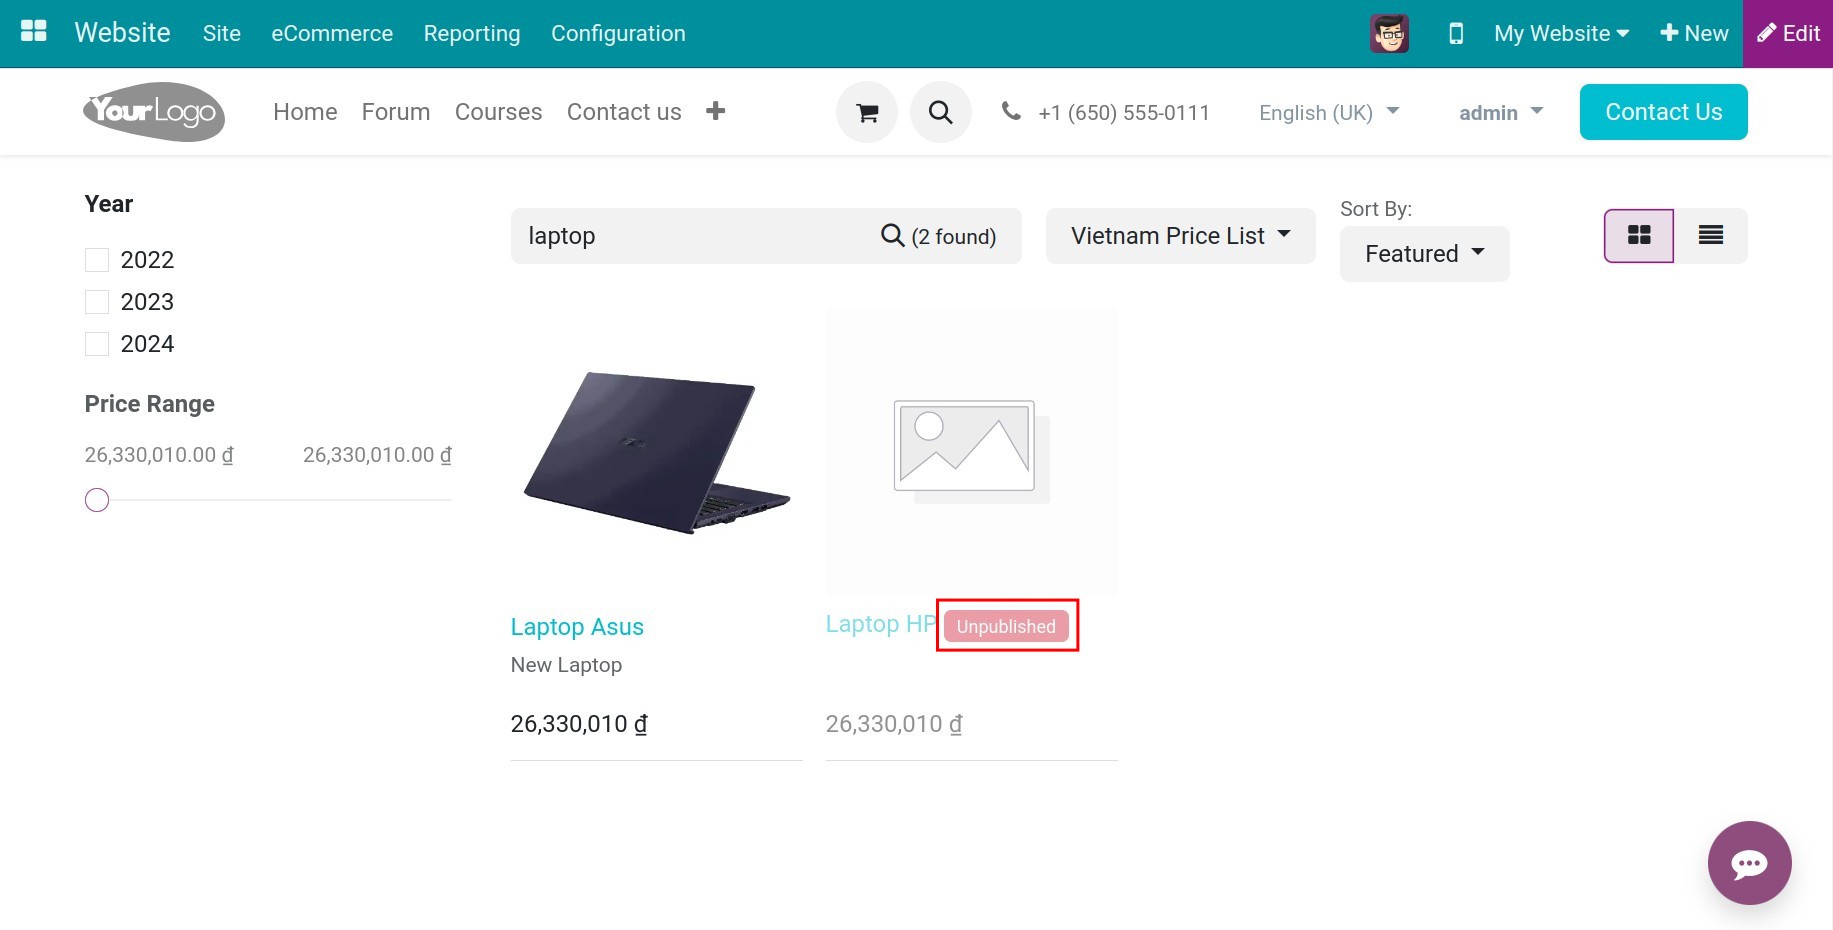
You navigate to , you use the Search features to find them on the website.

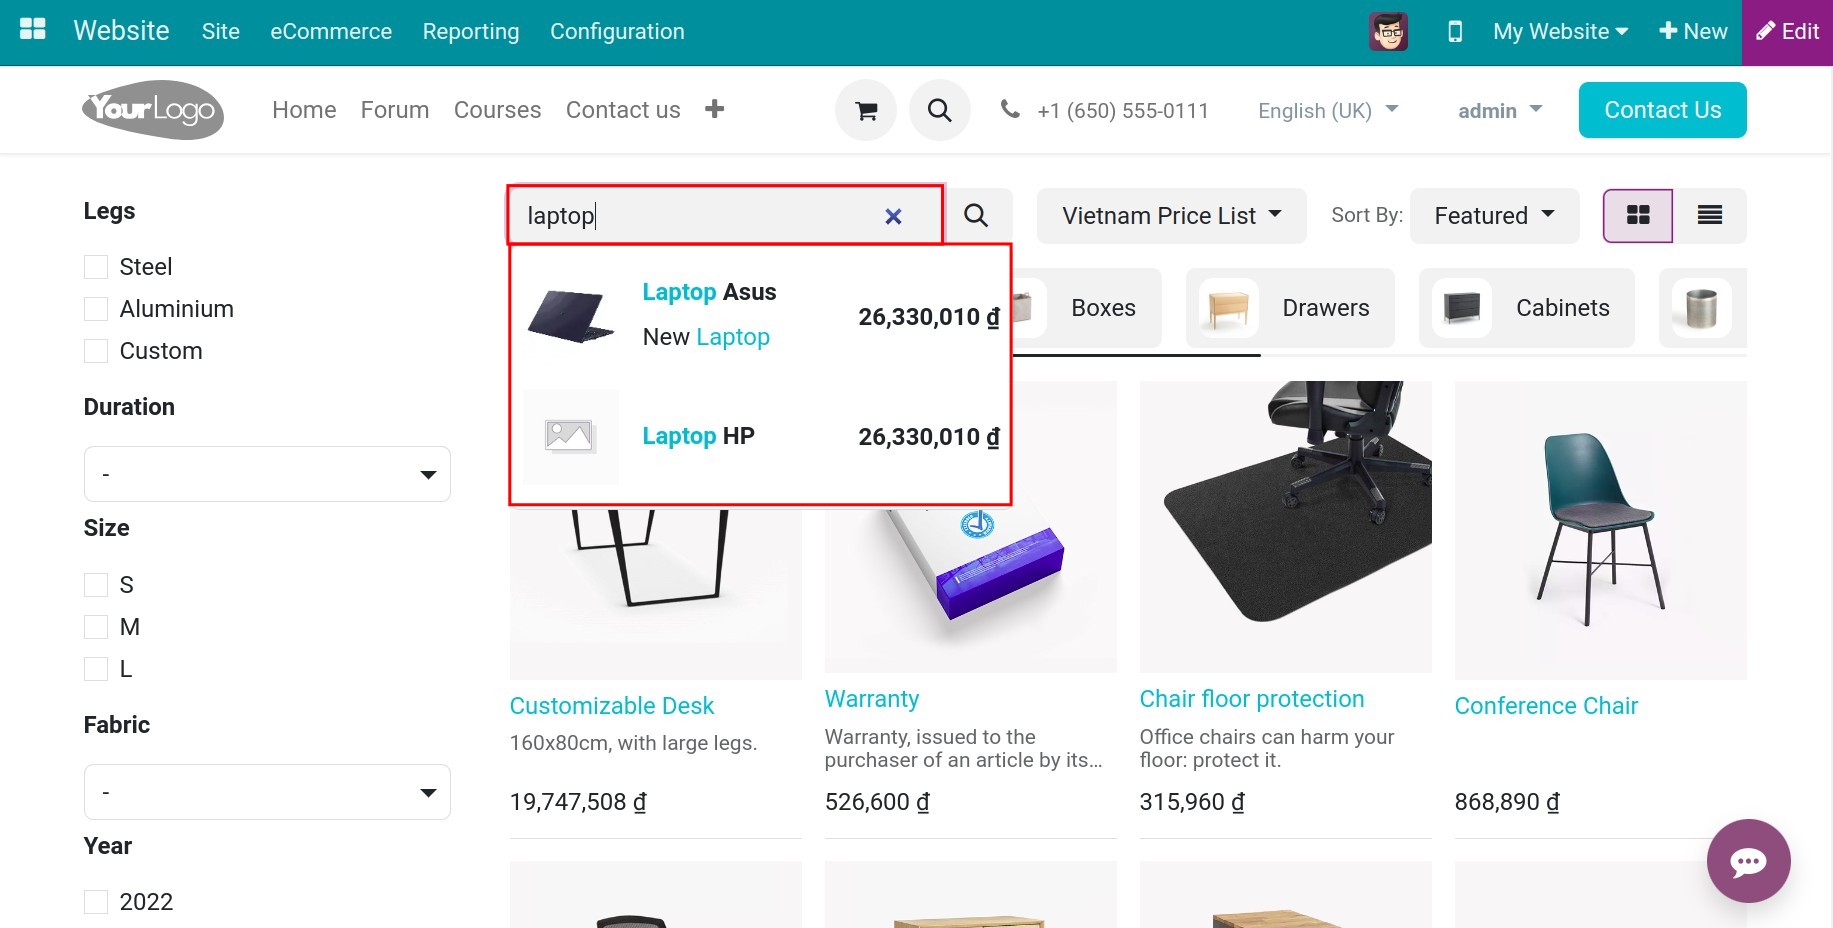
When you search for a product using keywords, products that are published on the website will appear lighter compared to unpublished products. Additionally, unpublished products will display an Unpublish icon
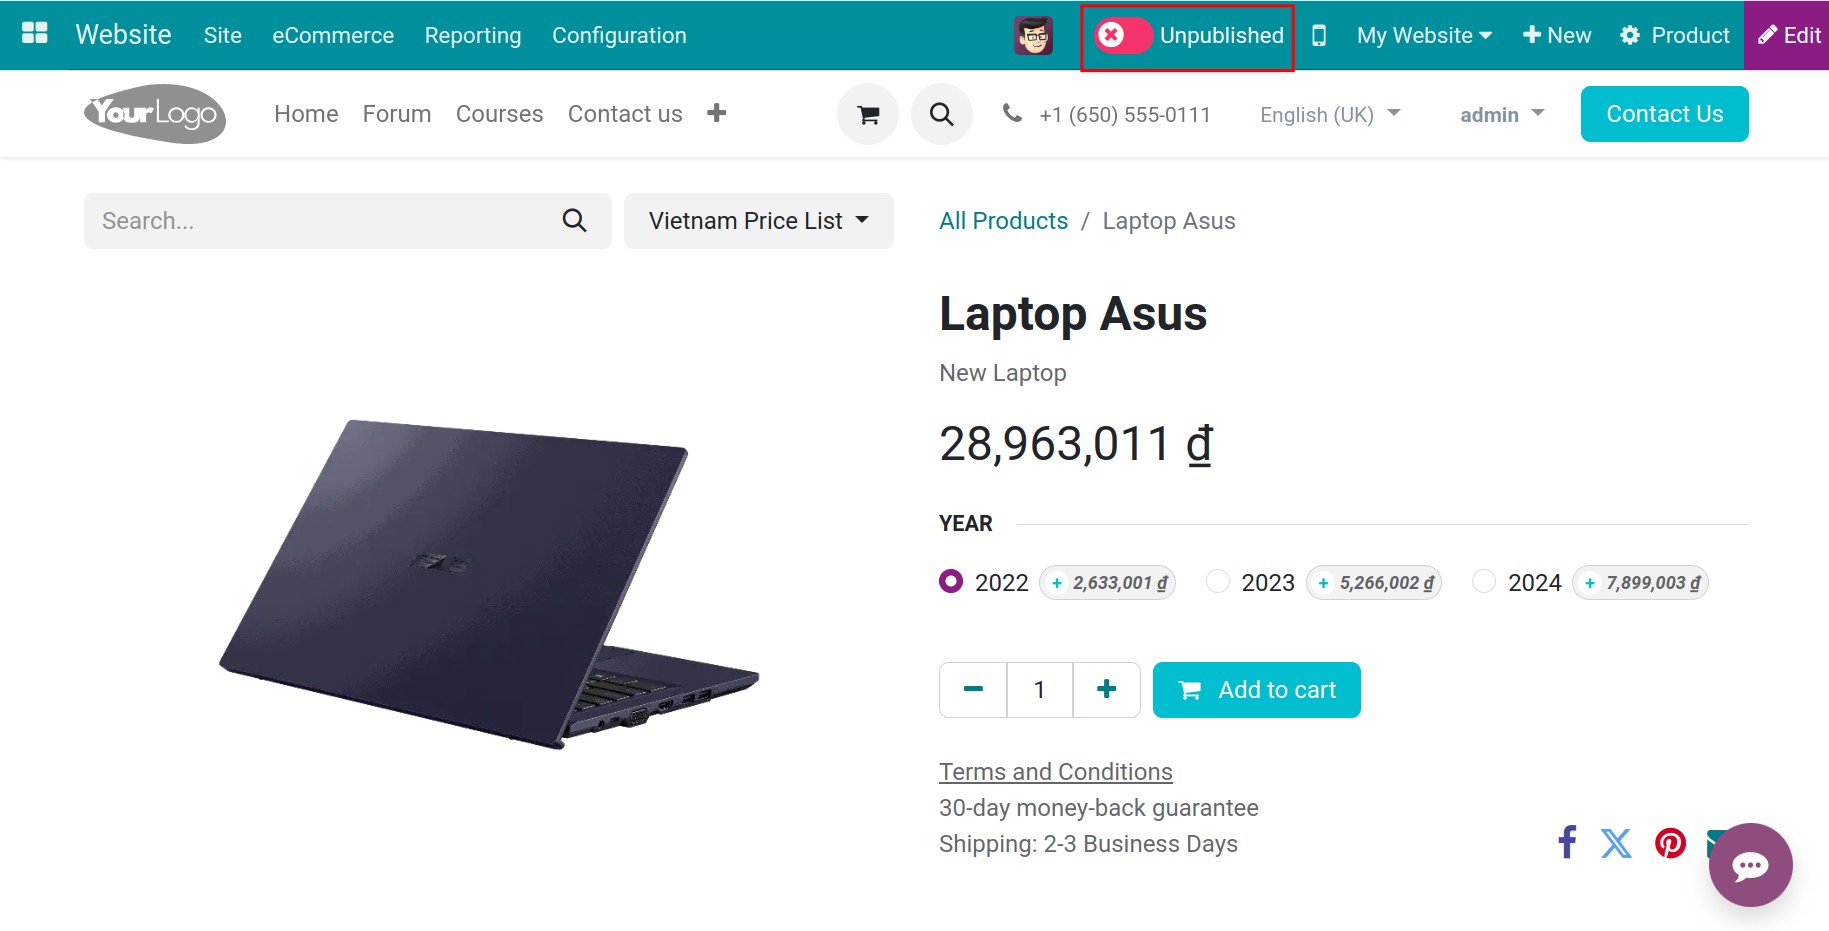
Next, navigate to the product you want to publish. On the product view on the website, if the system displays a green and Published button at the top of the screen, it means the product is currently published. Conversely, if the system displays a red and Unpublished button, the product is not yet published. You just click that button to change the status of the product.

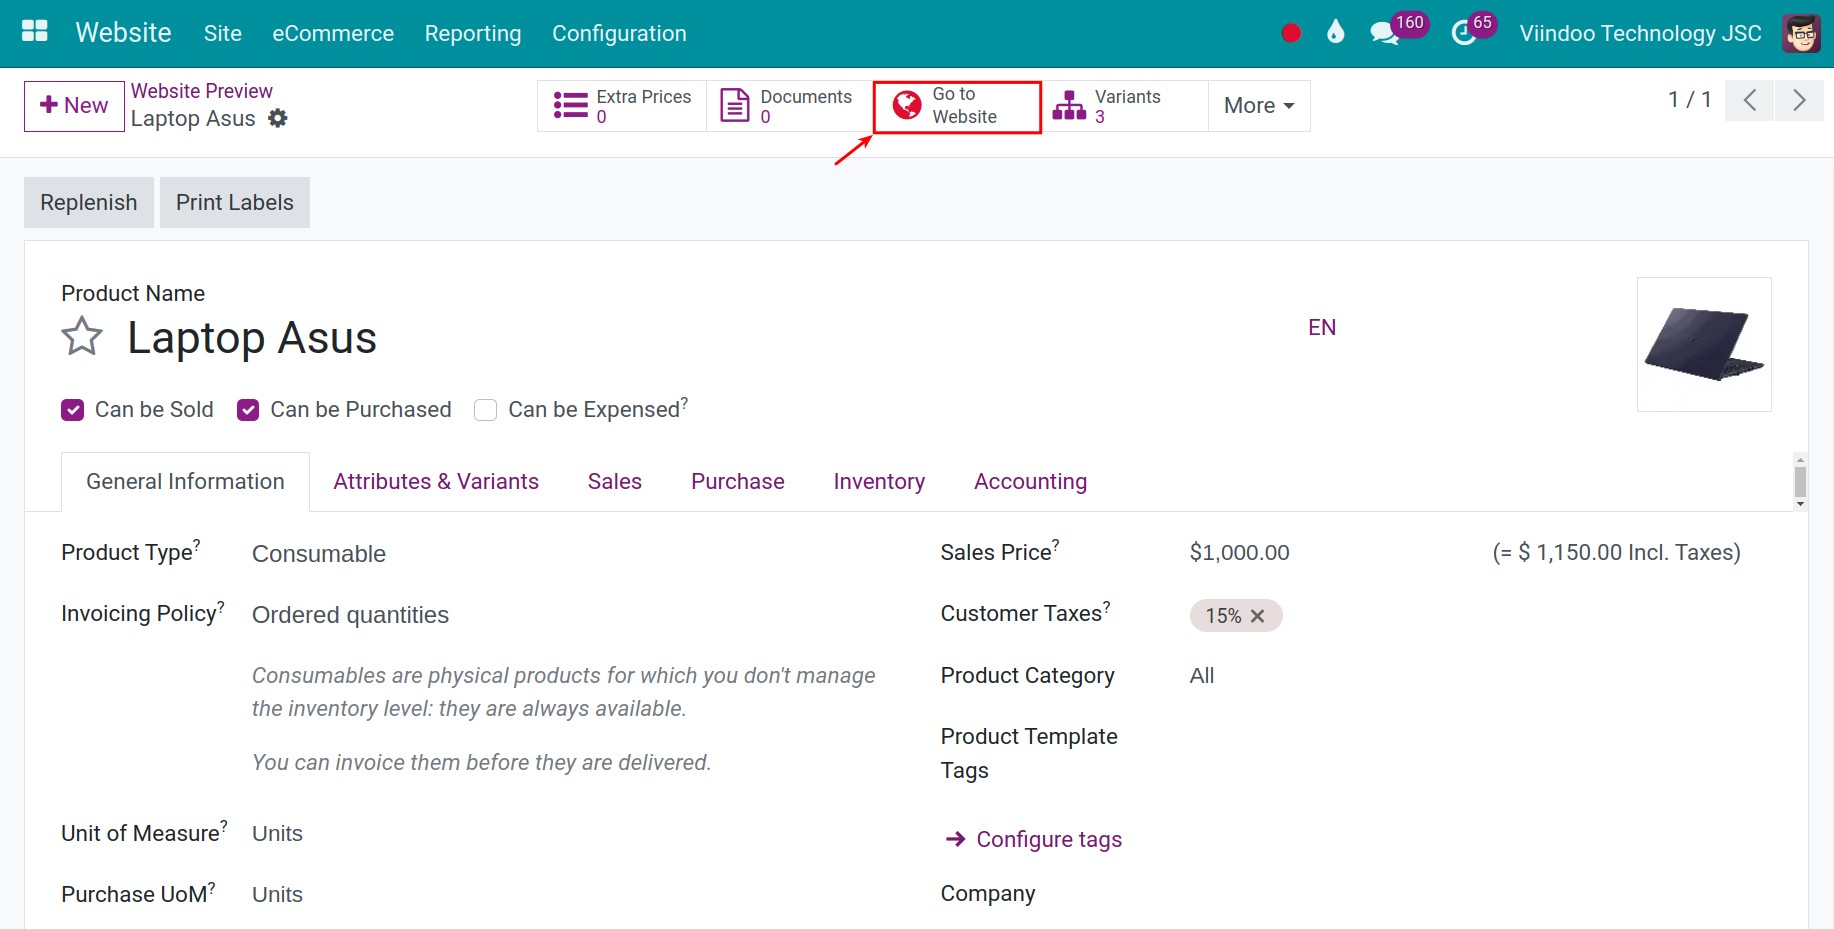
In addition, if you are inside the software, you can access the product interface by navigating Sales > Products > Products. In the product detail interface, you click the Go to Website button so that the software navigates to the product information interface outside the Website. Then, you continue to perform the operations as above.
Buying process on the website
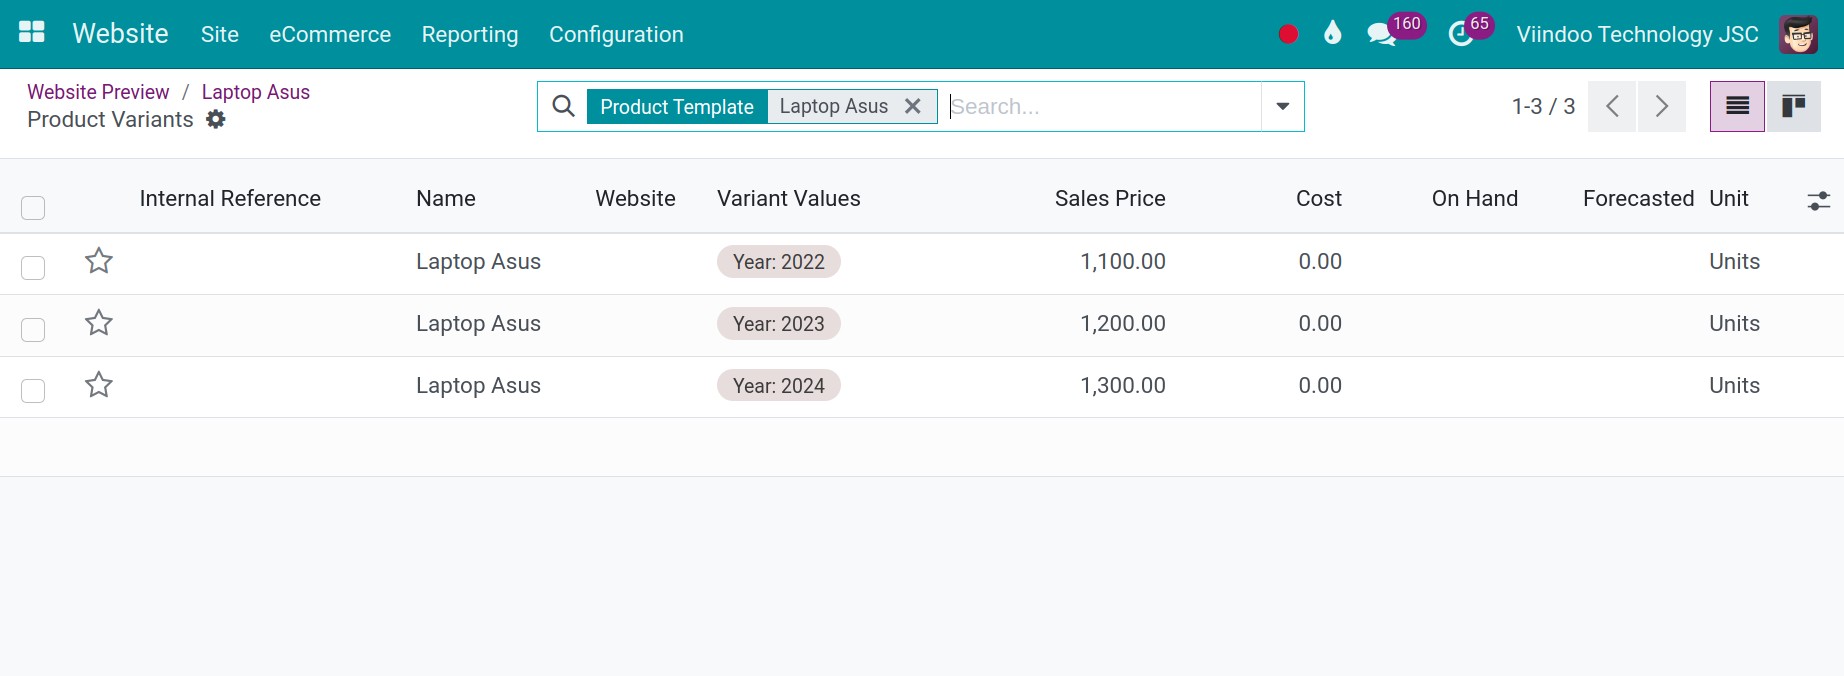
For instance, the product Laptop Asus has the following variants:
To choose the product to buy, you go to Website > Shop, select the product you want to buy.

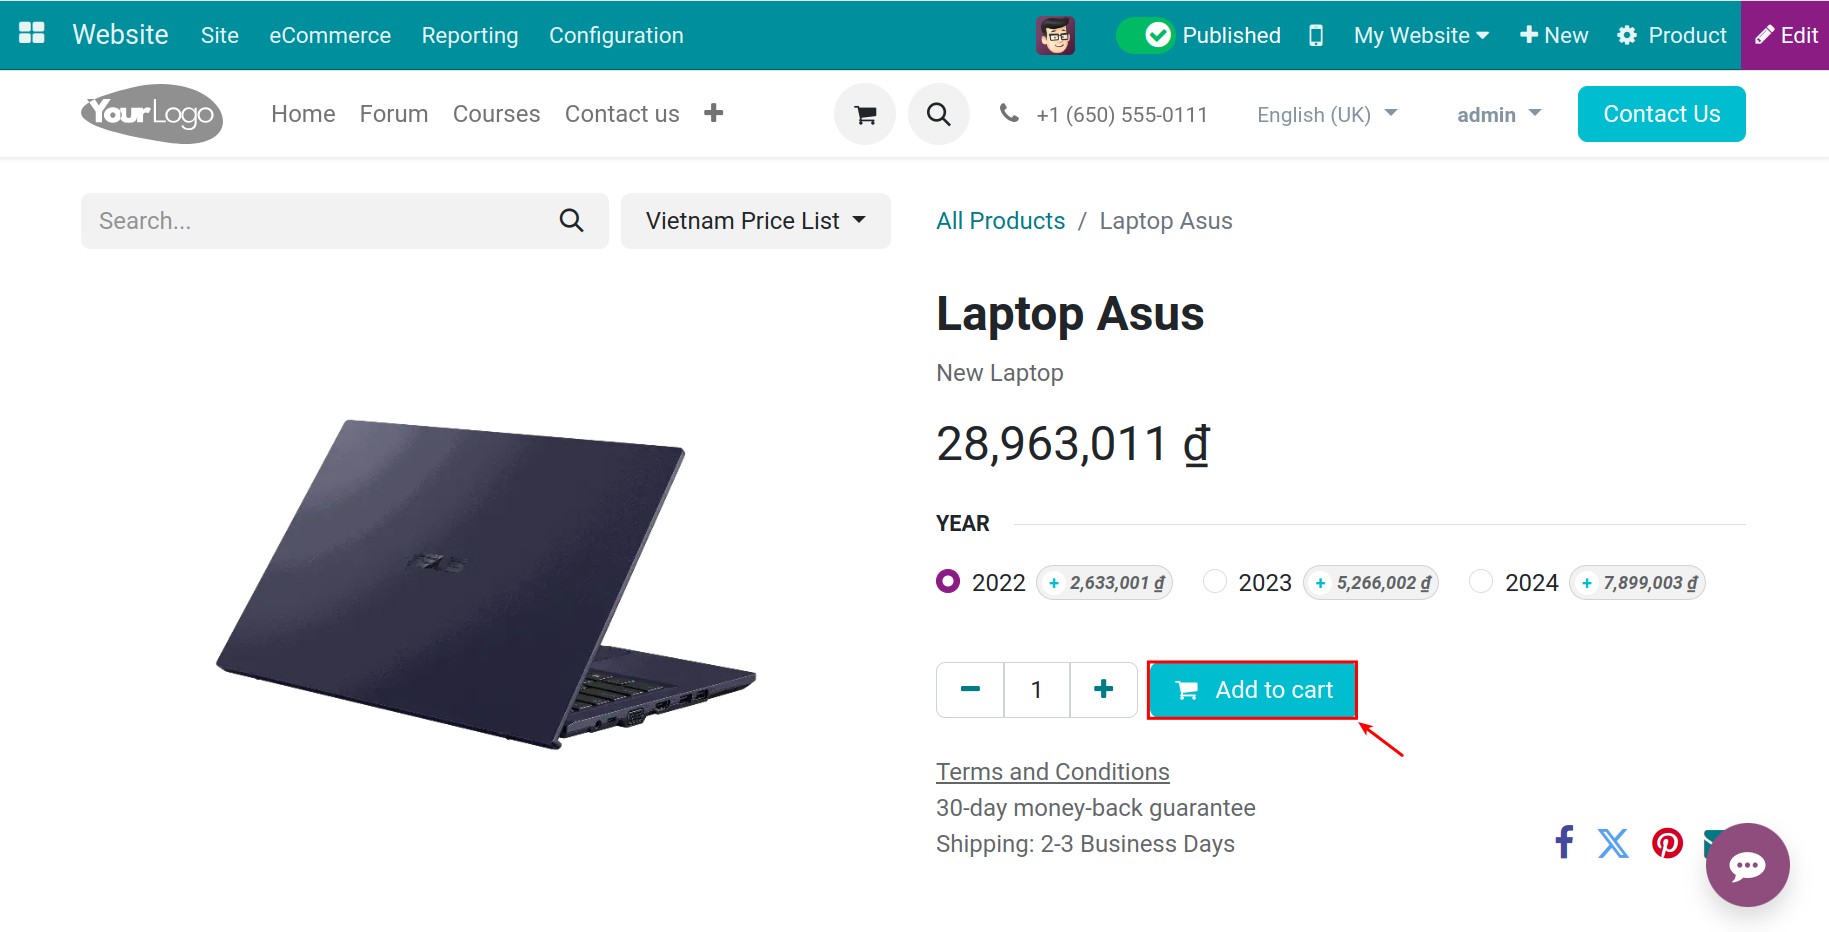
After selecting the product, the system will display a list of products variants for you to choose from. When clicking on each variant, the image and the corresponding price of the product will be shown.

After selecting the product and quantity, click on the Add to Cart button.
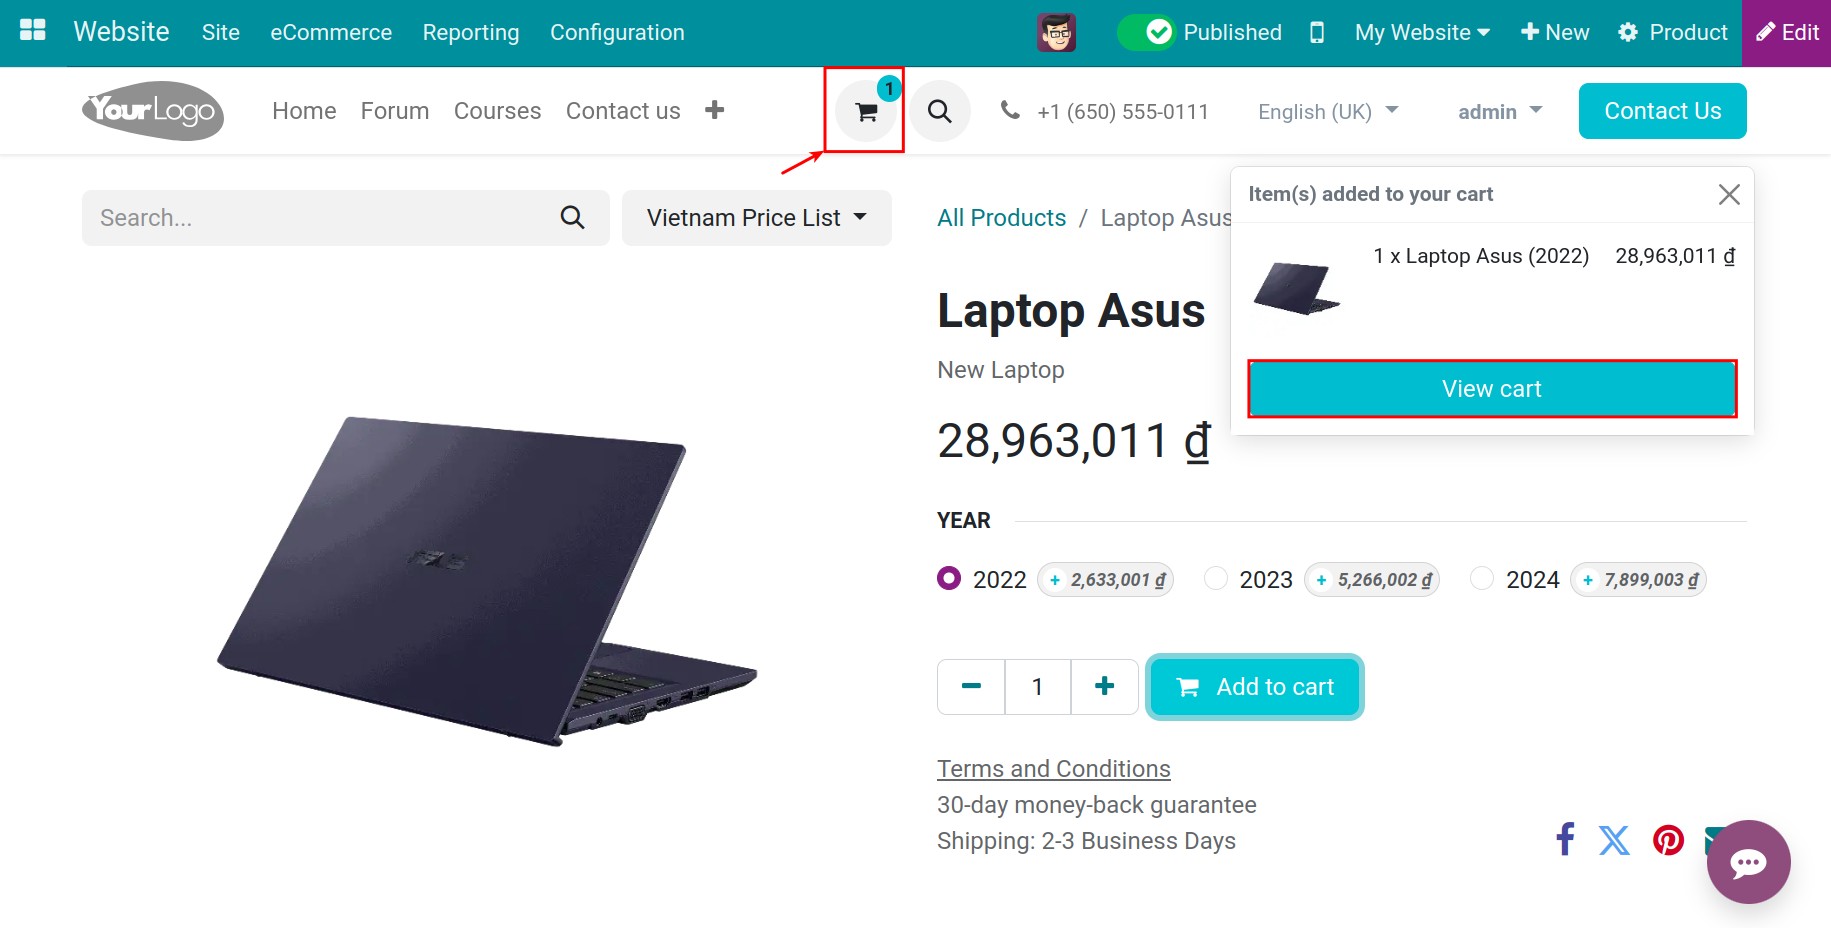
After you click on Add to Cart button, the system will display a prompt allowing you to view your cart immediately. Additionally, you can also click on the Cart icon to view the products you intend to purchase.
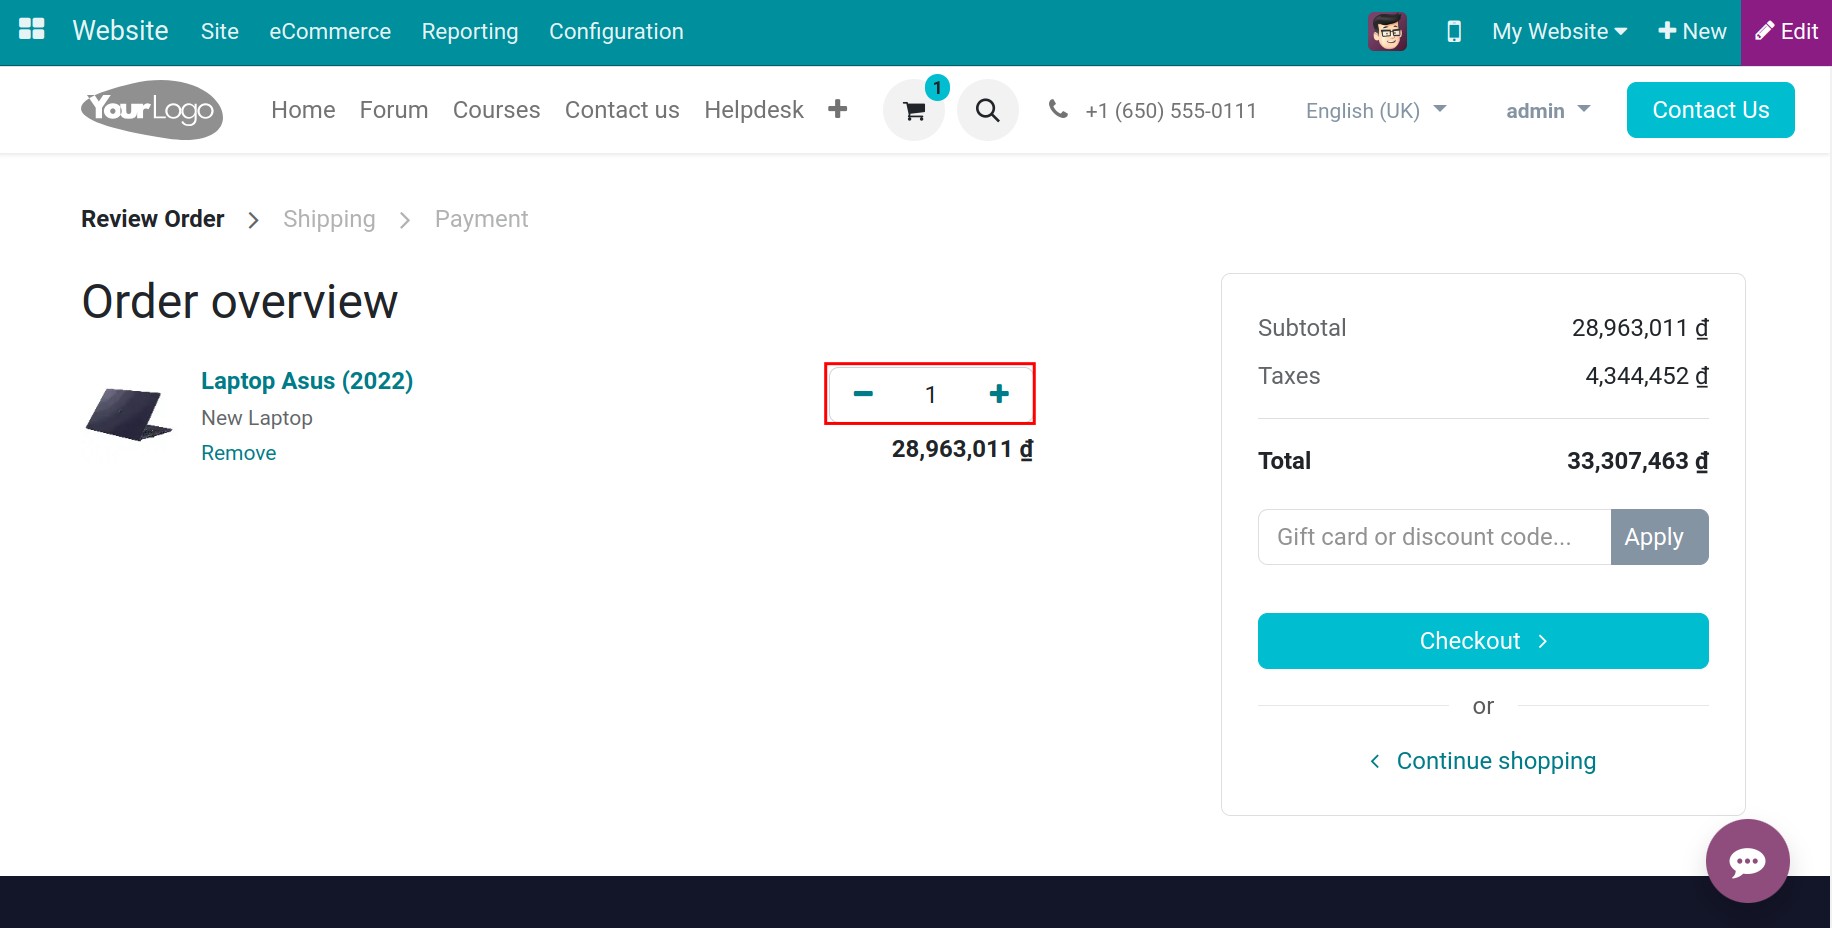
From the shopping cart, you can adjust each product quantity as you wish.
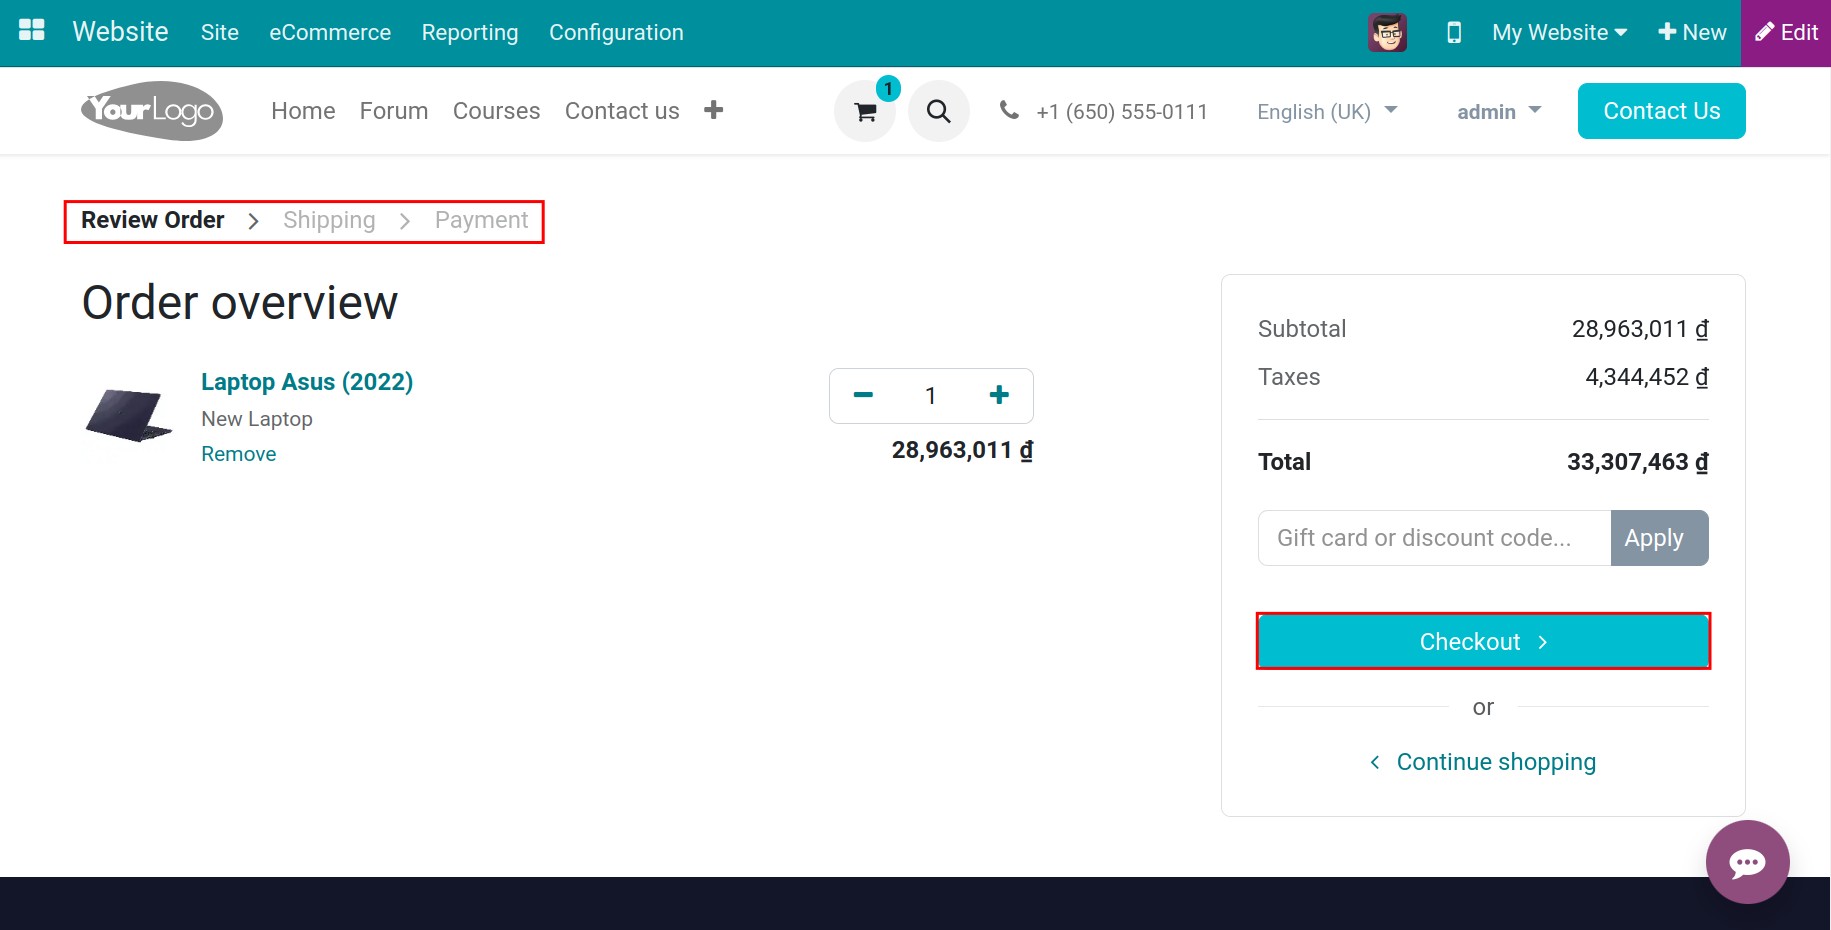
After that, you can proceed to checkout or continue shopping by clicking on the respective buttons.
See also
Related articles
Optional modules