Biometric attendance device intergration using ICloud ADMS Protocol
In addition to using the traditional TCP protocol to integrate the time attendance machine with Viindoo software, users can now easily and conveniently use the Icloud ADMS protocol.
Requirements
This tutorial requires the installation of the following applications/modules:
Warning
Your attendance device must support the icould-ADMS protocol.
You can check by access the attendance device configiration: Main Menu > COMM > Coud Server Setting > Server Mode. If you do not see the cloud setup option, it is likely that your device does not support this protocol. Therefore, you should consider using a different device or using the traditional TCP protocol.
How to install the module
To use the Attendance device integration function, you need to install the Biometric Attendance Device module (to_attendance_device).
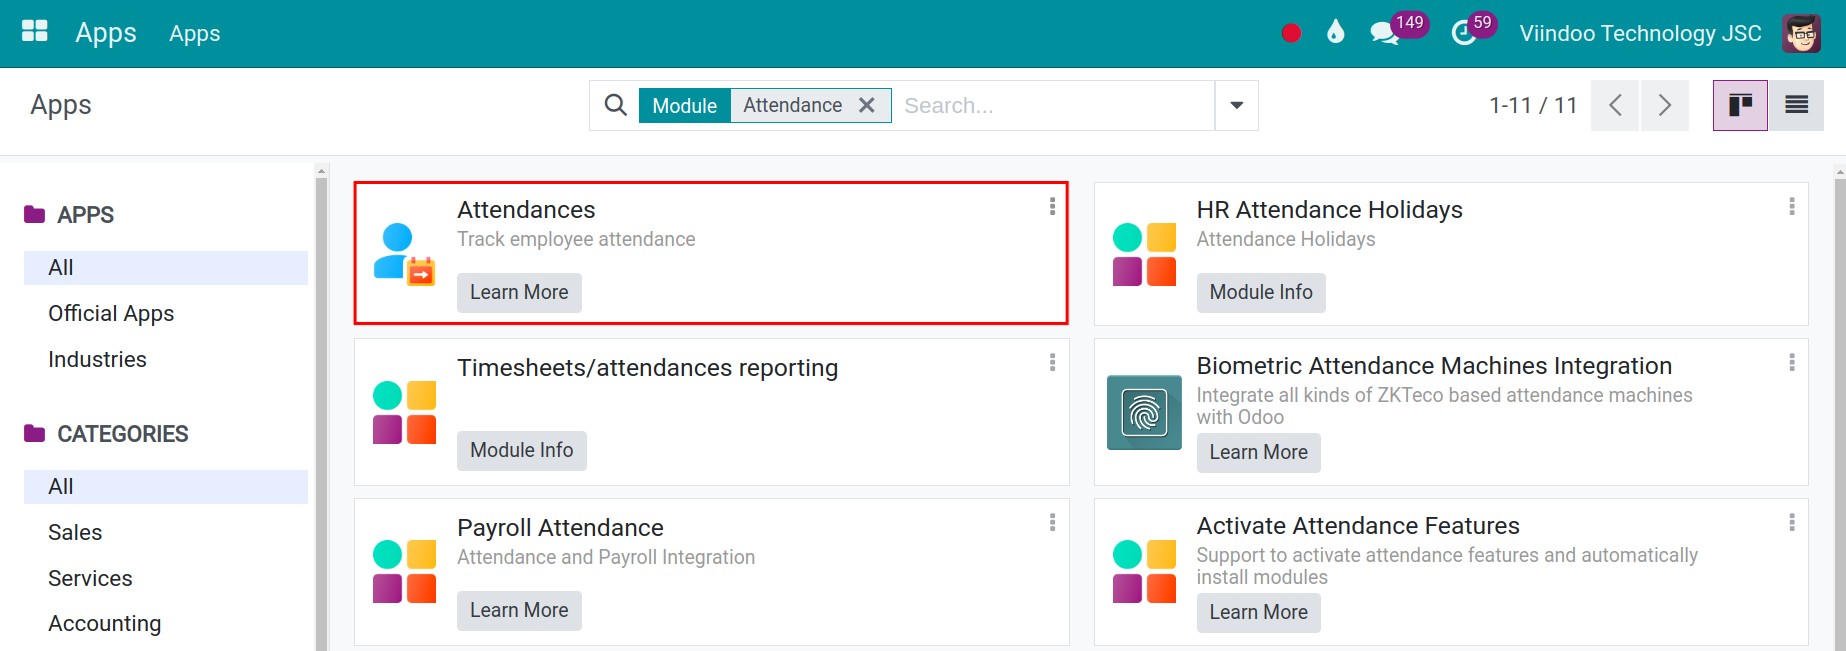
Access Apps, search for “Biometric Attendance”, and then press Install.

After installing the module, the system will auto-install the Attendances module (hr_attendance), which allows you to manage the attendance data using the Biometric Attendance Device module.
Note
If you don’t see the Activate button, it is more likely that the module has been installed or not upgraded yet.
How to Integrate
Set up the Attendance Machine
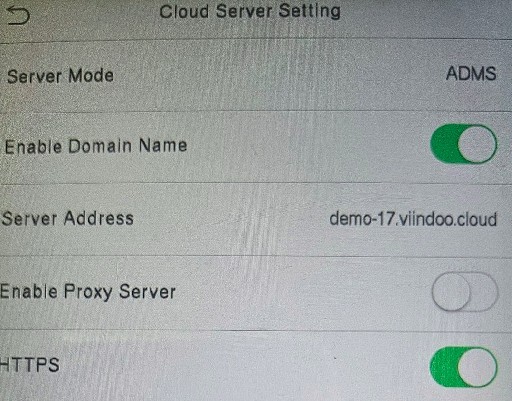
Take your attendance device, access to Main Menu > COMM > Cloud Server Setting, do the configuration as below:
Server Mode: ADMS
Enable Domain Name: Active
Server Address: your domain instance, let’s assume: viindoo.com
Enable Proxy Server: Unactive
HTTPS: Active
Integrate biometric attendance devices
Note
Currently, Viindoo software is designed to be able to integrate with every attendance device on the ZKTeco platform.
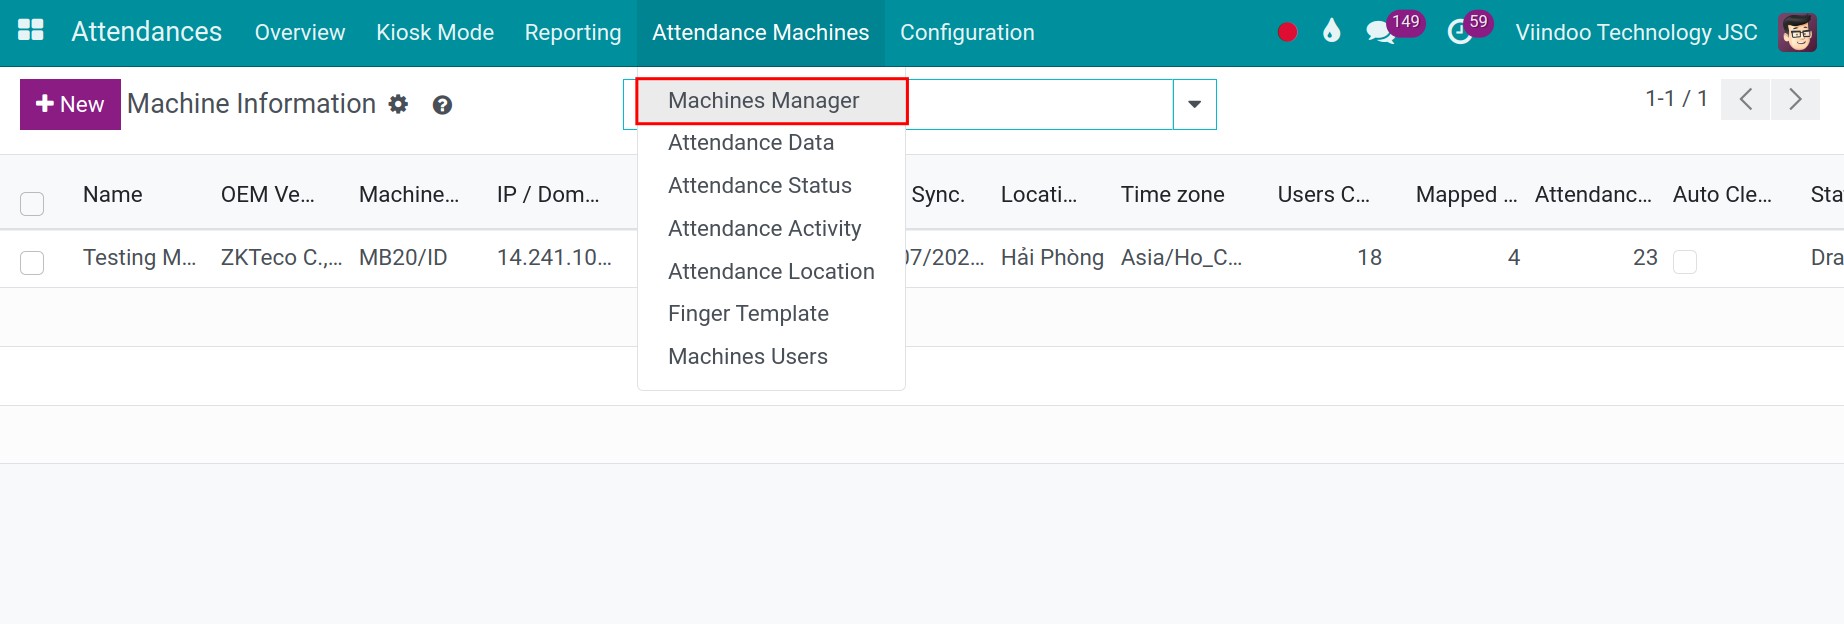
Enter Attendances app, select Attendance Machines > Machines Manager.
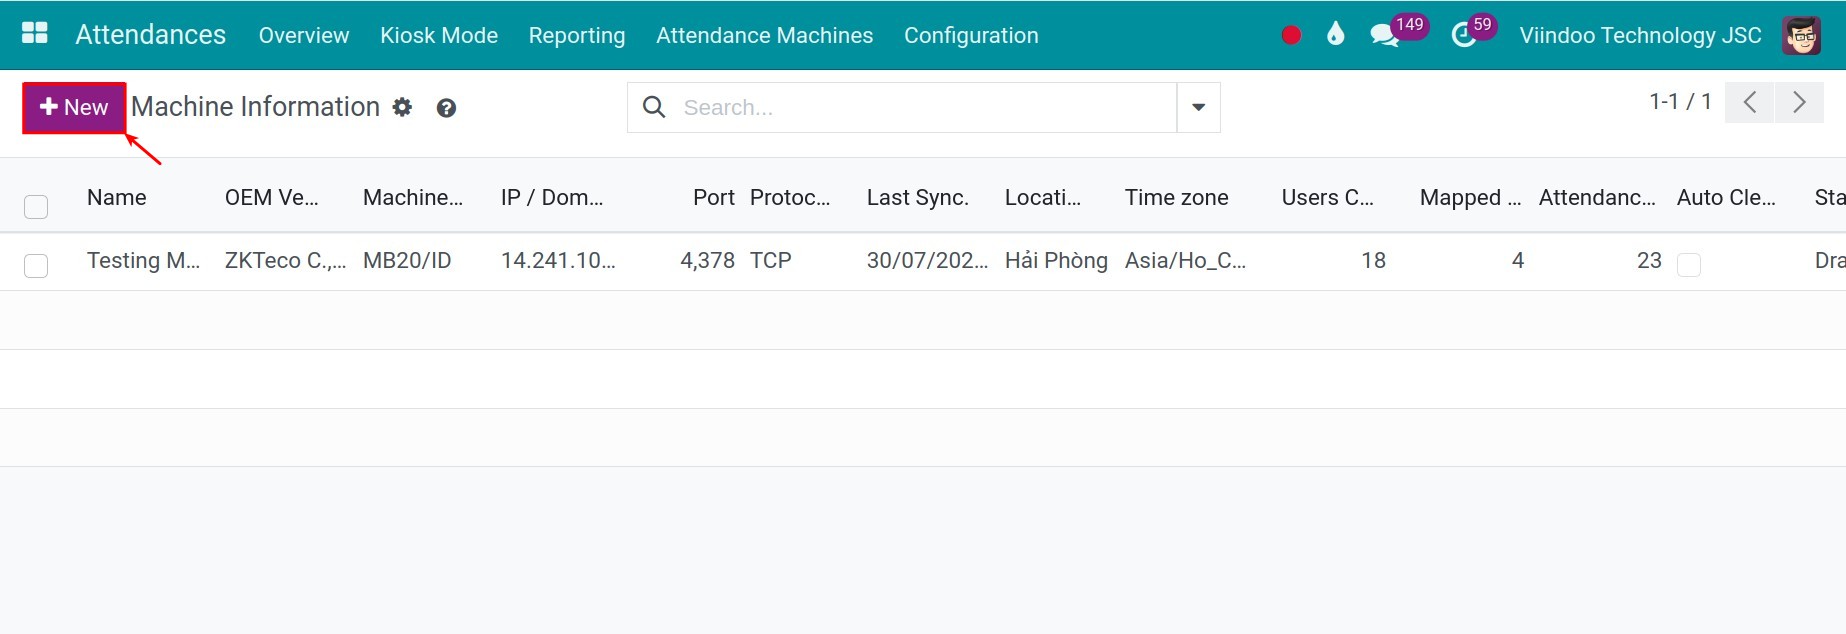
At the device information view, press New.
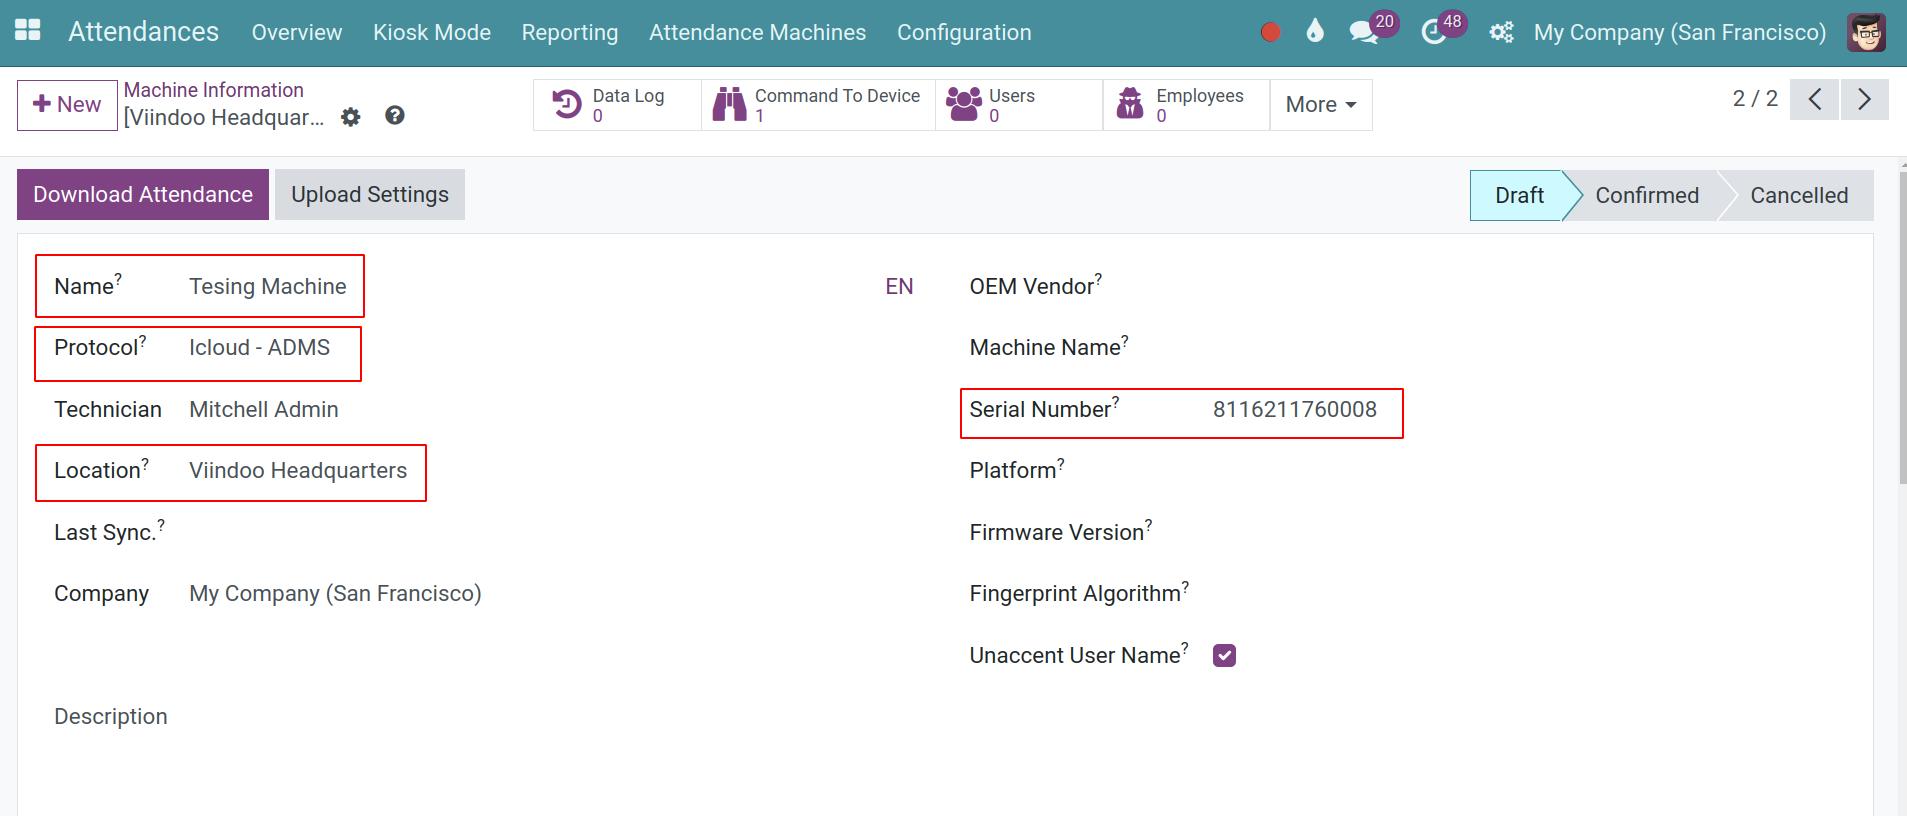
A Devices Information view will appear. Fill in the needed information as follow.
General information
Name: the name of the device. You should select the most recognizable name for the device, for example ZKTeco K14 No.1.
Protocol: Icloud - ADMS
Technician: The employee in charge of this device.
Location: Where the device is put, for example Viindoo Headquarters.
Last Sync.: Show the latest time the device is synced, the system will auto-update after every synchronization. You can see the information here to know which data has synced.
Description: Note, description for the device.
Serial Number: Your attendance machine Serial number. On your device, you can access Main Menu > System Info > Device Info > Serial Number for checking. You need to be sure to input the correct serial number of the device for integrating. If have any mistake, it will not working.
Unaccent User Name: Check if you want to use the user name without an accent.
After filling in the important information, click Confirm and then click Upload Setting. You will see an Command to Device is auto generated with draff state. Now, you only need to wait for a while (about 30 seconds).
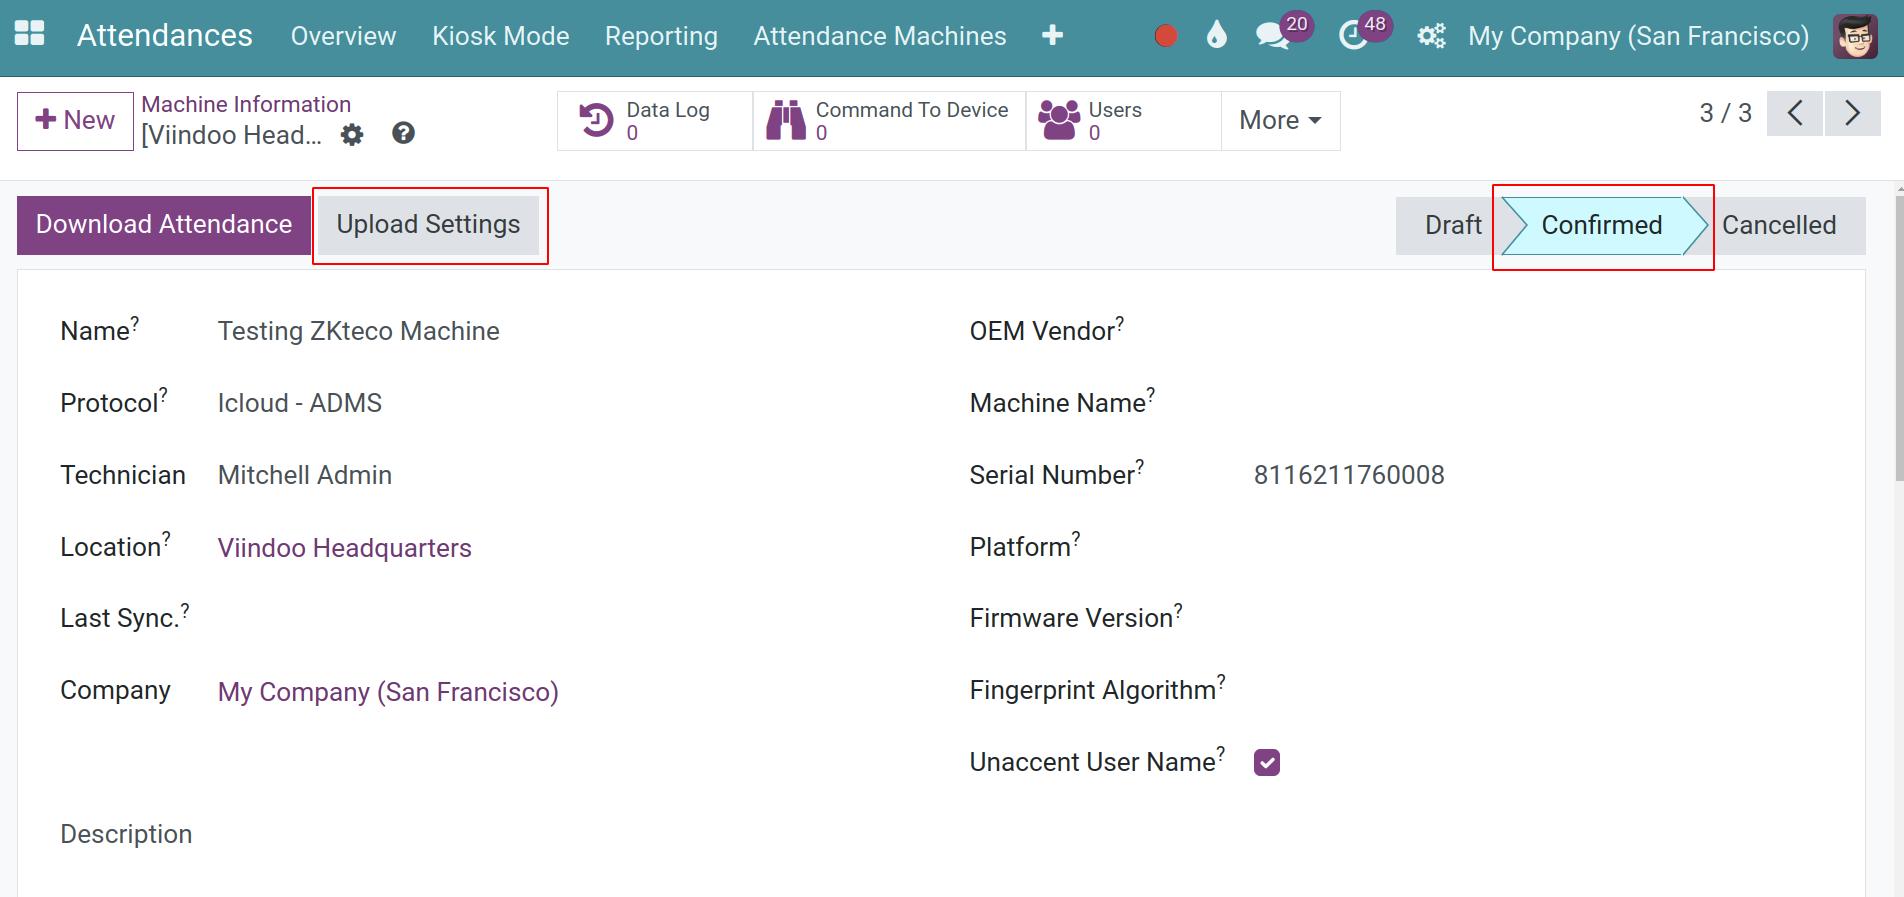

After some seconds, the command’s state then will change to Done.

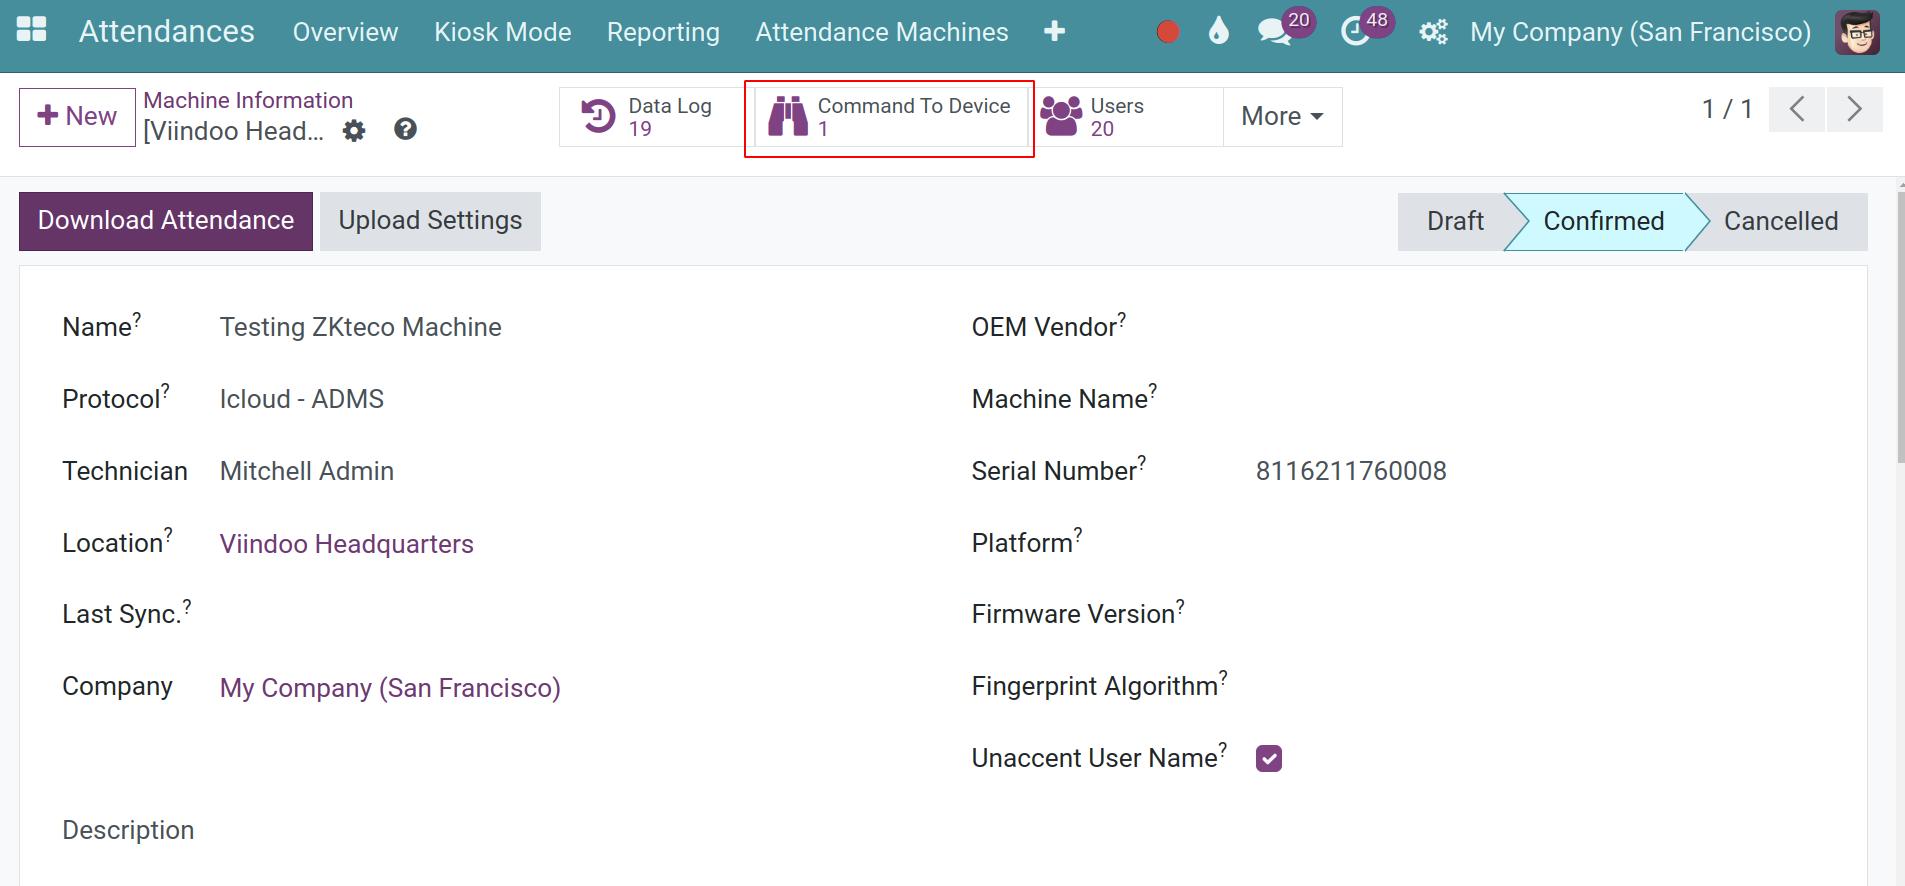
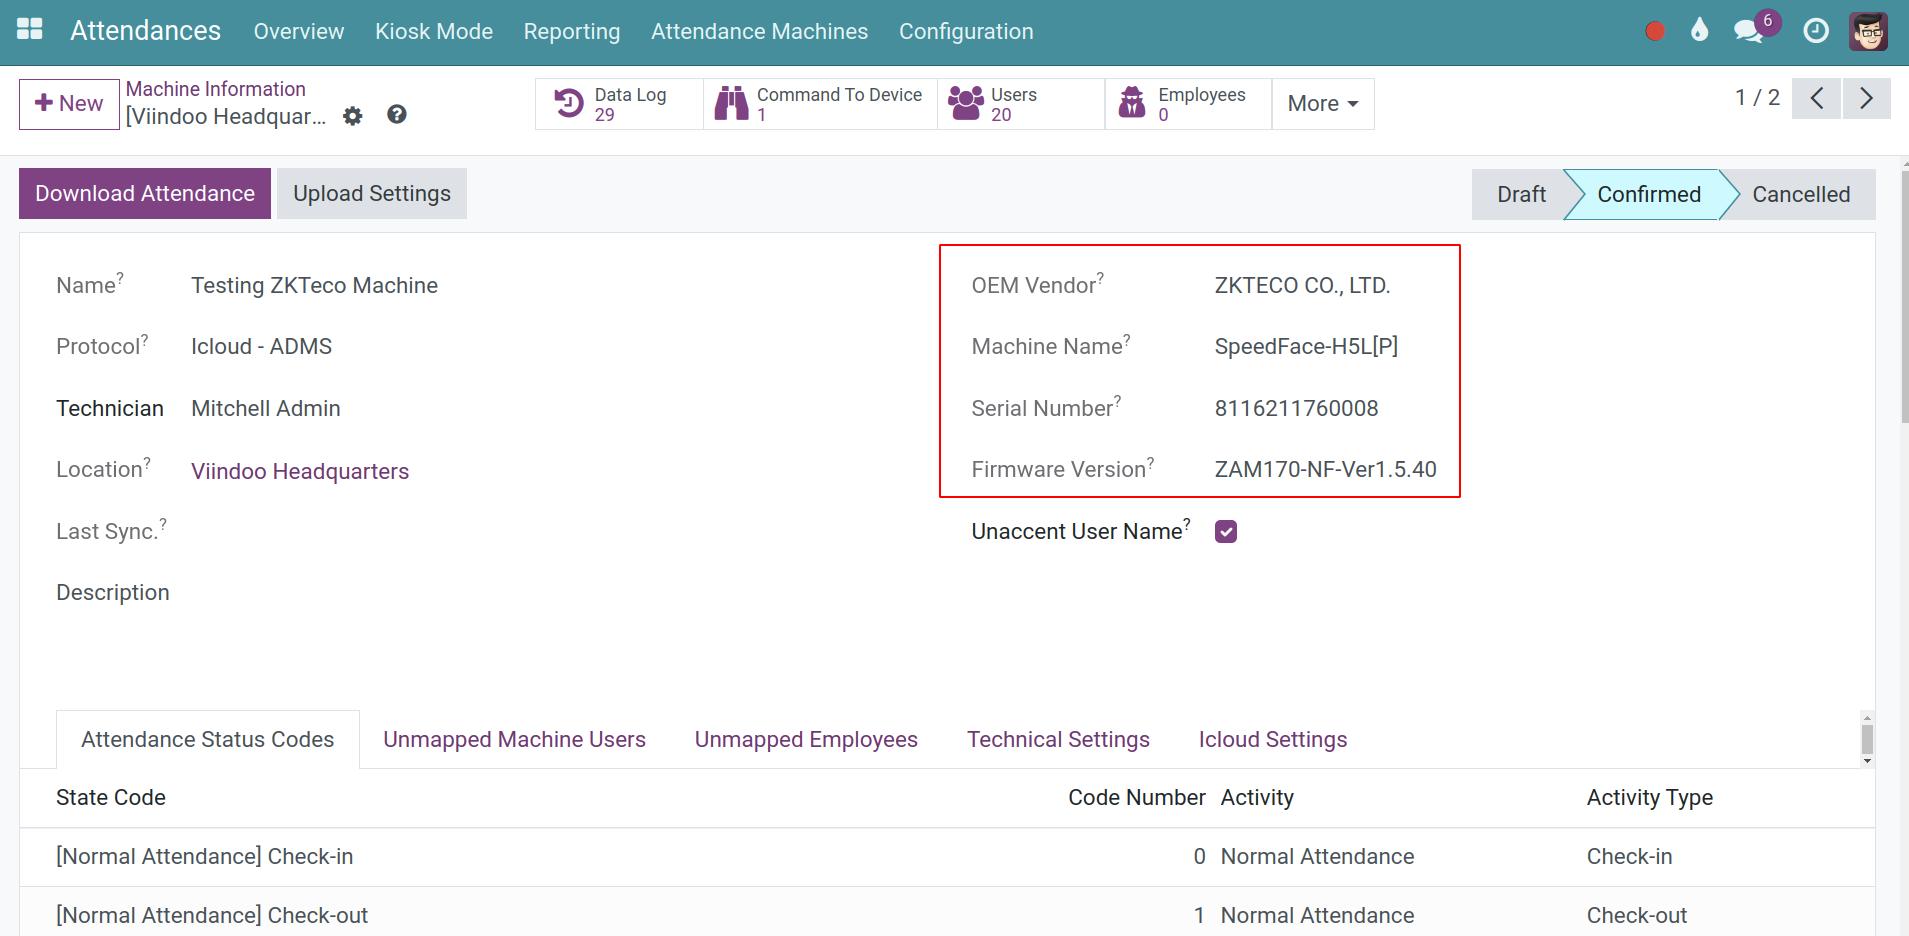
Now, go back to the time attendance machine setup interface, and you will see that other information related to the machine has been updated automatically.
OEM Vendor;
Device Name;
Platform;
Firmware Version;
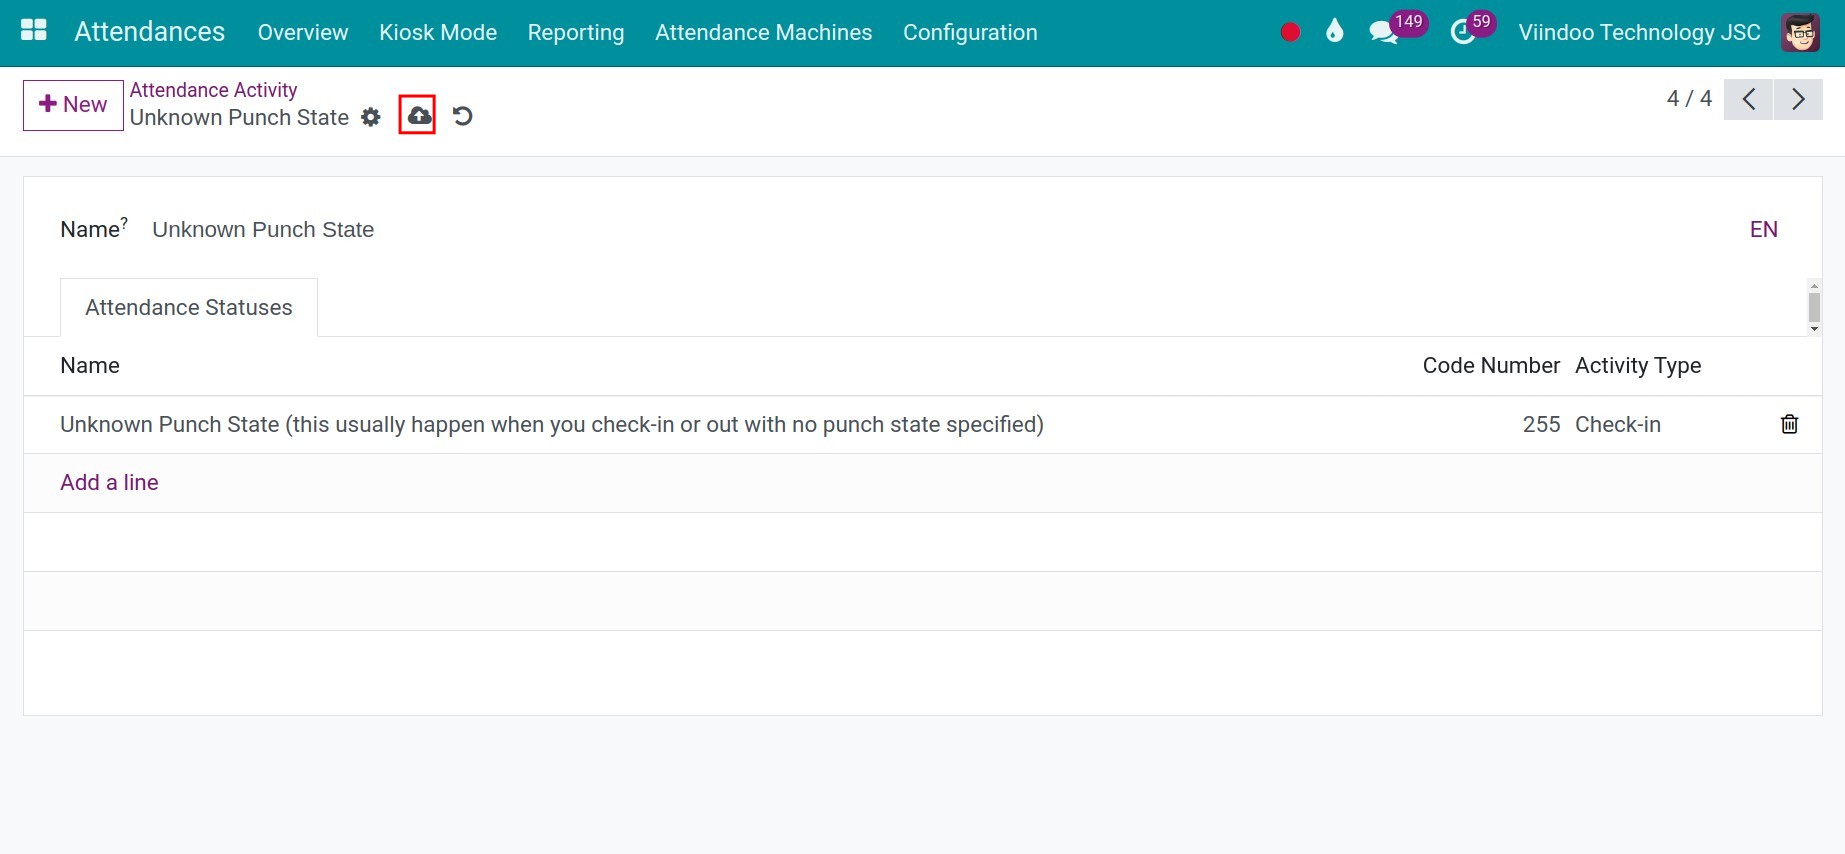
Attendance Status Codes tab
This is the summary of the employees’ Attendance Status Codes set in the device. The manager will use this code to know if the status of employees’ working-time is normal attendance or overtime, etc.
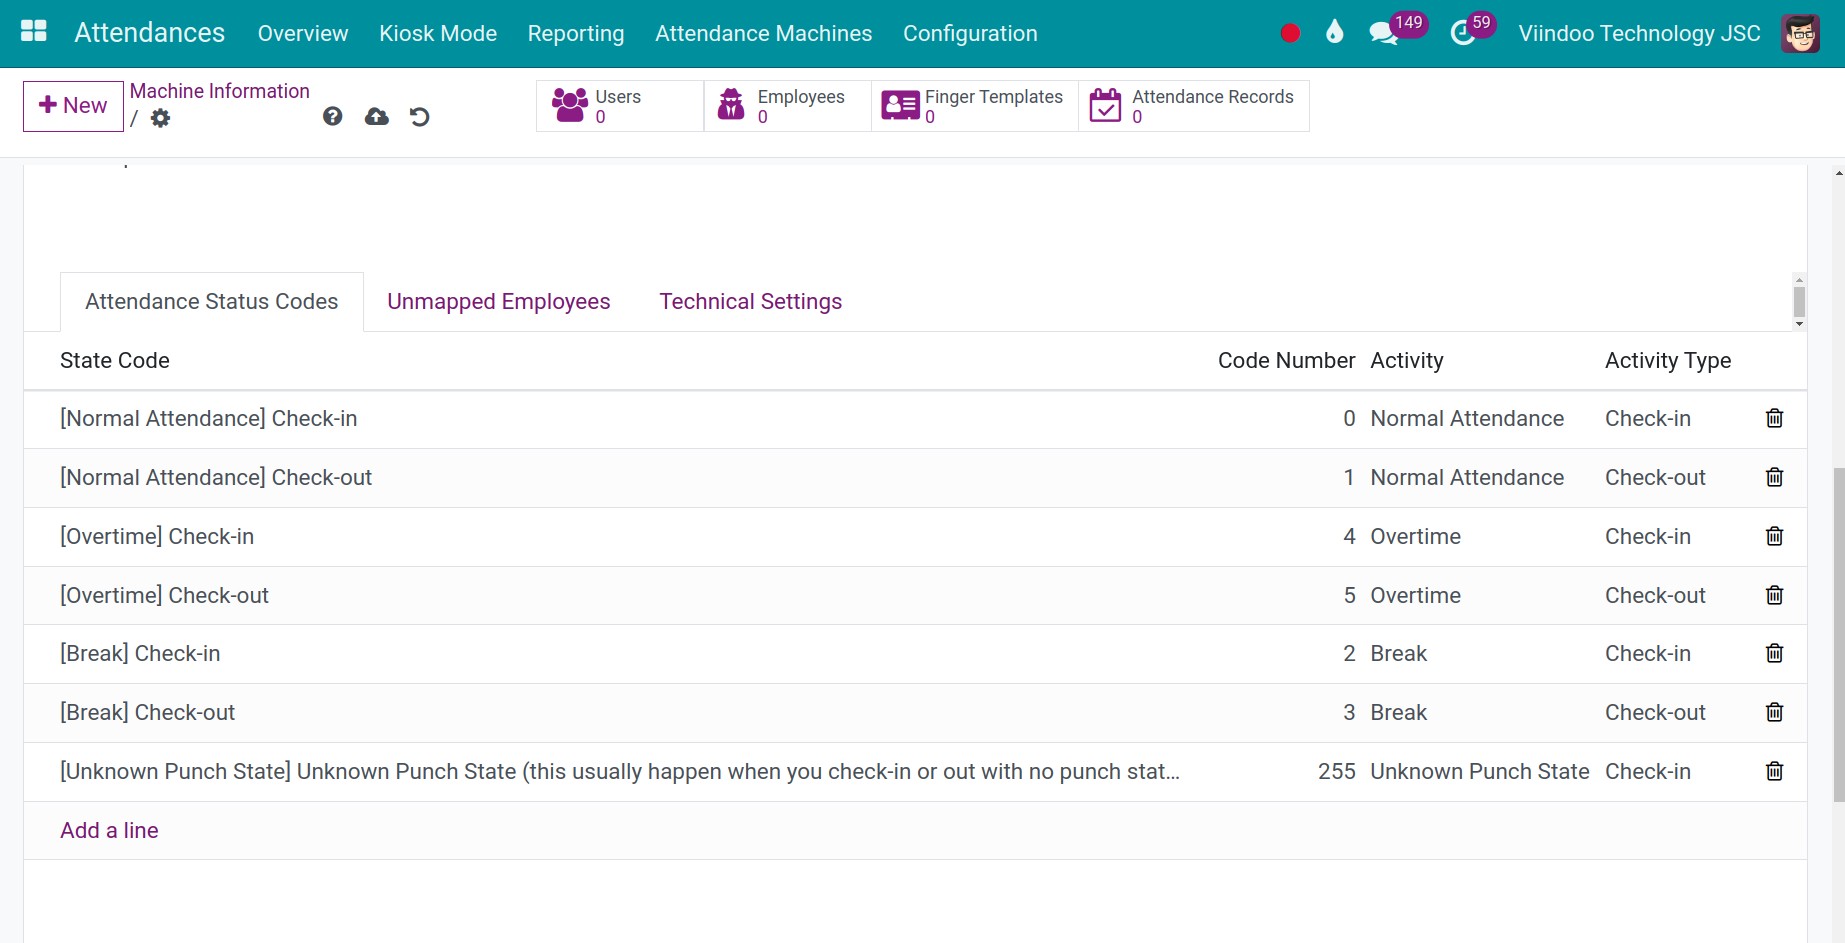
State Code: State codes are set in the Attendance device, to show if an attendance is check-in or check-out, normal attendance or overtime.
Code Number: The code of this status, need to be an integer value and not a duplicate of another activity, status code.
Activity:
Activity Type: This status is check-in or check-out type.
Warning
The code of Attendance Status need to be matching with the consequence code in the attendance device.
If you don’t have anything special, you should use the default information of system.
Incase you have to create a new status code, navigate to Attendance > Attendance Machines > Attendance Status, click on New button.
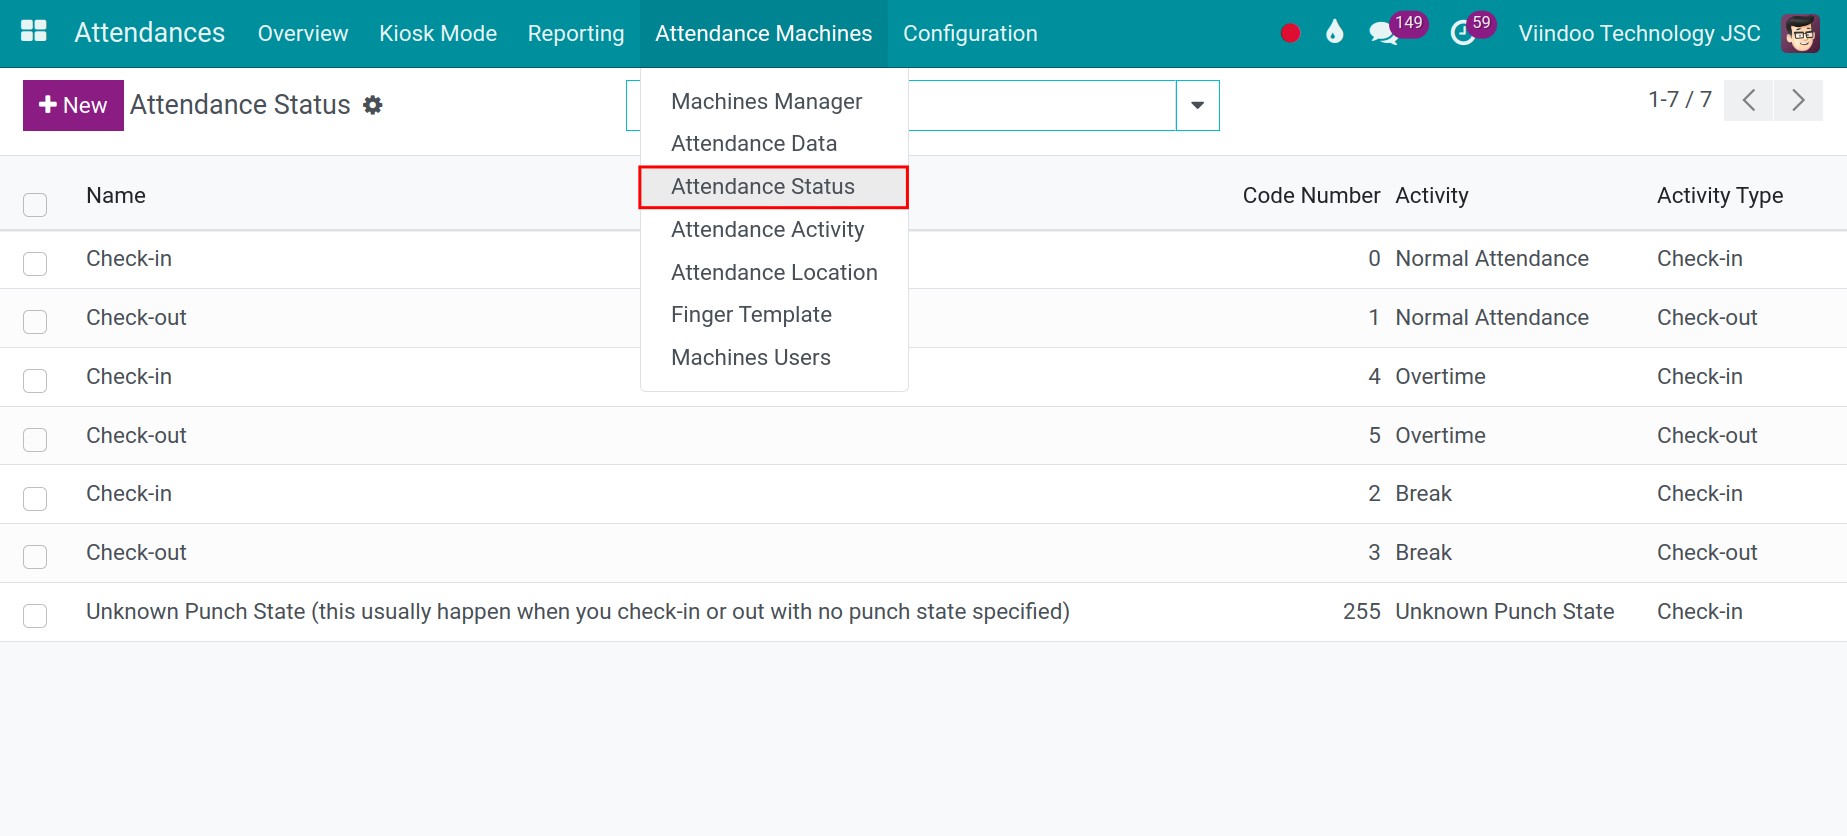
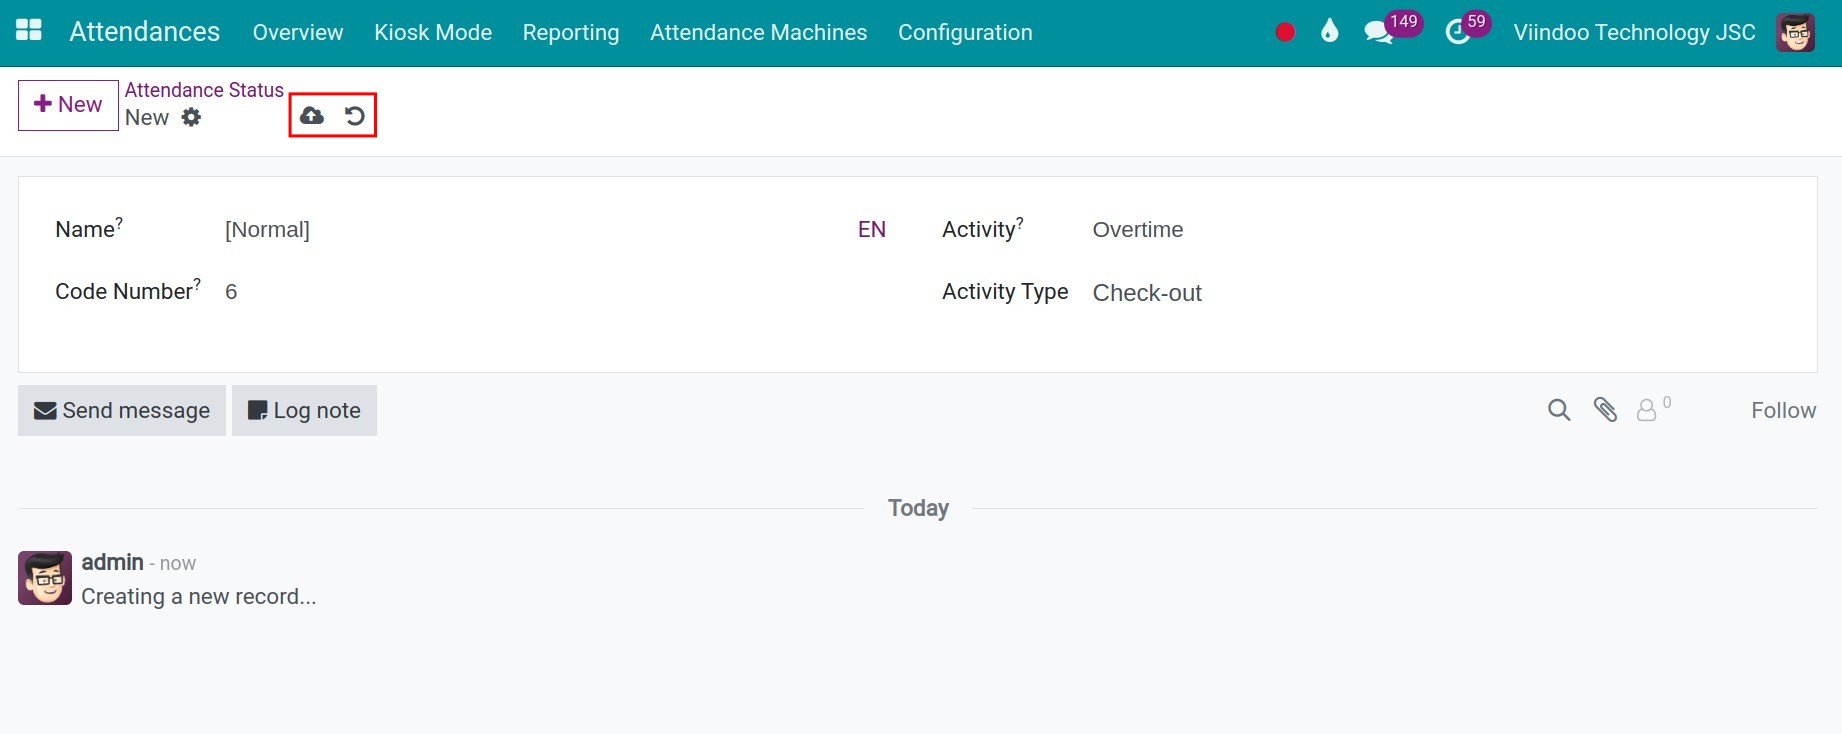
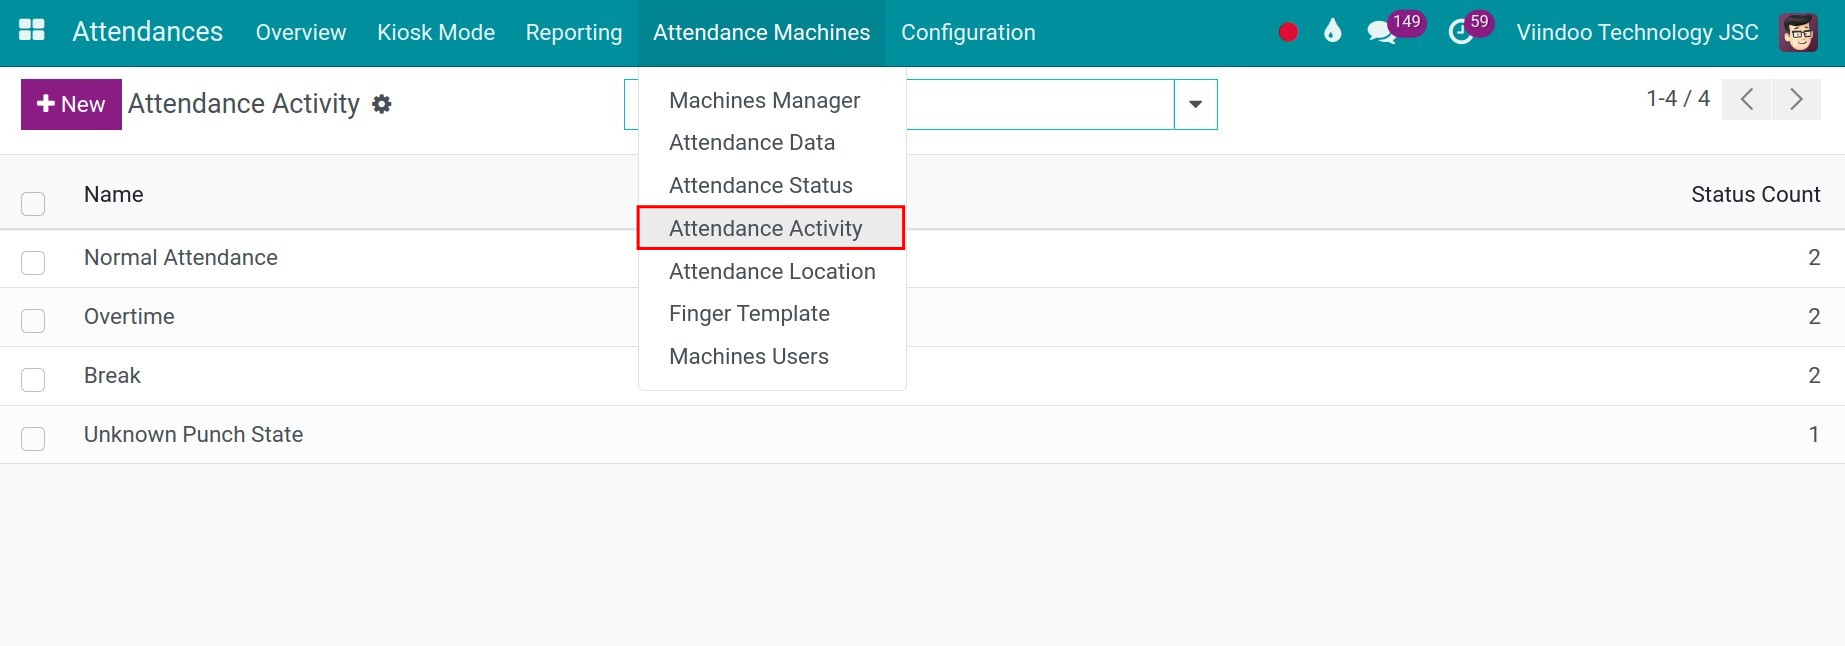
After filling in all the information, press Save icon. To cancel information, select Discard icon. If there is not Activity you want, pressing Attendance > Attendance Machines > Attendance Activity, press New.
Name: The name of the activity, for example, overtime, normal attendance, etc.
Attendance Statuses: create attendance status for this activity
To save the setting on Attendance Activity, press Save.
Technical Settings Tab
Input the technical information of the attendance device.
Here is how it display. You need to pay attention to the following information:
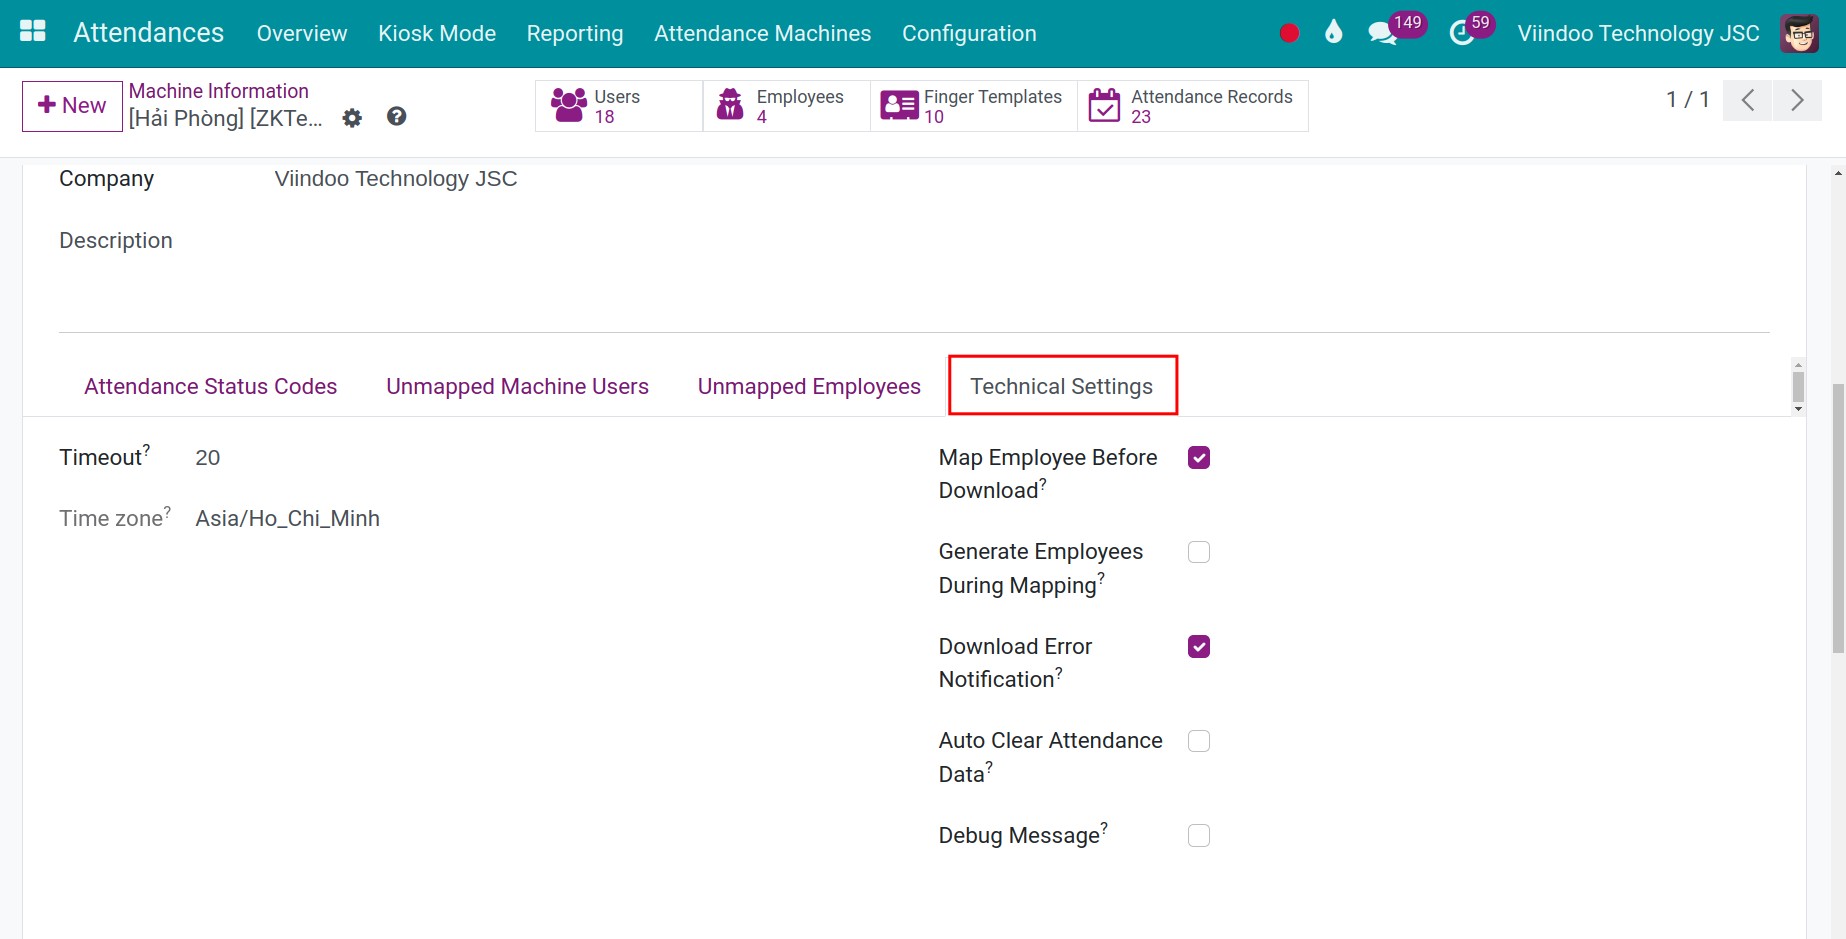
Timezone: the device’s timezone, the date and time in the attendance report will be update based on this timezone. The system will update the timezone base on the value set on the timezone of the attendance device creator.
Map Employee Before Download: If checked, the system will map the users of the attendance device with the employees of the system (if available) before downloading data.
Generate Employee During Mapping: If checked, the system will auto-create new employees for the attendance device users that don’t match employee data of the system, and then map them together.
Download Error Notification: If checked,the system will send a notification when there is an error during download, to help the manager quickly find the error and fix them.
Auto Clear Attendance Data: If checked, the system will automatically clear the attendance data on the device after synchronization with Viindoo system to avoid full data.
Debug Message: send notifications in the Open Chatter when there is an error, to help with the debug process.
Icloud Settings Tab

Delay: The interval (seconds) for the device to connect to the system during normal networking.
Error Delay: The interval time (seconds) to re-connect server after connecting network failure.
Real Time: If check, the finger prints will be synced to the system immediately whenever it has a new one. In case you want to set the specific time to sync the finger prints from the devices, you can uncheck it. And when you do that, you will see a new field of Trans Times and you can input the specific time you want.
Attendance Record: Check if you want to keep the attendance record.
Operation Log: Check if you want to note the operation log in the Chatter.
Enrolling a New User: Check if you want to register a new user from the device to system and backward.
Changing User Information: Check if you want to change user information.
Enrolling a New Fingerprint: Check if you want to register a new fingerprint from the device to system and backward.
Changing a Fingerprint: Check if you want to change a user’s fingerprint information.
Note
I would like you to stay with the default settings unless you really understand about the system and the device.
Upload employees list to the attendance machine
To reduce the workload when importing data into the attendance machine, you can upload the employee list to the attendance device.
Manage the Attendance Machines on Viindoo
Device status: After successfully integrating the time attendance machine, the device status is Confirmed. If the device is no longer in use, press Cancelled on the Devices Informations view. The status will change to Cancelled.
Additionally, you can manage your Attendance Machines with the statistics button as bellow:
Data Log: Where you can see the history of data from the attendance machine appearred on the system.
Command To Device: Where you can see all the history of the command from the attendance machine to the system.
Users: The list of users in your system.
Employees: The list of employees.
Finger Templates: The list of employees’ finger templates.
Attendance Records: The list of attendance data that synced from the attendance machine.
Besides, you can press to the Gear icon to see some others utility features:
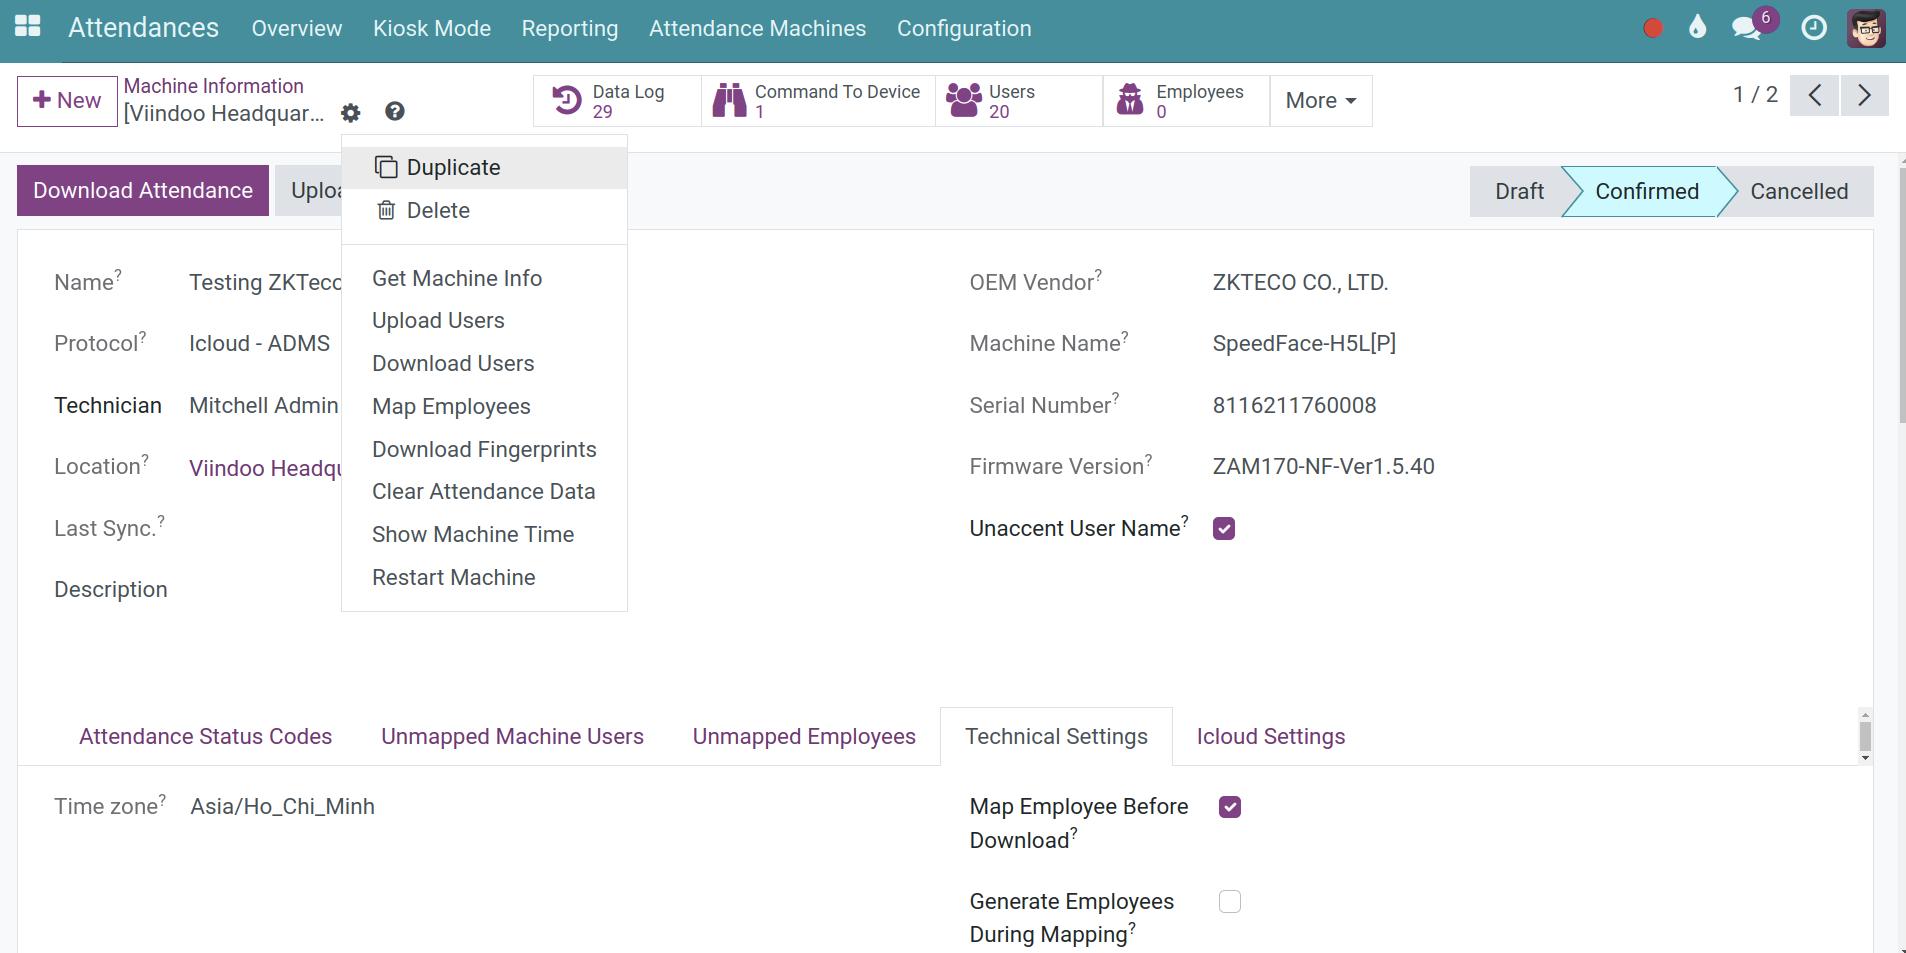
Get Machine Info: Connect with the device and automatically update the information into the system: OEM Vendor, Device name, etc.
Download Attendace: Download attendance data from the device to Viindoo system.
Download Users: Download the users list that is set on the attendance device.
Upload Users: Upload the employees list to the attendance device.
Map Employees: Map the employees with users set on the attendance device.
Download Fingersprints: Download the employee fingers template from the Attendance device.
Clear Attendance Data: Clear all the data from the attendance device.
Restart Machine: Restart the attendance device.
Show Machine Time: Show the attendance device real time. The time set in the attendance device can be more/less or equal to the time set in the Viindoo system (Activate debug mode to view this feature).
Manage the integration process
When integrating the attendance machine with Viindoo system, you may cause some issues, and here we provide the consequence solutions:
Issue 1: Can not integrate your attendance machine with your Viindoo.
On the device:
Step 1: Make sure your device is allow to connect through cloud server. And this icloud server is set on the device. If you can not check, please contact with your device’s supplier to confirm and ask for help.
Step 2: Make sure your device is connect with the Internet.
Step 3: Make sure the domain name you input in the device is matching with your system. You don’t need to input www or https//:, only your domain, such as minhthuxxx.viindoo.cloud.
On the system:
Step 1: Check your Attendance Machine Status, it need to be in Confirmed.
Step 2: Check the serial number of your device with the input information on the field Serial Number.
Issue 2: Does your system can integrate with more than one attendance machine? What can we do if the data sync speed is low performance?
Yes, of course. You allow to integrate more than one attendance machine with Viindoo system.
If multiple devices transmit data at the same time, it may overload the network, causing delays or failed synchronization. In case of low performance with the data sync, you can consider to uncheck the Real Time option in the Icloud Setting tab. In stead of setting the specific time to syncronize the data from your device.
Issue 3: The data of finger prints do not sync to the Viindoo system event they are connected.
Step 1: Make sure the employees in the Viindoo system match the employees on the device.
Step 2: Verify the synchronization configuration on the attendance device and ensure that fingerprint data has been uploaded from the device.
Step 3: Make sure the data synchronization mode (real-time or scheduled) is correctly set up. If real-time mode is enabled, the data will sync to the system immediately upon registration. If not, you will need to wait until the predefined scheduled time for the data to sync.
Step 4: Check the device’s status in Viindoo, ensuring it is operating normally and has no connection errors.
Step 5: Ensure the attendance device is stably connected to the Internet.
Step 6: If all above steps are working fine, try turning the attendance device off and on again, or restart the server to refresh the connection and attempt synchronization again.