Restaurant Reservation Management
The Viindoo POS app provides functions like managing reservations and dividing tables on each floor with a user-friendly interface is a helpful solution for your restaurant system.
Requirements
This tutorial requires the installation of the following applications/modules:
Create your new restaurant in Point of Sale app
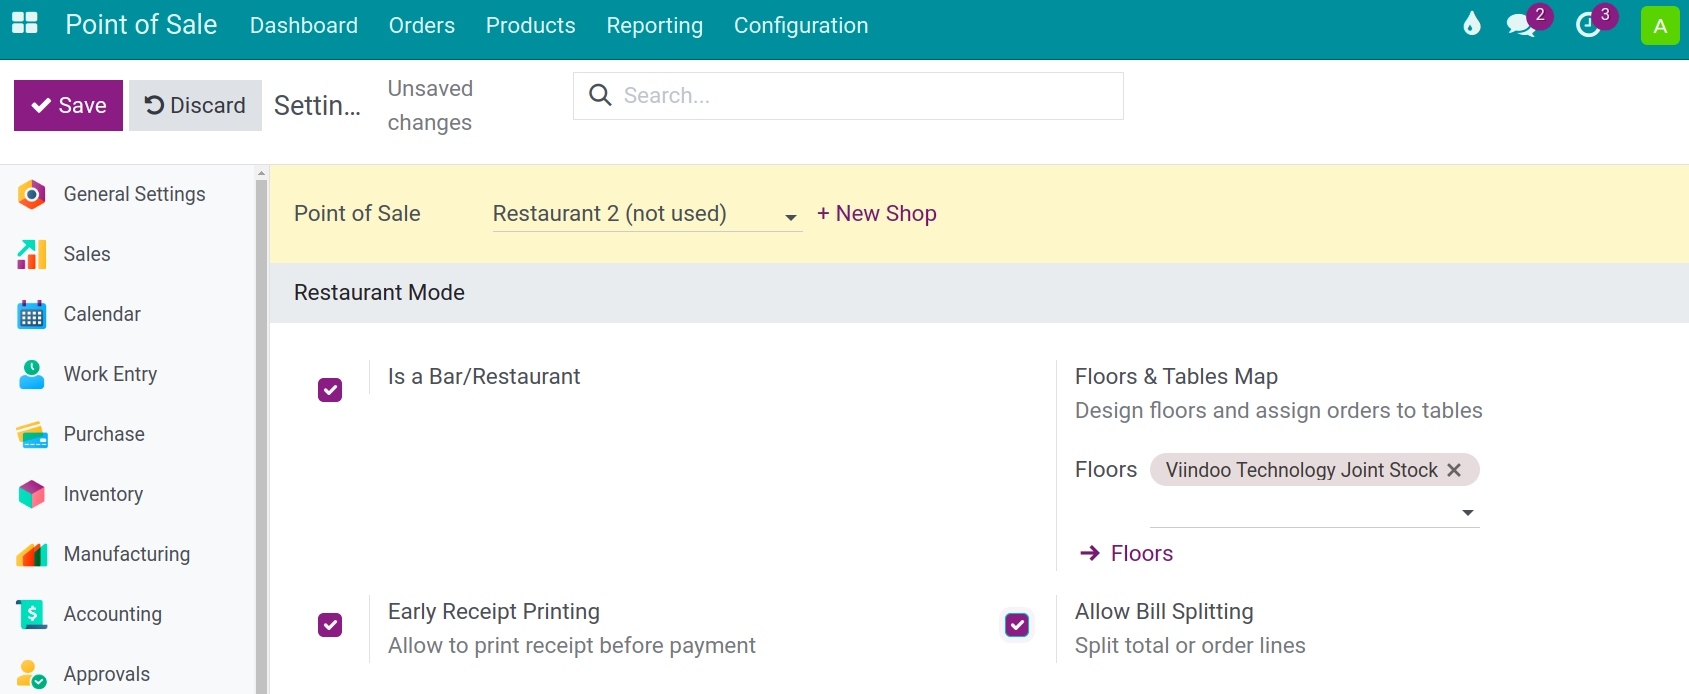
To create a new restaurant, you go to Point of Sale ‣ Configuration ‣ Settings, at the Point of Sale field, click on New Shop.

In the pop-up window, check the option Is a Bar/Restaurant.

Press Save to complete the restaurant creation. Once the creation is finished, the system will return you to the retail point configuration interface. Under the Restaurant & Bar section, you can select specific features tailored for restaurants.
Floors & Tables Management
Set up Floors
To manage floors and tables in your restaurant, you check the box Floors & Tables Map on the created Point of Sale.
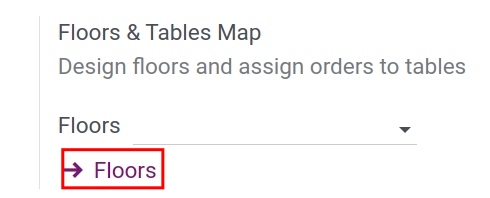
Click on Floors to set up the floors for the restaurant. Then, press New to create a new floor for the restaurant.

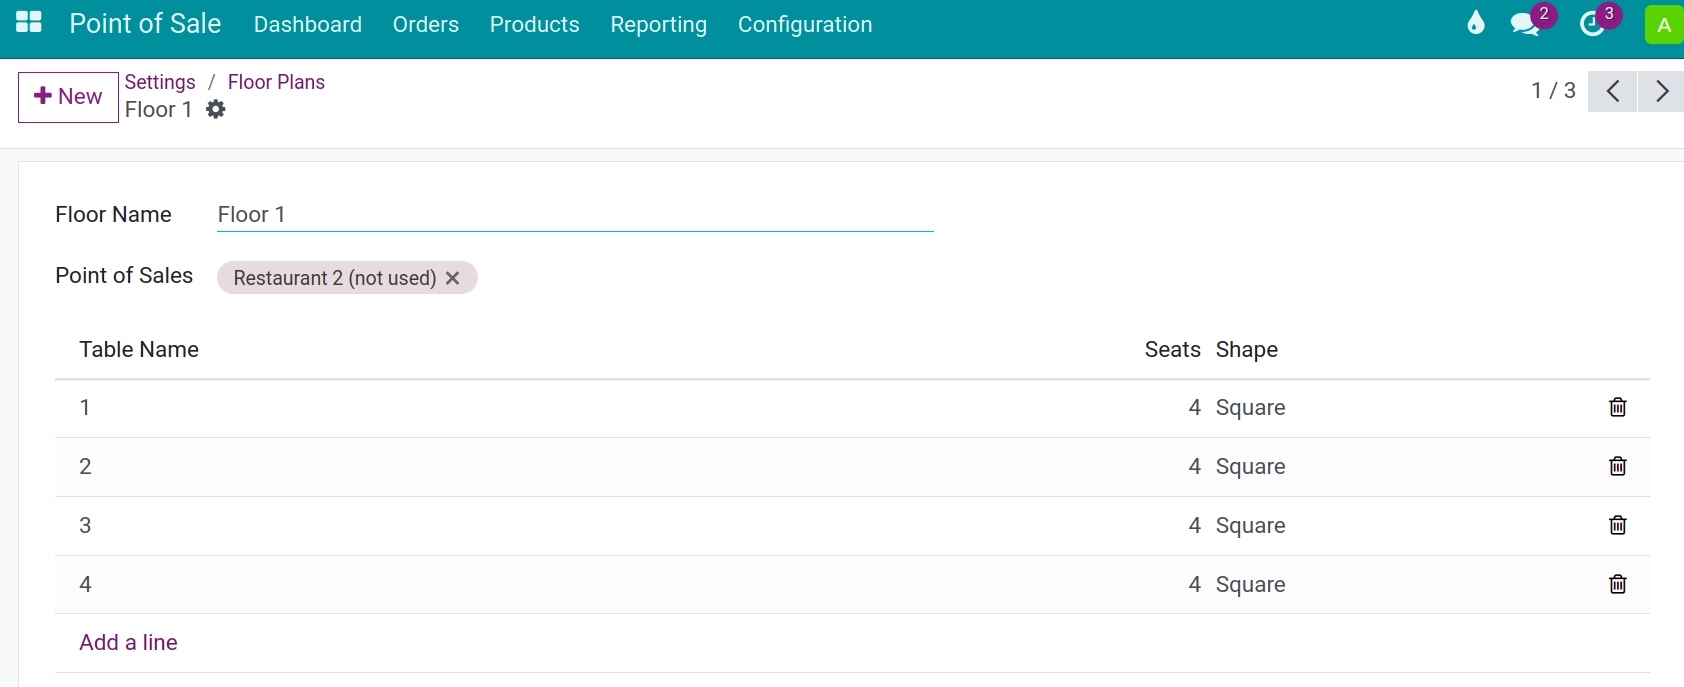
Floor Name: Enter a name for the floor.
Point of Sale: Select the retail point that applies to this floor structure.
Background Color: The background color of the floor in HTML-compatible format. You can change this background color when logging into a new session of the restaurant, you need to enable debug mode to view this field.
Set up Tables
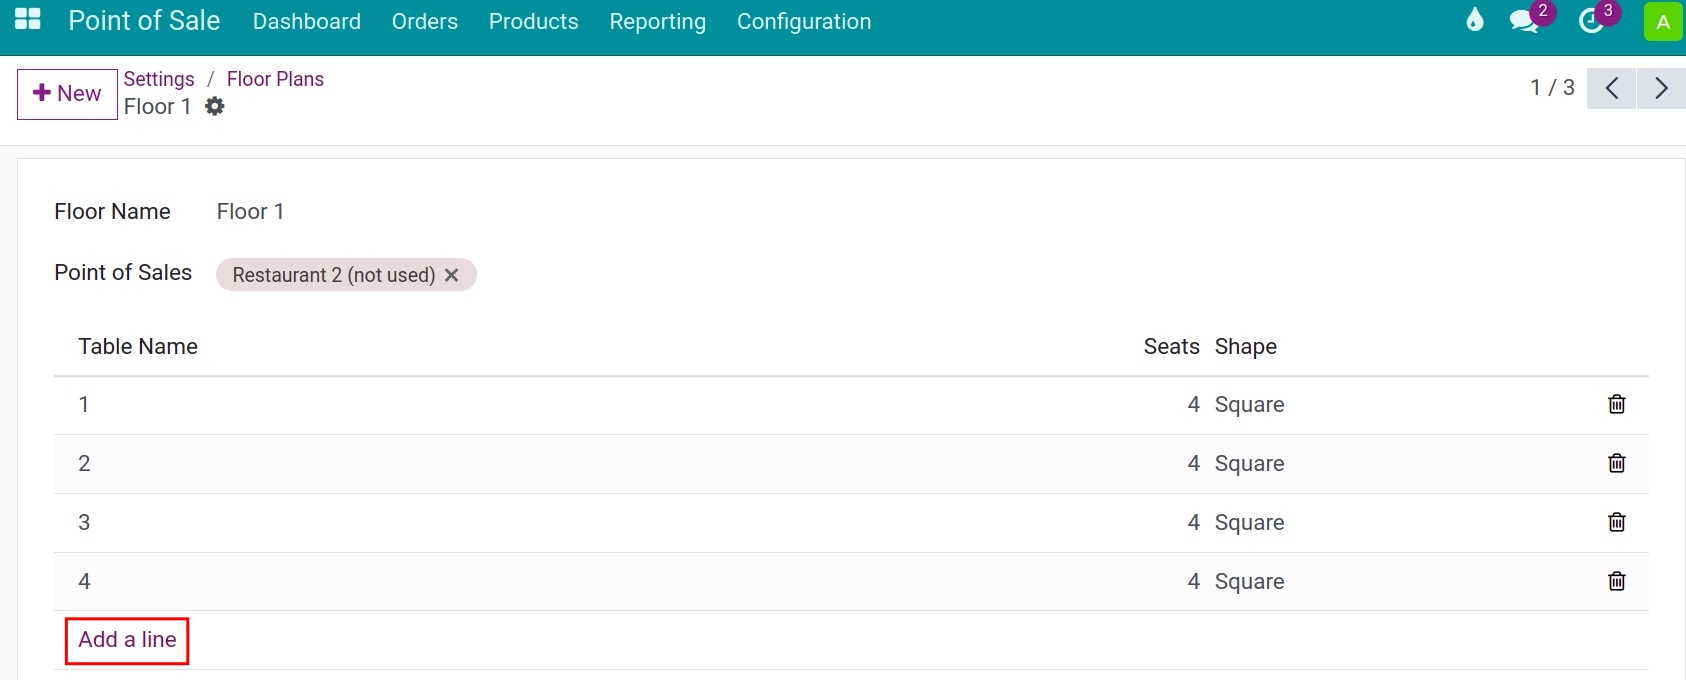
To set up tables, on the floor configuration interface, click on Add a line.
Note
For the following settings, you need to enable debug mode to configure them.
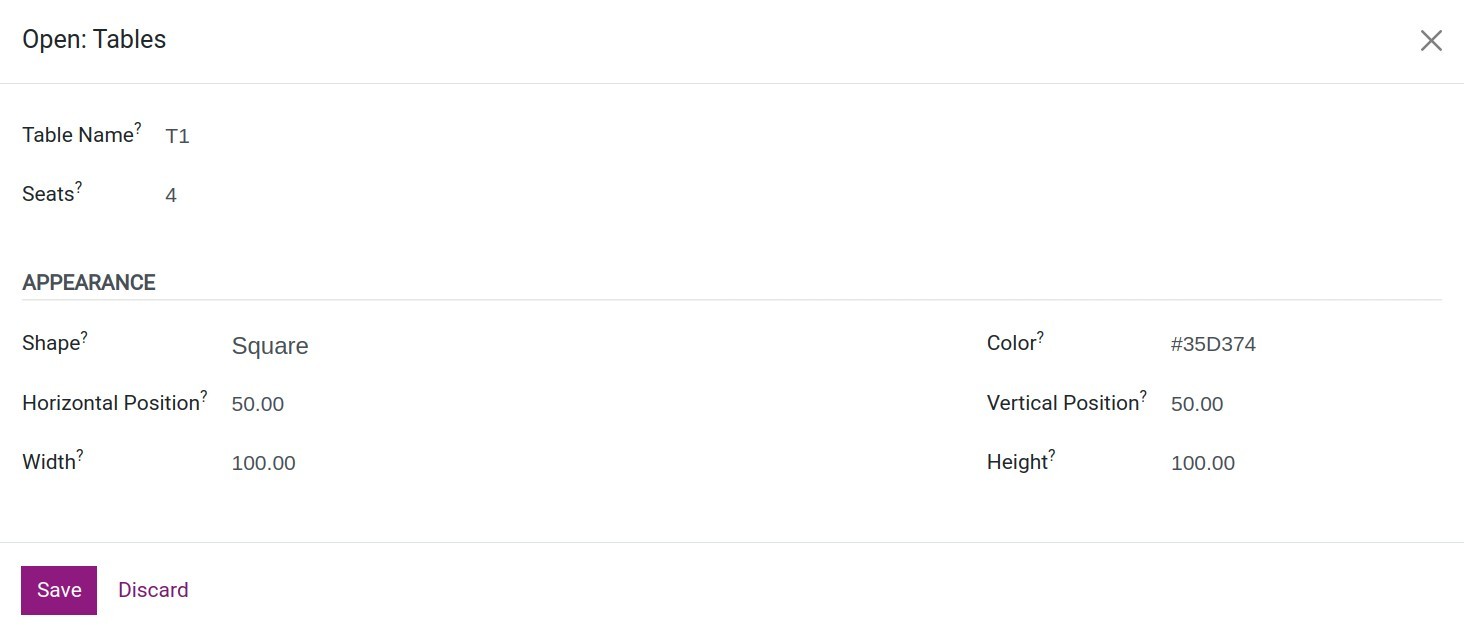
Table Name: Enter a name for the table.
Seat: Enter the number of seats for the table being set up.
Shape: Select the shape of the table.
Horizontal Position: The horizontal position of the table from the left side to the center of the table, measured in pixels.
Width: The width of the table in pixels.
Color: The color of the table. You can configure the color of the table when opening a new session at the restaurant.
Vertical Position: The vertical position of the table from the top to the center of the table, in pixels.
Height: The height of the table in pixels.
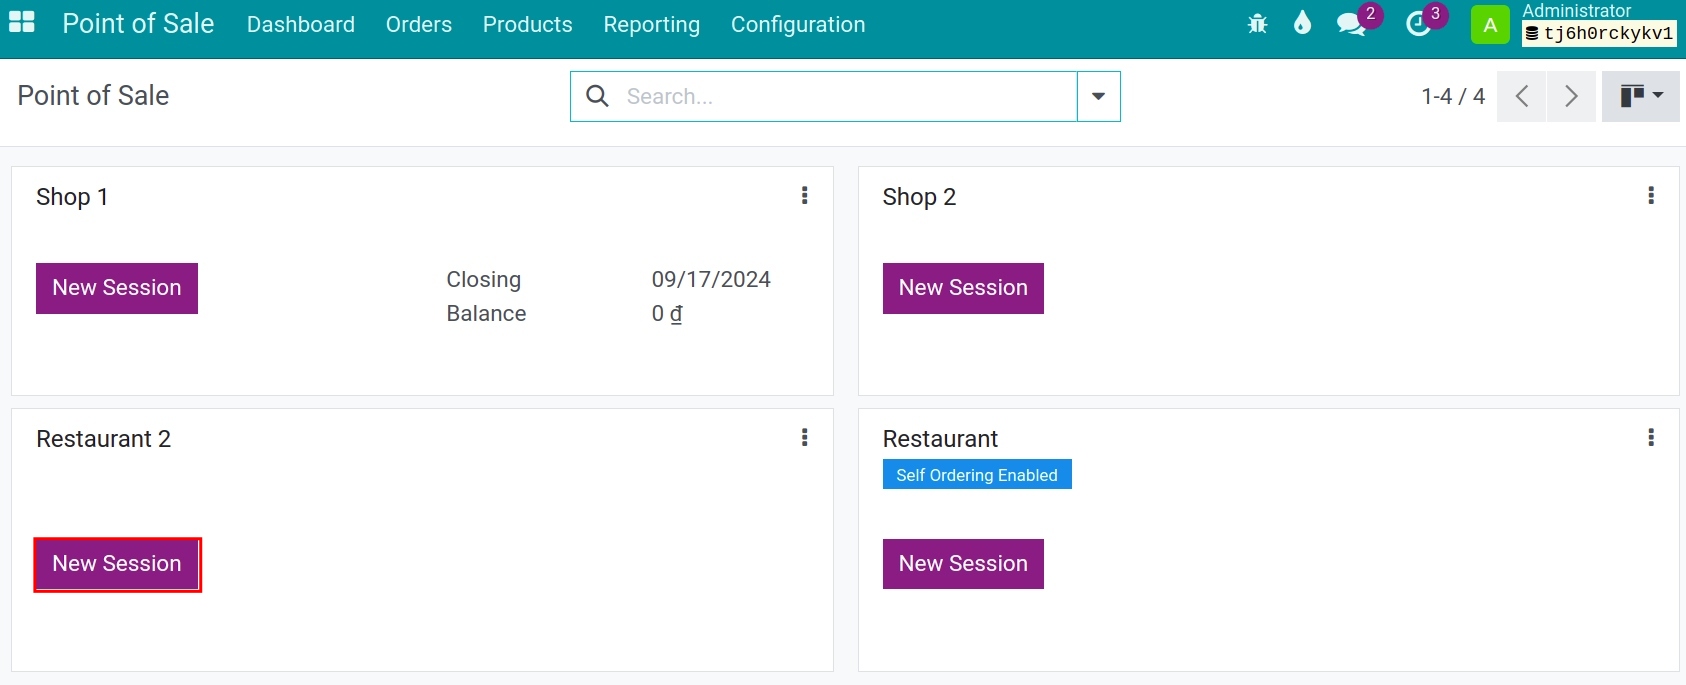
To be clear about table positions, go to Point of sales at the dashboard interface, select point of sales then click New session.
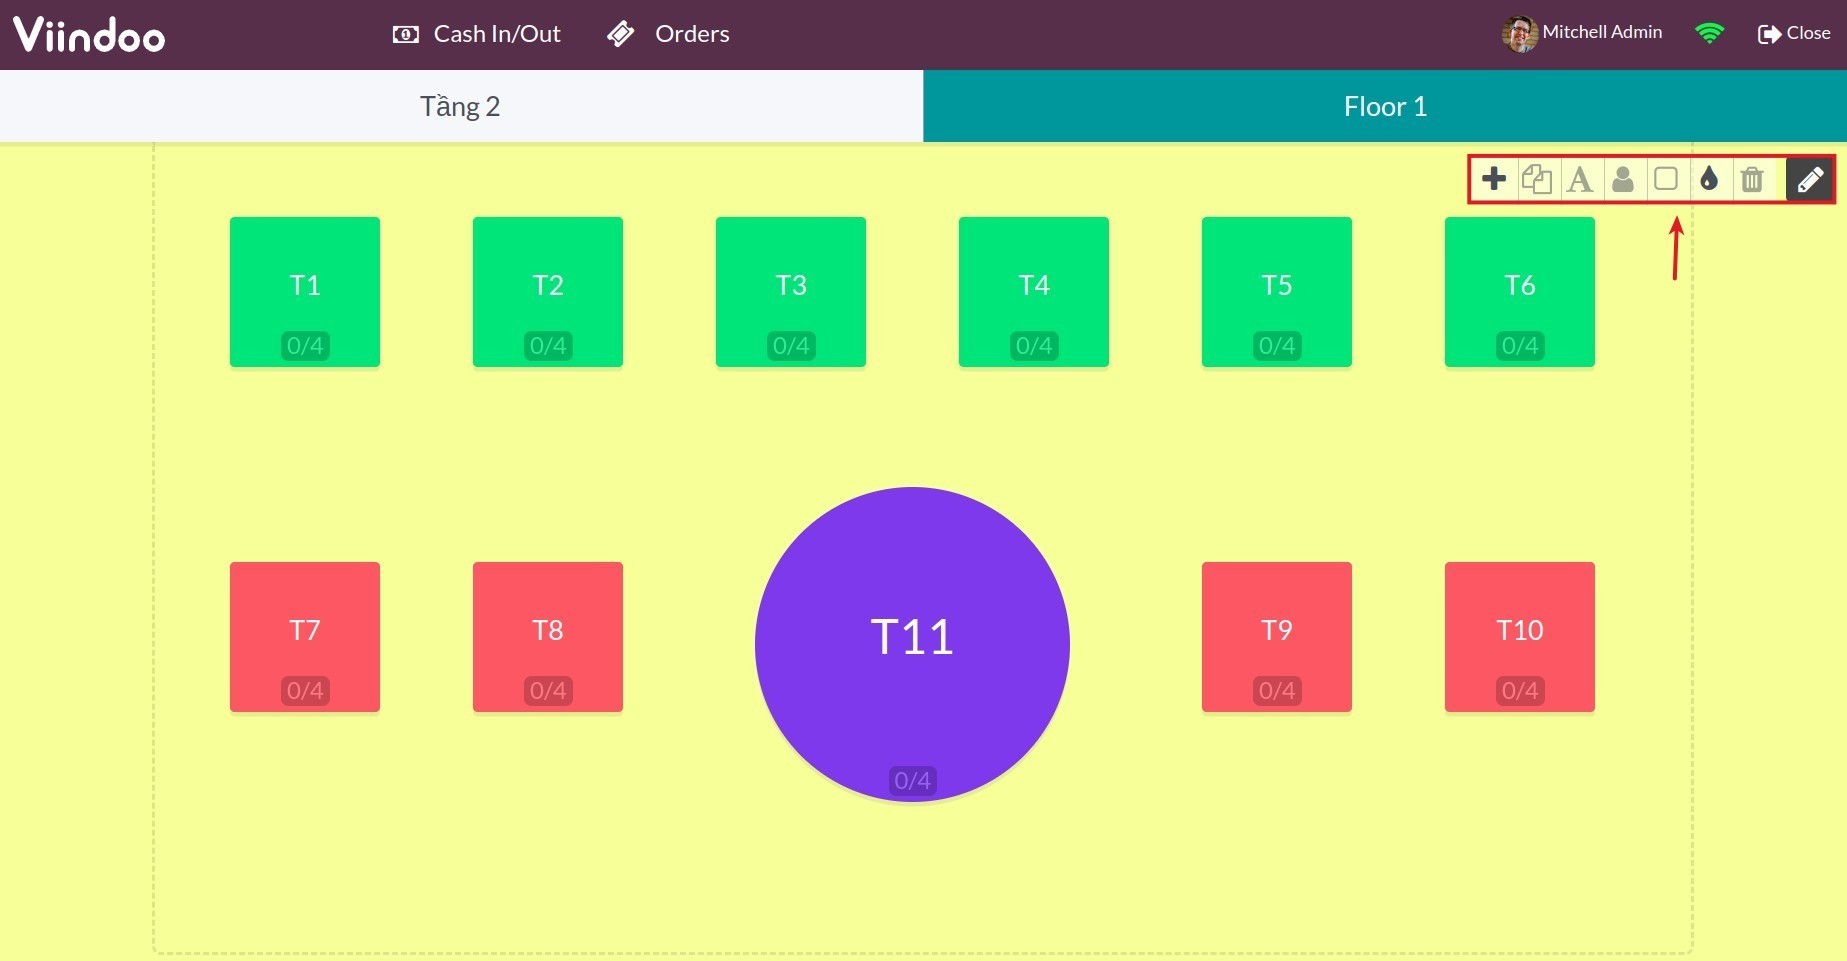
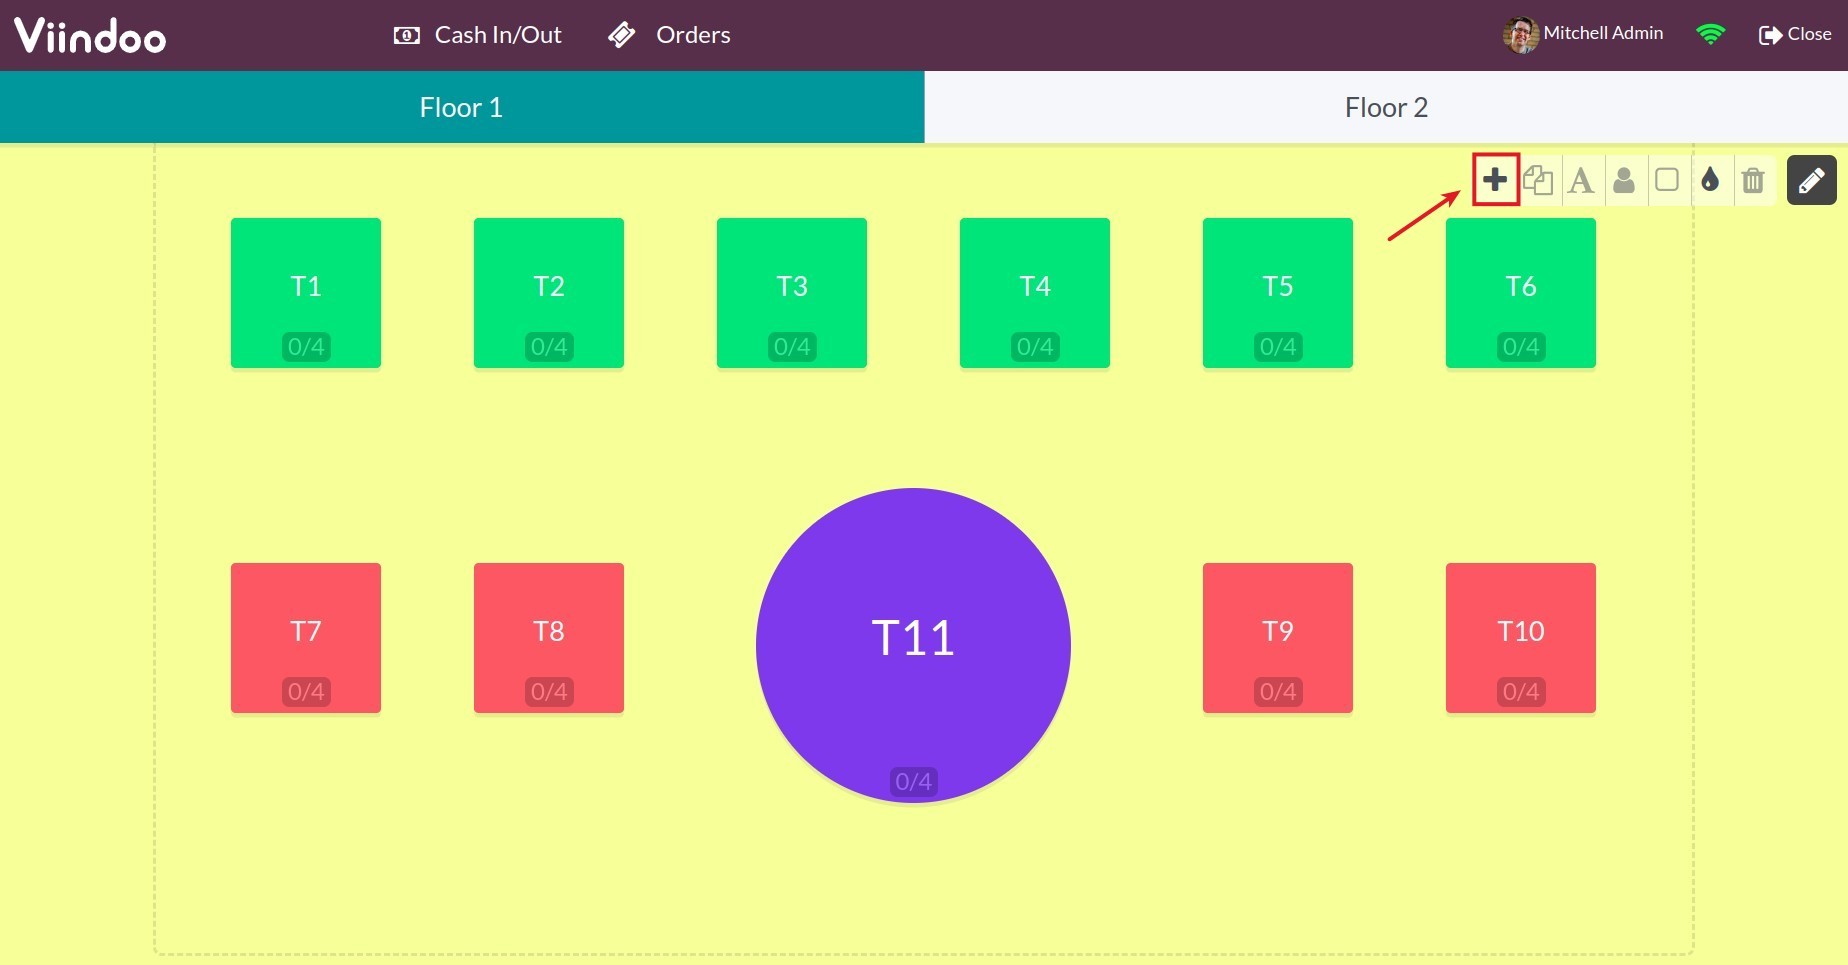
Here shows your table layout for each floor. You can move from one to other floor just by switching tab. In addition, you can change sizes and colors of tables by clicking Pencil symbol on the top right corner of the screen.
Note
You can create a new table in overview interface by clicking + button.
Making Orders
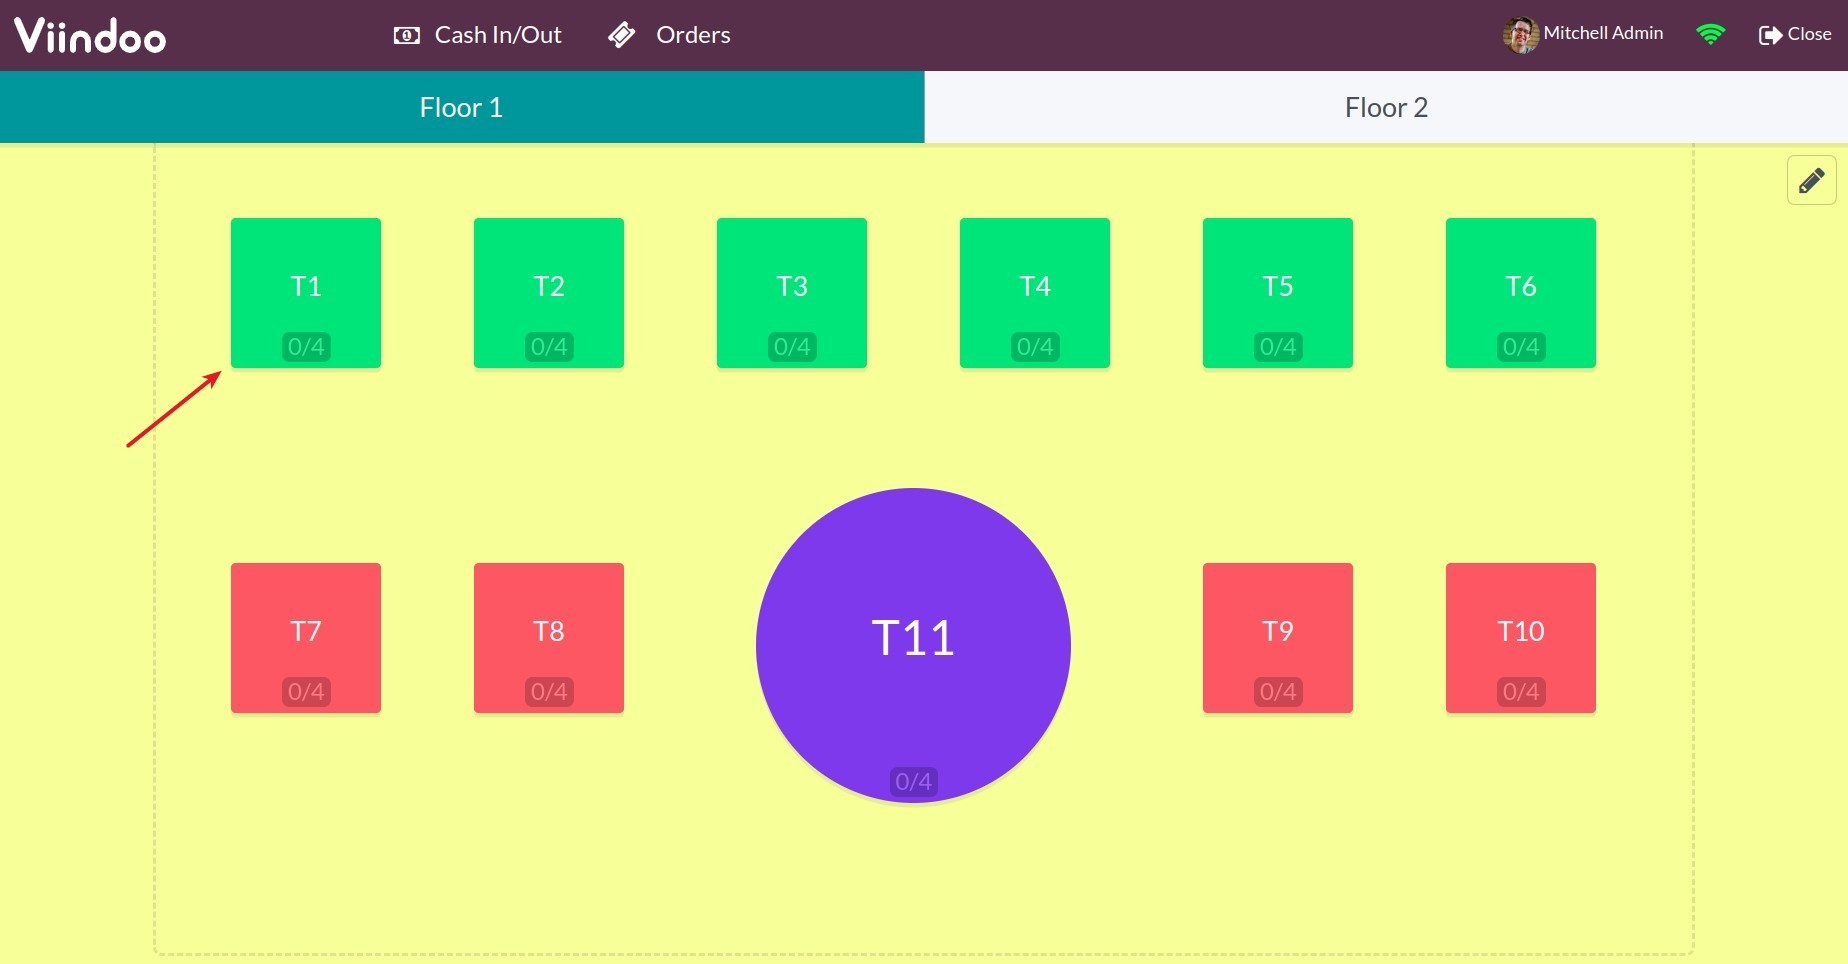
To create an order, you should select a table first.
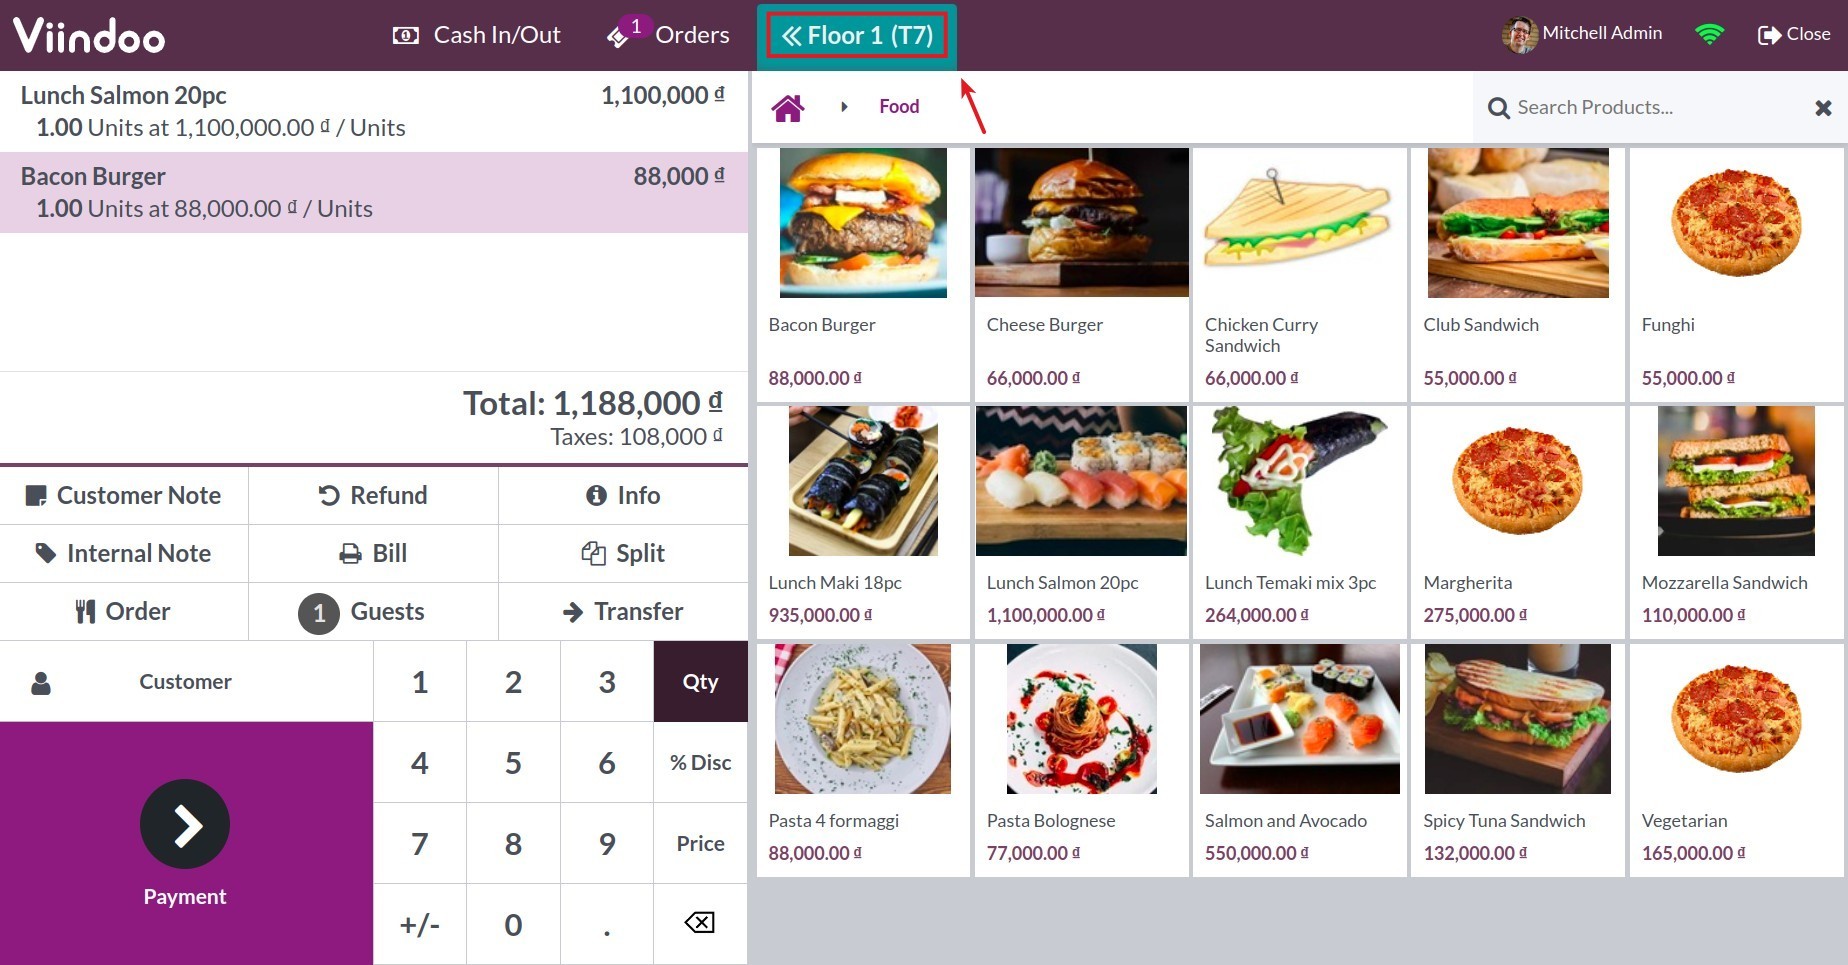
Here shows in the right side the table name, foods and drinks with prices.
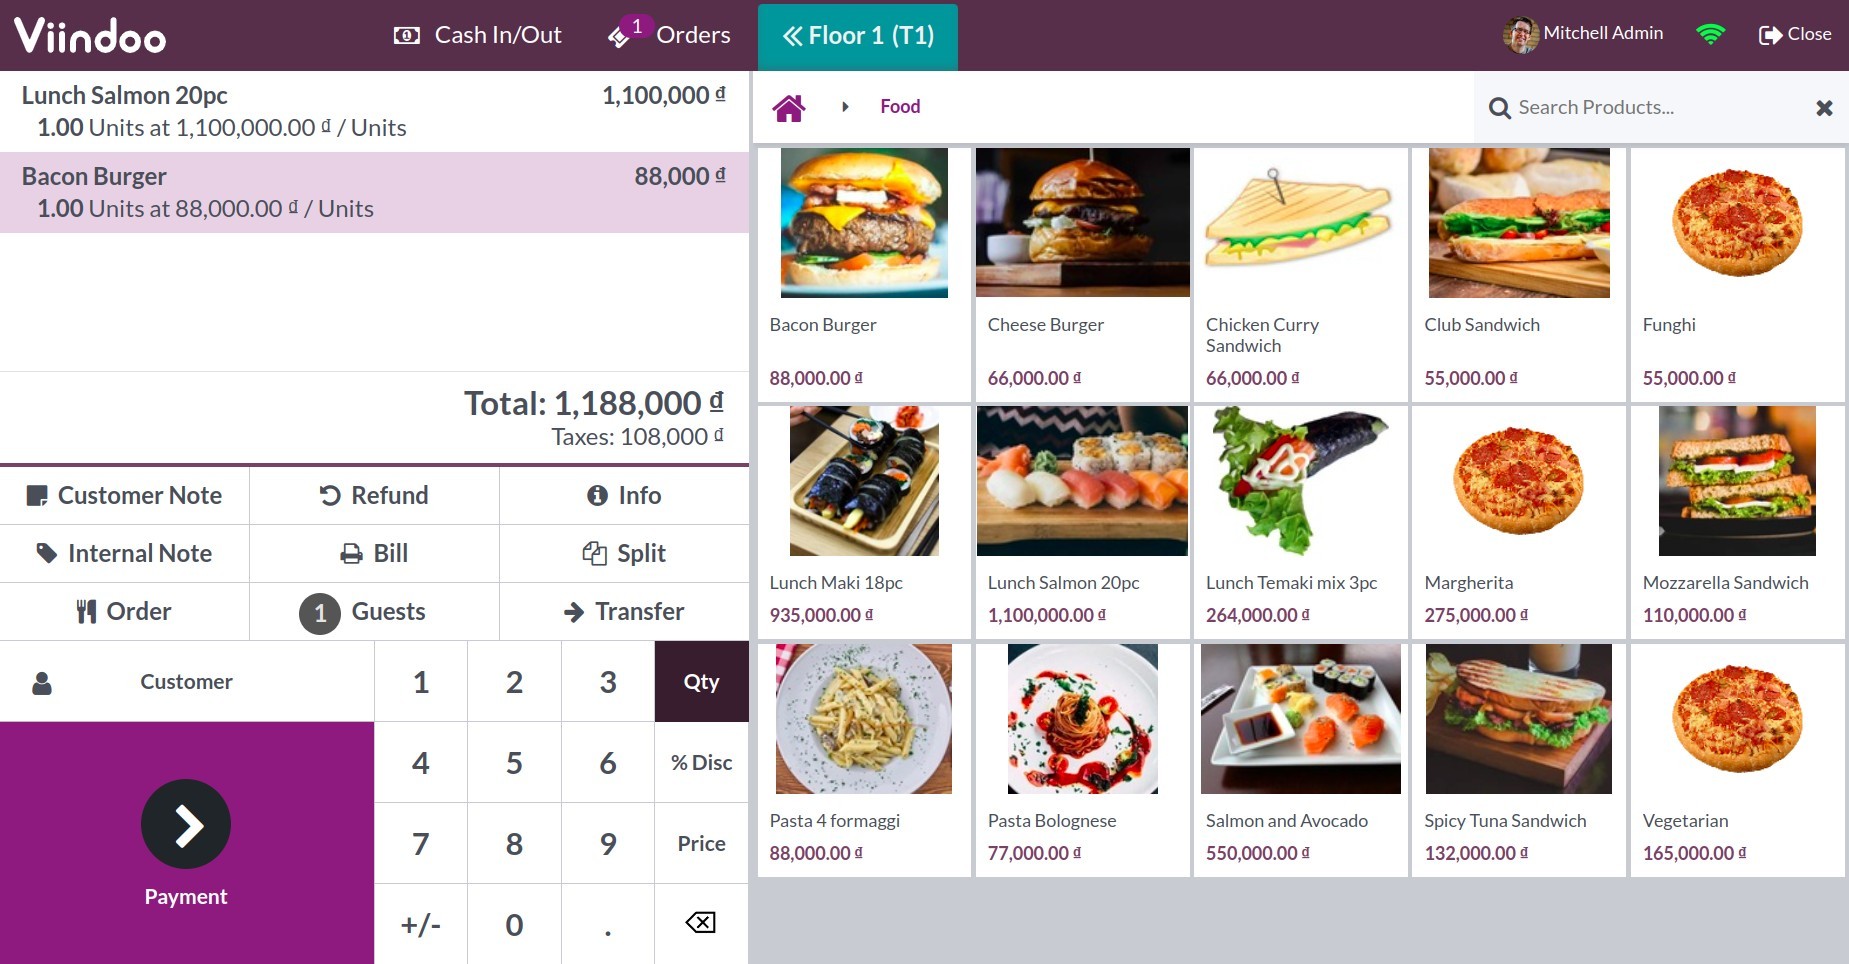
Table transfer
In case that customers change table position after you finish making order, let’s click the Transfer button in the current order interface, then select the destination one.
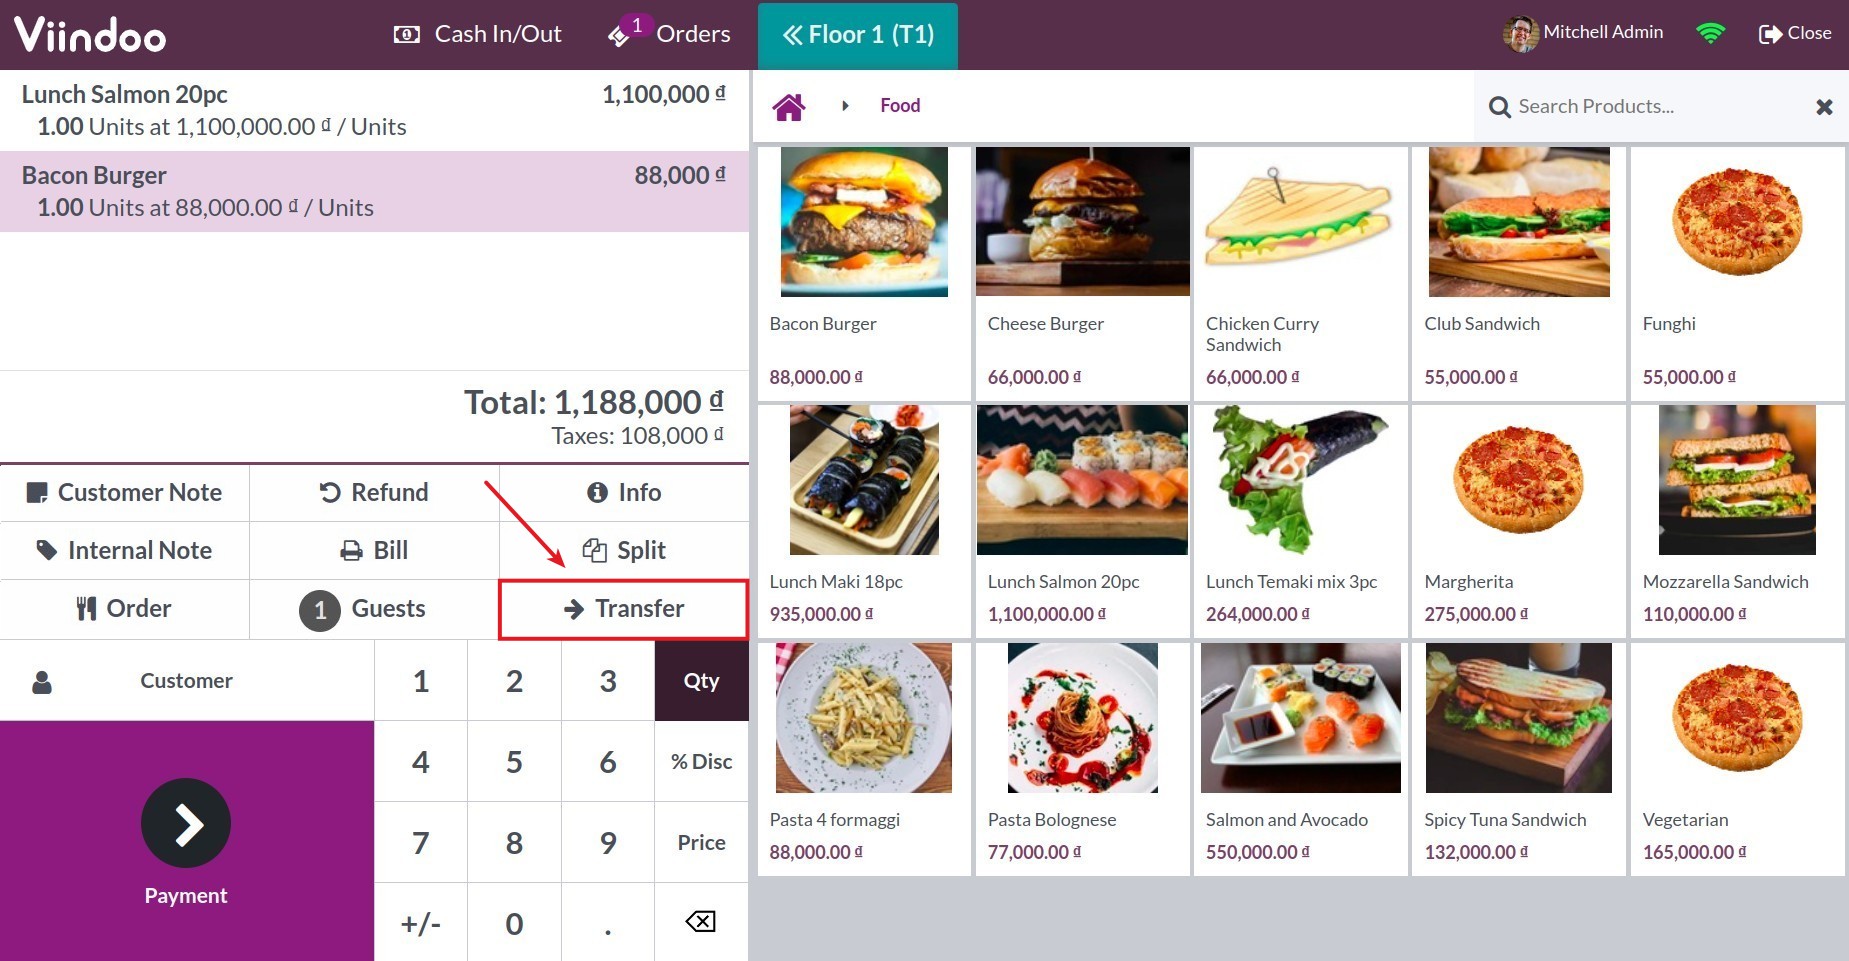
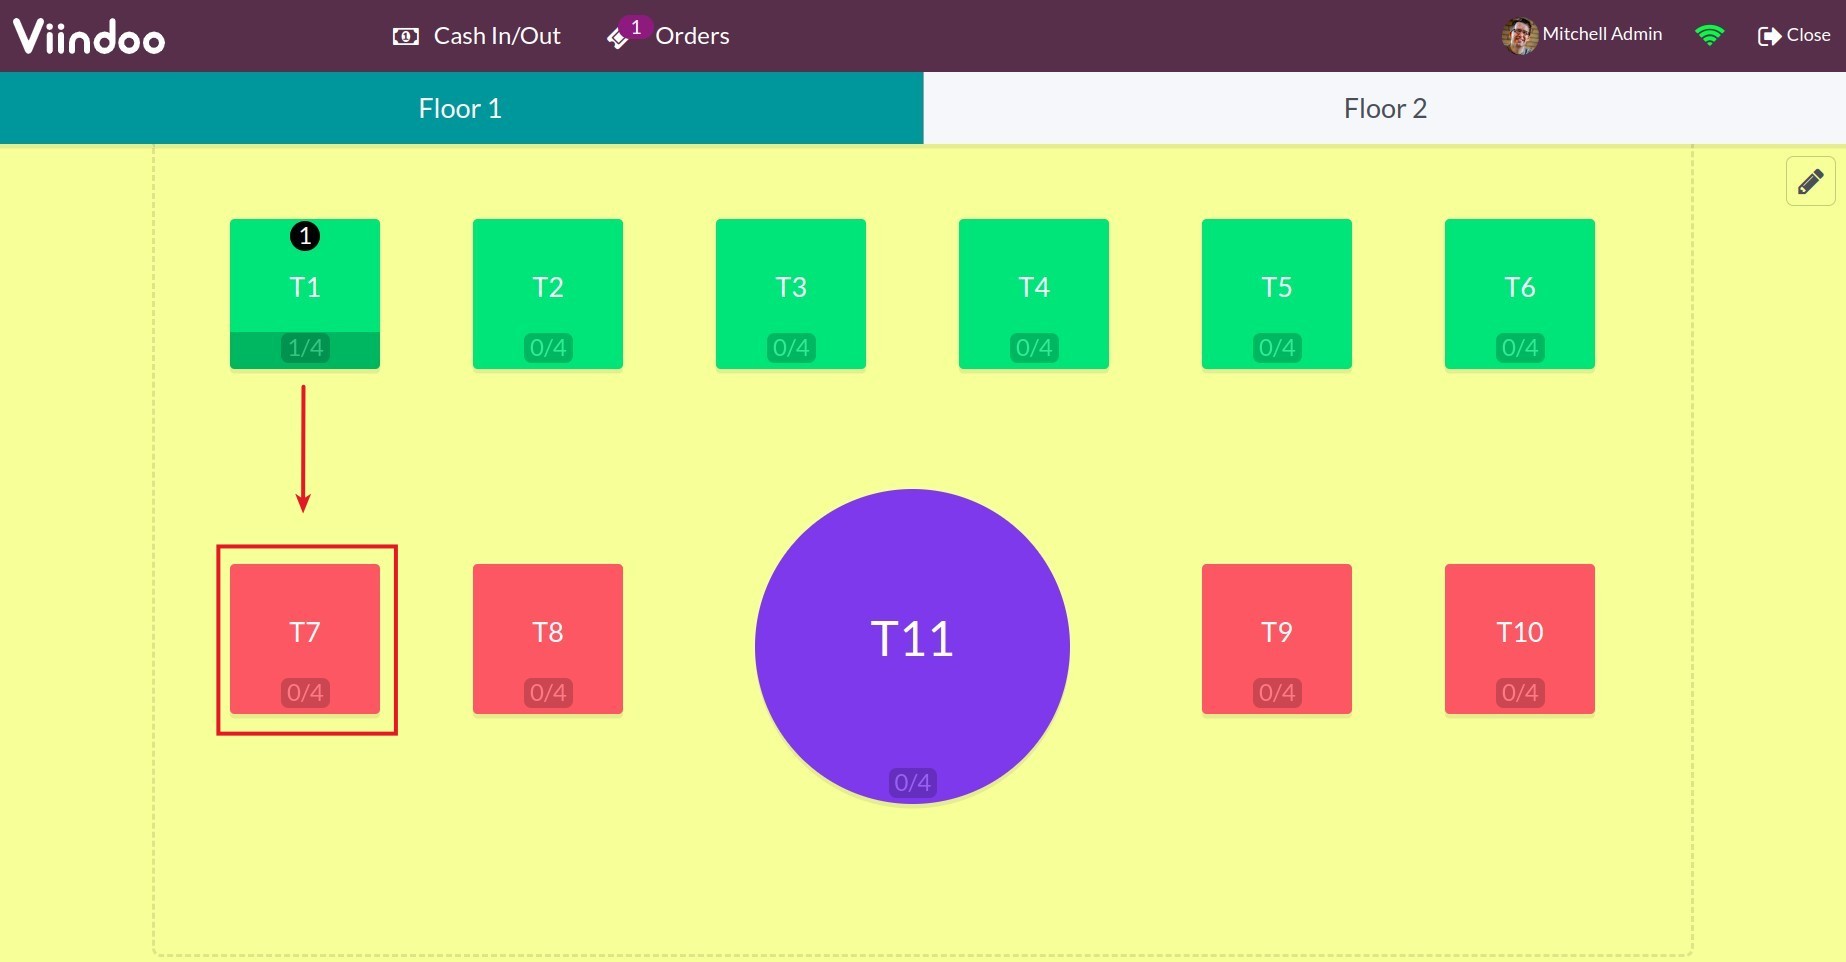
After that, the order will be moved to the destination table.
