Setting up for company and multi-company
Requirements
This tutorial requires you to install the Viindoo instance.
One of the first steps to operating your business with Viindoo All-in-one Enterprise Management system is to set up the company information. The company information is very important and appears almost everywhere in the system such as:
Delivery notes;
Ect.
Company information also makes it easier for partners to identify your business.
Company information settings
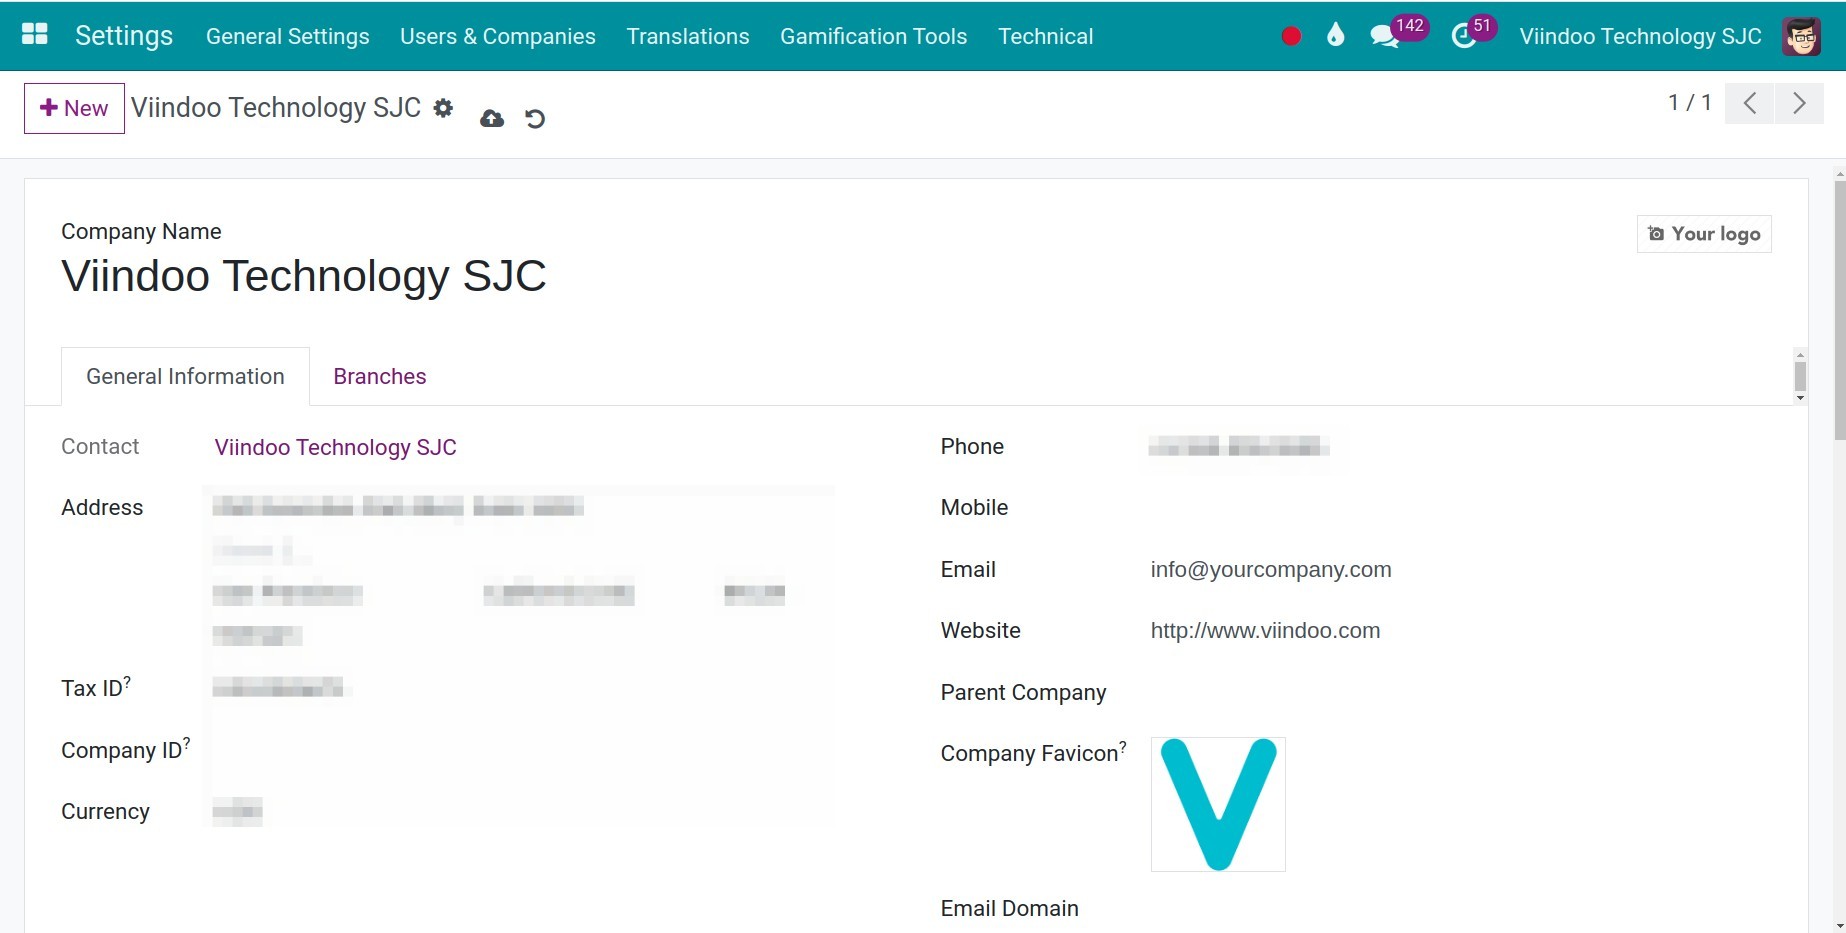
Navigate to Settings ‣ Users & Companies ‣ Companies ‣ New. Enter all information about your company as fully as possible.
Note
Administrator account login is required to set up the company information.
The currency unit could not be changed once accounting entries have been generated.
In the upper right corner, insert a company logo image in the Your logo field to identify the business branding. Click the Save button after completing the information.
Multi-companies settings
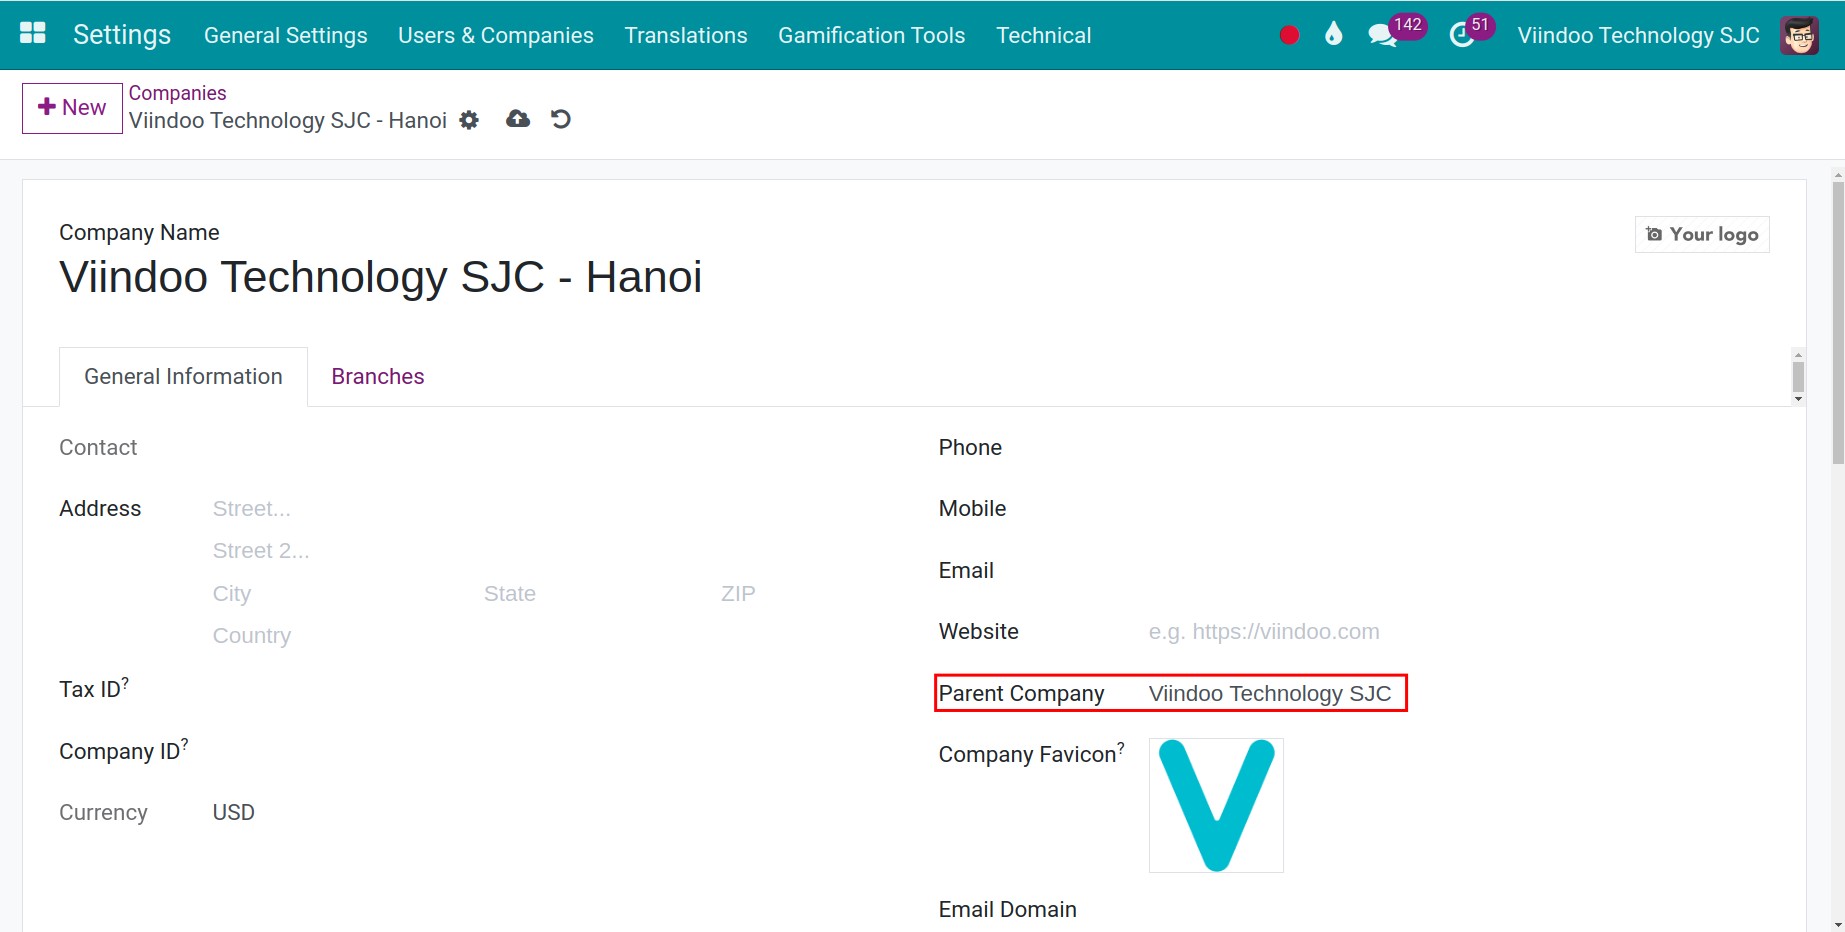
Viindoo software supports managing multiple companies in one system. To create the second company, you go to Settings > Users & Companies > Companies and select New.

If the system manages more than one company, the Parent Company field will appear. You can select the parent company or set it blank if the company is not a subsidiary.
In addition, in the multi-company environment, you can click on the company name in the title bar and select the company environment you need to work.
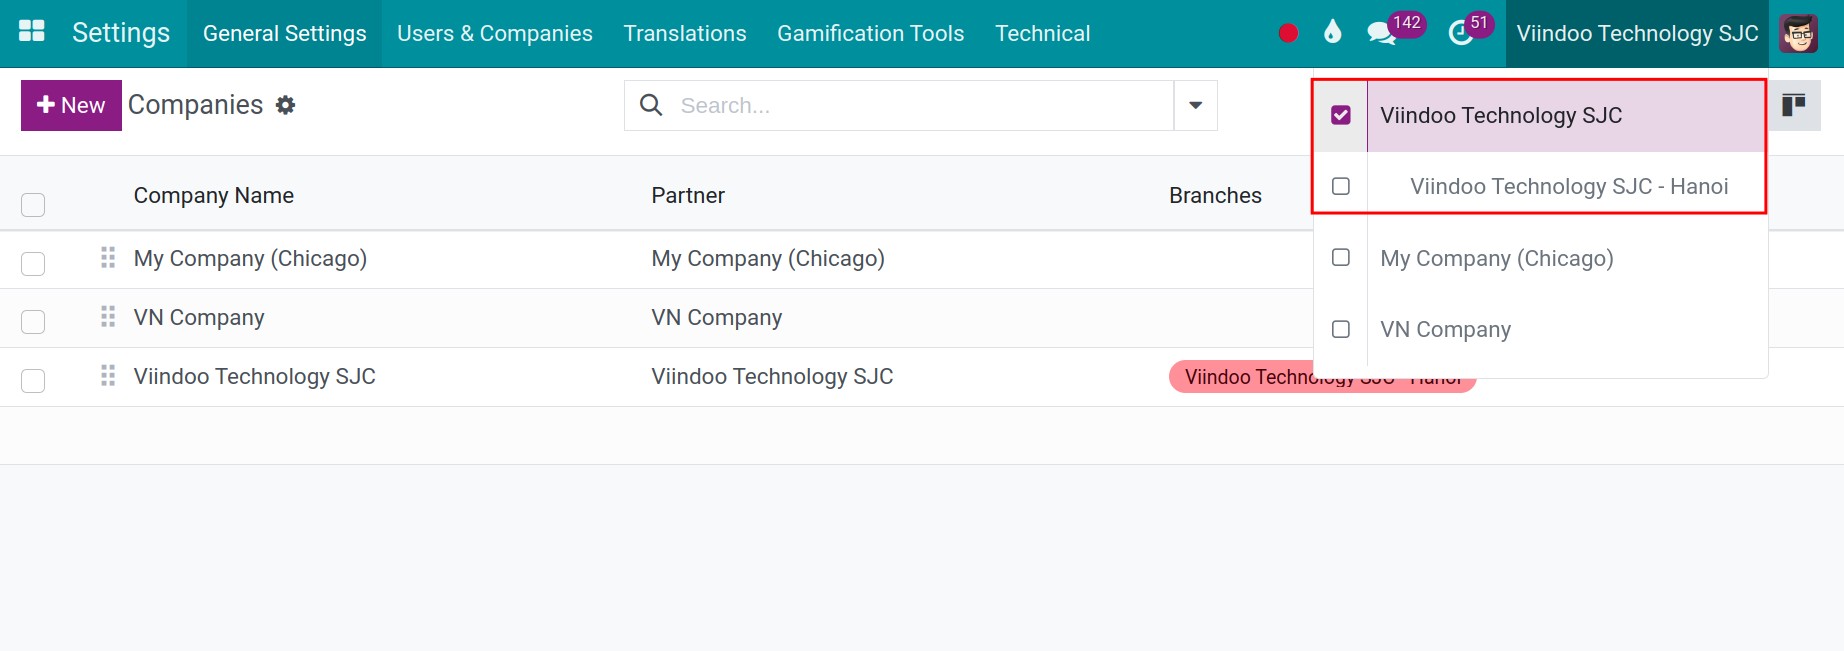
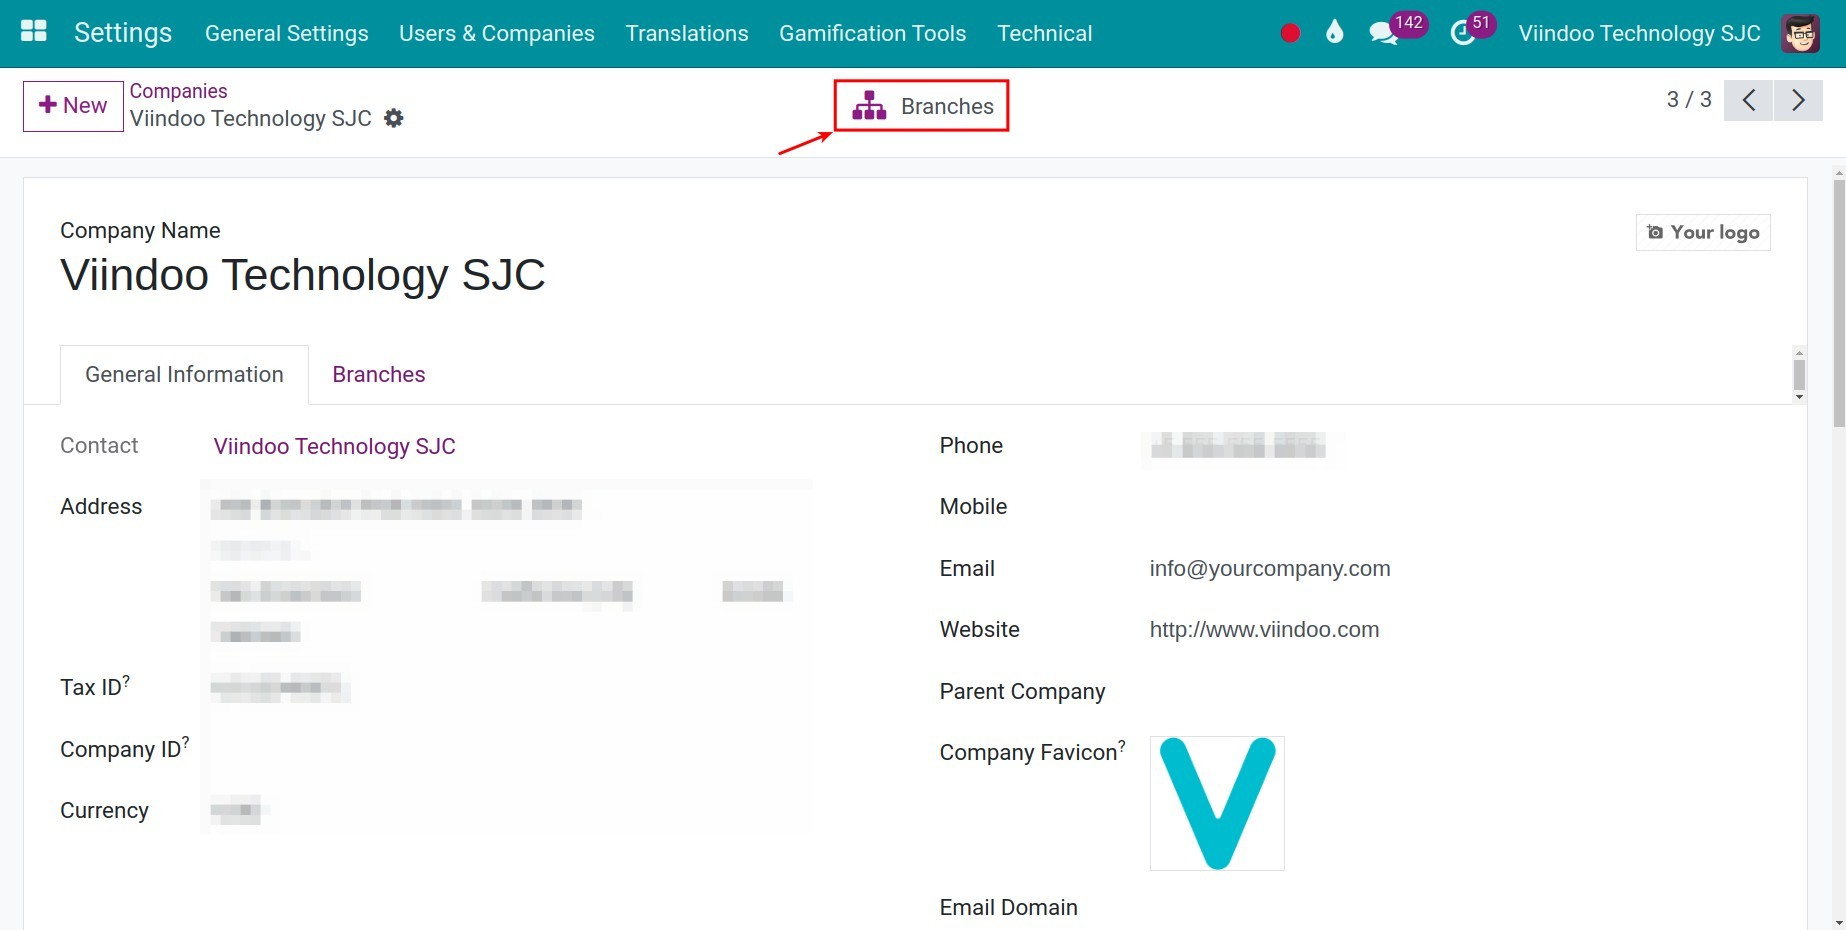
However, as you can see, child companies do not appear in the companies list view. To view them, you must access the specific parent company’s view and then click the Branches button. The child companies’ view will then appear as shown below.

In order for a user account to have access to the data of multiple companies in a multi-company environment, you go to Settings > Users & Companies > Users and select the user account that needs to have the access right.

On the user account, in the Allowed companies field you add the companies you want to grant access to this user.
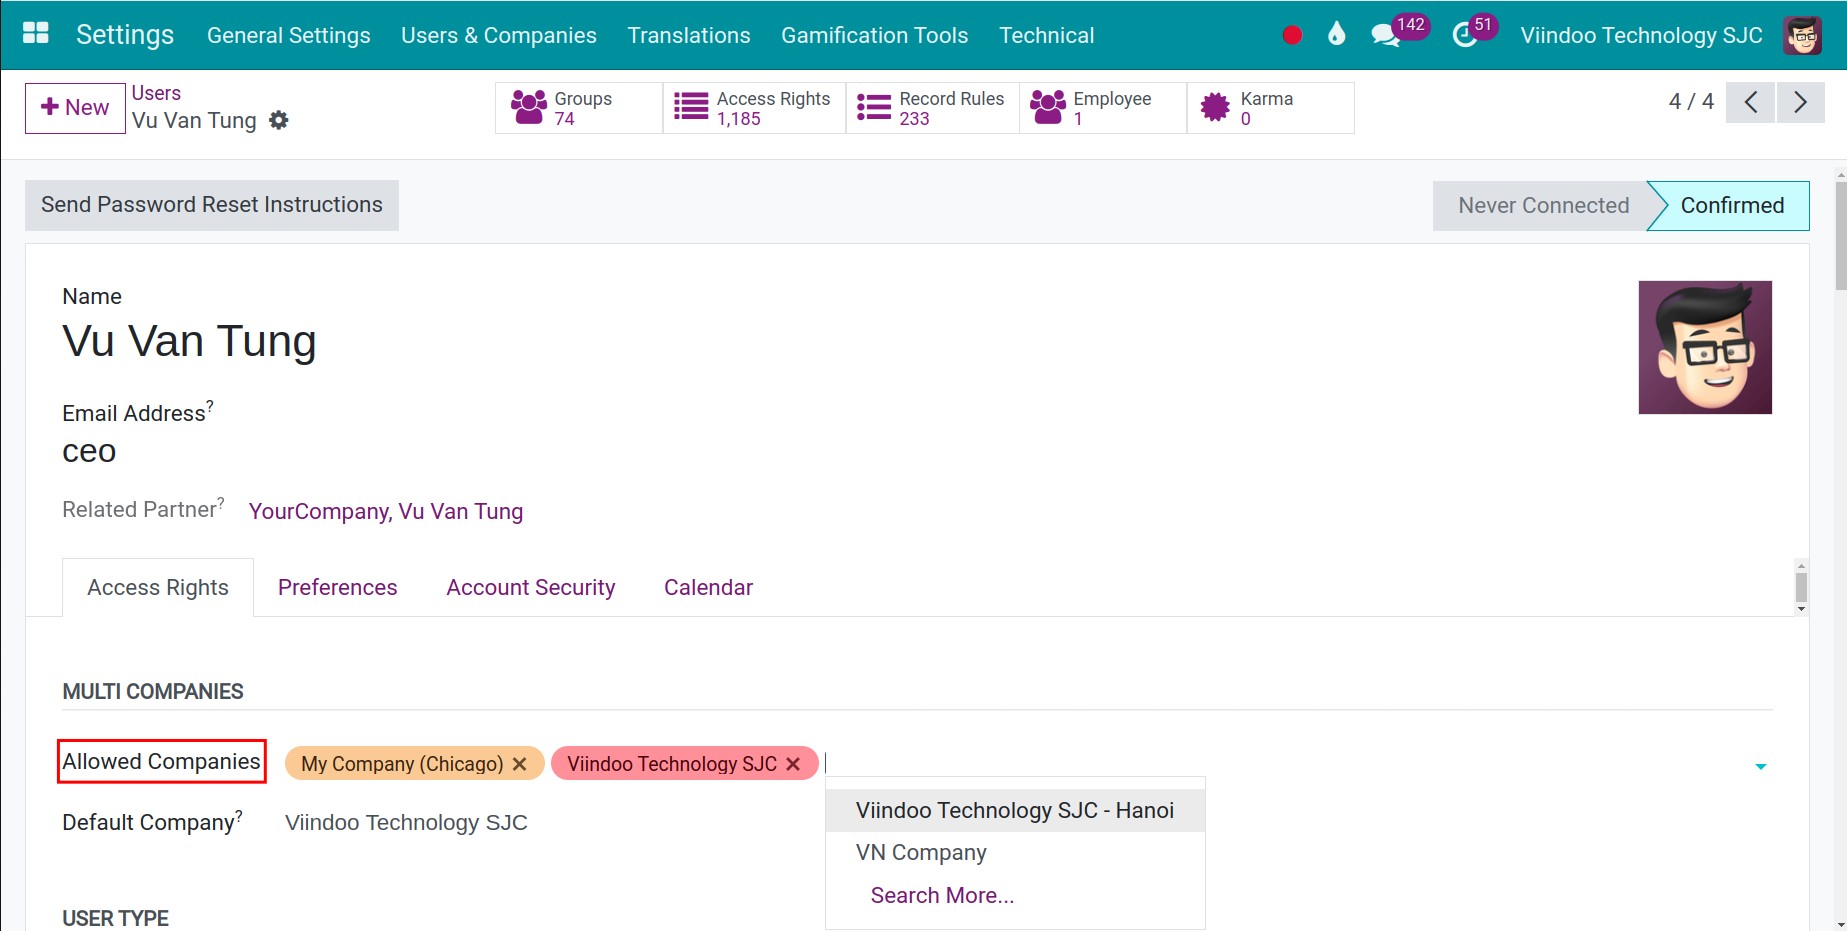
Then you choose Save button to save this setting.