
How to create a labour contract
You create a labour contract in Employees > Employees > Contracts: choose the employee, enter the contract dates, the salary and the payroll policies, then click Running to make the contract effective. The system keeps the history of the contracts of each employee, uses the salary information of the running contract to compute payslips, and warns you before the contract expires.
Who can create a labour contract?
Users whose access right for Contracts is Administrator can create and edit contracts. Payroll officers have this right too. Users with the Employee Manager right can only view the contracts.
Before you start
Create the employee. See How to create a new employee.
Set up the department, the job position and the working schedule of the employee.
Create the salary structure, the personal tax rule and the advantage templates that the contract uses.
How to create a contract?
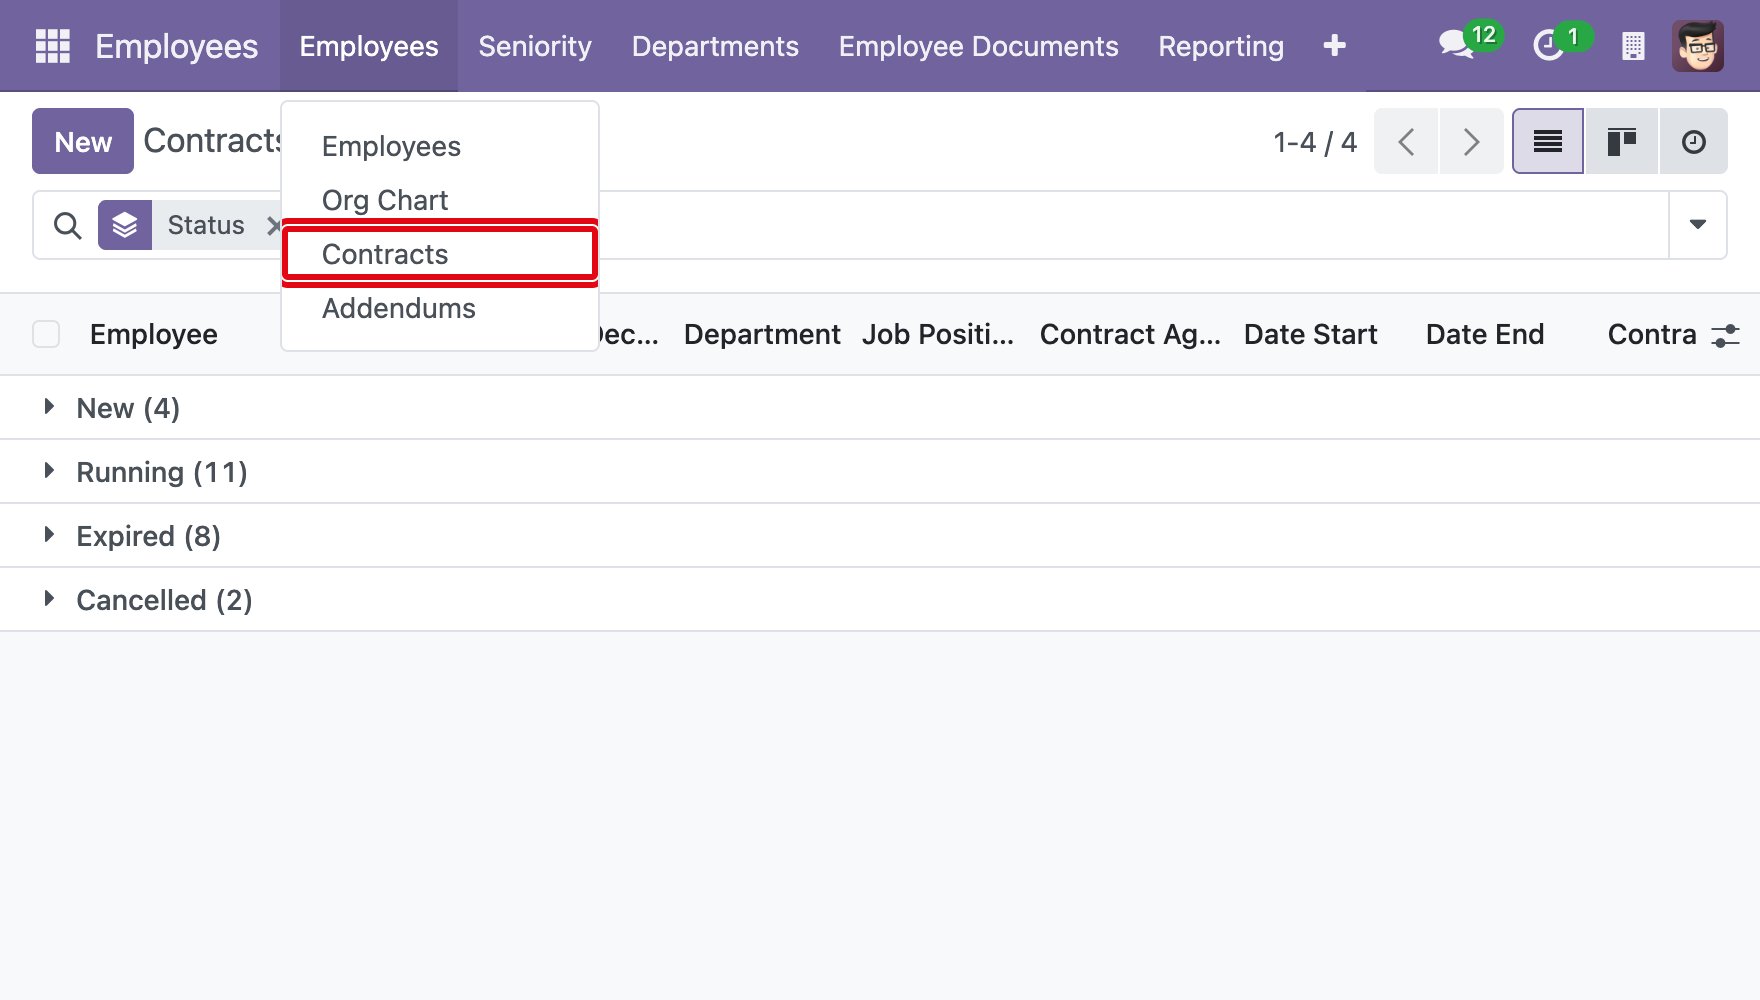
Go to Employees > Employees > Contracts. Payroll officers can also open Payroll > Employees > Contracts. The contracts are grouped by status.
![The Contracts menu in the Employees application]()
Click New.
![The New button on the list of contracts]()
The contract form opens.
![The blank contract form]()
Fill in the overview information at the top of the form.
![The overview information of a contract]()
Field
What to enter
Contract Reference
The number or name of the contract, according to the regulations of your company.
Employee
The employee of the contract. The department, job position and working schedule are filled in from the employee.
Date From
The date the contract starts. You cannot change it once the contract is Running or Expired.
Date To
The date the contract ends. Leave it blank if the contract has no end date.
Trial Date To
The last day of the trial period, if there is one.
Contract Age
Calculated by the system from the dates of the contract.
Working Schedule
The working schedule of the contract, suggested from the employee. Make sure it is the same as the working schedule on the employee form: a warning appears on a running contract when they differ. Changing the working schedule of a running contract also updates the employee.
Work Entry Source
Where the work entries are generated from. The choice is Working Schedule. If you install the module Work Entry - Attendance, you can also choose Attendances.
Salary Structure Type
The type of salary structure that suits the position of the employee.
Salary Structure
The salary structure used to compute the payslips. It is required and is suggested from the salary structure type.
13th-Month Salary Structure
The salary structure used for the thirteen-month payslips instead of the salary structure above. Leave it blank to use the default one.
Department
The department of the employee.
Job Position
The job position of the employee. The basic wage of the job position is suggested in the Basic Wage field.
Contract Type
The type of the contract. It also suggests the Salary Computation Mode and the Personal Tax Policy of the contract.
HR Responsible
The user who receives the to-do activity when the contract is about to expire.
Note
To record a trial contract, enter a Trial Date To. The payslips of a contract that has a trial date are marked as trial payslips.
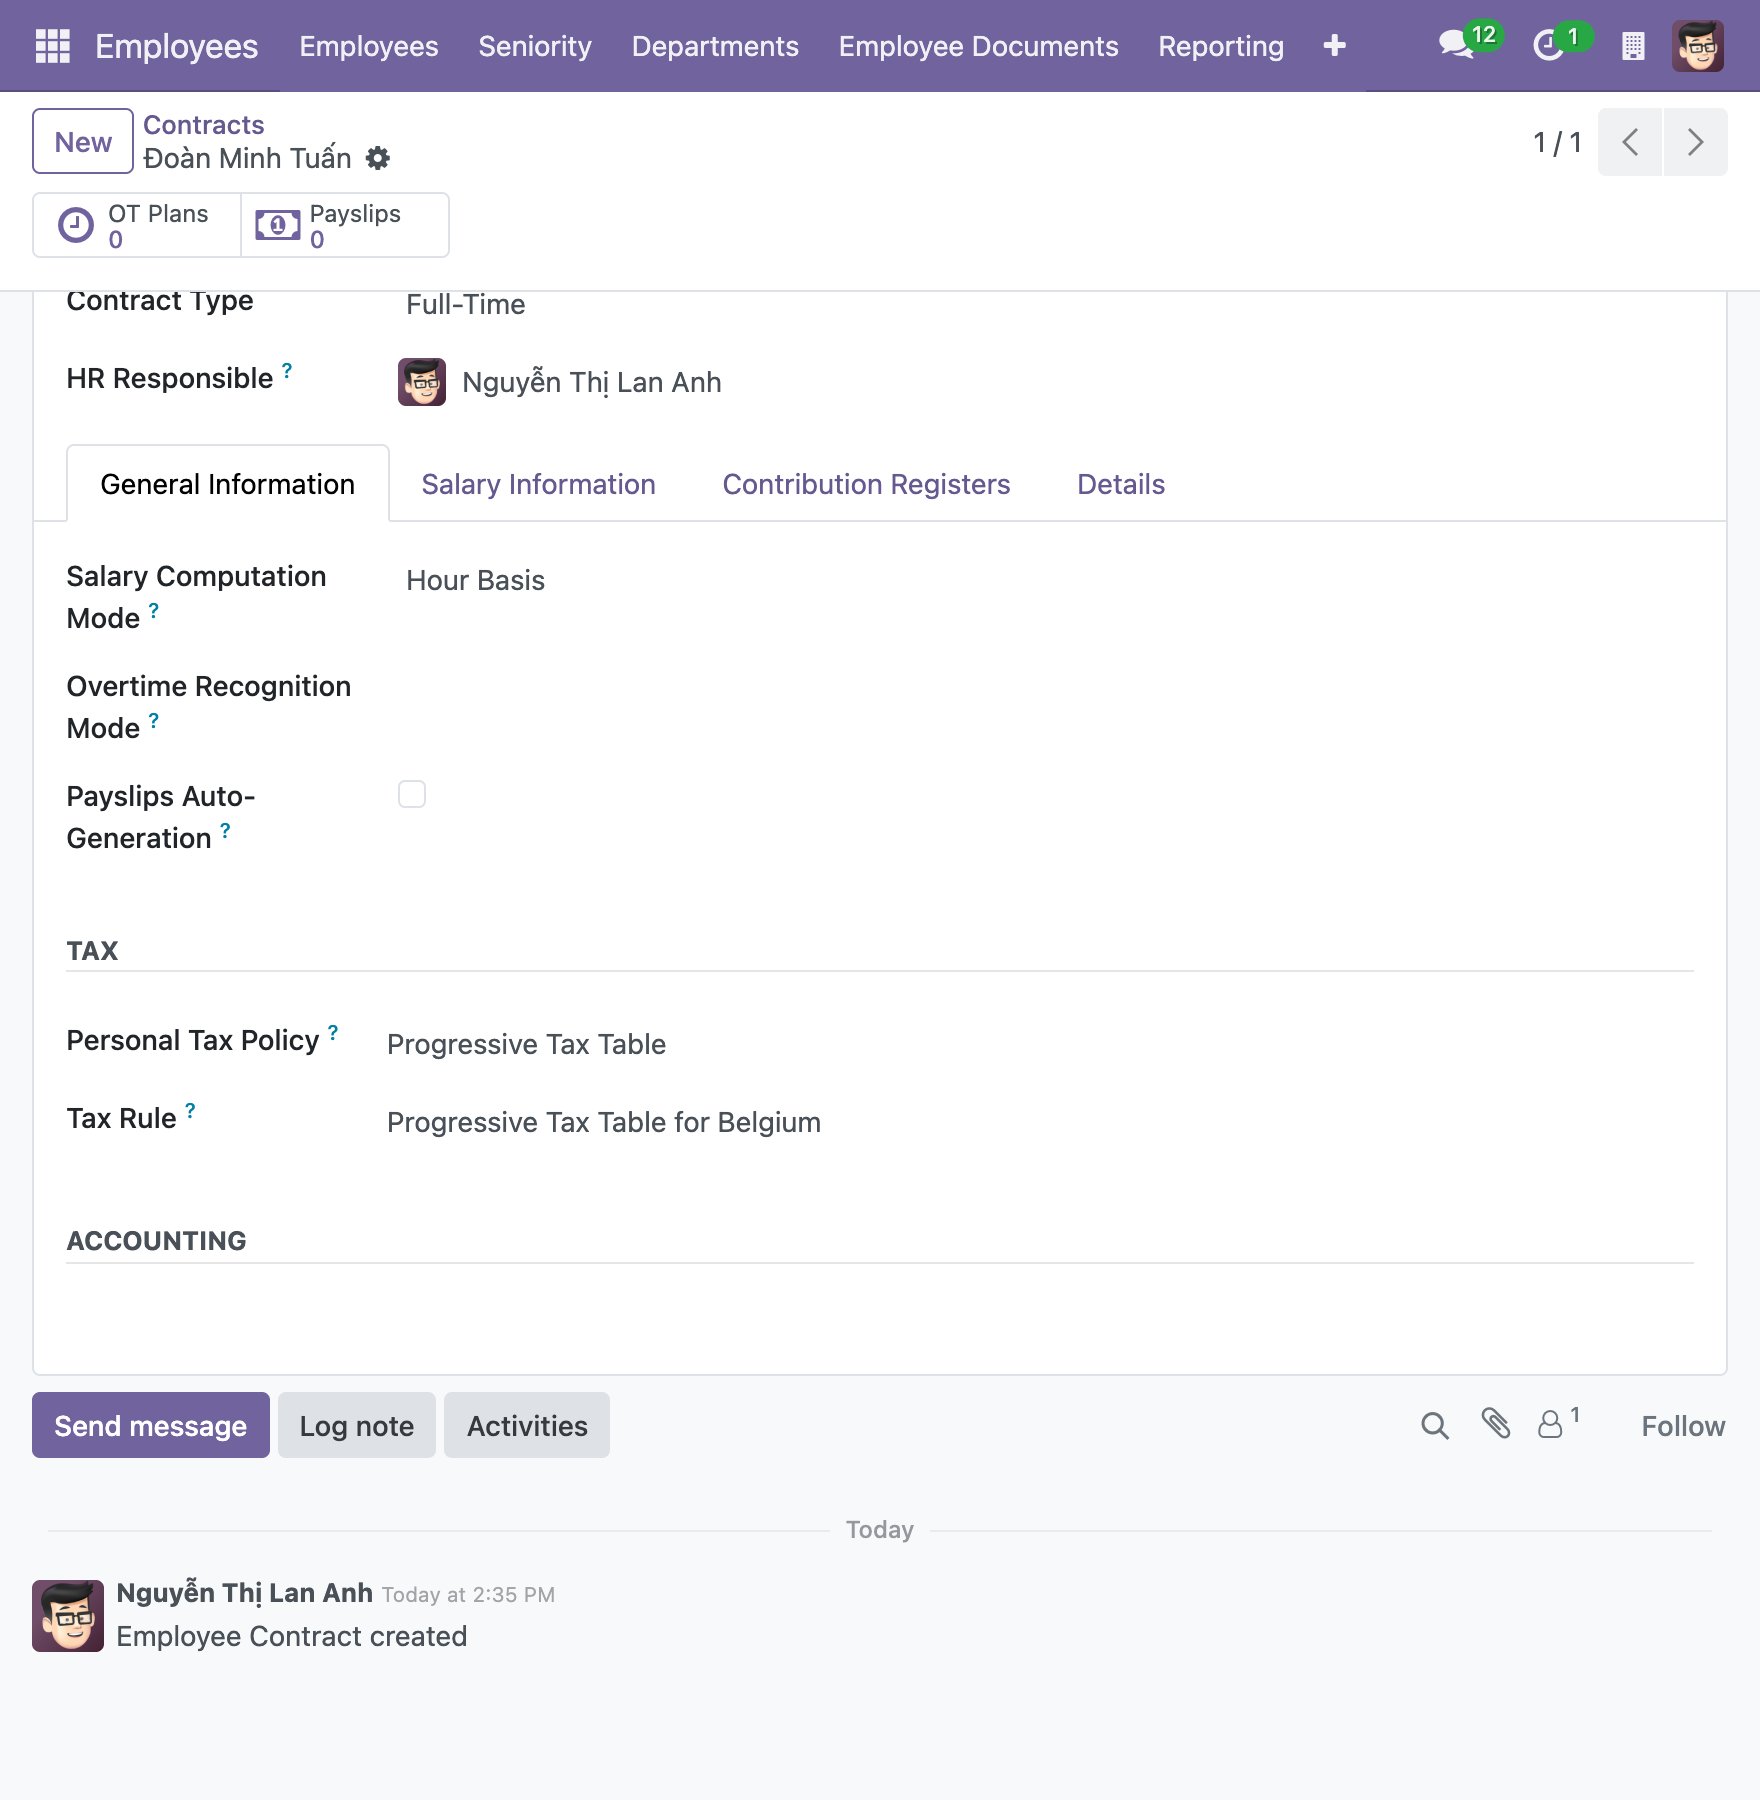
Open the General Information tab and set the payroll policies of the contract.
![The General Information tab of the contract]()
Field
What to enter
Salary Computation Mode
How the salary is computed in the salary rules. Hour Basis: from the working hours of the employee. Day Basis: from the working days of the employee.
Overtime Recognition Mode
How the actual overtime of the employee is recognized. By Plan: all the planned overtime is considered as actual. If you leave the field empty, the value is taken from the settings of the company. The other modes Attendance, Timesheet, Attendance or Timesheet and Attendance and Timesheet appear when you install the corresponding overtime modules. See Overview and Configuration of Viindoo Overtime.
Payslips Auto-Generation
Tick it so that the system creates the payslips of this contract periodically, if the settings of the company allow it. See Create Payslips Batches.
Personal Tax Policy
Progressive Tax Table or Flat Rate. Choose the policy that suits the contract, for example the probation or the official one.
Tax Rule
The personal tax rule applied to the payslips of the contract. It is required.
Note
If you install the module HR Payroll Accounting, the Accounting section of this tab has the Expense Account, Analytic Distribution and Salary Journal fields, used to distribute the salary expenses to the accounting system. If you install the module Payroll Timesheet Integrator, the Payroll Timesheet Enabled field makes the payslips of the contract use the timesheet of the employee.
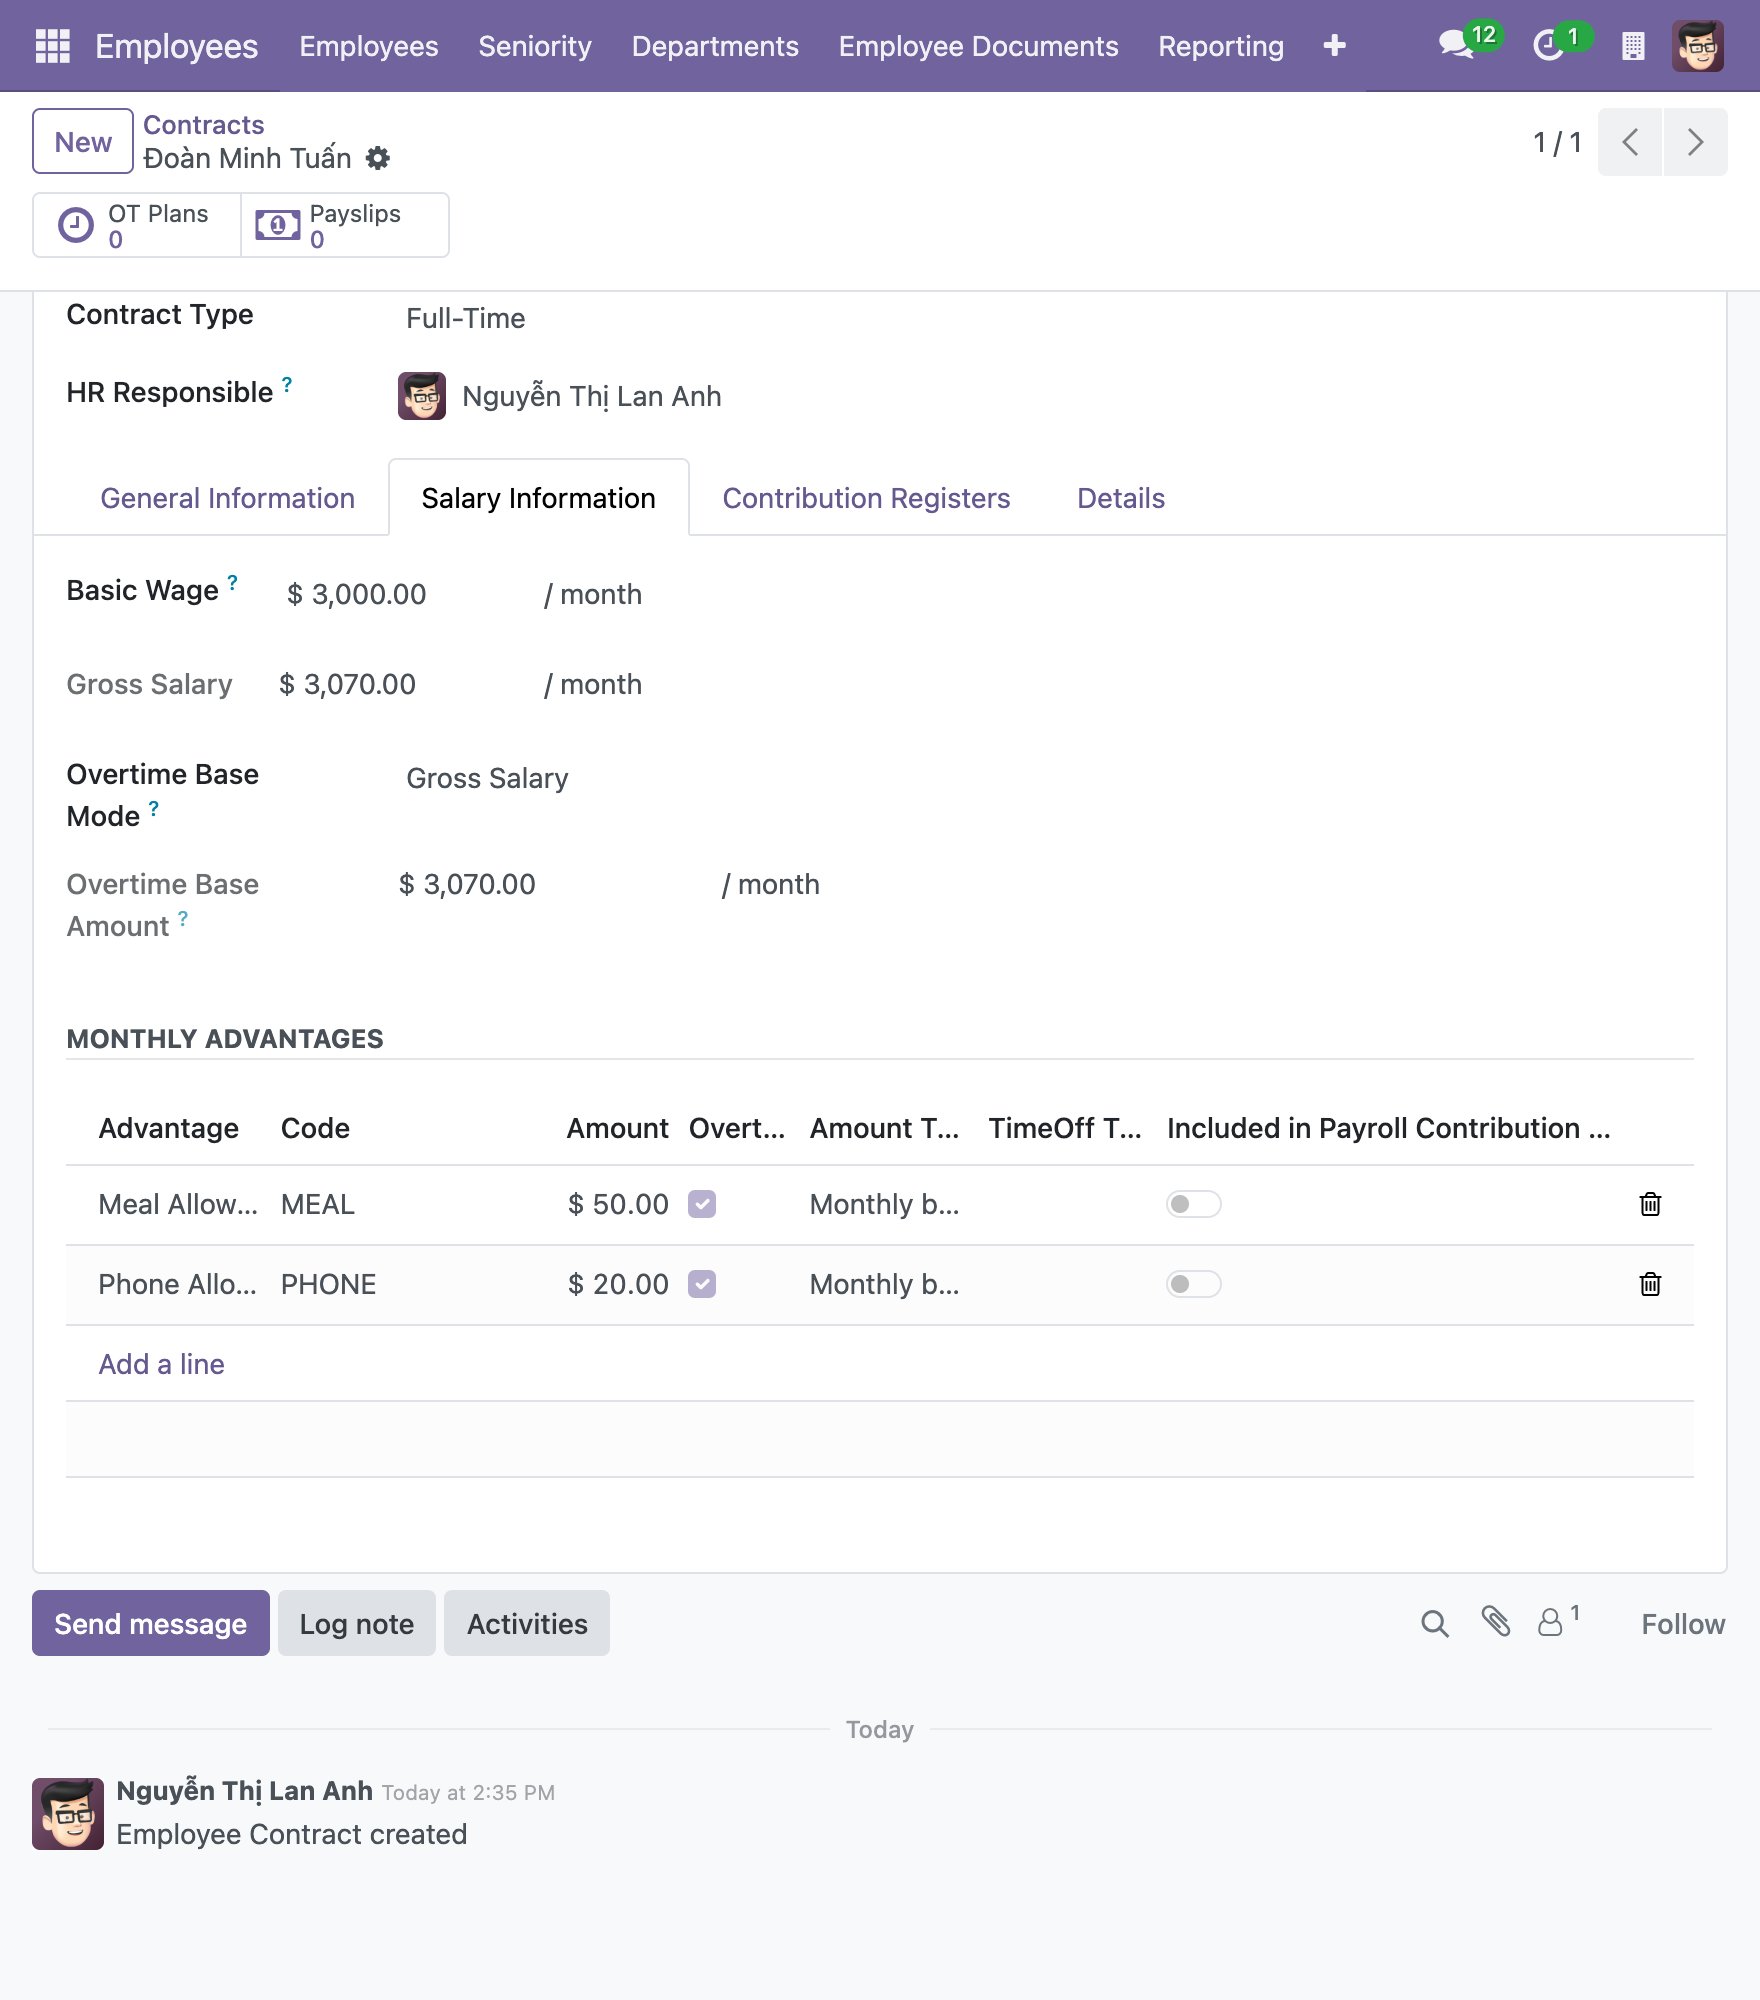
Open the Salary Information tab and enter the salary of the employee.
![The Salary Information tab of the contract]()
Field
What to enter
Basic Wage
The monthly basic wage of the employee, without the advantages.
Gross Salary
Calculated by the system: the basic wage plus the monthly advantages whose amount type is Monthly base.
Overtime Base Mode
The amount used to compute the overtime pay. Manual Input: you enter the Overtime Base Amount. Basic Wage: the basic wage. Gross Salary: the gross salary. Wage Plus Configurable Advantages: the basic wage plus the advantages whose Overtime Base Factor is ticked. See Calculating overtime salary.
Monthly Advantages
The advantages the employee receives. Click Add a line and choose an advantage. The amount is suggested from the advantage of the job position, or else from the advantage template, and you can change it. Tick Included in Payroll Contribution Register to add the advantage to the base of the payroll contribution register. If you choose a TimeOff Type, the amount type becomes Timeoff Hour Base.
In the Details tab, write any notes about the contract.
![The Details tab with the notes of the contract]()
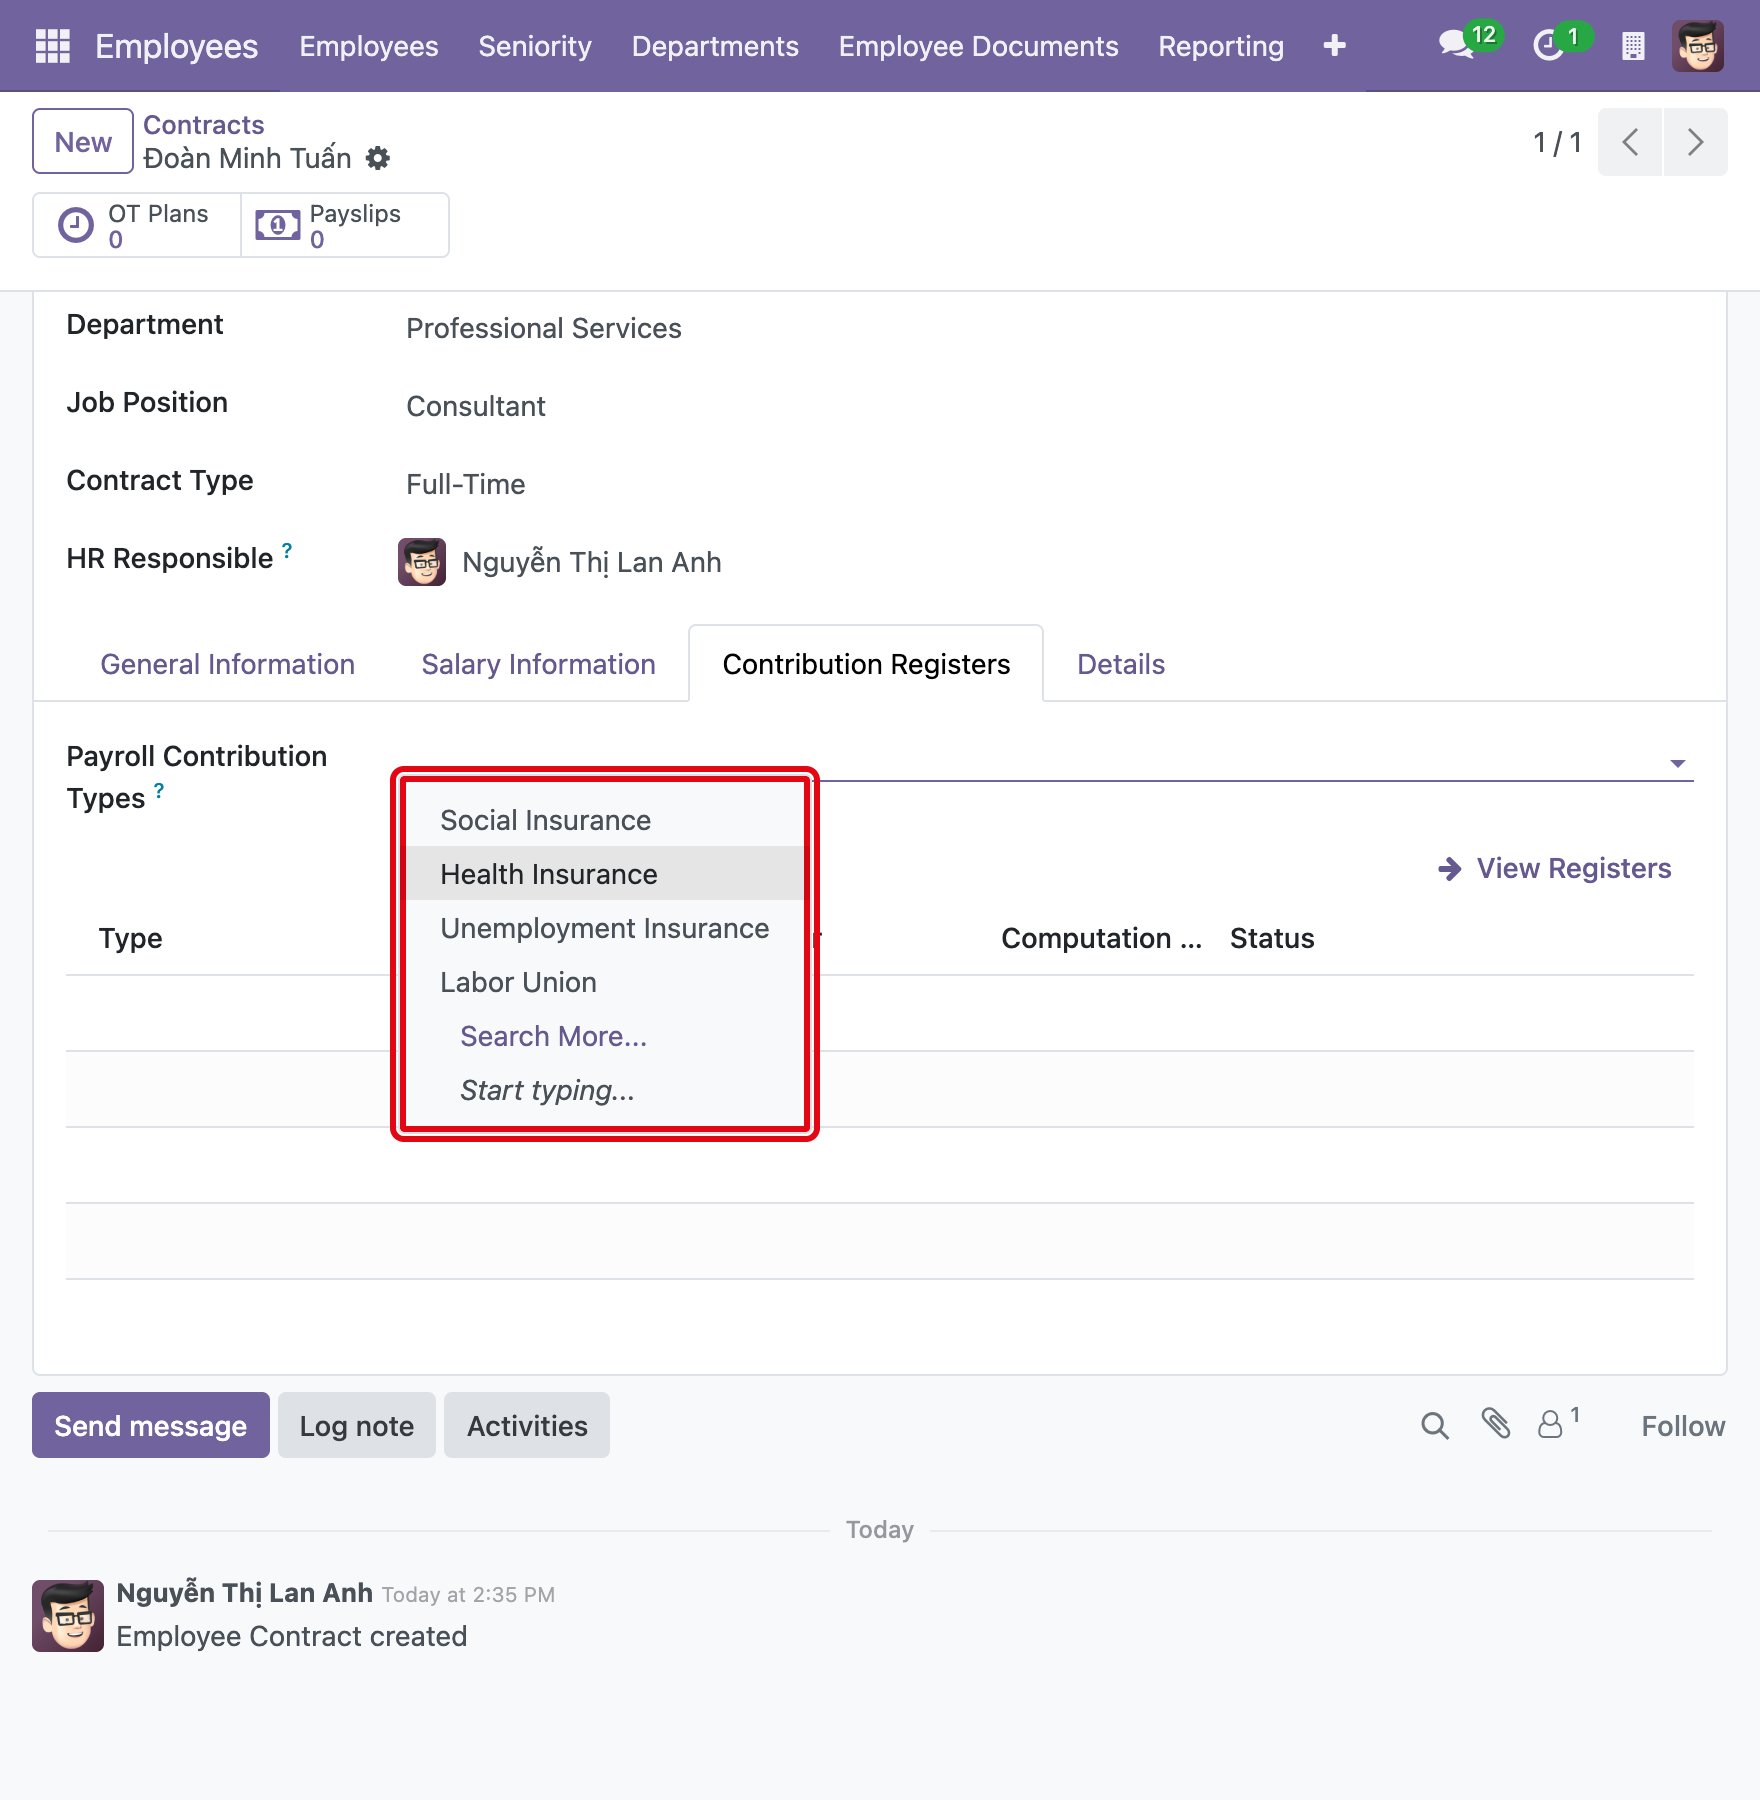
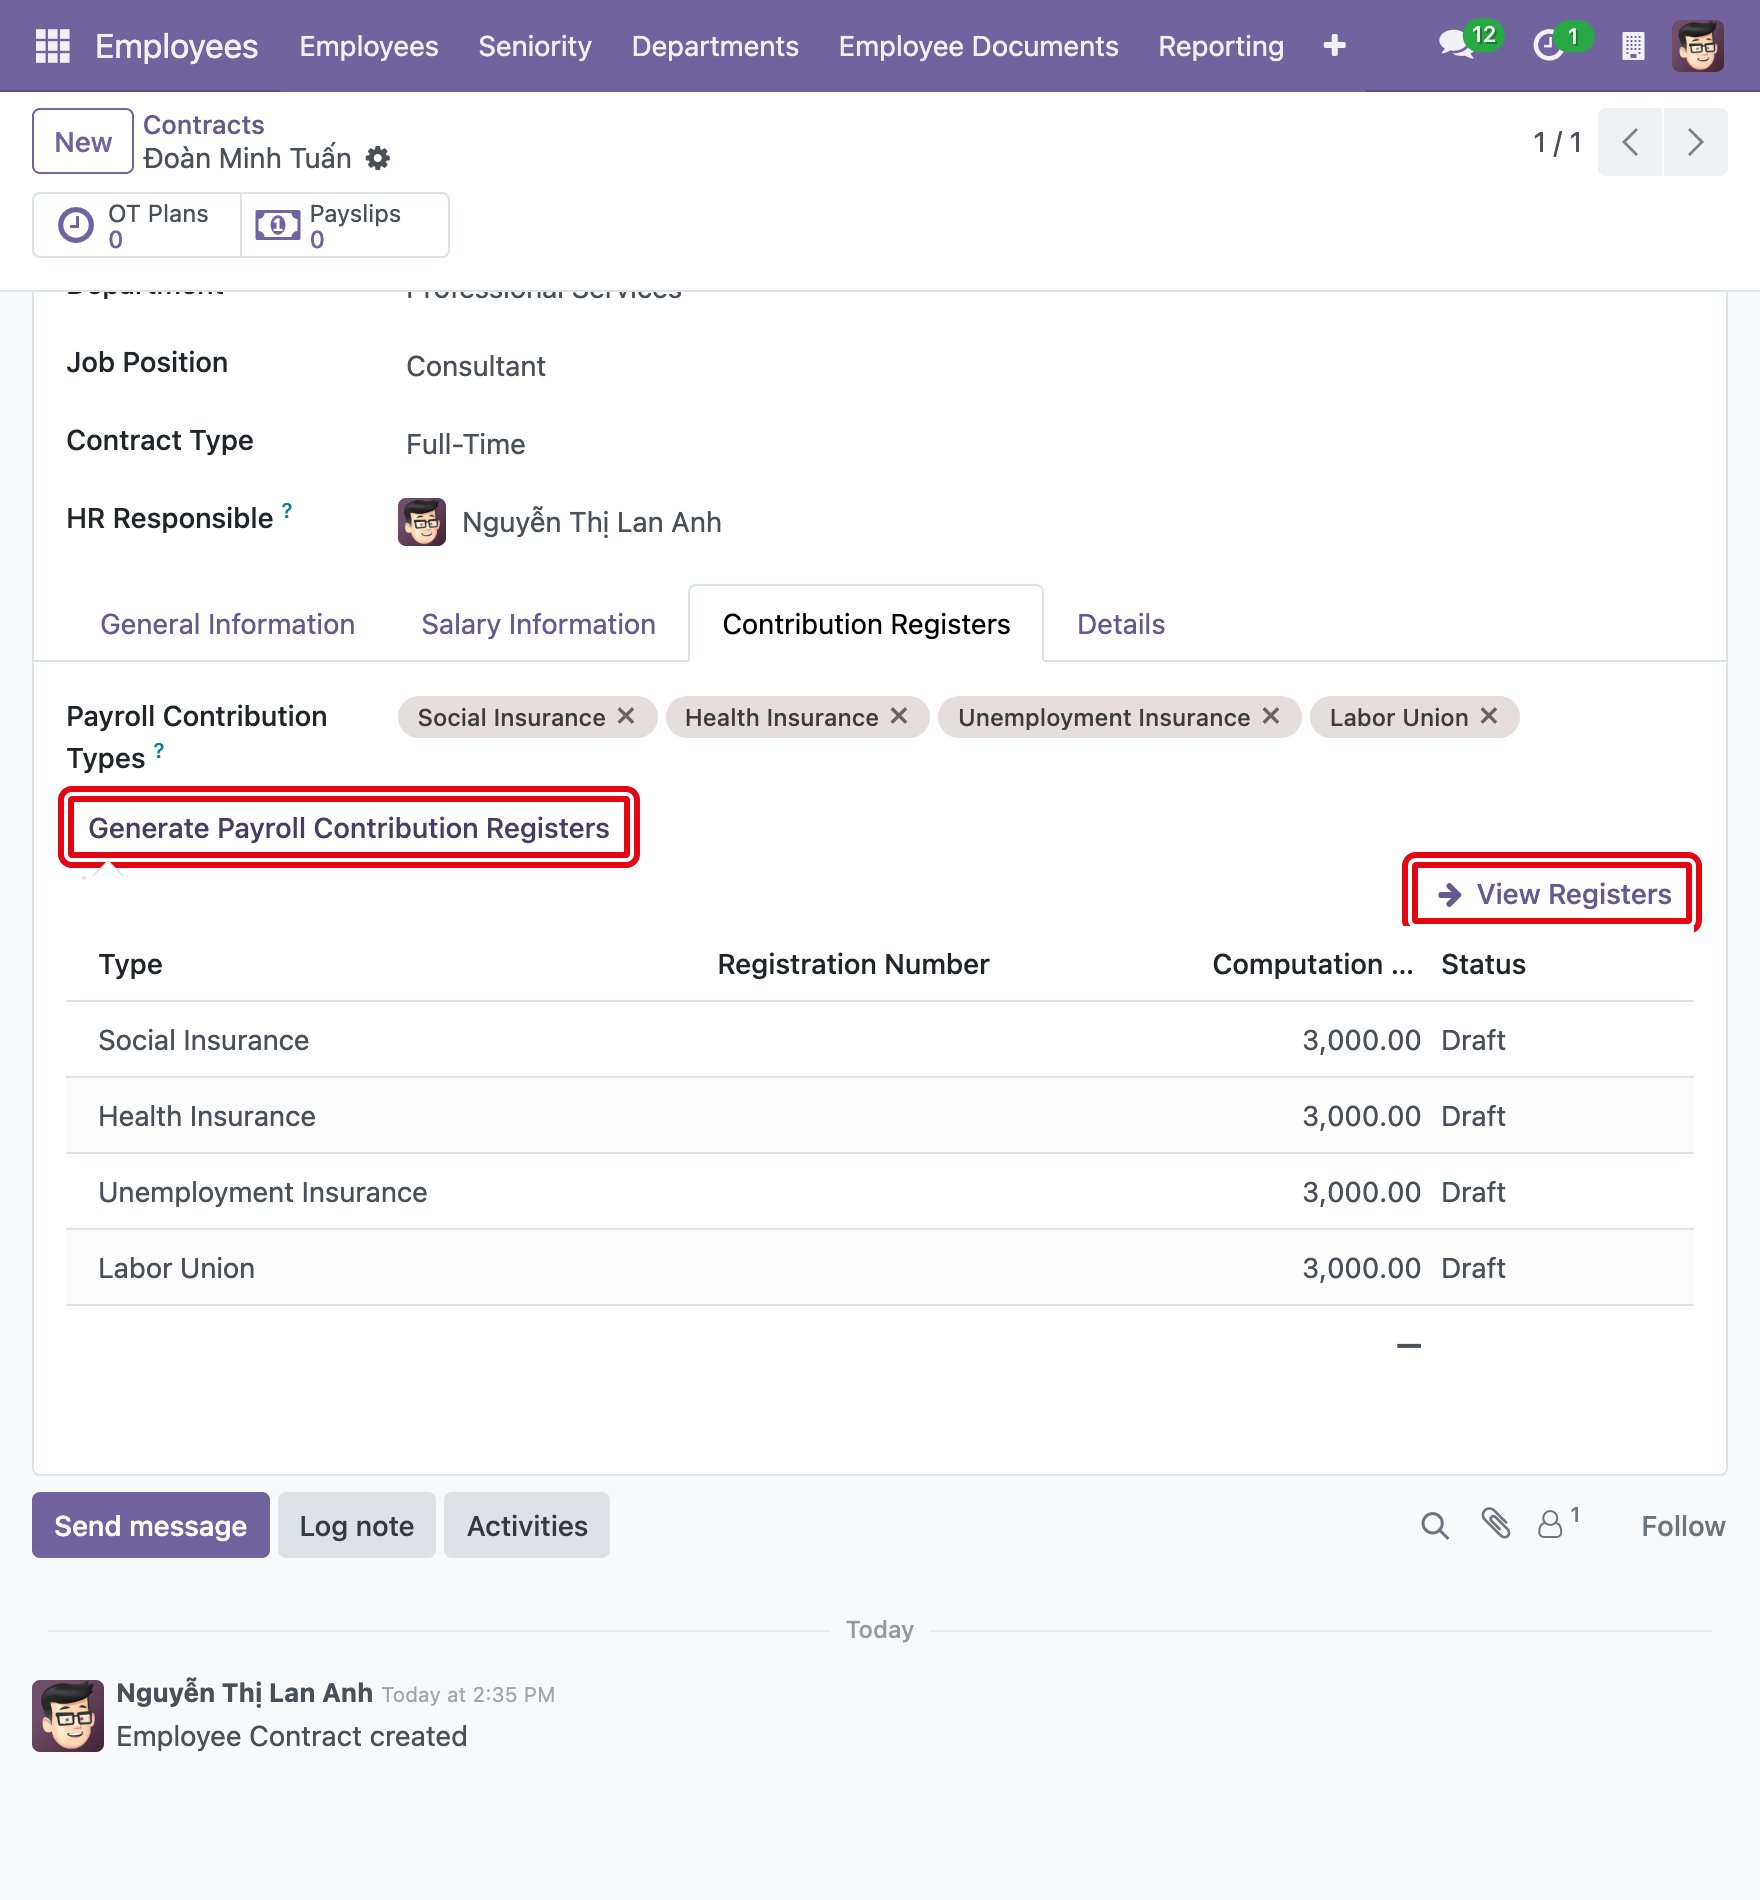
Open the Contribution Registers tab to register the contributions taken from the salary of the employee. Click the Payroll Contribution Types field and choose the contribution types of the employee.
![Choosing the payroll contribution types]()
Click Generate Payroll Contribution Registers. The system creates a draft register for each type that the employee does not have yet. The computation base of a register is the basic wage plus the advantages marked as included in the contribution register.
![The Generate Payroll Contribution Registers button]()
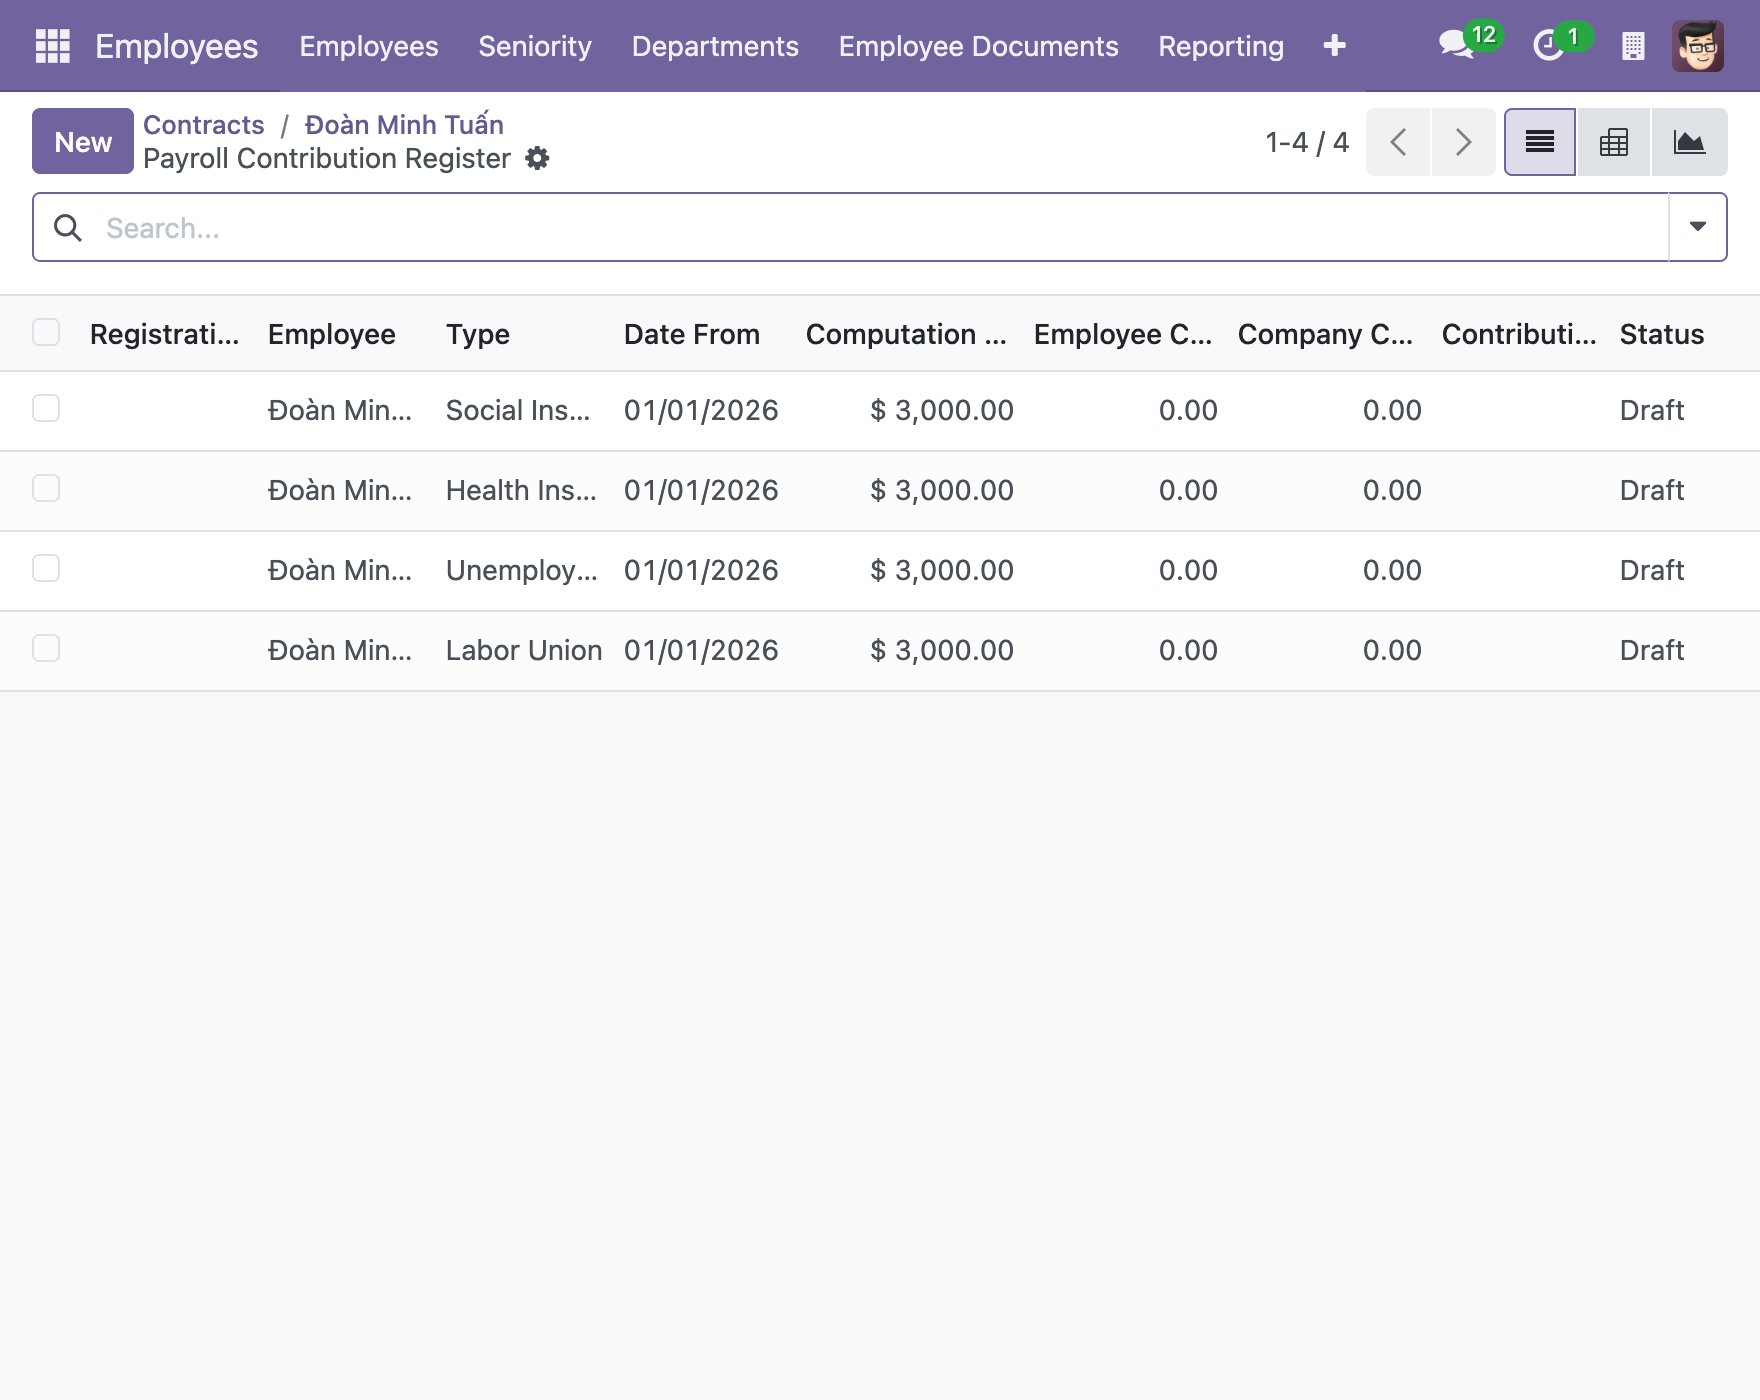
Click View Registers to open the registers of the employee.
![The generated registers and the View Registers button]()
![The list of payroll contribution registers of the employee]()
Open a register, adjust the information if needed, and click Confirm to register the contribution.
![A payroll contribution register with the Confirm button]()
Save the contract.





What do I get when the contract is created?
The contract is saved in the status New, and the Contract Age, the Gross Salary and the contribution registers are calculated. The contract does not affect the payroll until it is Running.
How to change the status of a contract?
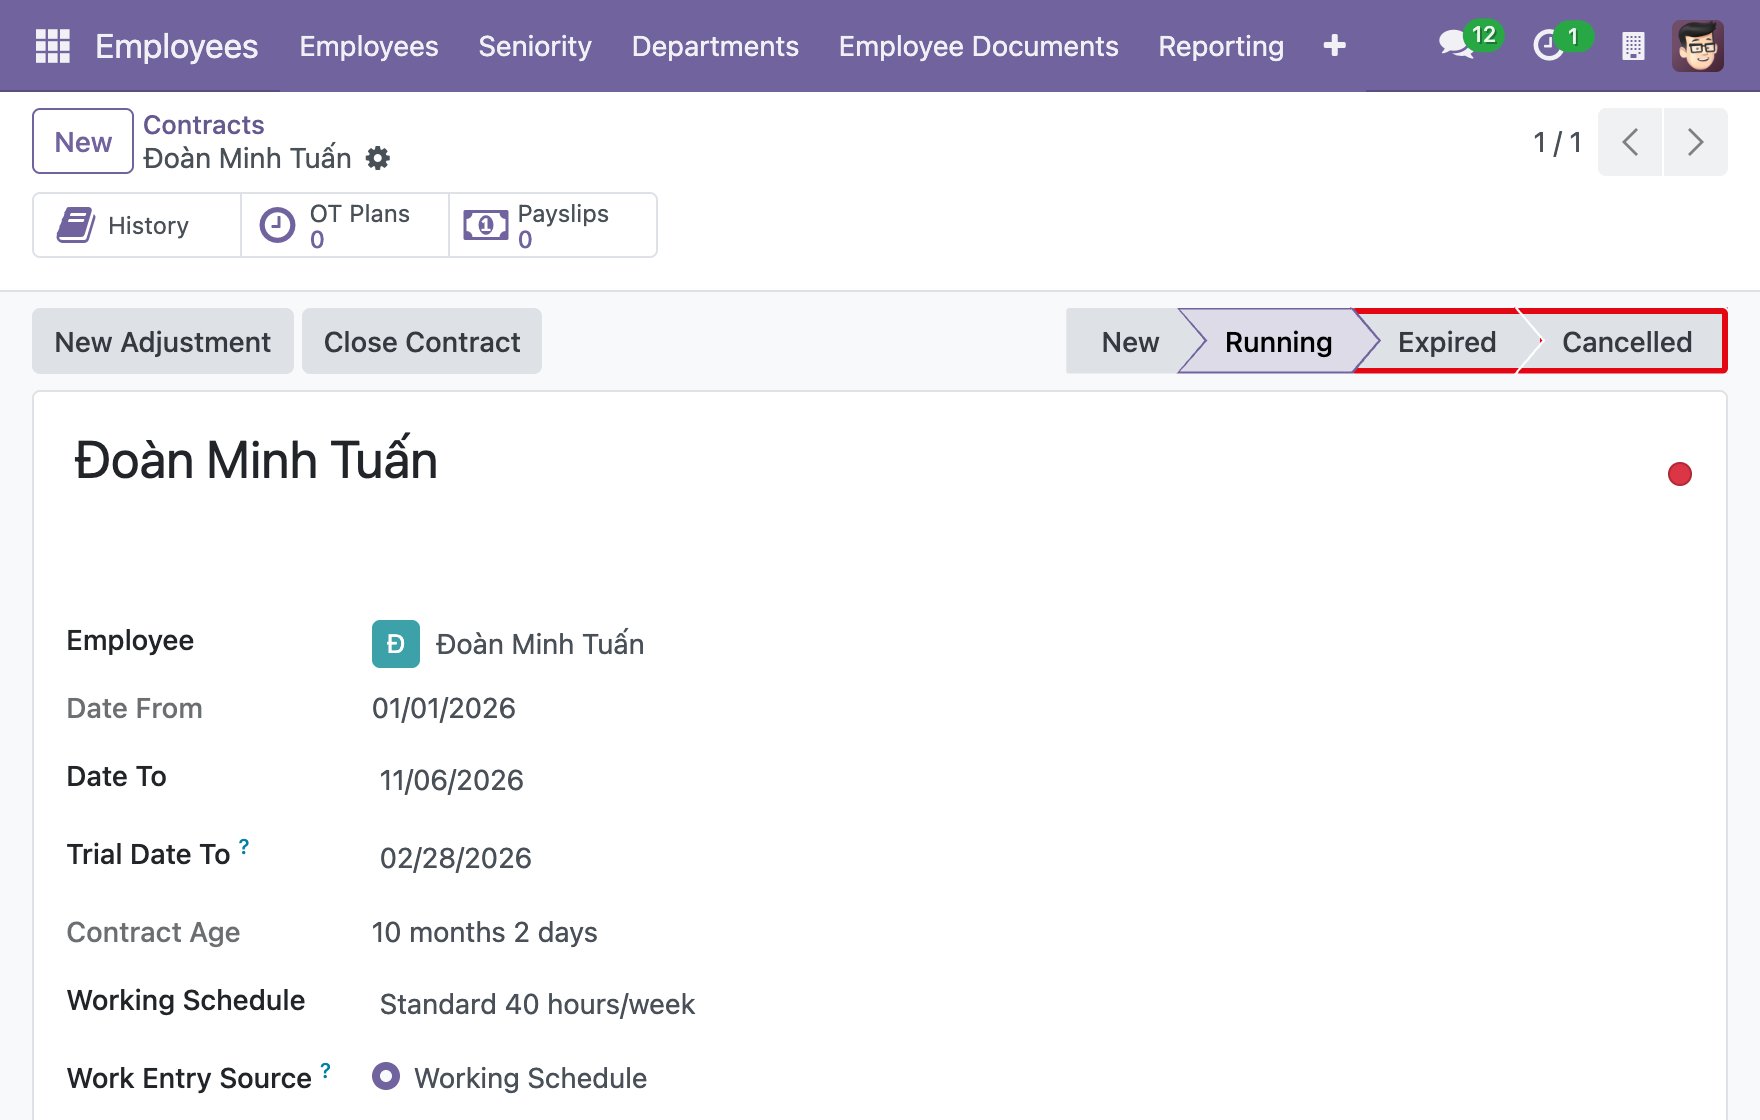
The status bar of the contract has four statuses: New, Running, Expired and Cancelled. Click a status to move the contract to it.
Click Running to make the contract effective. The system sets it as the current contract of the employee and updates the job position and the department of the employee from the contract.

The dot at the top right of the contract shows the state of the contract:
Ongoing (grey): the normal state.
Ready (green): on a New contract, the system starts the contract by itself when the Date From is reached.
Warning (red): the contract is about to expire.
When the Date To is within the notice period, the system sets the dot to red, creates a to-do activity “The contract of <employee> is about to expire.” for the HR Responsible and logs a message in the chatter. The notice period is 7 days by default and you can change it in the settings of the Employees application (Contract Expiry Notice Period). You can also click the dot and choose Warning yourself.


When the contract is over, click Expired. If the Date To is empty, the system fills it with today. If the contract is not used any more, click Cancelled: the payroll will not use a cancelled contract. When the Date To is reached, the system also sets a running contract to Expired by itself.
You can also change the status in the Kanban view of the contracts by dragging a contract card to another column.

How to adjust a contract?
The contract has no payslip
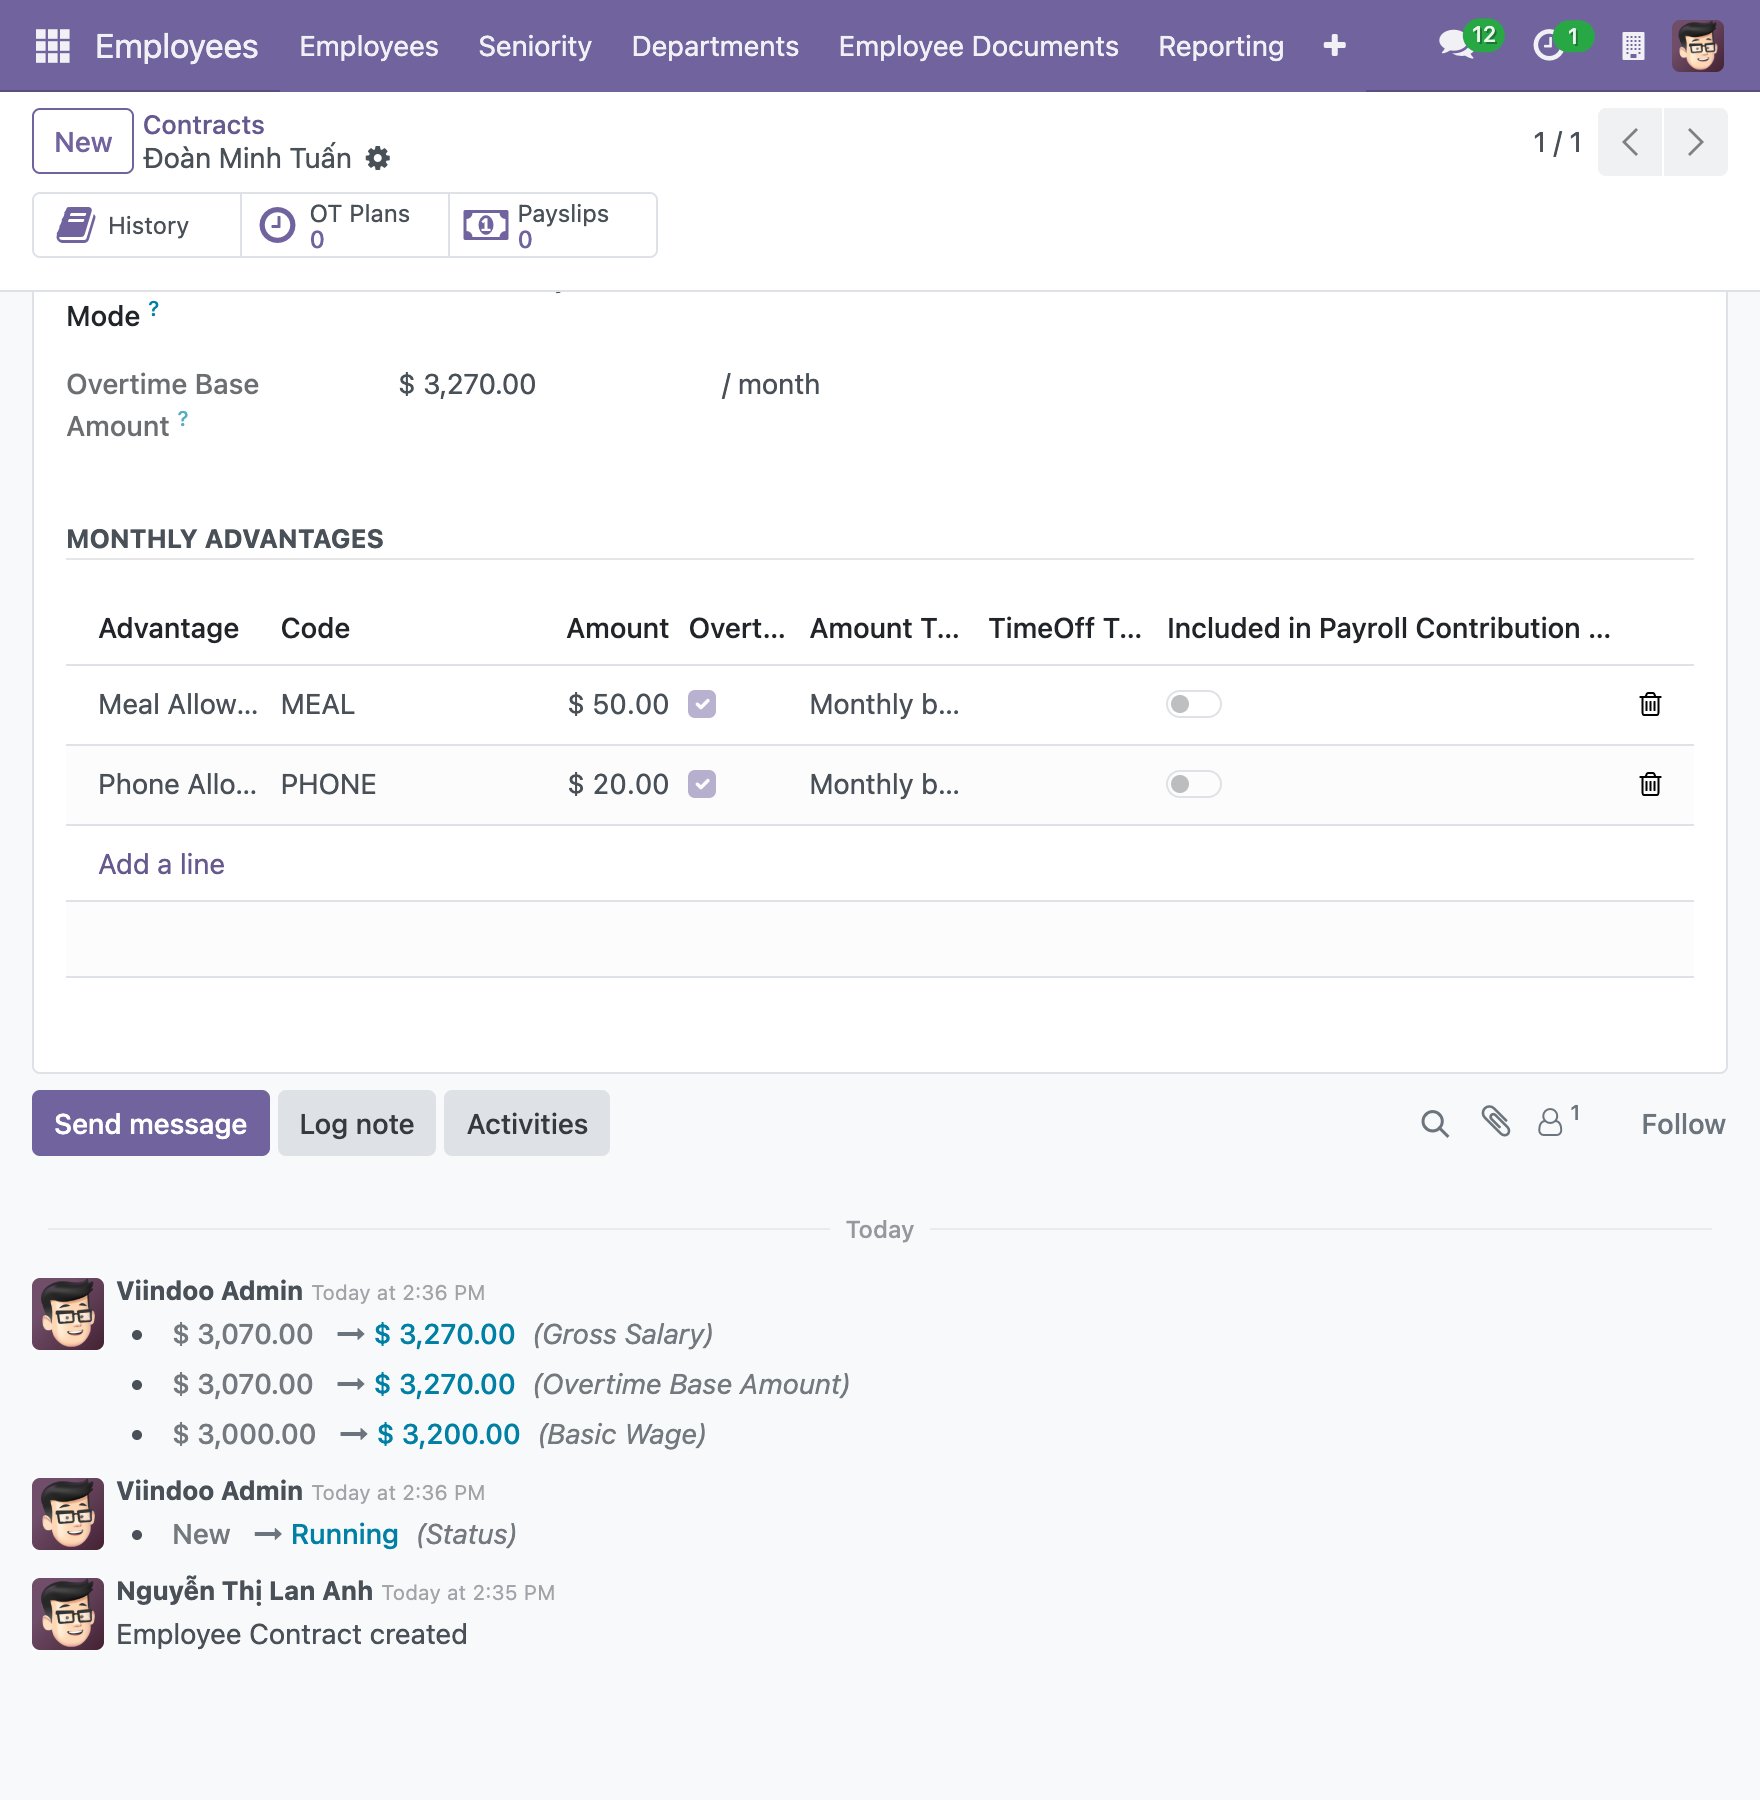
When the contract is Running or Expired and no payslip has been generated for it, open the contract, edit the information and save. The system records the changes of the main fields, such as the basic wage, the status and the dates, in the chatter of the contract.
Note
If a payslip is in Draft, open it and click Compute Sheet to update it with the new contract information.
The contract has a payslip
When a running contract already has payslips and you need to change the information that the payroll depends on, such as the salary, the advantages, the salary structure, the working schedule or the tax rule, we recommend that you end this contract and create a new one, so that the old payslips keep the information they were computed with. A contract that is used by a payslip cannot be deleted.
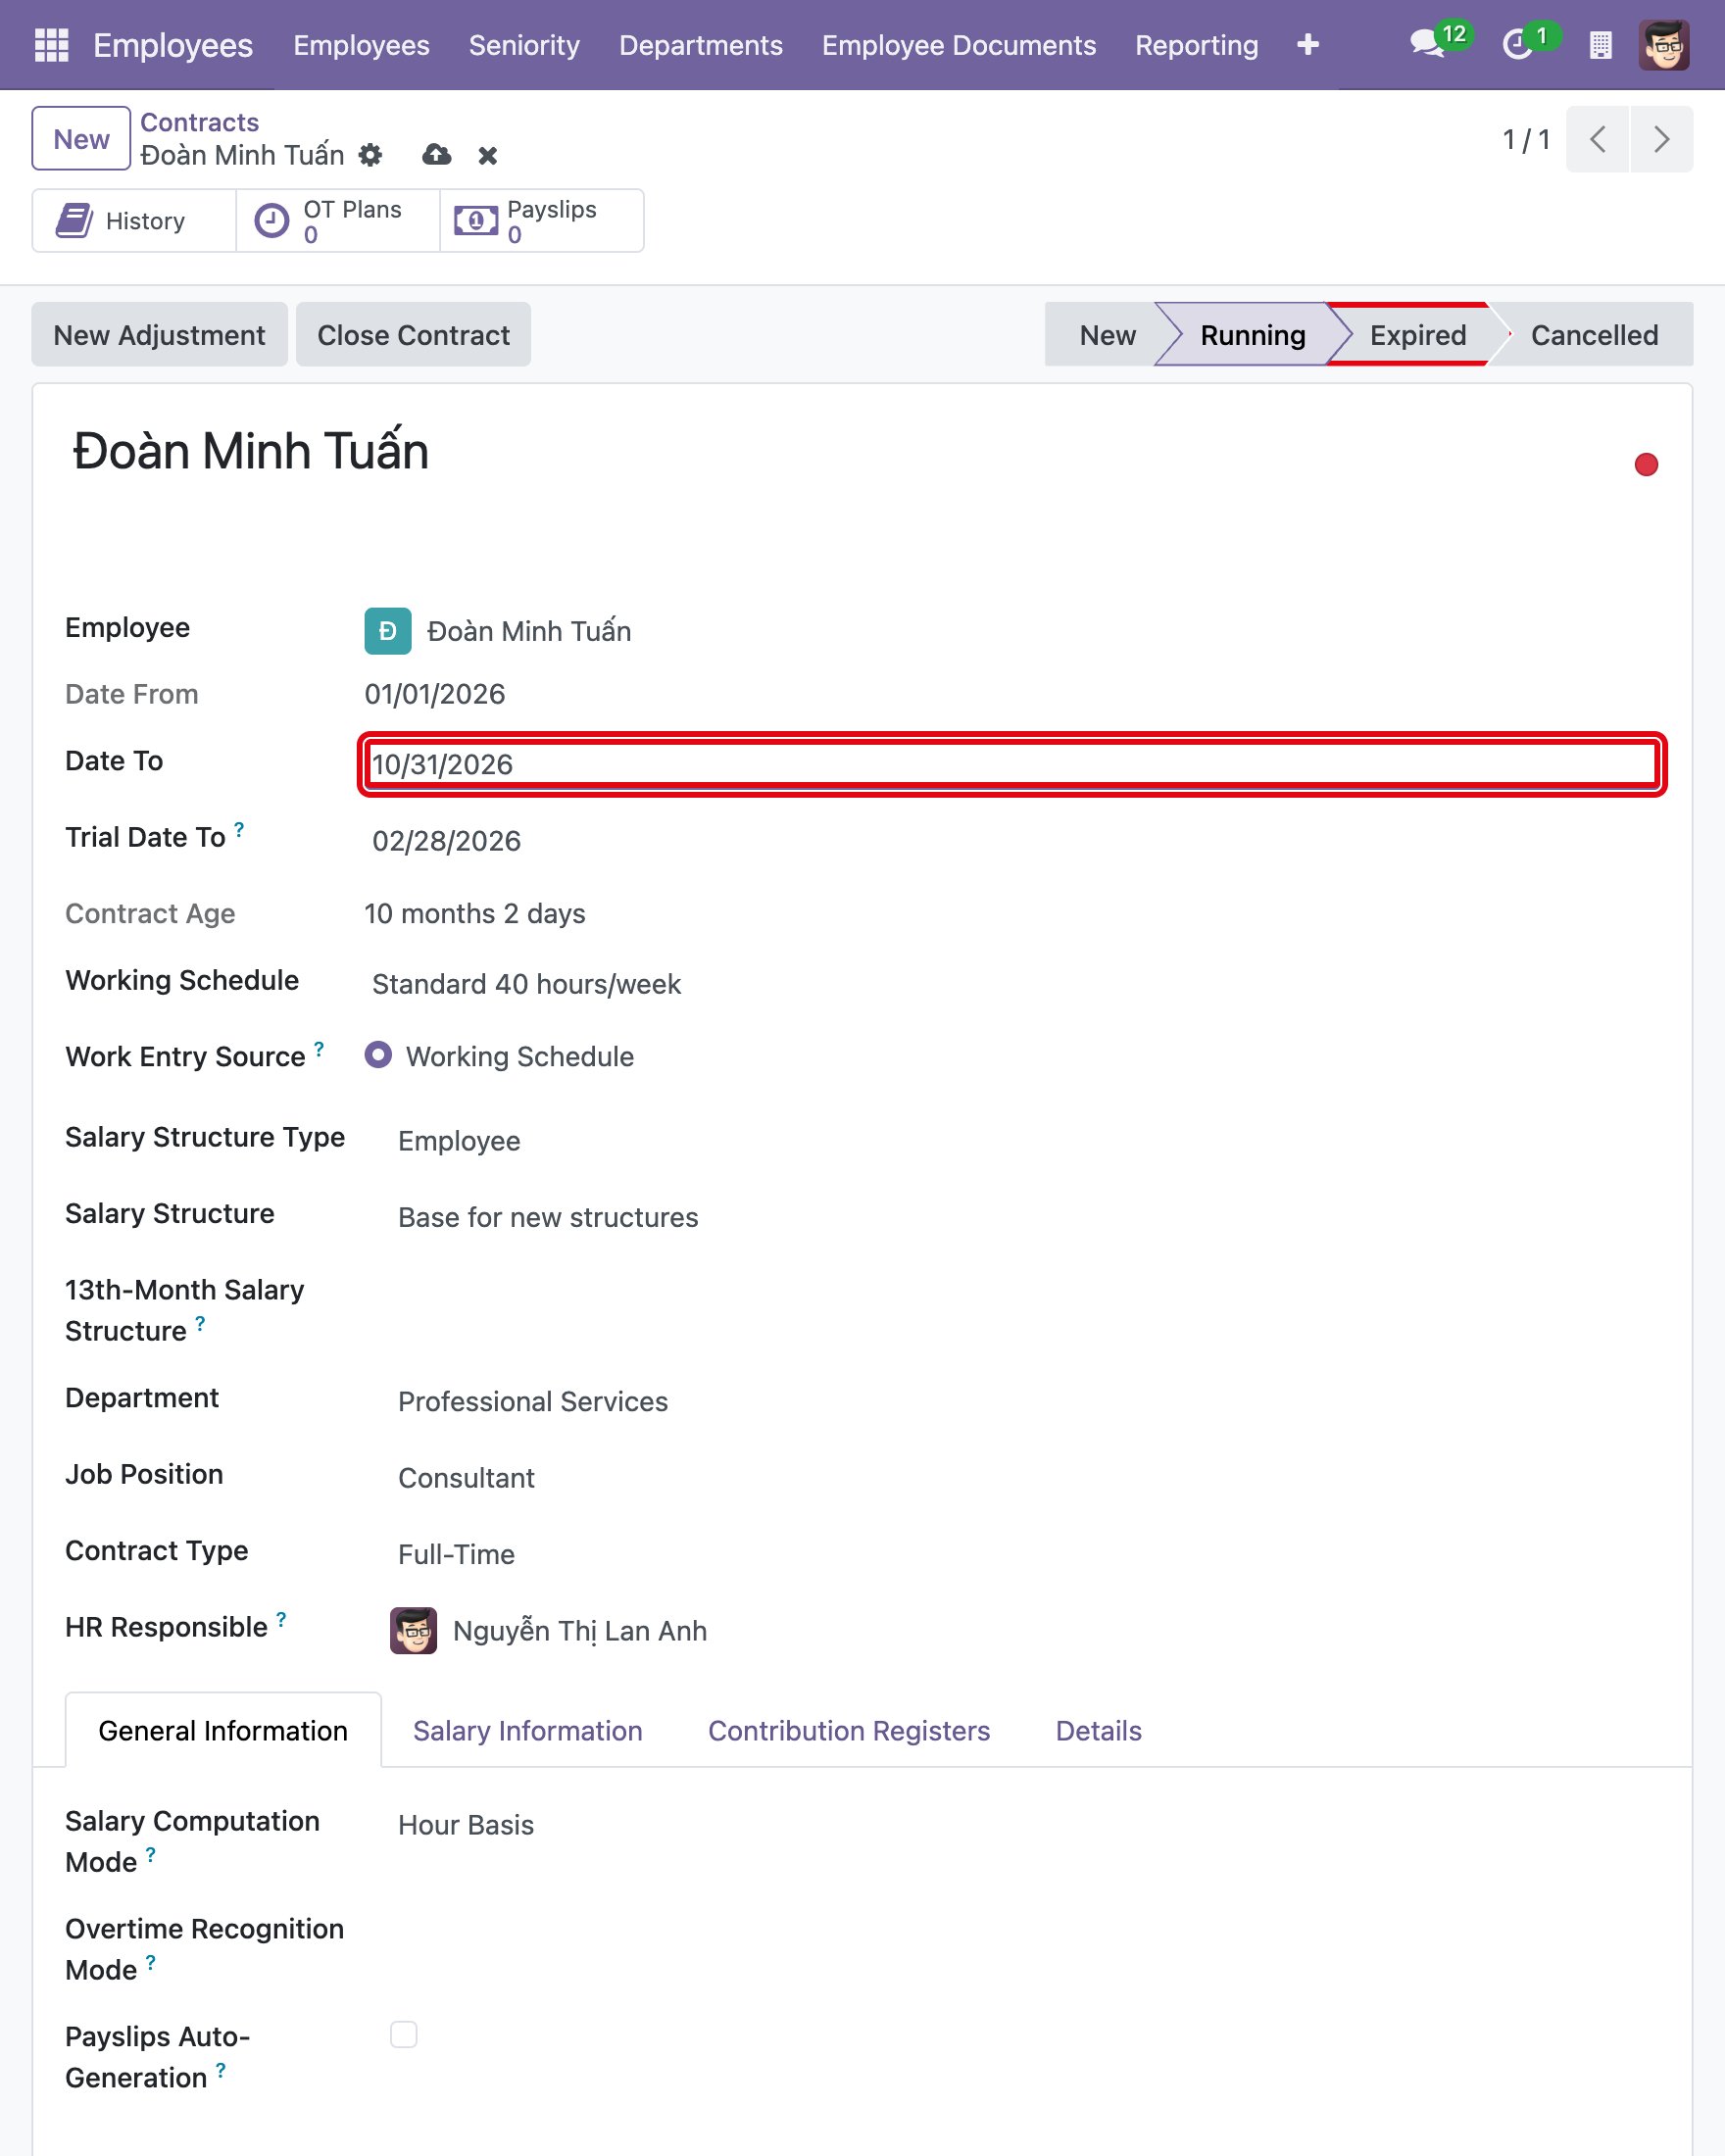
In the contract, enter the Date To and click Expired.
![Entering the Date To and clicking Expired]()
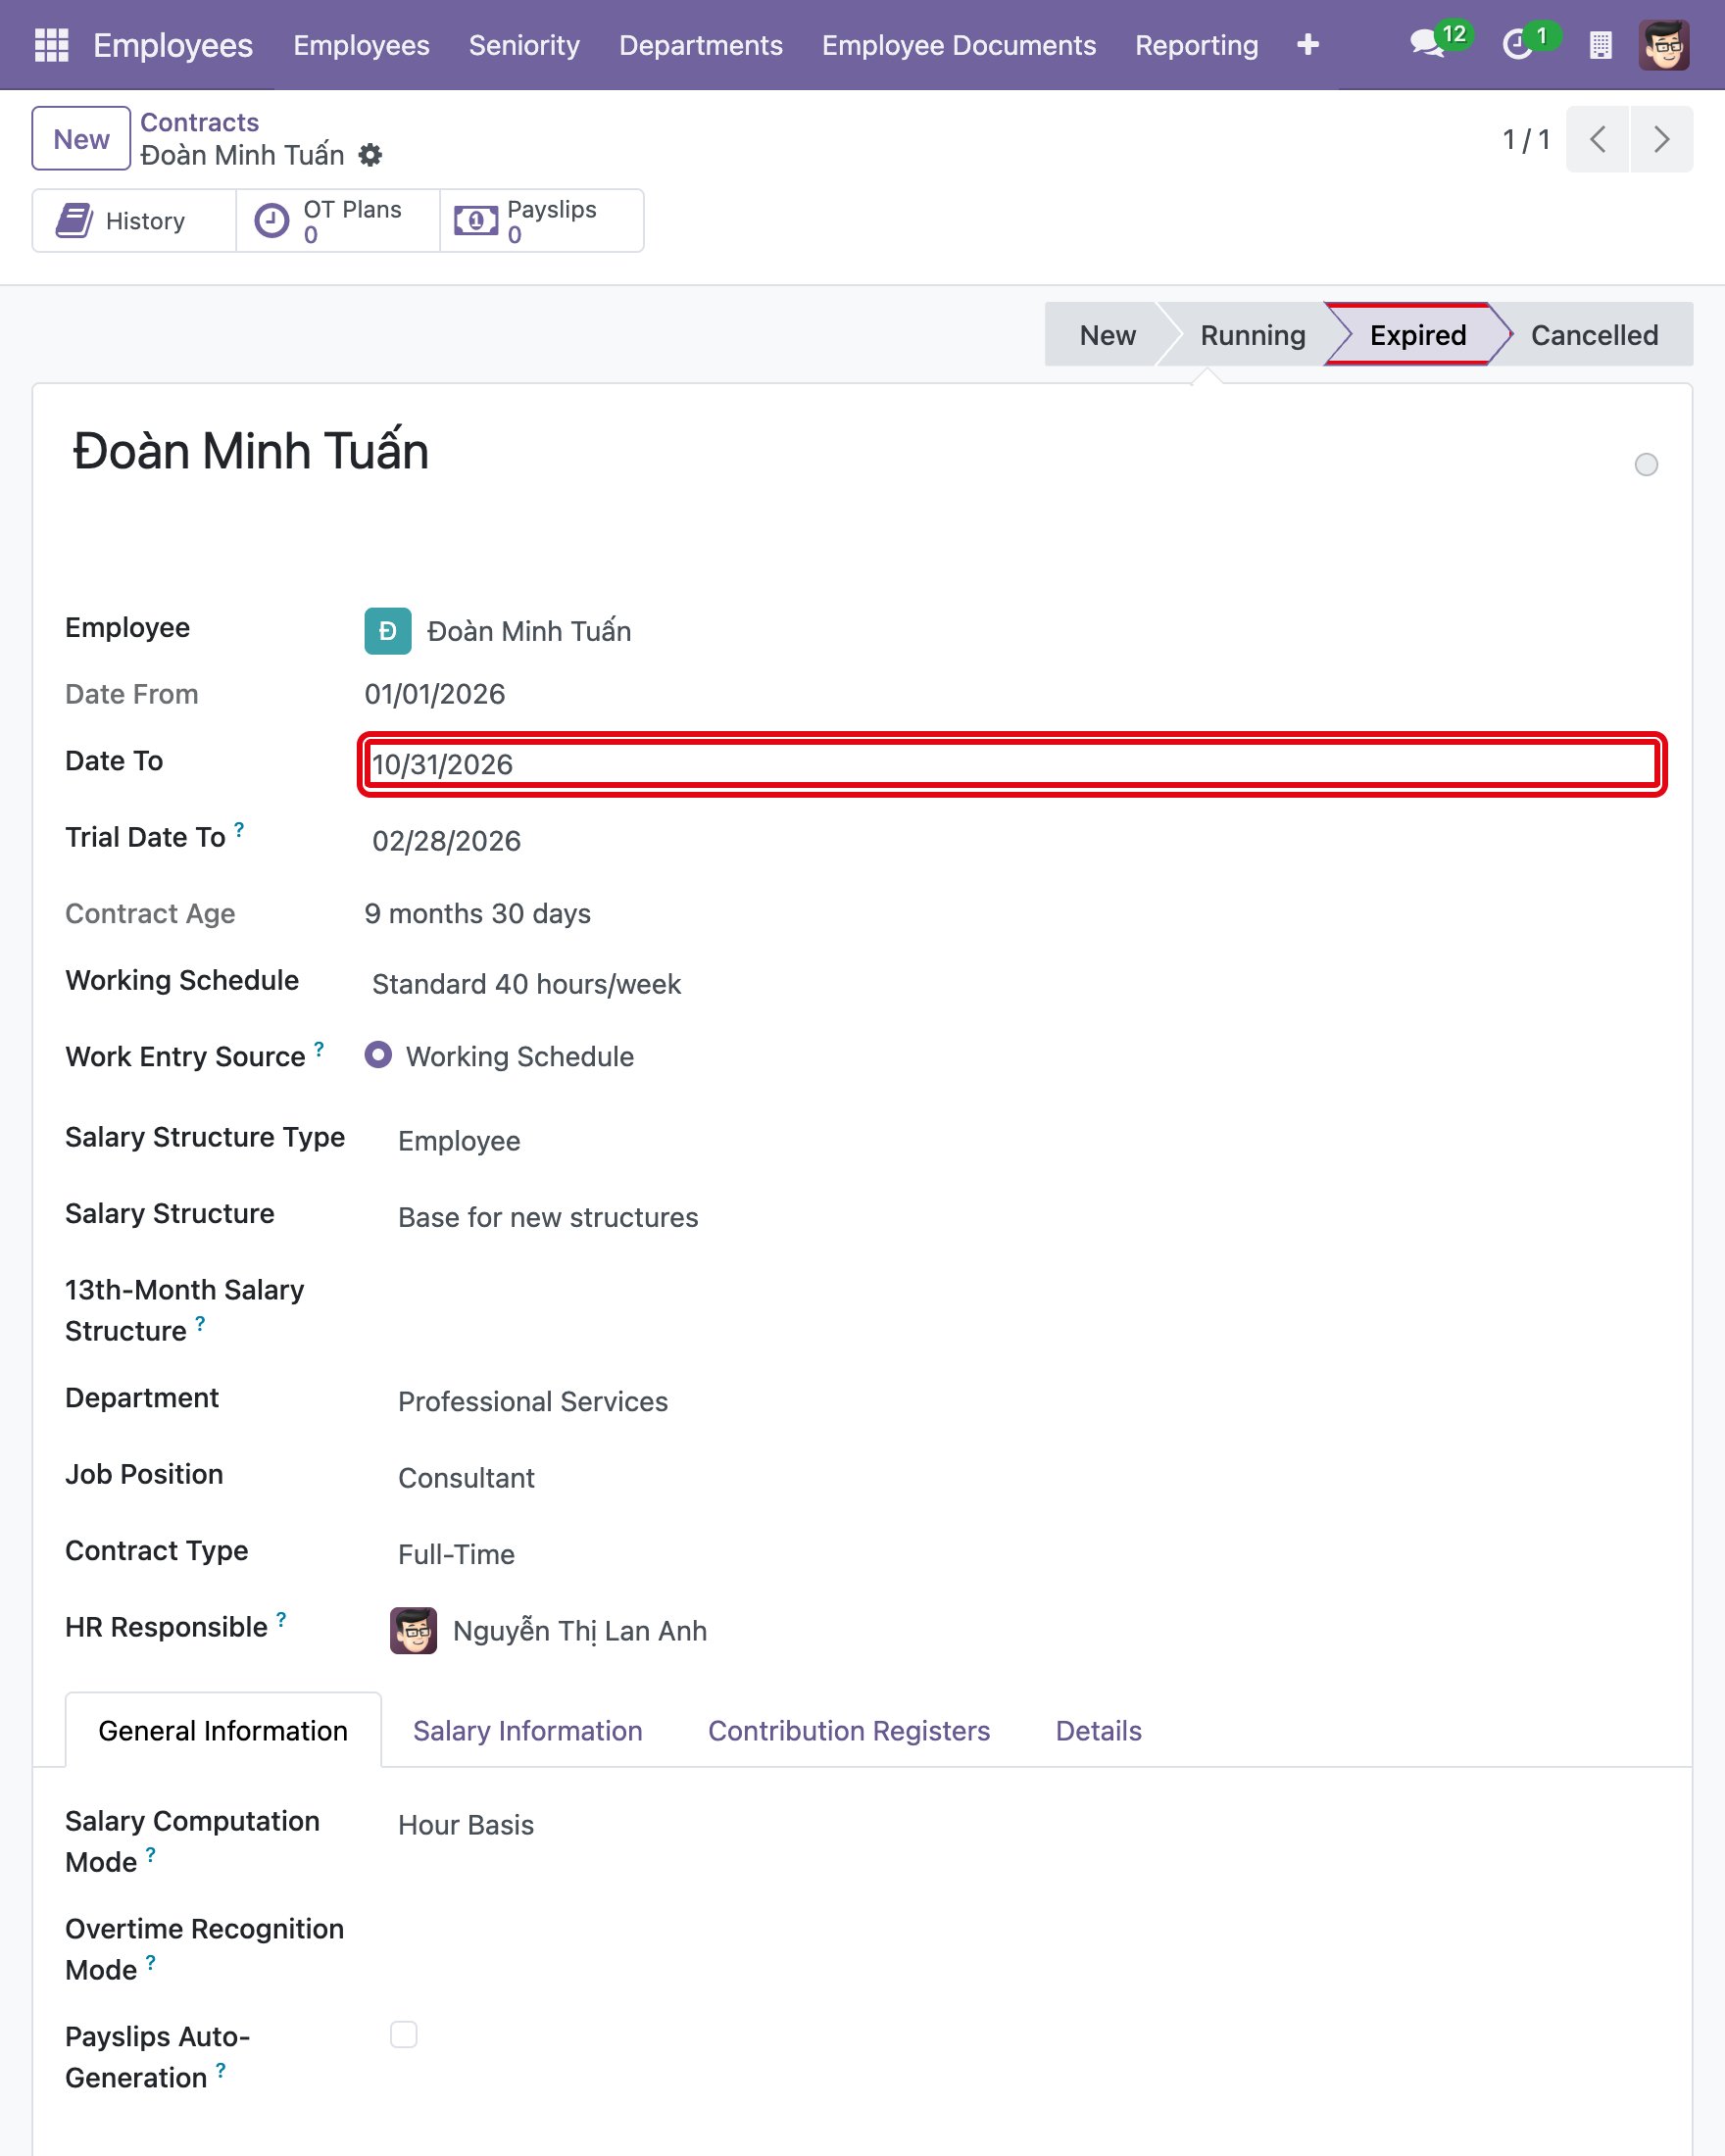
The status changes from Running to Expired.
![The contract in the Expired status]()
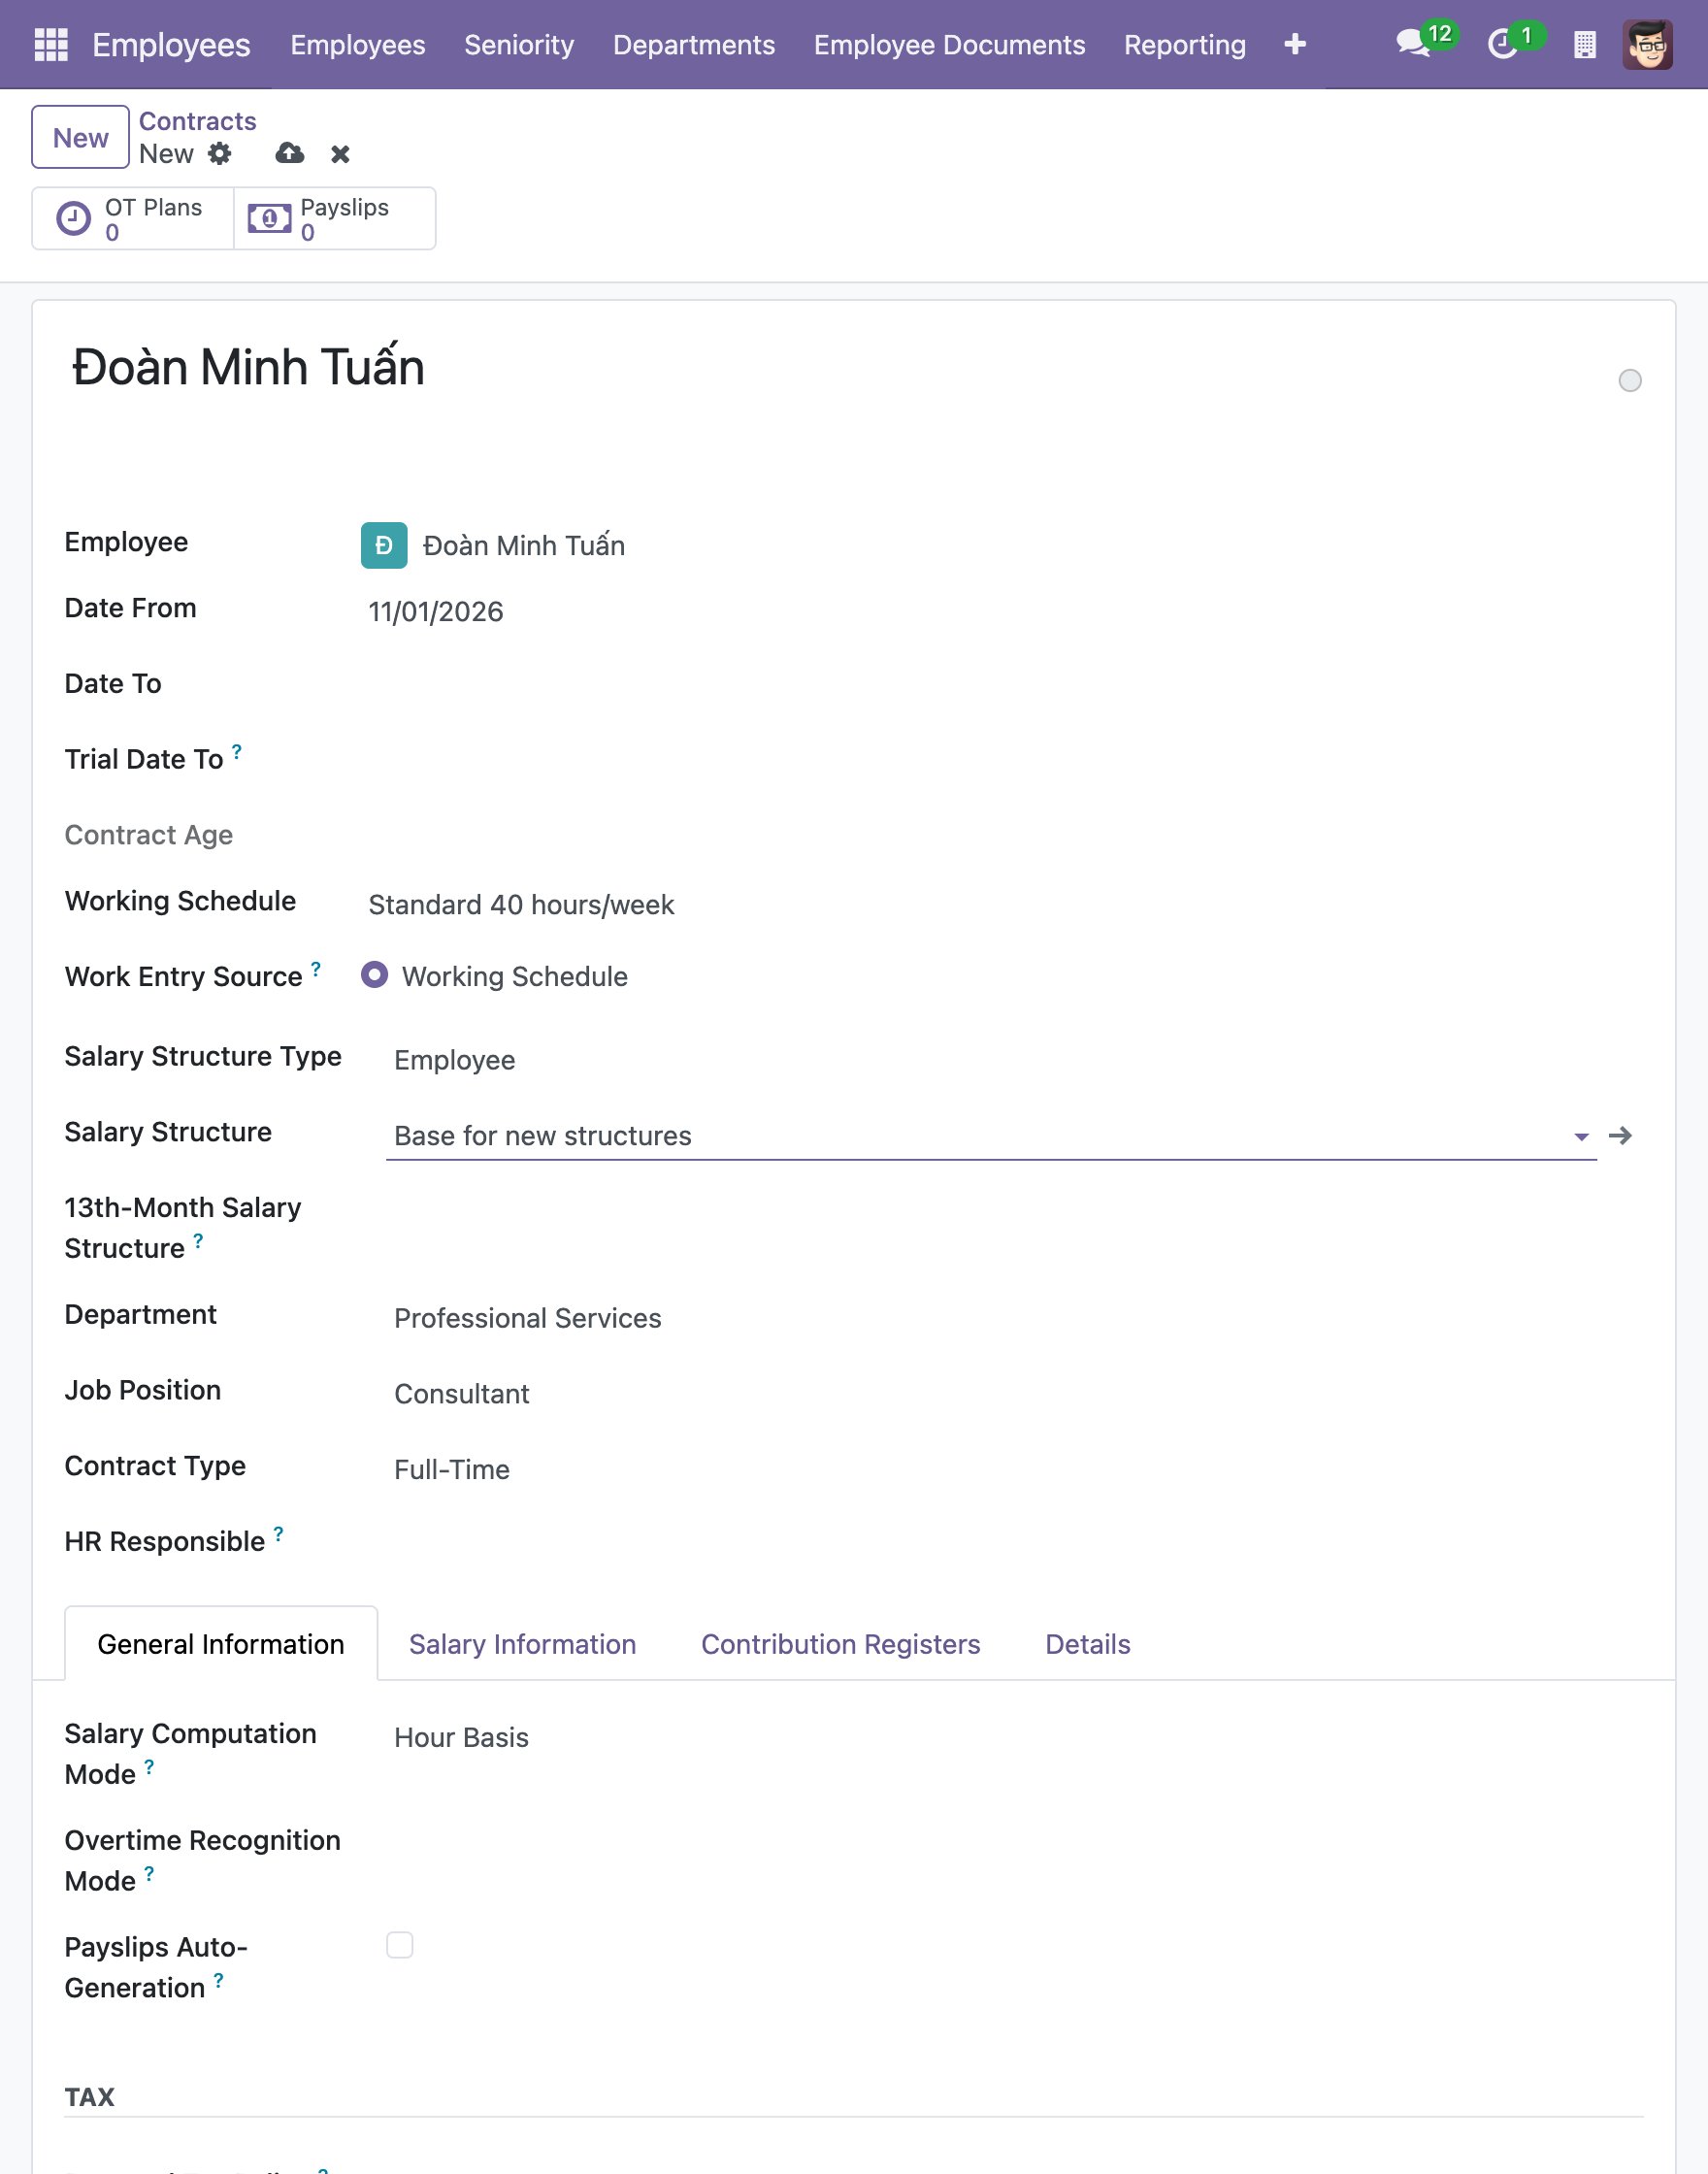
Create a new contract for the same employee, with a Date From equal to the Date To of the old contract plus one day. Enter and adjust the information, then save.
![The new contract that starts the day after the old one ends]()
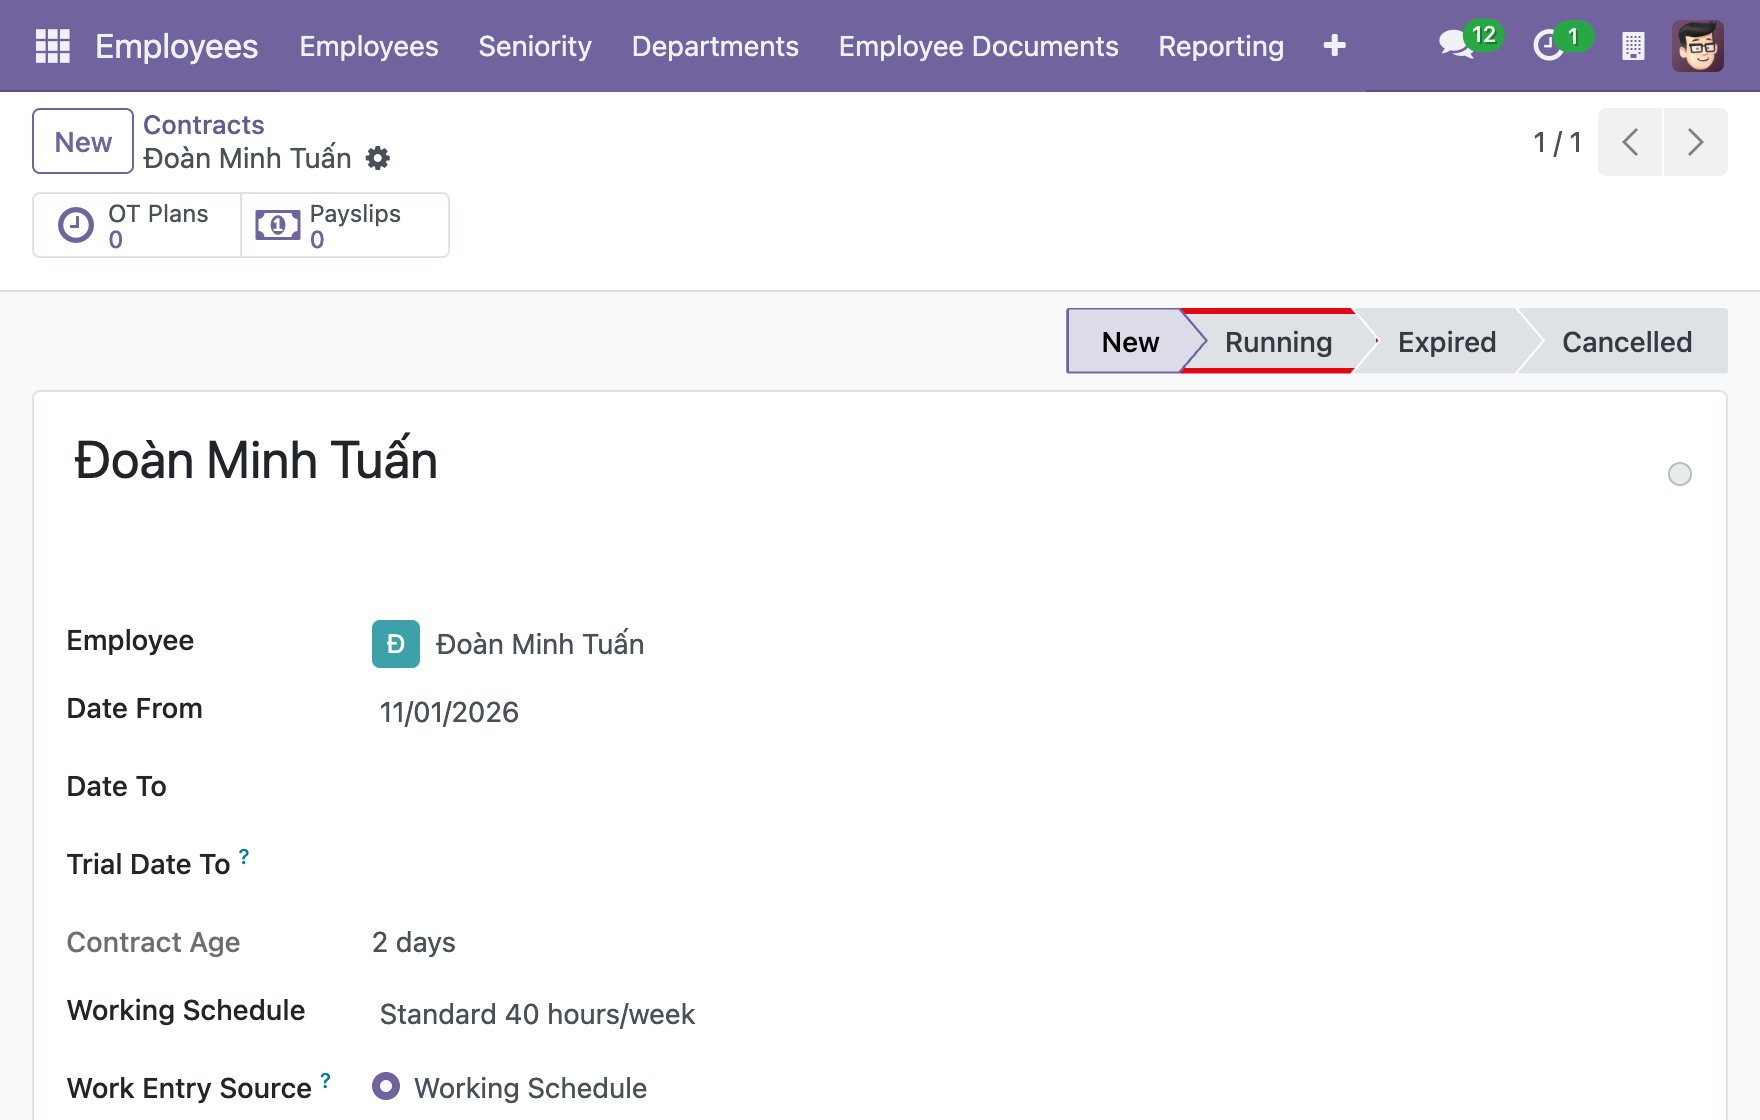
Click Running. The new contract becomes effective.
![The Running button of the new contract]()
![The new contract in the Running status]()
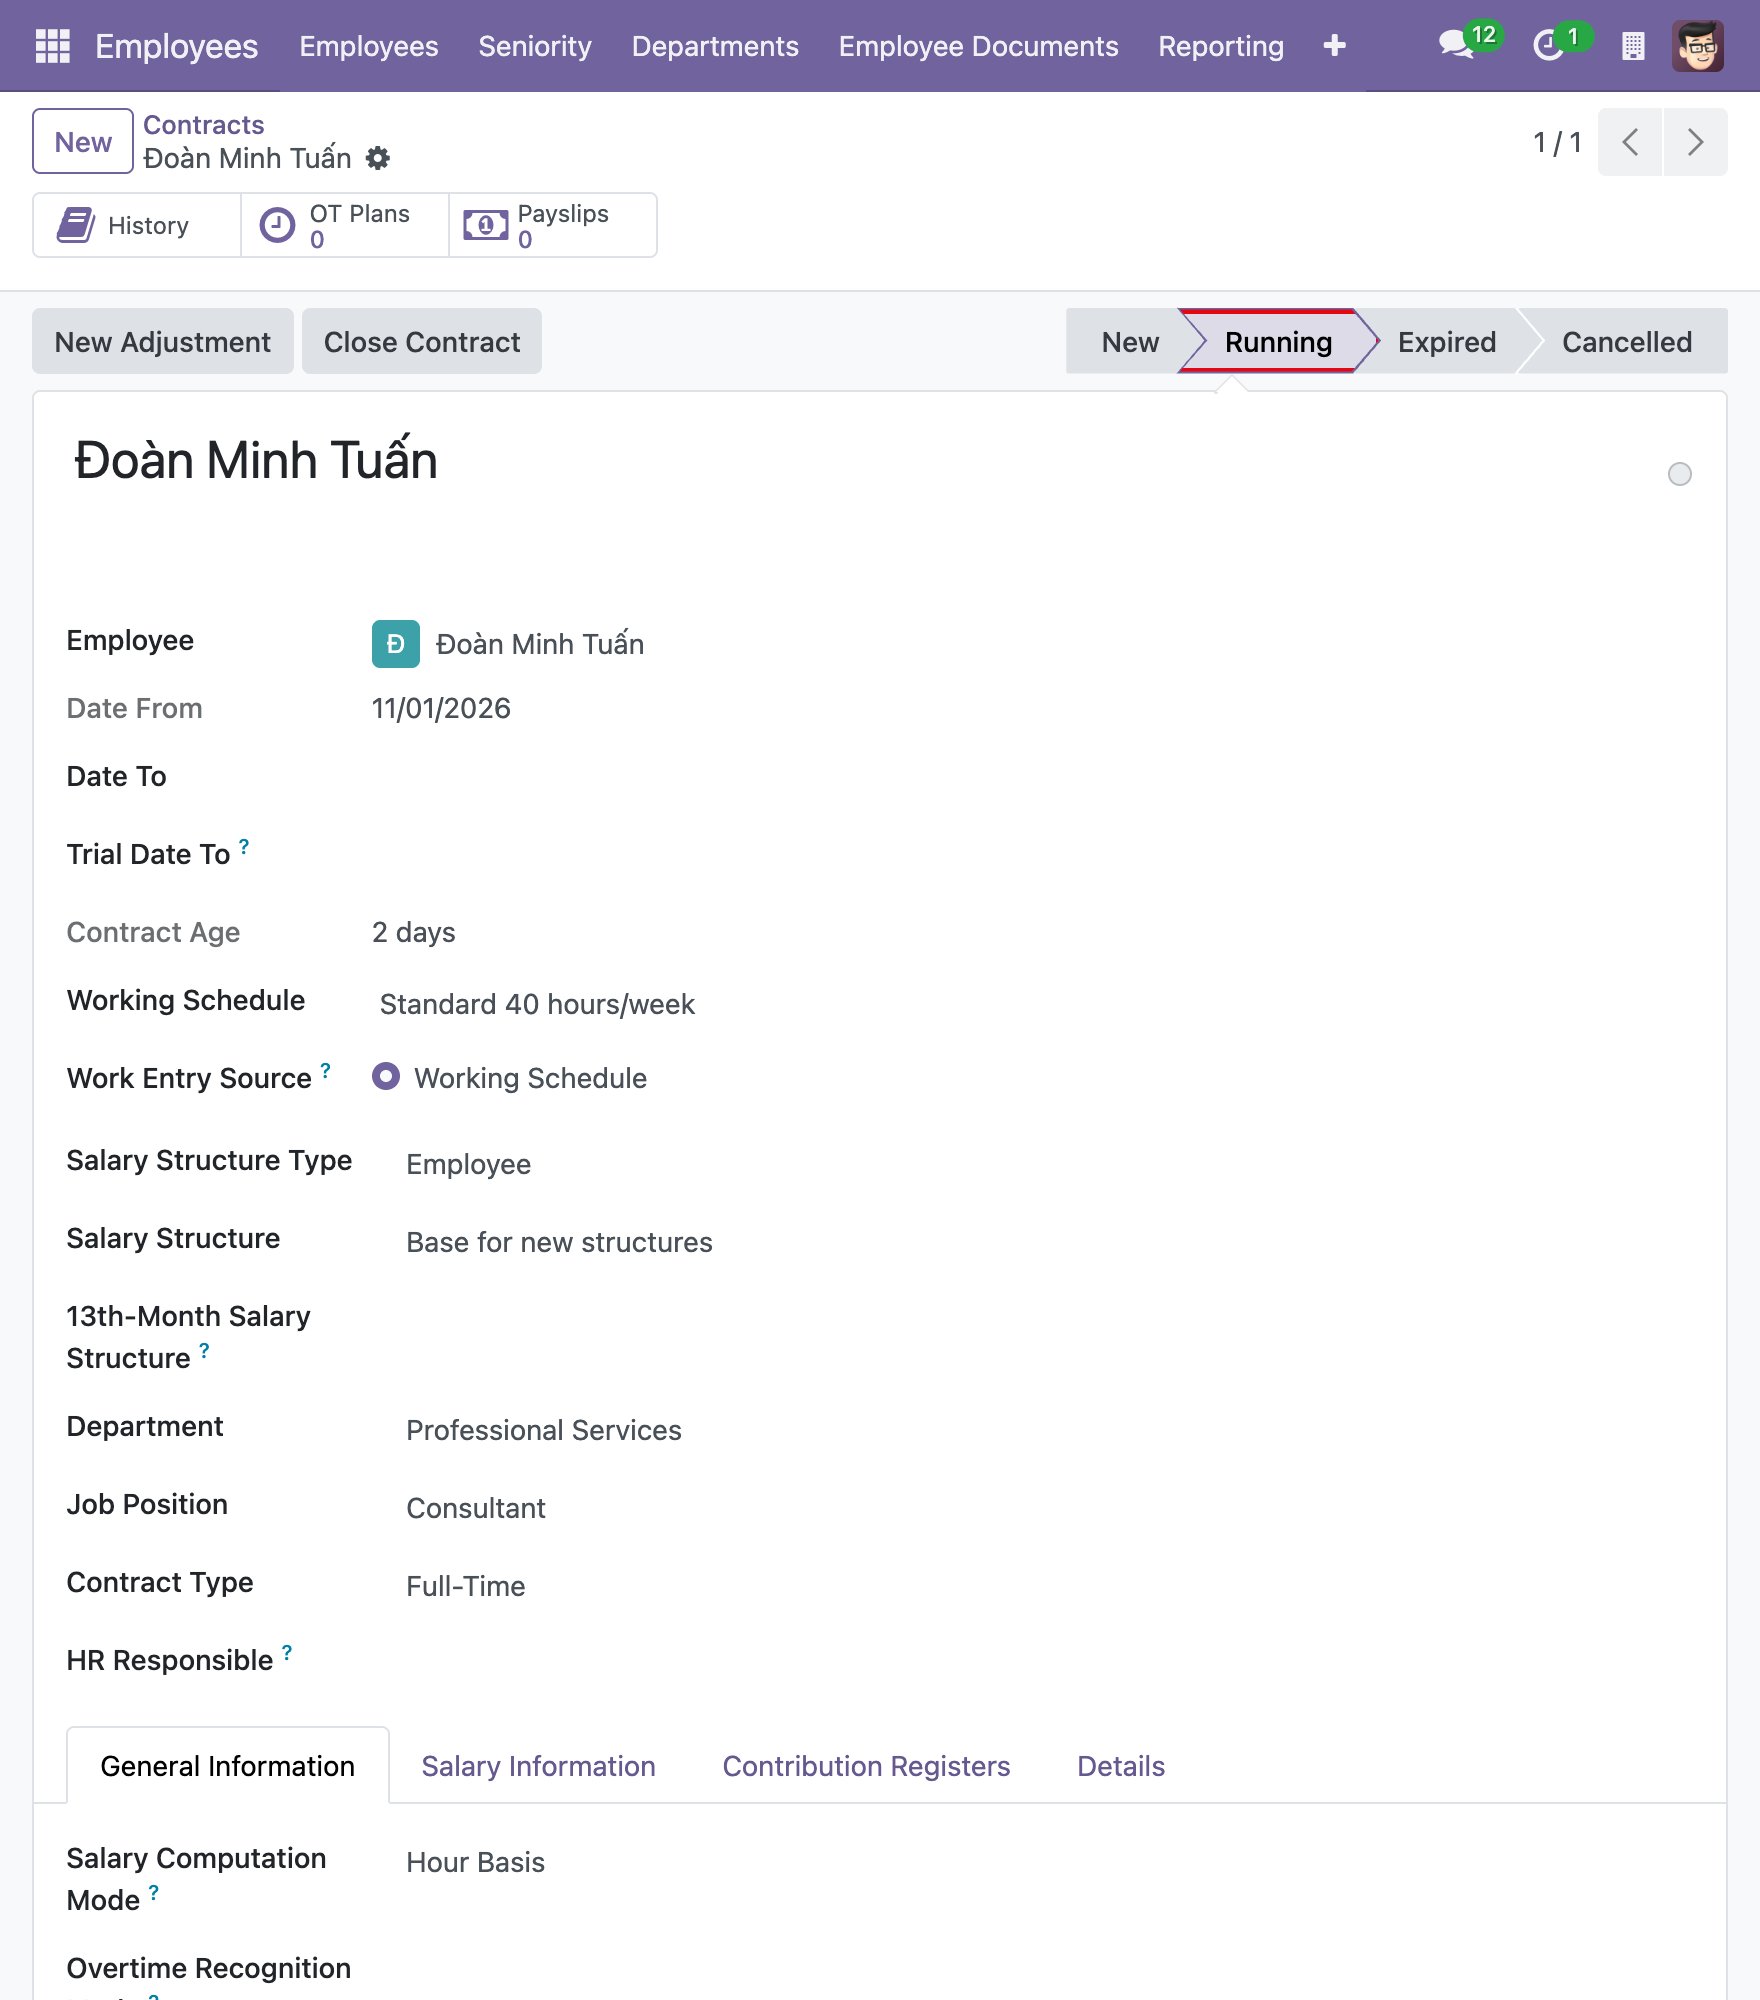
To change only some fields of a running contract from a given date without replacing it, click New Adjustment to create an addendum. See How to transfer an employee.
Common problems
Problem |
What to do |
|---|---|
You cannot save the contract. |
Fill in the required fields: the Salary Structure and the Tax Rule of the contract. |
A warning appears next to the Working Schedule of a running contract. |
The working schedule of the contract differs from the one on the employee form. Choose the same working schedule on both. |
The Date To is earlier than the Date From. |
The system refuses it. Correct the dates. |
The new contract is refused because it overlaps the old one. |
Set the Date To of the old contract to the day before the Date From of the new contract. |
You cannot delete a contract. |
A contract that is used by a payslip cannot be deleted. Set it to Cancelled or Expired. |