
How to create a new employee
You can create a new employee in the Employees app, from a hired applicant in the Recruitment app, or from an existing user account. Once the employee exists, you complete the profile on the employee form. This guide covers the three ways to create an employee and every part of the employee form.
Viindoo software system keeps all employee information in one profile, so other applications such as Contracts, Time Off, Payroll and Employee Documents read the same data.
Requirements
This tutorial requires the installation of the following applications/modules:
Recruitment, only if you create employees from applicants
Skills, only if you want the Resume tab
Who can create employees, and in which application?
Where |
Who |
|---|---|
Employees application |
Users whose access right for Employees is Officer: Manage all employees or Administrator. |
Recruitment application (Create Employee on an applicant) |
Users whose access right for Employees is Officer: Manage all employees or Administrator. |
Settings (Create employee on a user) |
Users who can open Settings > Users & Companies > Users. |
Before you start
Create the departments, job positions and working hours you will assign to employees, so you can pick them instead of typing.
To create an employee from an applicant, move the applicant to a stage that is marked as hired.
How to create an employee in Viindoo system?
You can create an employee in Viindoo system in one of these ways:
Create the employee in the Employees application;
Create the employee from an application in the Recruitment application;
Create the employee from a user account.
Create an employee in the Employees application
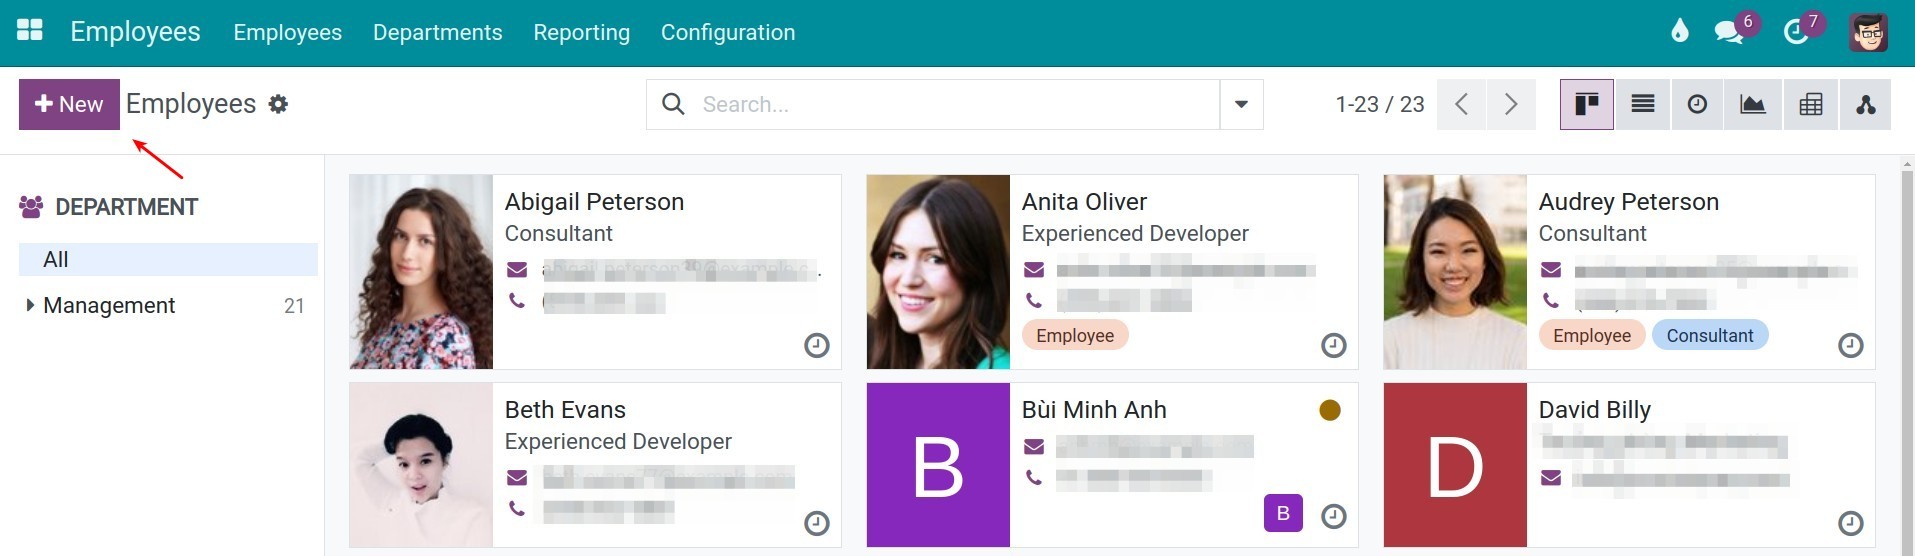
Open the Employees application and go to Employees > Employees.
Click New.
Enter the employee’s name and the information described in Employee information management, then save.
Create an employee from an application in the Recruitment application
During recruitment, the applicant’s profile is already stored in the system. Creating the employee from it saves you from entering the same data again after the applicant has gone through the interview rounds.
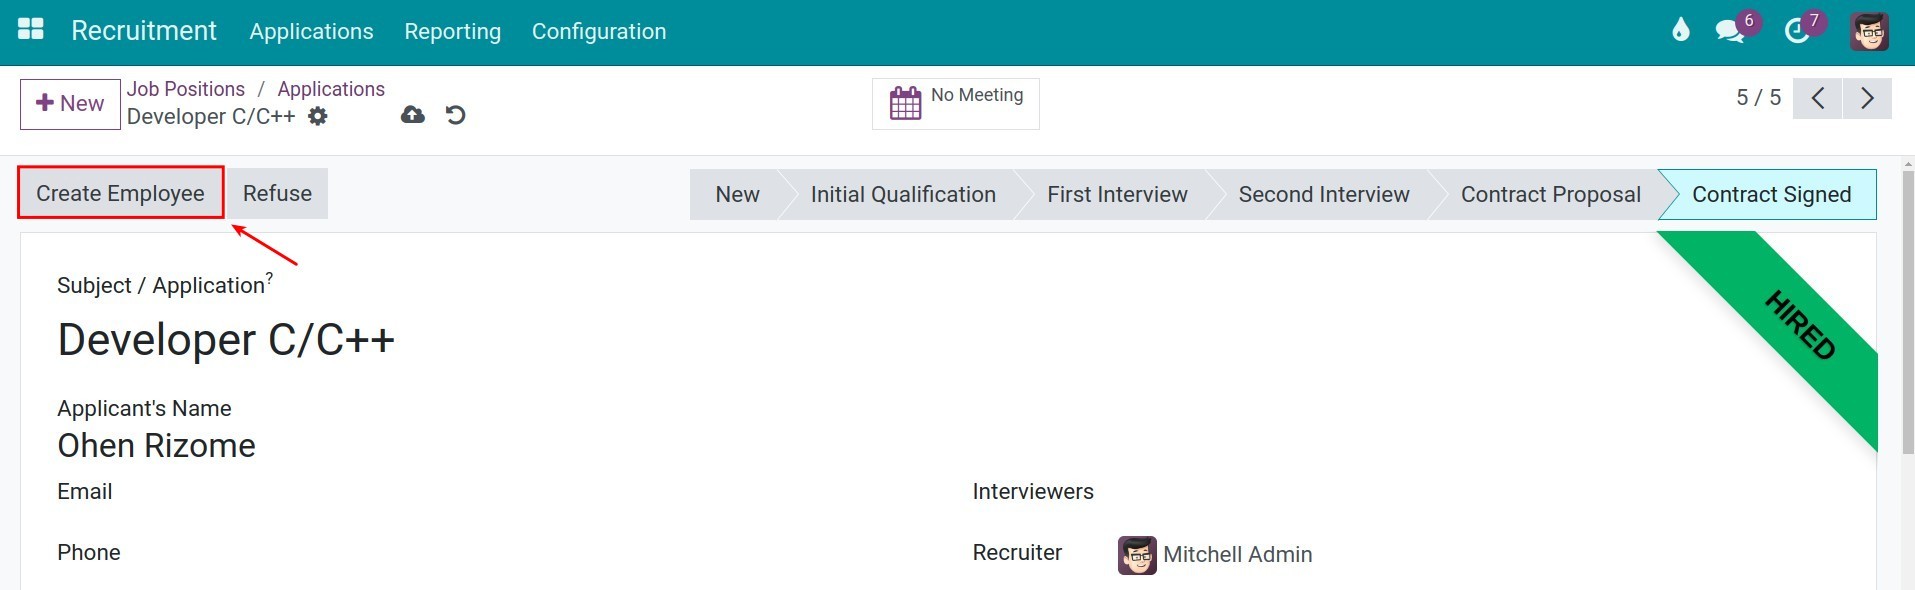
Open the applicant that reached a hired stage.
Click Create Employee in the header of the application form. The button is hidden while the applicant has no hired stage yet, and after an employee has already been created from the applicant.
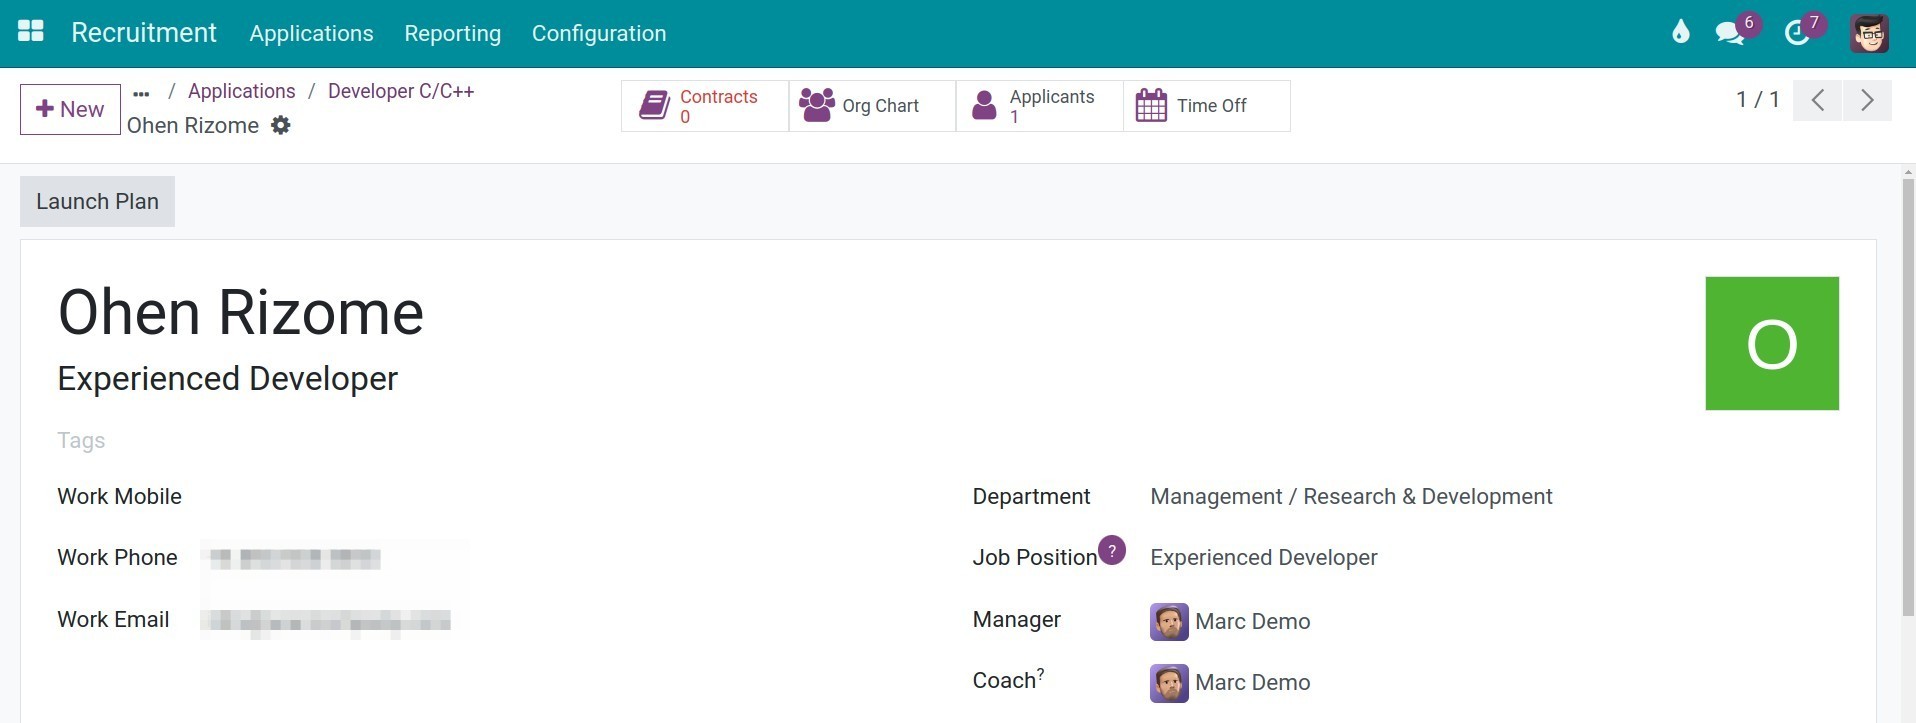
The new employee form opens with the name, job position, department, manager and coach already filled in. Complete the remaining information as described in Employee information management.
Create an employee from a user account
If a person already has a user account, you can create the matching employee in one click.
Go to Settings > Users & Companies > Users and open the user.
Click Create employee.
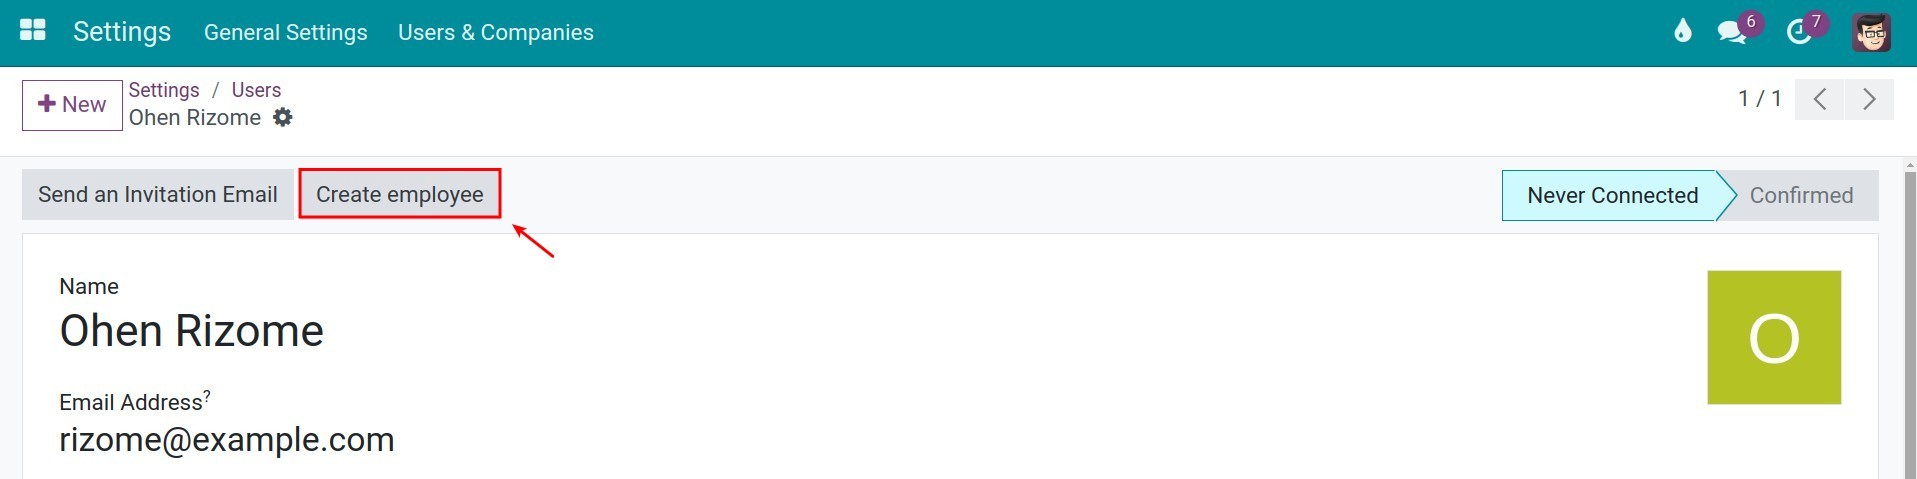
The button disappears and an Employee smart button appears on the user form. The employee is now listed in the Employees application, linked to the user (see How to link Employees and Users).
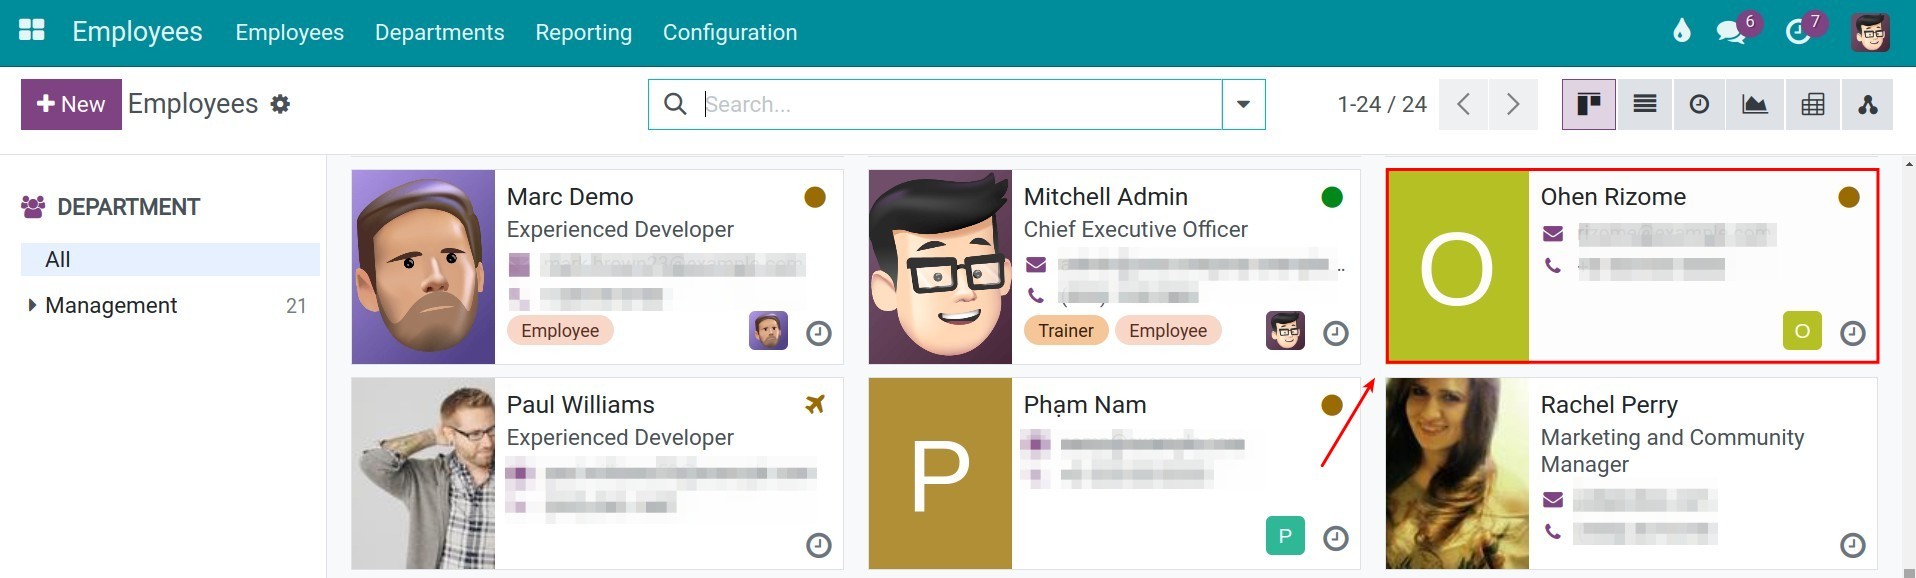
Employee information management
Enter the information of each employee as completely as you can, so you can filter and find employees easily later.
General Information
The top of the employee form holds the information you see on every tab:
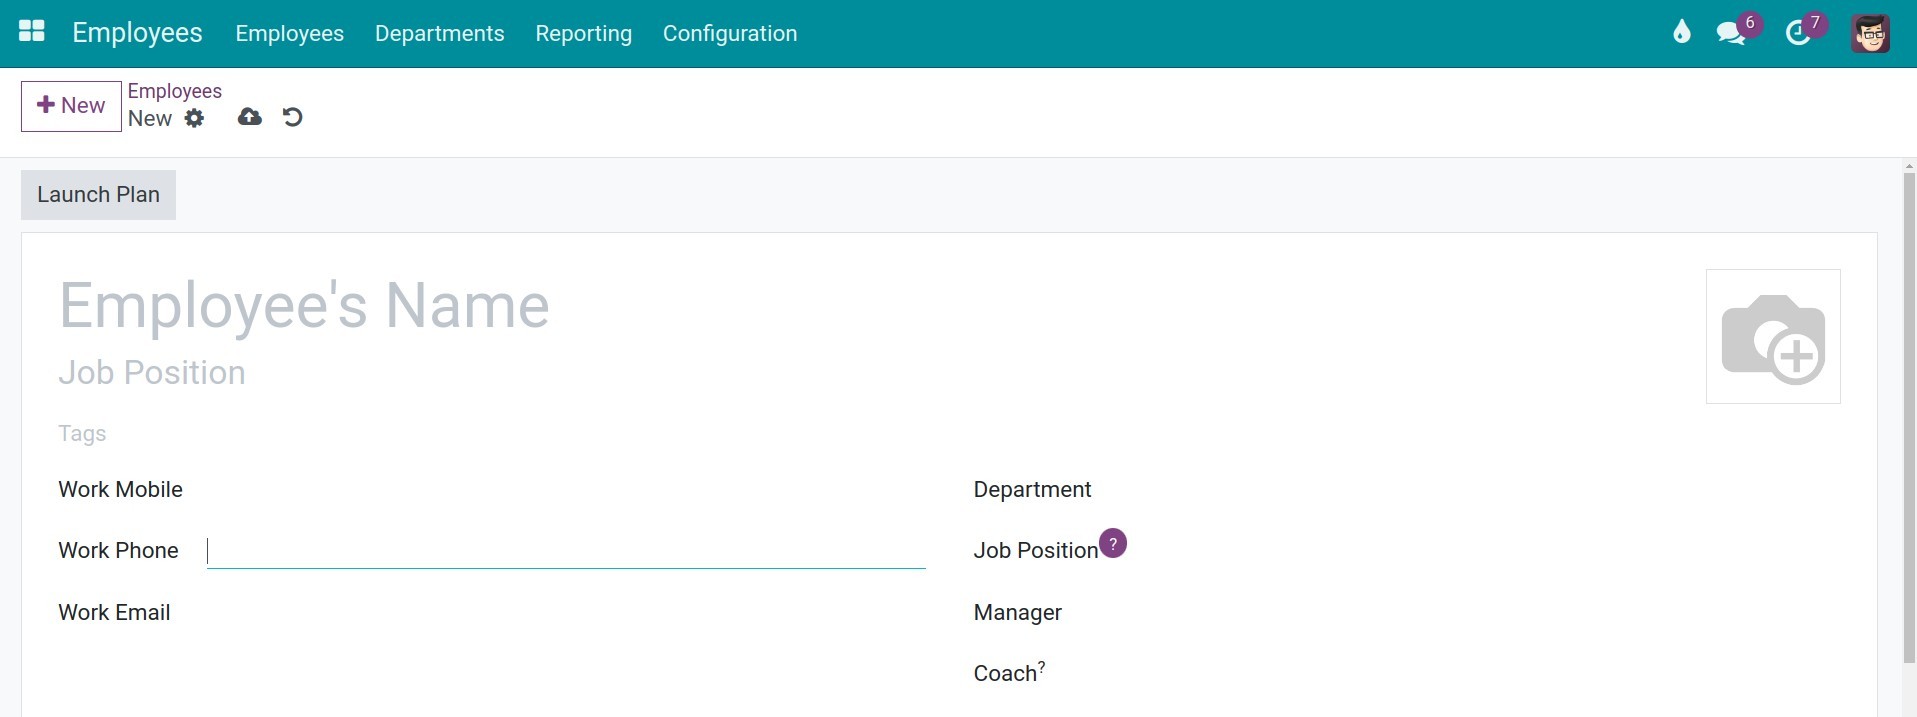
Employee’s Name: the employee’s full name.
Job Title: the title printed under the name. It is filled in from the job position when you choose one.
Photo: click to upload the employee’s photo. It helps colleagues recognize the employee when exchanging information in Viindoo system.
Work Email, Work Phone, Work Mobile: the employee’s business contact details.
Tags: create new tags or choose existing ones to classify employees by your own criteria.
Department: the department the employee belongs to. It links the employee to the expenses of that department and makes management and assignment easier.
Job Position: the job position of the employee.
Manager: filled in automatically with the manager of the department. You can choose another person.
Coach: the person who trains and supports the employee. It is suggested from the manager, and you can choose another person.
Resume
In this tab, you record the resume and the skills of the employee. It has two parts: the resume lines, grouped by type such as Experience and Education, and the skills.
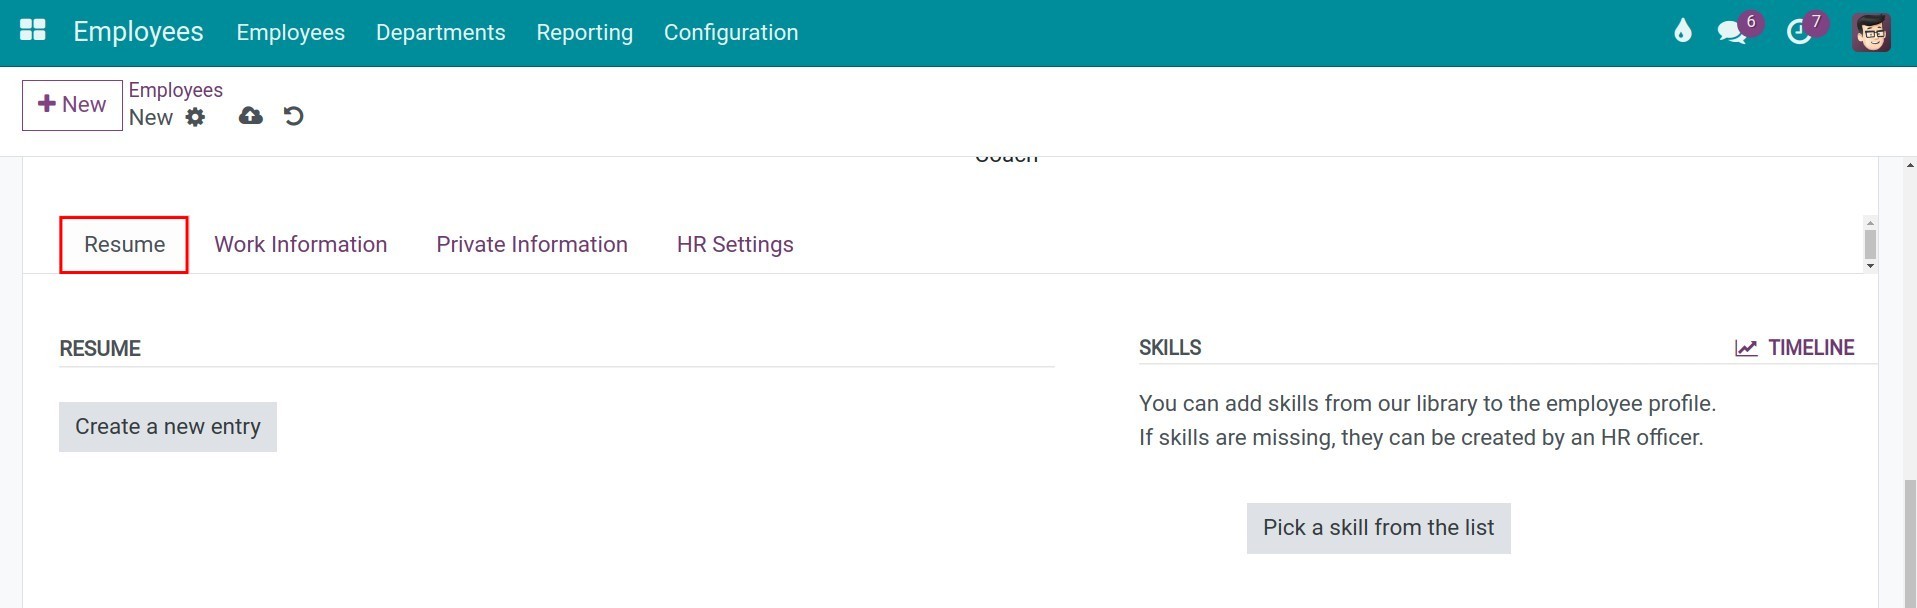
Resume: click Add next to a type, or Create a new entry when the employee has no line yet, to open the New Resume line form. Enter the Title, the Type, the Display Type and the Duration, then save.
Skills: click Add, or Pick a skill from the list when the employee has no skill yet. Choose the Skill Type, the Skill and the Skill Level, then save. The Timeline link opens the timeline of the skills.
Work Information
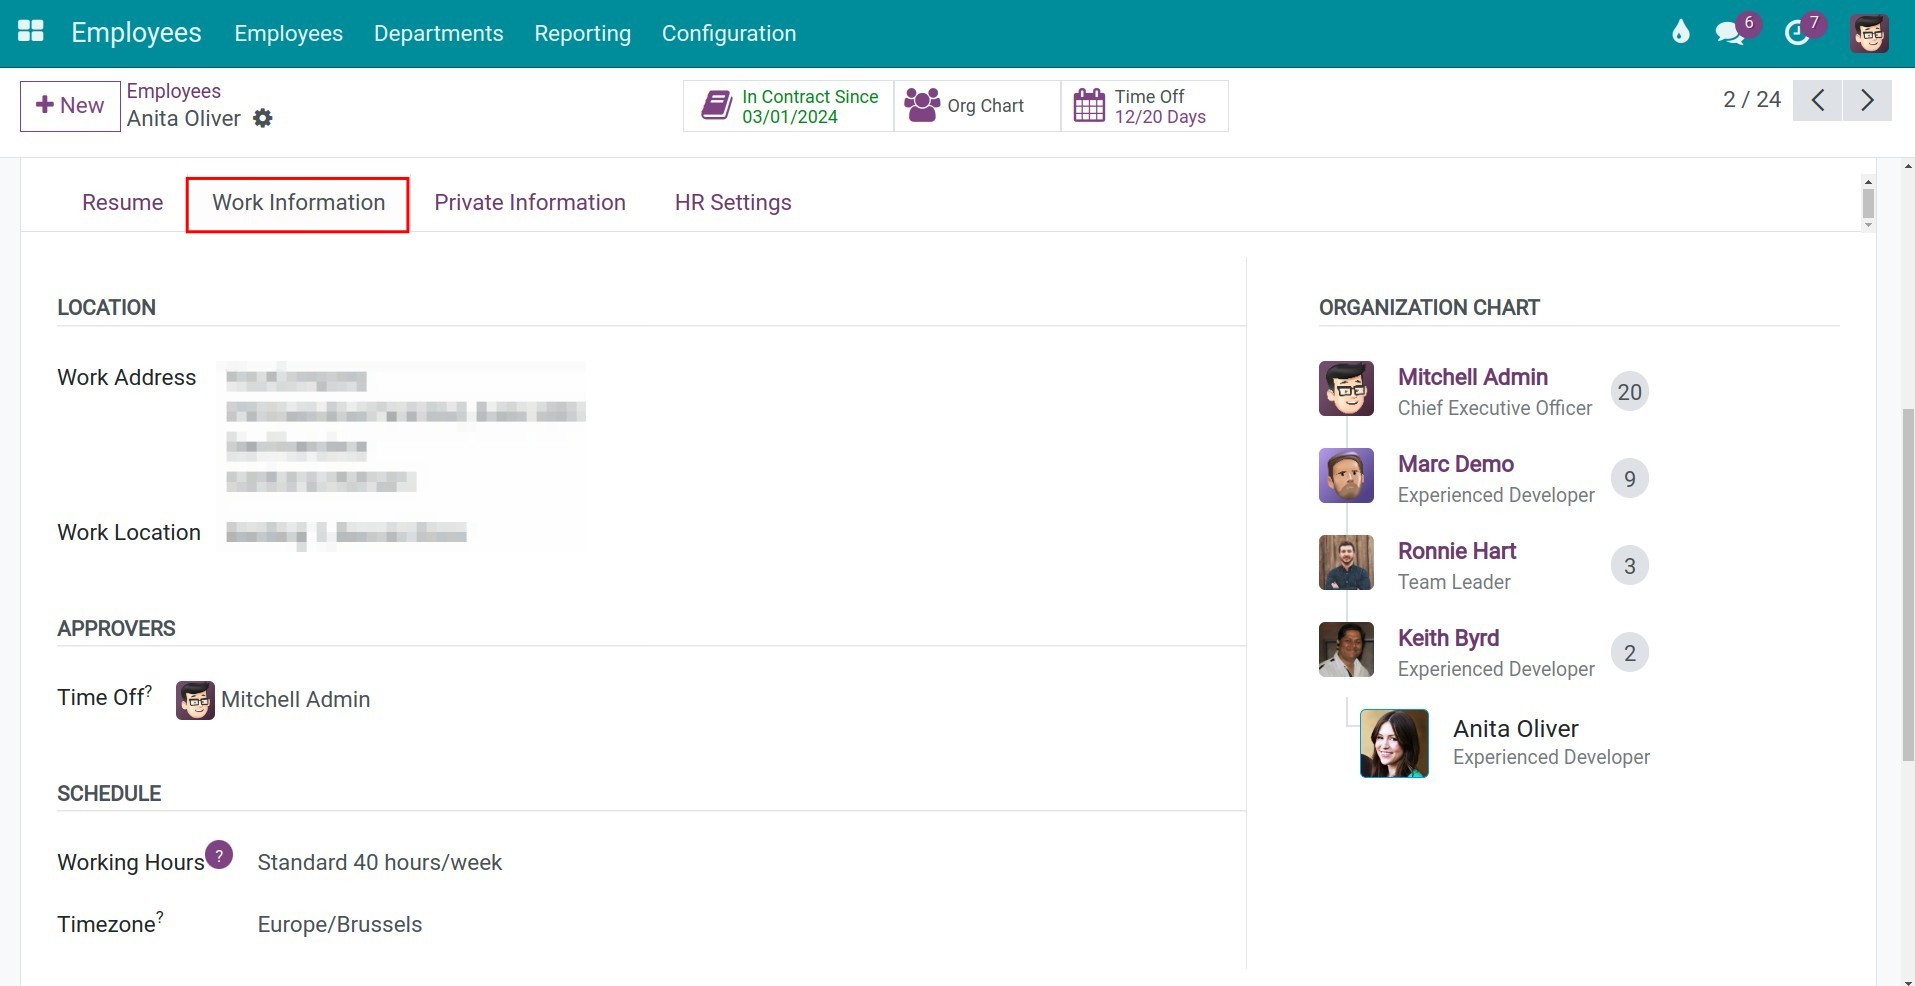
Location:
Work Address: the address of the company, branch or office where the employee works.
Work Location: the place where the employee sits, for example Room 205, Building A.
Approvers:
Time Off: the person who approves this employee’s time off requests.
Schedule:
Working Hours: suggested from the default working hours. You can choose another schedule.
Timezone: choose the time zone that matches the work location.
Organization Chart: shows the employee’s position in the company hierarchy.
Private Information
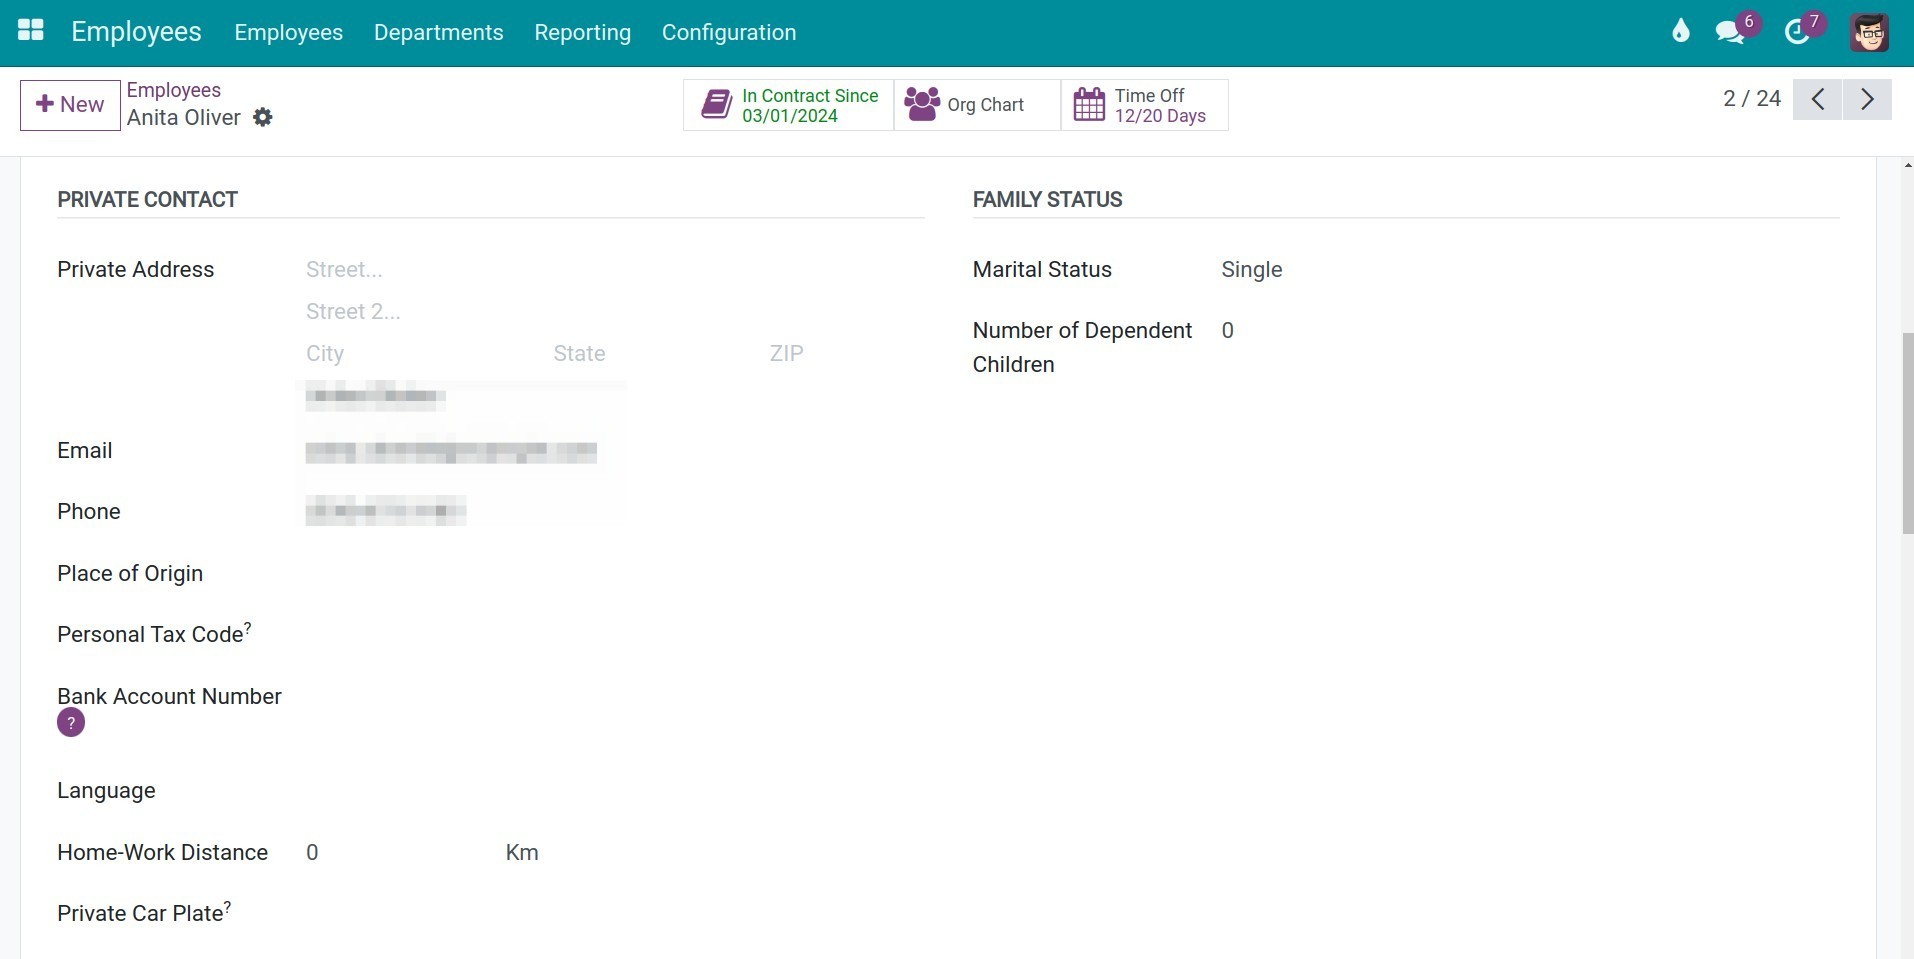
Private Contact:
Private Address: the private address of the employee. You can create a new contact from the address fields.
Private Email, Private Phone, Place of Origin, Personal Tax Code, Bank Account, Private Car Plate: the employee’s private details.
Home-Work Distance: the distance from the employee’s home to the workplace, in kilometers or miles.
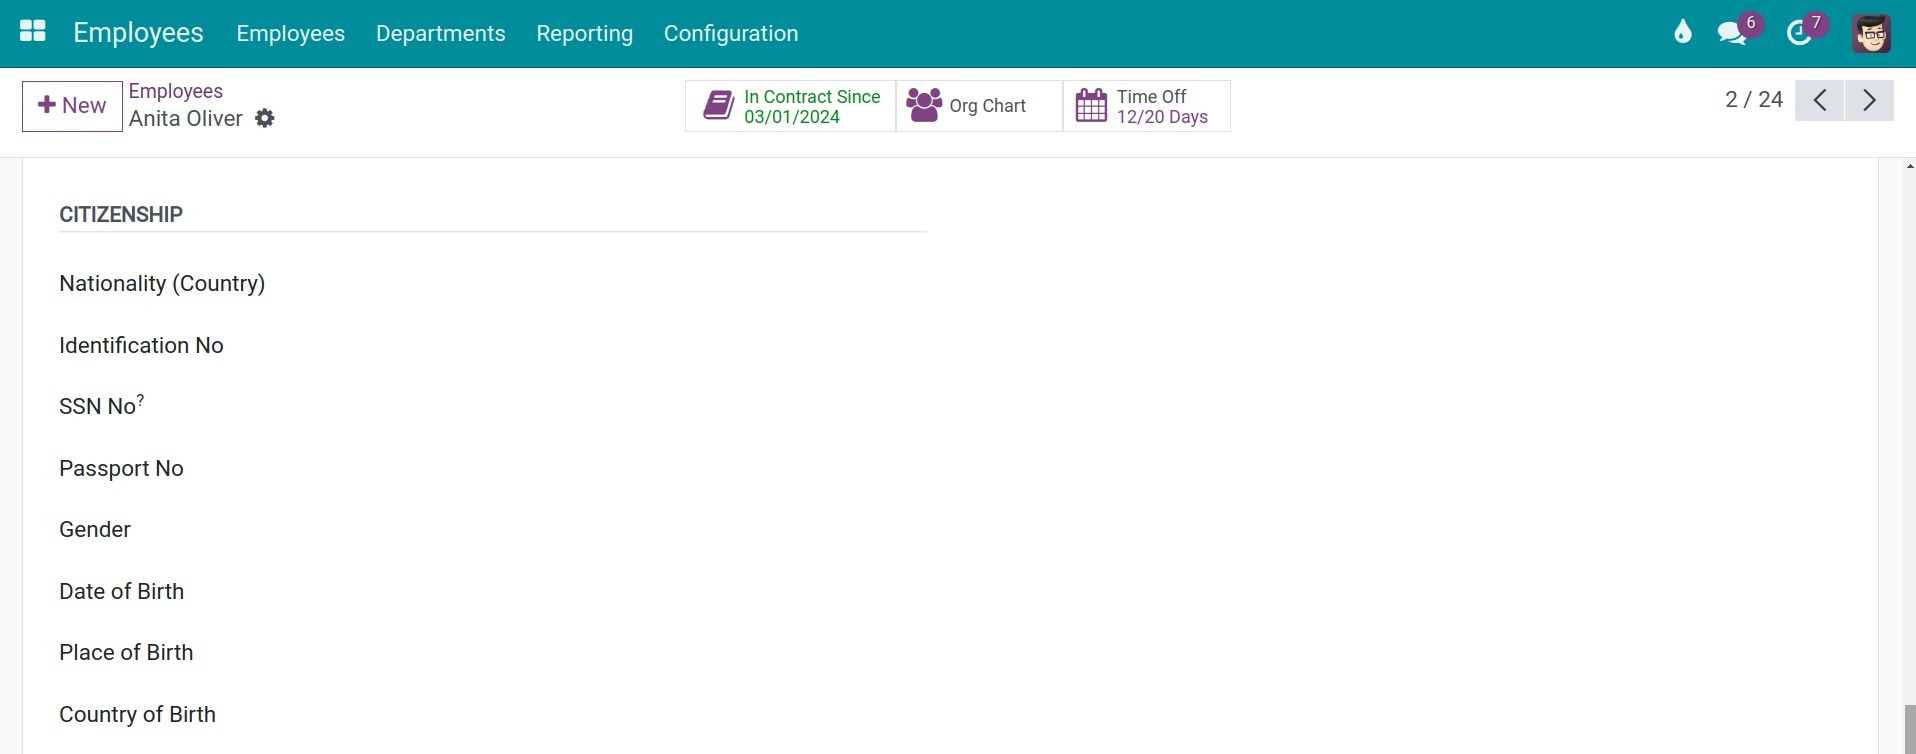
Citizenship: the nationality, identification number, social security number, passport number, gender, date and place of birth of the employee.
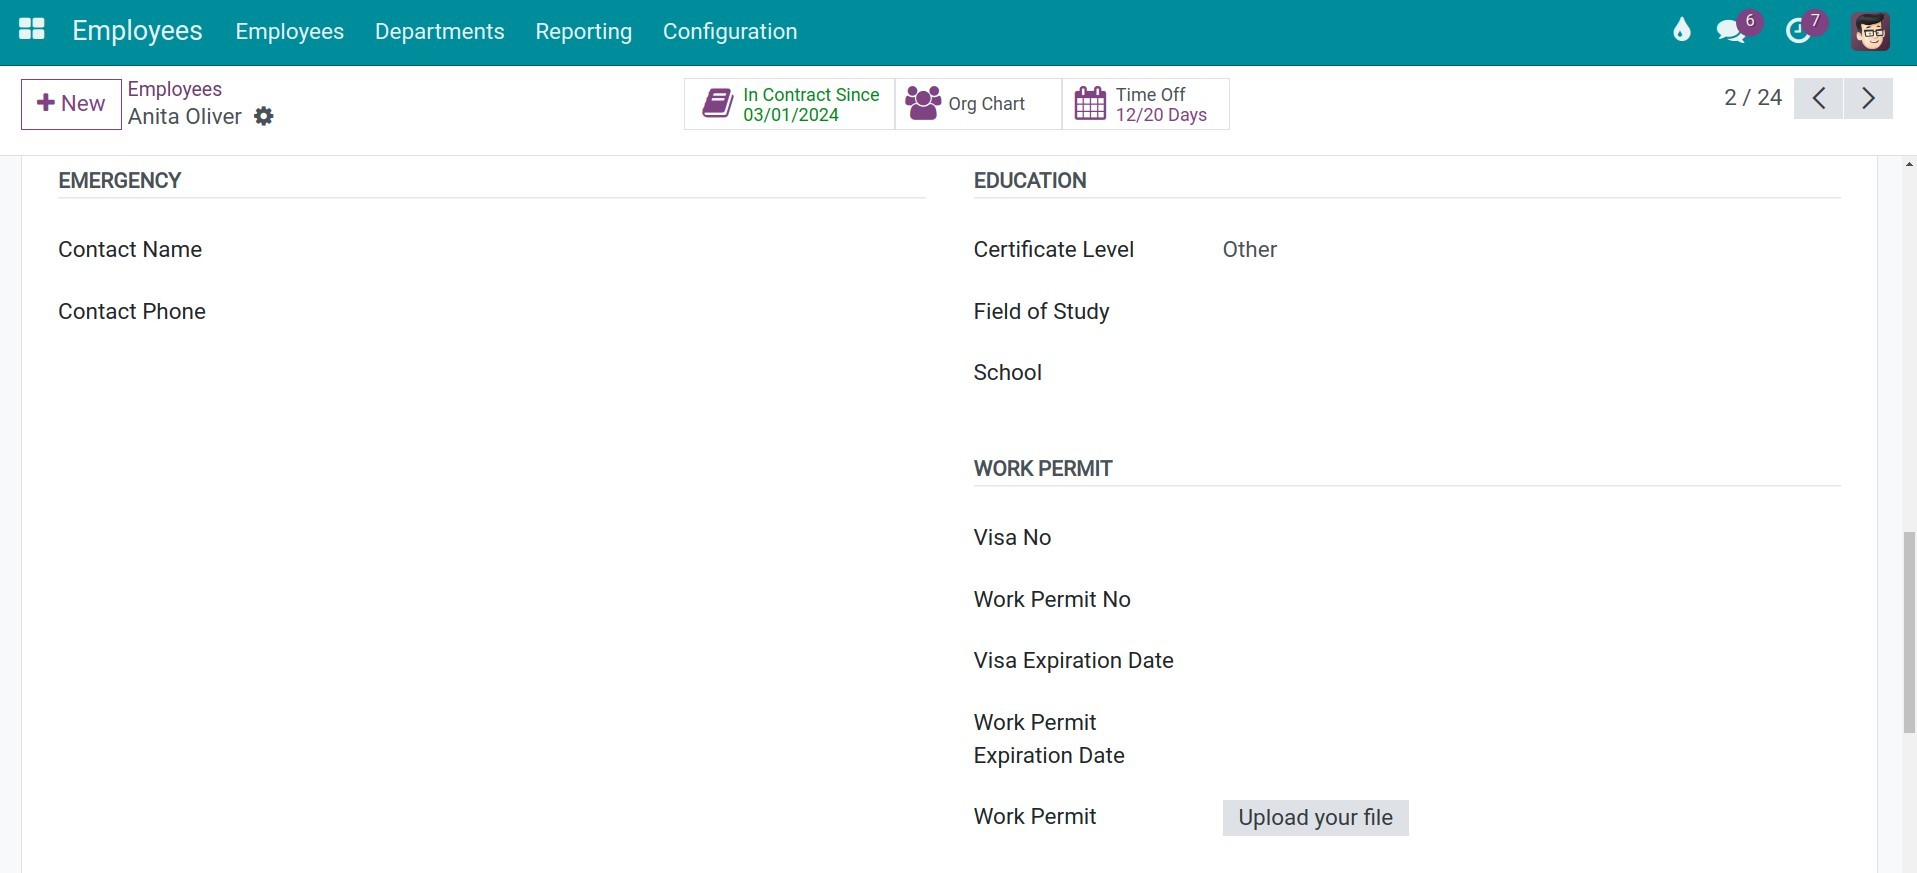
Emergency: the name and phone number of a contact for urgent cases.
Family Status:
Marital Status: select one option. If you select Married, the fields for the spouse’s full name and birth date appear.
Number of Dependent Children, Other Dependant: the number of dependants. Total Dependant is calculated from them and is used as the baseline for deductions on the payslip.
Education: the certificate level, field of study and school.
Work Permit: the visa number, work permit number, their expiration dates, and the scanned work permit file for foreign employees.
Relatives and Organization Participation: the employee’s relatives and the organizations the employee takes part in.
Settings
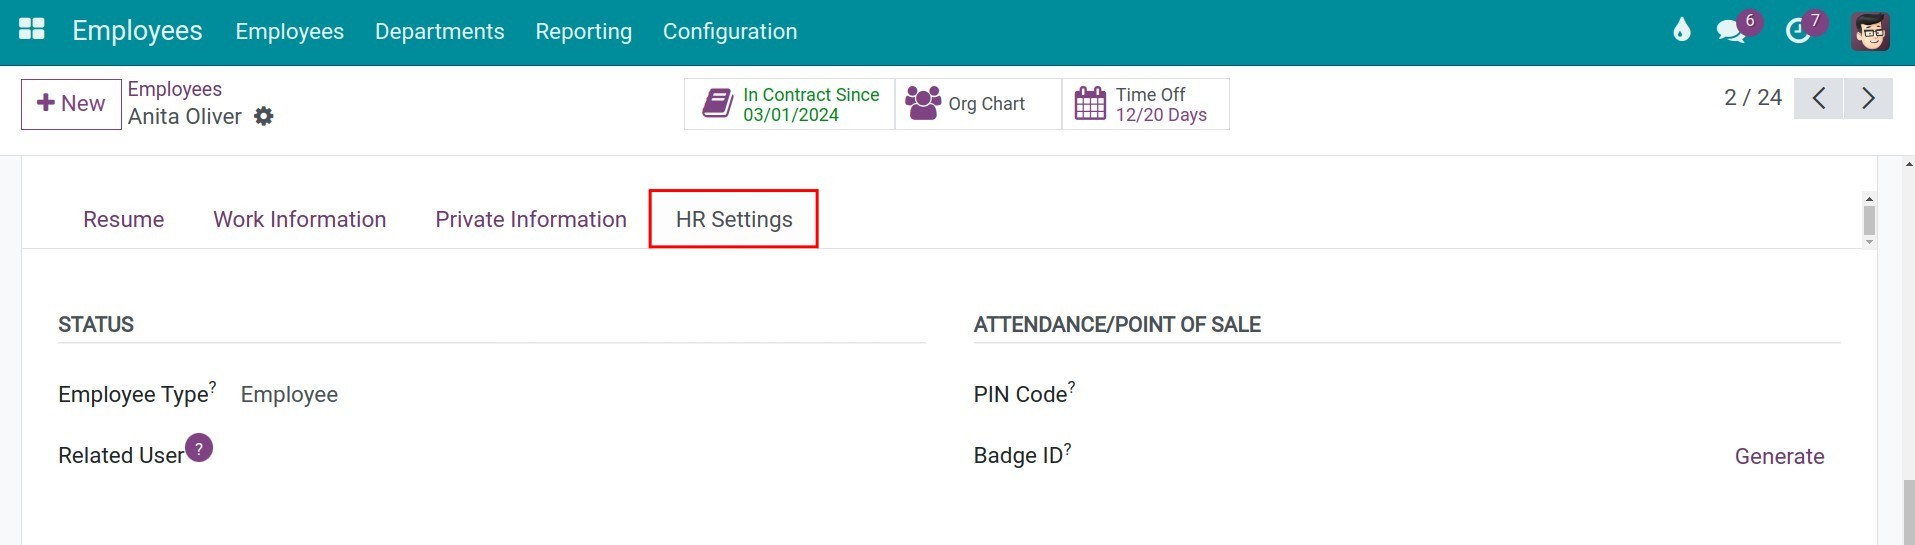
Employee Type: select the type to categorize employees, for example Employee, Worker, Student or Freelancer.
Related User: the user account of the employee. If the employee has no user yet, click Create User to create one.
PIN Code: a passcode used for the kiosk mode of the Attendance application and to change the cashier in Point of Sale.
Badge ID: the identity code of the employee. The company’s internal code, which may be printed on the employee’s badge, goes here.
Buttons on the employee form
Besides the information above, the employee form has the Launch Plan and Employee Transfer buttons and several smart buttons.
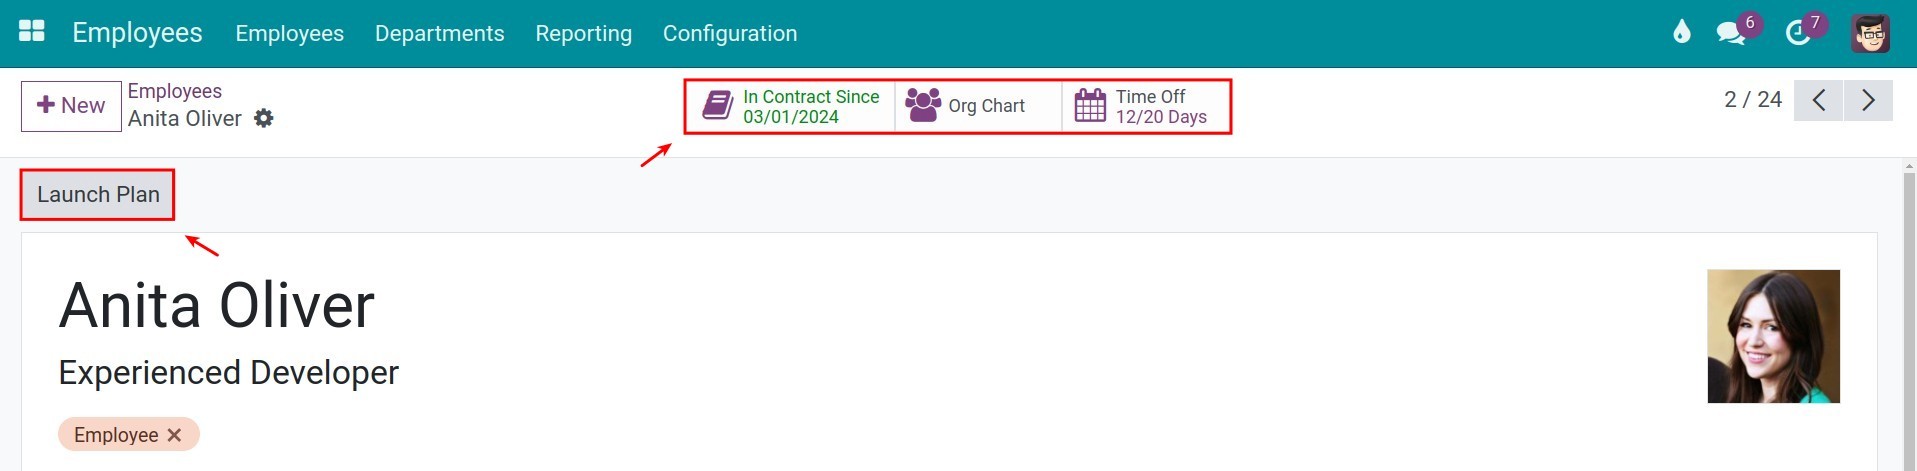
Launch Plan: starts an activity plan that schedules the actions needed for the employee, such as onboarding.
Employee Transfer: moves the employee to another department or job position, see How to transfer an employee.
Smart buttons: Contracts, Org Chart, Overtime Entries, Payslips and HR Document show the number of related records and open them. For example, HR Document lists the employee documents.
Common problems
Problem |
What to do |
|---|---|
There is no Create Employee button on the application. |
Move the application to a hired stage. The button is also hidden once an employee has been created from that application. |
There is no Create employee button on the user. |
The user already has an employee. Open it from the Employee smart button. |
You cannot find the Resume tab. |
The Resume tab is available when the Skills module is installed. |
See also
Related article
Optional module