Booking Workflow and Scenarios
Operational Workflow
These seven steps keep bookings consistent from preparation to completion.
Step 1: Prepare the Shipment
Before clicking Booking, confirm the shipment already includes:
Customer, shipper, and consignee details.
Cargo information (packages or cargo lines).
Route, locations, and estimated schedule.
Selected carriers (per leg if multi-leg).
Step 2: Create the Booking
Open the shipment record.
Click the Booking button.
Viindoo creates the booking automatically using shipment data.

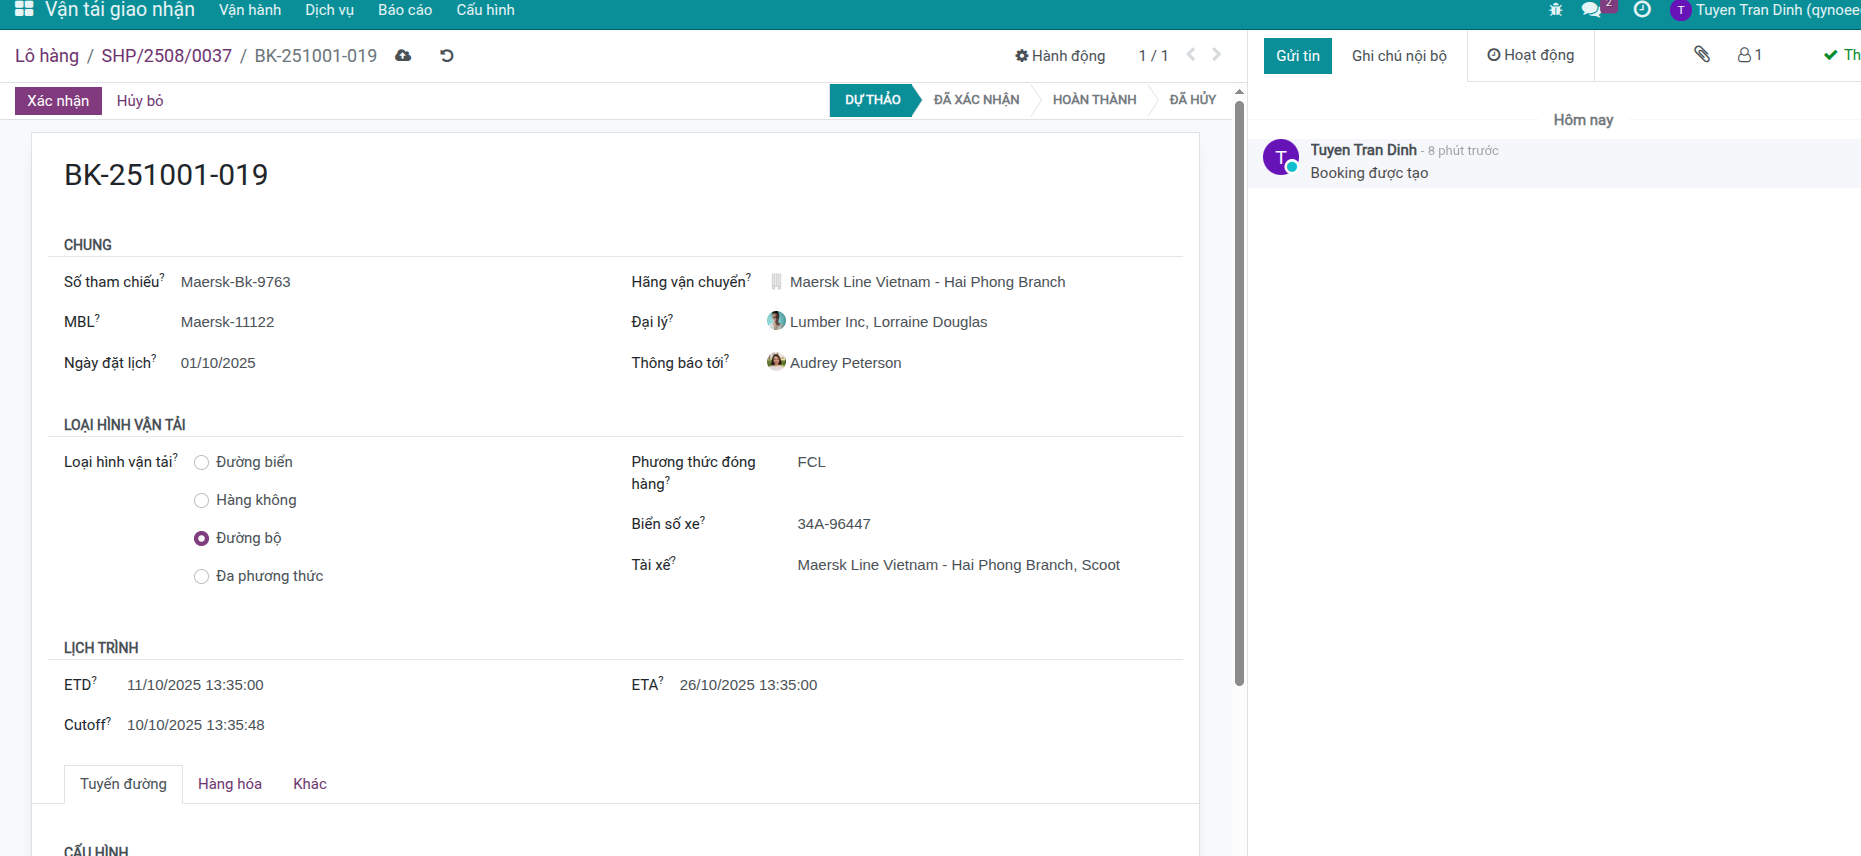
Step 3: Review and Supplement
Inside the booking, double-check:
Carrier and service information.
ETD, ETA, and cutoff.
Cargo summary.
Responsible person and stakeholder list.
Step 4: Send the Booking to the Carrier
Method 1 – Email directly from Viindoo
Click Send Message.
Pick an email template (optional).
Enter recipients and send.
Method 2 – Export and send manually
Use Print > Booking Request to generate a PDF.
Send via your email client or the carrier’s portal.
Step 5: Update After Carrier Response
Log the confirmation details:
Booking Reference.
MBL (when available).
Vehicle information: vessel, voyage number, flight, truck, driver.
Adjusted ETD/ETA if the carrier proposes changes.
Tip
Draft and Confirmed bookings both allow edits—keep the record accurate before you sync everything back to the shipment.
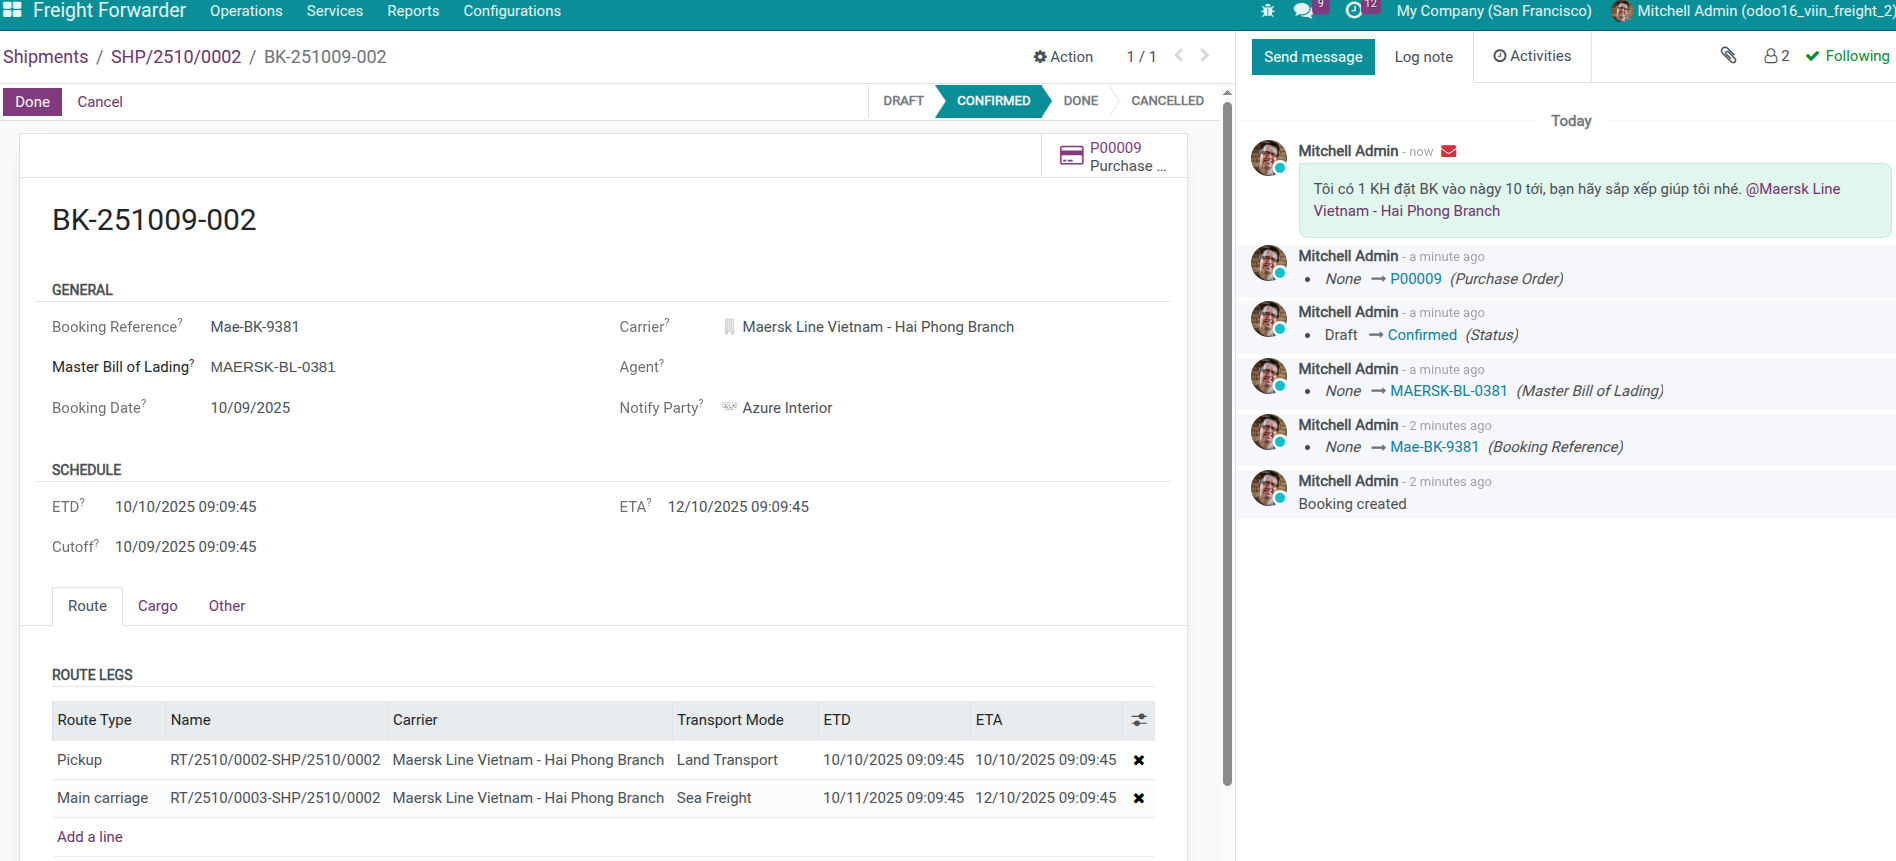
Step 6: Confirm the Booking
Click Confirm.
If you changed carriers, decide whether to notify stakeholders (sales, purchasing, shipment manager).
Confirmation pushes carrier, schedule, and transport details back to the shipment (or individual route legs).
Warning
Once confirmed, do not override the booking drastically. Cancel and recreate a new booking if you must switch carriers completely.
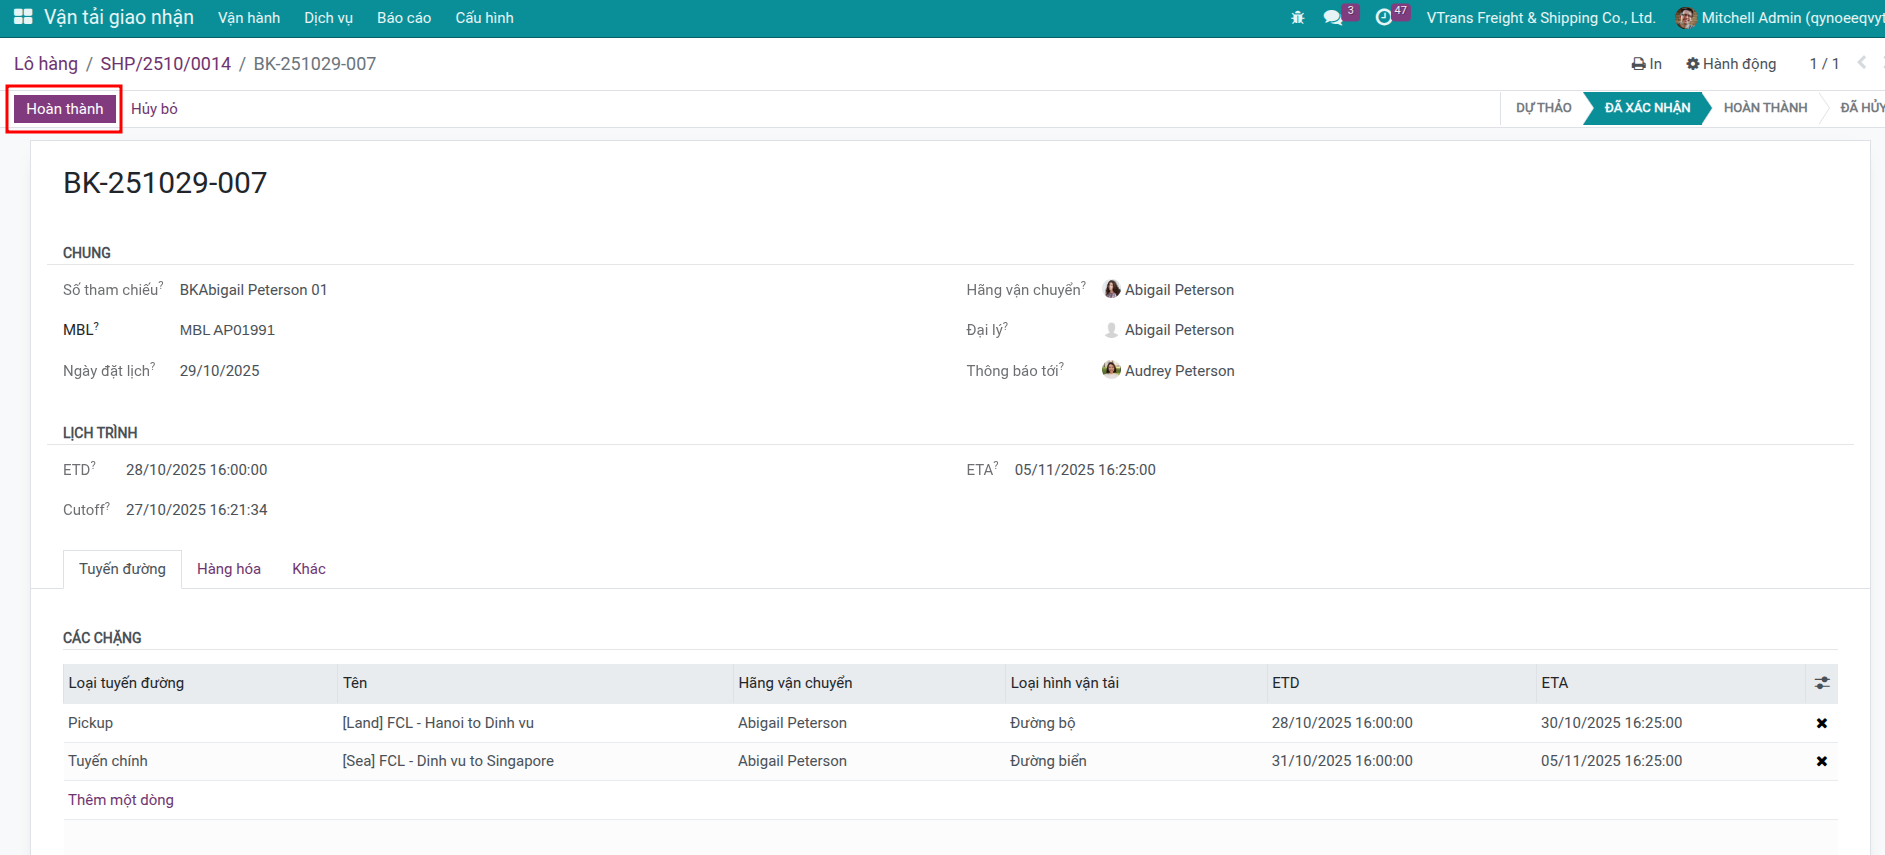
Step 7: Track and Complete
Monitor shipment milestones.
Log departures, arrivals, and customs events.
Mark the booking Done when transportation finishes.
Monitor and Collaborate
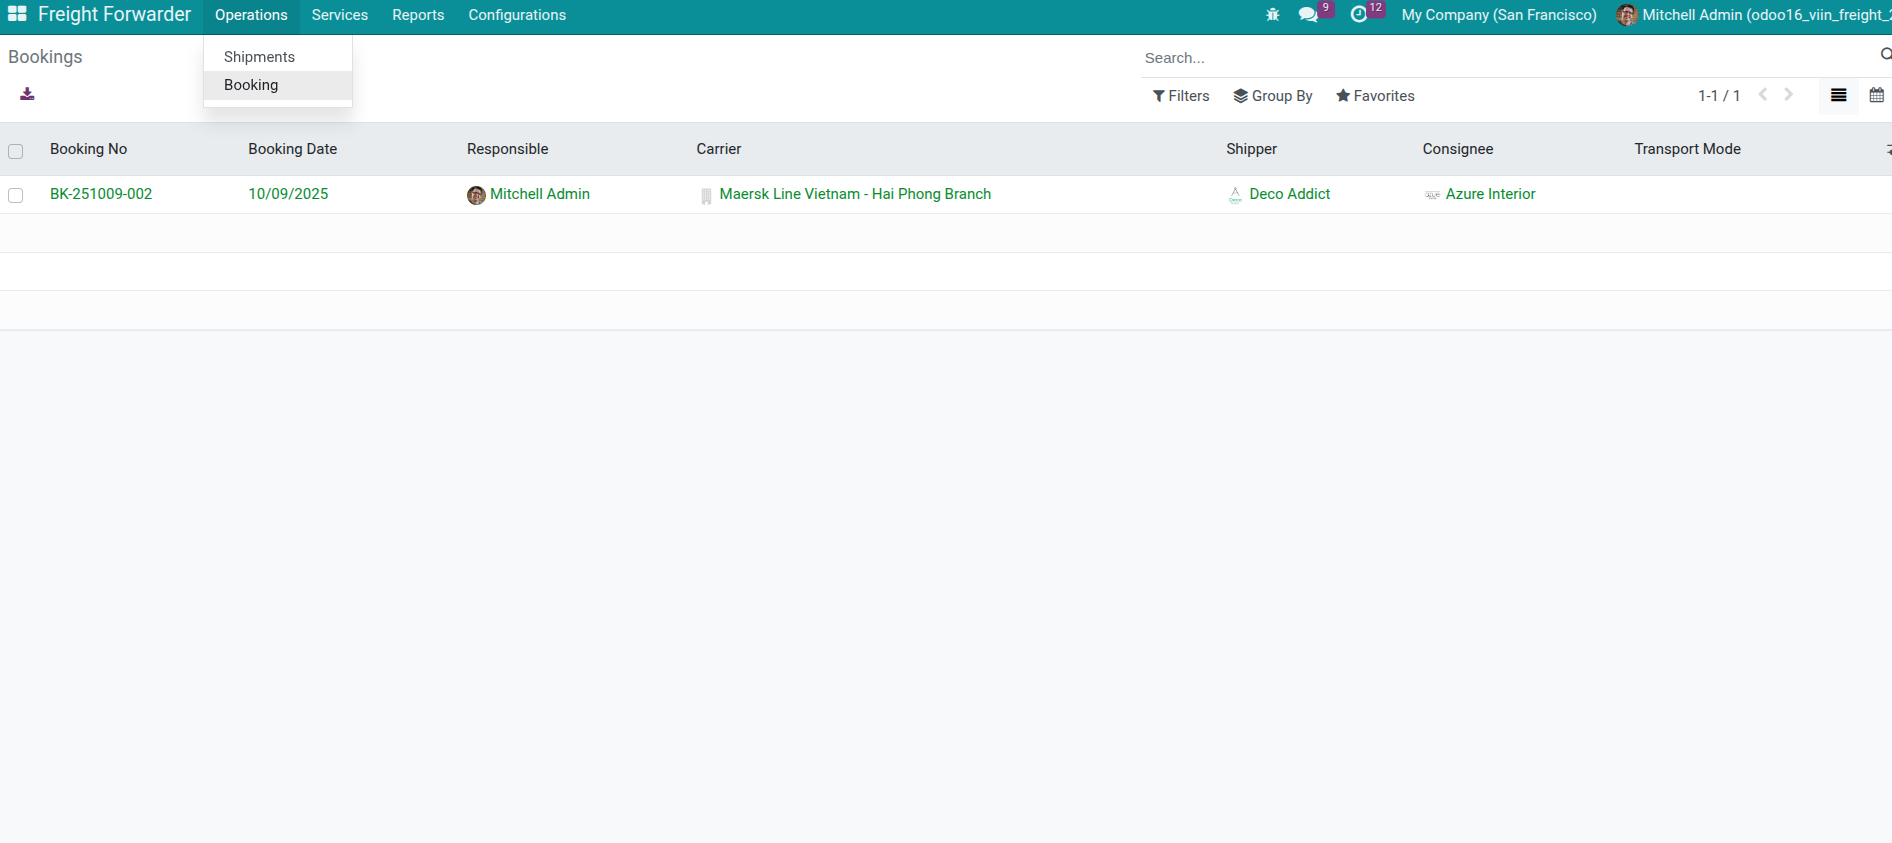
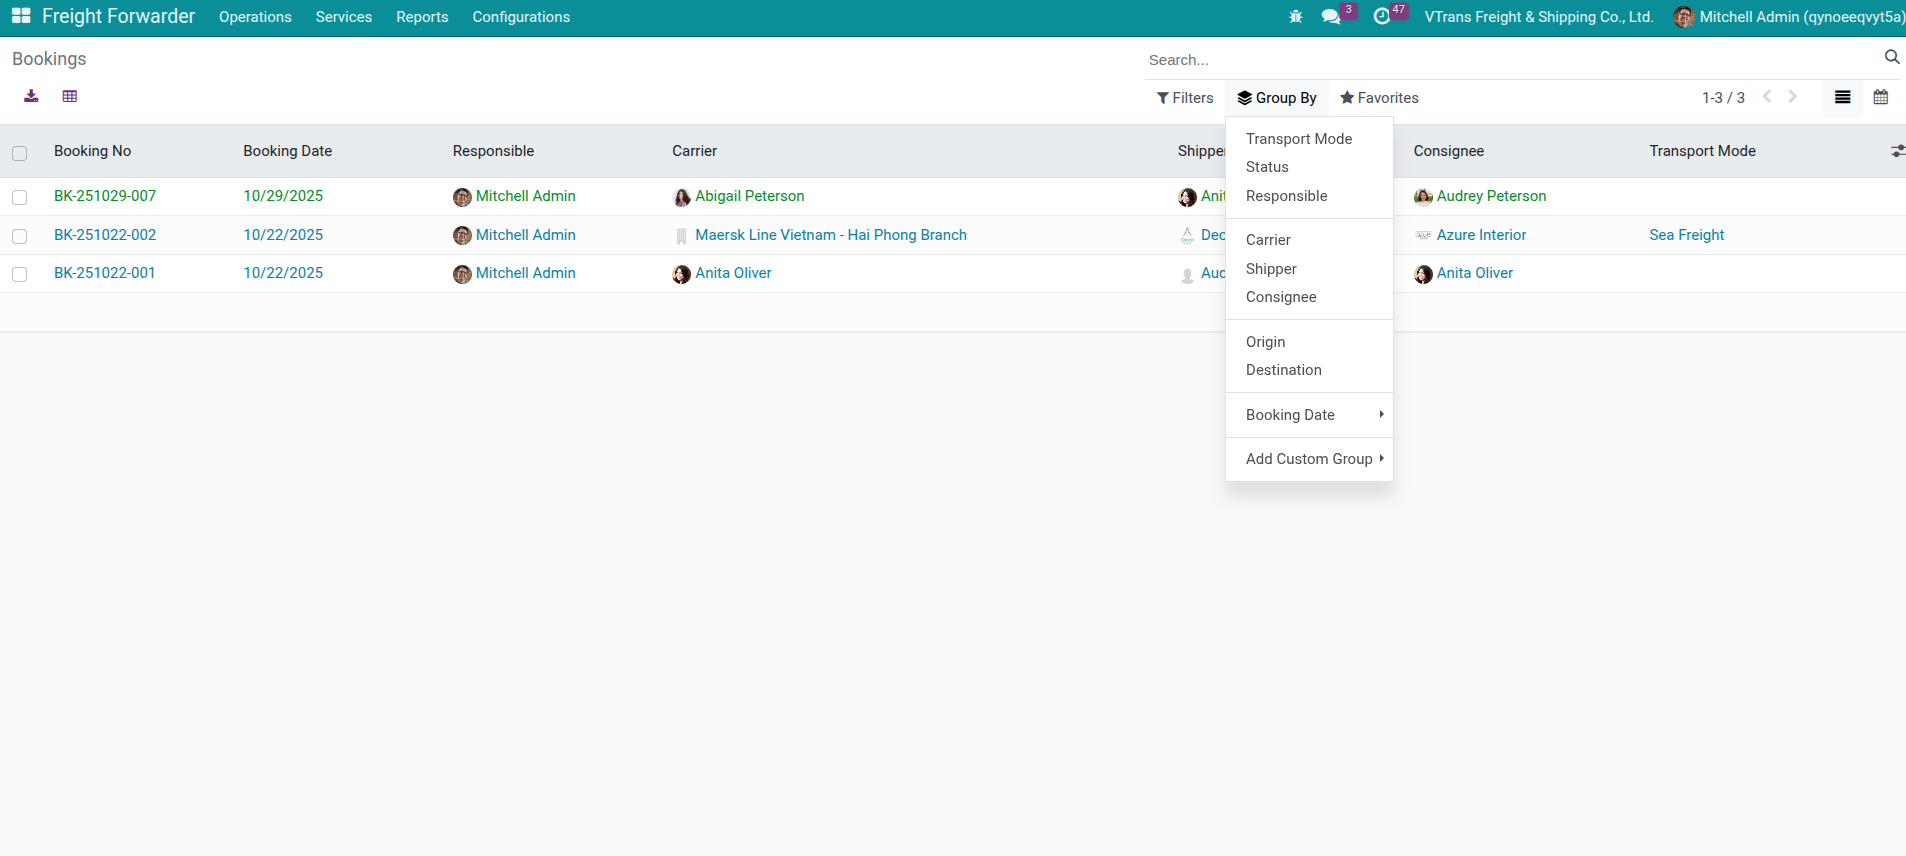
Booking List Overview
Open Freight Forwarder > Operations > Bookings to track every reservation and see status colors at a glance.
Search and Filter
Use the search bar and the Filters / Group By options to focus on urgent bookings (Draft, Confirmed, Multiple Leg, etc.) or to analyze workloads by carrier, responsible, or booking date.
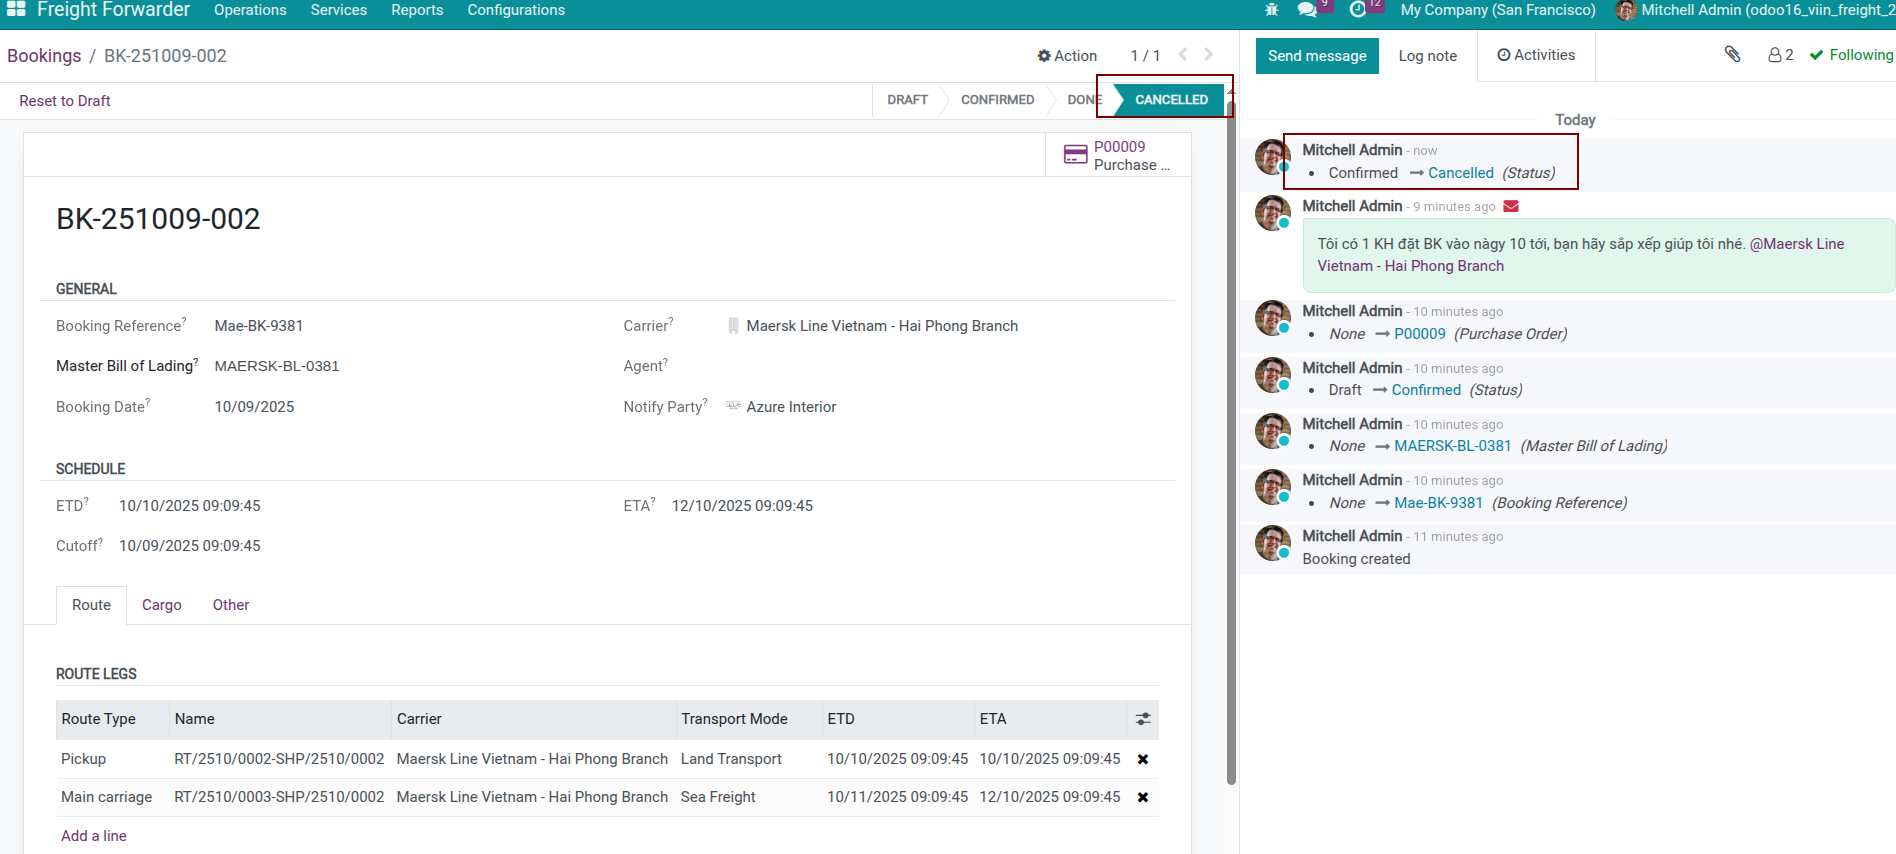
Communication Tools
Within each booking, the chatter lets you send emails, log internal notes, and schedule activities so sales, purchasing, and operations stay aligned. For additional collaboration tips, see booking/management-and-faq.
Handling Common Situations
Changing Carrier After Creating Booking
Situation: You already created booking with Carrier A, but must change to Carrier B due to price or schedule reasons.
How to handle:
Open current booking (in Draft or Confirmed status)
Change Carrier field to Carrier B
Click Confirm (if Draft) or Save (if Confirmed)
System will display wizard asking: Want to notify related parties?
Choose Notify Stakeholders: Send internal message to sales staff, purchasing staff, shipment manager
Choose Proceed without action: Skip
Why system asks: If there’s already a purchase order with Carrier A, changing to Carrier B needs coordination with multiple departments to cancel old PO and create new one.
Booking Rejected
Situation: Carrier rejects booking because no space available or cannot meet schedule.
How to handle:
Current system uses reuse booking method instead of creating new:
Click Cancel to cancel current booking
Booking moves to Cancelled status
Record reason in Chatter: “Carrier rejected - no space available”
Click Reset to Draft to return booking to draft status
This button only appears when booking is Cancelled
Booking returns to Draft status for editing
Adjust booking information
Change Carrier: Choose different carrier
Update ETD/ETA/Cutoff: According to new schedule
Edit vehicle information: Vessel name, voyage number, etc.
Can add/remove packages if needed
Click Confirm again to send to new carrier
Booking moves to Confirmed
Information syncs to shipment/route
Warning
Important Note About Purchase Order
If booking already created Purchase Order, resetting and confirming again may cause data conflict:
Old PO still exists with old carrier
New booking links to new carrier
Need manual handling: cancel old PO, create new PO
Improvement plan: Automatic checking and warning feature will be added in future version.
Note
Distinguish: Reject vs Additional
Rejected booking: Reuse old booking (Cancel → Reset → Adjust)
Additional container: Create new booking (see next section)
Adding Container After Booking
Common situation: Customer requests additional container after booking with shipping line is confirmed
Real example:
You already created booking for 1 container 40ft with Maersk and confirmed with shipping line. Near departure date, customer calls requesting to send 1 more container 20ft in the same shipment.
Handling process:
Update Sale Order
Go to confirmed sales order
Add 1 new transport service line (quantity: 1 container 20ft)
Save order
Add package to Shipment
Go to existing shipment from sales order
Tab Cargo → Click Add a line
Enter new container information (type, weight, cargo…)
Save shipment
Allocate to route (if multi-leg)
If shipment is multi-leg: Tab Route Legs → Select new container
Assign container to appropriate route legs
System will calculate container’s
booking_status=need_booking
Create new booking for additional container
System automatically displays Booking button (because there are unbooked packages)
Click Booking → System automatically creates separate booking ONLY for new container
Note: Old booking is not affected, remains same status
Confirm with carrier
Send new booking to shipping line to confirm additional space
If accepted → Confirm new booking
If rejected → Can try different shipping line or later voyage
Final result:
Shipment now has 2 independent bookings:
Booking-001: Container 40ft (confirmed with Maersk)
Booking-002: Container 20ft (newly created, waiting confirmation)
Tip
Why create a new booking?
The confirmed booking remains untouched, so:
Negotiations with the carrier stay clear.
Amendment fees are avoided.
You can track costs and acceptance per container or voyage.
Case of splitting containers to multiple voyages:
If shipment has 5 containers but can only book 3 containers for this voyage, remaining 2 containers must wait for next voyage:
Create booking 1: Select 3 containers, confirm with voyage A (ETD 15/03)
Create booking 2: Select remaining 2 containers, confirm with voyage B (ETD 20/03)
Result: 1 shipment with 2 bookings, each booking has separate schedule
Want to Copy Booking
Situation: New shipment has similar information to old shipment, want to quickly create similar booking.
How to handle:
Cannot duplicate booking directly
Instead: Create new shipment with similar information (or duplicate old shipment)
From new shipment, click Booking to automatically create booking
See also
Create Bookings – Review the wizard and prerequisites for creating bookings.
Booking Details – Understand every field you update throughout these workflows.
Booking for Shipments – Follow the shipment operator’s entry point and synchronization behavior.