Manage your blacklist and unsubcriptions
To manage the customers who want to cancel and unsubscribe the email, Viindoo Email Marketing app provides an option to help you manage your blacklist.
Requirements
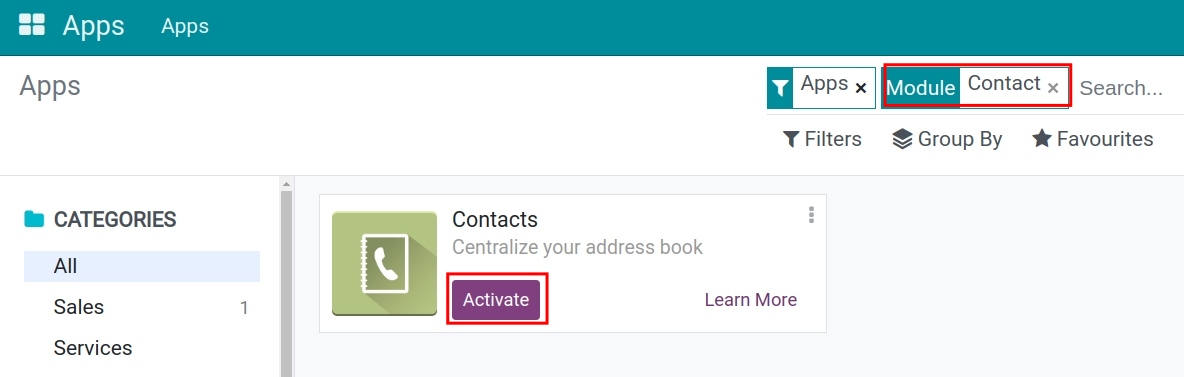
This tutorial requires the installation of the following applications/modules:
Settings
To set up, navigate to Email Marketing > Configuration > Settings and select Blacklist Option when Unsubscribing.
Press Save to finish the setting.
Unsubscribe
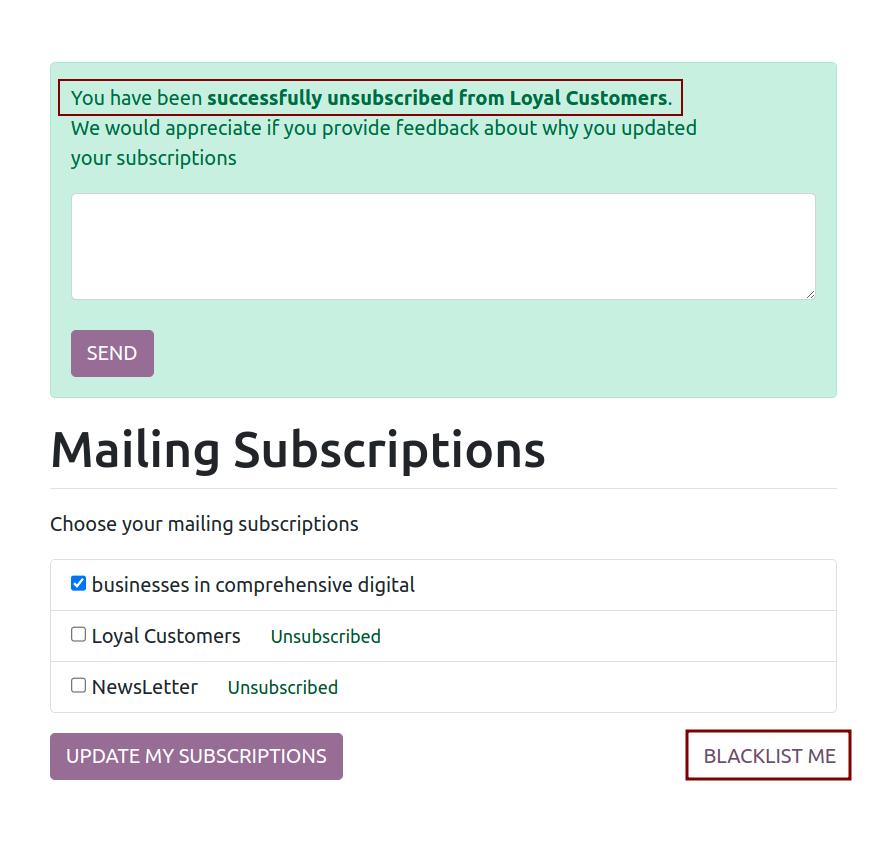
On the interface of mail sent for marketing, receivers will have options to follow or unfollow the email categories as their wish. Receivers can also put themselves into the blacklist by selecting Blacklist Me.
Note
The mail list must be configured as Show In Preferences so that it can appear to the users. Please refer to: How to manage your mailing lists.
When receivers move themselves to the blacklist, that means they will no longer receive your marketing email.
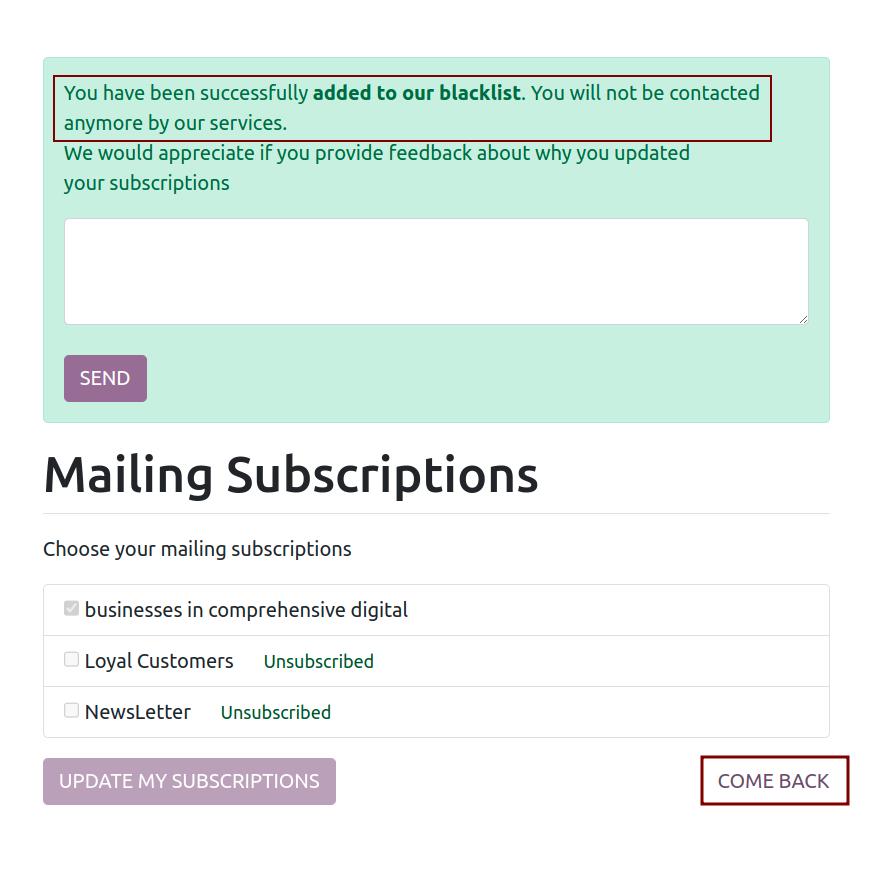
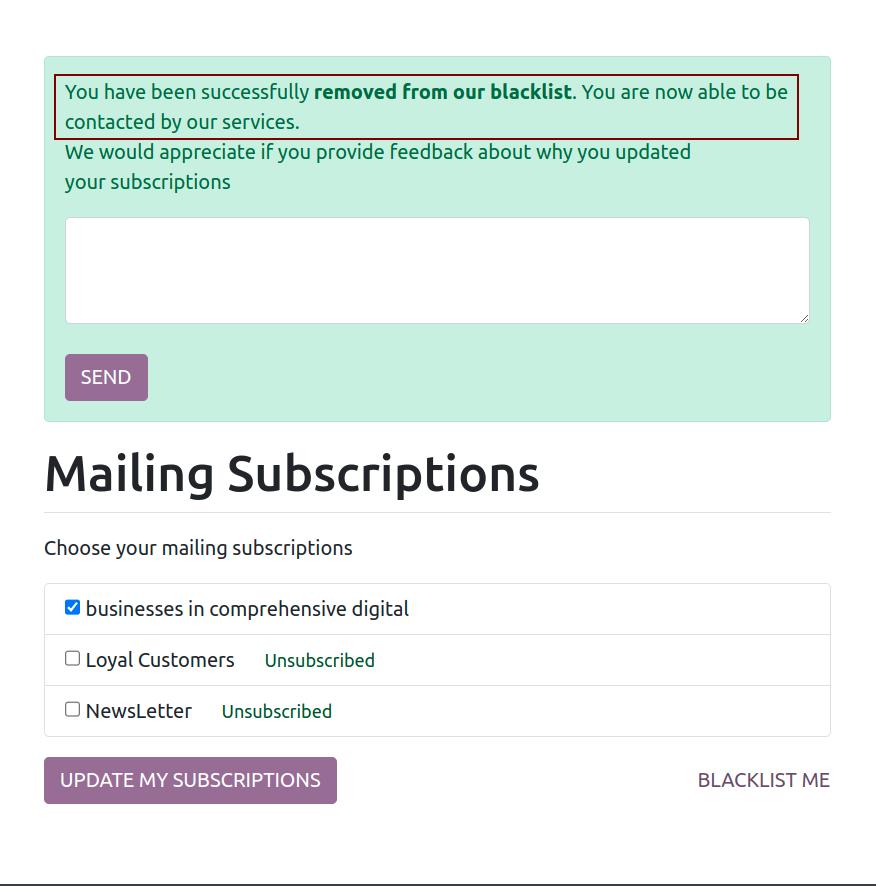
They can press the Come Back button in case they want to continue receiving your email.
Manage the blacklist
In Configuration > Blacklisted Email Addresses, you can view the information of the mail listed in the blacklist.
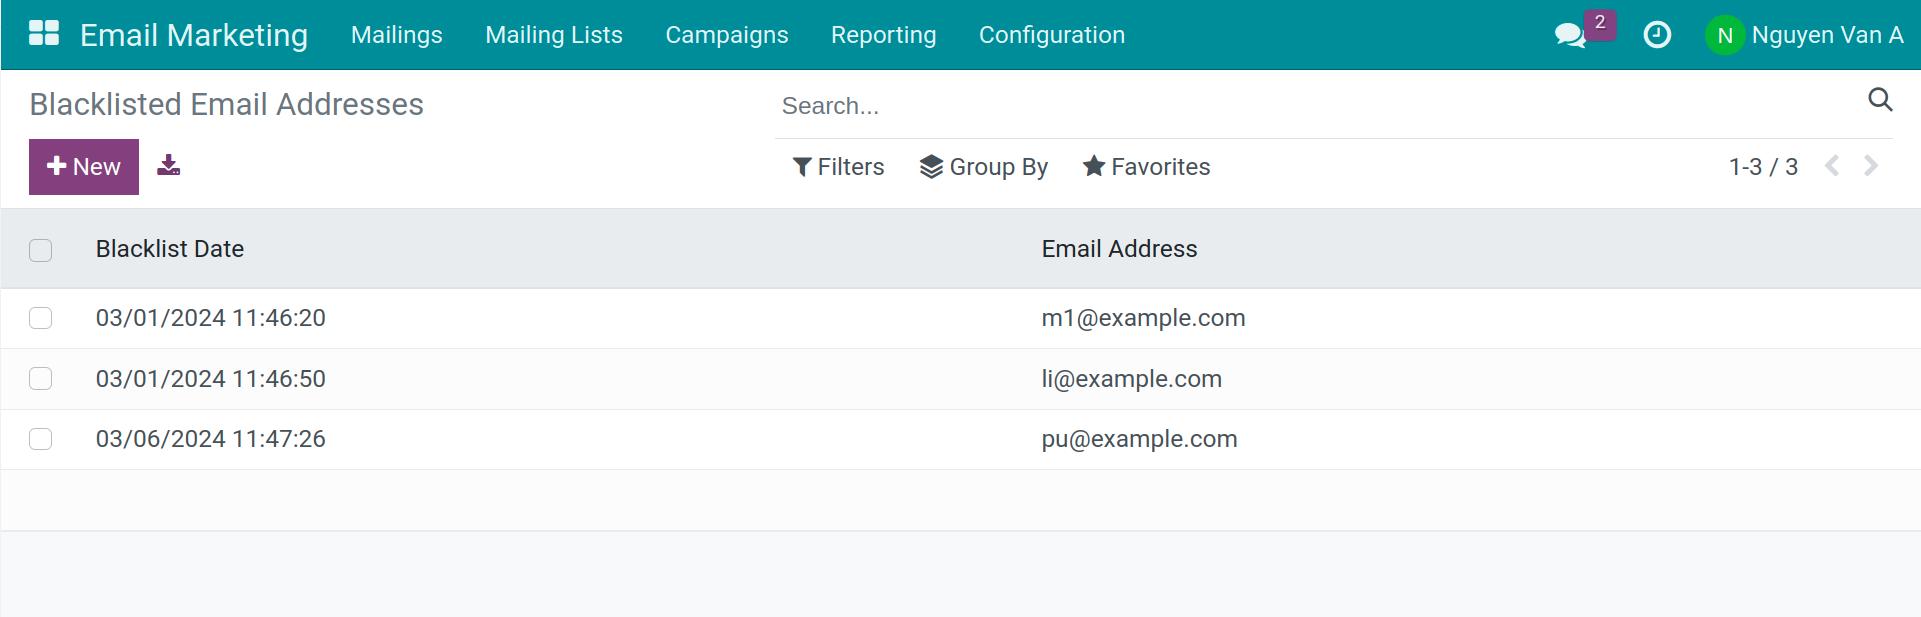
You can also add more email addresses to the blacklist by pressing New button, then enter the email address you want to add to the blacklist. The active option will be automatically selected when the email is blacklisted.

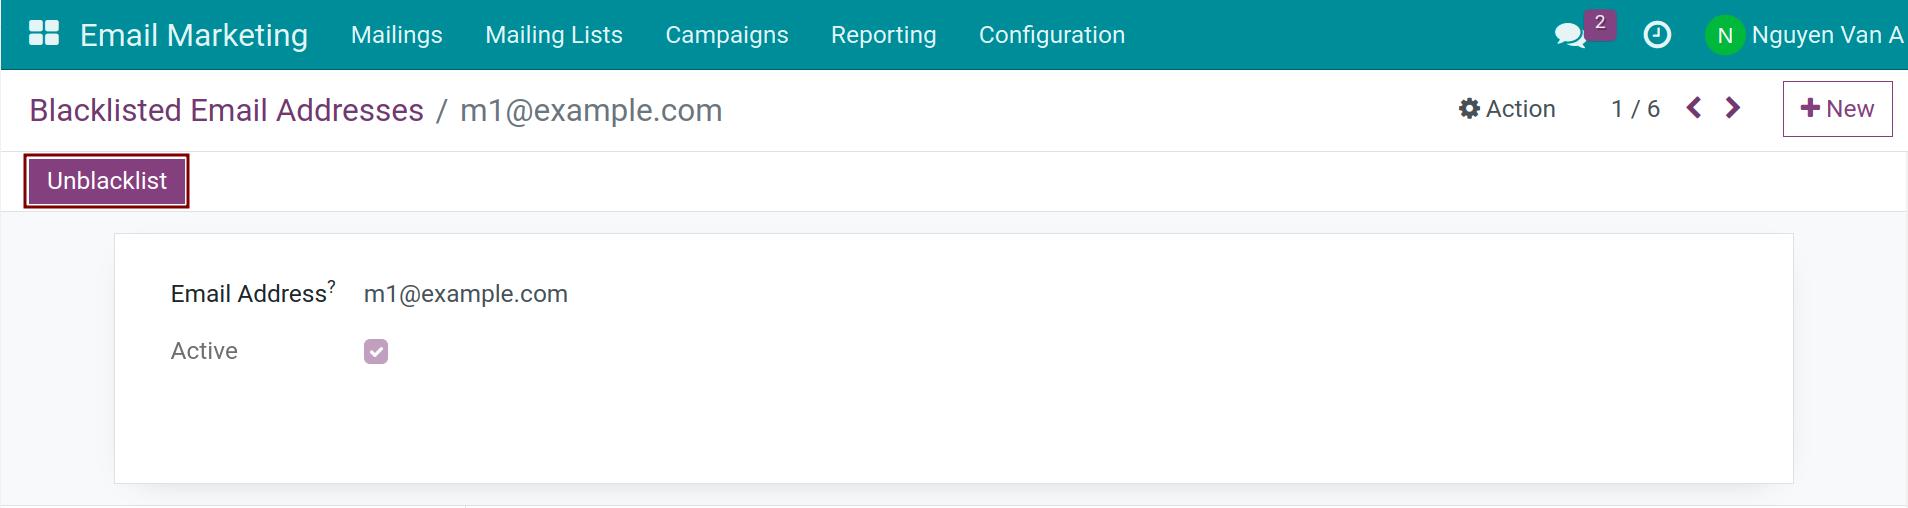
When you want to remove an email address from the blacklist, select that email and press Unblacklist.
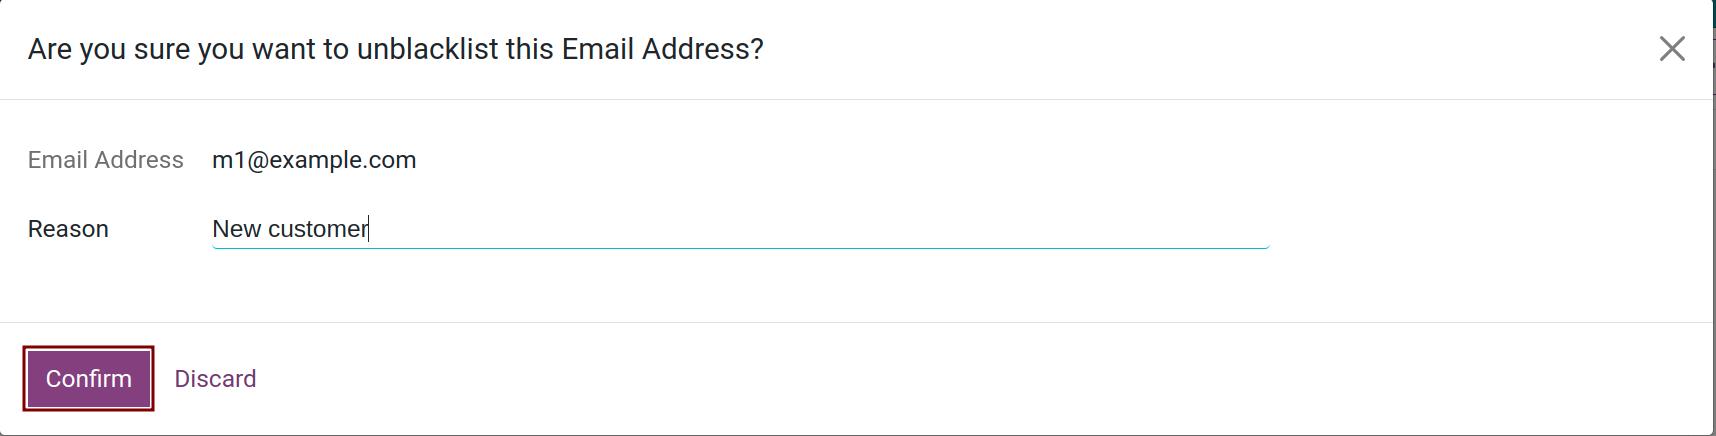
Type the reason you want to remove from the blacklist and press Confirm.
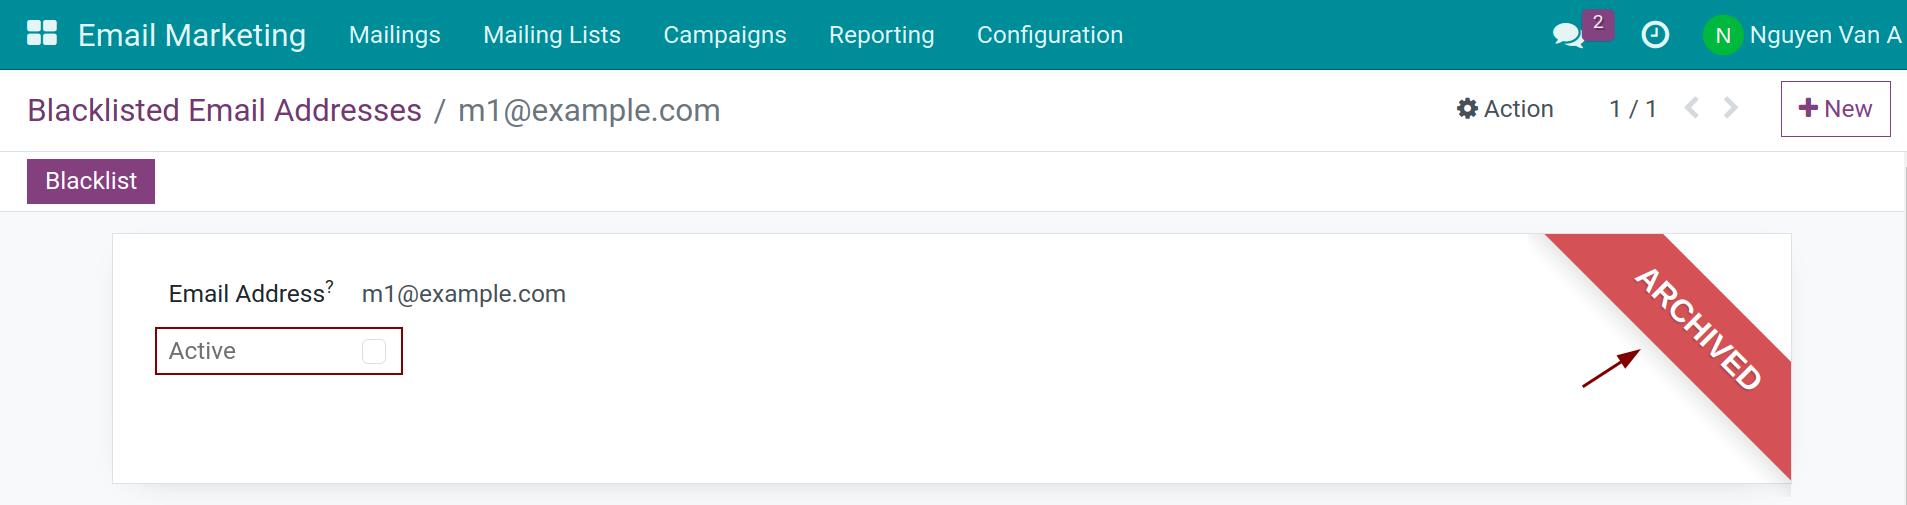
The Active option will be automatically deselected. Now, this email address will be able to receive your email if it is on the list.
Tip
You should usually update your email list to avoid a high unsubscribing rate and only send emails to subscribers.