How to configure Viindoo Accounting and Invoicing before using
This article guides you through the initial configuration when you first start using Accounting & Finance app on Viindoo.
Requirements
This tutorial requires the installation of the following applications/modules:
Install Accounting module
Access Viindoo Apps, use the filter to search for Accounting & Finance app (to_account_accountant) and click Activate.

Configure Fiscal Localization
You can choose a fiscal package for the local country by accessing Accounting & Finance ‣ Configuration and going to the Fiscal Localization section:
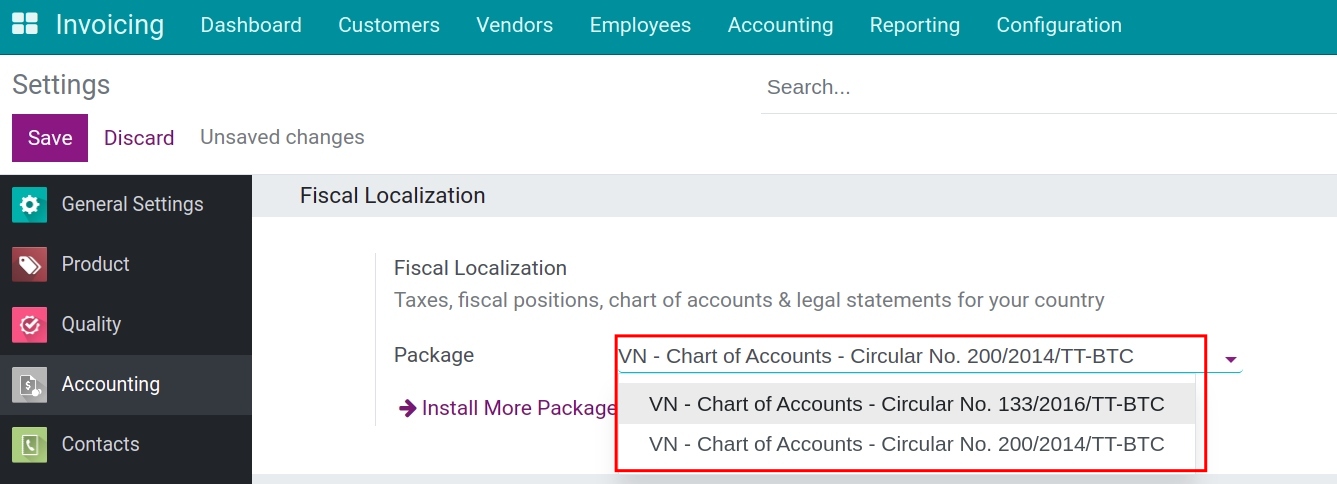
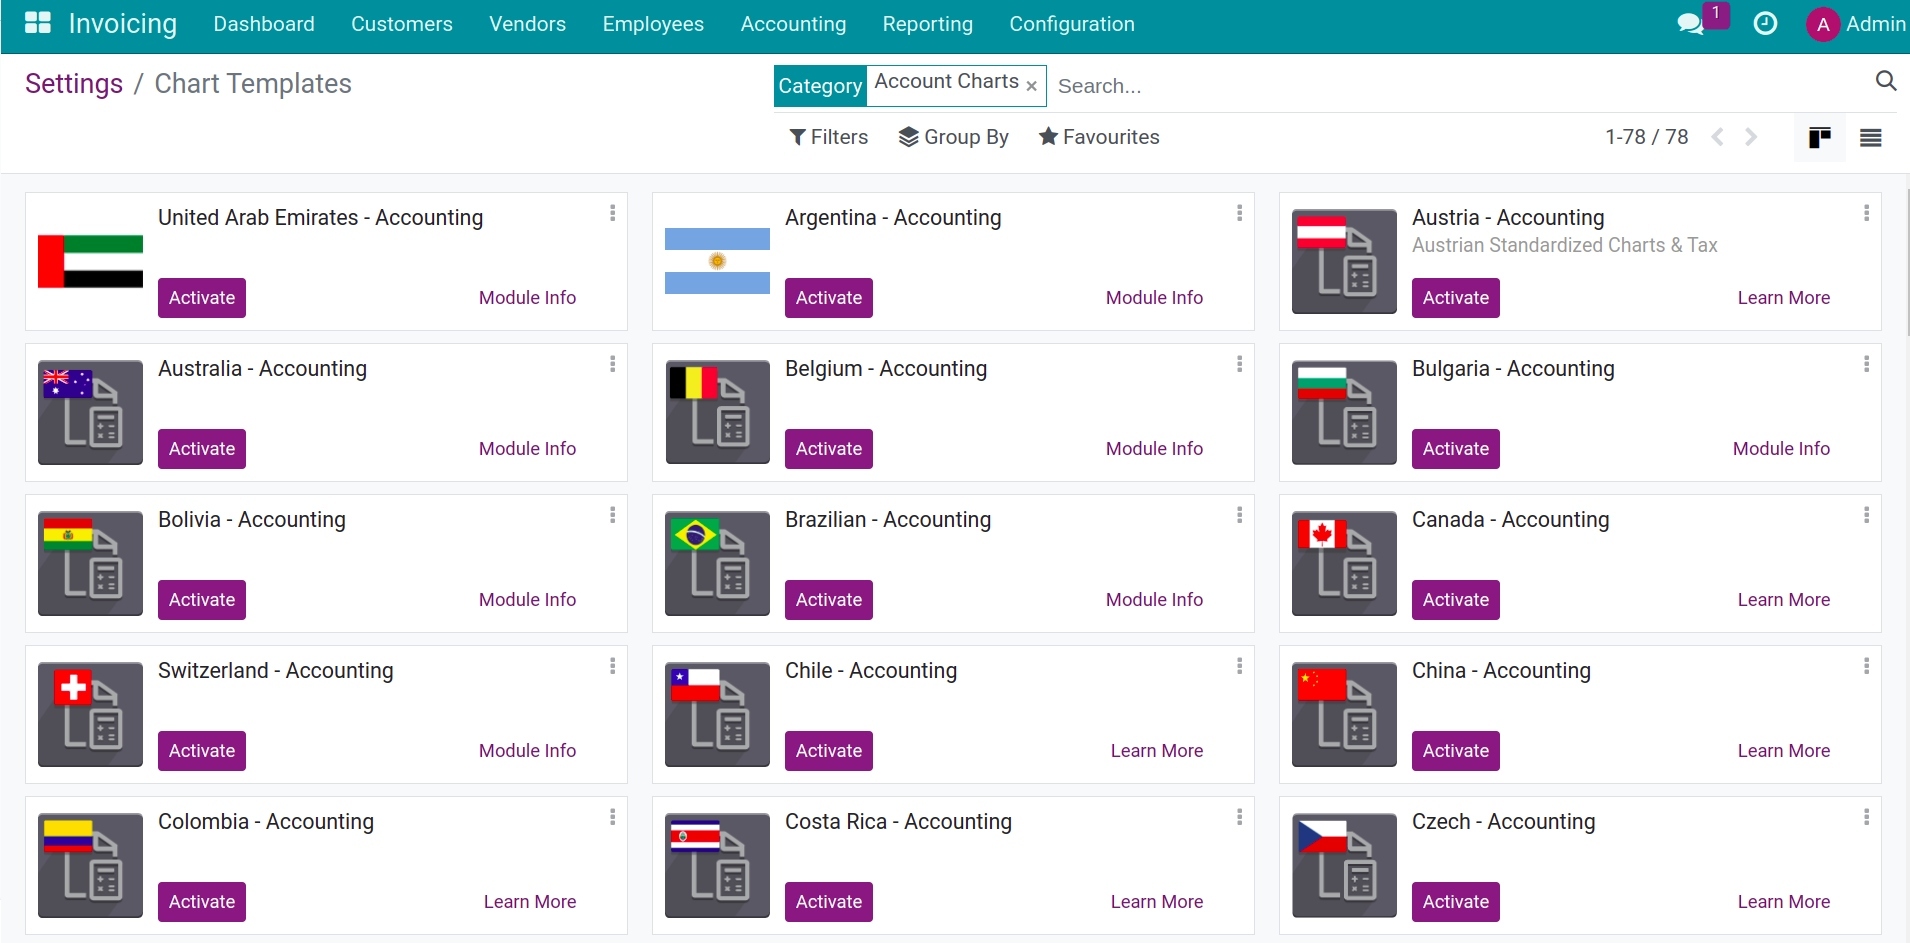
On the other hand, you can install another fiscal package by clicking on Install More Packages.
Warning
This feature can be configured as long as you haven’t posted any entry to your accounting system.
Configure Company’s information
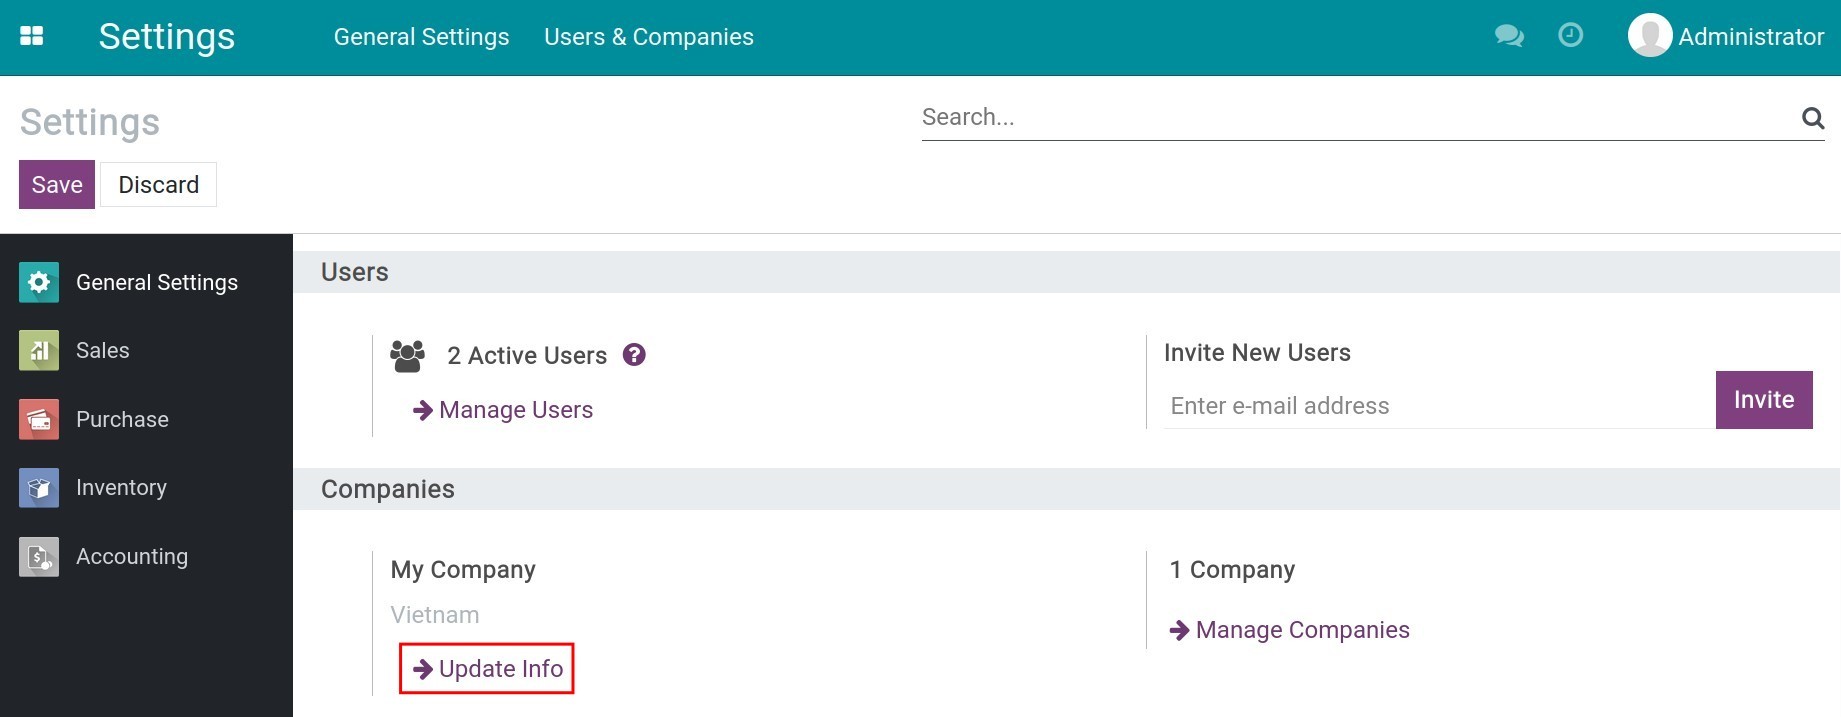
Go to Settings ‣ General Settings ‣ Companies ‣ Update Info:
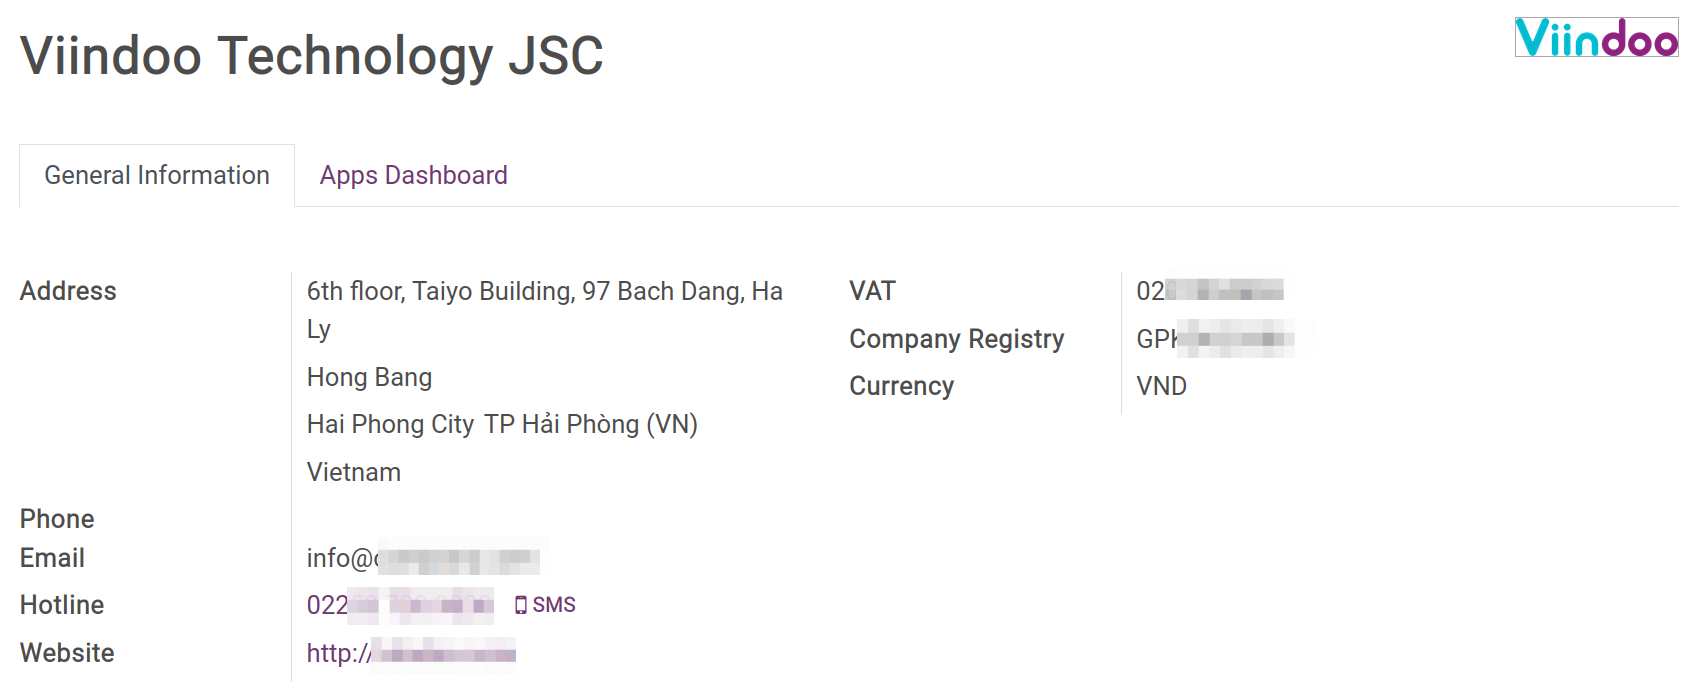
Now you can fill in the company information:
Configure User access right
You need to configure access rights based on job positions for each individual to make sure that this person has enough access to work. Navigate to Settings ‣ Users & Companies ‣ Users, select the user account to set up, click Edit and move to Invoicing.

There are 4 access rights:
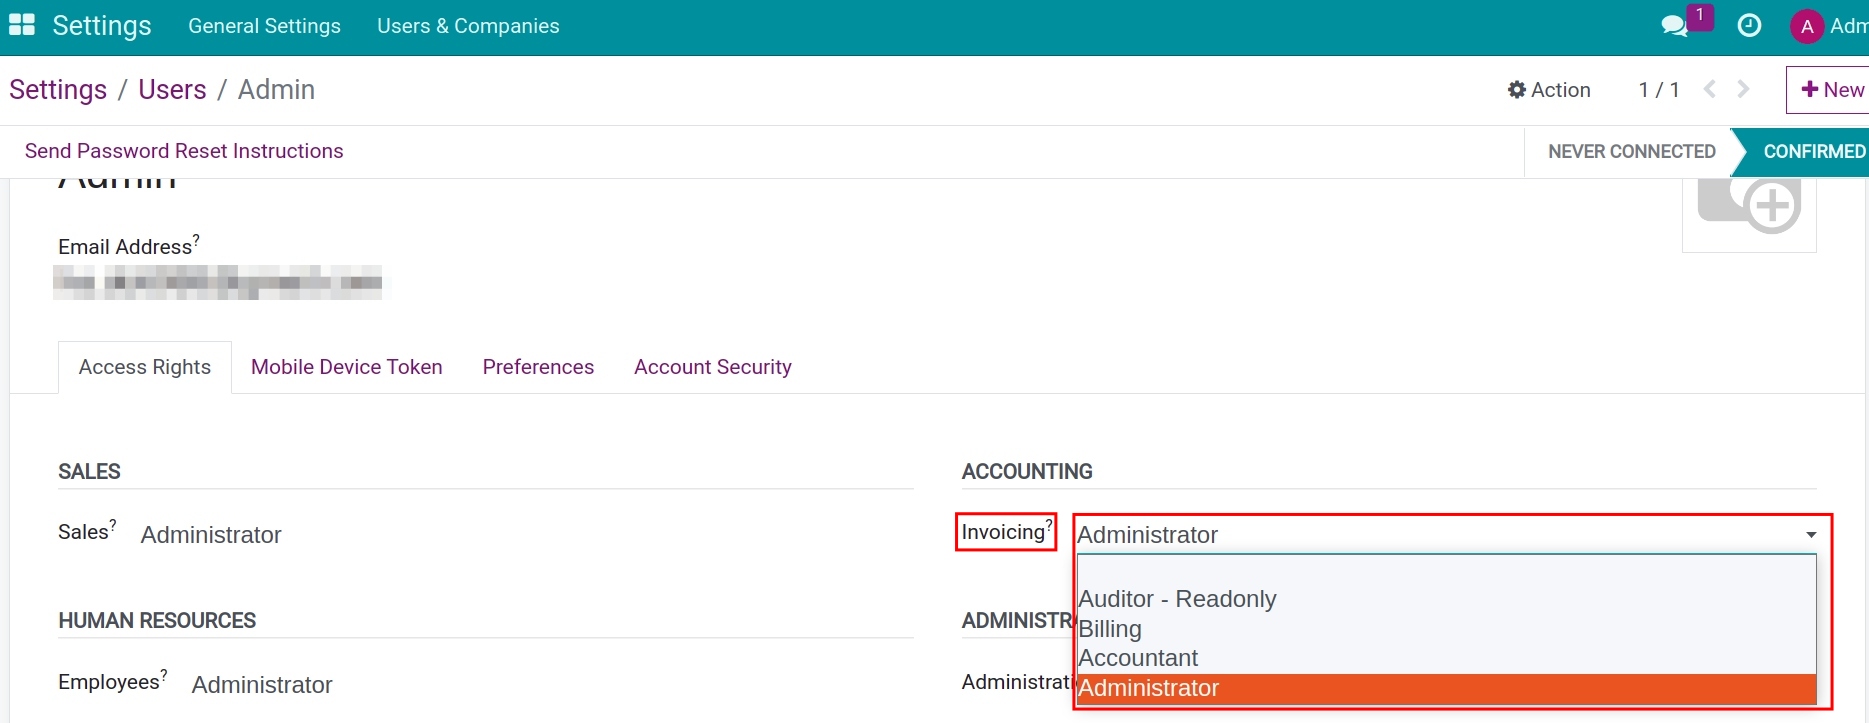
Auditor - Read-only: Only has the right to view all information related to customer/vendor invoices and payments, journal entries, bank statements, etc., and check some reports such as VAT Declaration , Profit and Loss, Balance Sheet , Cash Flow Statement and Invoice Analysis.
Billing: Can create/edit operations related to customer/vendor invoices and payment.
Accountant: Has full access right from the Billing access right, can create/import the statement and check all reports in the system.
Administrator: Has the full access right from the Accountant access right and can configure settings in the Accounting app.
Configuration Tips panel
Navigate to Accounting, you can see a Configuration Tips panel. If you don’t use this panel, you can click on the X icon to hide it away. Once hidden, it won’t be shown again.

Accounting Periods
Click on Configure at Accounting Periods, you can define the fiscal years of your company.

Note
You can change the last day of the fiscal year by navigating to Accounting ‣ Configuration and going to the Fiscal Periods section. You can read more details on Define your Fiscal Years.
Add a Bank Account
To add the information of a new bank account for your company, click on the Add a bank button on the Configuration Tips panel then configure your bank account on the form with the following information:

See also
Taxes
By default, when you select the package in the Financial Localization Configuration, the system has already created some commonly used tax types that the country is using. Click Review to see the details.

However, you can also create additional ones by selecting +New.
Chart of Accounts
Click on Review in the Chart of Account section to view the chart of accounts in the system.
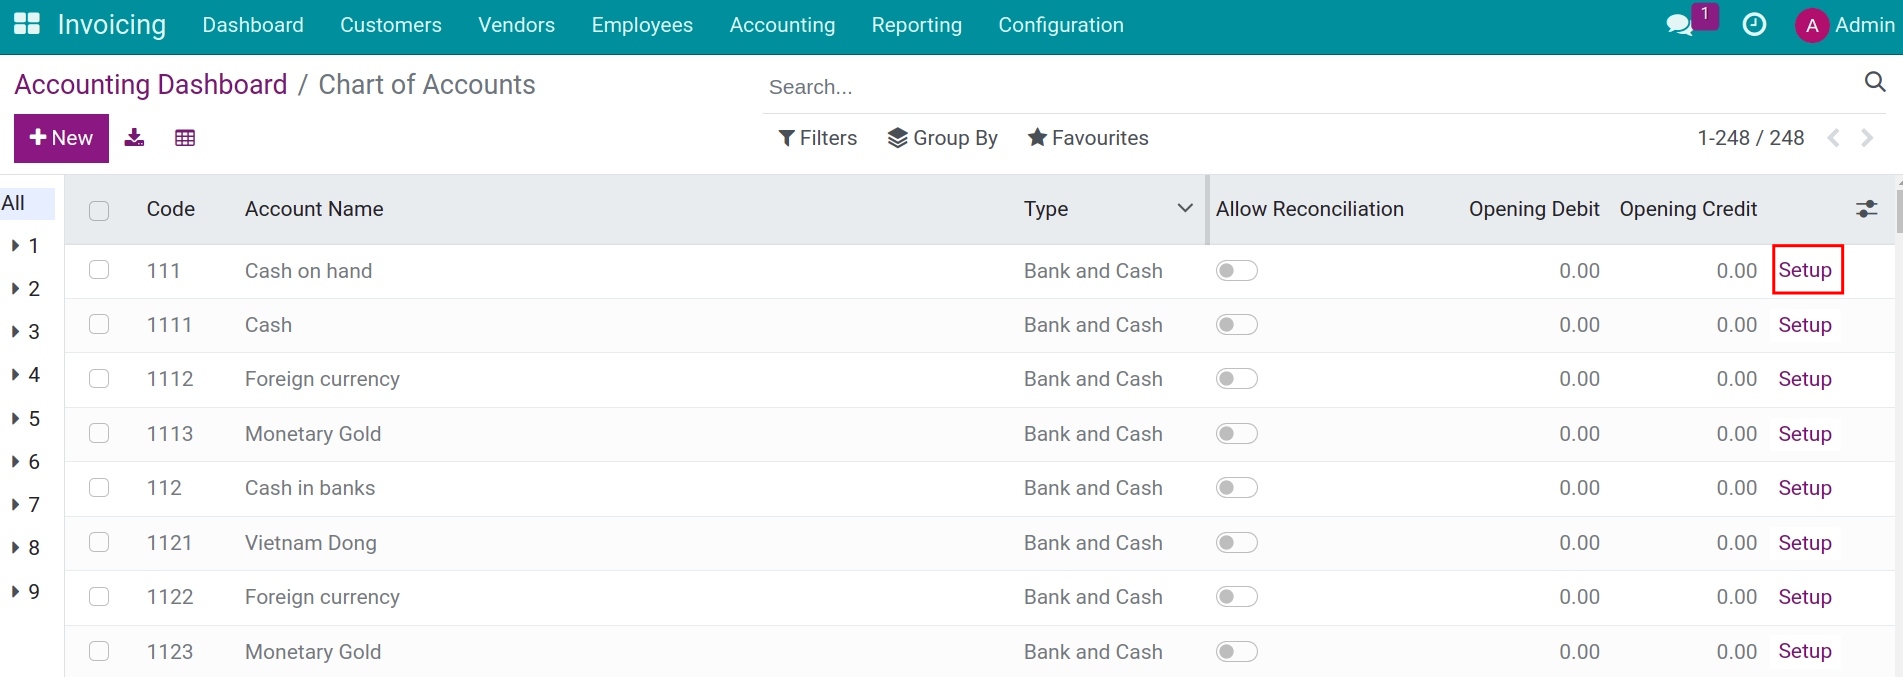
Here you can:
Configure your chart of accounts by clicking on the Setup button on the account that you want to edit.
Record initial balances for each account by modifying the Opening Debit or Opening Credit column.
See also
Related article
Optional module