Create a new apps and models
Applications and modules are interdependent. Each module will have different functions and tasks, and they also contain various elements such as models, interfaces, data files, etc. Combining multiple modules together will form an overall shape.
Note
All applications are modules. Large, standalone modules are often referred to as applications, while other modules typically serve as extensions for those applications.
Requirements
This tutorial requires the installation of the following applications/modules:
With Viindoo customizer feature, you can quickly create an application/module without the need for coding. Let’s experience this through the following article.
Create applications quickly
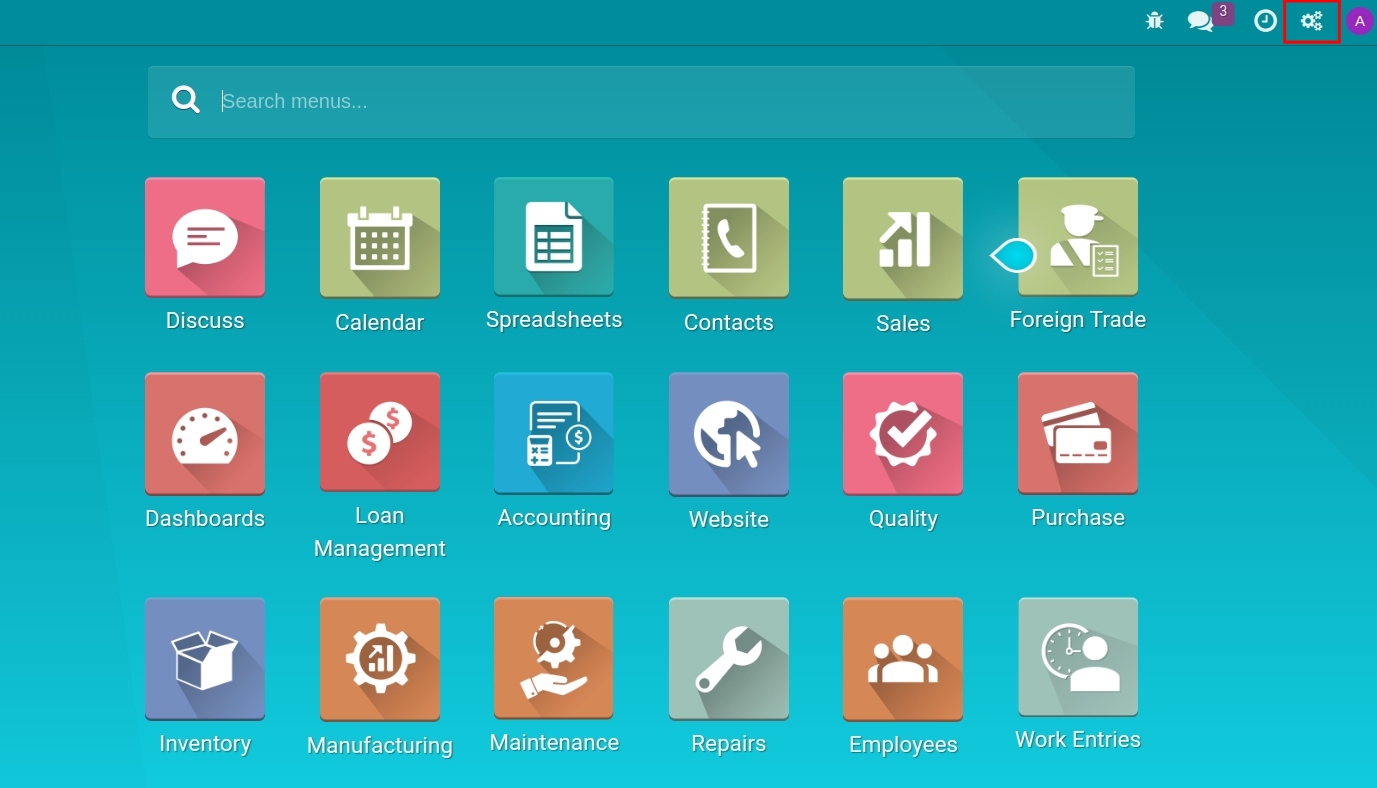
When you create an application using the studio, on the main interface, select the Gear icon.
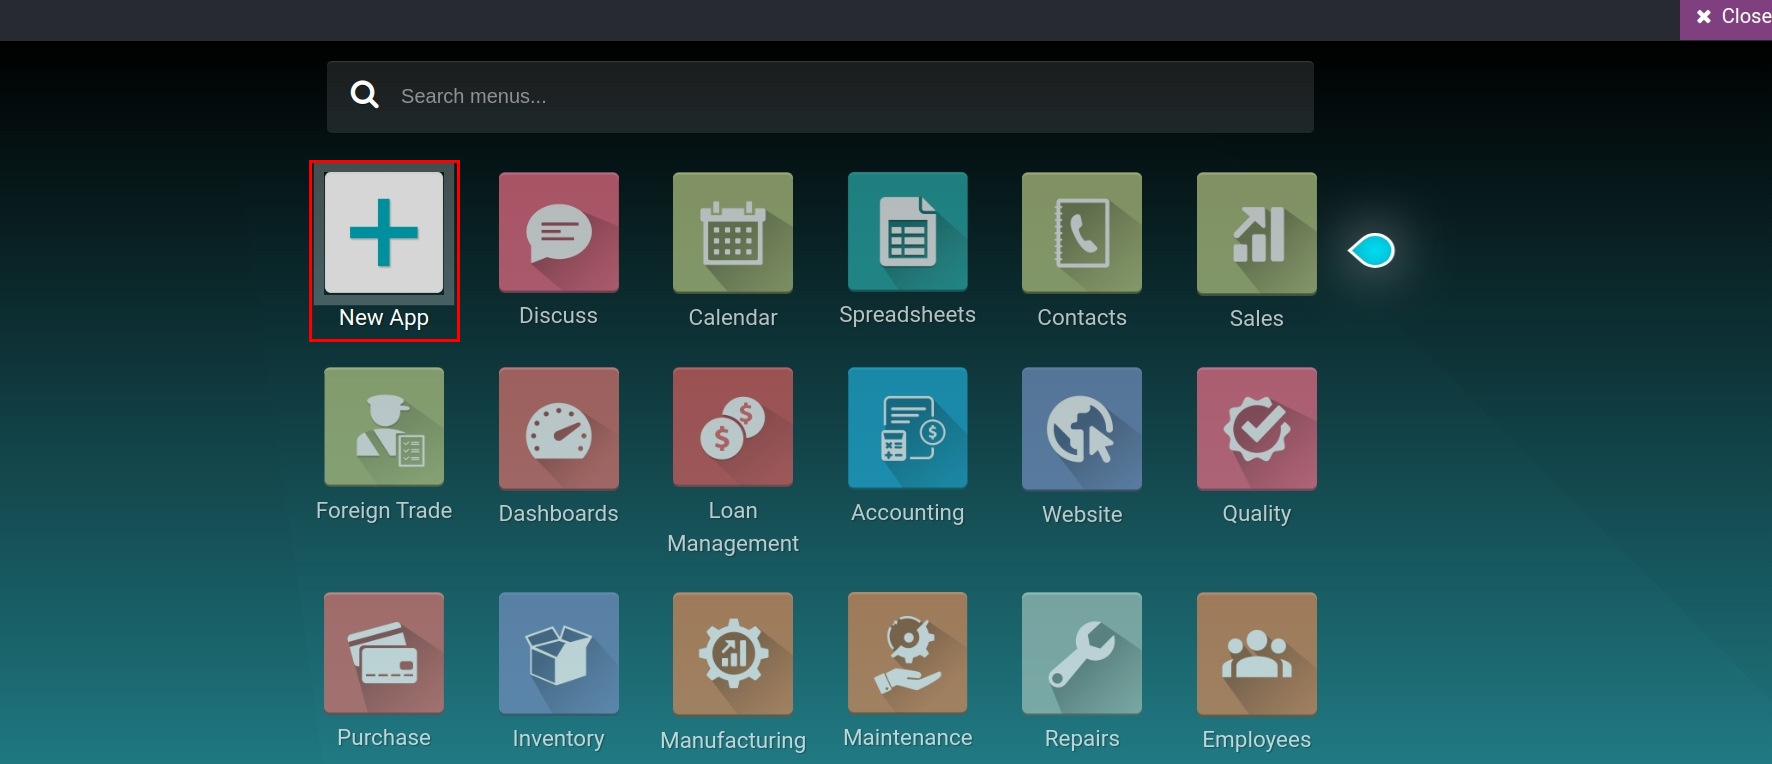
The system will navigate to the custom interface, where you select New App.
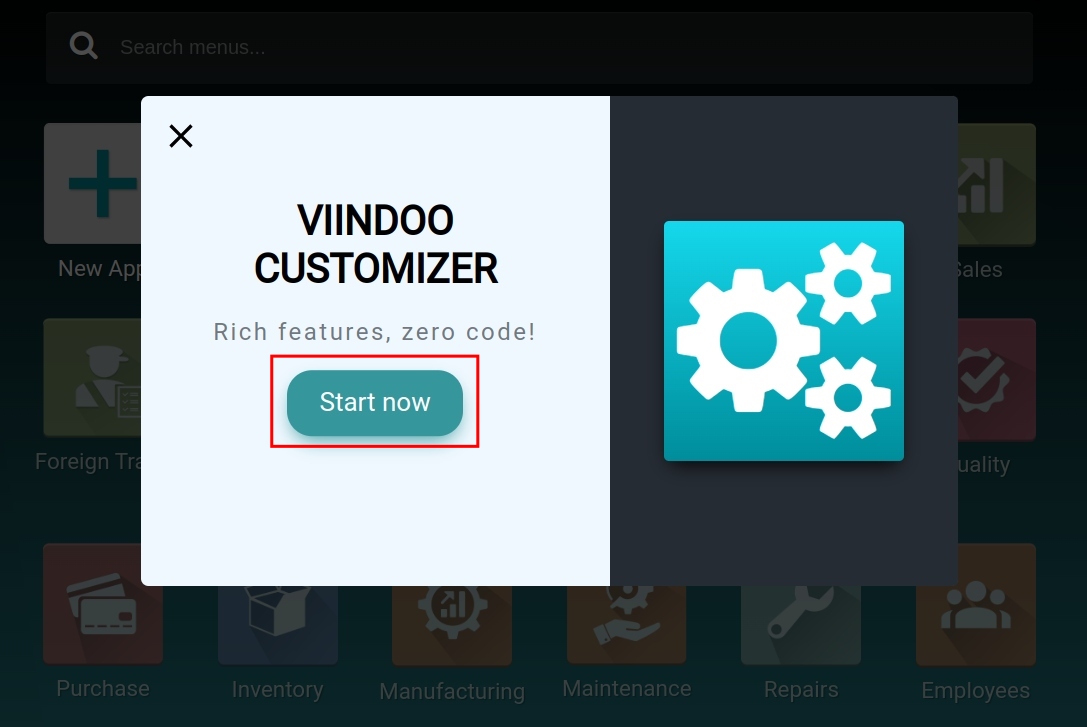
The interface for creating applications quickly without coding is displayed. You perform the following steps:
Click on Start now;
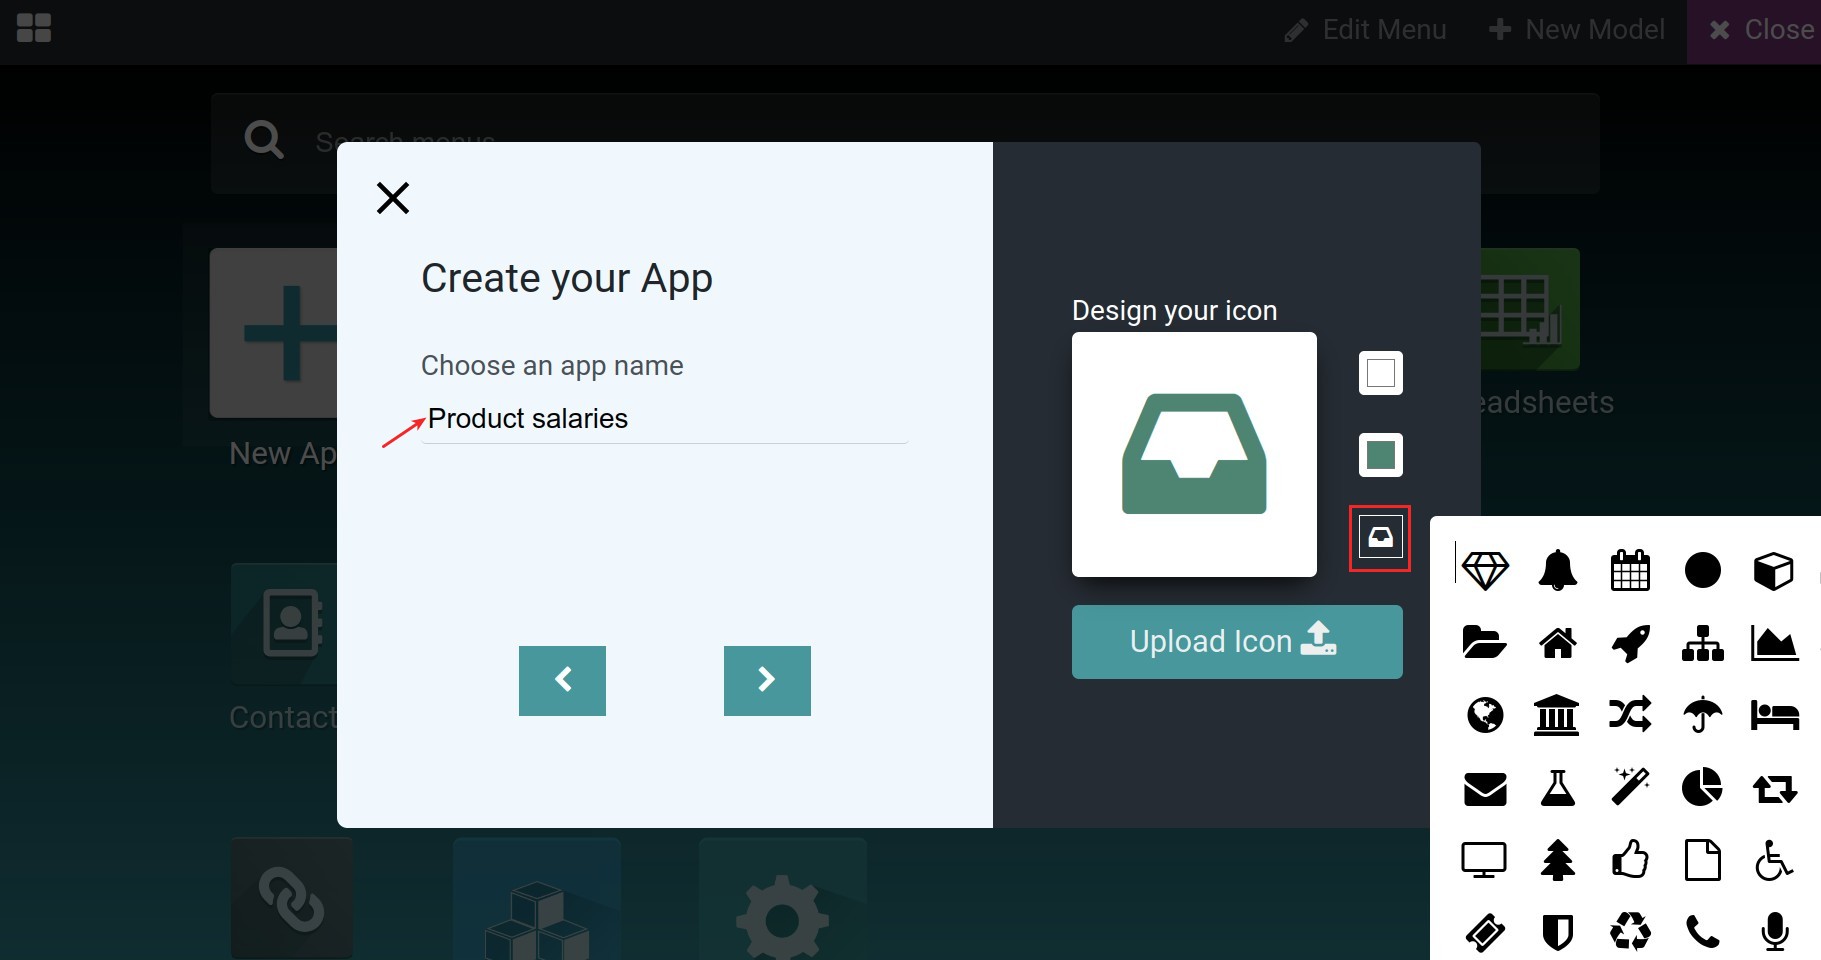
Name your application and select an icon for it. You can choose the available icons or press the Upload Icon button to upload your own design icon for this app. Use the left and right arrows to proceed as instructed;
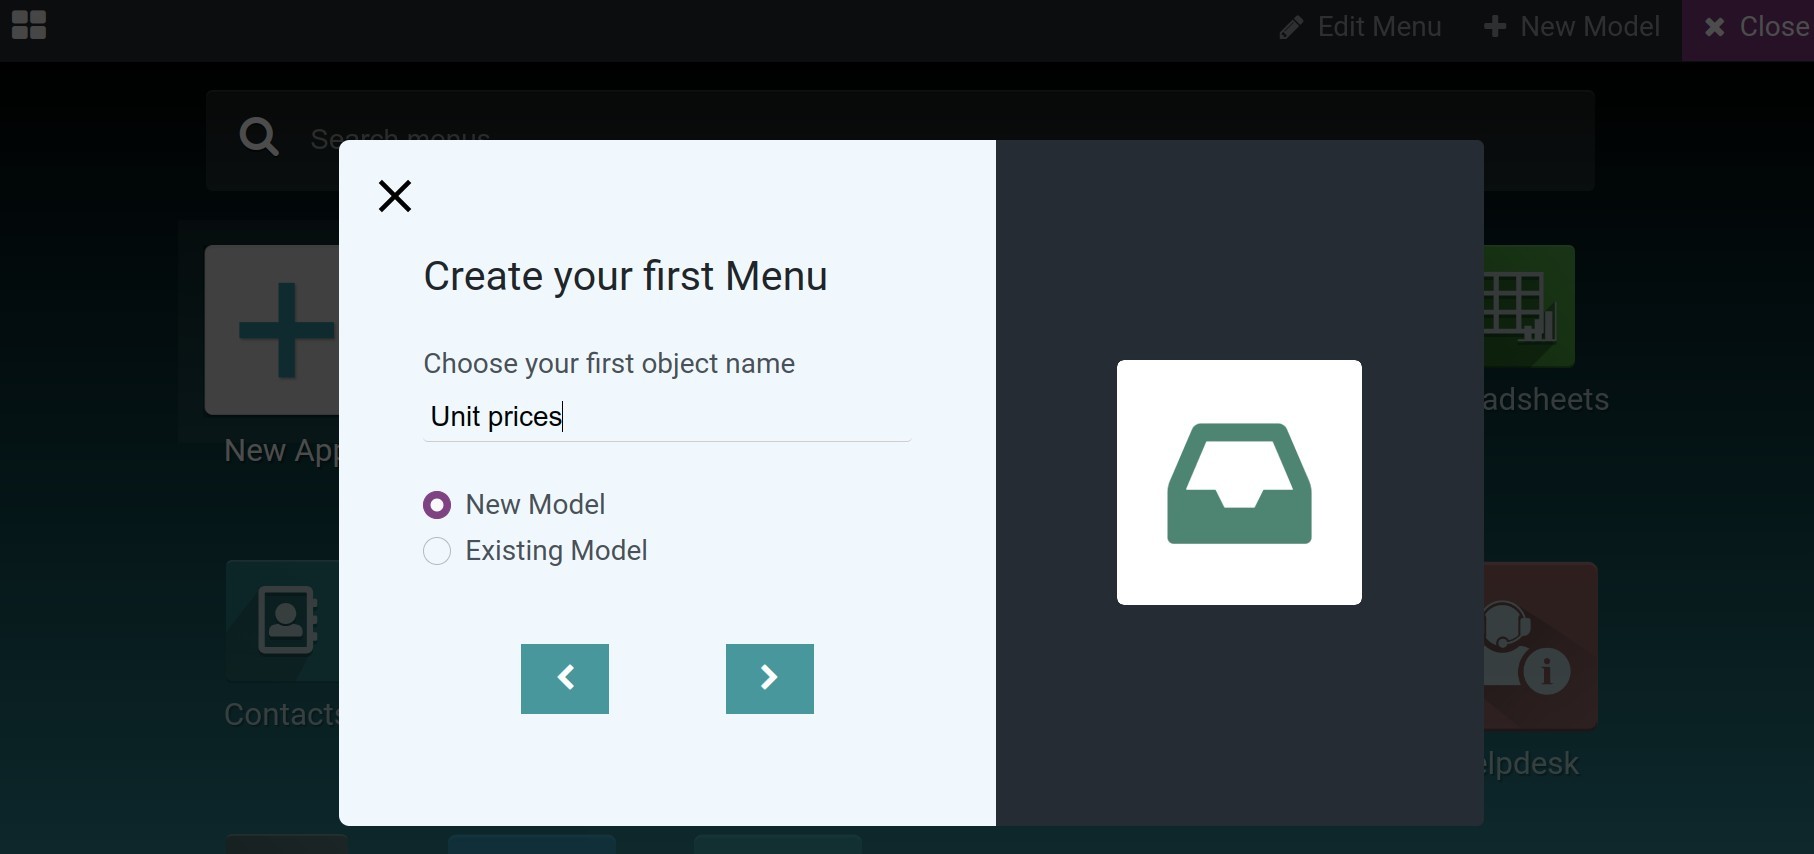
Name and create the first menu with 2 options.
New model: The system will create a new menu on the new model. You can follow the steps to create a new model right below.
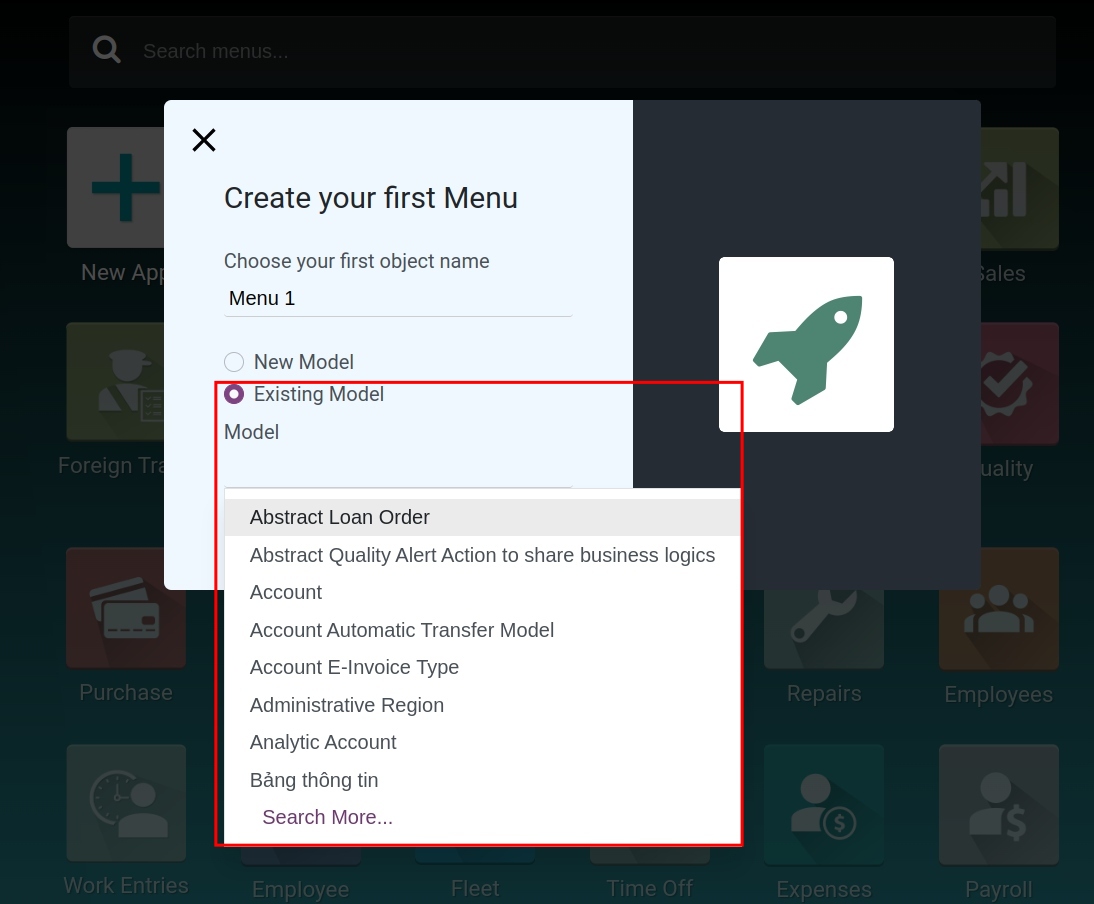
Existing model: The system will create a new menu for the available model. You can choose this option when you want to create new menu for an existing model into a new app.
Create a new model
Follow the above step of choosing a New model, the system will navigate you to the interface for choosing the feature for this new model.
Note
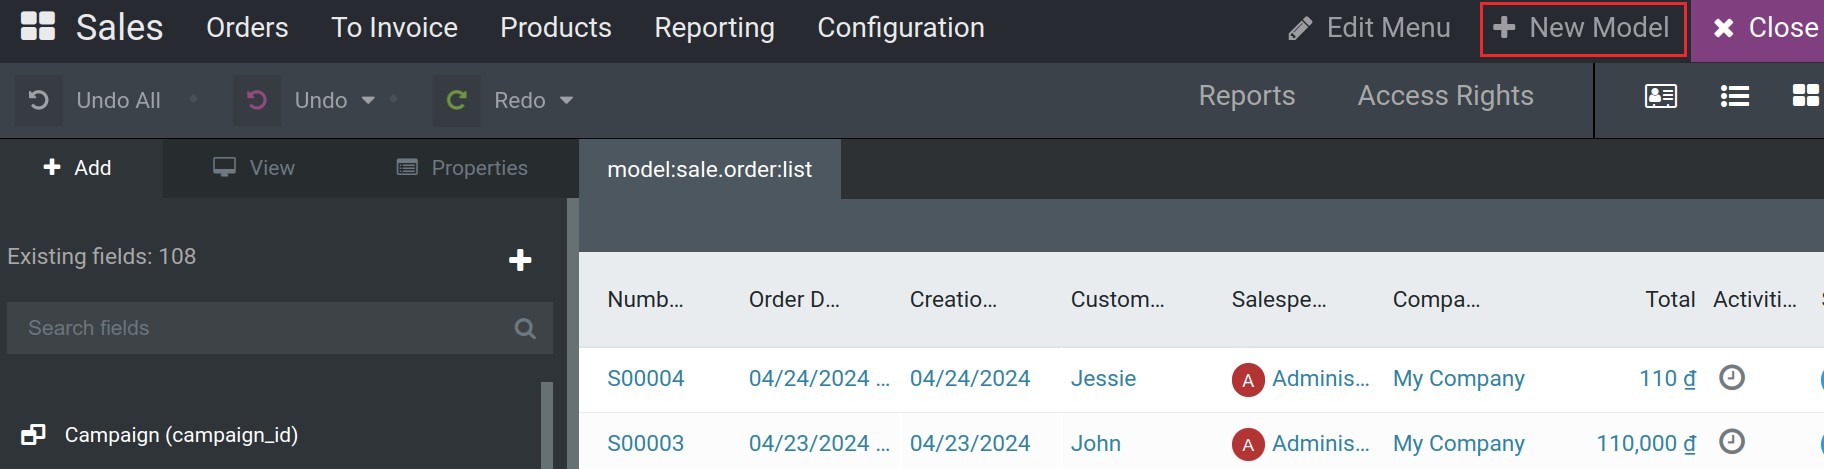
You also can create a new model for the existing app by choosing the + New Model button on any desired app.
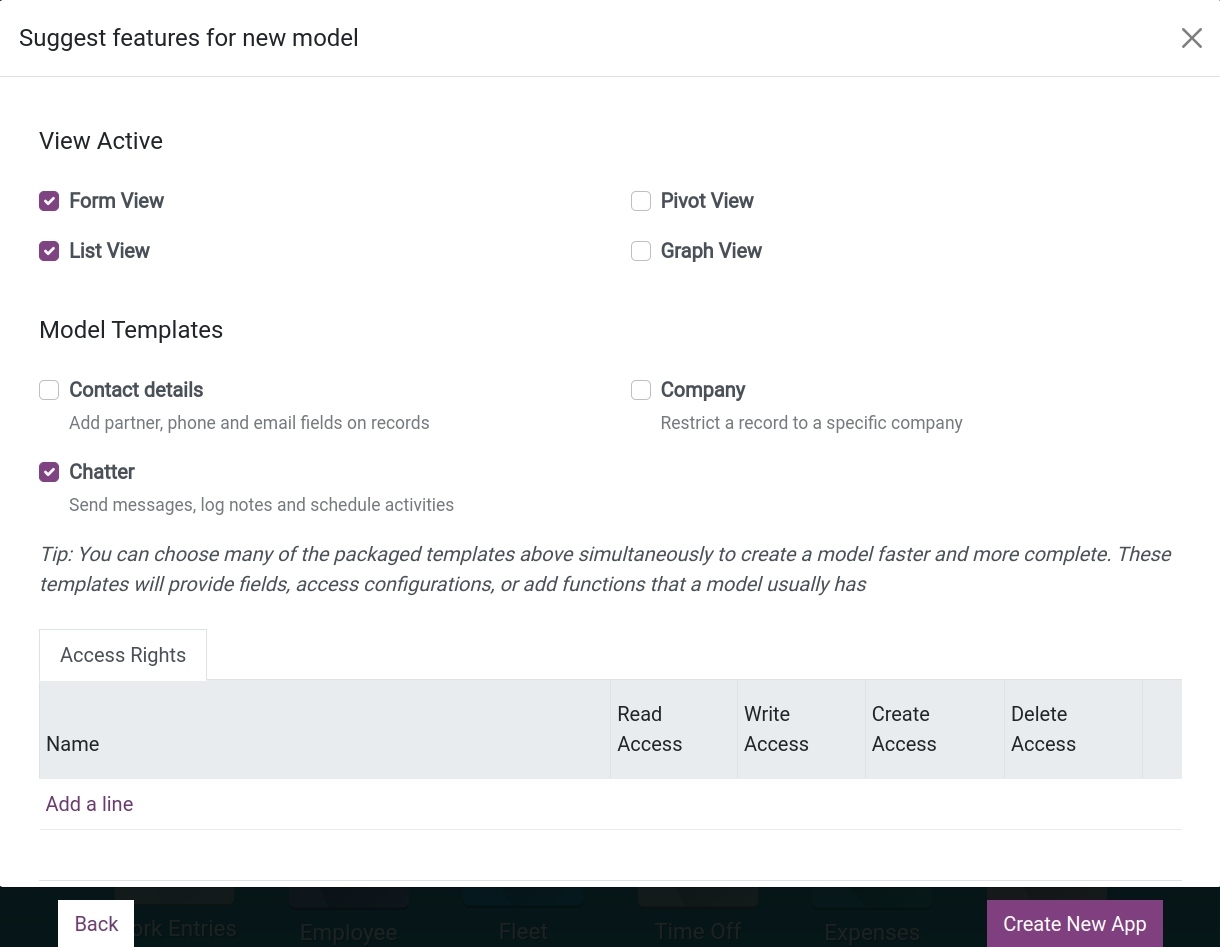
View active
The system offers 4 types of interfaces. Select based on your purpose:
Form view;
List view;
Pivot view;
Graph view.
Model templates
Contact details: Checking the box will automatically add partner fields, phone numbers, and emails to be displayed on the form view.
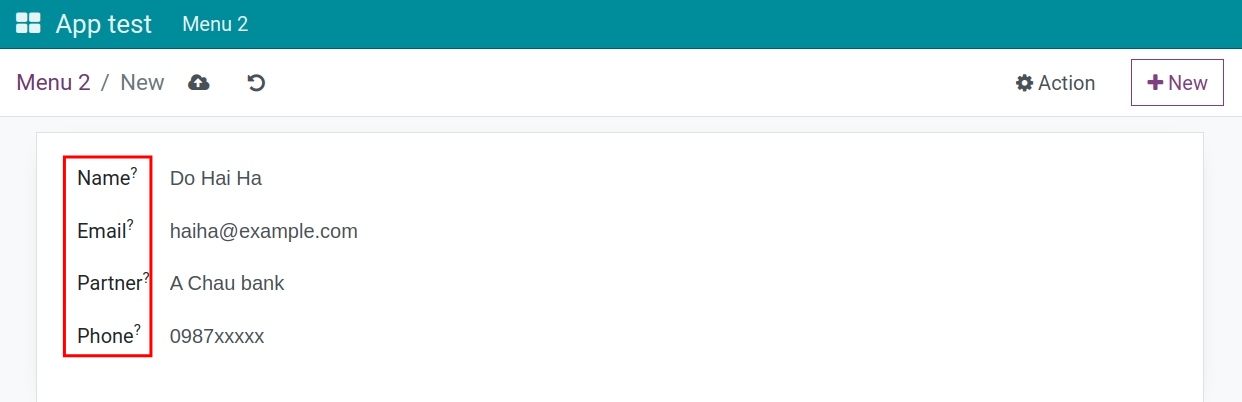
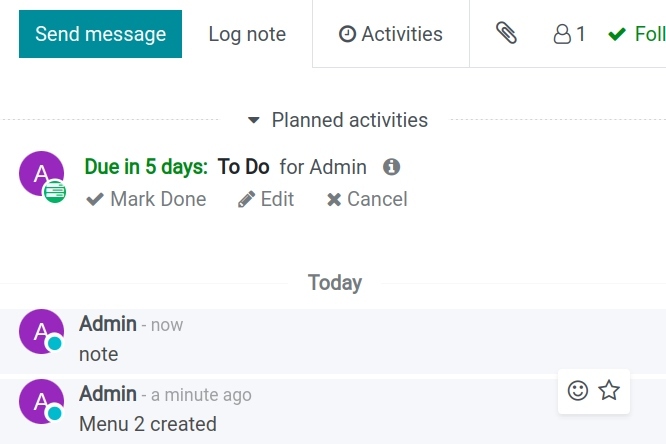
Chatter: Selecting chat will add functions for sending messages, recording internal notes, and scheduling activities.
Company: Choosing this option will create a Company field and display it on the form view and tree view. This is only useful if you work in a multi-company environment.
Access rights
Selecting Access Rights will allow you to choose the permission groups that will be allowed to operate within this application.

Click Create New App. The system will navigate to the custom interface, where you can customize whatever you want for this app or model.
Create and customize new views
Normally, you can customize and design two views as form view and tree view. With your blueprints of a database, you can decide to create some groups, some notebooks, and put some fields on it, or you can decide what fields need to be on the tree view. The pivot view and graph view will be built automatically based on all the fields you have on this app/model.
Customize the form view
Create and customize new groups
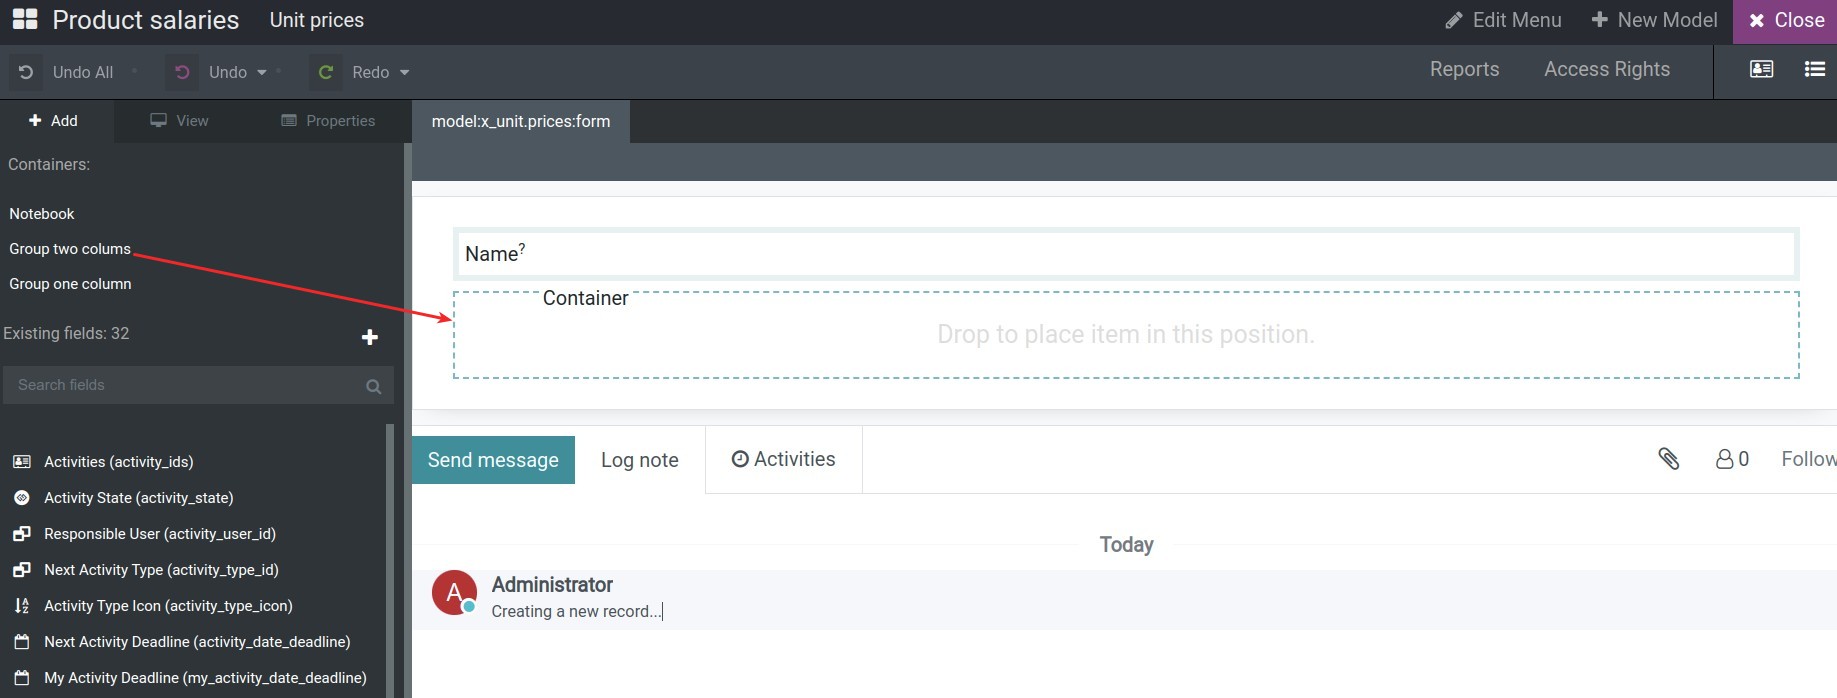
Viindoo Customizer supports you with two types of group is Group with one column and Group with two columns. You can flexibility use them for the specific designs. To create a new group, choose the desire type, drag and drop it in the interface.
Then you can name the group by pressing to the desired block and name it on the Label field.
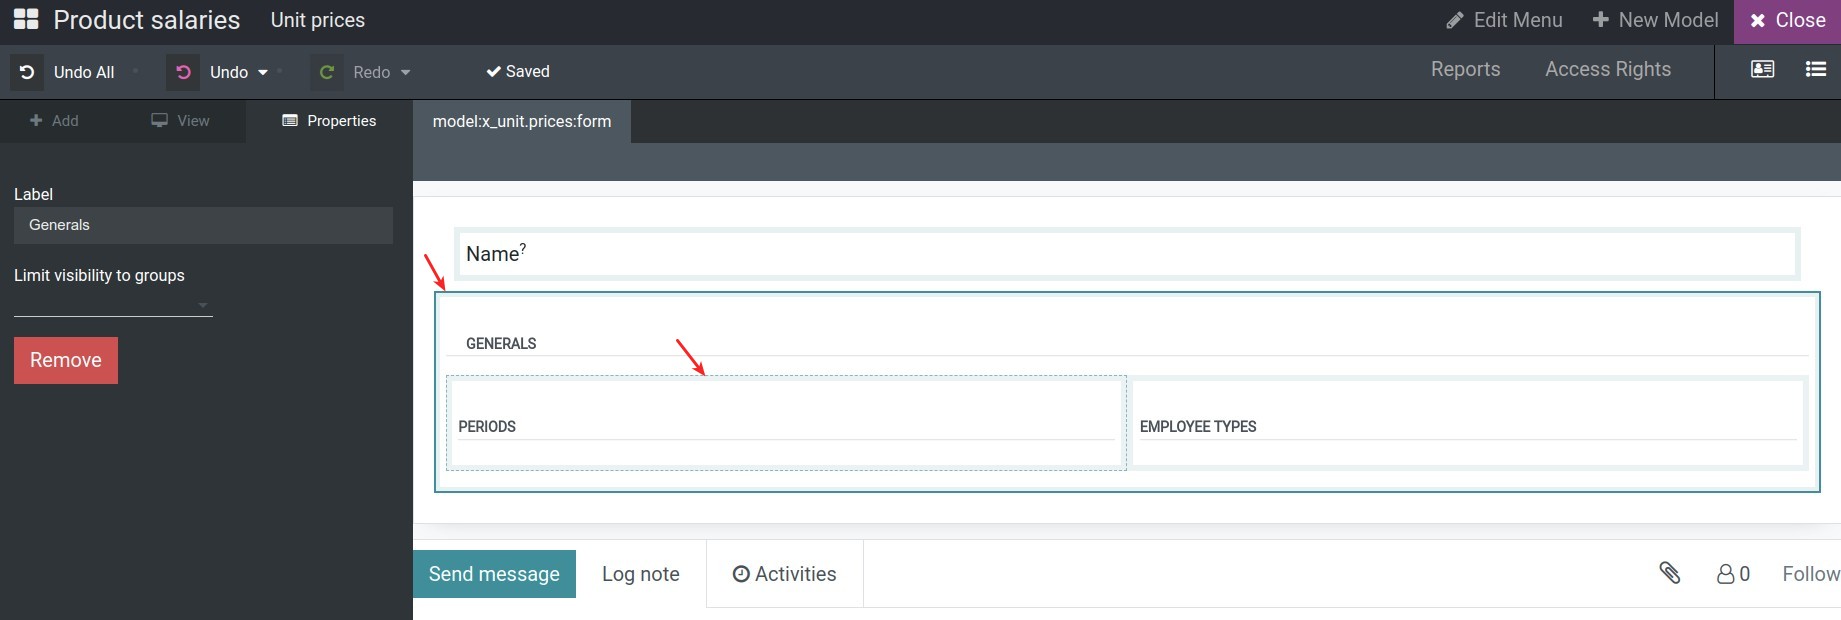
And determine the access rights group can see these groups by choosing it on the Limit visibility to groups field. If you blank it, the group will be available for all internal users.
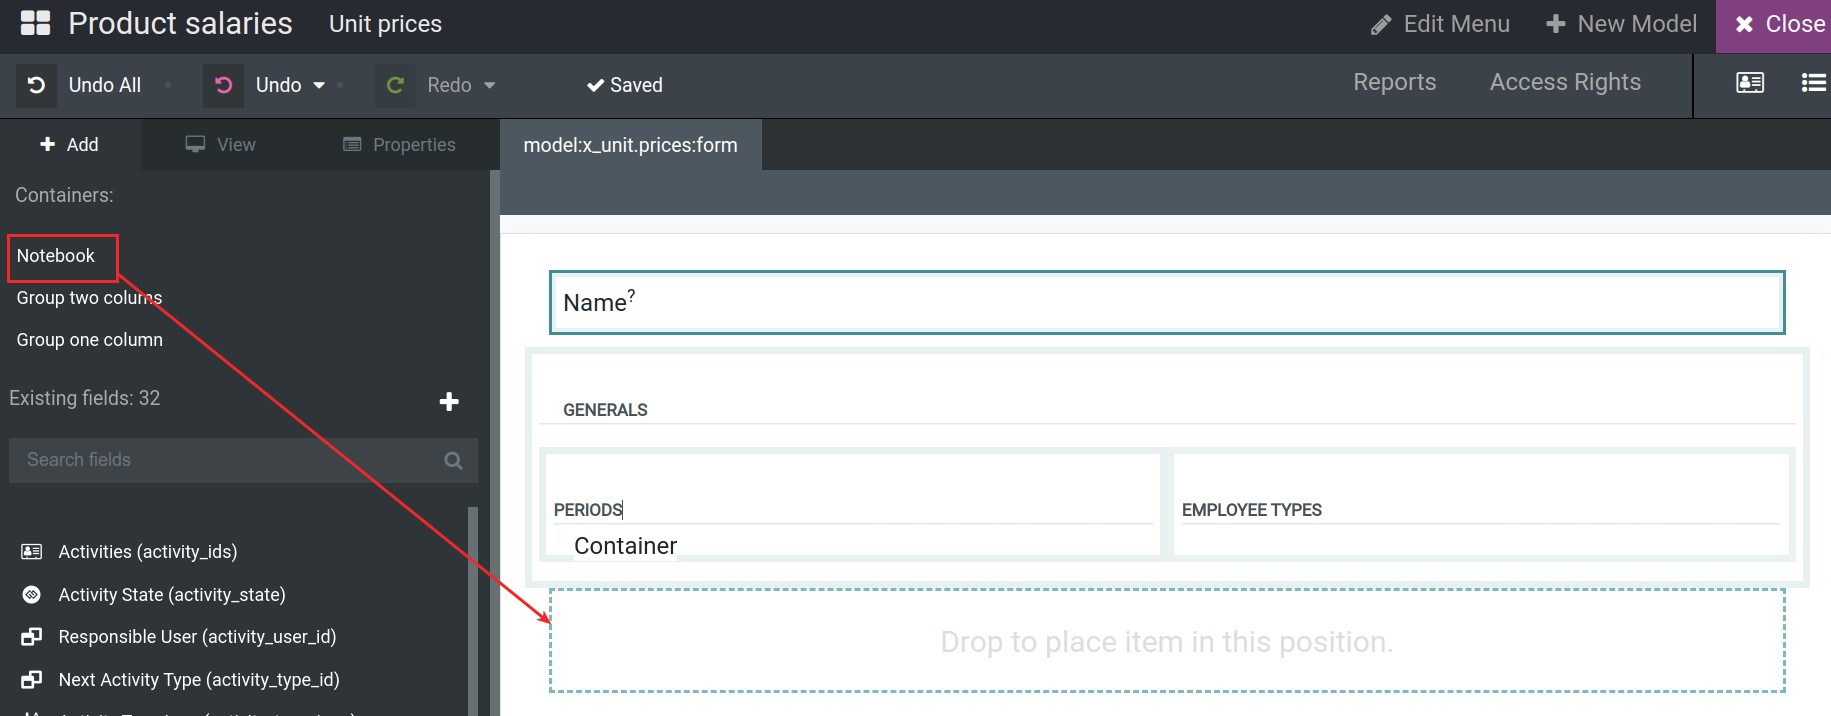
Create and customize new notebooks
To create a new notebook, choose Notebook on the left sidebar, drag and drop onto the interface.
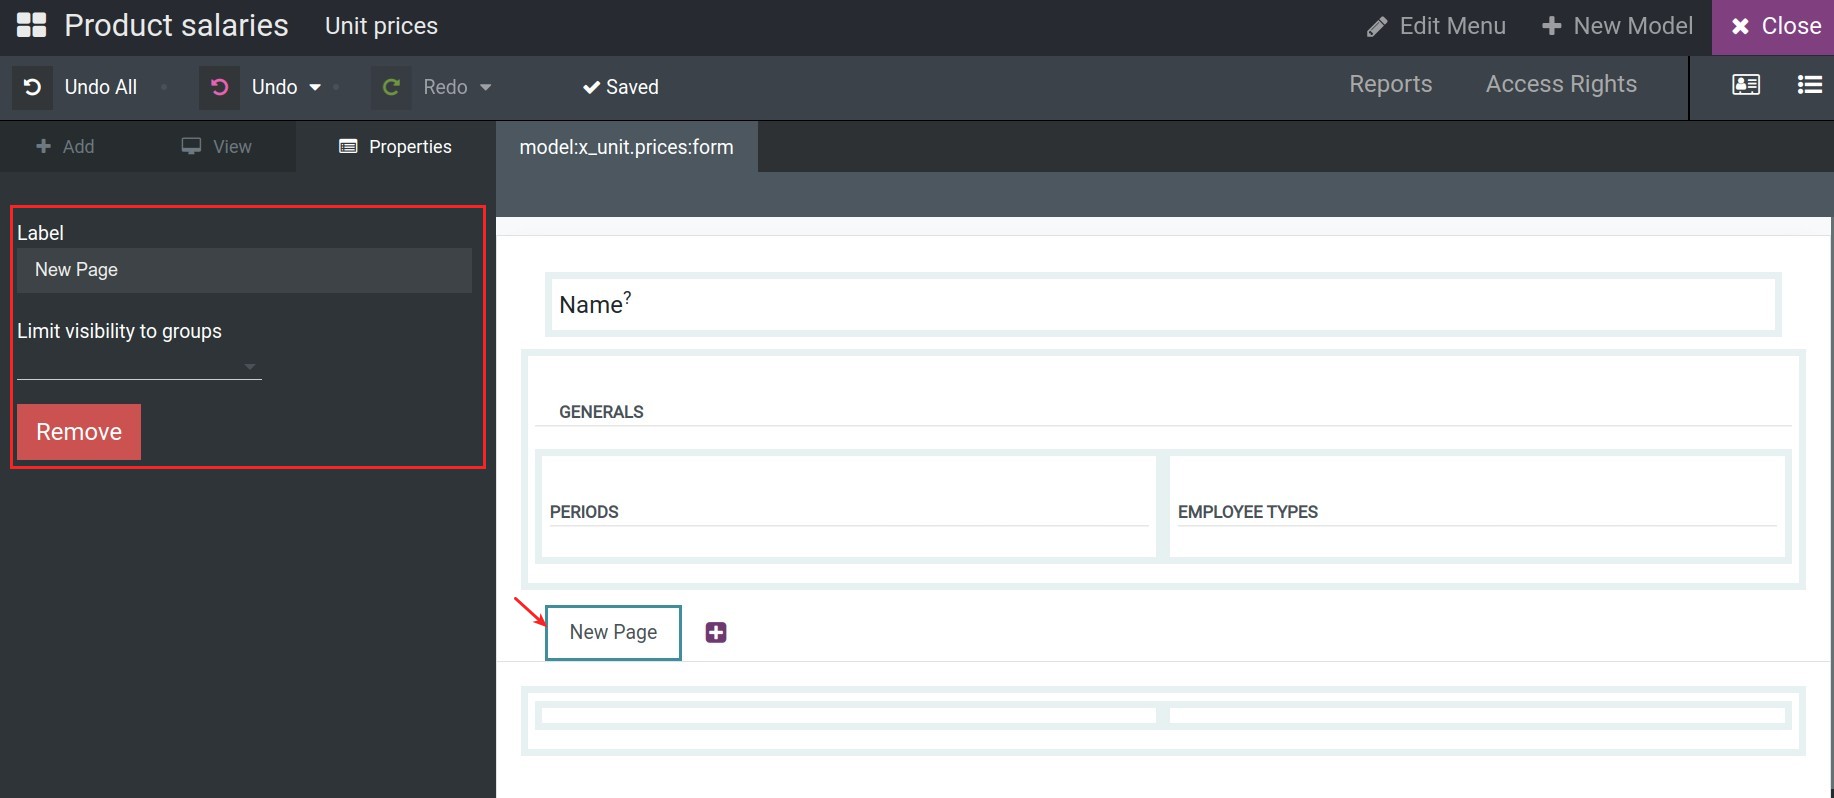
You also can name and limit the access rights for this notebook.
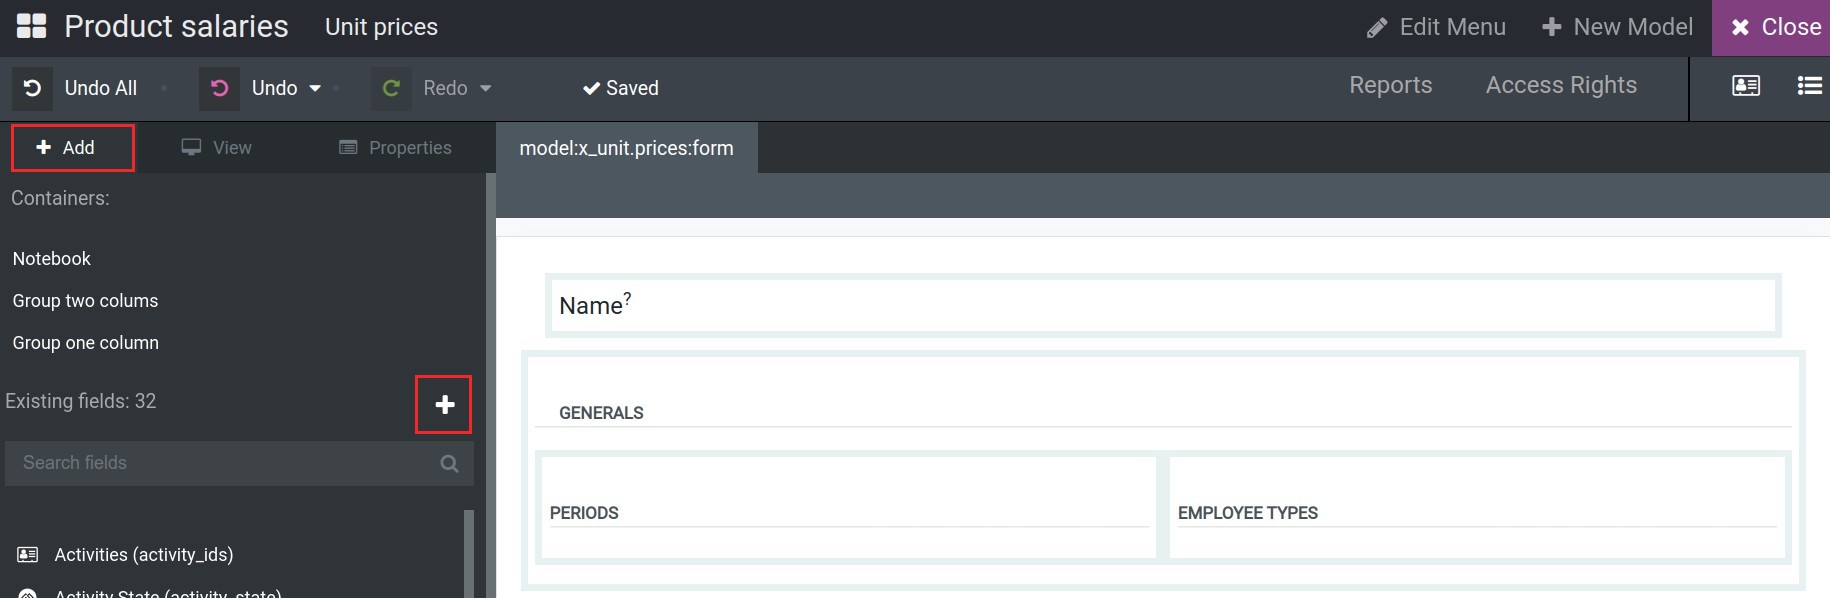
Create and customize new fields
To create a new fields, go to the +Add tab, press to the ‘+’ icon
Then fullfil the information as below:
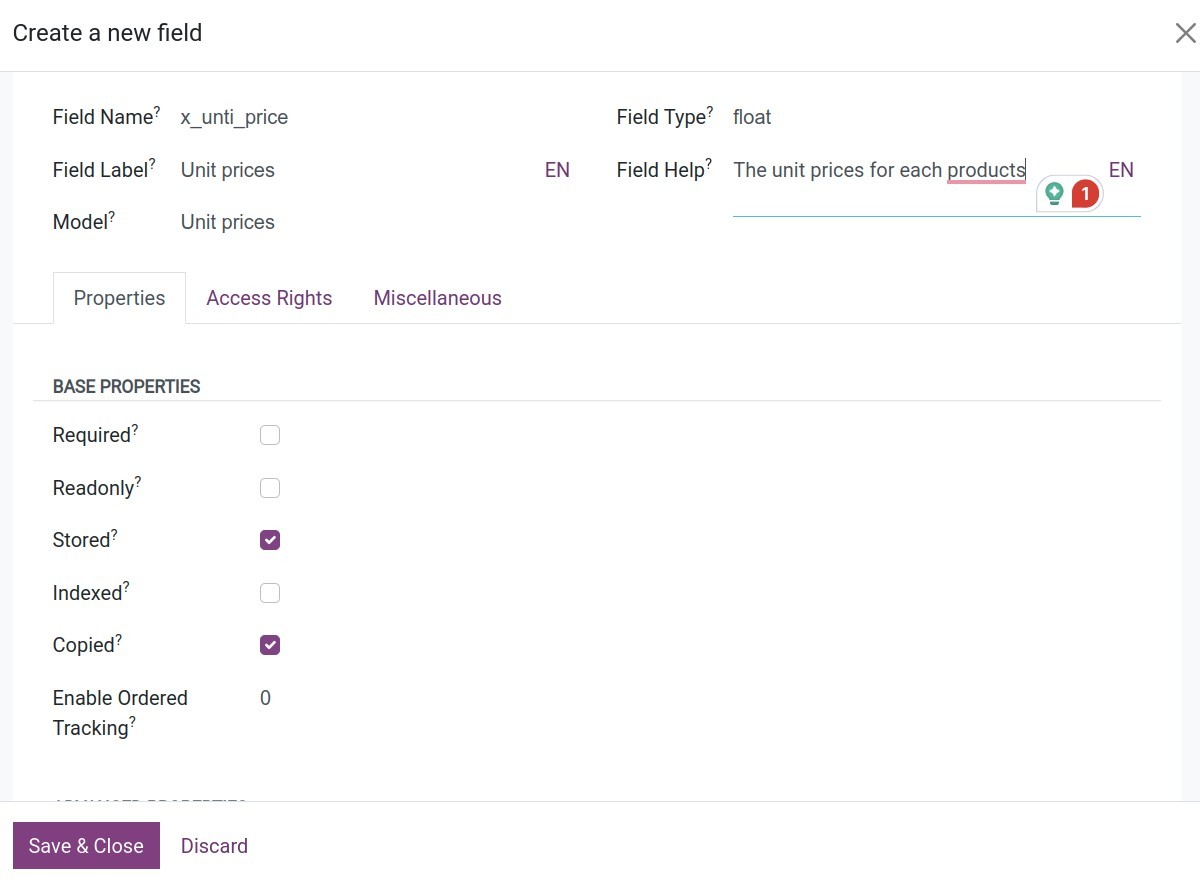
Field Name: By default, the new field has been created by Viindoo Customizer will have the prefix x_. Input the technical name of the field without any spaces.
Field Lable: The name will be displayed on the views.
Field Type: Choose the appropriate type of the fields.
Field Help: The tooltips of this field. They will be displayed when user hover to the fields.
Base properties:
Required: If checked, this field is always required to input the value.
Readonly: If checked, this field is only displayed to see and can not input the value.
Stored: If checked, this field will be stored in the database.
Indexed: If checked, this field will be sequenced on the database.
Copied: If checked, the value of this field will be copied when duplicating a record.
Enable Ordered Tracking: If checked, when changing the value of this field, it will be tracked on the log note.
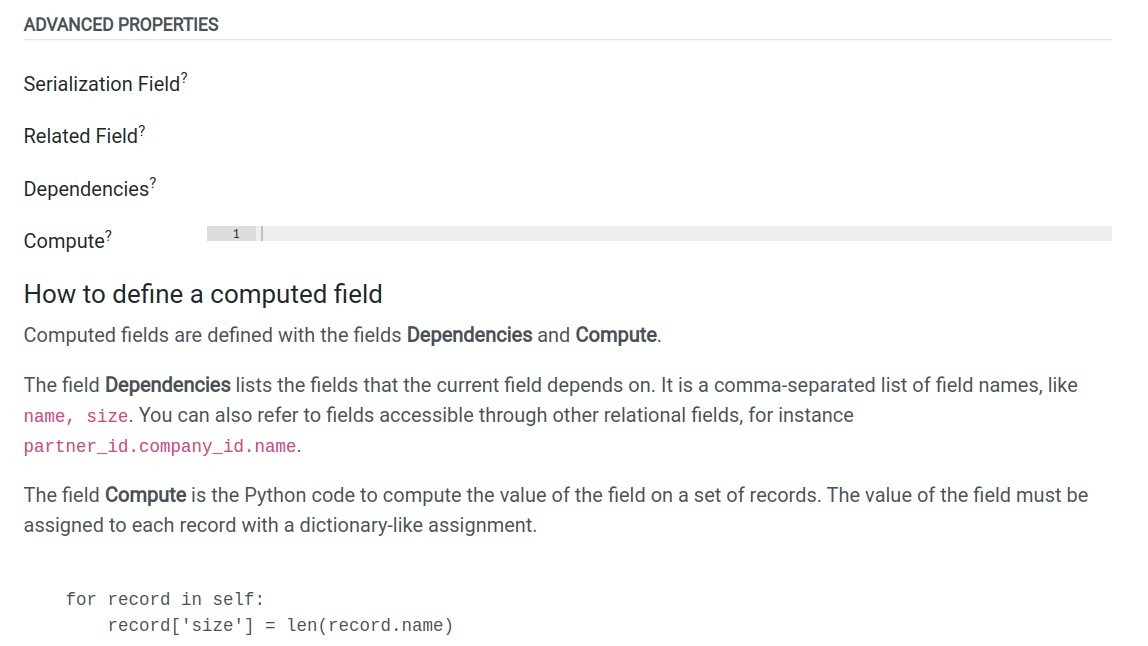
Advanced properties:
Serialization Field:
Related Field: Input the technical name of the related field. The value of this creating field will be auto-filled based on the value of this field.
Dependencies: Input the list of technical names of the dependencies fields that use to the below compute method. The list of field will be separated with a comma.
Compute: Write the Python codes to compute the value for this creating field, please follow the instructions on the screen for writing the computation codes.
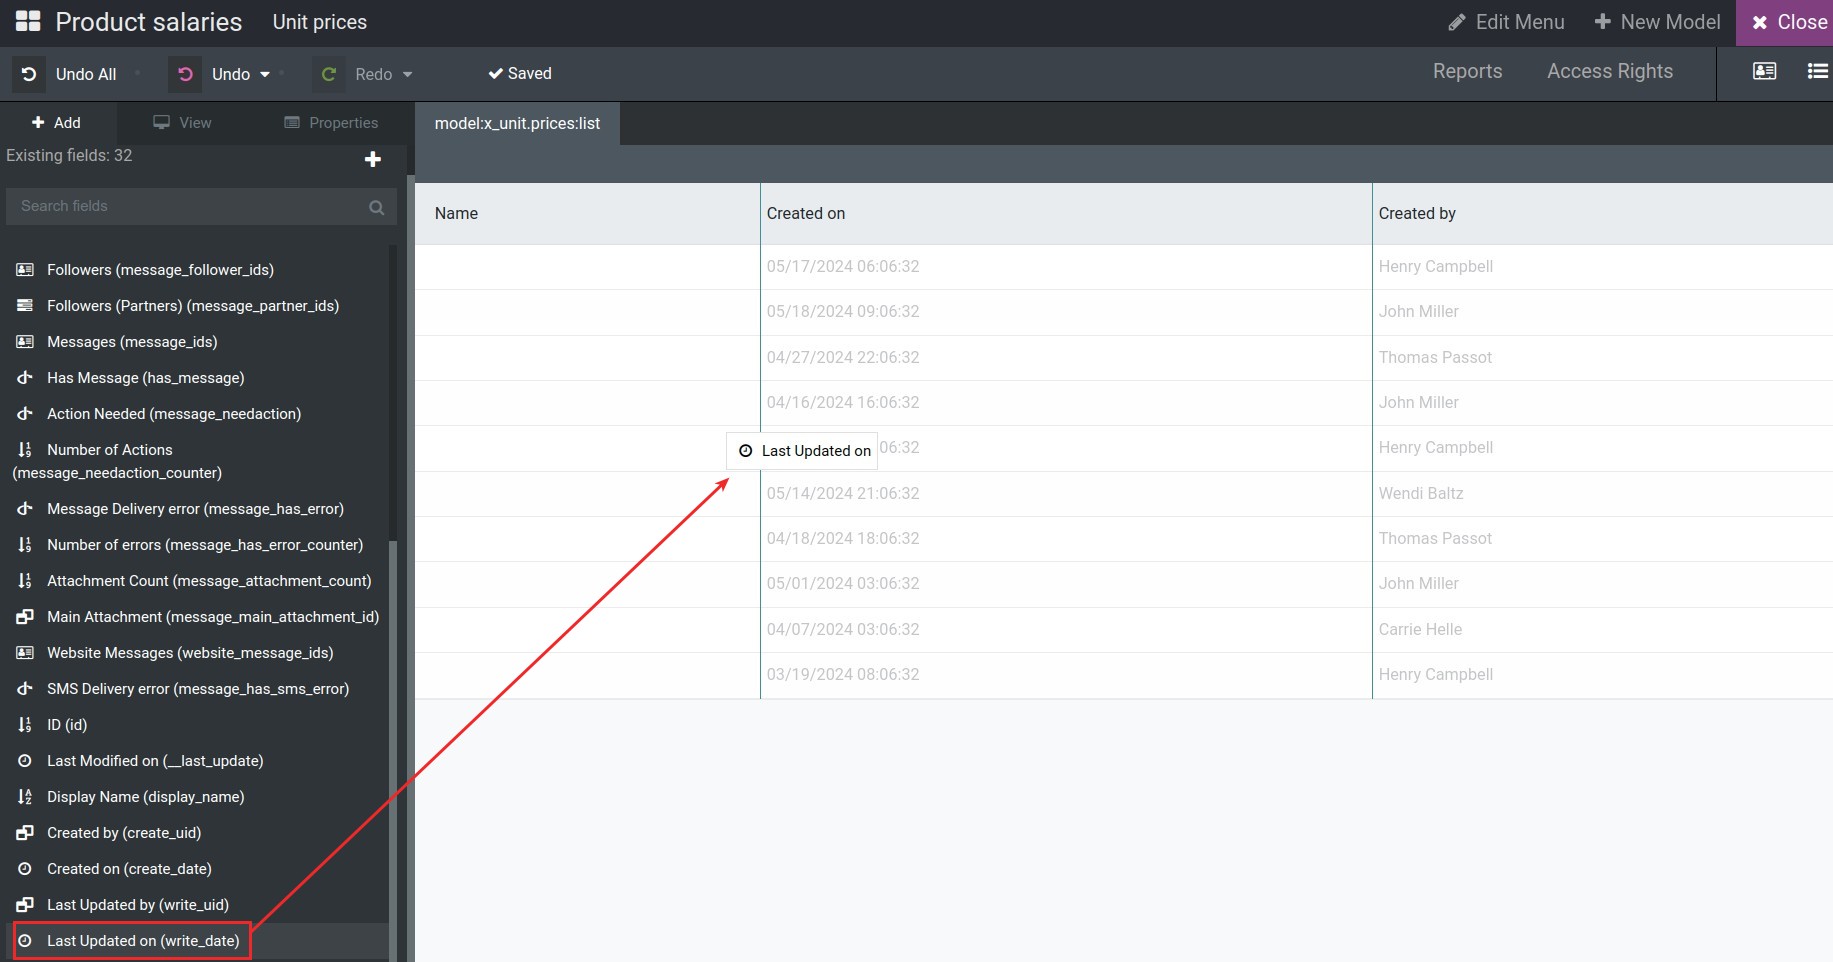
Customize the tree view
After create all the fields you need of this models, navigate to the tree view, you can drag and drop the desired fields:
After all is done, select Close to return to the main interface, and the new application will be displayed here.
See also
Related Article
Optional Module