Manage Approval Requests
Requirements
This tutorial requires the installation of the following applications/modules:
In this article, we will guide you to create approval requests and show you an approval process.
Create Approval Request
To create a new approval request, enter the Approval module, on the Approval Overview, select the approval type you want, and press Create Request.
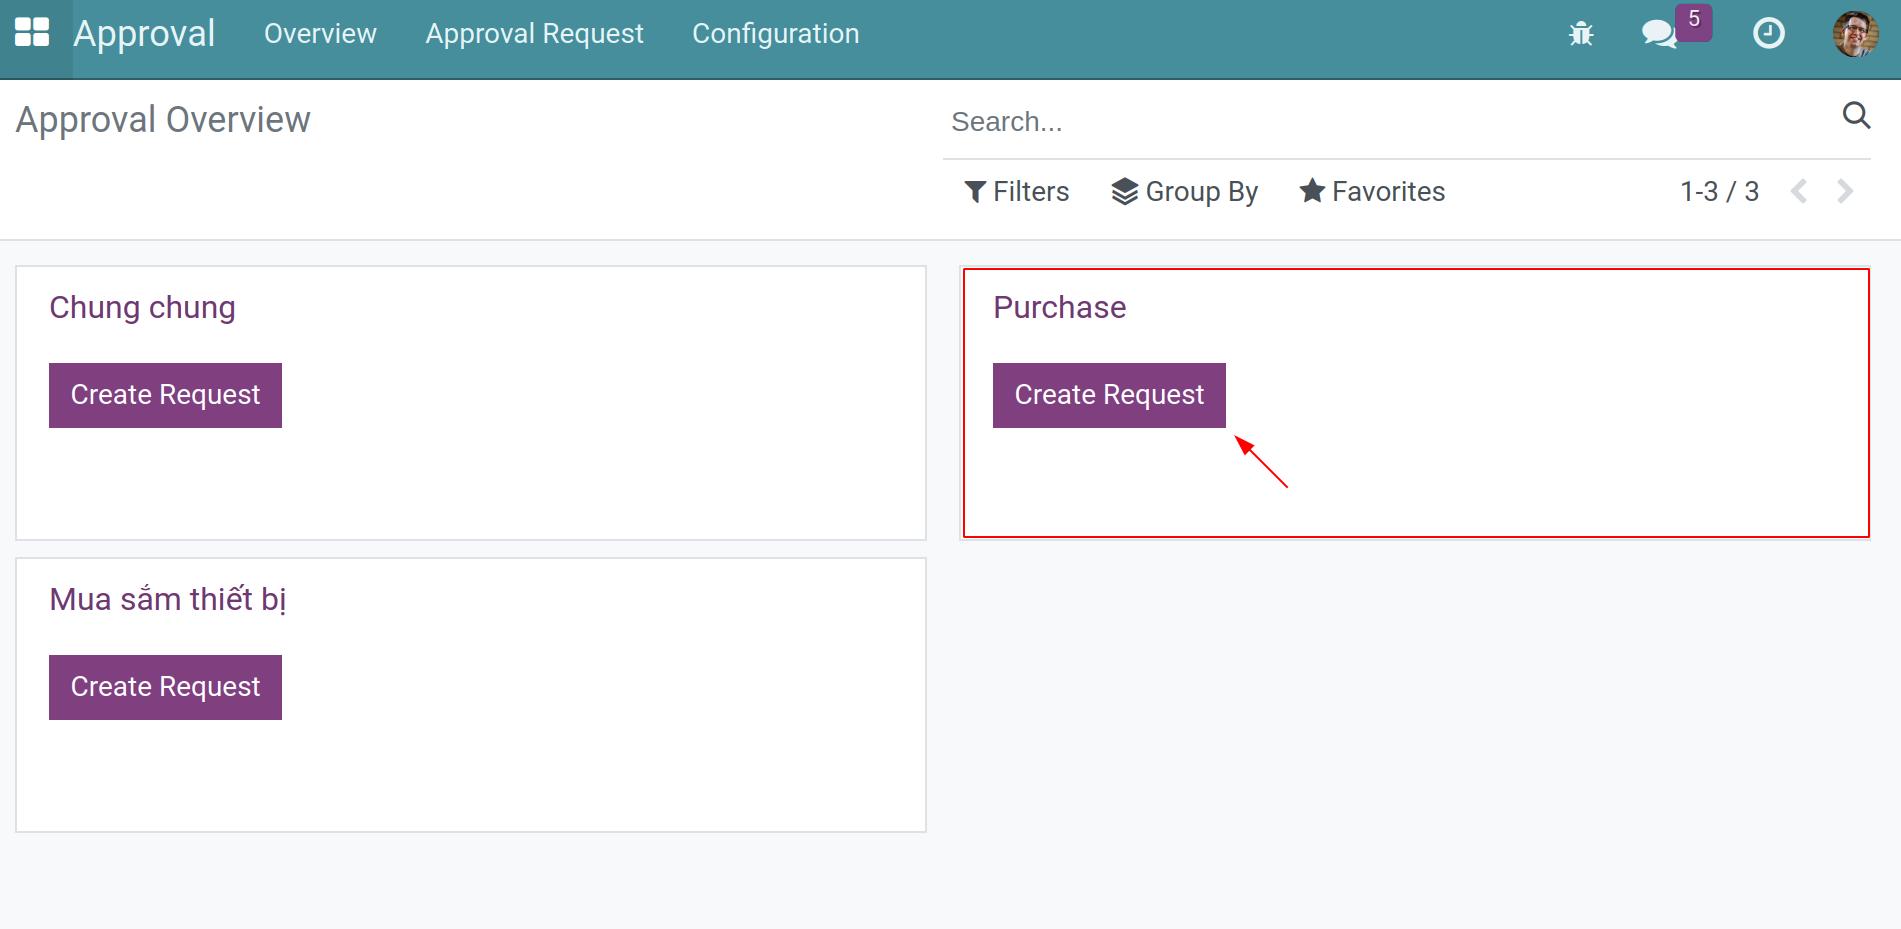
At the approval request details, enter the information:
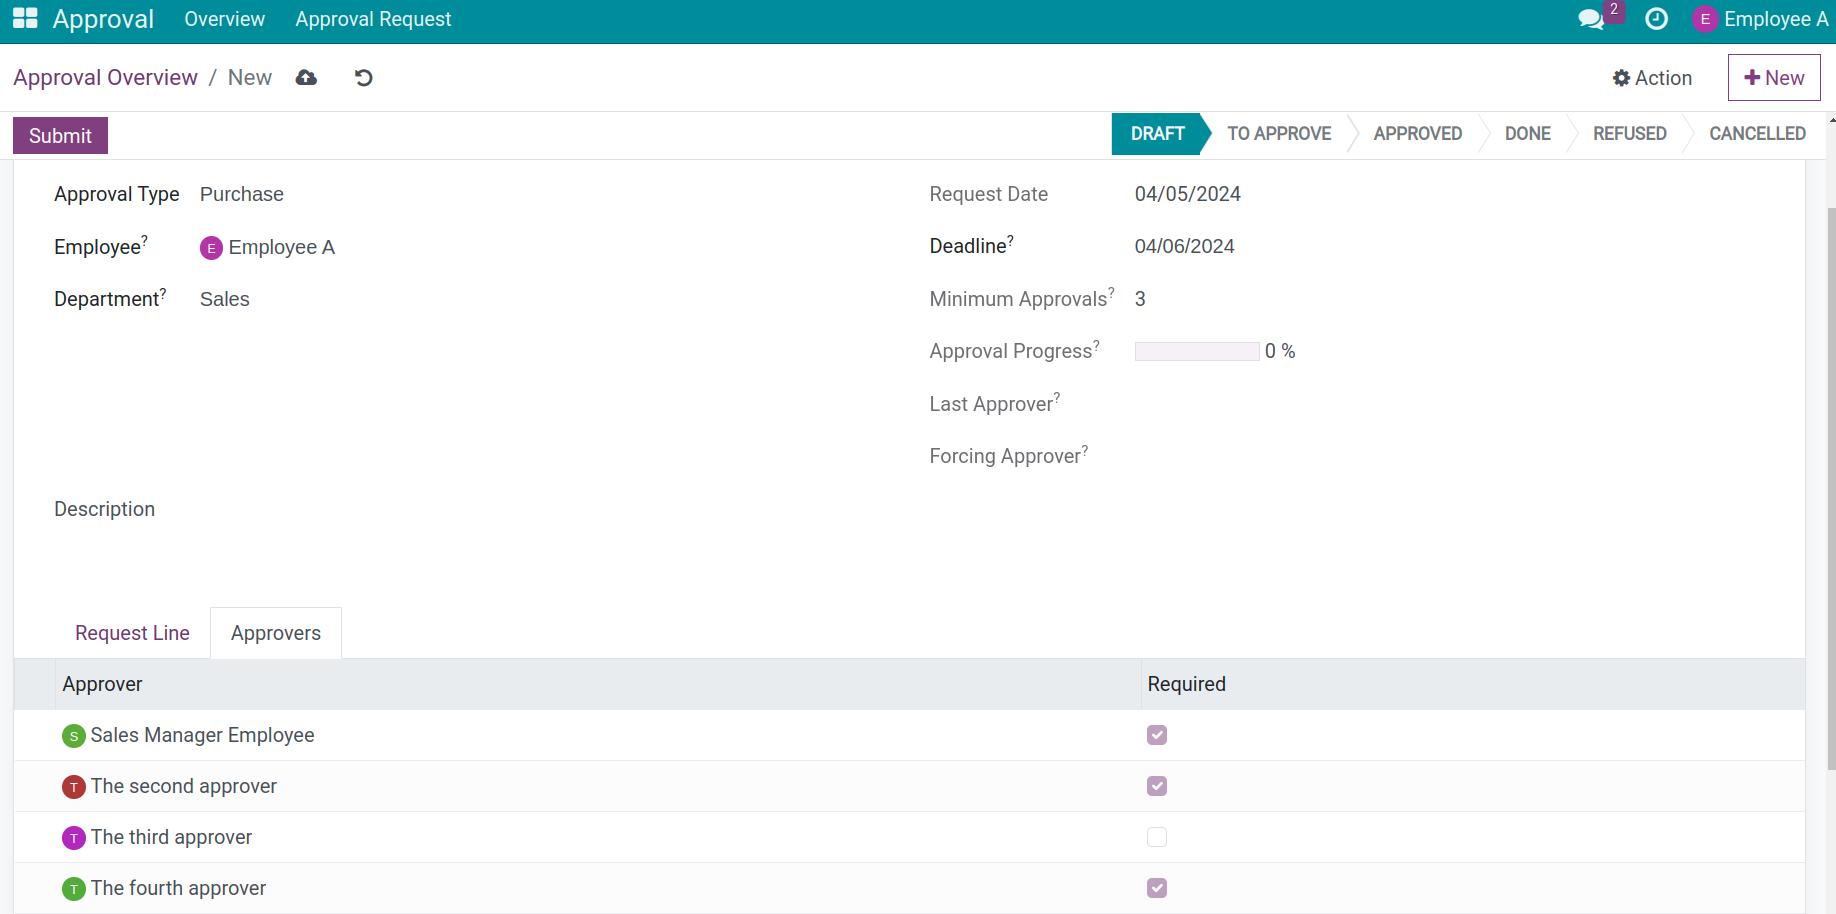
Title: You should pick a short title but also need to make sure it covers enough information, we recommend a title with a prefix and a suffix to make it more convenient for you to search afterward.
Approval Type: Allow selecting from an approval types list (General, Purchasing, Maintenance, etc.).
Employee: The employee responsible for this approval request. The recommended default employee is the creator of this approval request.
Department: Select the employee department.
Request Date: The system will auto-select the created date of this request.
Deadline: The approval request’s deadline.
Minimum Approvals: The minimum approvals this request needed.
Approval Progress: The progress of this approval request by percentages.
My Approval Status: The status of the viewer on this approval request. If the viewer is not on the approver list, the status will be Not involved.
Last Approver: The last person to approve this request.
Next approver: The next person to approve this request.
Forcing Approver: The approver who forces this request to be approved without the approval of other approvers.
Description: A short description about this request.
Approvers tab: The system will show the approvers for this request based on the setting of the approval type.
Required column: If the required approver refuses the approval request, that request will be changed to the Refused stage without the approval of other approvers.
Note
The approval request’s approvers, required approvers, sequences, days to approve, and minimum approvals will be based on the setting of the approval type.
After filling in the information, press Save to save the Draft request, press Submit to change the request stage to To Approve. Now, the approver will receive a notification.
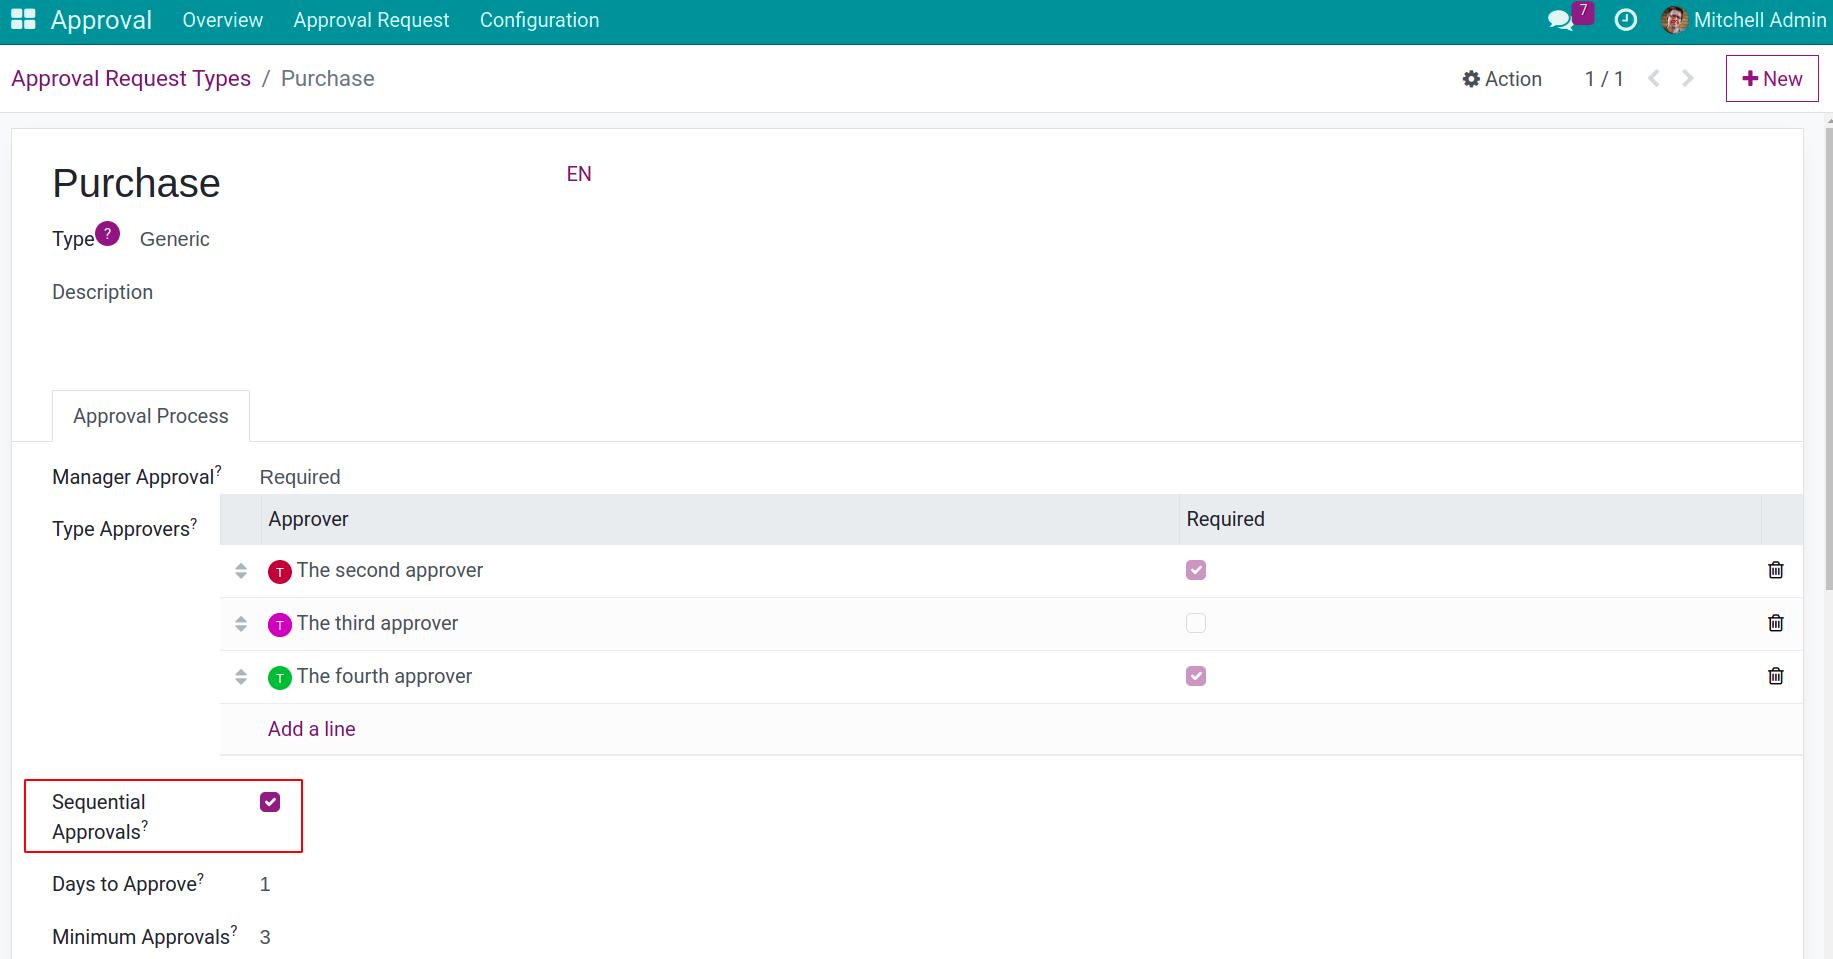
Since the request is submitted, the system will send a notification to all approvers, or to each approver one by one according to the sequence. (This will depend on the setting of the Approval type).
As said as previously, after pressing Submit on the created request, the system will generate an Approve Schedule activity and attach it to Sale Manager Employee (Sale Manager Employee is the manager of Employee A).

And at the same time, send a notification to the employee’s manager.

In our example, the manager’s approval is Required so there will be 2 cases.
Case 1: The manager Approve the request > The request will be sent to the next approval.
Case 2: The manager Refuse the request > The request will be changed to the Refused stage without the other approvals.
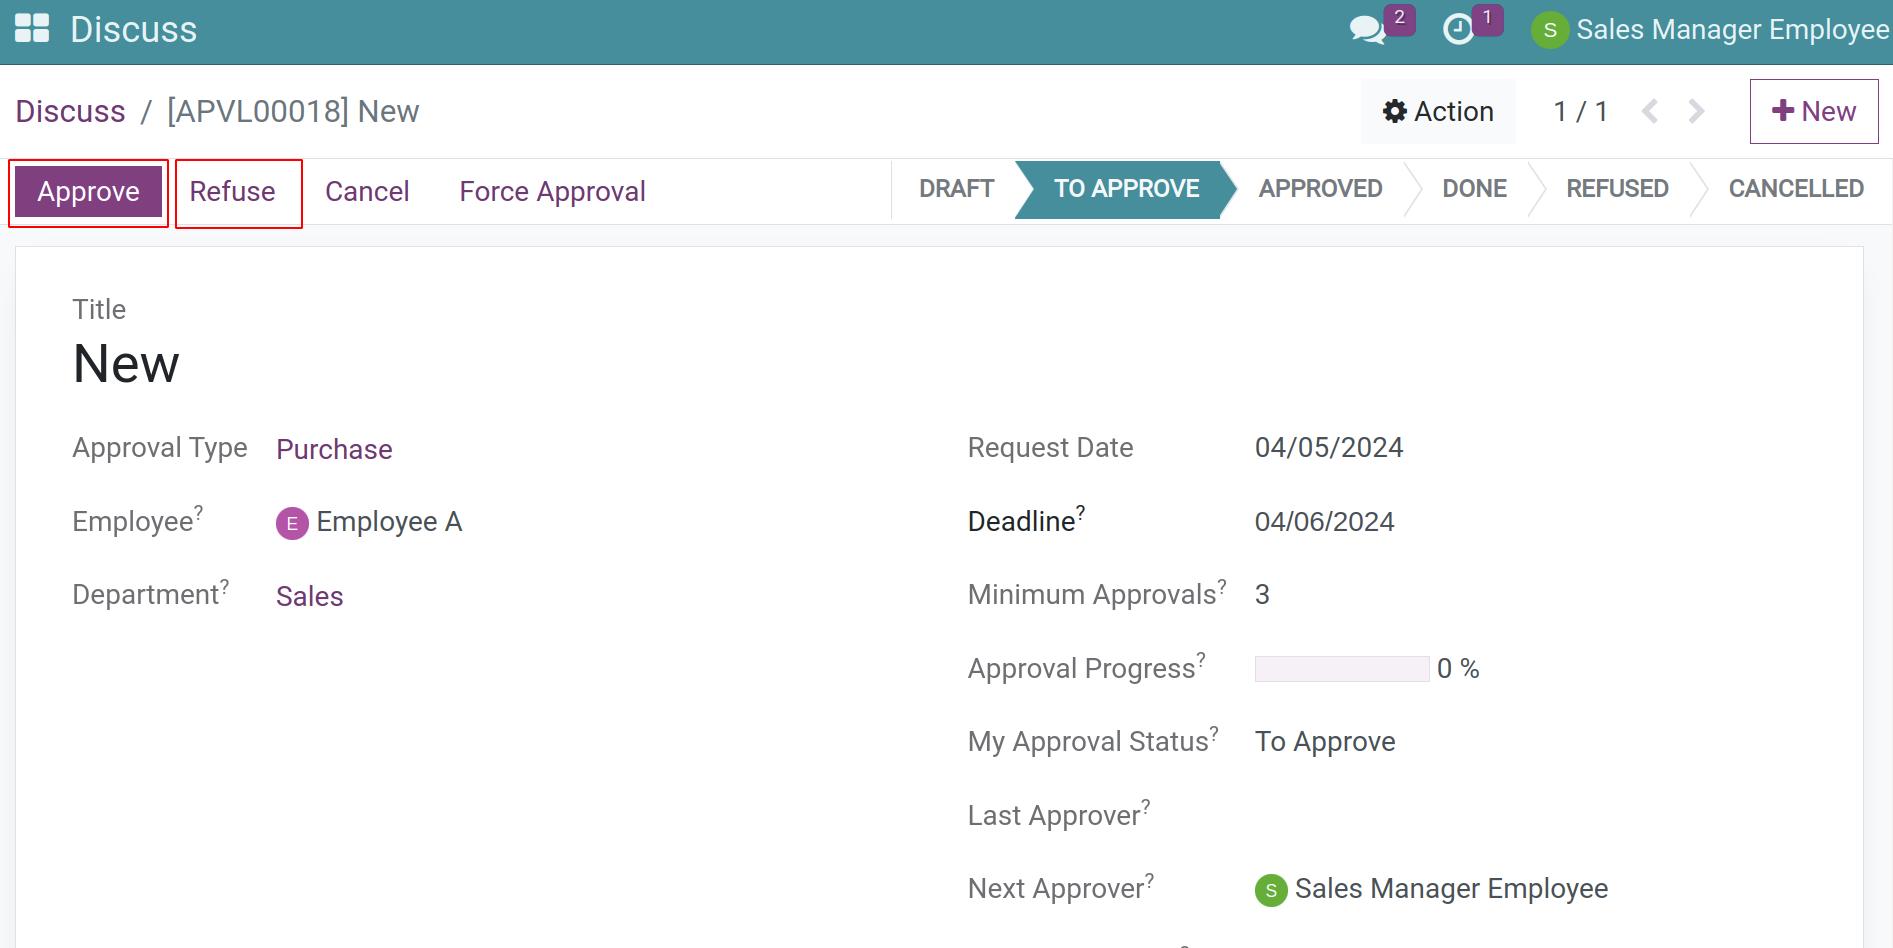
Request Approvement
Approving For Request
Let’s move on with case 1. After the manager press Approve, the system will continue to schedule an activity for The second approver and at the same time send him/her a notification.
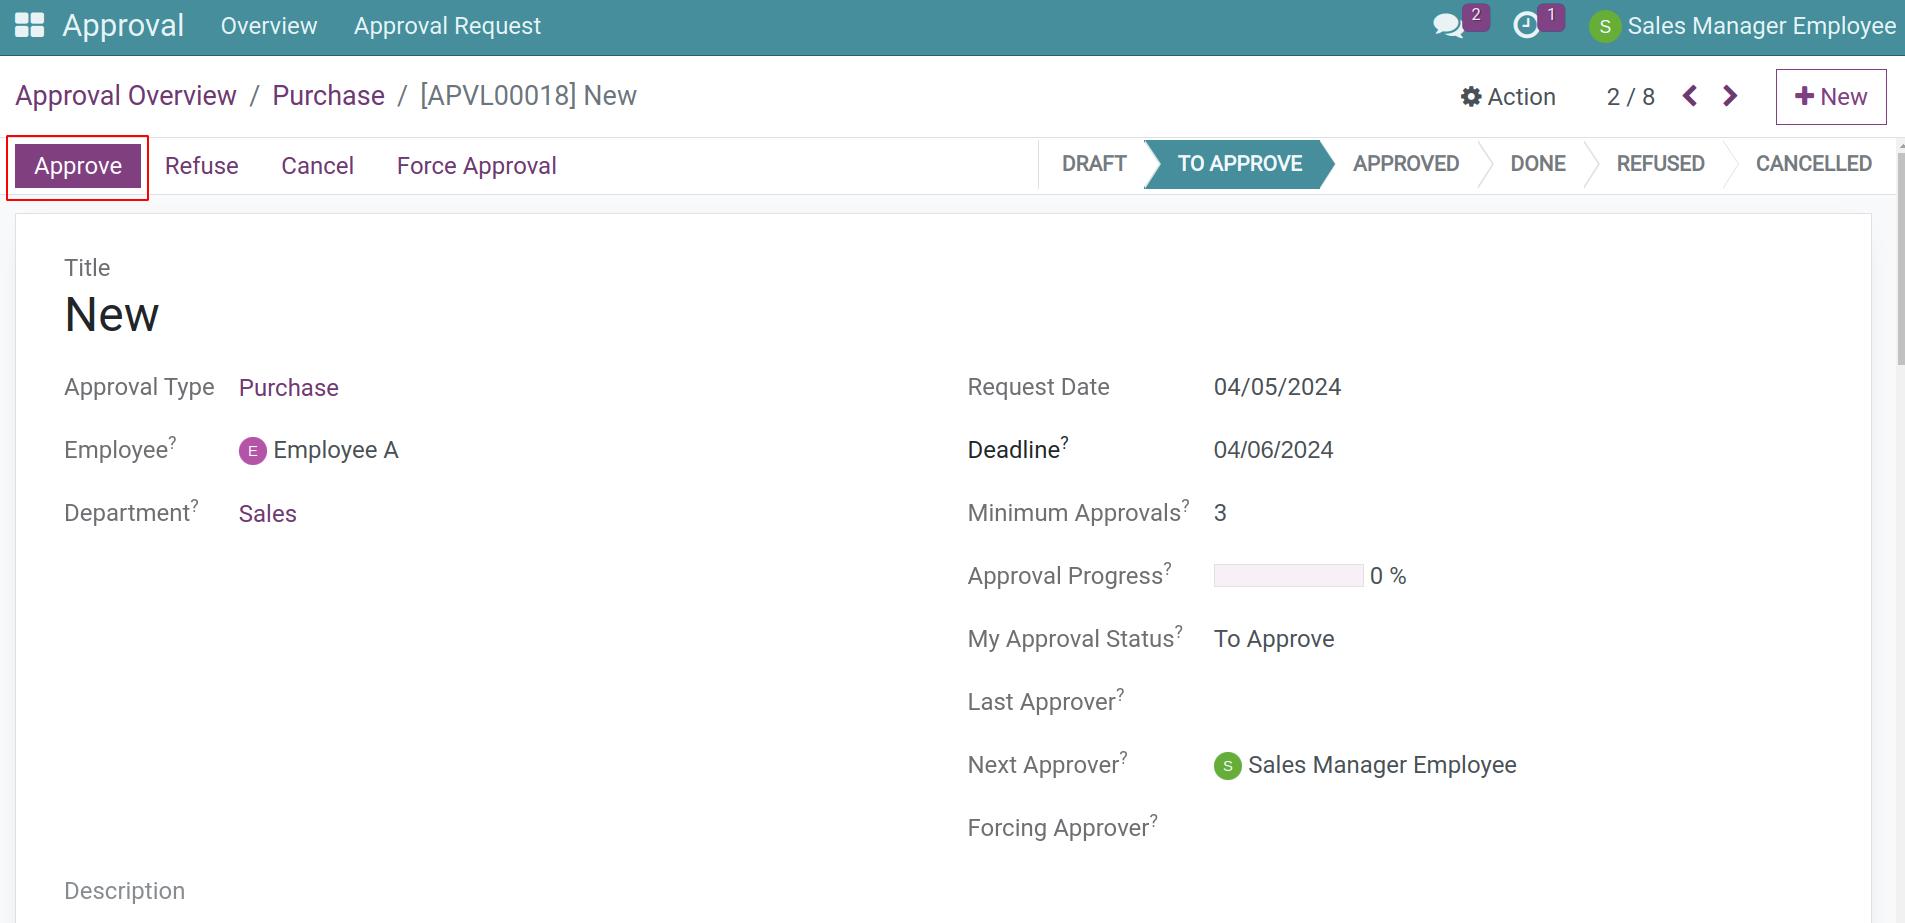

After the The second approver press Approve, the system will continue to schedule an activity for The third approver and at the same time send him/her a notification.

Force Approval
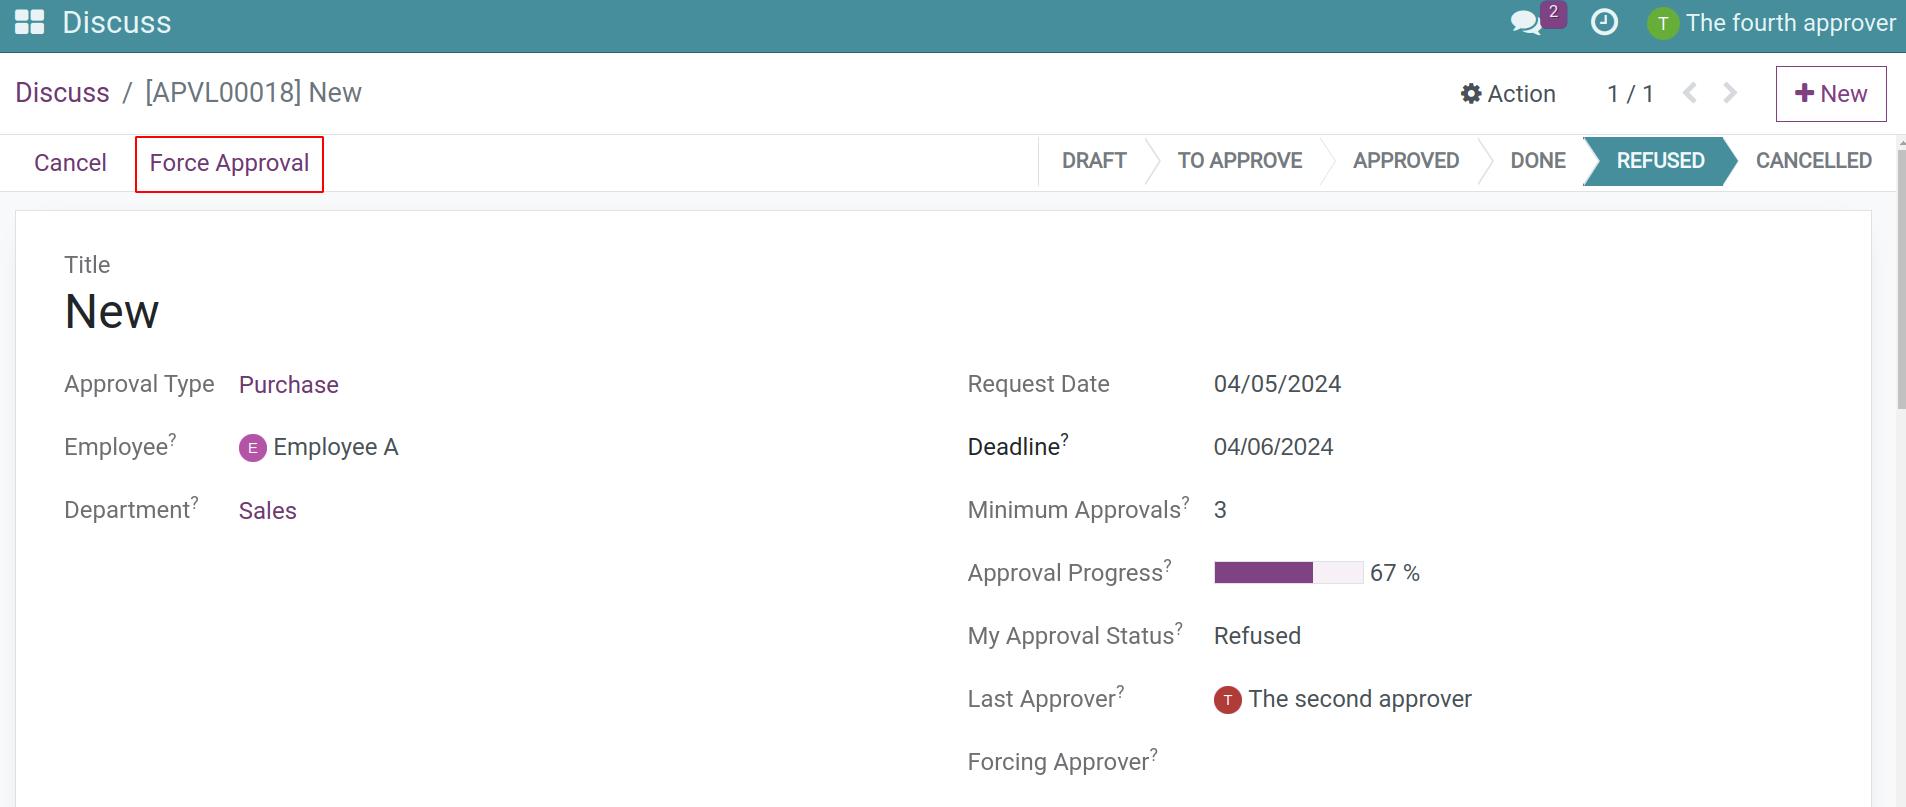
Let’s continue with the above example, let’s assume at any given time you want to approve the request regardless of other people’s approvement (even when the request was refused), you can force the approval by pressing the Force Approval button on the approval request.
Note
Only the user with the Administrator access right of the Approval app can force approval.
Refusing For Request
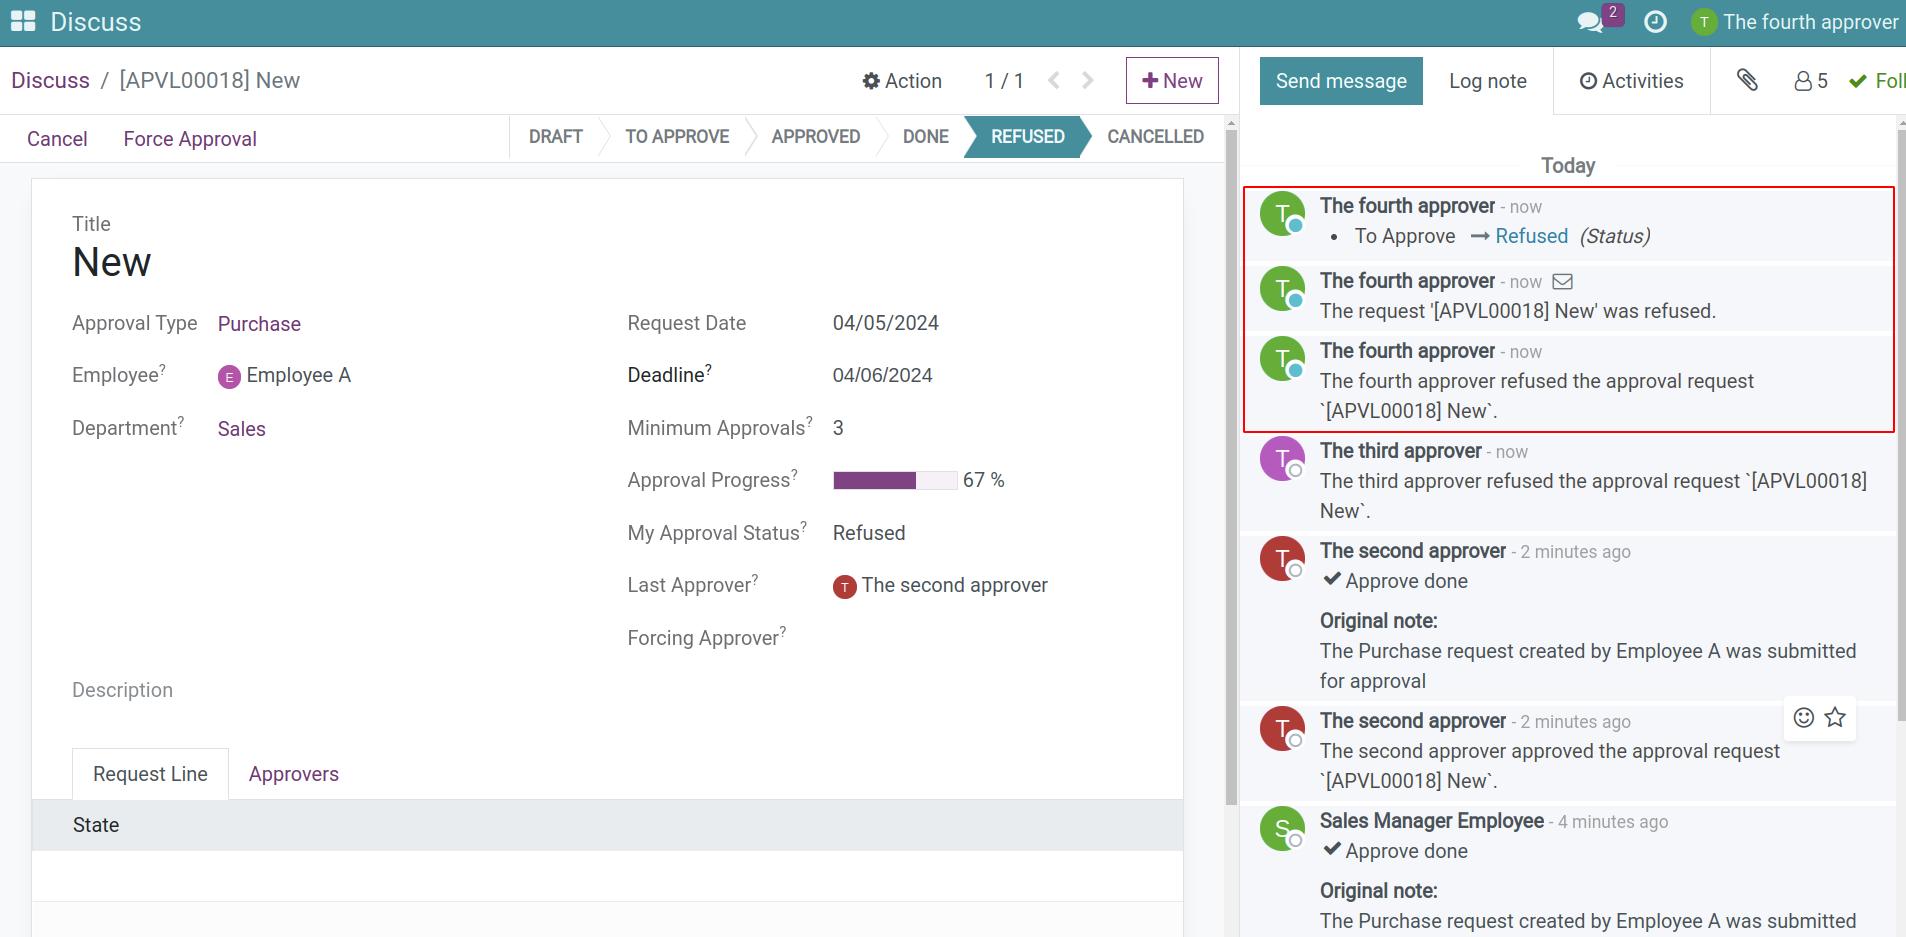
As mentioned previously, the approver in the aprrovers list can refuse the approval request. In the above examble, after the second approver aprroved the request, a notification was sent to The third approver. The third approver now refuses the request.
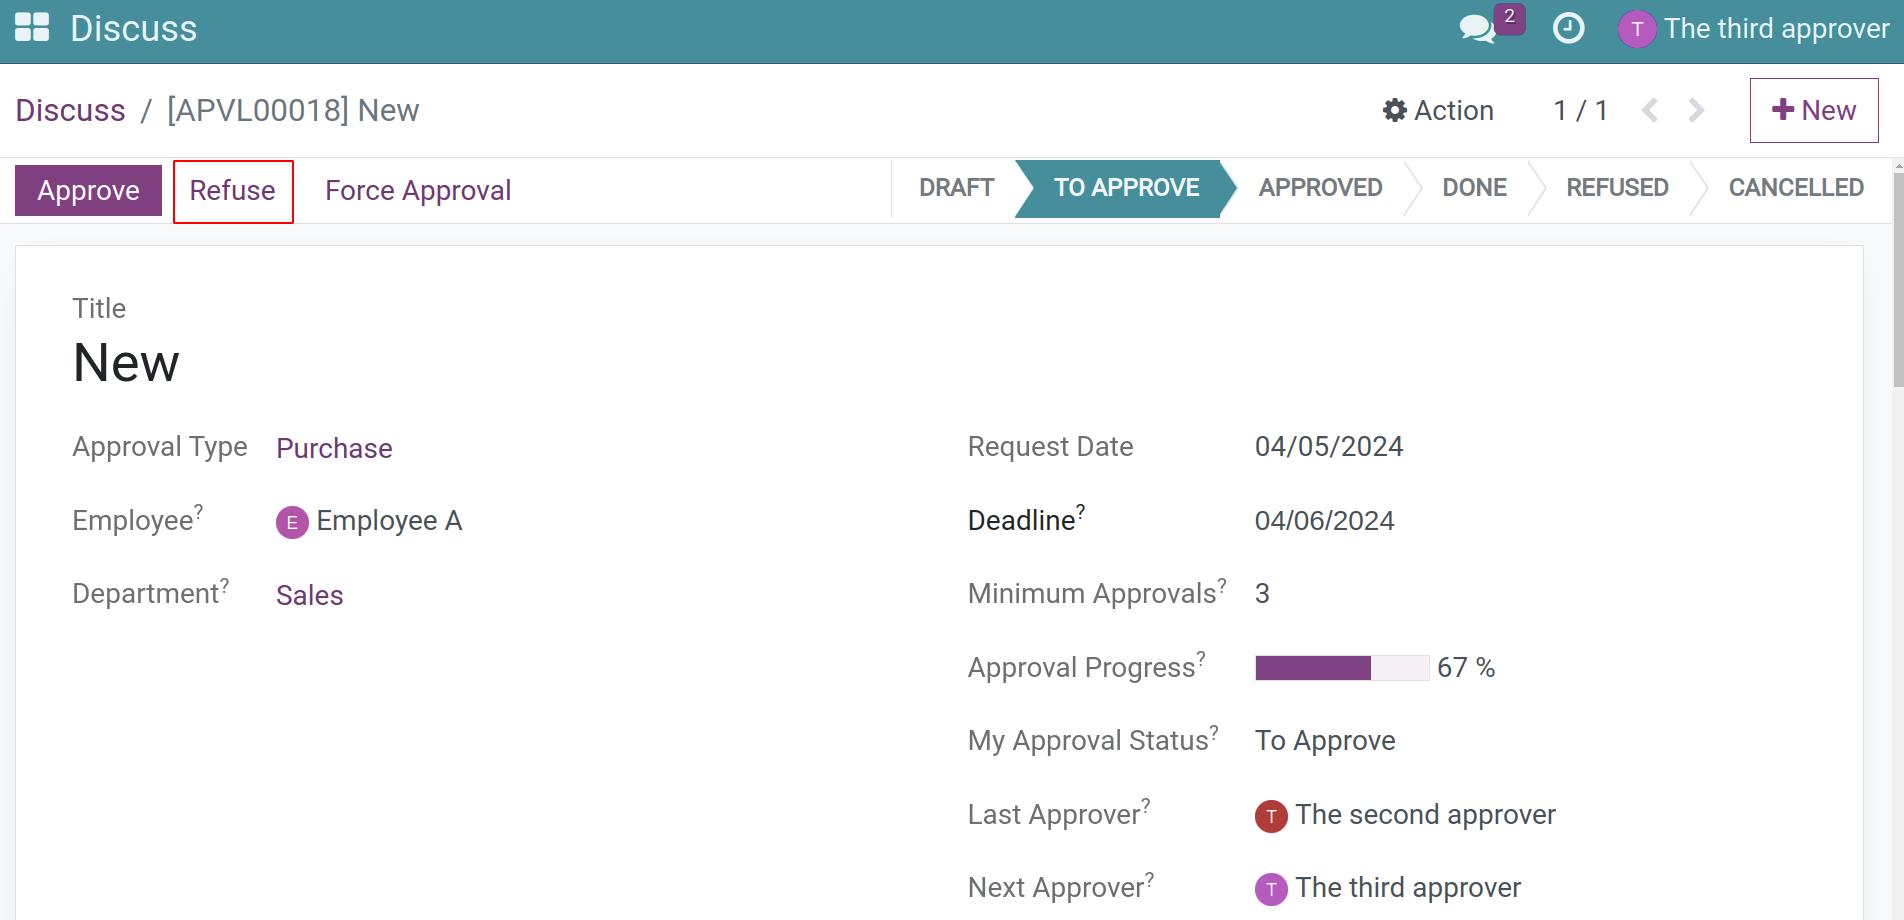
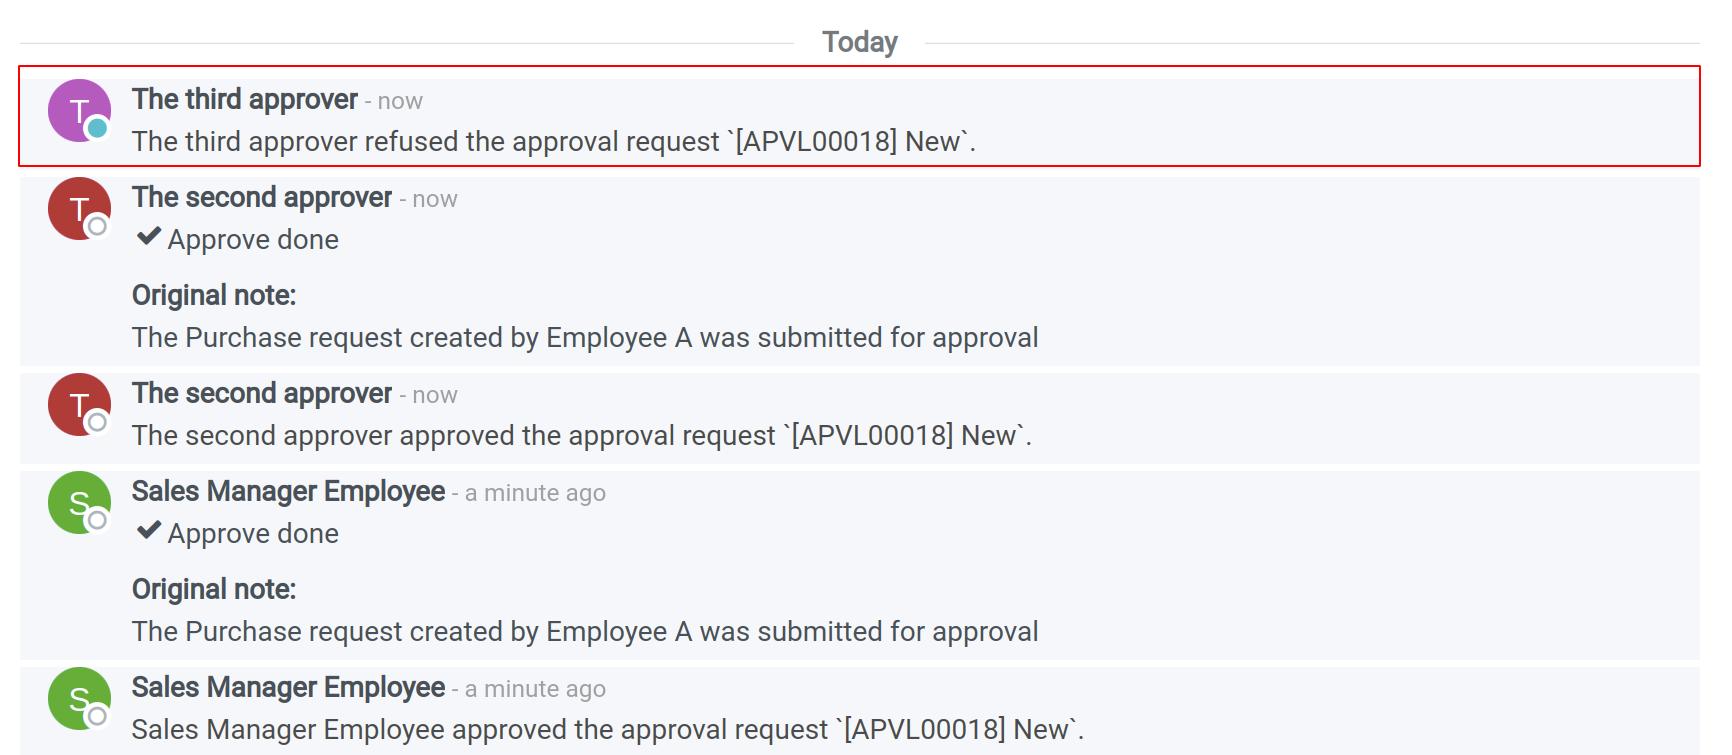
Since the approval of the third approver is not Required so even though he/she Refused the request, the state of request is still To Approve, and the process will continue to the next approver - The fourth approver (the last approver).
Because the fourth approver’s approval is Required so there will be 2 cases.
Case 1: The fourth approver Approve the request > The request will be approved by all required approvers so the state changed to Approved.
Case 2: The fourth approver Refuse the request > The request will be refused by one of required approvers, so the state changed to Refused.
In our example, the approval request will be changed to the Refused stage because the fourth approver also refused the request.
Editing For Request
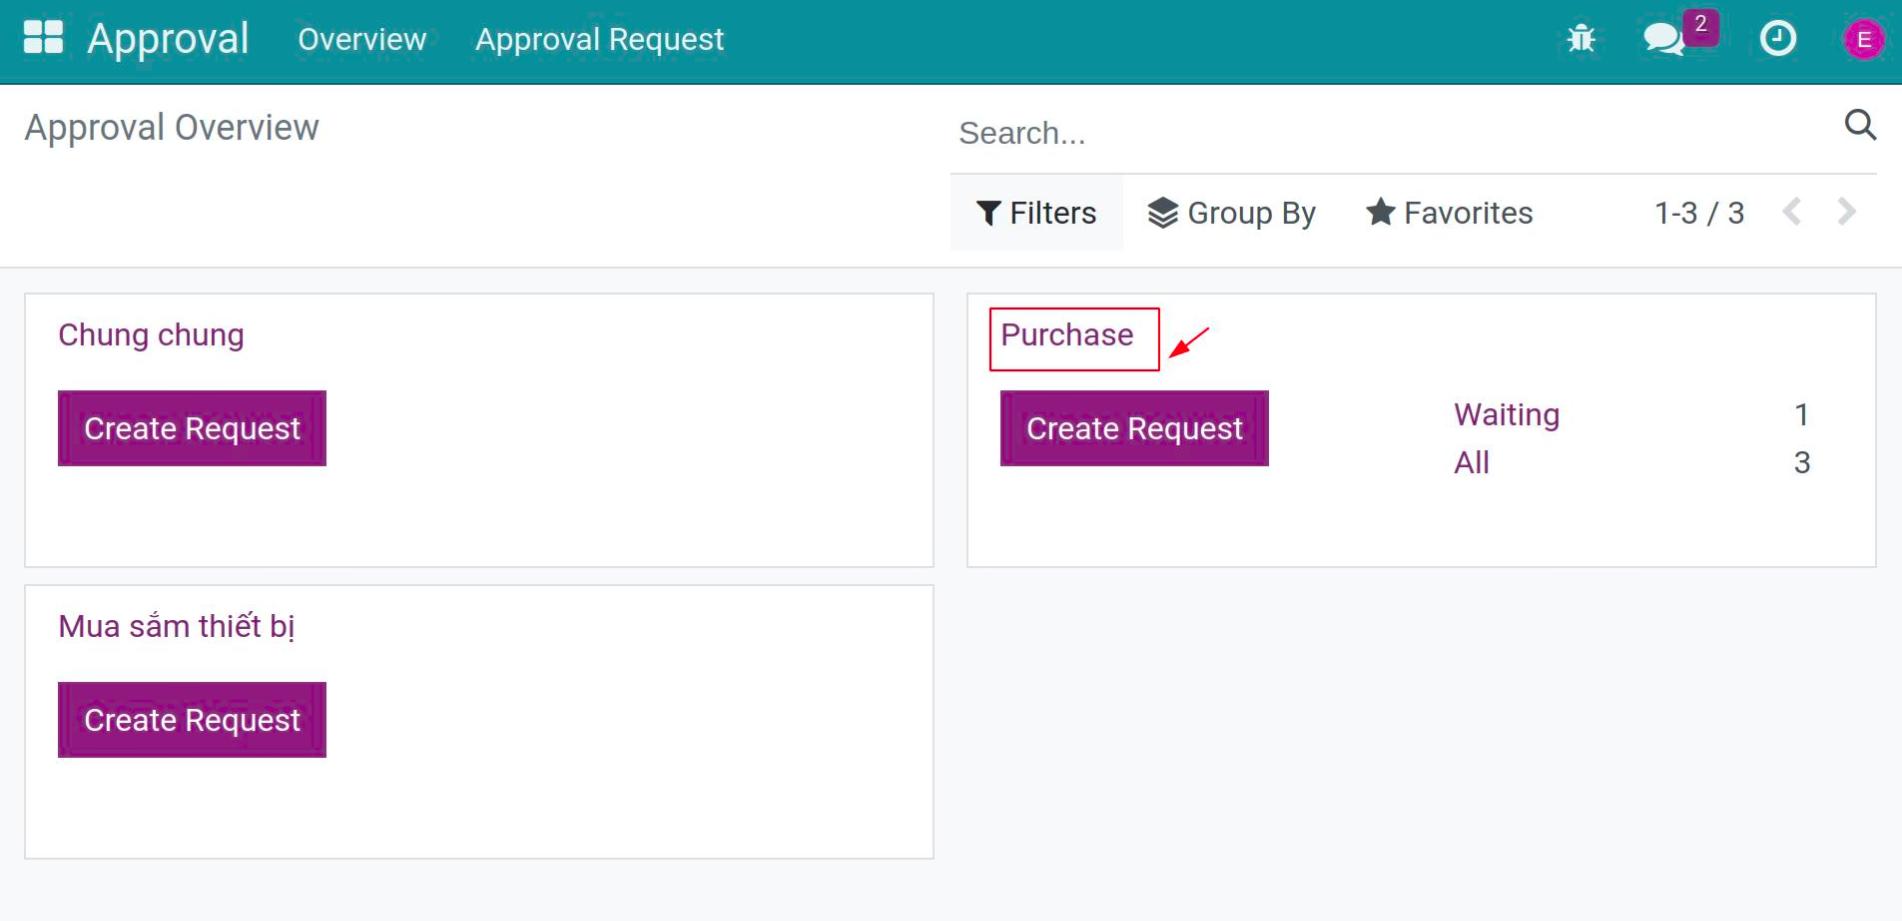
A employee or employee’s manager can edit employee’s request approval. To edit a exist approval request, enter the Approval module. On the Approval Overview, select the approval type you want and the list of request approval for this approval type will be show up, you can choose request approval that you want to edit and the and doing editting process.
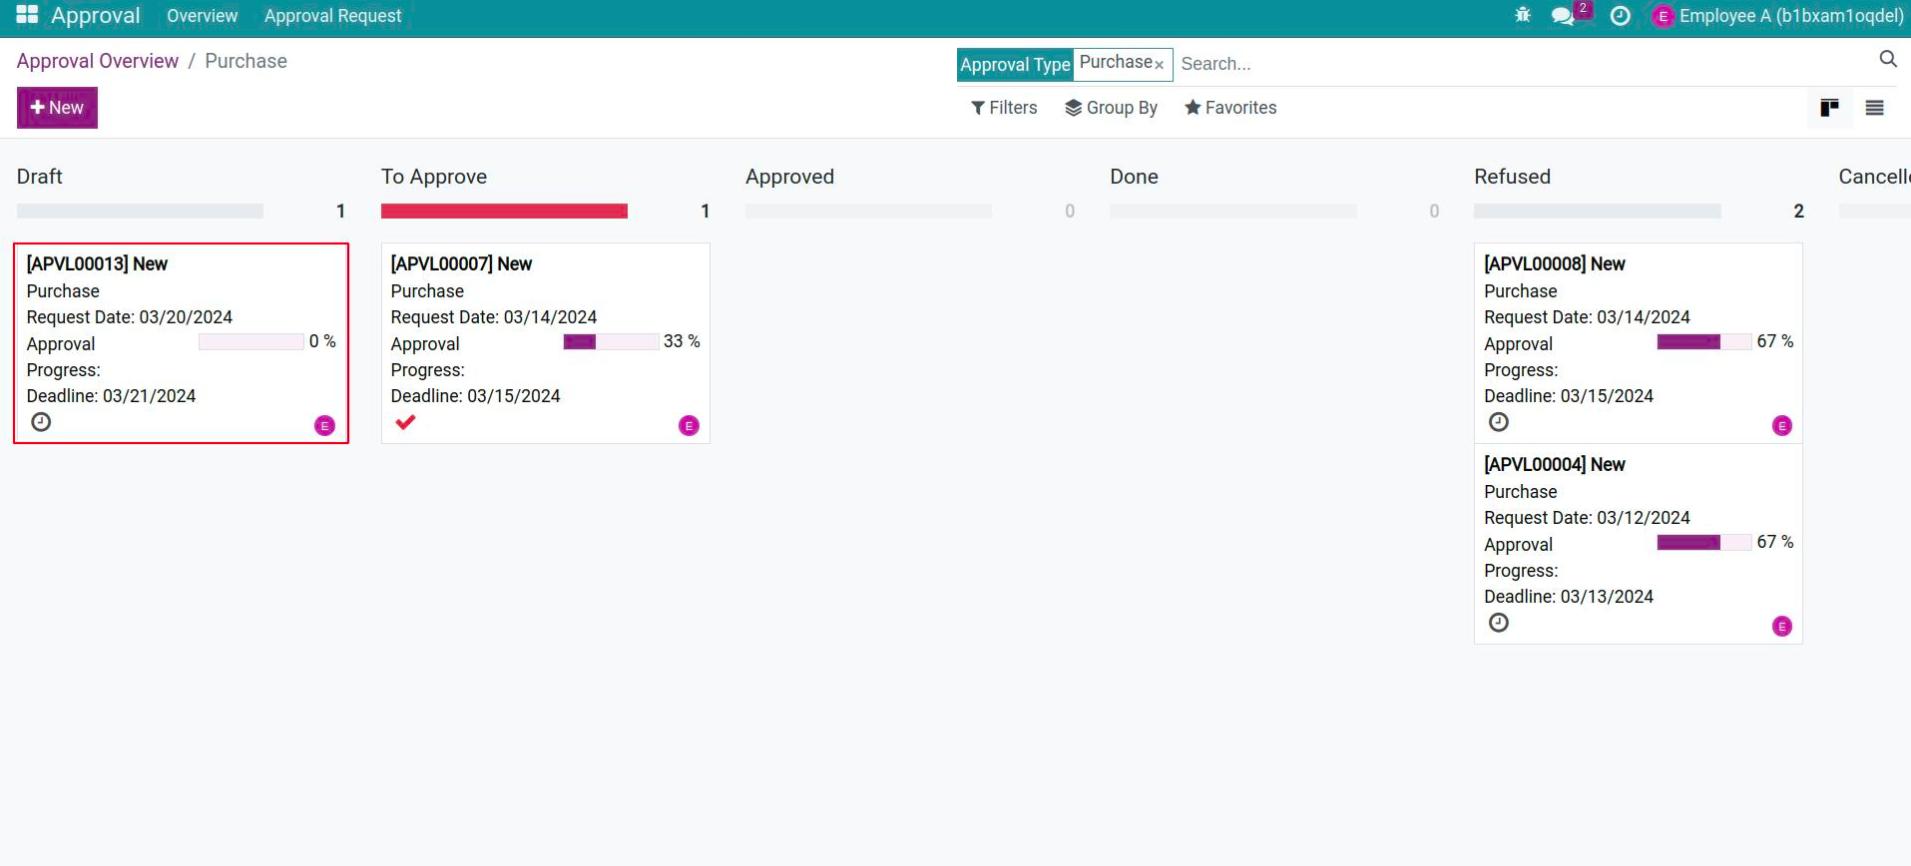
With the draft approval request, you can edit any information you want and then press Save to end the editing process.
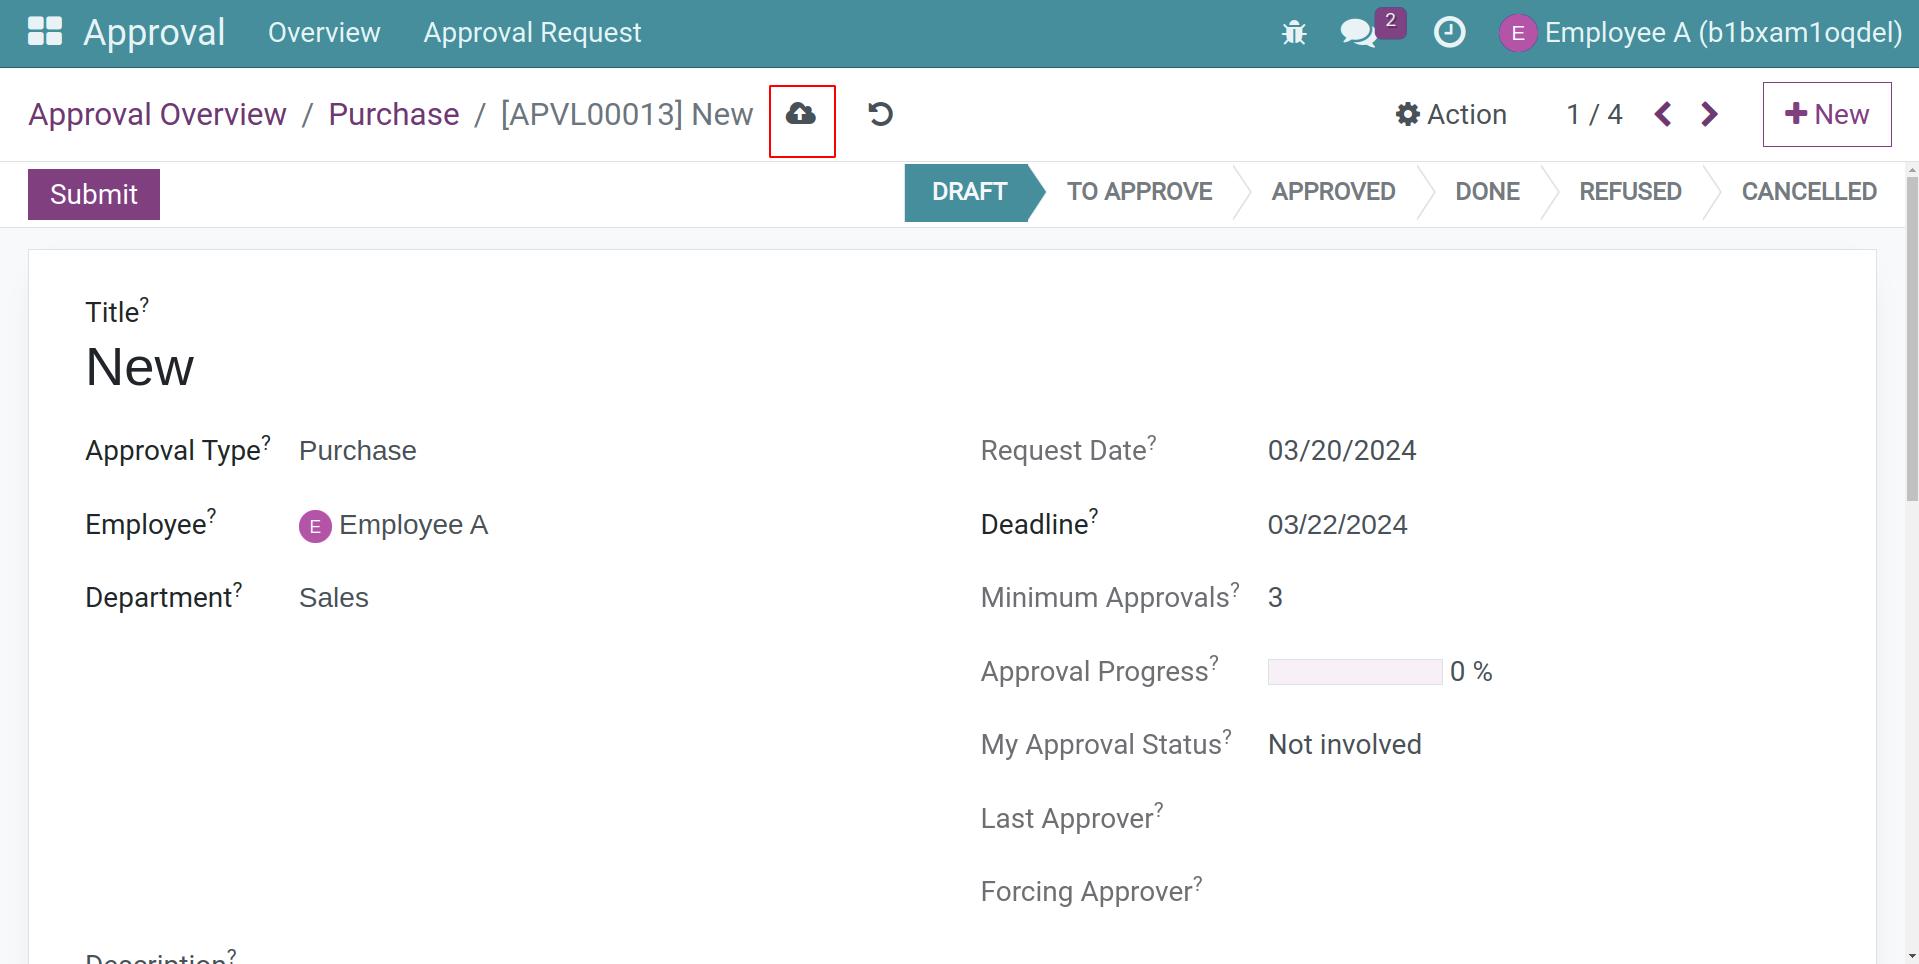
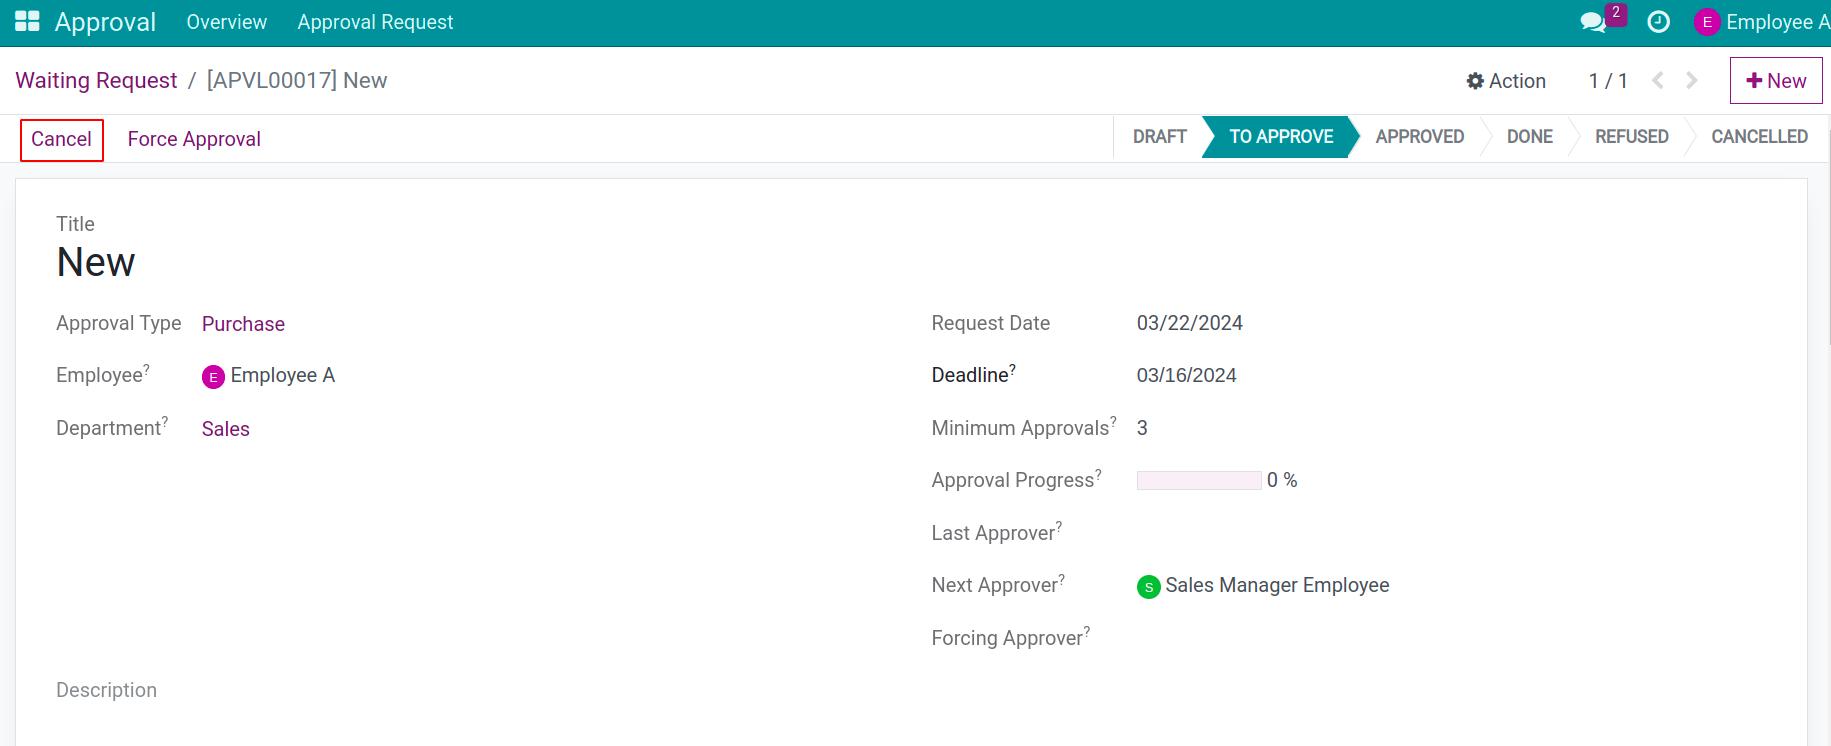
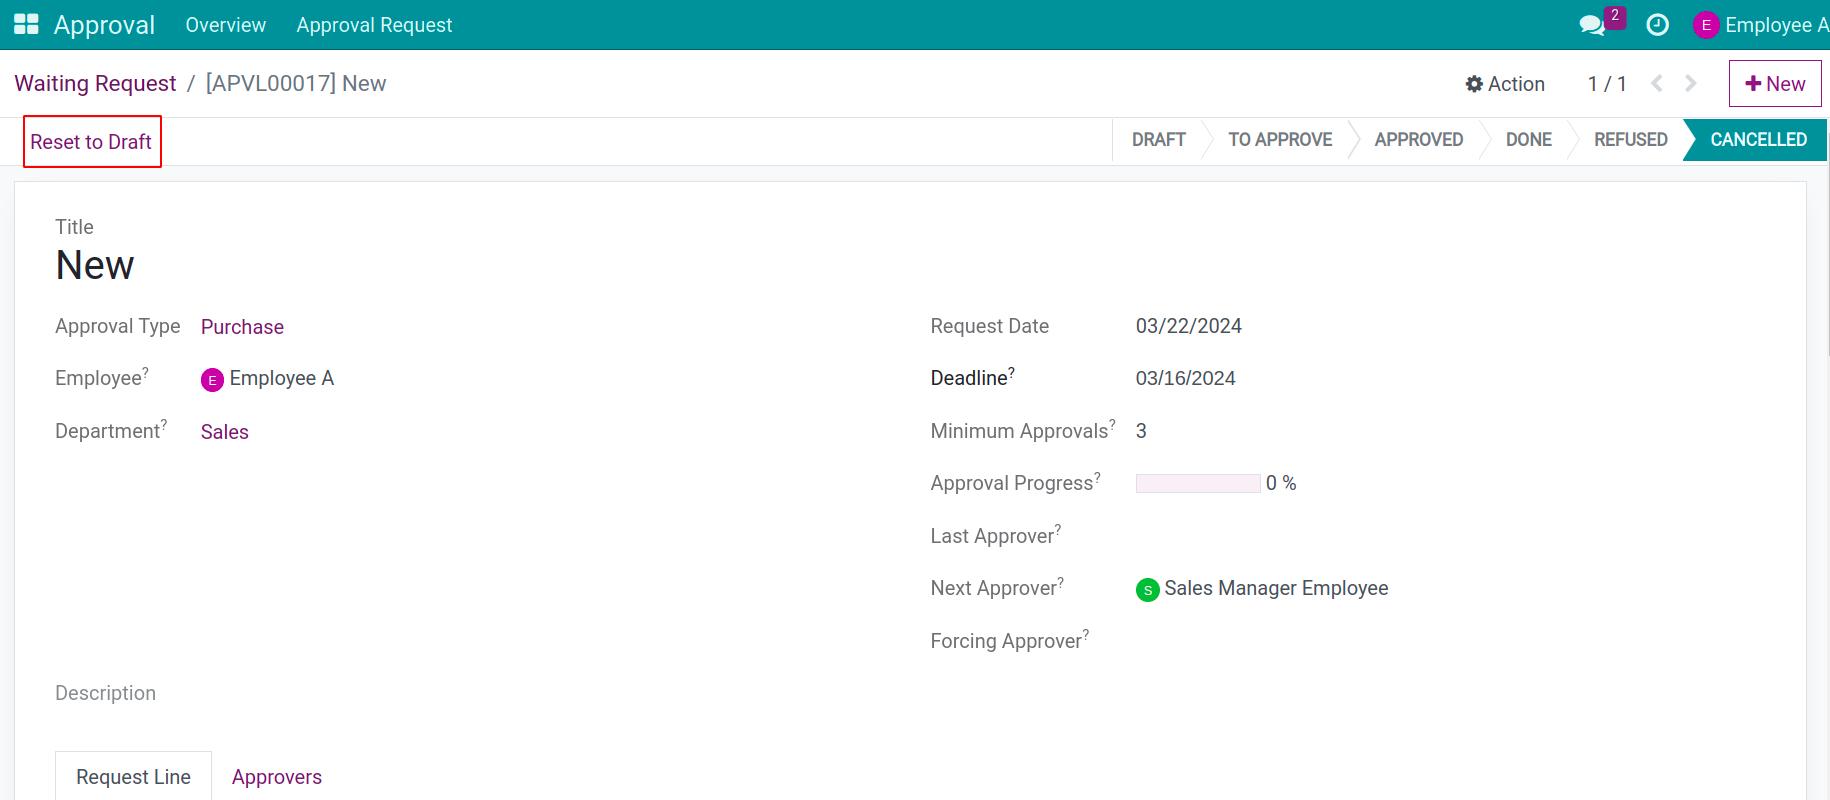
Only the request with the draft state can be edited. In case, the request’s state isn’t Draft, it needs to be canceled and reset to Draft before editing by its employee-owner or the user with Administration access right of the Approval application.
Cancel the request
On the approval request interface, press to Cancel button.
Reset to draft the request
Then press to Reset to draft button.
See also
Related articles:
Optional modules:
See the approval process in the video below.