Printing PoS orders at the kitchen/bar
Using printers in a restaurant or bar can improve communication and collaboration between the front-of-house and back-of-house teams, making the service more efficient.
Requirements
This tutorial requires the installation of the following applications/modules:
Create and Configure printer
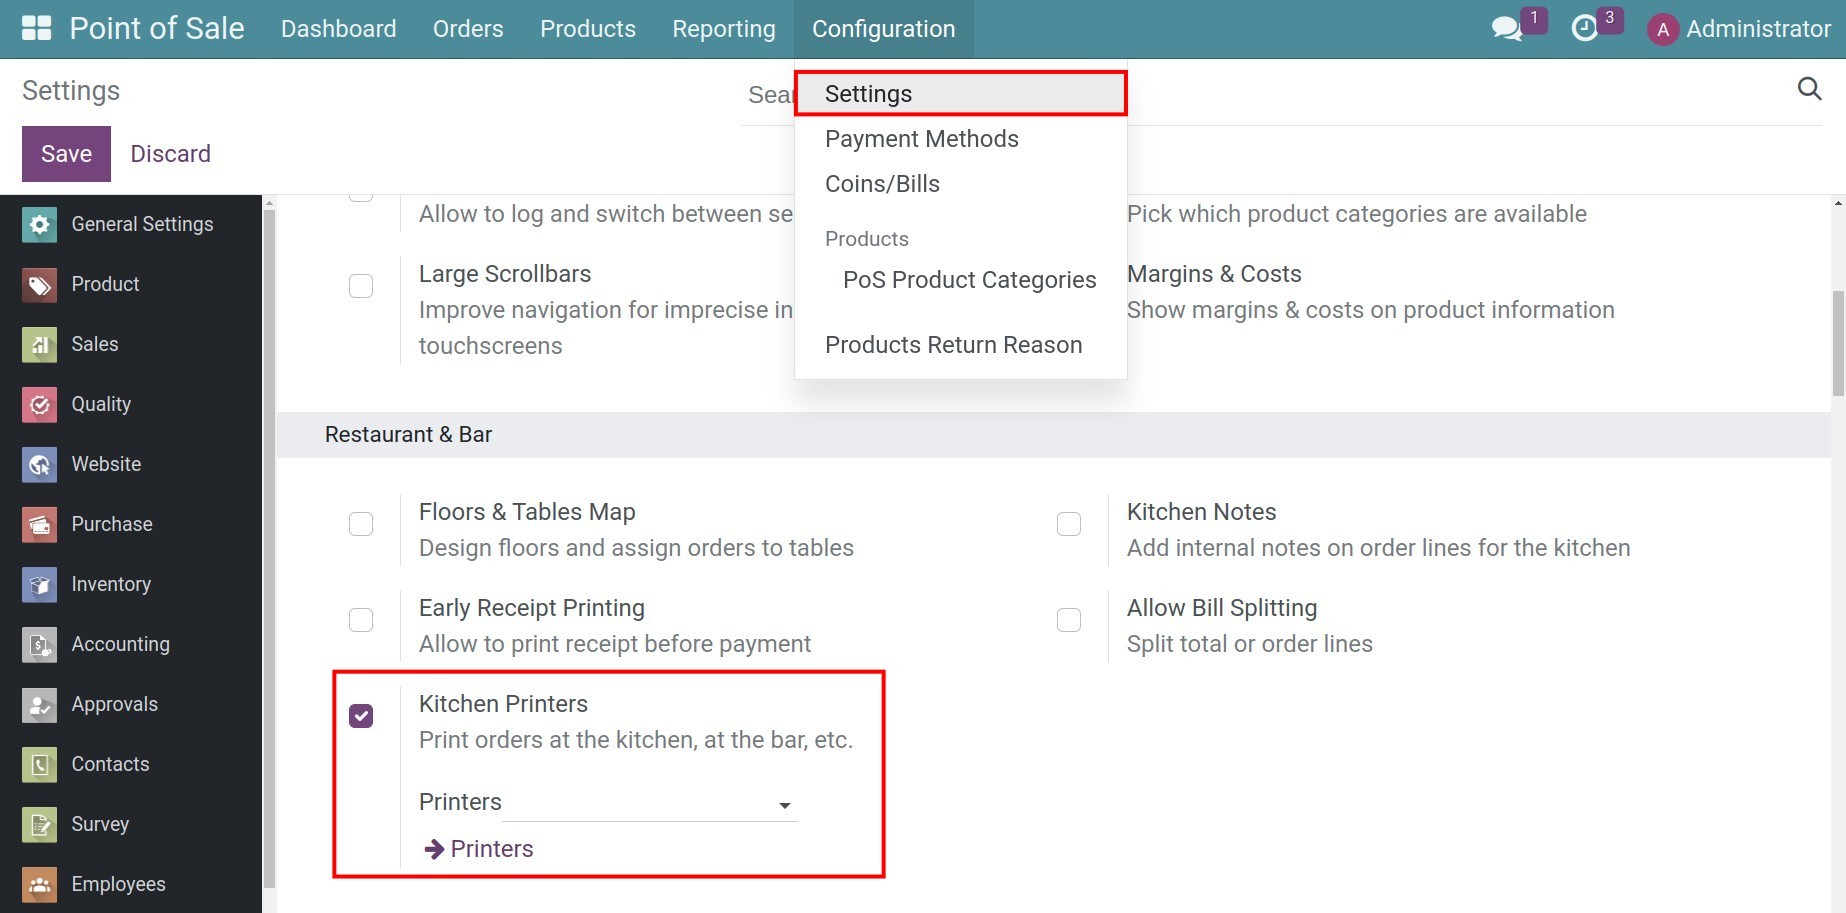
Navigate to Point Of Sale > Configuration > Settings, scroll to the Restaurant & Bar section and activate the Kitchen Printers printer.
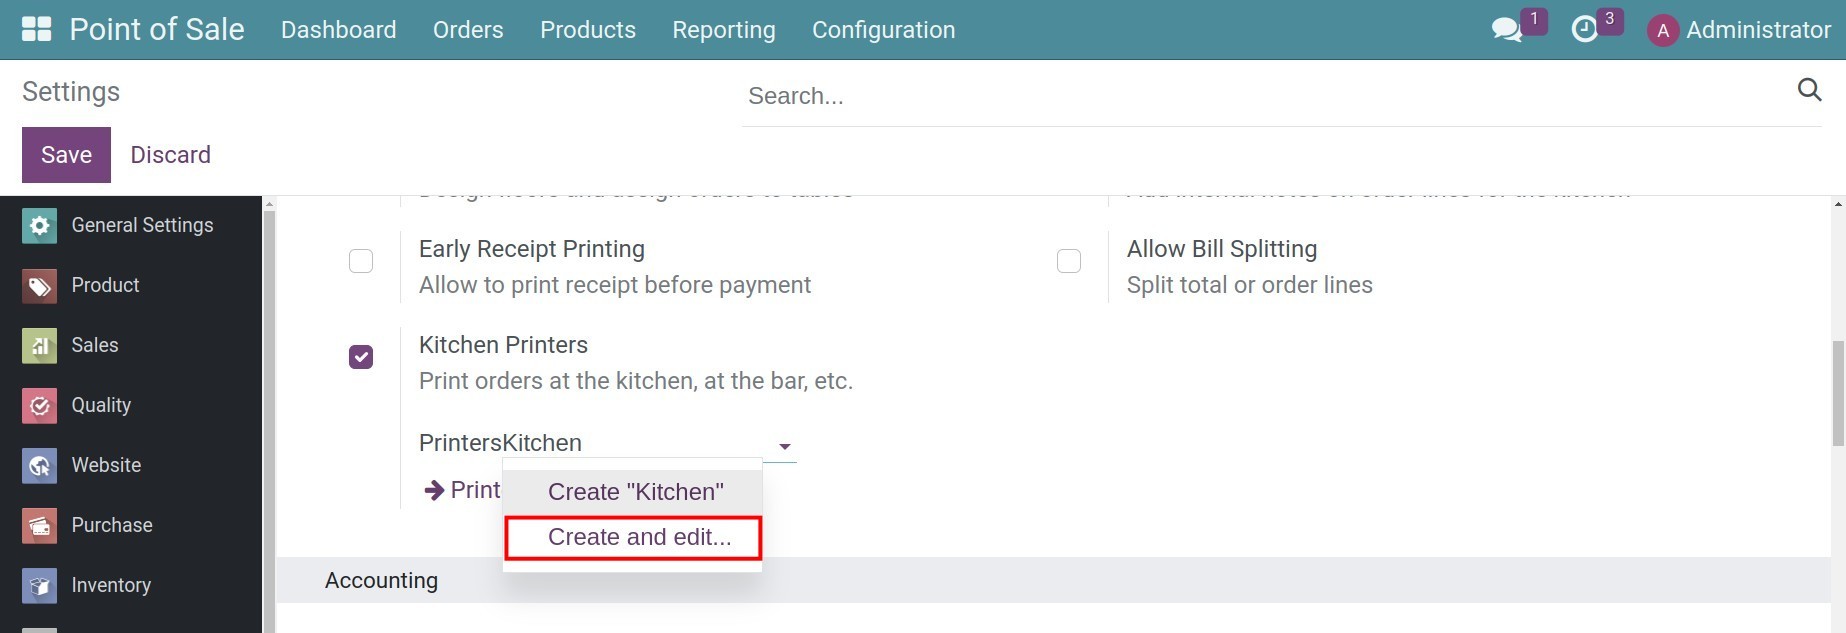
Create new printer
Type the printer’s name and select Create and Edit.
The Create Order Printers window will appear for you to set up the printer’s information.
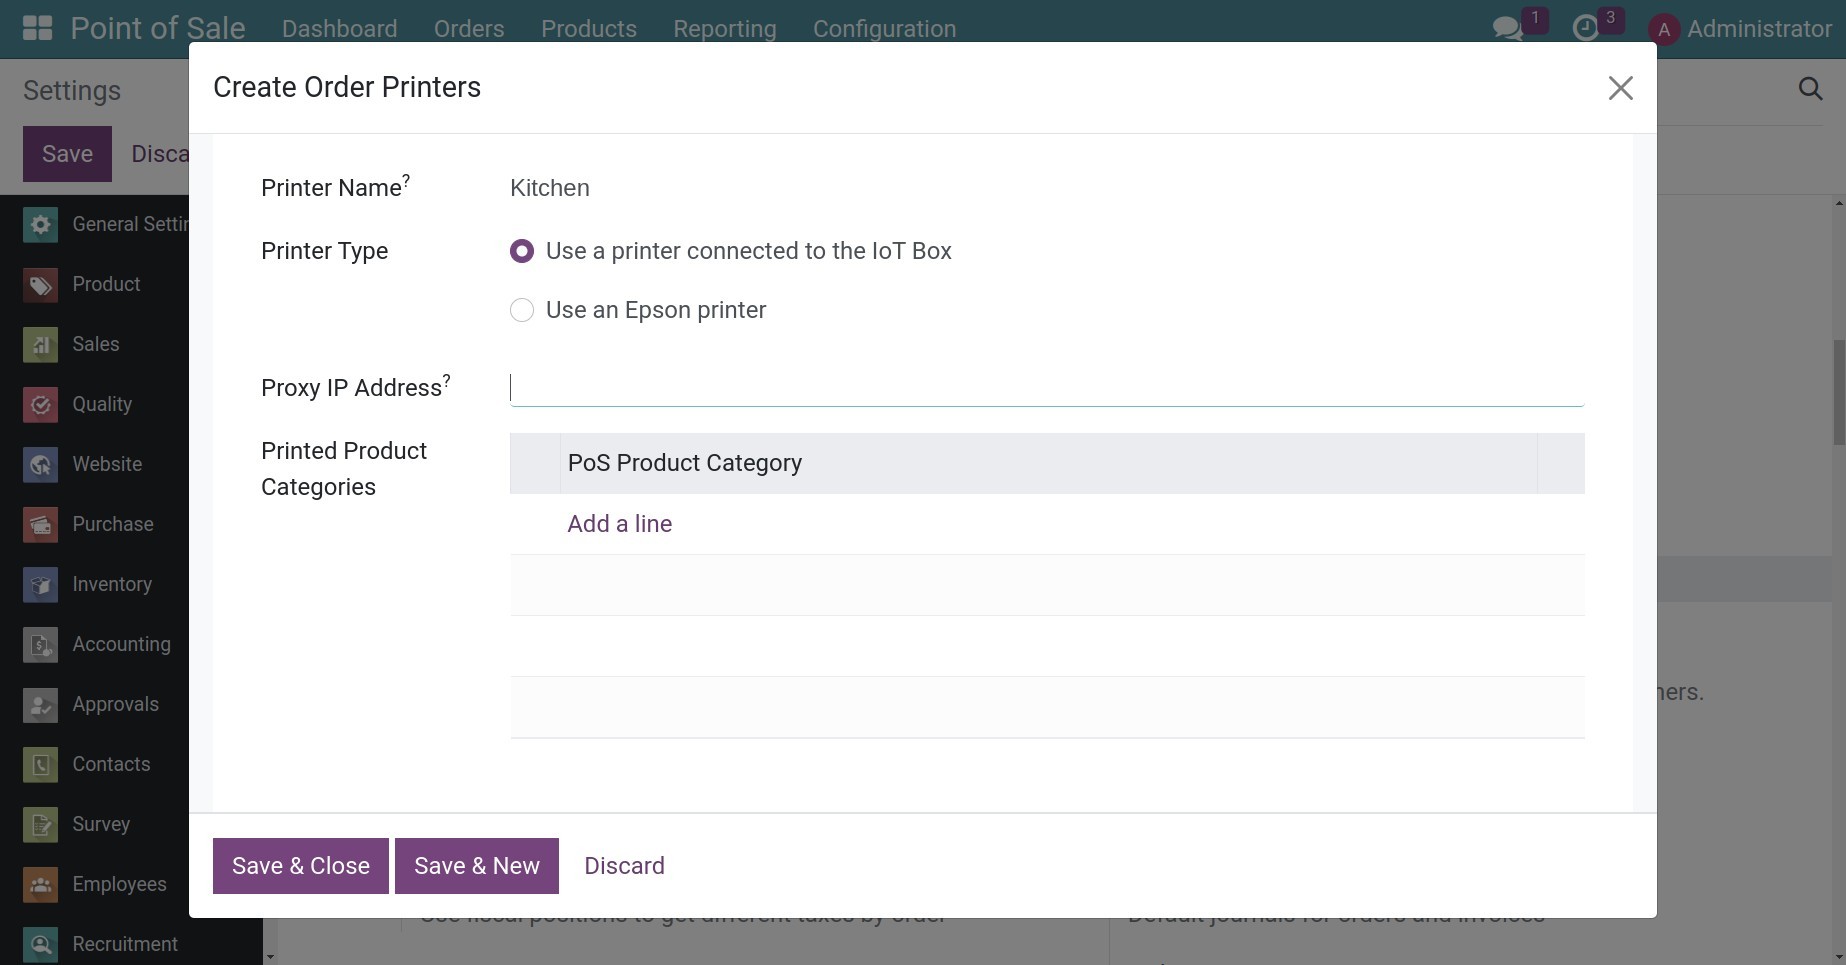
Printer Name: Type the name of the printer.
Printer Type: Select the printer type according to your installation:
If your printer is connected to an IoT box, select Use a printer connected to the IoT Box and copy the IP address to the Proxy IP Address field.
If you use an Epson printer that does not need an IoT box, select Use an Epson printer and enter the printer’s IP address in the Epson Printer IP Address field.
Printed Product Categories: To print specific products based on their Point of Sale (POS) category, you can configure your printer accordingly. Simply click on Add a line in the PoS Product Category field. If you don’t add any categories, all products will be sent to the printer regardless of their POS category.
Click on Save & Close to save the information, or Save & New to create a new printer.
Add notes to the printed order
Sometimes you will need to add some notes for special orders. To do so, check on the Kitchen Notes field to activate this feature.

Click Save to save the settings.
Print Order
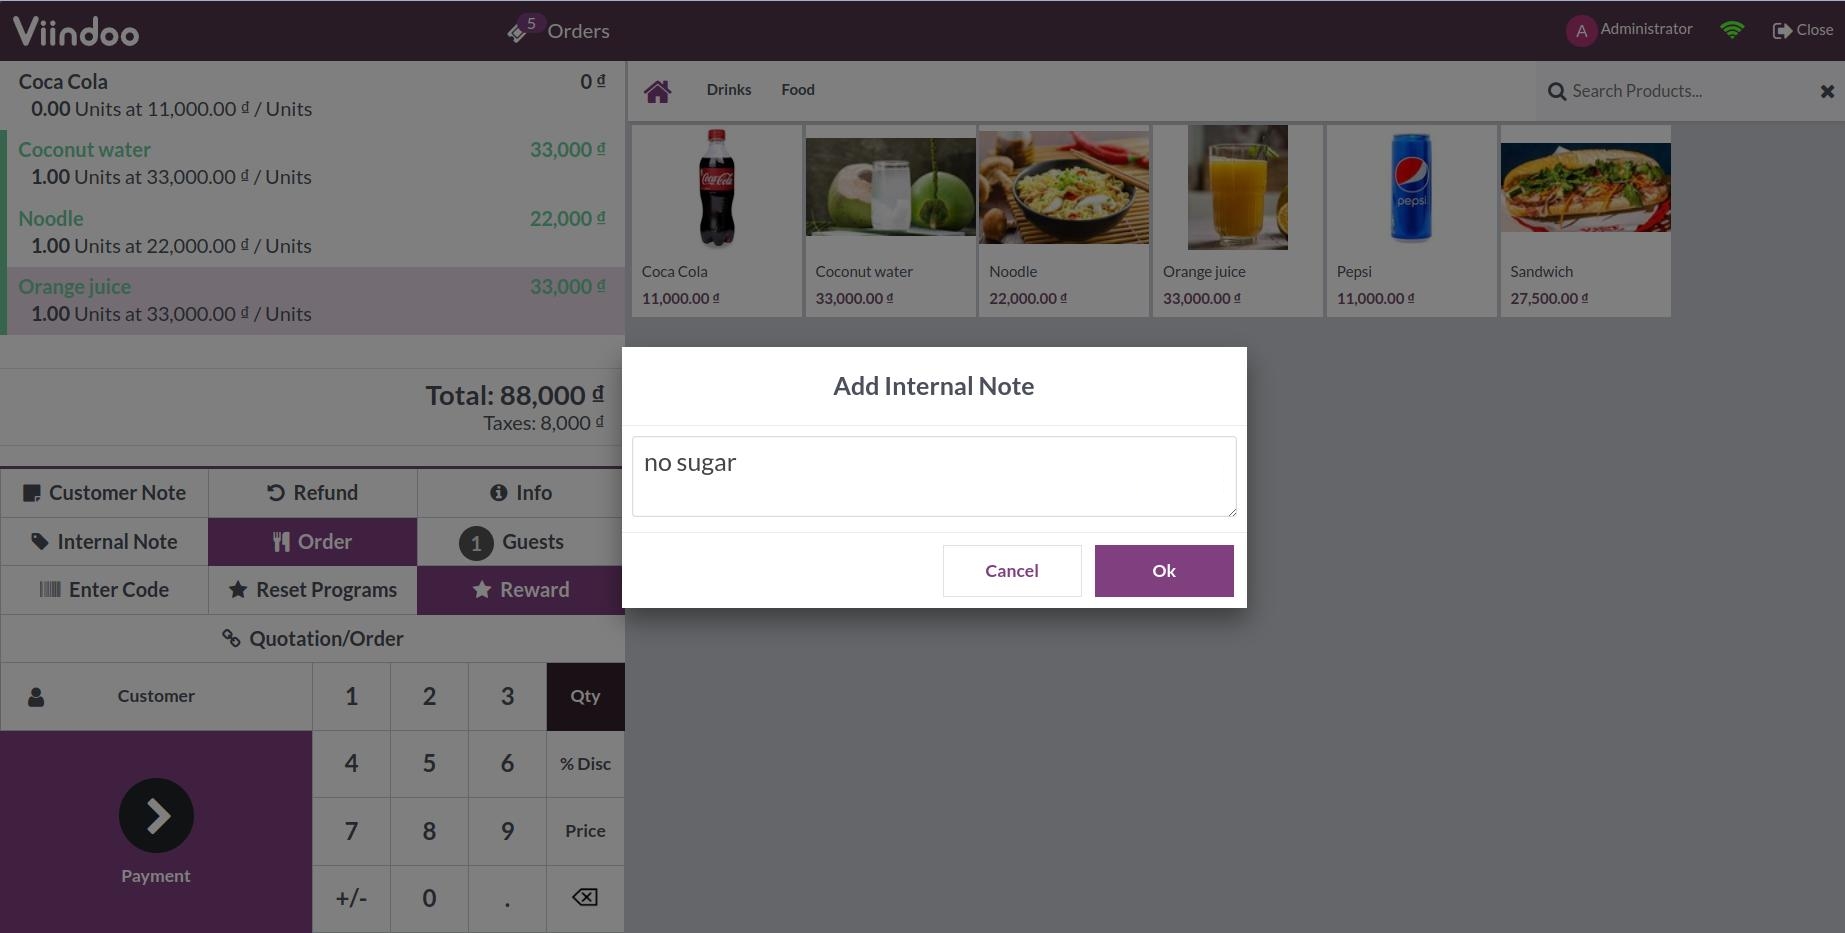
From an open session, start taking an order. Click on Internal Note to share any special requirements from your customer with your bartender or chef.
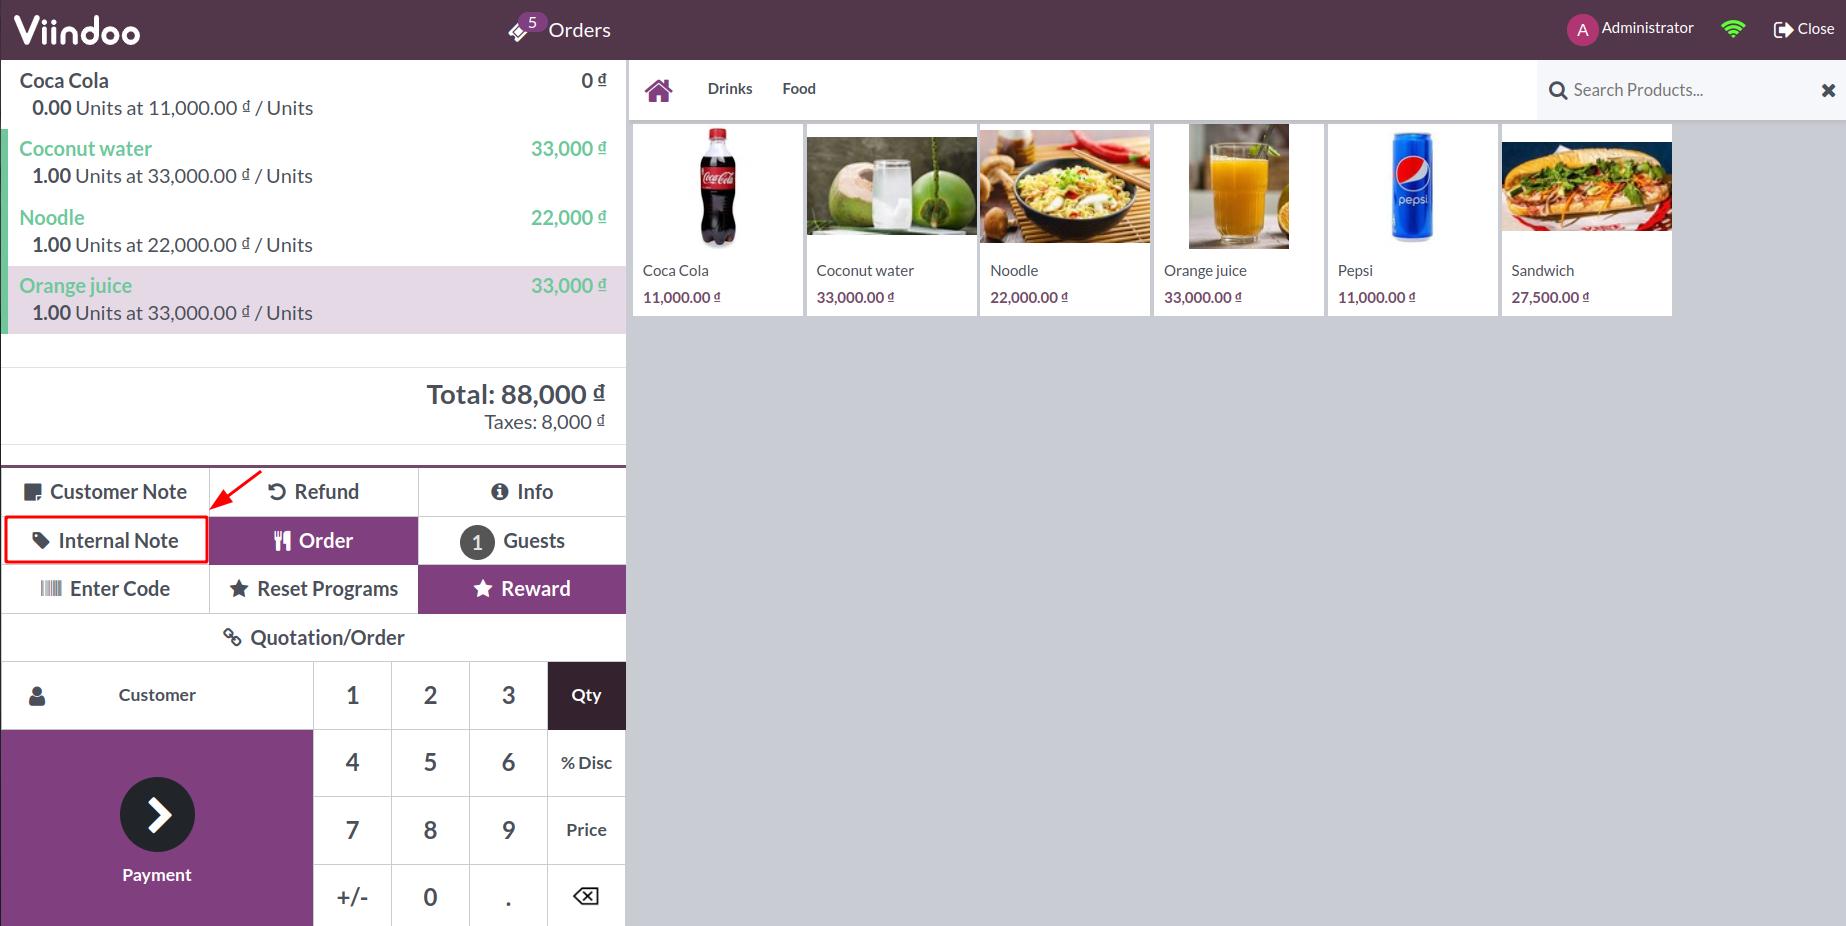
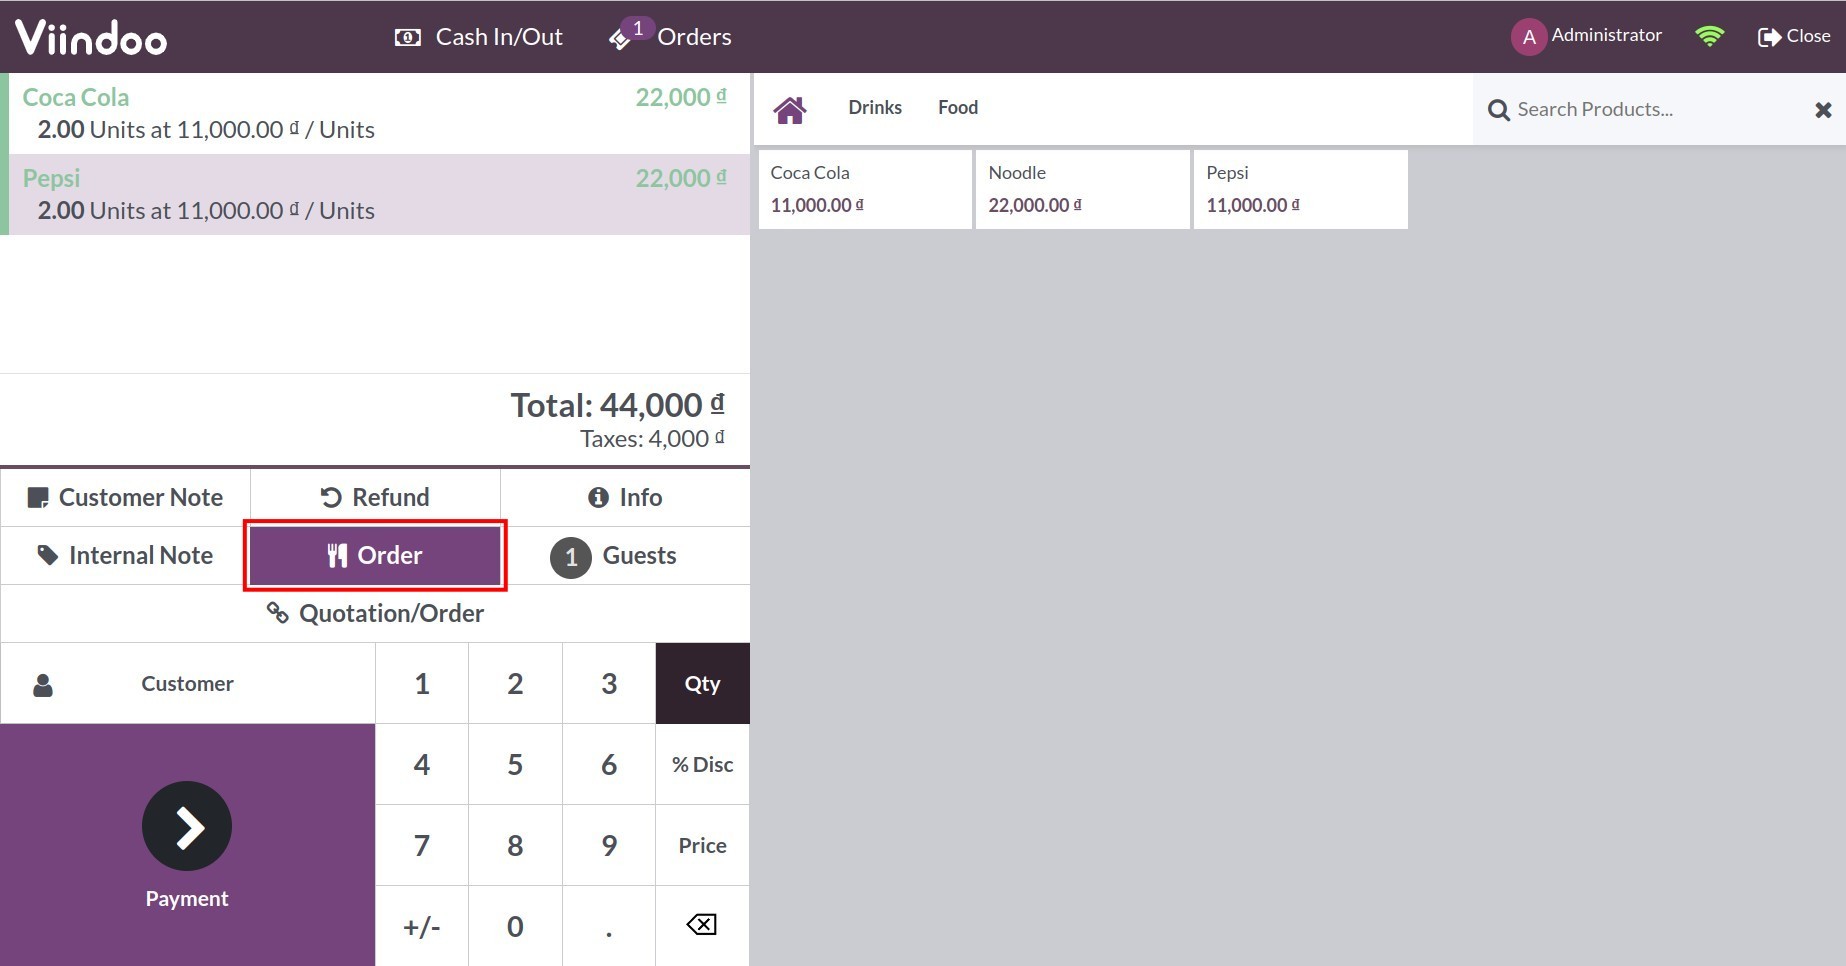
Once everything is ready, you can send the order details to the bar or kitchen by pressing Order.
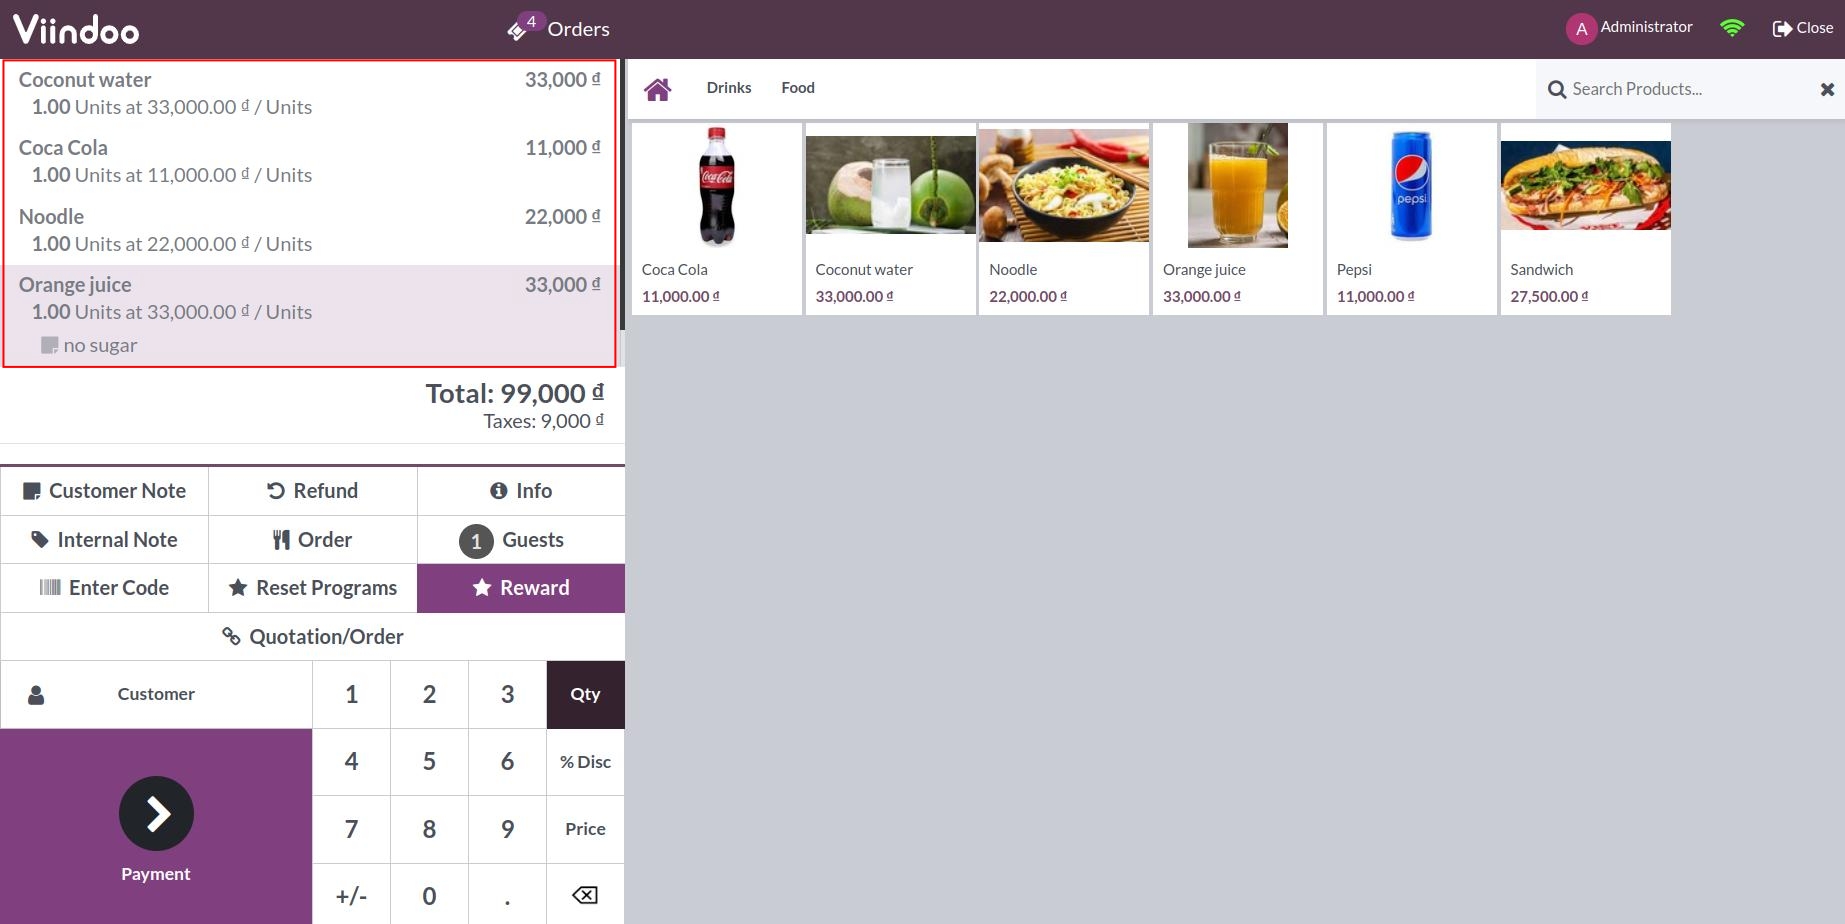
The ordered items list will turn to grey once the order is sent to the respective POS machine.
See also
Related article
Optional module