Issue e-invoice by integrating Viindoo with Misa’s MeInvoice
Nowadays, e-invoice has become a trend in digital transformation. E-invoices are integrated into enterprise management systems, accounting software, etc., helping to synchronize data, optimize usage time, and save printing, issuing, and storage costs for enterprises. For authority agencies, e-invoice plays an important role in managing trades transparently. To satisfy enterprises’ needs for managing e-invoices, Viindoo has integrated e-invoices into the Viindoo enterprise management system. Viindoo not only integrates e-invoices for VietNam enterprises but also supports e-invoice formats according to other countries’ standards with localization modules.
In this article, we will learn how to Integrate Misa’s MeInvoice with Viindoo.
Requirements
This tutorial requires the installation of the following applications/modules:
How to integrate with MeInvoice
Install the module
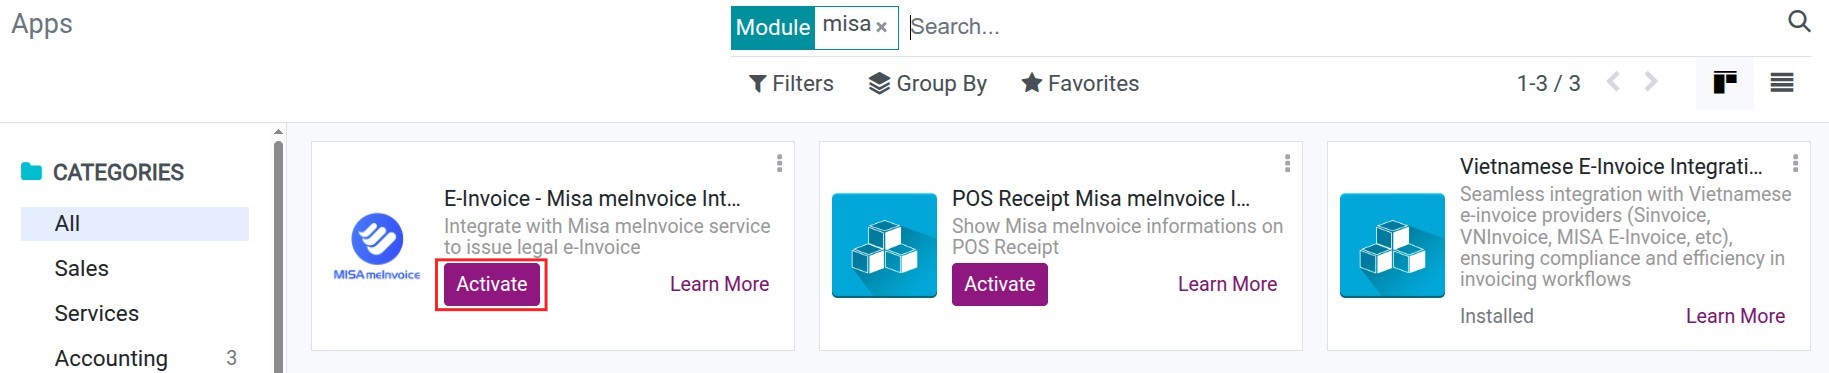
Go to Viindoo Apps, search for E-Invoice - Misa meInvoice Integrator on the search bar, and press Activate.
Declare the integration information
After installing the E-Invoice - Misa meInvoice Integrator module, to declare the E-invoice information, navigate to Accounting > Configuration > E-invoice Services.
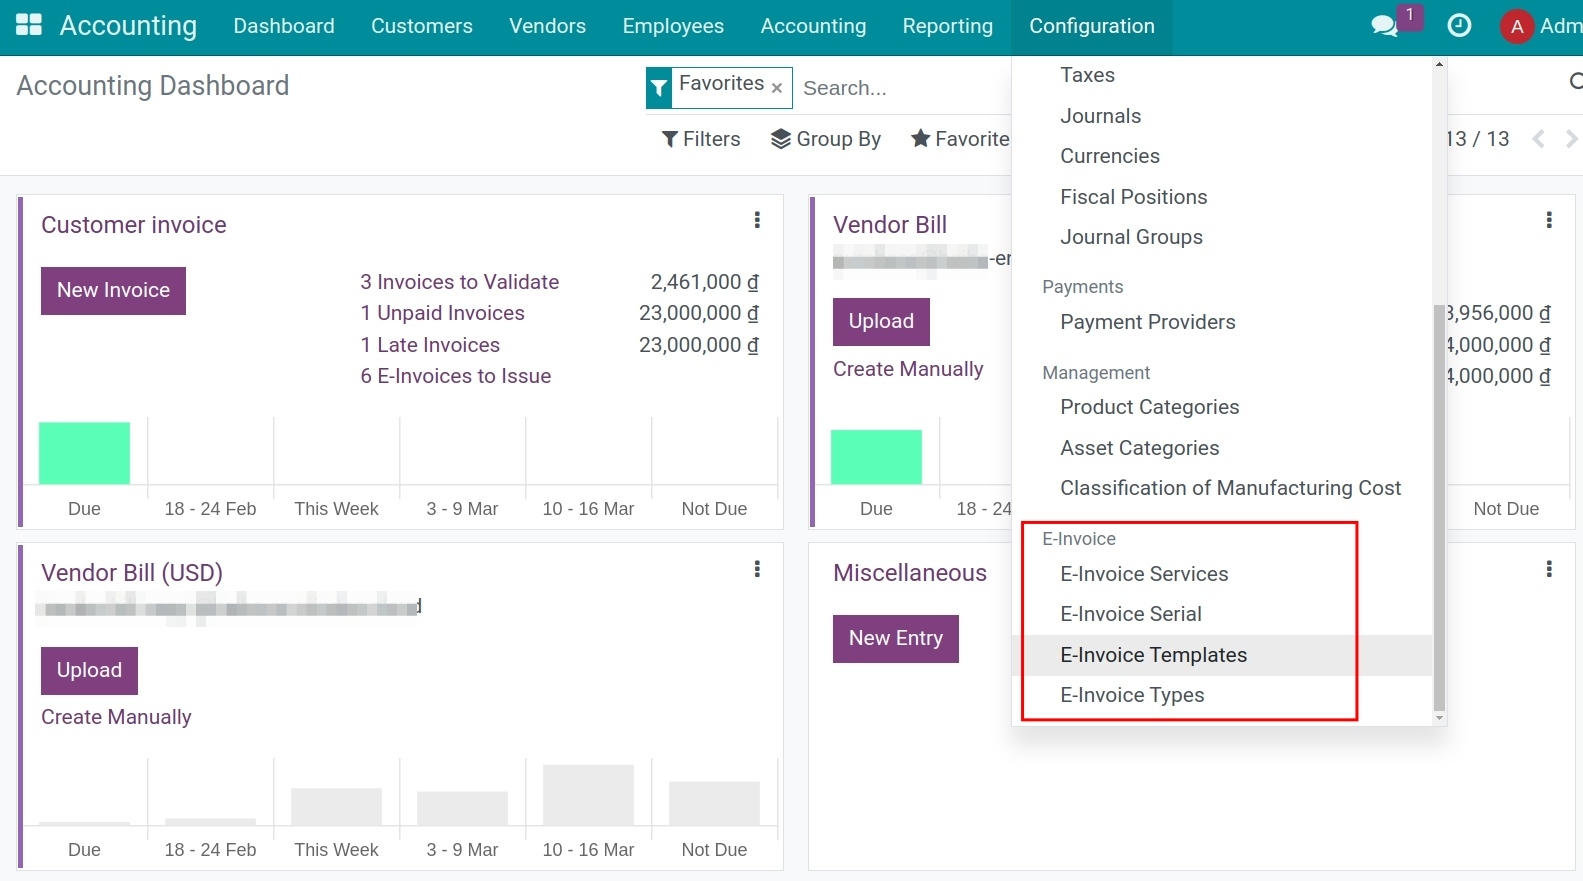
Follow the steps below to declare:
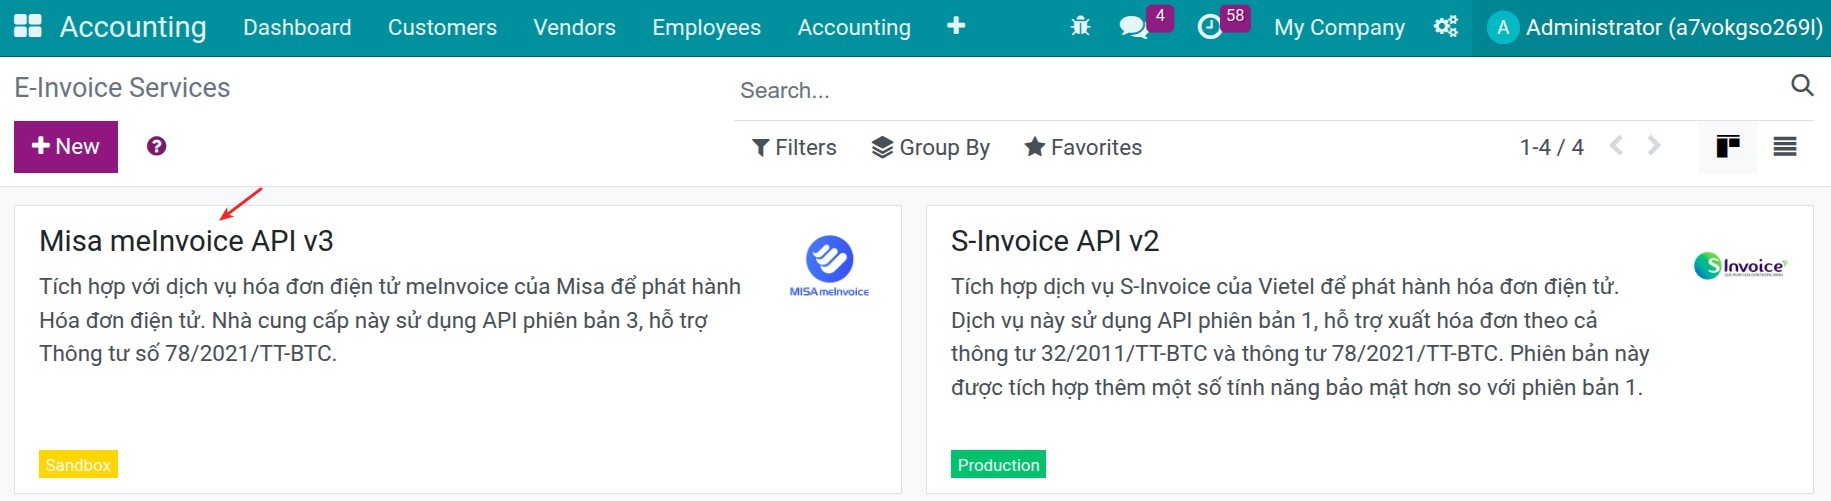
Step 1: E-Invoice services
Here, you will see Misa MeInvoice services supported by Viindoo.
Here you provide the necessary information for invoice integration:
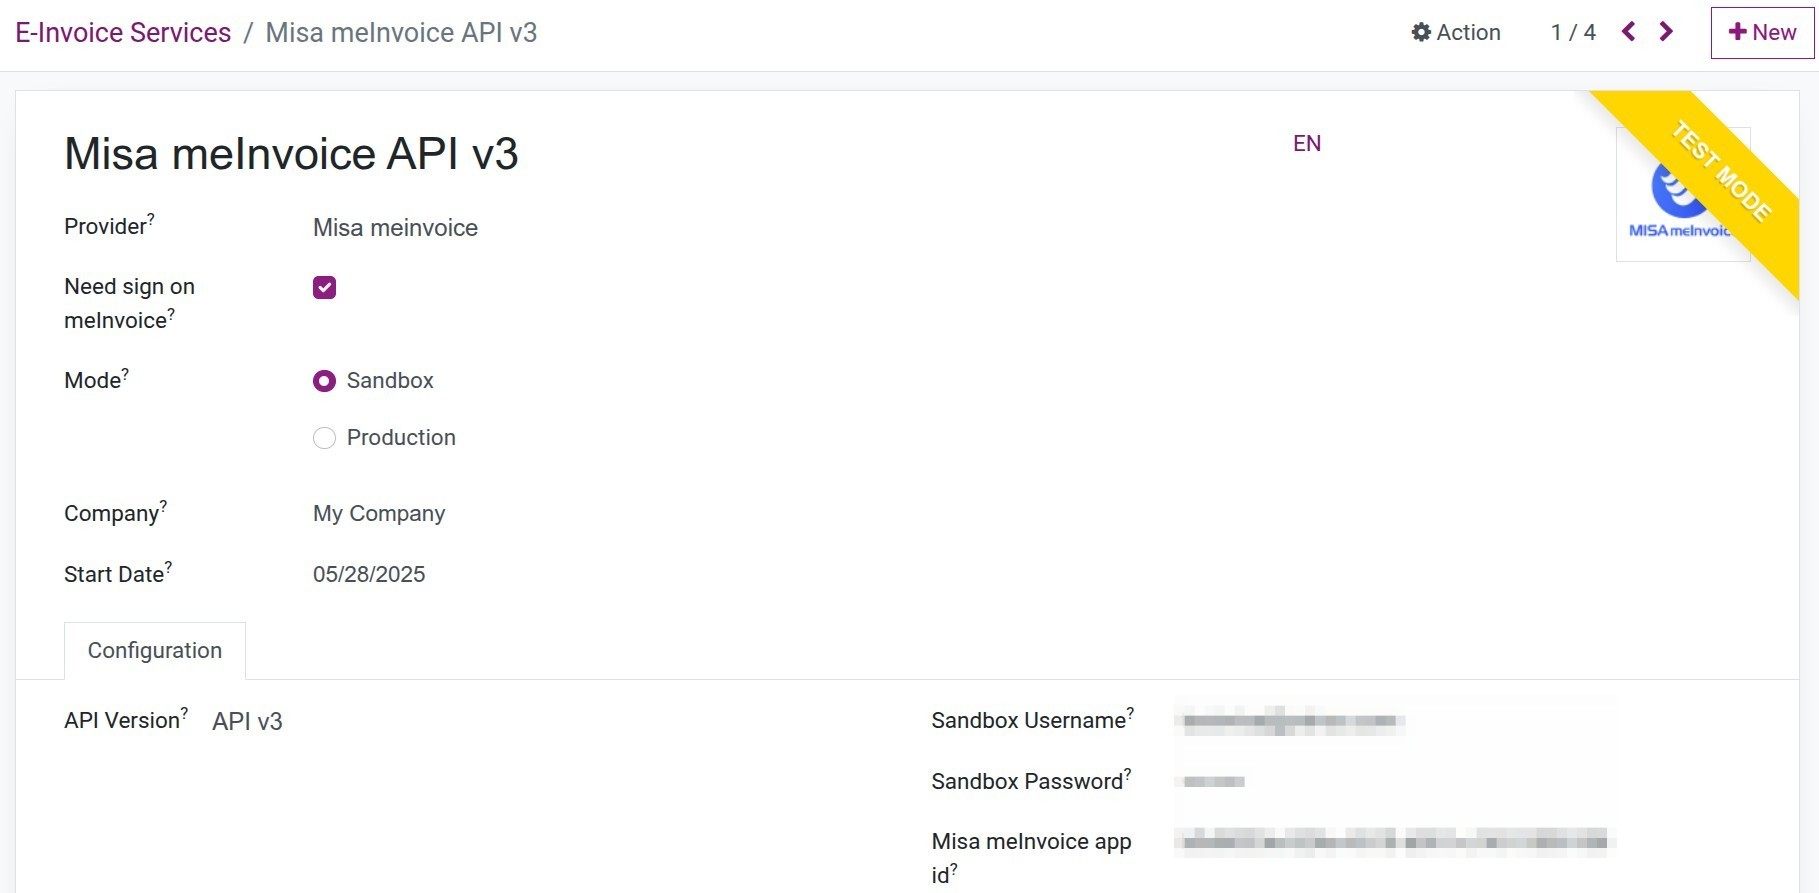
Some informations need to noted as follows:
Need sign on meInvoice: Select this option if you are using the MISA remote electronic signature service. This means your e-invoices will be automatically signed after being issued. If you do not use this service, after issuing the e-invoice from Viindoo, you will need to log in to the MeInvoice system and manually sign it using your USB token.
Mode: Select Production mode for real business operations, or Sandbox mode for testing purposes.
Start Date: Enter the date from which you want to start issuing e-invoices from Viindoo to MeInvoice. This date is very important.If you leave it blank, all your past invoices will be issued immediately after the integration with the MeInvoice system is successfully completed.
The username, password and Misa MeInvoice app id information will be provided by the Misa.
Warning
MISA’s MeInvoice system provides a private API for each individual customer and does not offer a public API. Therefore, to obtain the necessary integration information, you will need to contact MISA directly and request access to the service. Please note that this is a paid service provided by MISA.
Note
The setting information in this article is only a reference for the test mode.
Step 2: Get the e-invoice’s Serial/Template
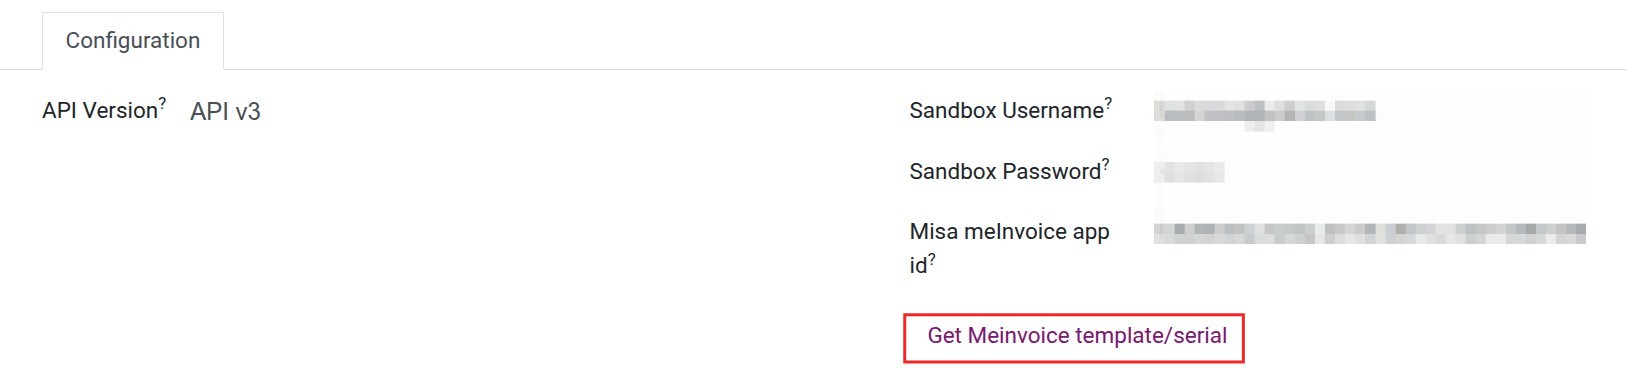
After enter all the needed information, press Get MeInvoice template/serial to get the e-invoice templates and serial that your enterprise registers with Misa and tax authority.
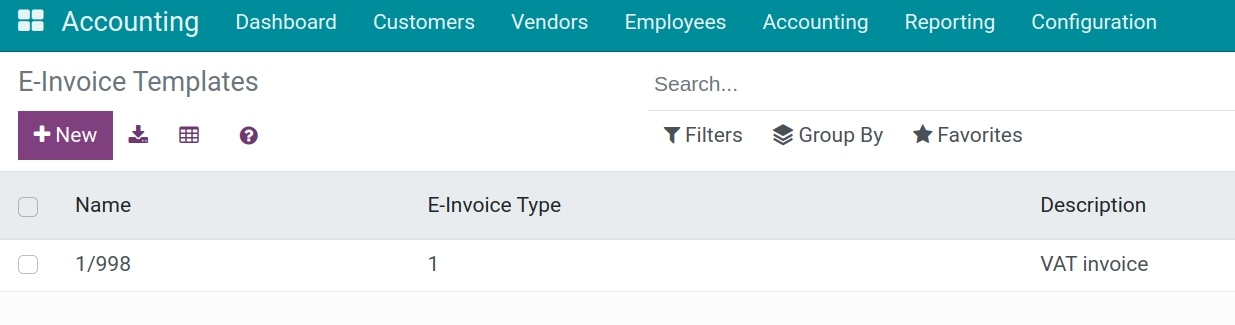
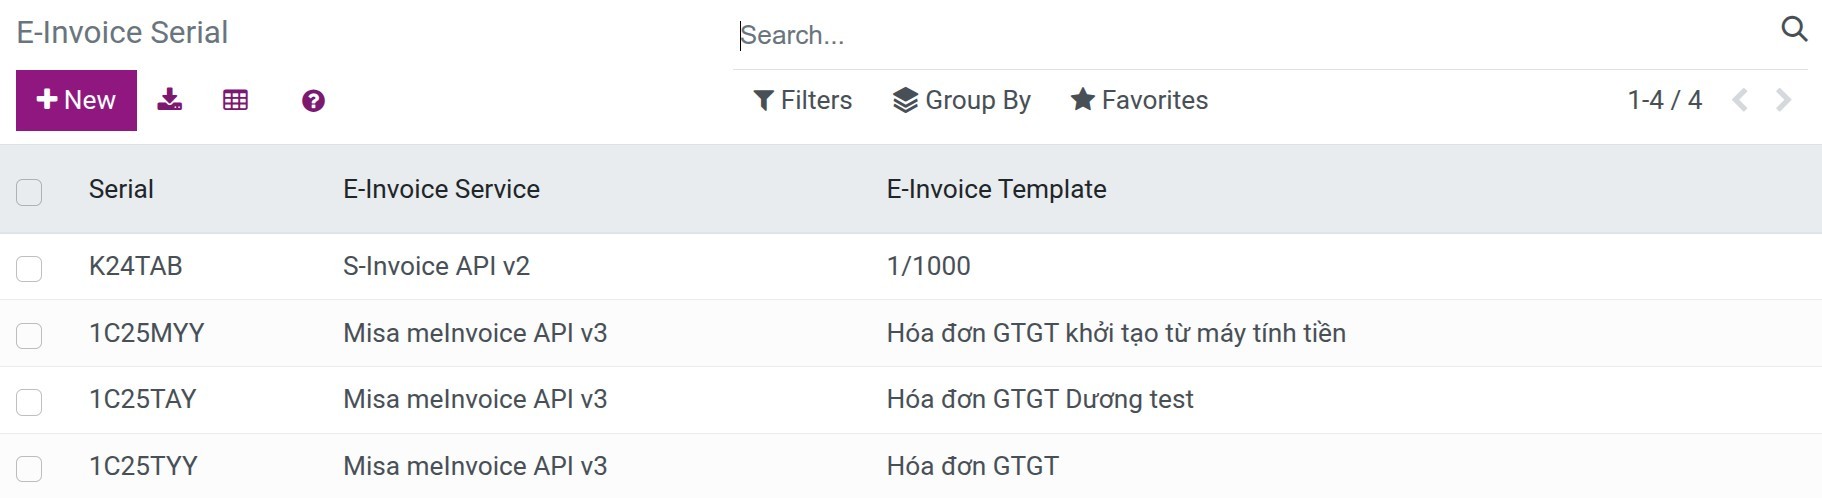
If successfully integrate, you will see your registered template and serial when navigate to Accounting > Configuration > E-invoice template and Accounting > Configuration > E-invoice Serial
Step 3: Settings on Customer Invoice Journal
Navigate to Accounting > Configuration > Journals, select the Customer Invoice journal. At the Advanced Settings tab, enter the needed information for issuing the e-invoice.
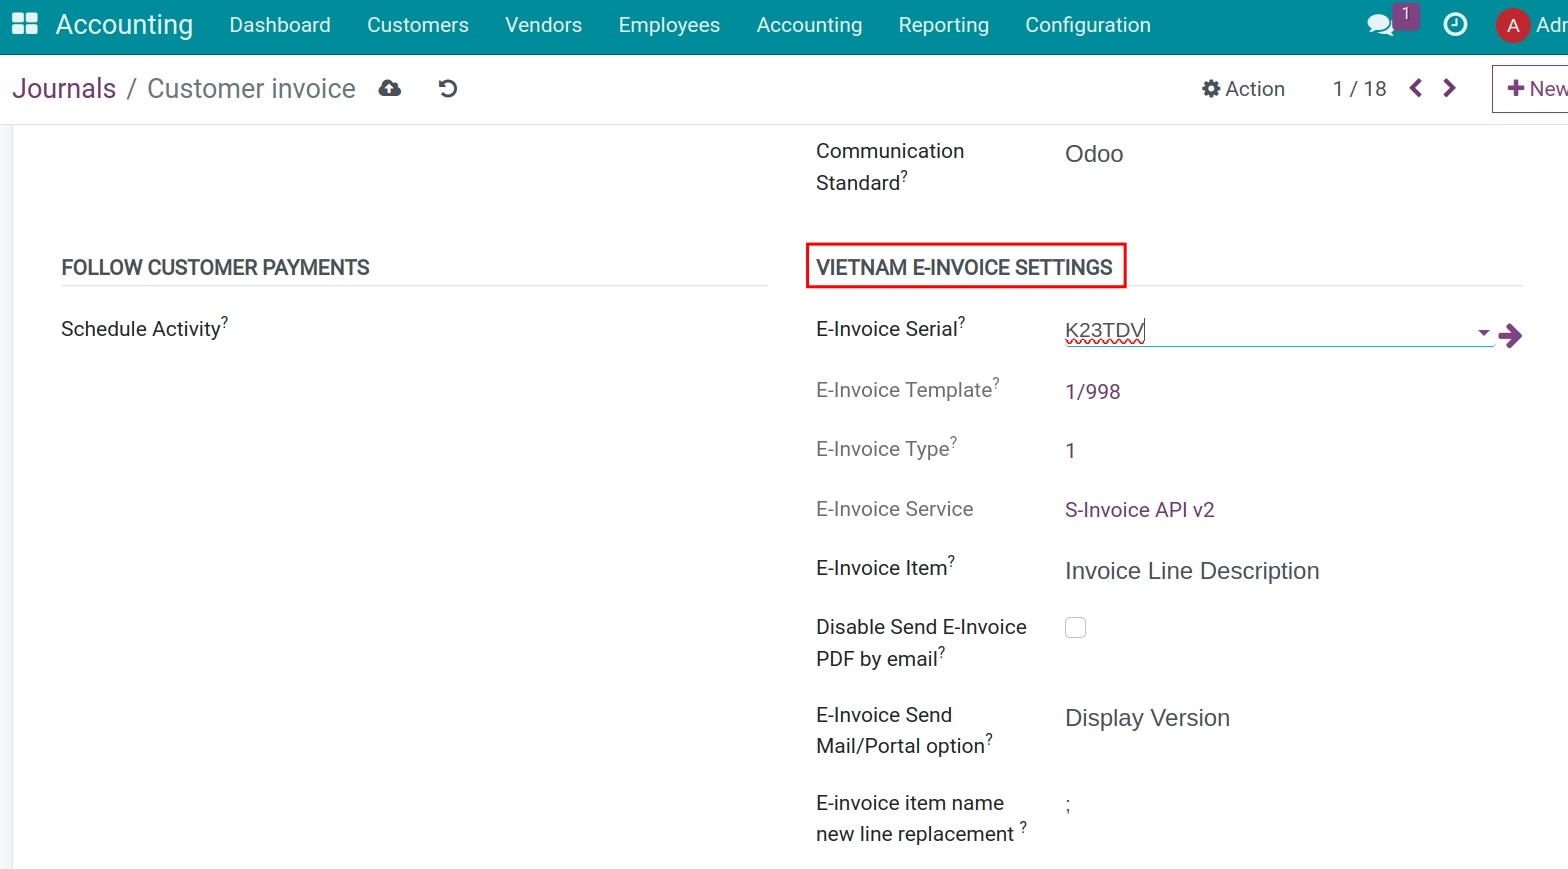
In which:
Electronic invoicing: Select this option XML E-invoices (VN).
E-invoice Serial: Choose the serial that your enterprise registered;
E-Invoice Template, E-Invoice Type, E-invoice service: This information will be corresponded with the E-invoice Serial;
E-Invoice Item: This field will allow you to select the information to bring to the description on the e-invoice:
Invoice Line Description: The content of the Label field on the customer invoice will be sent to the e-invoice;
Product name: The product name on the Product field of the customer invoice will be sent to the e-invoice.
Disable Send E-Invoice PDF by email: Select this option do disable sending the E-Invoice PDF to customer via email. By default, when you click Send and Print on invoice view, the system automatically attached the default E-Invoice PDF to the outgoing email. Enabling this option will prevent that attachment from being included.
E-Invoice Send Mail/Portal option: Select the e-invoice version to attach to email sent to customers:
Displayed Version: The system will attach the Representation e-invoice version to the email.
Converted Version: The system will download and attach the Converted e-invoice version to the email.
E-invoice Item name new line replacement: When issuing the e-invoice, the product’s name and description will be displayed in the same line on the e-invoice. That’s why the character set here will mean “down a line” in the product description;
Issue MeInvoice
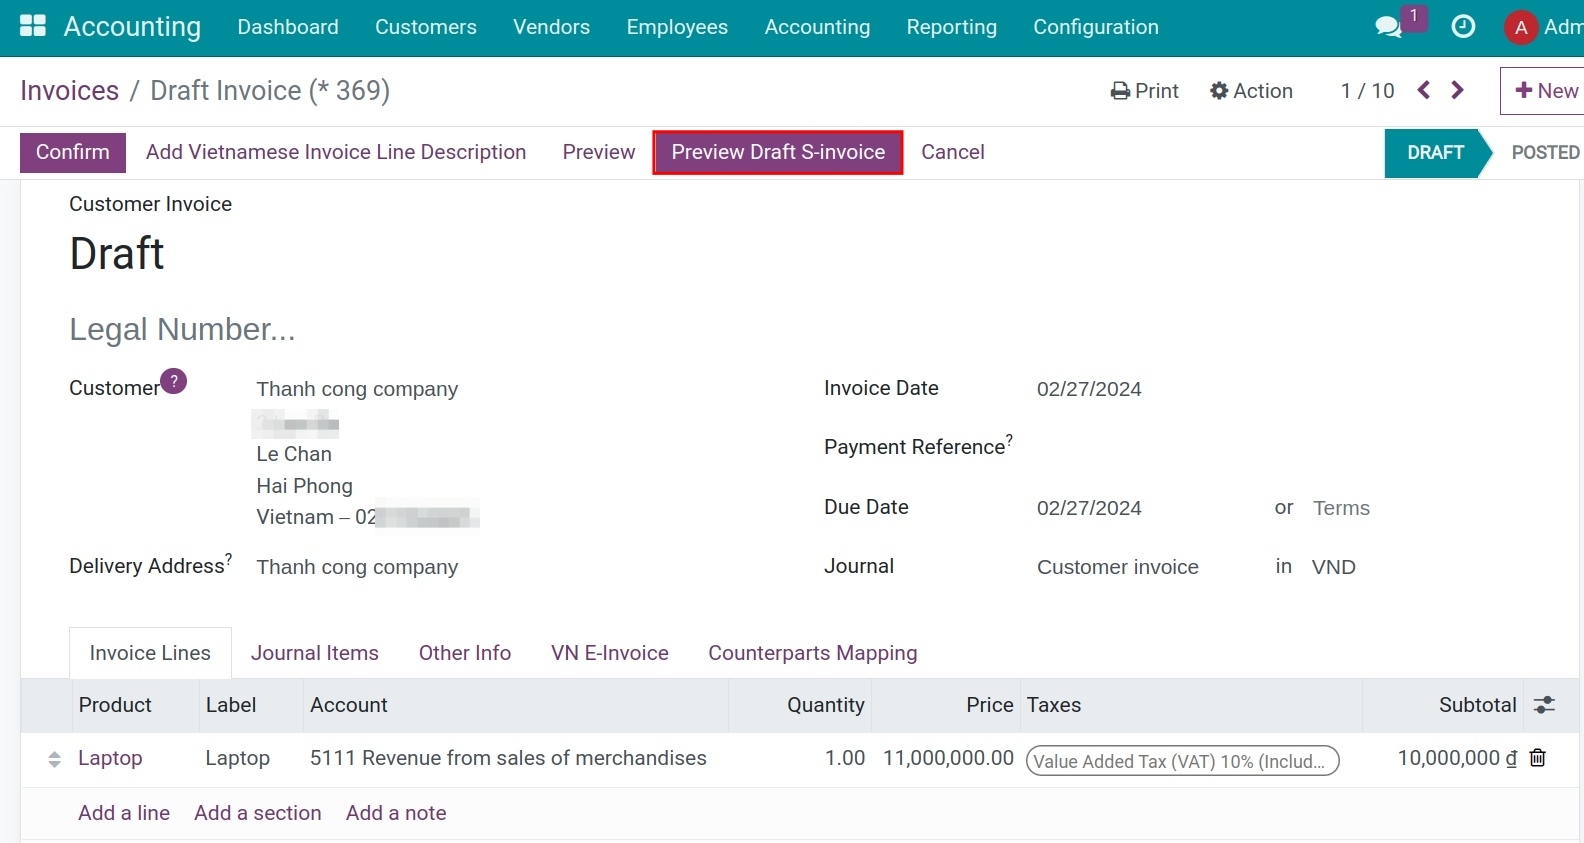
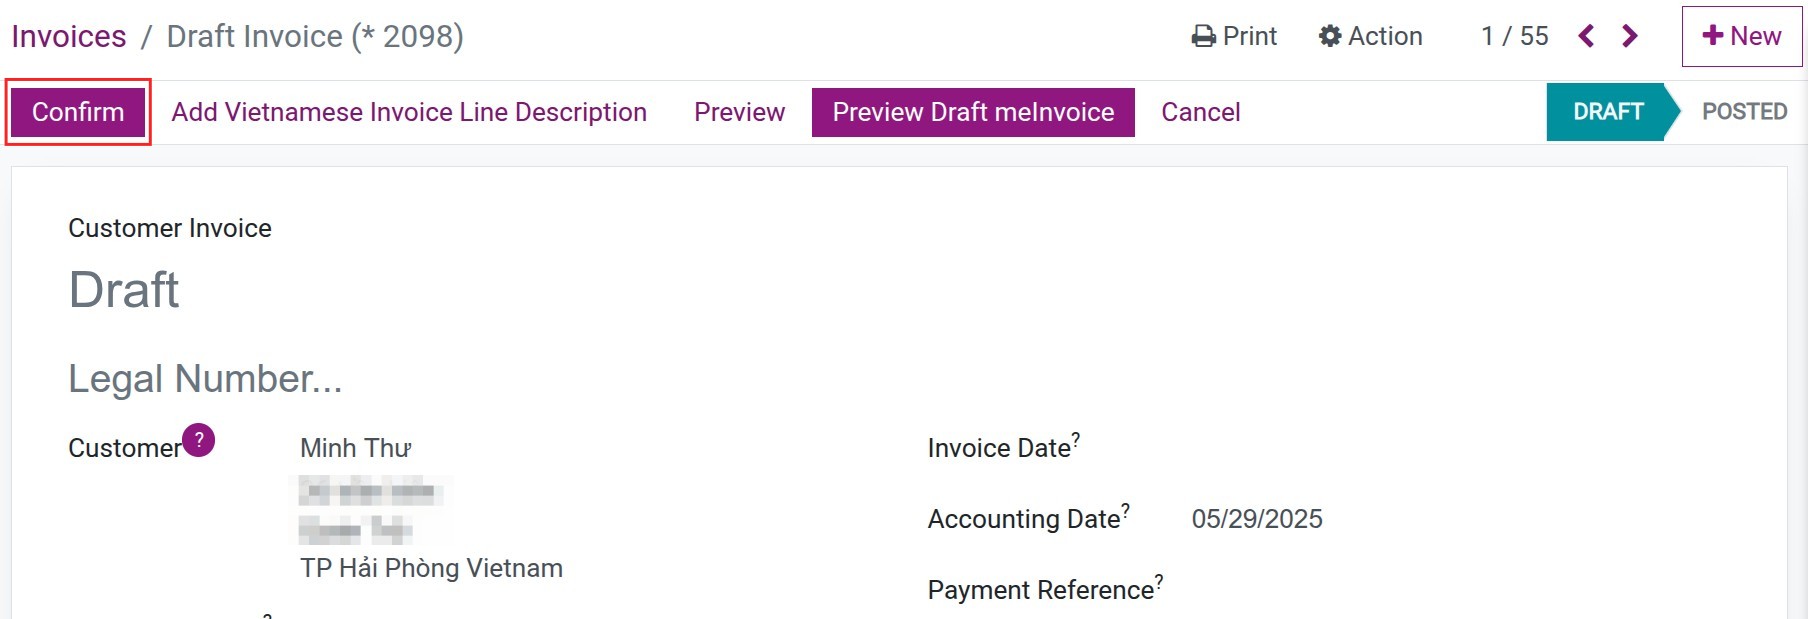
Navigate to Accounting > Customers > Invoices, create a new customer invoice, you can see the button Preview Draft meInvocie:
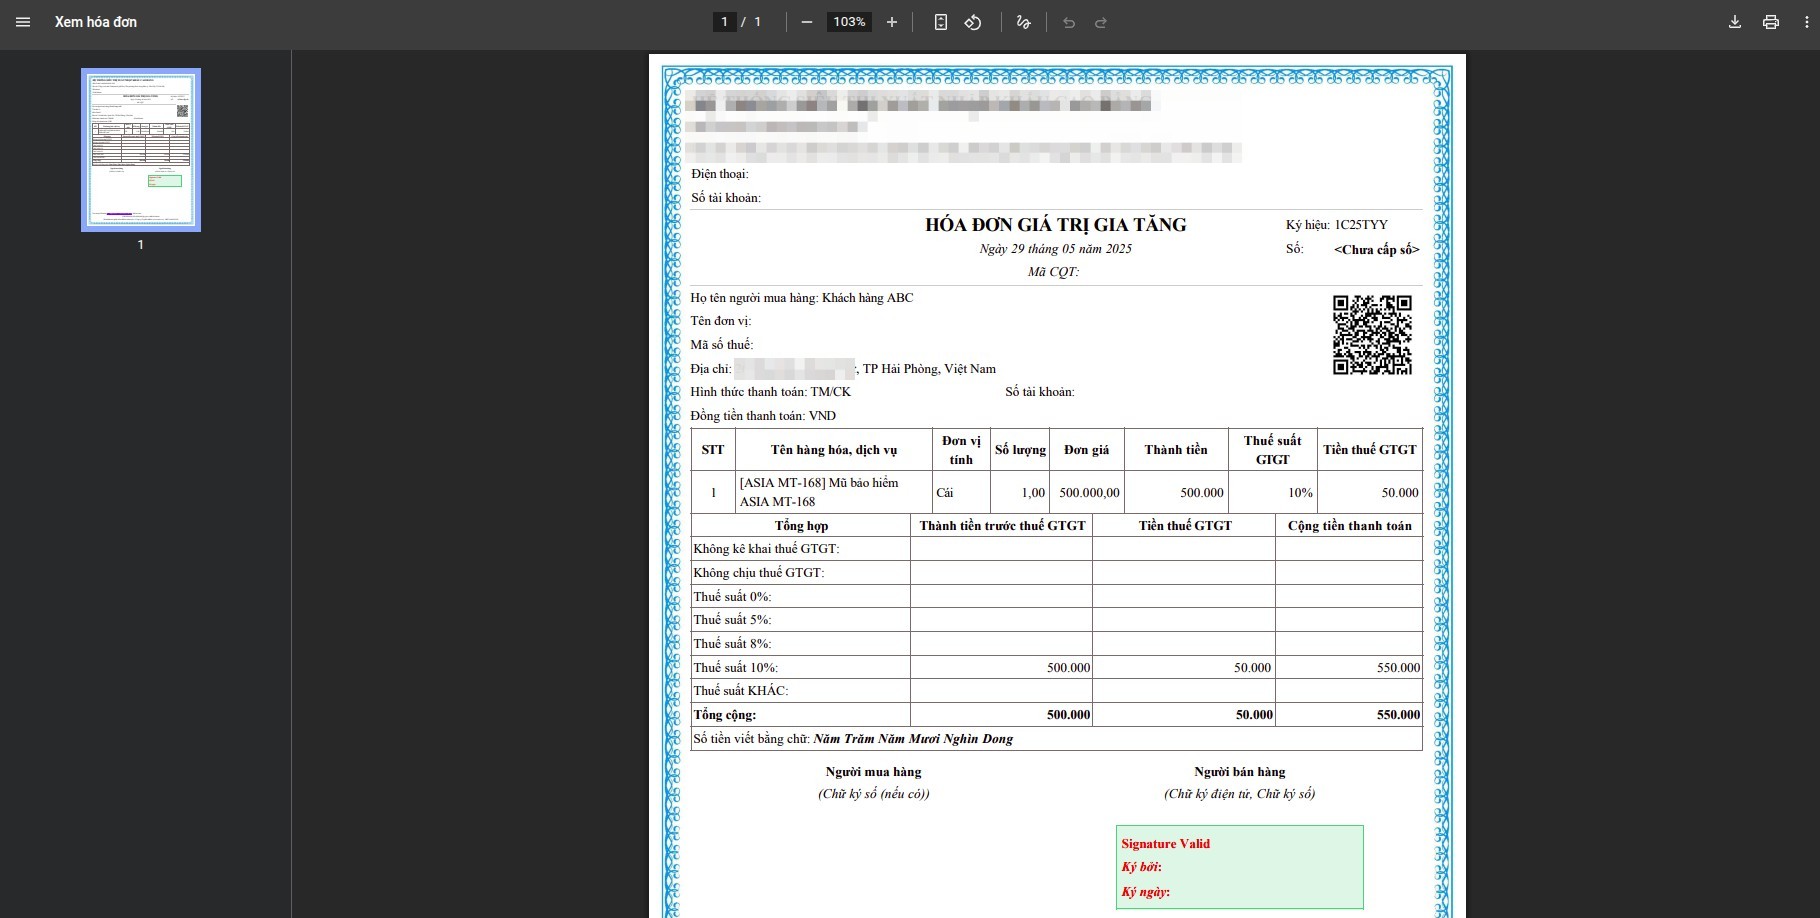
You can review the customer invoice information: Tax code, address, etc. and press Confirm.
After confirmation, the system will display a notification about the processing of issuing the electronic invoice. The system will automatically issue the MeInvoice after some seconds. Or if you need right away, you can press Process Now to release the invoice.

Note
In this step, you won’t see the Sign E-invoice step due to the inital of Need sign on meInvoice in the E-Invoice Services.
Send the e-invoice to the registered Tax authority
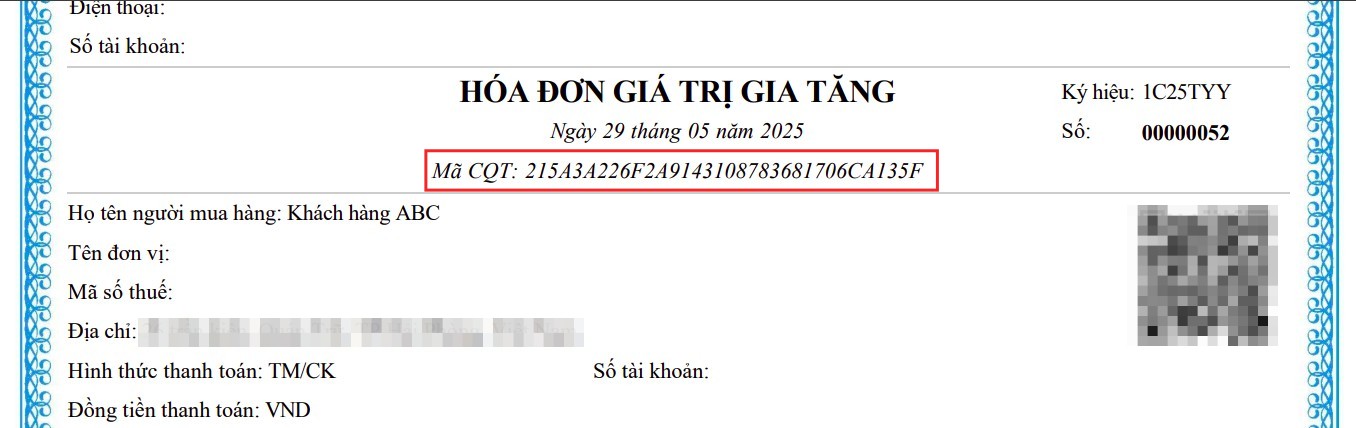
Viindoo will automatically send the issued e-invoice to the tax authority without requiring any manual action. The system is fully integrated with the tax portal, ensuring seamless and timely submission. Once the e-invoice is issued and successfully submitted, it will include the official verification code issued by the tax authority.
Send E-Invoice to customers
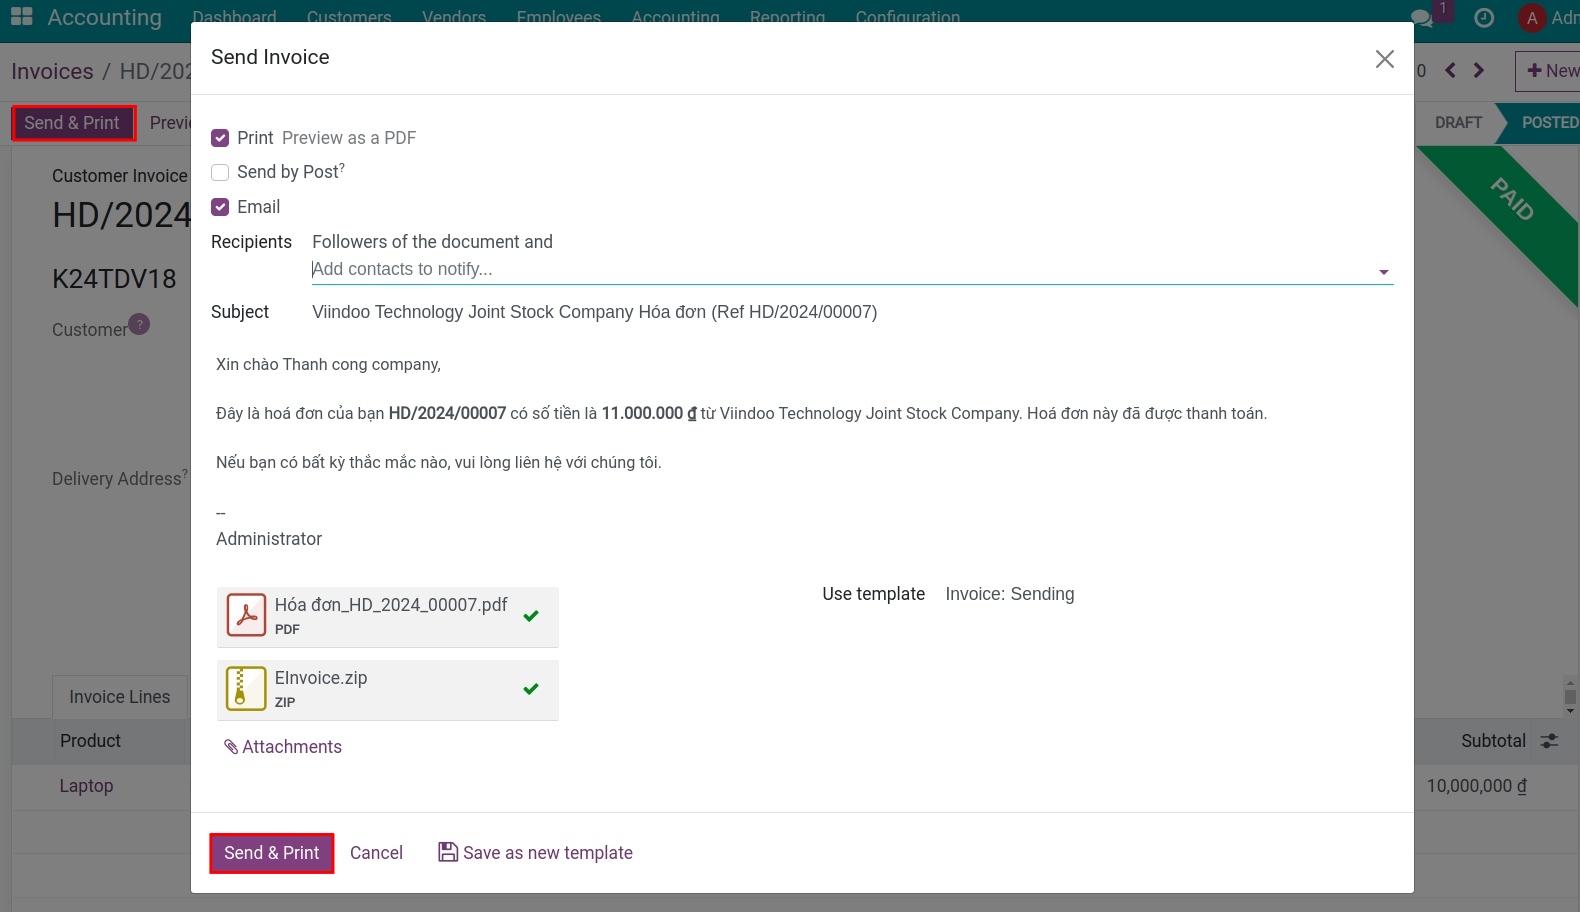
Press Send & Print to send the invoice to the customer:
Right after pressing Send & Print, a pre-made invoice show up with the invoice code, and value and attaches the PDF and ZIP file. You can send the default email template or edit the email and then press Send & Print to send the issue notification to the customer.
See also
Related article
Optional module