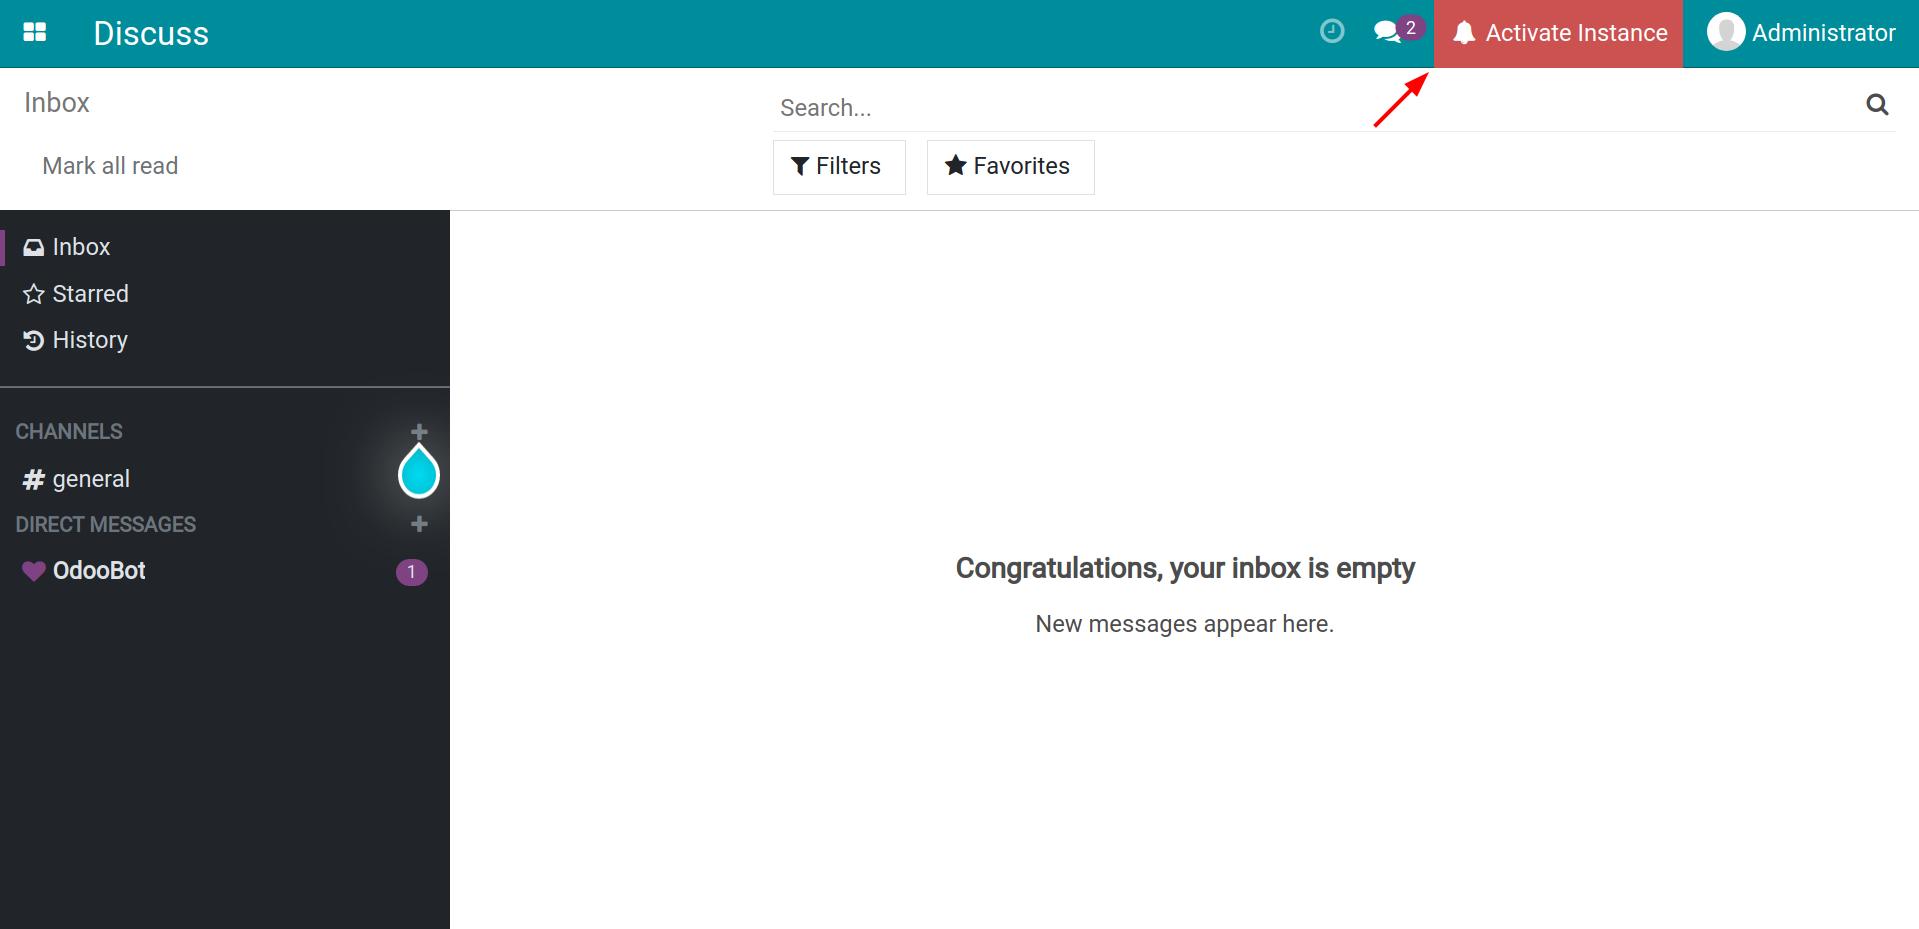
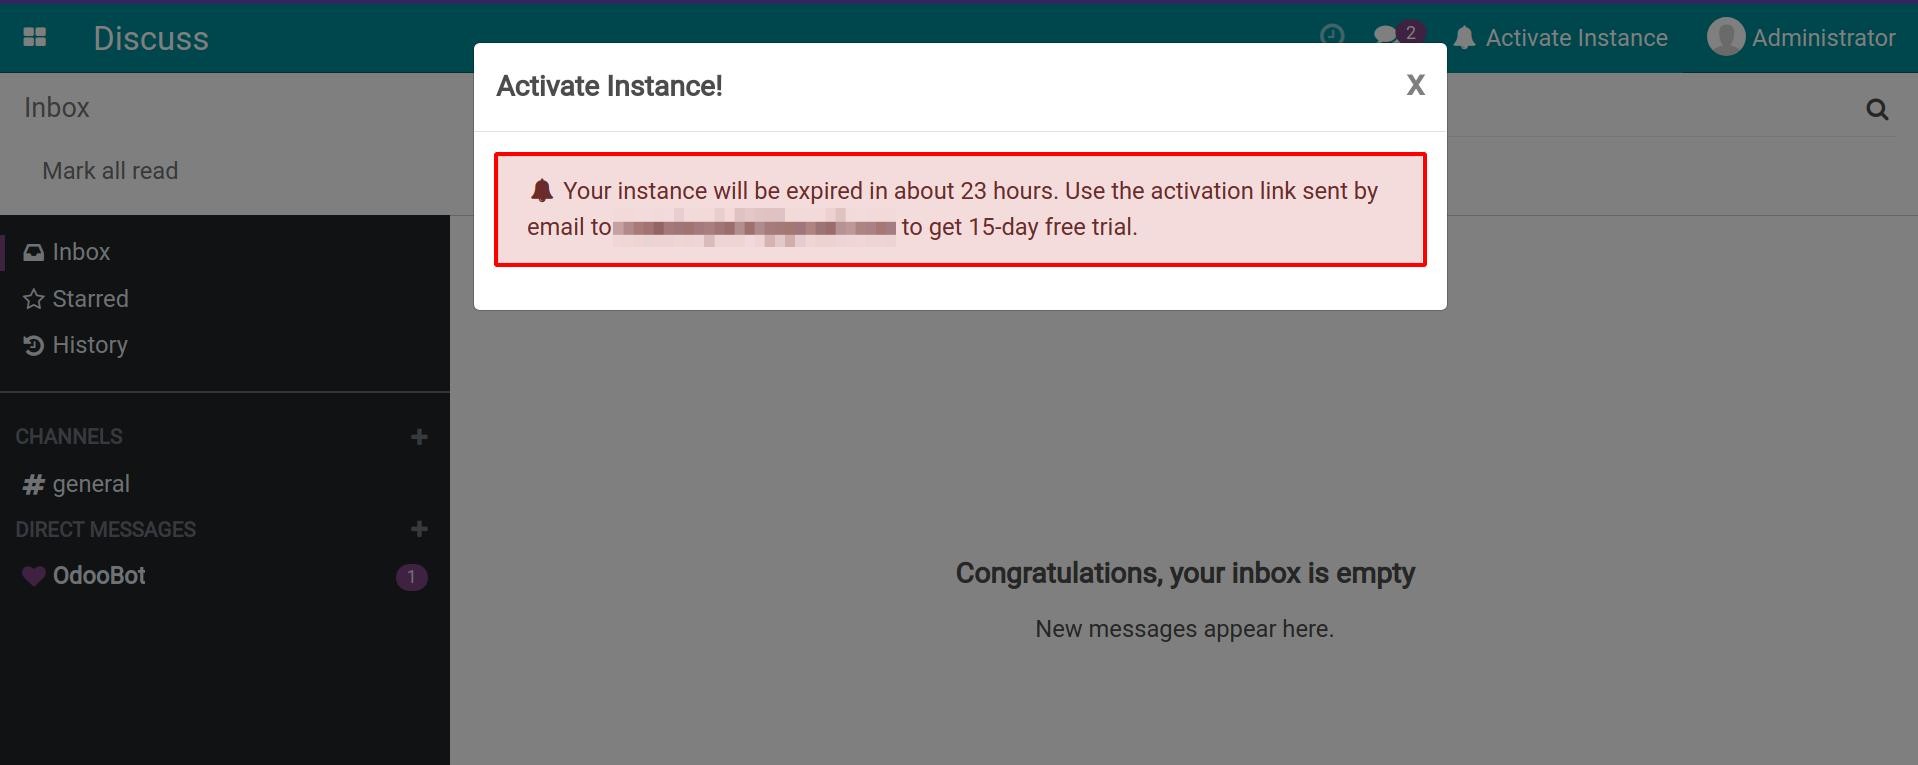
Steps to create Viindoo Instance
To start using the Viindoo software and learning the features, you first need to register an account and initialize a system.
Register a new user account
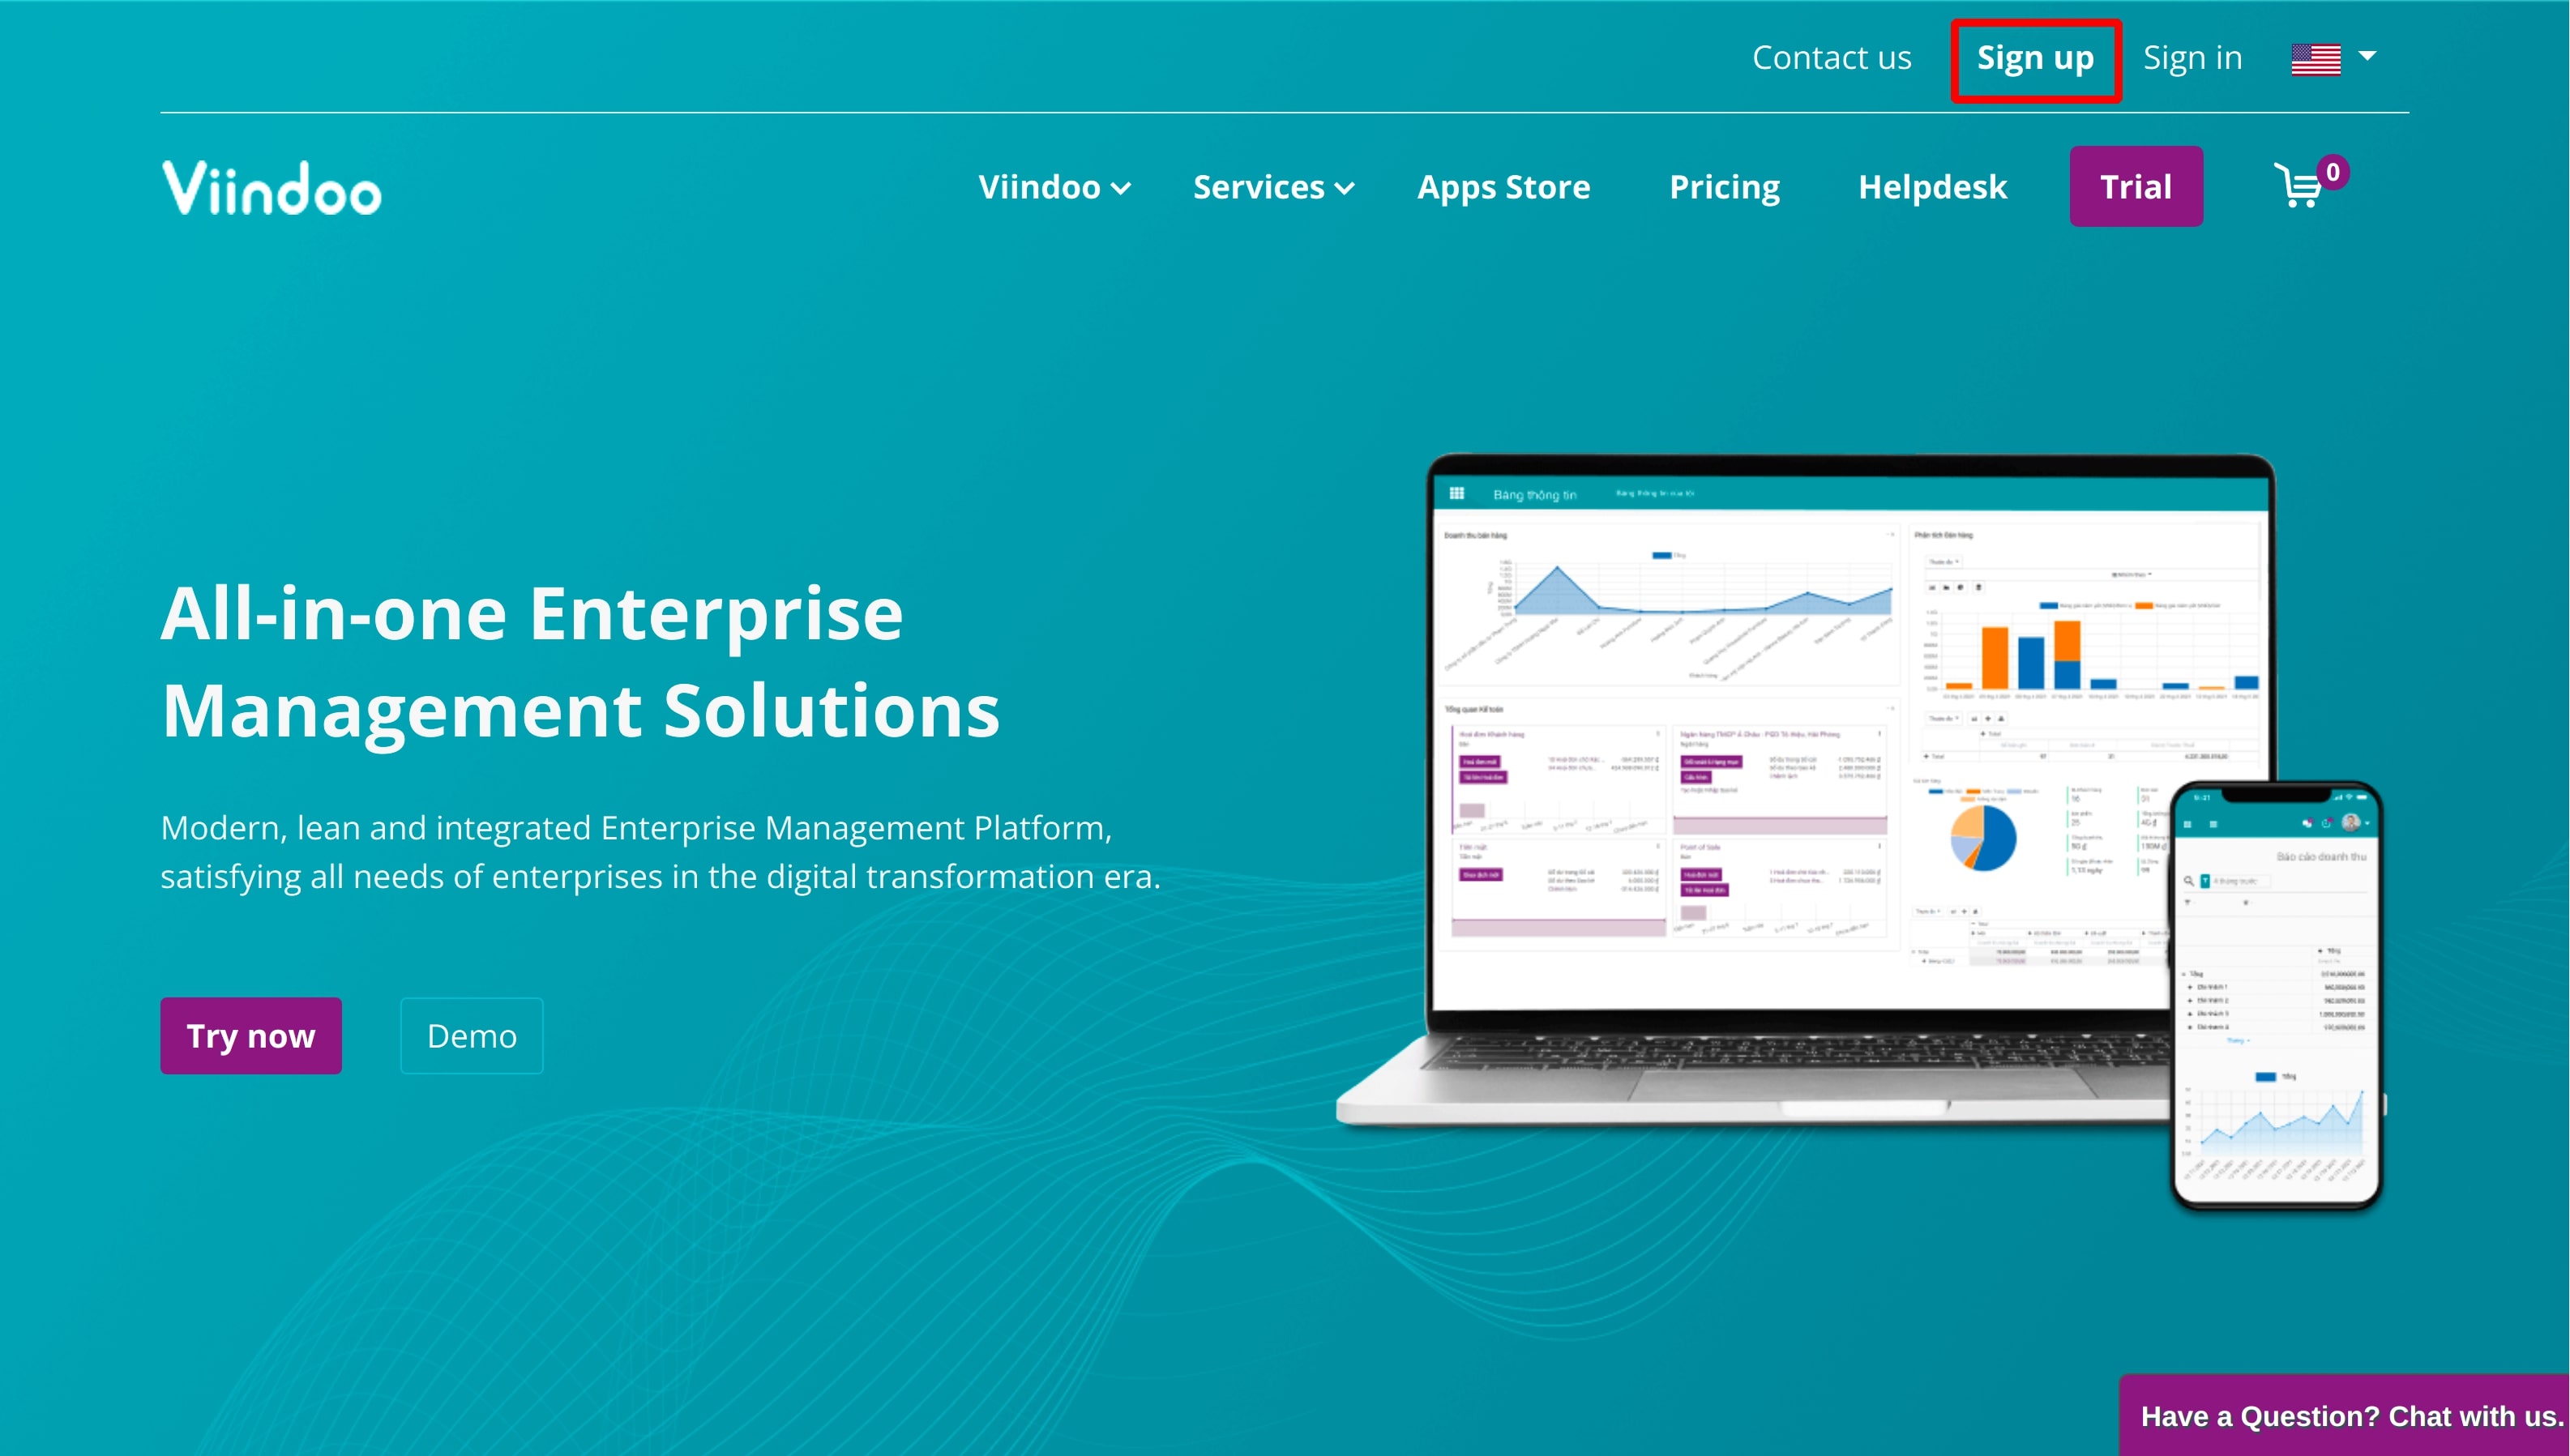
Go to viindoo.com to sign up. You can access it by doing either:
At the homepage, hit the Sign up button on the main menu.
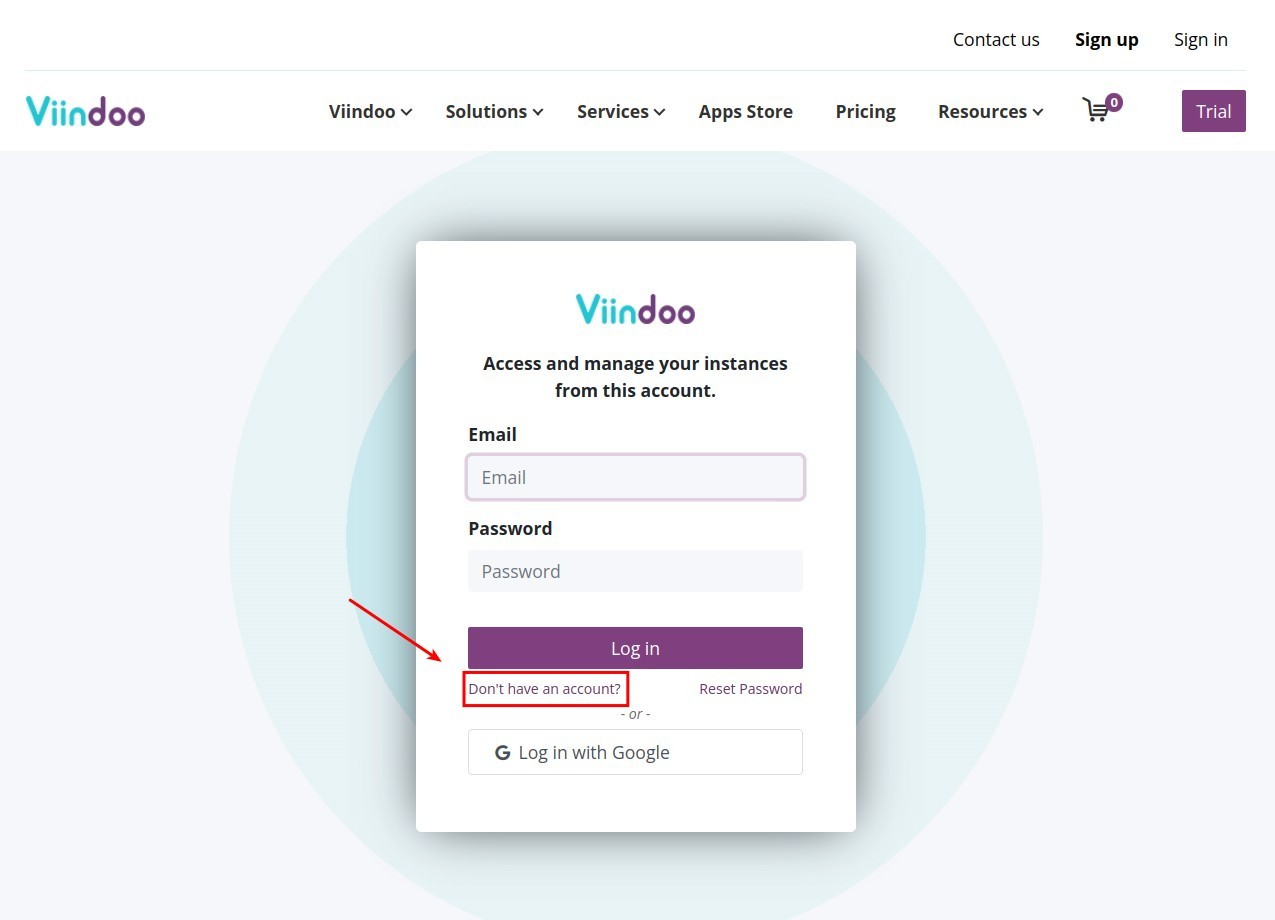
Hit the Sign in button. In the sign-in view, hit Don’t have an account to sign up.
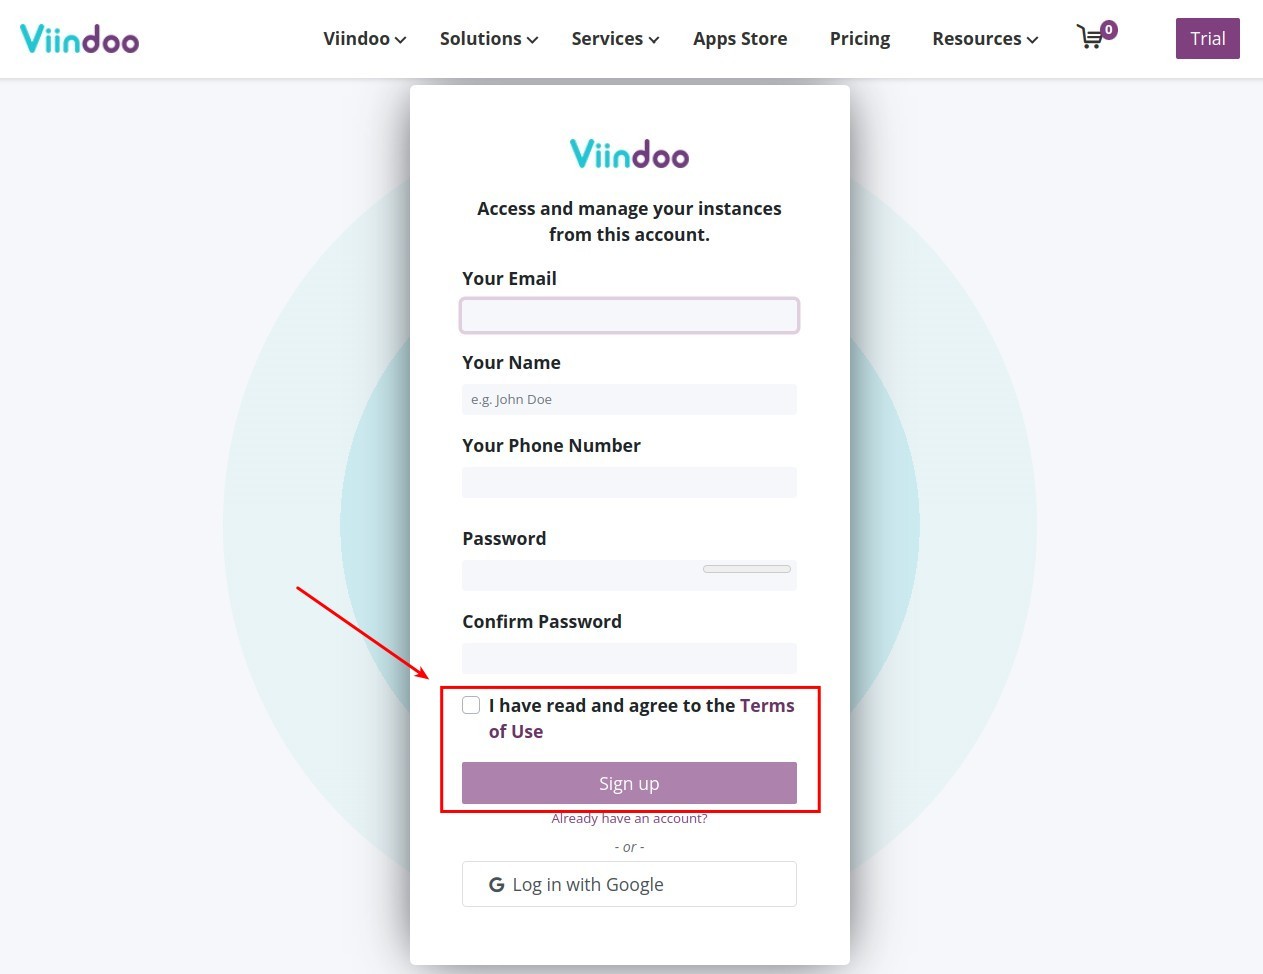
At the Signup page, enter the following information:
Your Email: Your email address to register in Viindoo. The confirmation email and other notifications from Viindoo will be sent to this email.
Your Name: Type your name, this name will be displayed in Viindoo system.
Your Phone Number: Your phone number.
Password: Password to sign in.
Confirm Password: Repeat the password.
Tip
For high security, the password should contain uppercase, lowercase characters, numeric characters, special characters, etc. to ensure the safety of private information.
Check “I have read and agree to the Terms of Use” and hit the Sign up button.
Log in with Google
You can also log in to the system using your Google account by pressing following button:
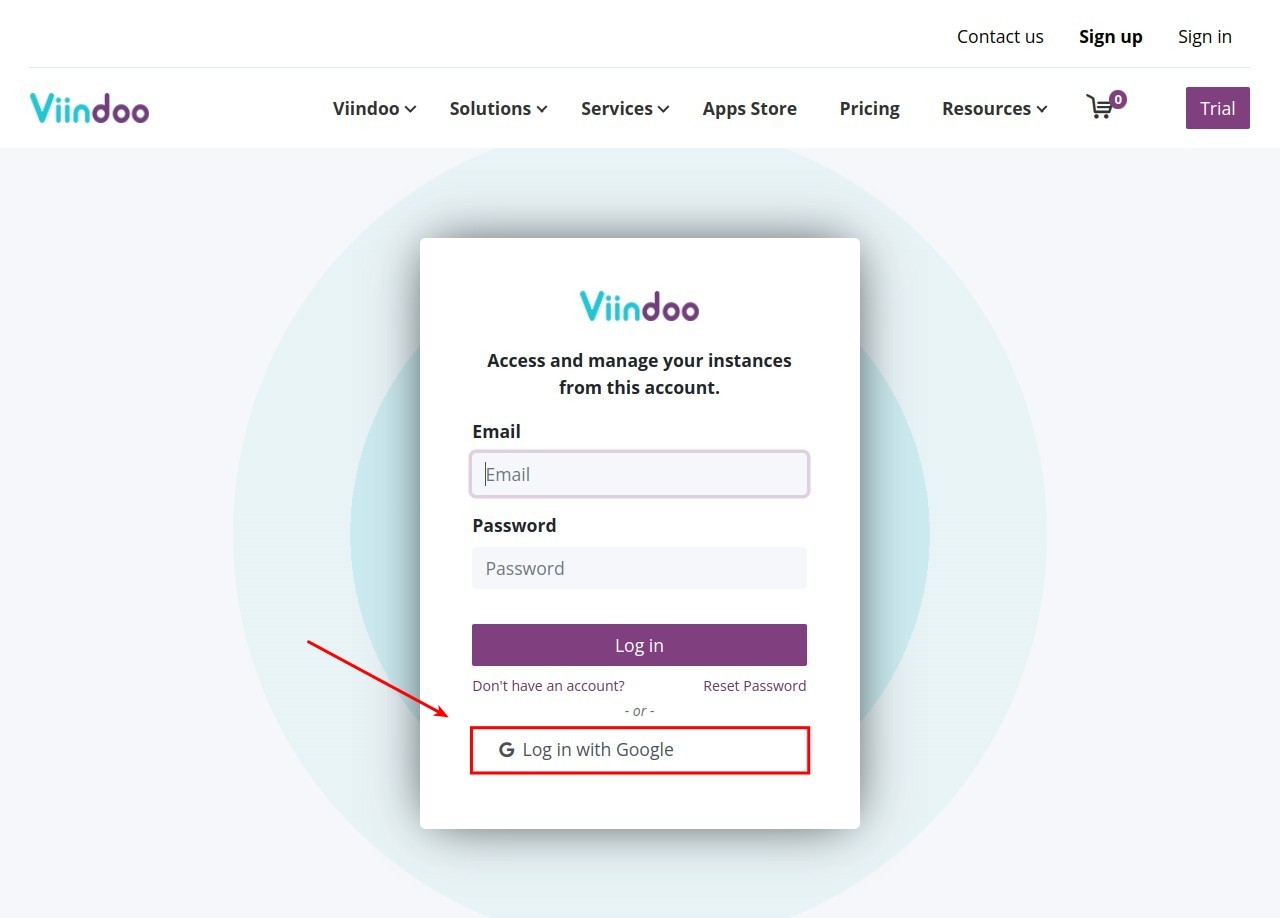
Then, type your Google account/password. Press Next after typing your password and you will be logged in.
Instance initialization
There are two methods to initialize an instance:
Access the Instance creation view from the Pricing page
From the homepage, go to Pricing , pick a plan that suits your business’ needs:
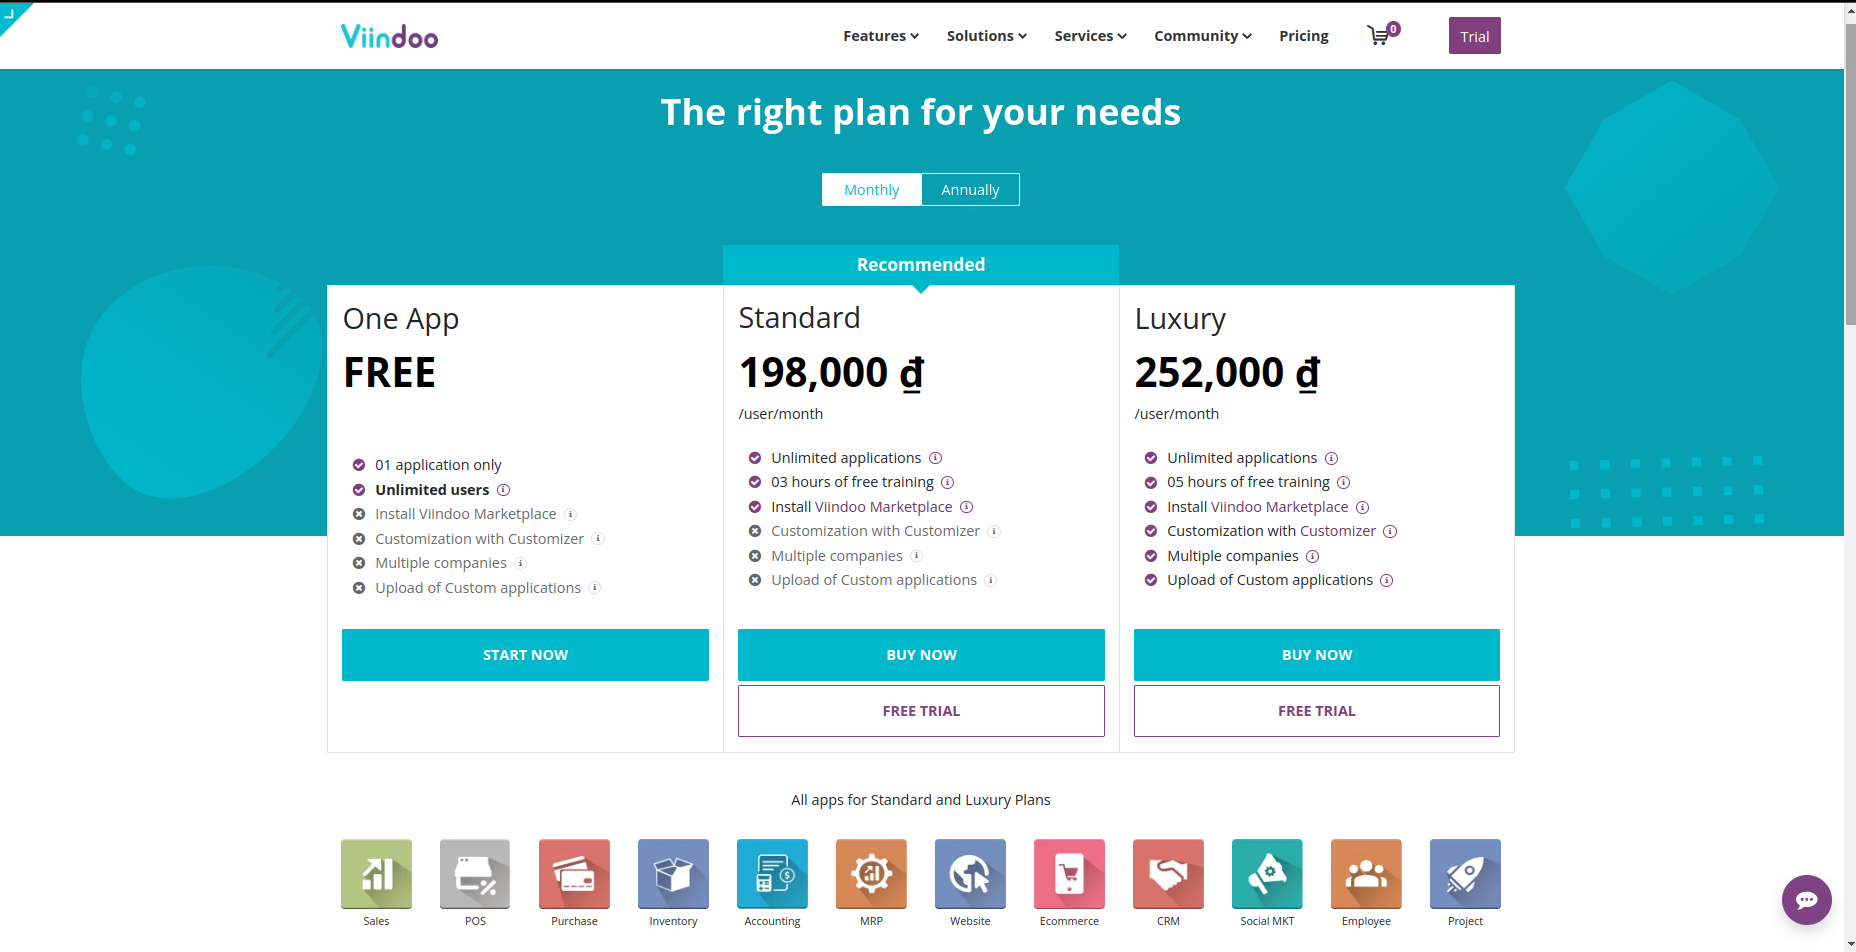
After that, you can create a new instance by:
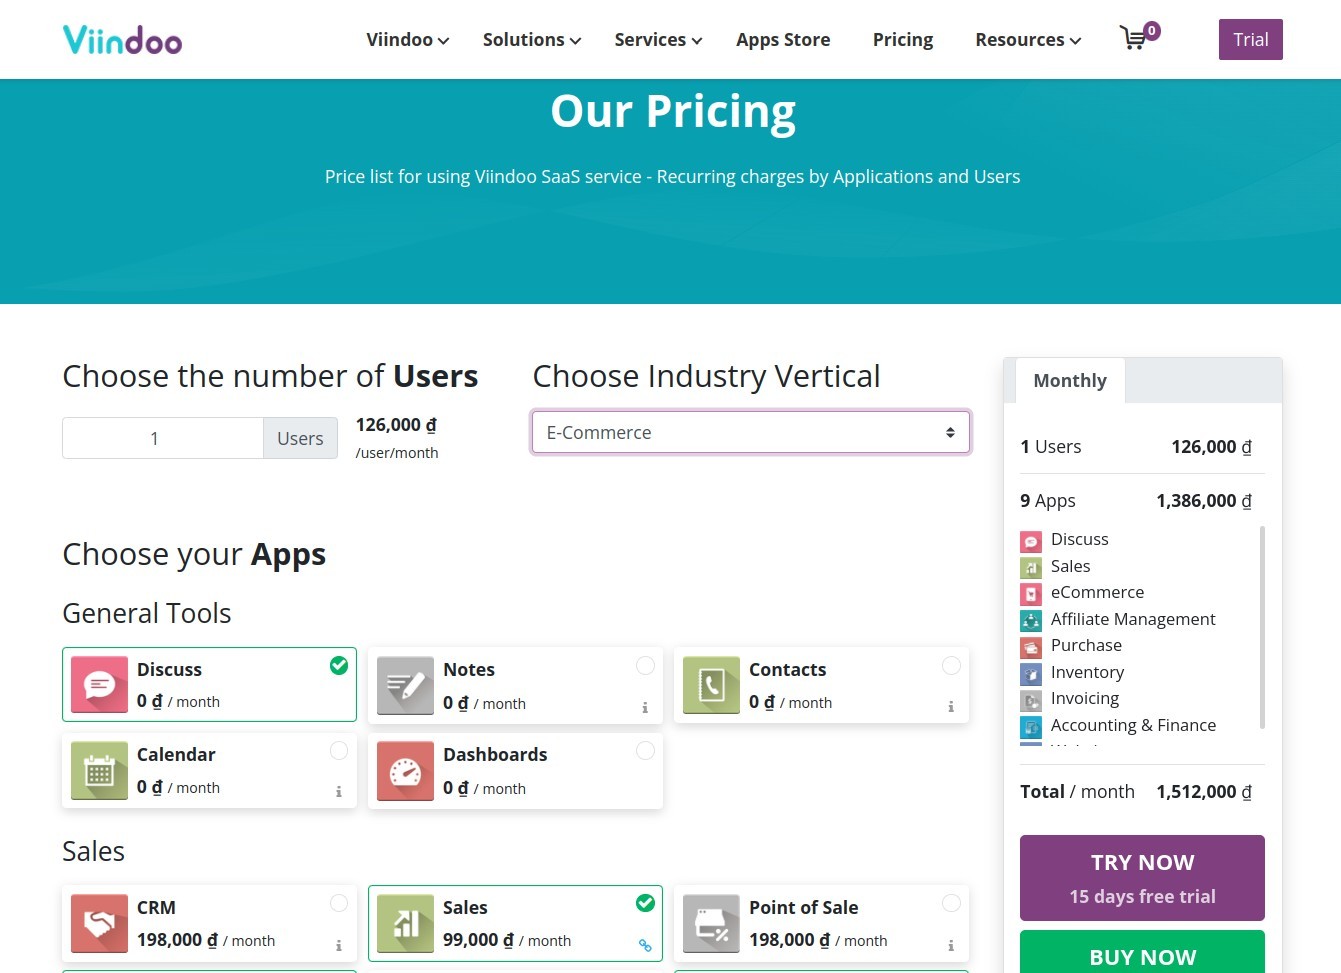
Choose the number of Users:
Choose the number of users for this instance. You can increase this number at any time during use.
Choose your Apps:
Select the applications that suit your needs. With any application selection, you will get the Discuss application for free.
Choose Industry Vertical:
Viindoo suggests the most suitable apps for different vertical industries such as: manufacturing, e-commerce, point of sale, etc. When you select an industry, the system will select the corresponding apps, you can remove or add more apps to make the best system for your enterprise.
Note
Any selected application, which has the little green icon on the right corner of the card, comes with other apps associated with it. These apps are either paid or free.
Once you have selected the right number of users and applications, please pay attention to the cost table on the right of the screen (see figure). You can track your pre-calculated monthly expenses listed here. There will now be 2 action buttons for you to choose from:
- TRY NOW:
If you already have a Viindoo account and have logged in to the system, you will be taken to the Instance creation interface.
If you haven’t had a Viindoo account, the system will redirect you to the new account registration page. Here, you fill in the necessary information such as name, business type, company size, phone number, email, password, etc., then click Submit to quickly create an account and a new instance.
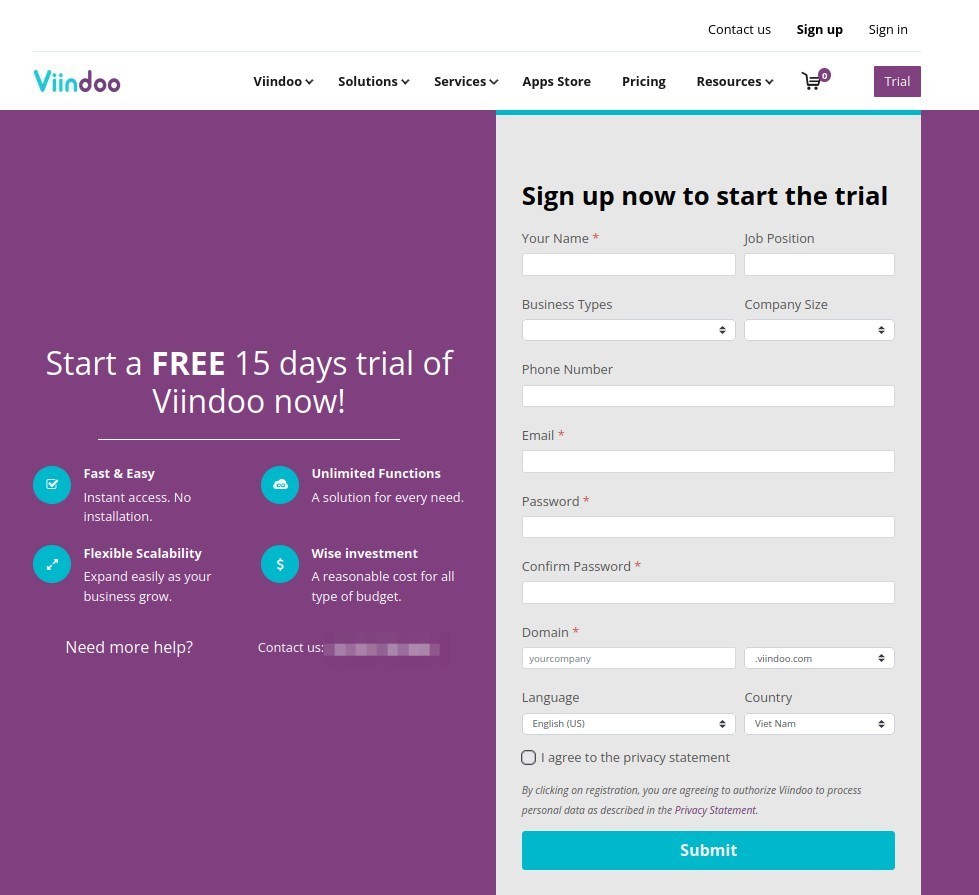
This trial instance will have a period of 15 days. After this time, you need to make a payment if you want to continue using Viindoo’s services.
- BUY NOW:Hit this button will redirect you to the Payment view. You should carefully check the items you have selected before confirming the order and payment.
Access the Instance creation view from My Account page
To create a new instance, follow the steps below:
At the homepage, click on your name, then select My Account.
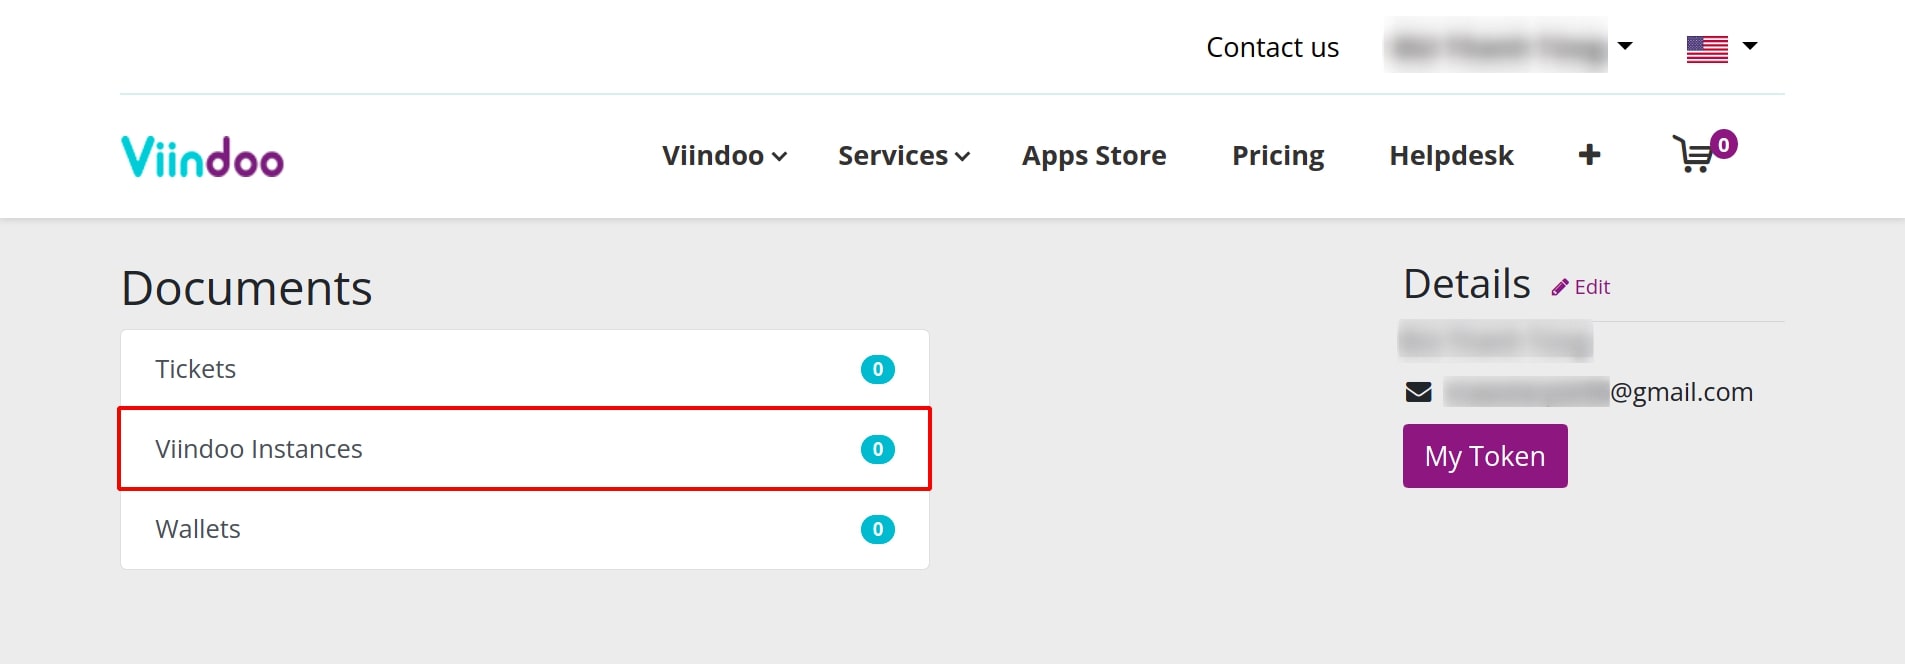
Locate the Documents section and select Viindoo Instances.
If you have never initialized an instance, Viindoo will suggest you to hit the Create an Instance button.

Deploy the Instance
Reaching this point, the view of Instance creation will be displayed. Enter the following information:
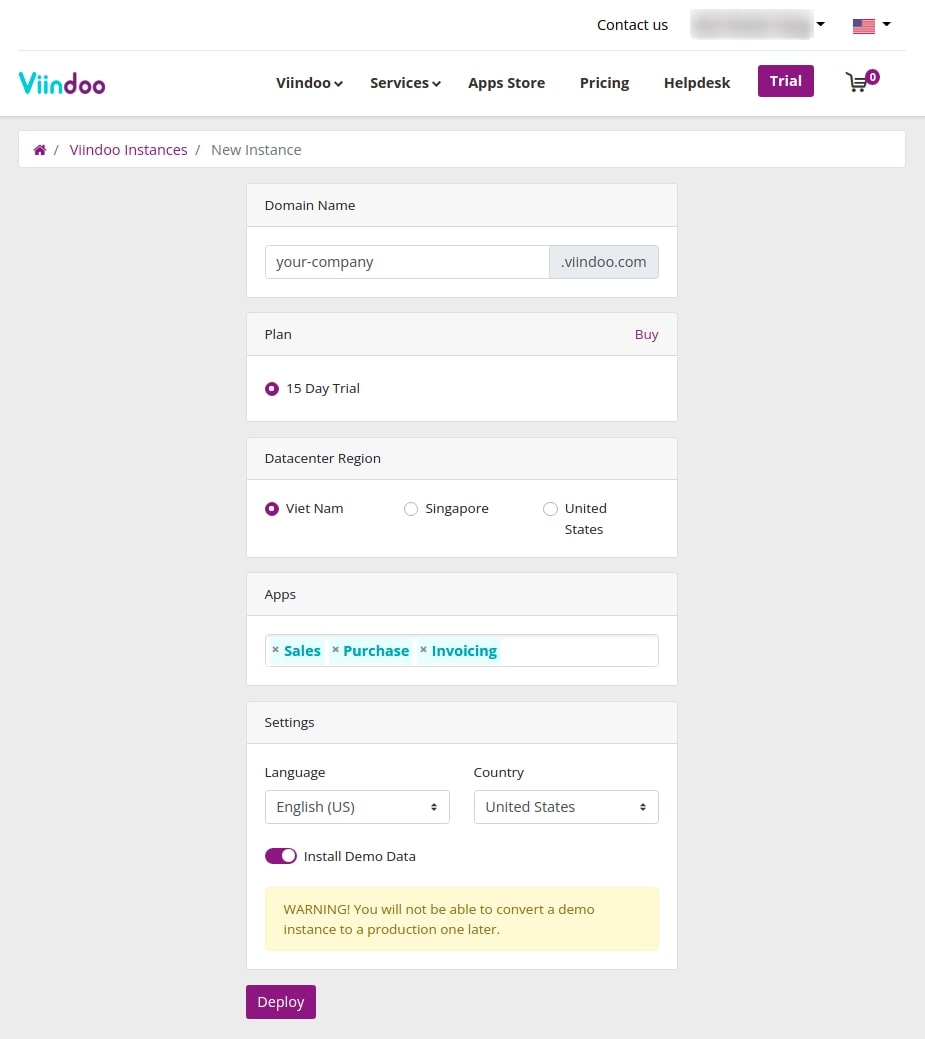
- Domain Name:Pick a unique name. This new instance will be a subdomain of Viindoo. The URL of your instance will be of the form xxx.viindoo.com. For instance, entering “abc” as the domain name will make the URL become abc.viindoo.com.
Tip
You should choose a domain name that matches the name of your company. This will make your URL easy to remember, unique and usable as a link for your website (if you want to use Viindoo Website application and don’t have your own domain name).
- Plan:It is 15 days Trial by default. You can hit the Buy button to redirect to the Pricing page.
- Datacenter Region:The value is automatically selected based on your current location. You might want to leave it as it is for the fastest and most stable internet connection.
- Apps:Select desired applications here. Be noted that the more selected applications to be pre-installed, the longer time it takes to initialize the instance. So you should choose only basic apps, and maybe install more apps after the initialization is done.
- Language:Default language displayed in the instance. See also Using multi languages.
- Country:Select the default country for your instance. The selected country will affect the localization feature. For instance, if Vietnam is selected, additional features localized for Vietnamese corresponding to the features you have selected will be installed, such as the Vietnamese Chart of Accounts - Accounting, etc.
See also
- Install Demo data:To help users have an overview of an operating system, Viindoo provides users with a sample data set. You can use this sample data set by enabling this option here.
Warning
Note that, once the demo data is enabled, these data will always exist on the system and cannot be turned on/off arbitrarily. Please contact us for assistance with your issues.
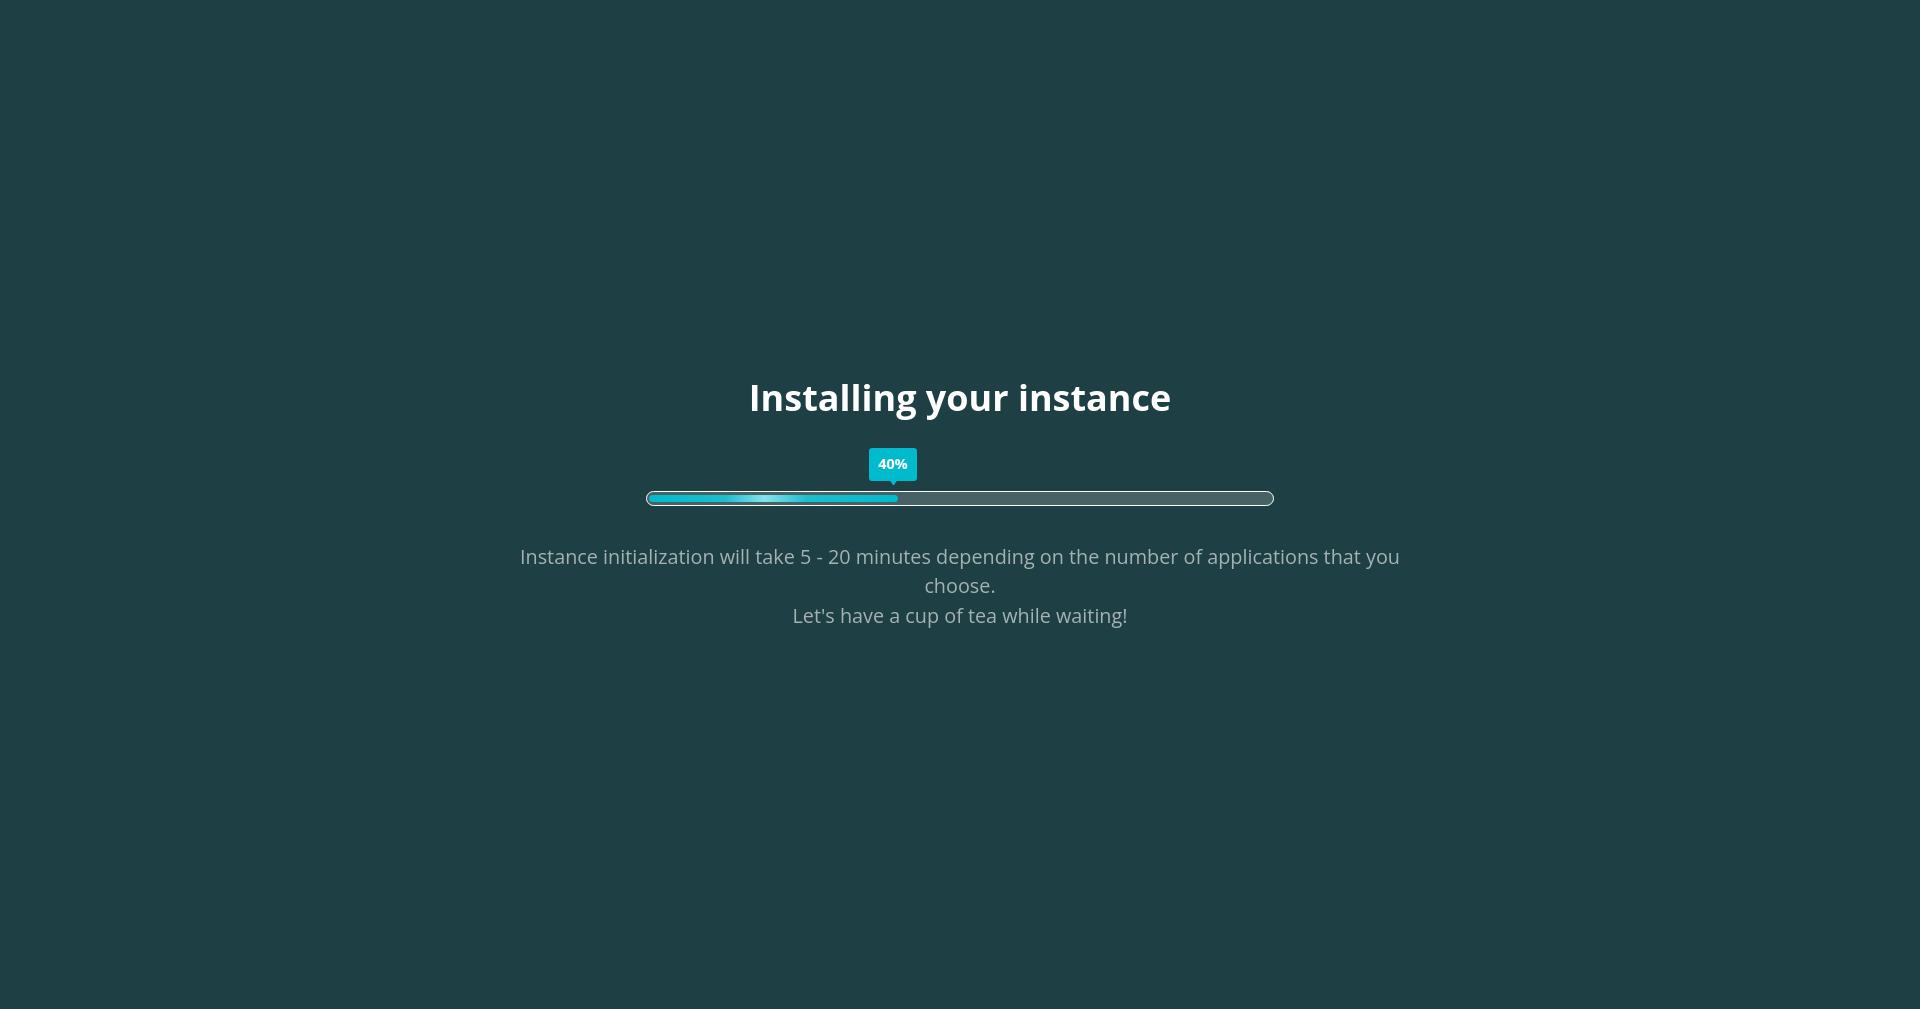
After having entered all the information mentioned above, hit the Deploy button to start the initialization. The initialization time can range from 3 - 20 minutes or more depending on the number of applications you have selected. During the system loading time, please do not close or reload the browser as this will interrupt the initialization process.
Warning
