How to Auto Translate Website Content
In today’s digital landscape, multilingual website have surged in popularity like never before. However, the task of manually translating articles on blogs or websites can be daunting and time-consuming. This is where Viindoo steps in, offering an innovative automatic translation solution that streamlines the process for users.
Requirements
This tutorial requires the installation of the following applications/modules:
Get API Key from Google console
First, you need to grant access to the Viindoo system to Google by visiting Google console
Once logged in, go to . Create a Private key with JSON Key type.
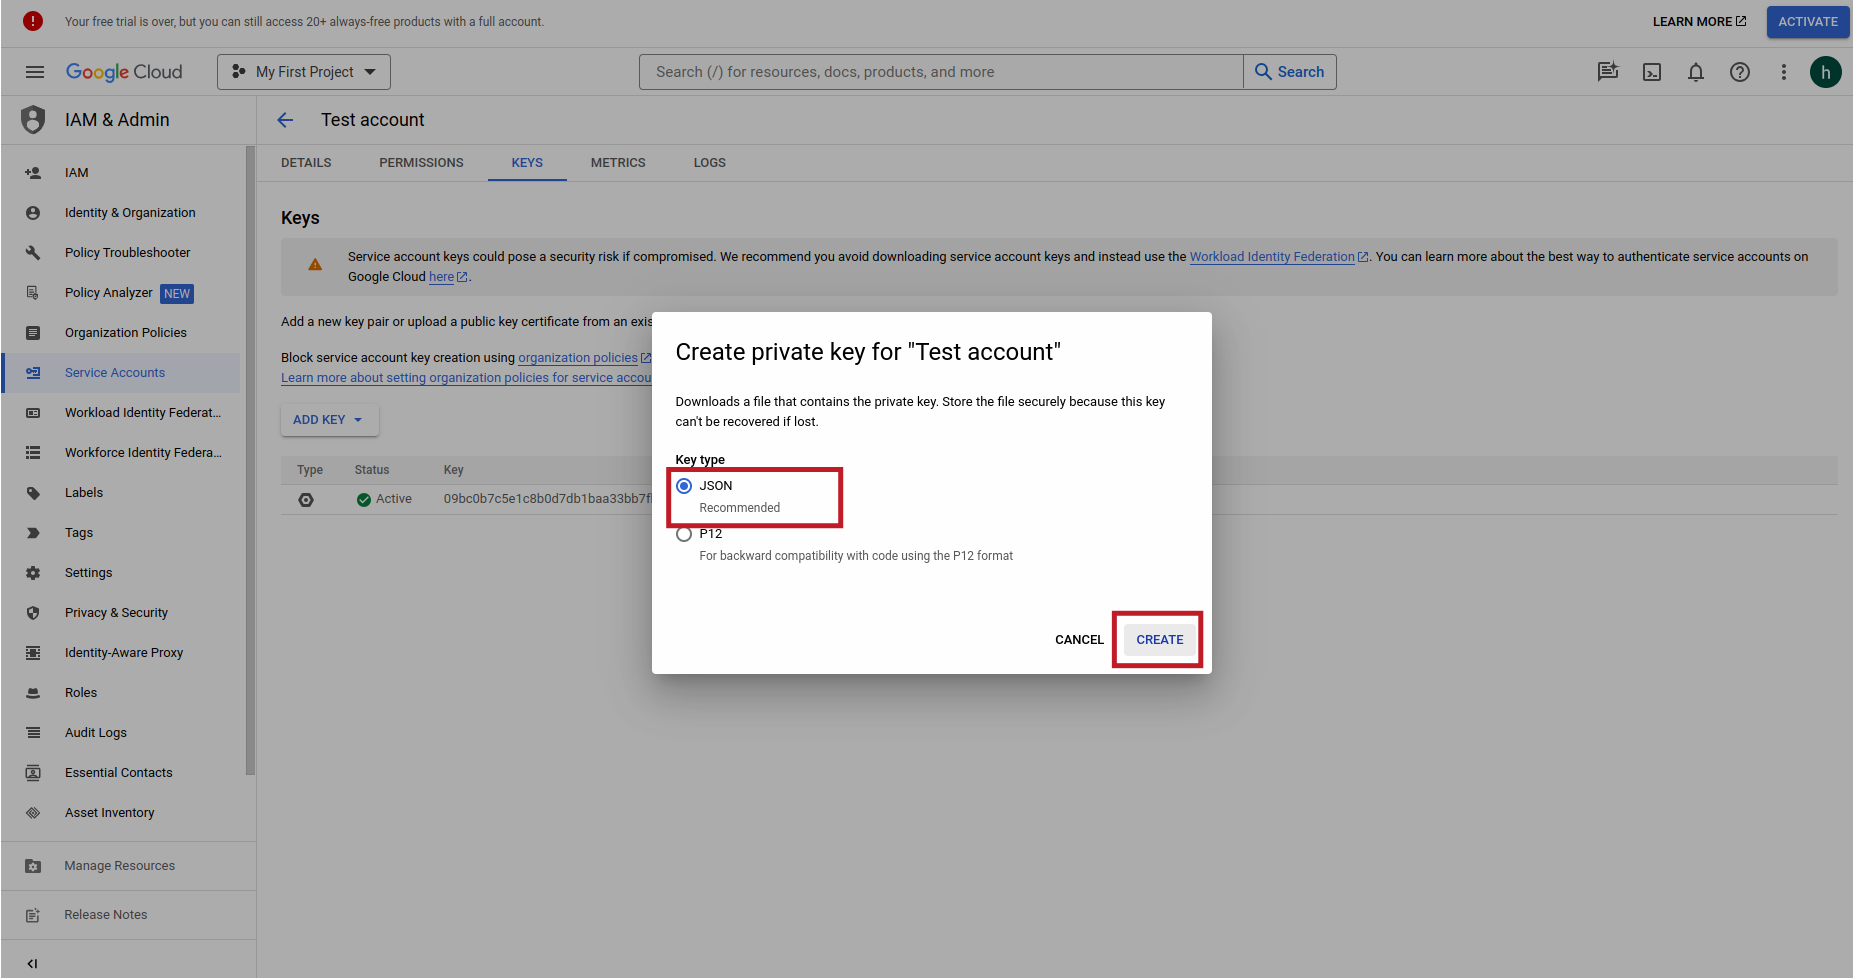
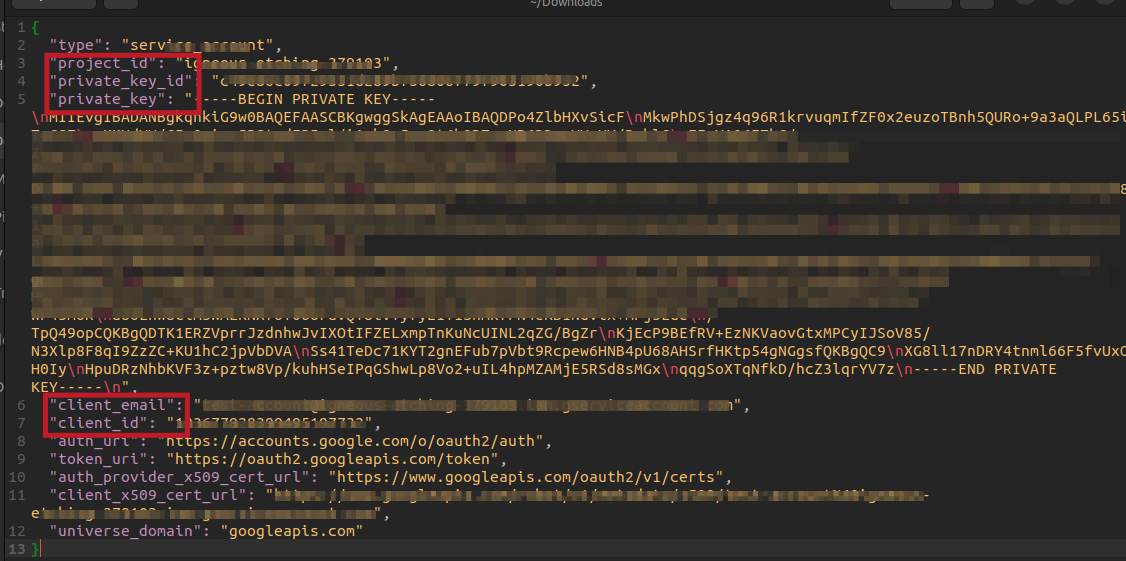
After successfully creating, Google will download a JSON file, Open it and retrieve information of project_id, private_key_id, private_key, client_email and client_id.
Setup Translate Providers
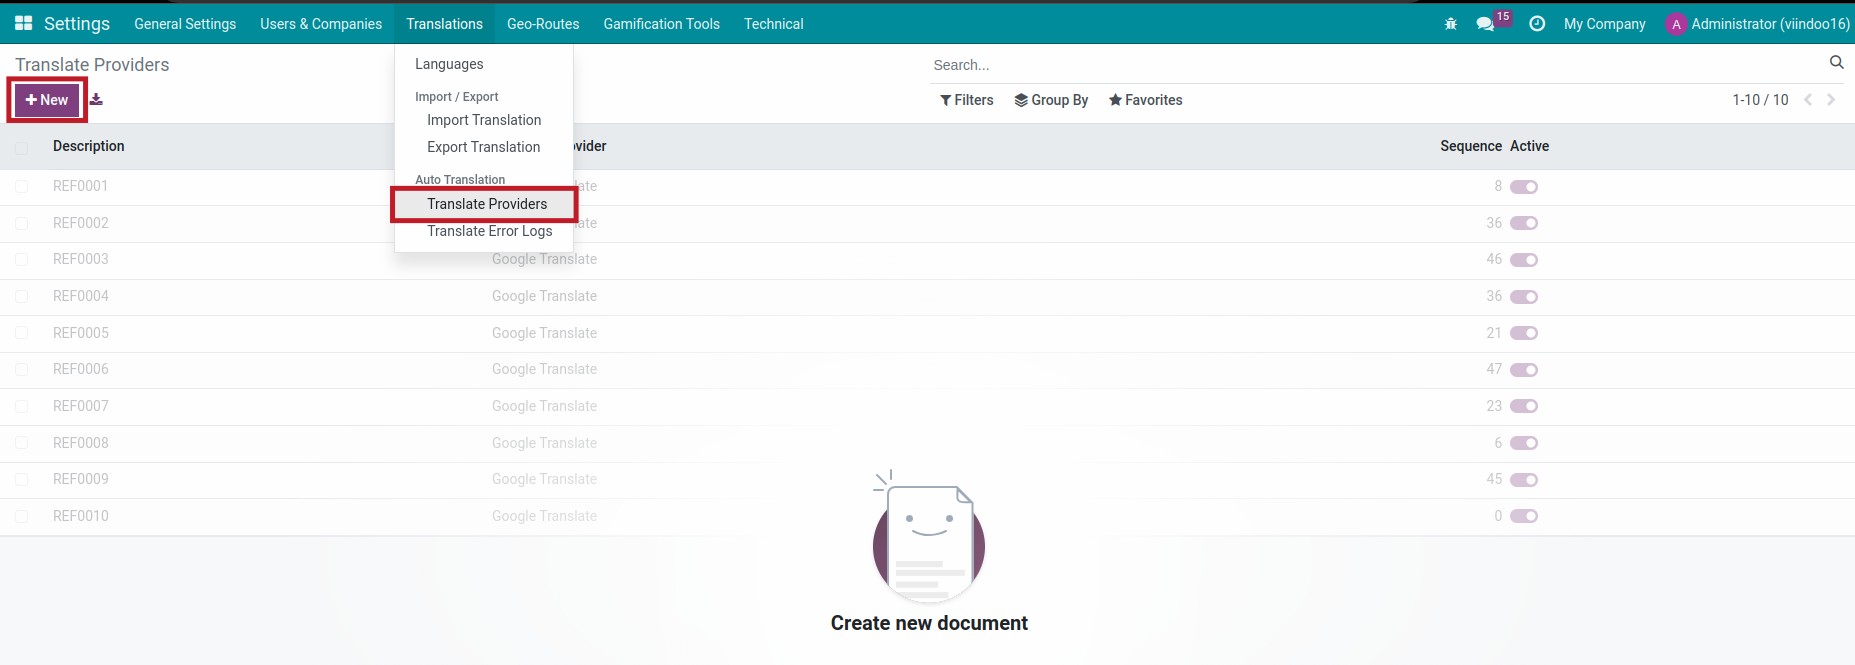
Access to Viindoo system and navigate to , and click to Translate Providers, Create new records:
Choose Google Translate Translate Provider and Fill information from API key above. After that’s Save and Click to Test Connection button.
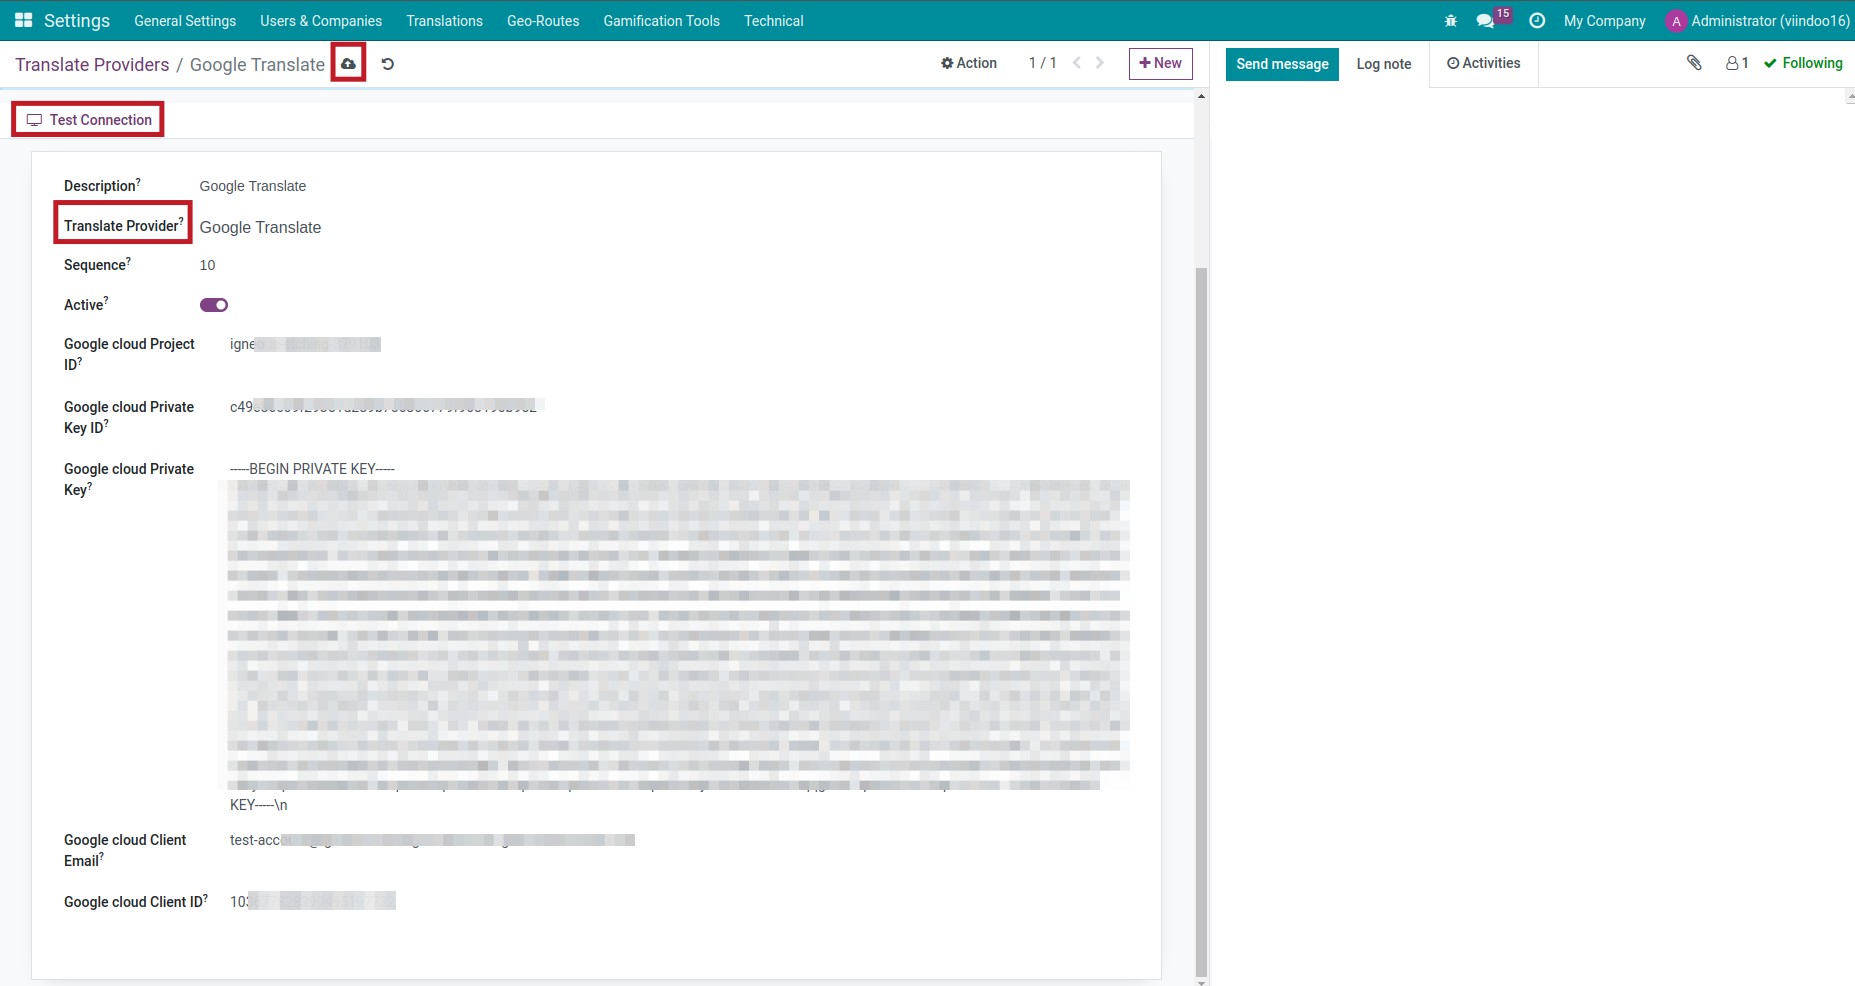
If all information correct and Viindoo can connect to Google Translate API, the Connection Test Successful! msg will show up.
Automatic Blog Post Translation
After the connection is successful, the system provides bridges between Viindoo and Google Translate. With this feature, authors can quickly translate articles.
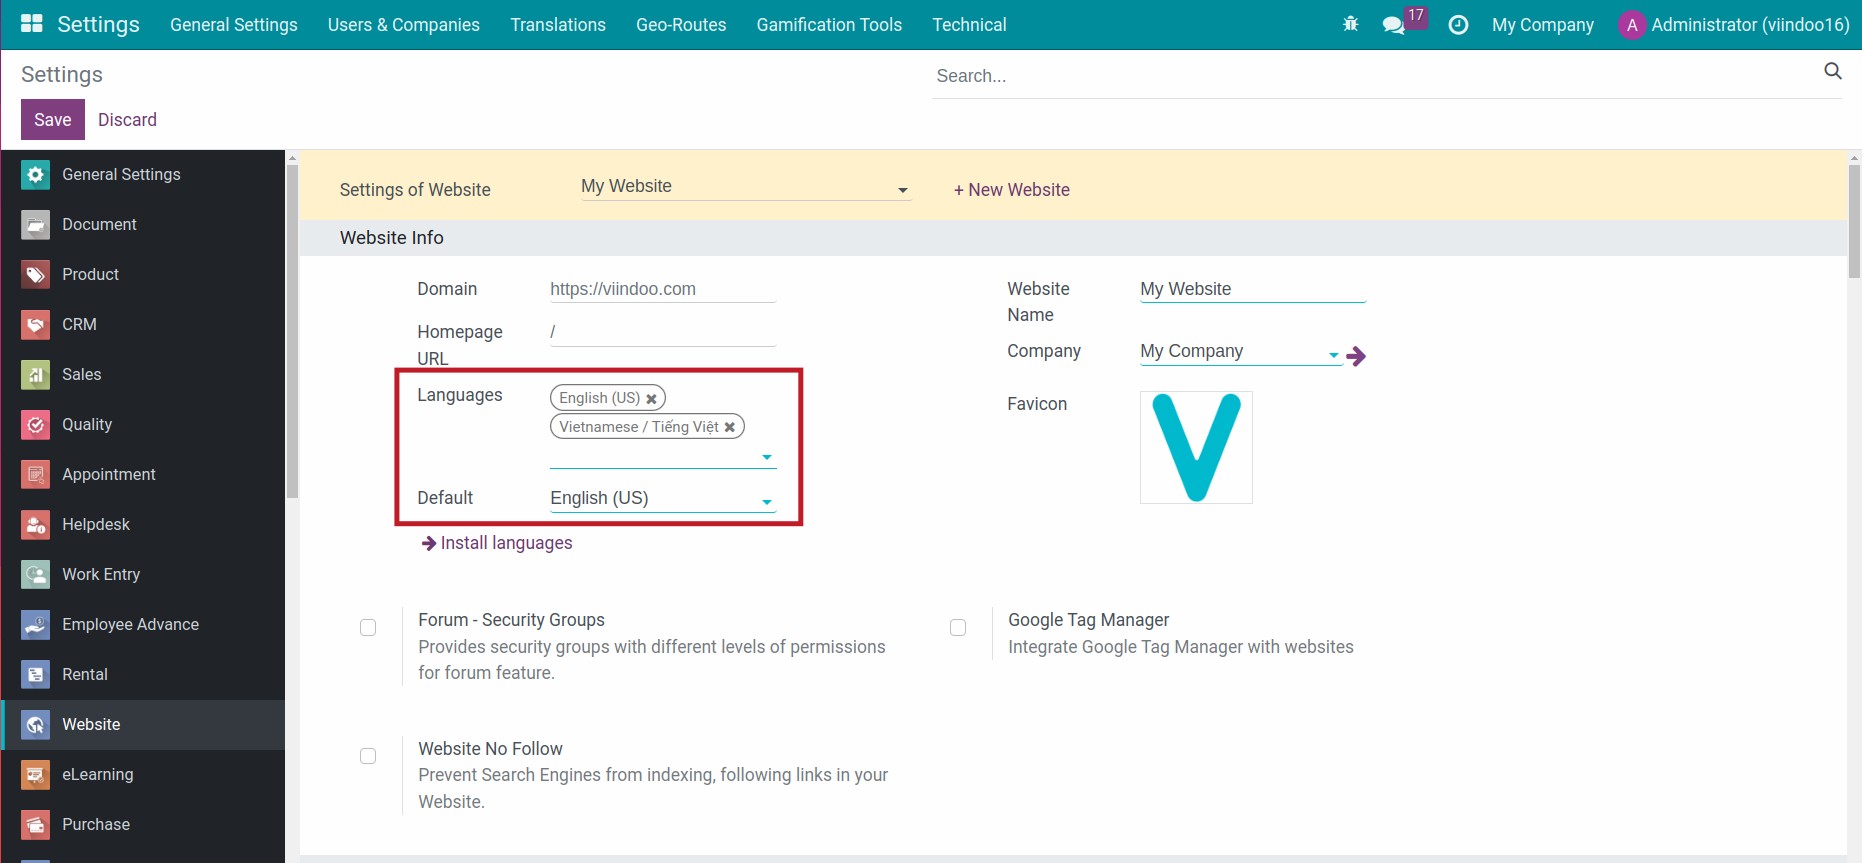
Navigate to , Google Translate will use default languages as the source and all others as the target. For example, Viindoo will translate English (US) to Vietnamese.
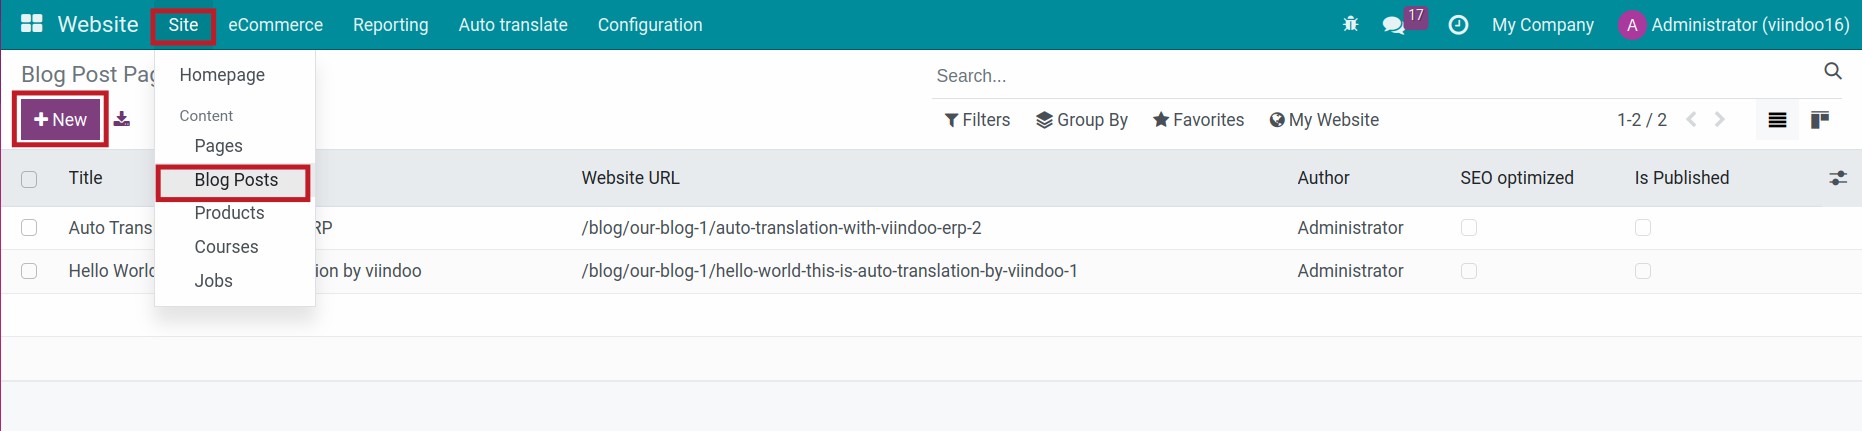
After that’s, you can translate any articles from English to Vietnamese by navigate to , create New or using available articles to translate.
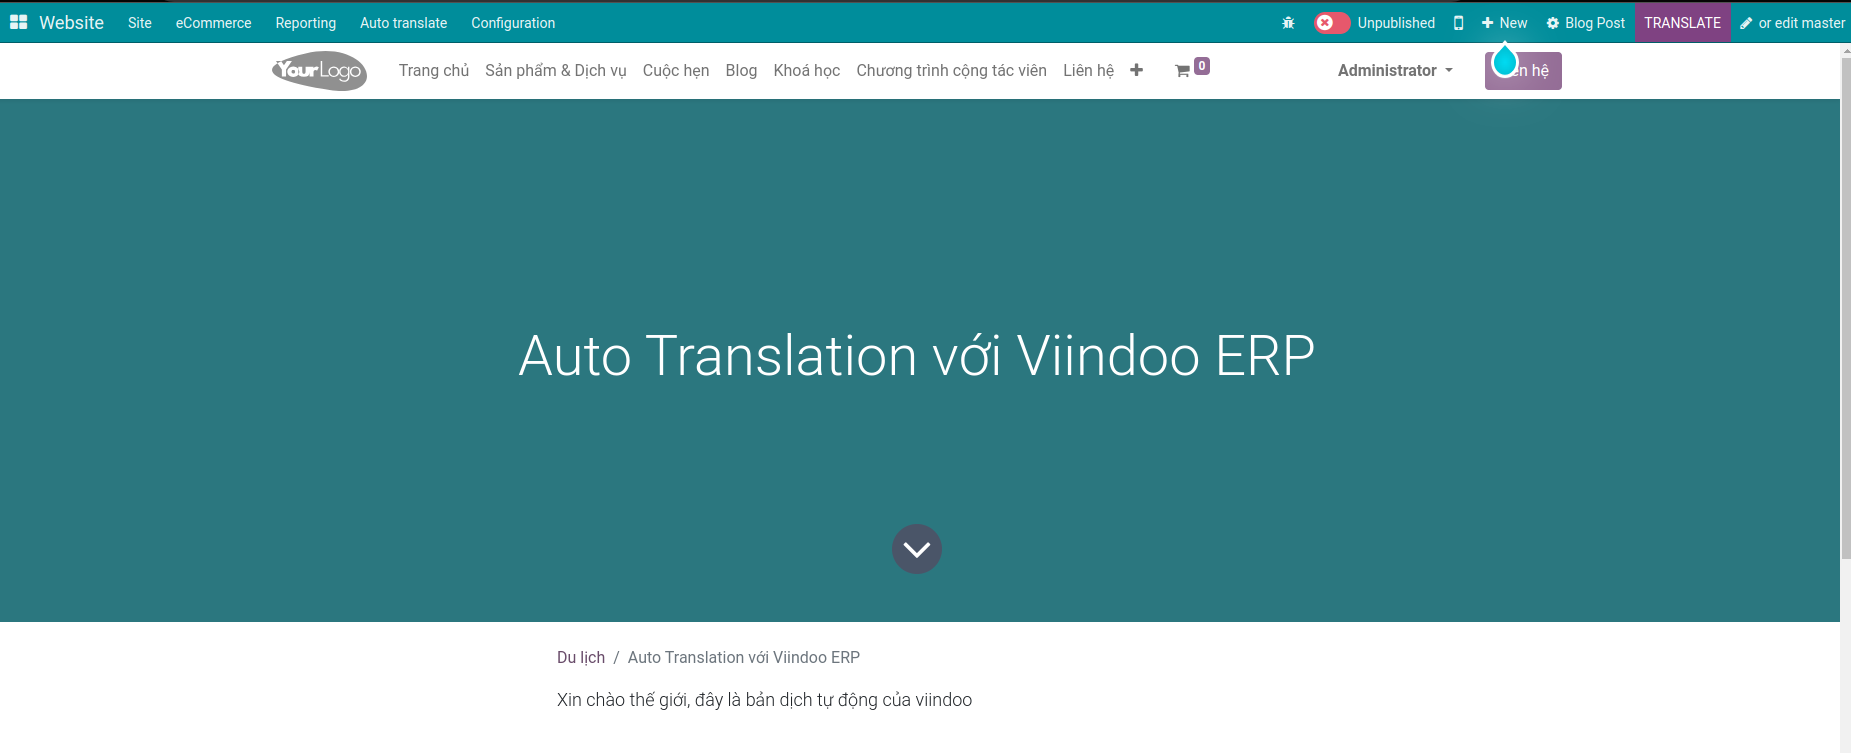
When you want to translate an article, hit the Save & Translate button.
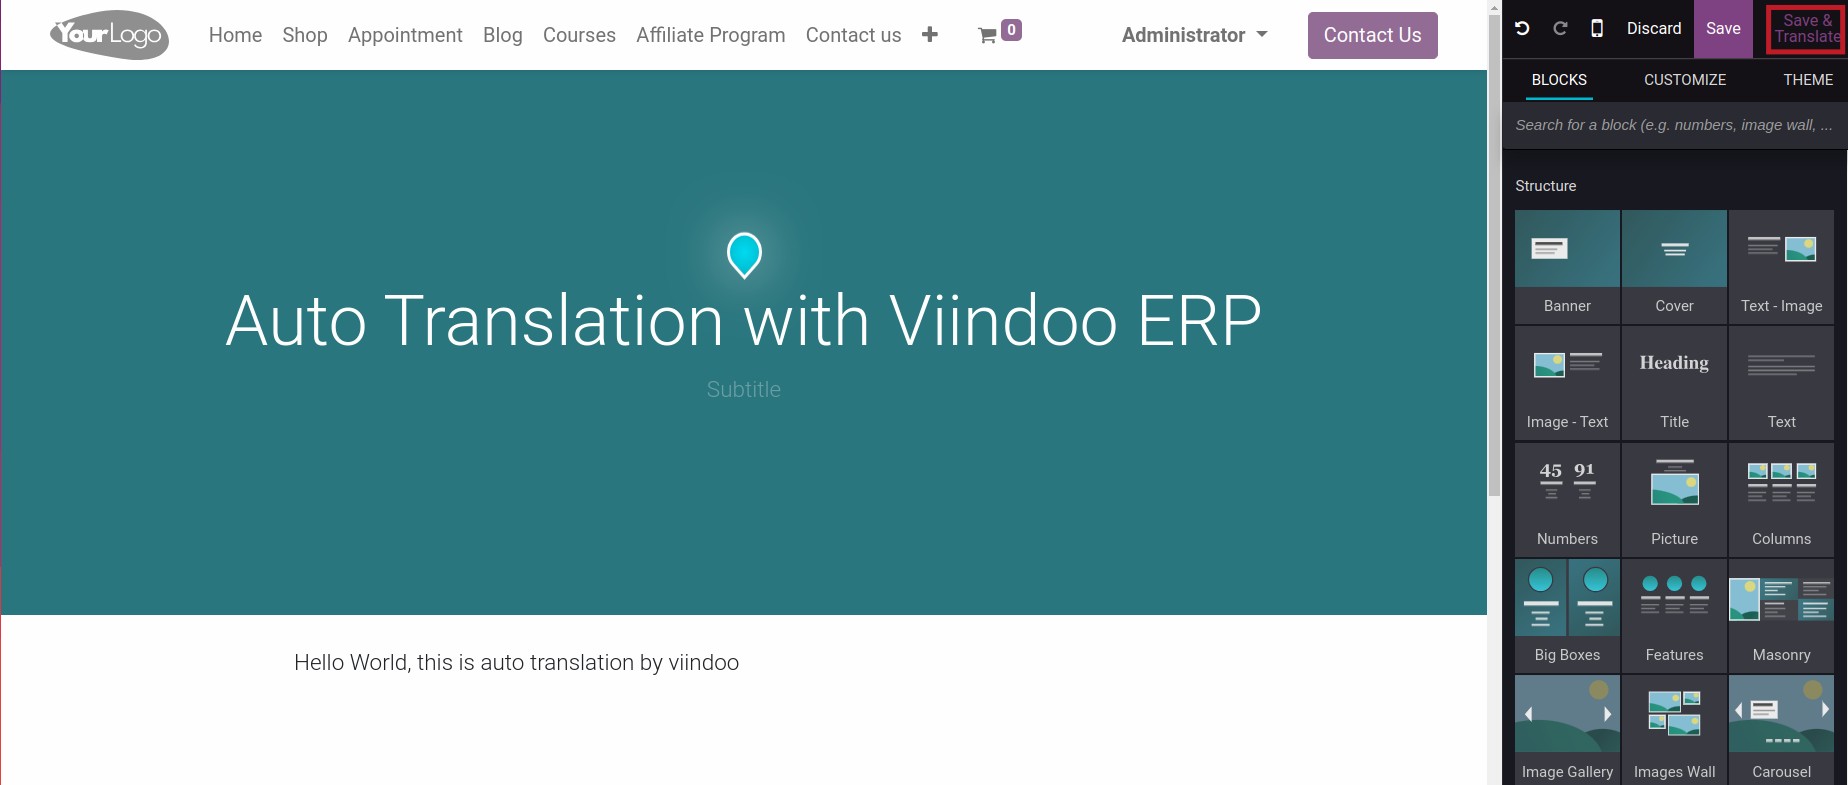
Article will be translate to Target language:

Note
When the article is translated, the system remembers it and does not translate it again. If you want to translate the article again, make a change to the article and hitting the Save & Translate button one more time.
Using Translate Glossary
Sometimes you will encounter situations where you do not want to translate certain words or specific terminology. In such cases, you need to remember these terms as a type of “Glossary”, the system will then translate these words according to the glossary you have provided.
To create a Glossary you need navigate to :
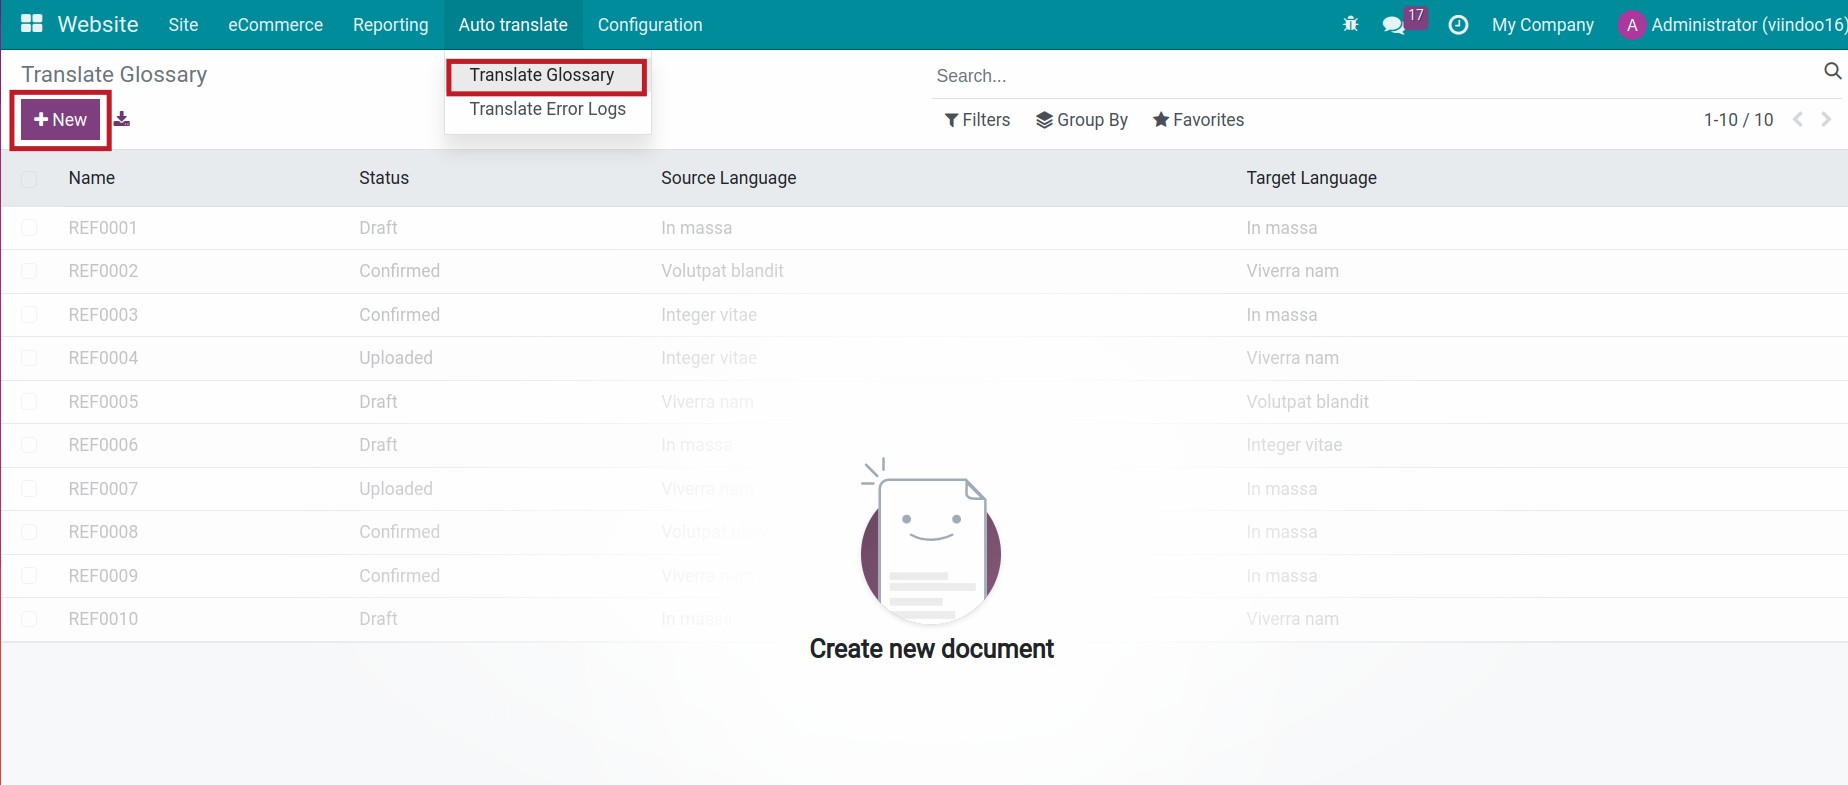
Create new record and fill information:
Translate Provider: Choose Google Translate as the provider, as step Setup Translate Providers
Source Language: Choose defaults languague
Target Language: Choose target language when using auto translate
Description: Add some note for this Glossary
- Glossary line:
Source Text: Source words to be used during translation
Target Text: Target words as desired or expected
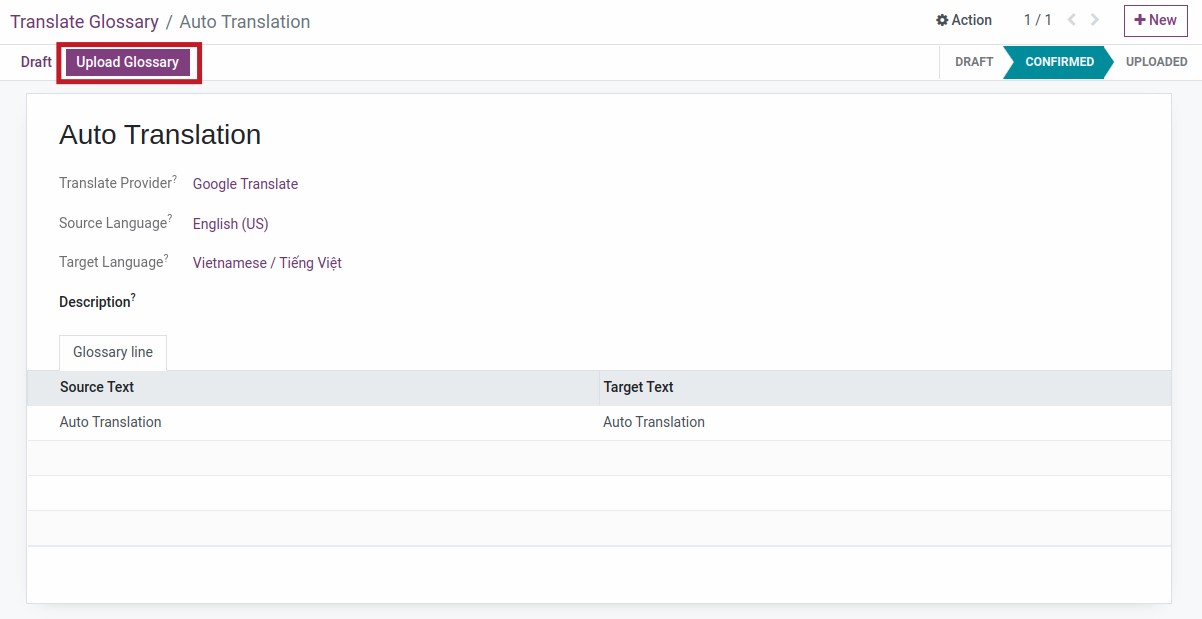
Confirm and Upload Glossary, After performing the operation, whenever articles use words that match the Source Text, all translations will automatically convert to the Target Text.
You can update Glossary any time by draft the Glossary, add additional Glossary lines, and repeat the steps to Confirm and Upload Glossary.
See also
Related articles:
Optional module: