Email Message Route Management
Requirements
This tutorial requires the installation of the following applications/modules:
With the ability to control message threads, the Viindoo Mail Route app helps to handle the mentioned issue and helps manage email message threads more smoothly and unified.
How to install Mail Route Application
To install Mail Route Application, enter Viindoo Apps, type Mail Route on the search bar and press Install.
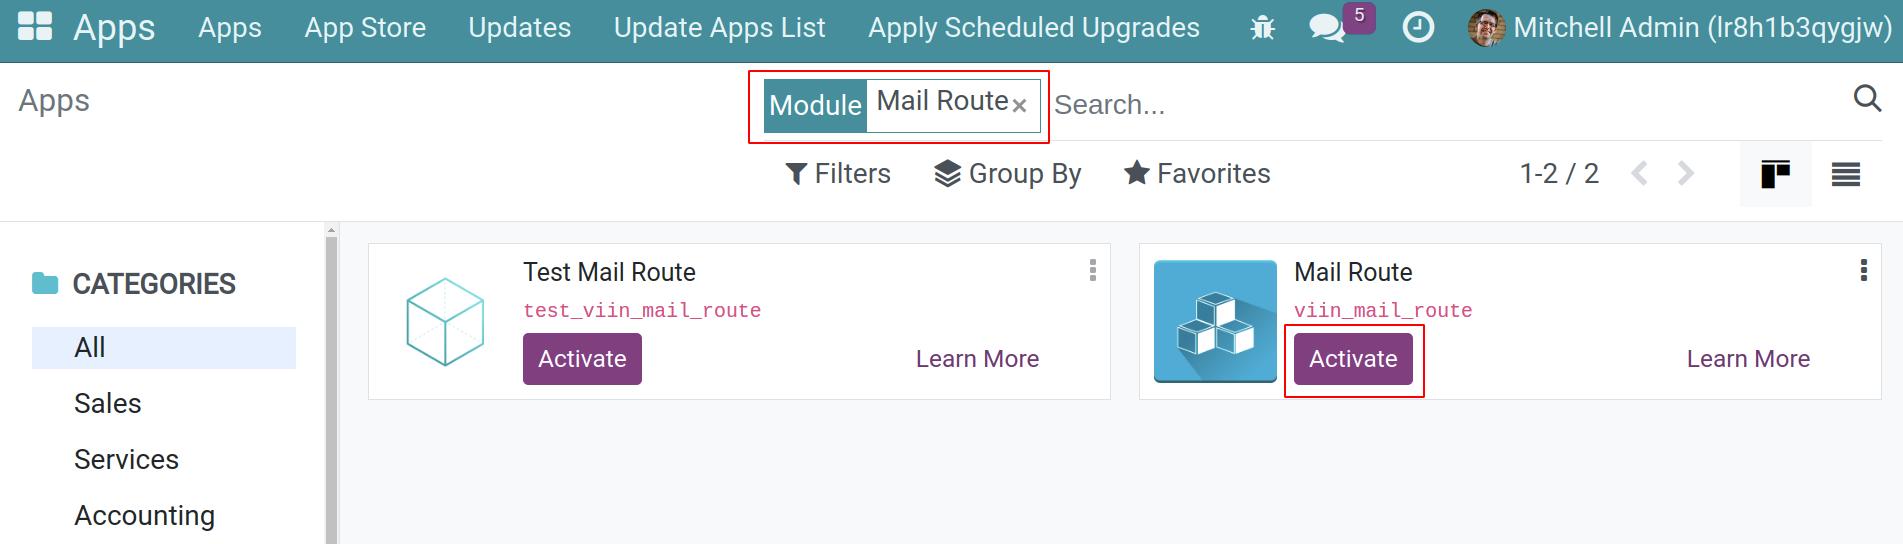
Note
By default, Mail Route app will be installed for the first time instance initial.
Manage Email Message Thread
Common Cases
There are some common cases that we need to manage email threads, let’s explore them:
Manage message threads between tickets
Manage message threads between tasks (projects)
Manage message threads between tasks (projects) and ticket
Manage message threads between purchase orders and leads/opportunities (CRM)
Setting For Email Message Thread
In any above cases, the most important thing is to set the alias domain (depending on each specific case) and then add followers precisely before sending an email or before responding to an email.
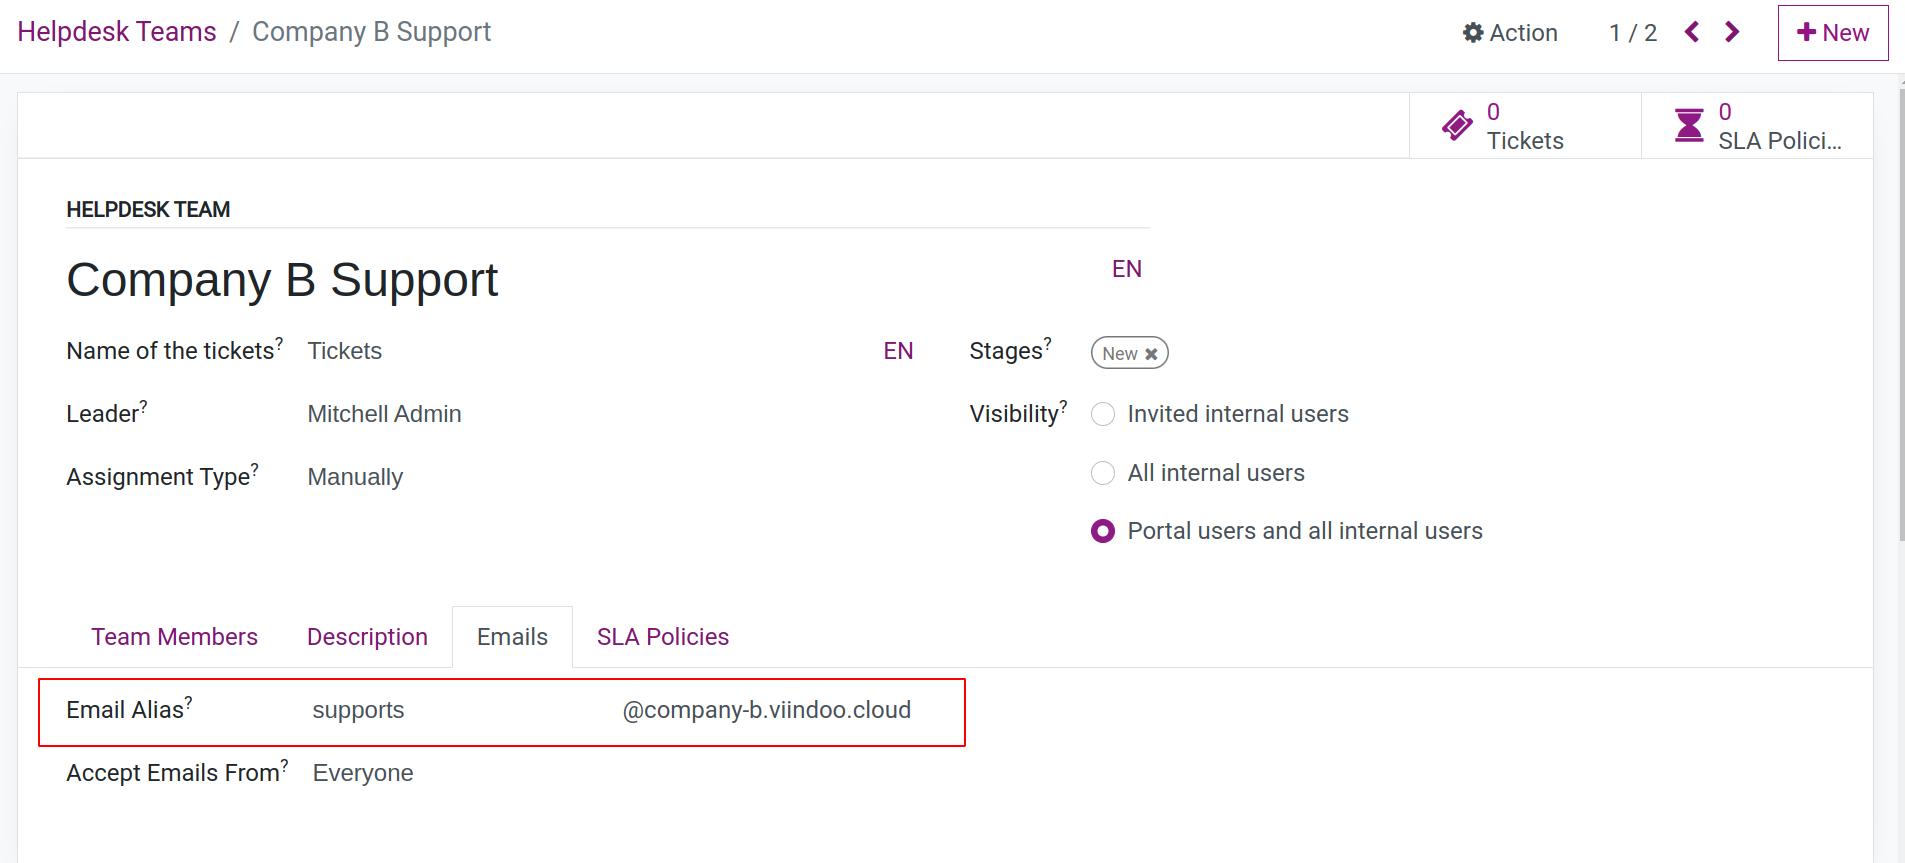
Set alias email for Helpdesk teams
Navigate to Helpdesk Menu > Configuration > Helpdesk Teams > Choose a specific helpdesk team > click to Emails Tab.
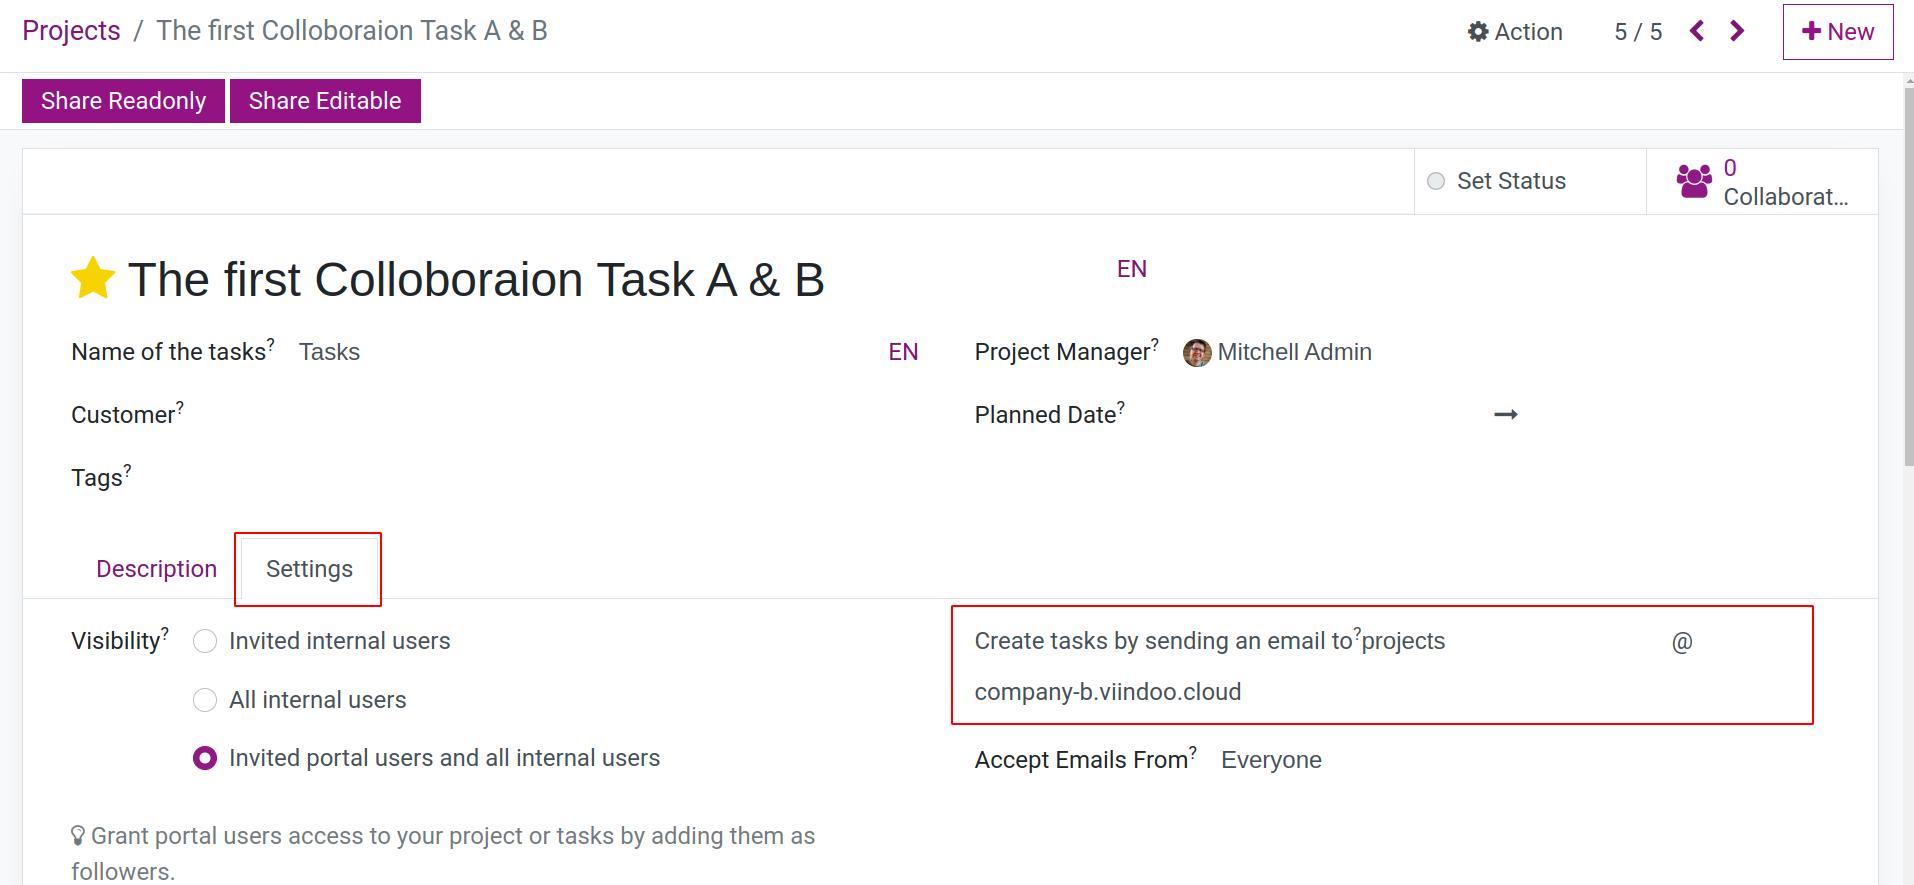
Set alias email for Project teams
Navigate to Project Menu > Configuration > Projects > Choose a specific project > click to Settings Tab.
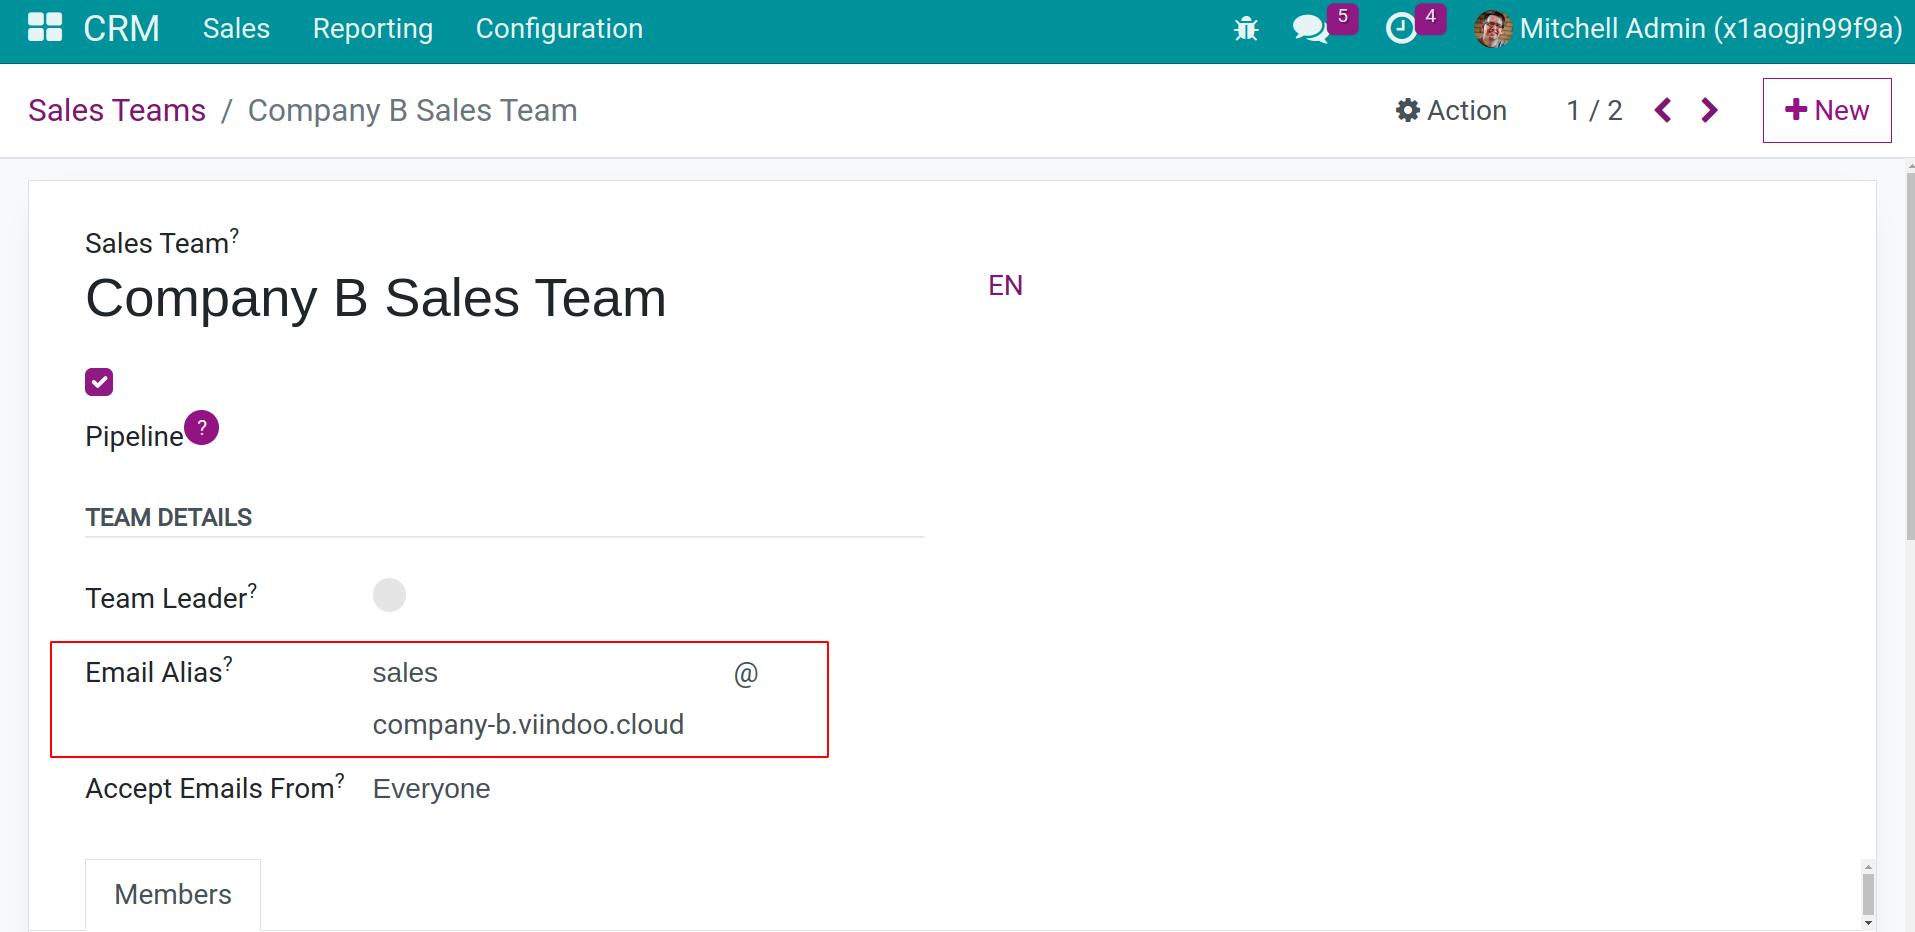
Set alias email for Sale teams
Navigate to CRM Menu > Configuration > Sales Teams > Choose a specific sales team to set alias email.
Email Message Thread Process
When two instances communicate together by email, we often have two roles, the sending email instance and the received email instance, let’s find out What each role has to do.
Let’s assume Company A and Company B want to support together through the tickets and the requirement is the email message thread must be coherent. More details as below:
Company A with Sending Email Role
Instance Domain: company-a.viindoo.cloud
Helpdesk team alias domain: supports@company-a.viindo.cloud
Company B with Receiving Email Role
Instance Domain: company-b.viindoo.cloud
Helpdesk team alias domain: supports@company-b.viindo.cloud
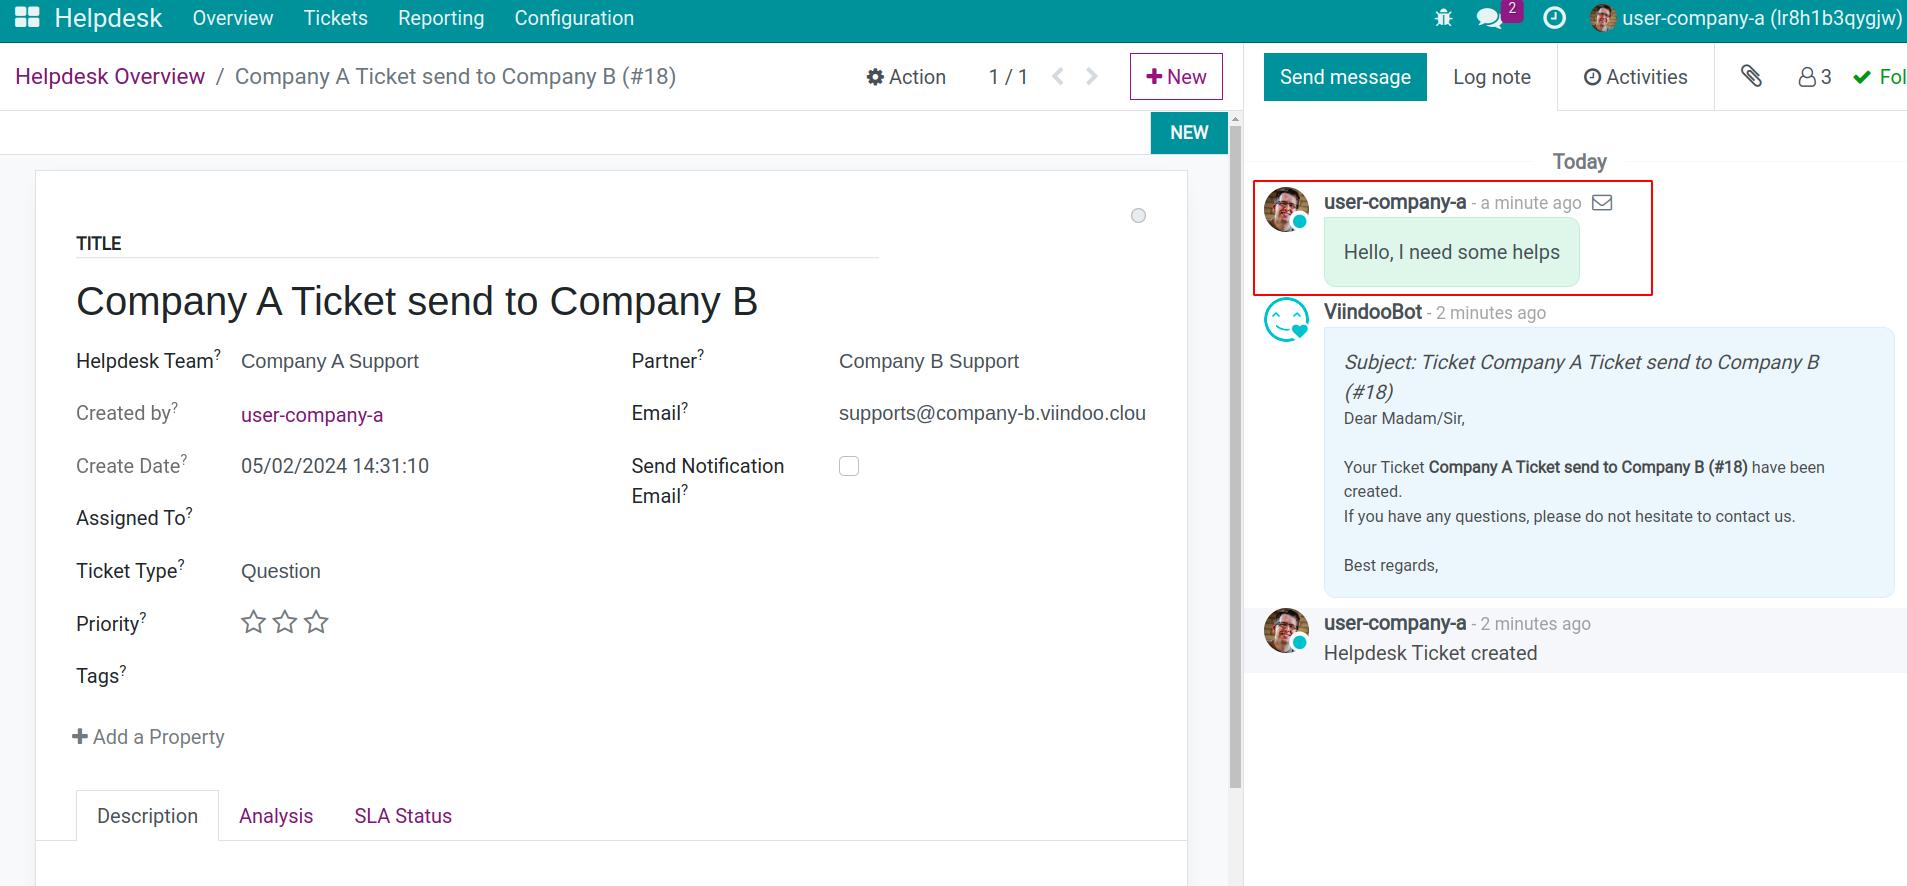
First, company A wants to give help from company B. From company A’s instance, company A’s user will create a ticket, add a follower (a partner with email: support@company-b.viindoo.cloud), and then send an email to company B.
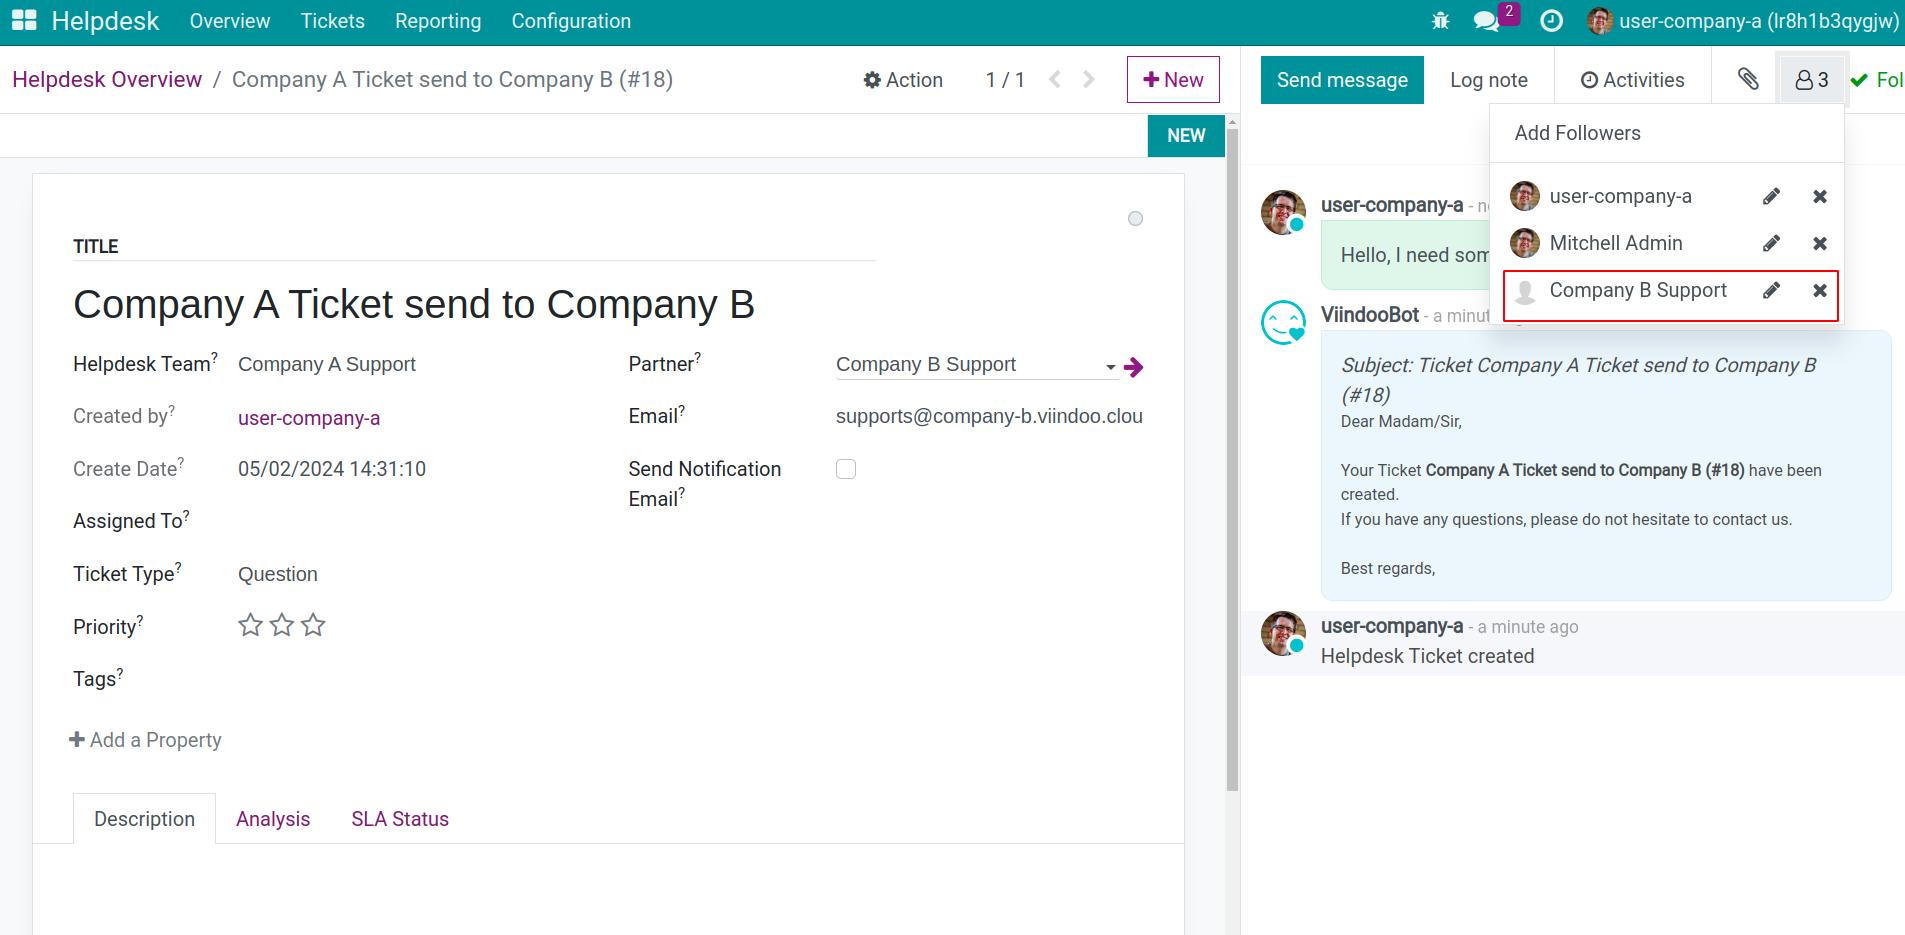
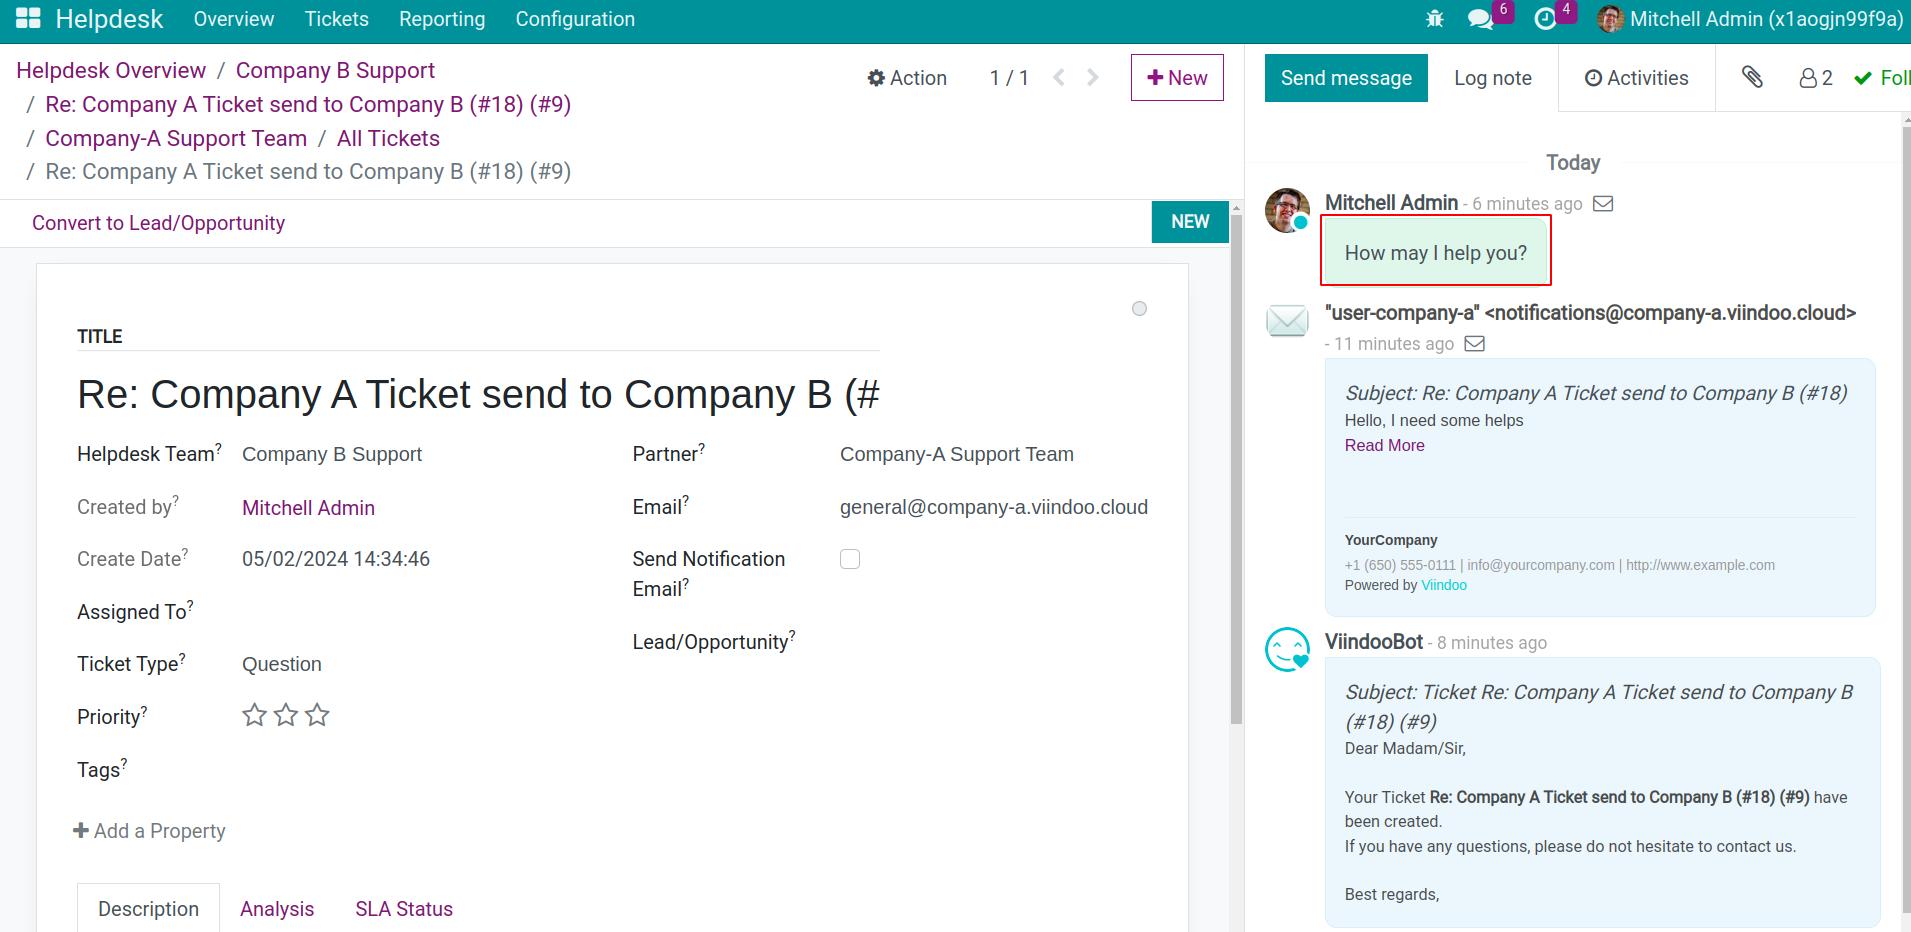
When Company A’s message is sent to Company B, a Company B’s ticket will be created and now, company B’s user needs to add Company A’s Helpdesk team alias domain in the follower list and then respond to Company A.
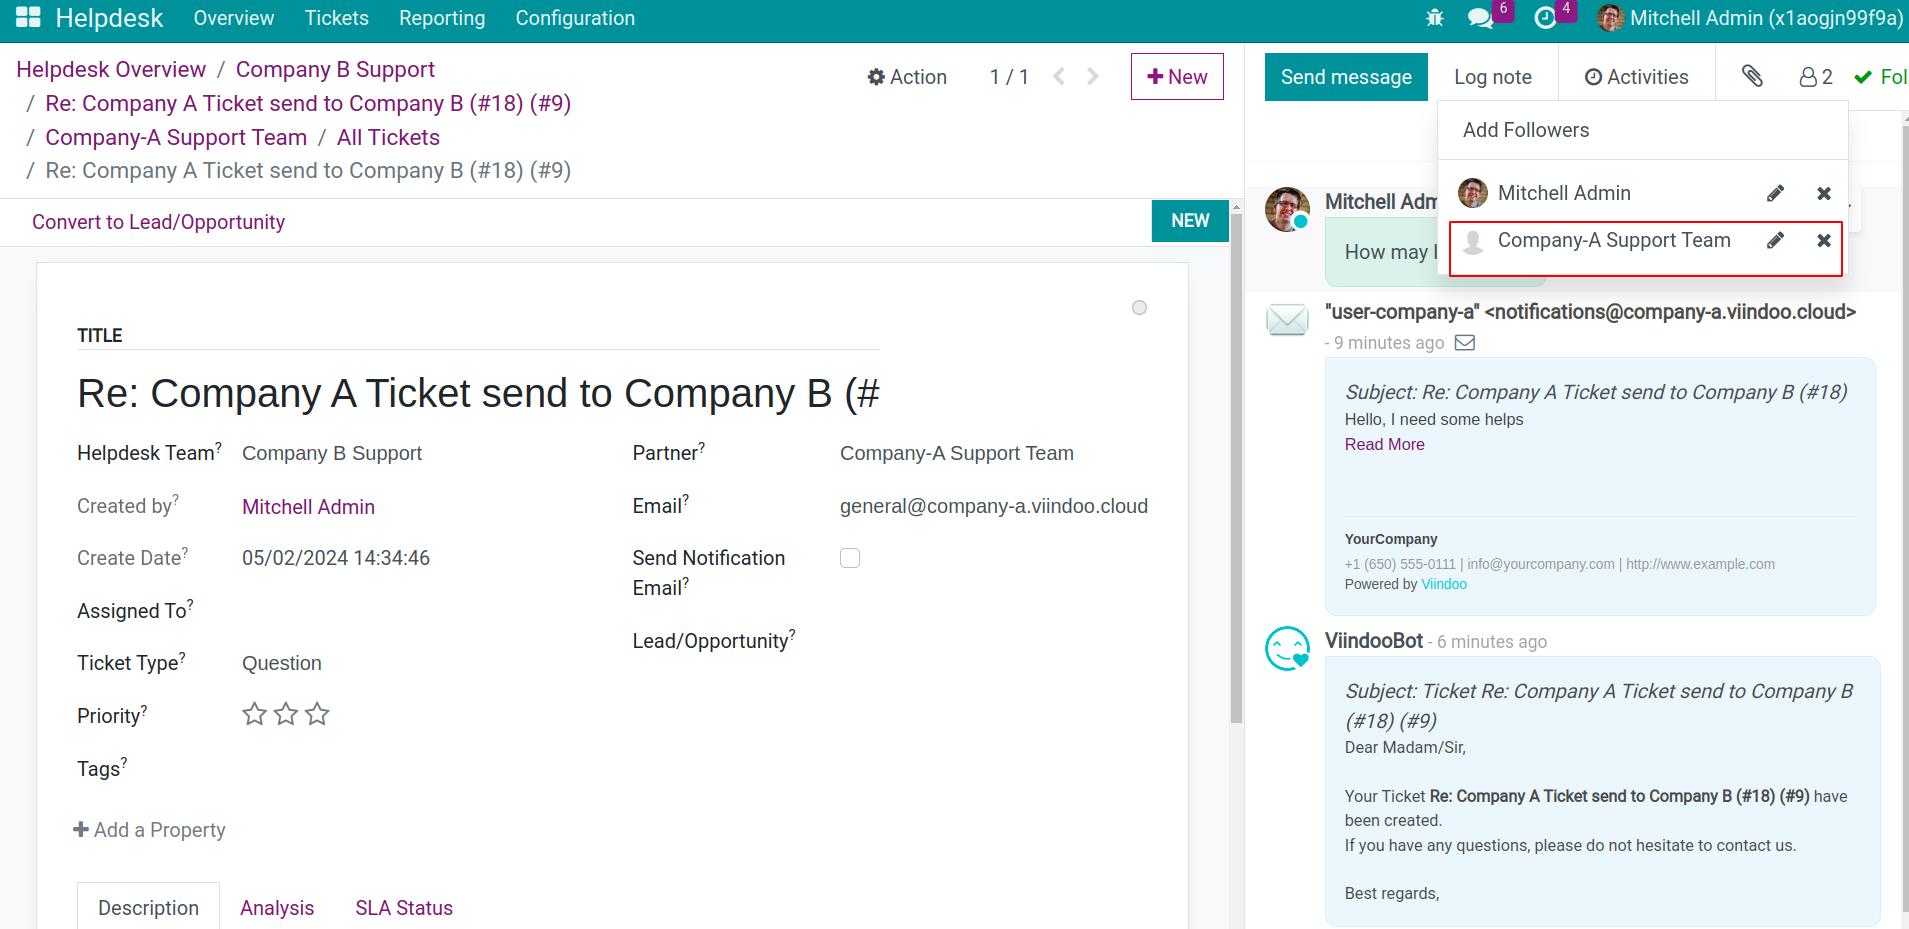
Note
In this case, Company A’s Helpdesk team will be added to the follower and this one in the Helpdesk Team field in Company A’s ticket must be the same. This is similar to other cases.
Now, let’s see the result in the origin company A’s ticket, the email thread is seamless.

Note
- In any cases, as a instance take responsible for Receiving Email Role, before respond an email for the left instance, we have to add follower ecxactly.
Respond to the left instance’s ticket: add the alias email of the left instance’s helpdesk team.
Respond to the left instance project: add the alias email of the left instance’s project.
Respond to the left instance lead/opportunity: add the alias email of the left instance’s sales team.
Move Messasge Thread
Besides helping mail message management, Mail Route app also provides a useful feature that move Message Thread.
Give Right For User
For a user to do move message thread, the right must be set. Navigate to Settings > Users & Companies > Users, select the user you want to give right and press Edit.

At the Move Message Thread field, tick to give the right to the user.
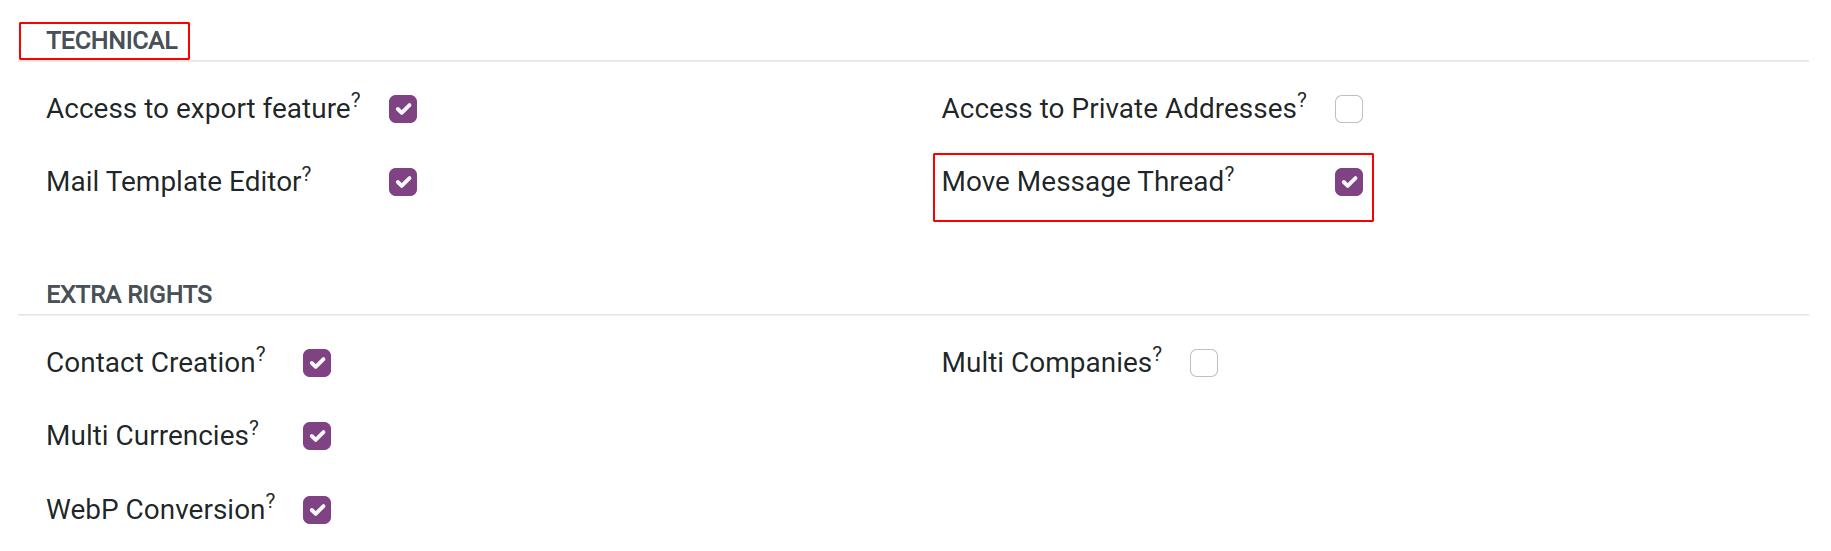
Note
The developer mode needs to be activated to display the Technical Menu for user access rights settings.
Move Messasge Thread Implementation
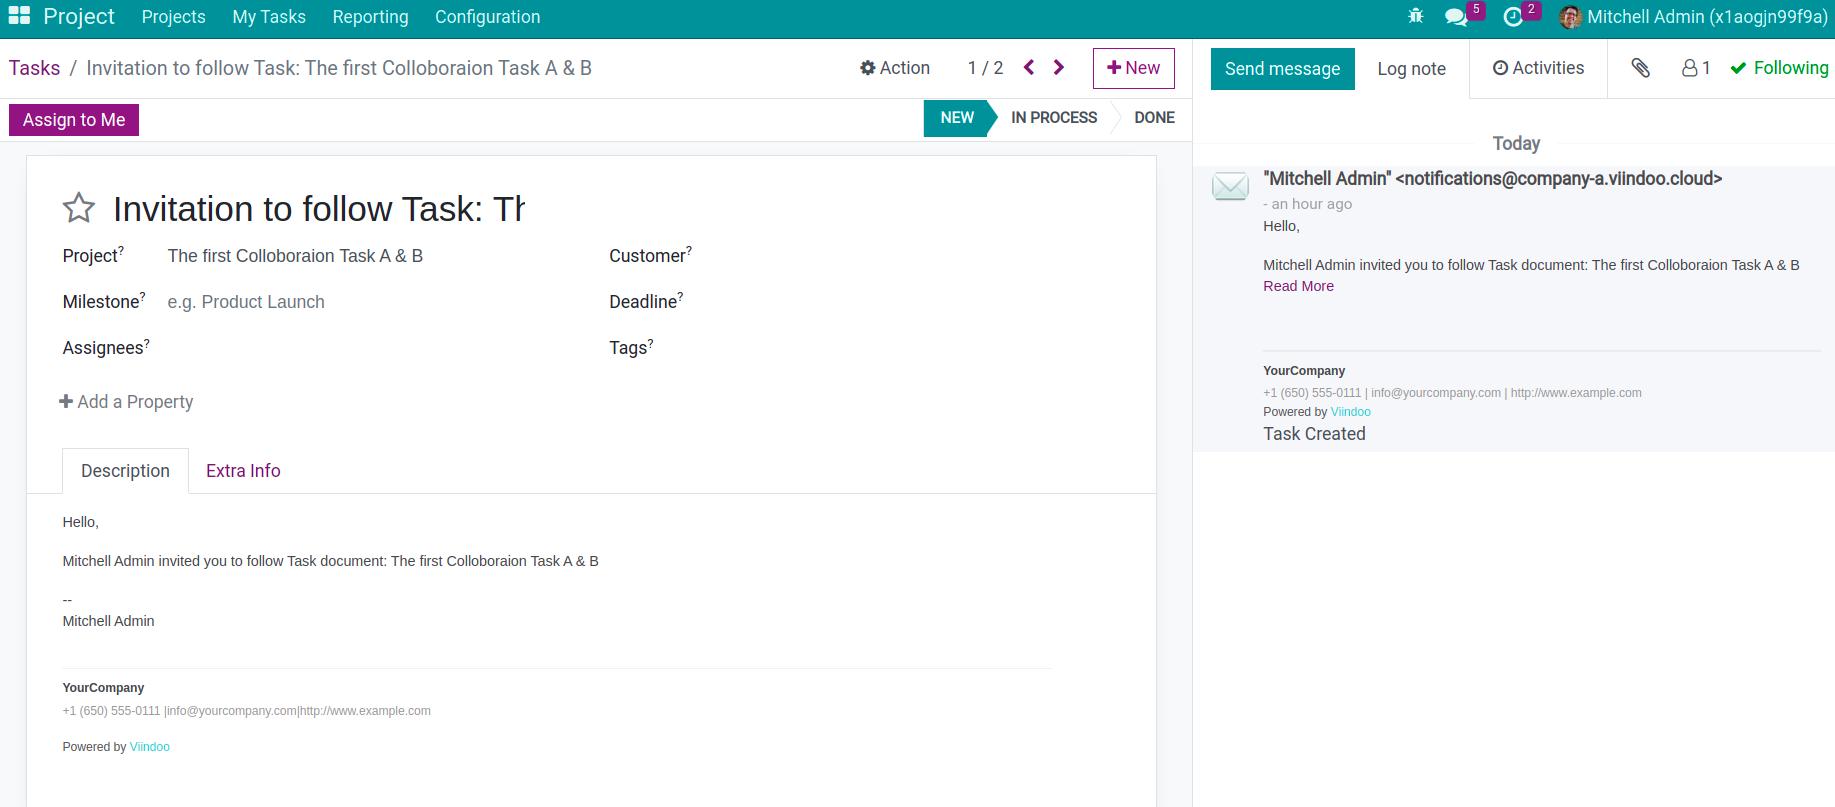
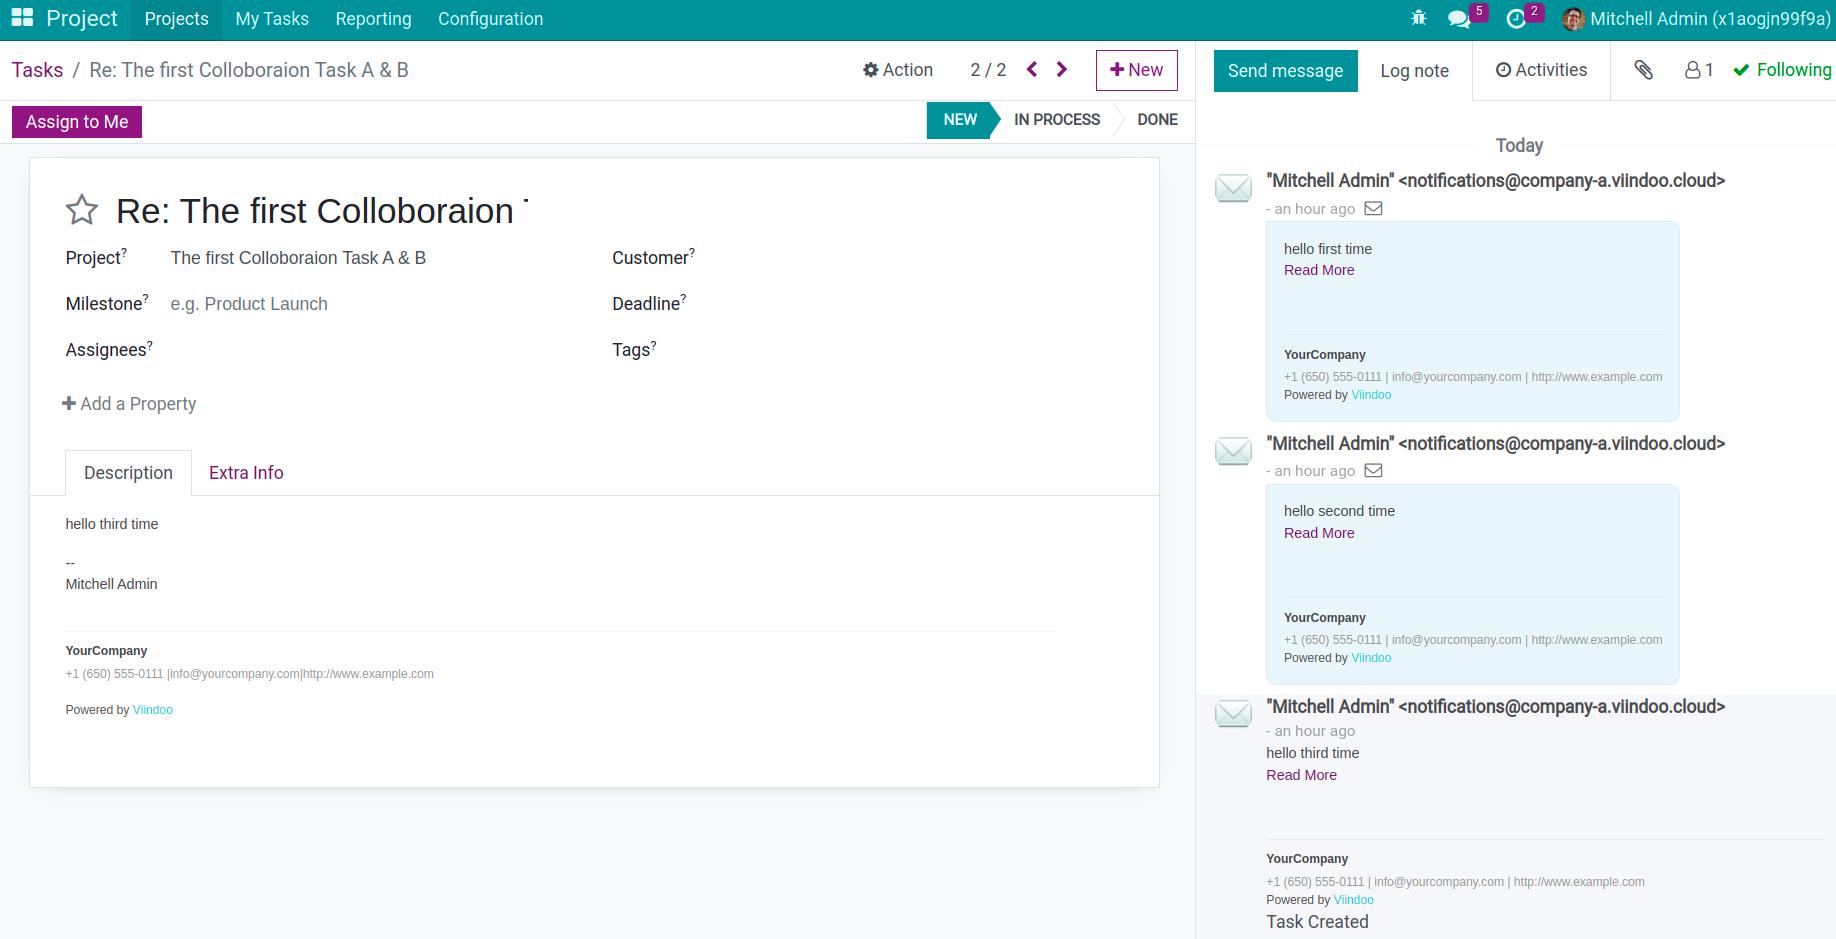
Assuming that we have two email message threads and now we want to combine them into only one thread. Let’s see How to achieve it.
Before Move Message
To move the message thread, we need to jump into the record interface which contains the email message thread. Then click Action and Move Message Thread.
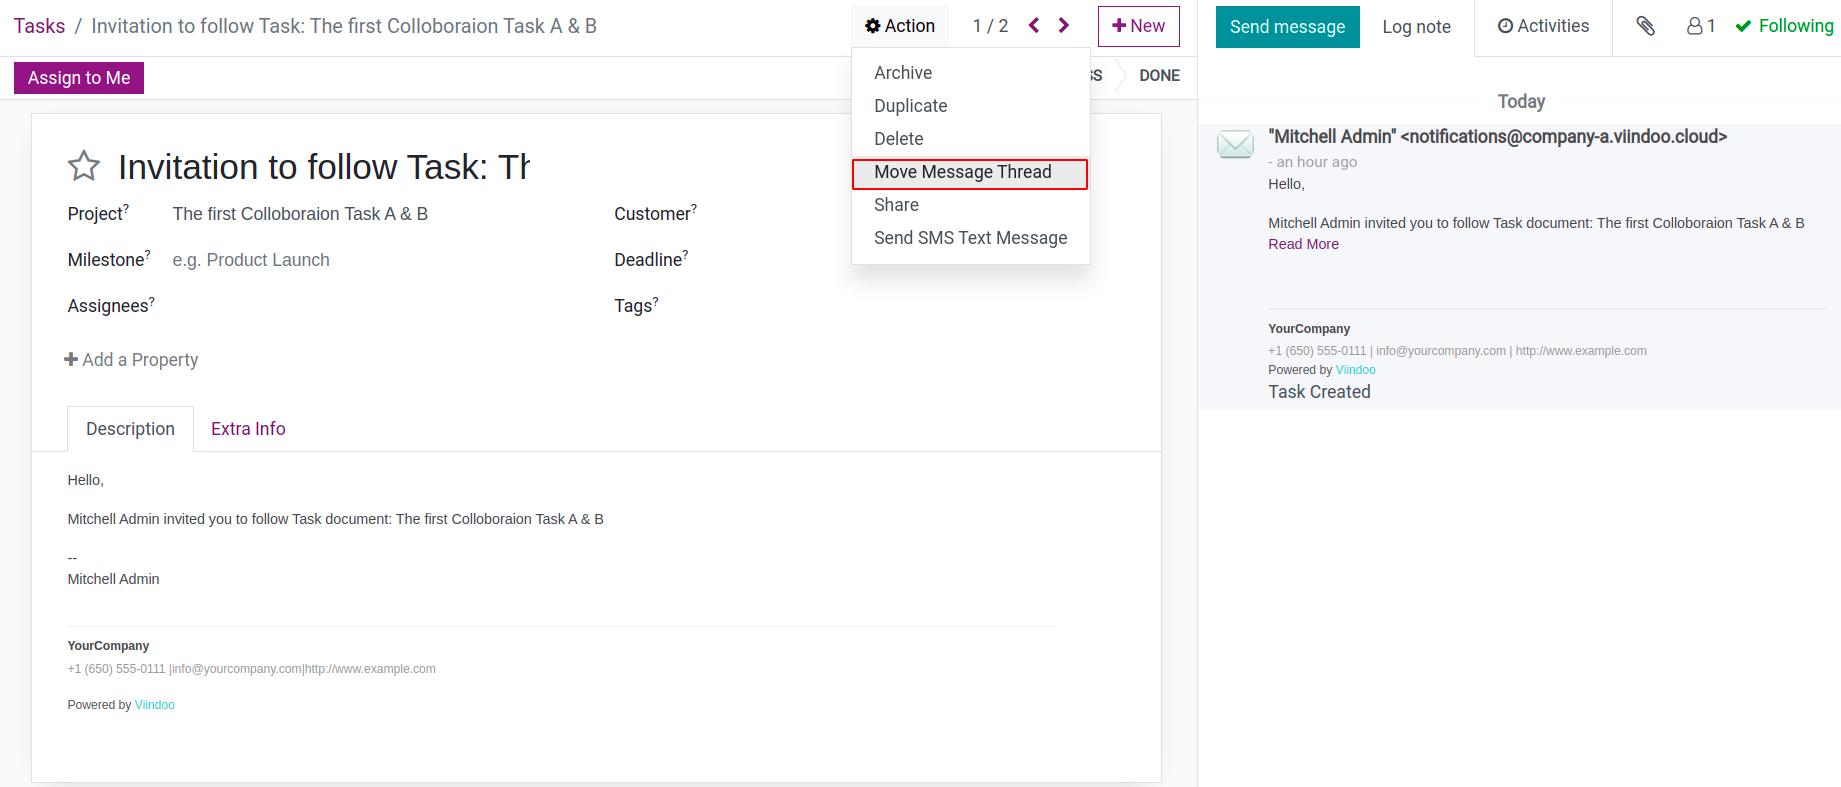
When the move message thread shows up, choose the target model and the target record that you want.
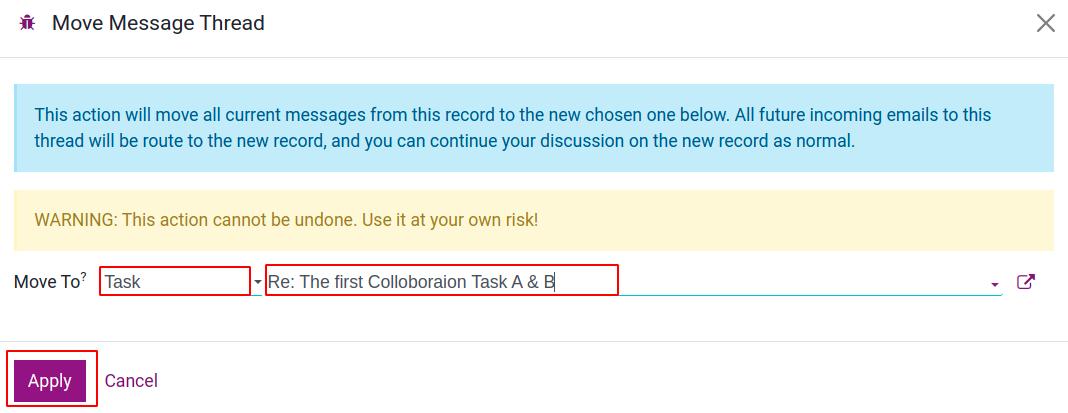
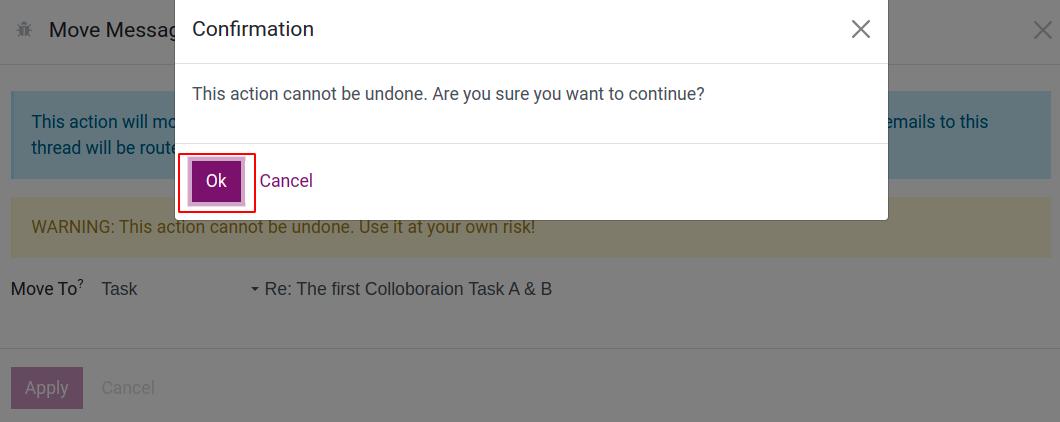
Do action confirm.
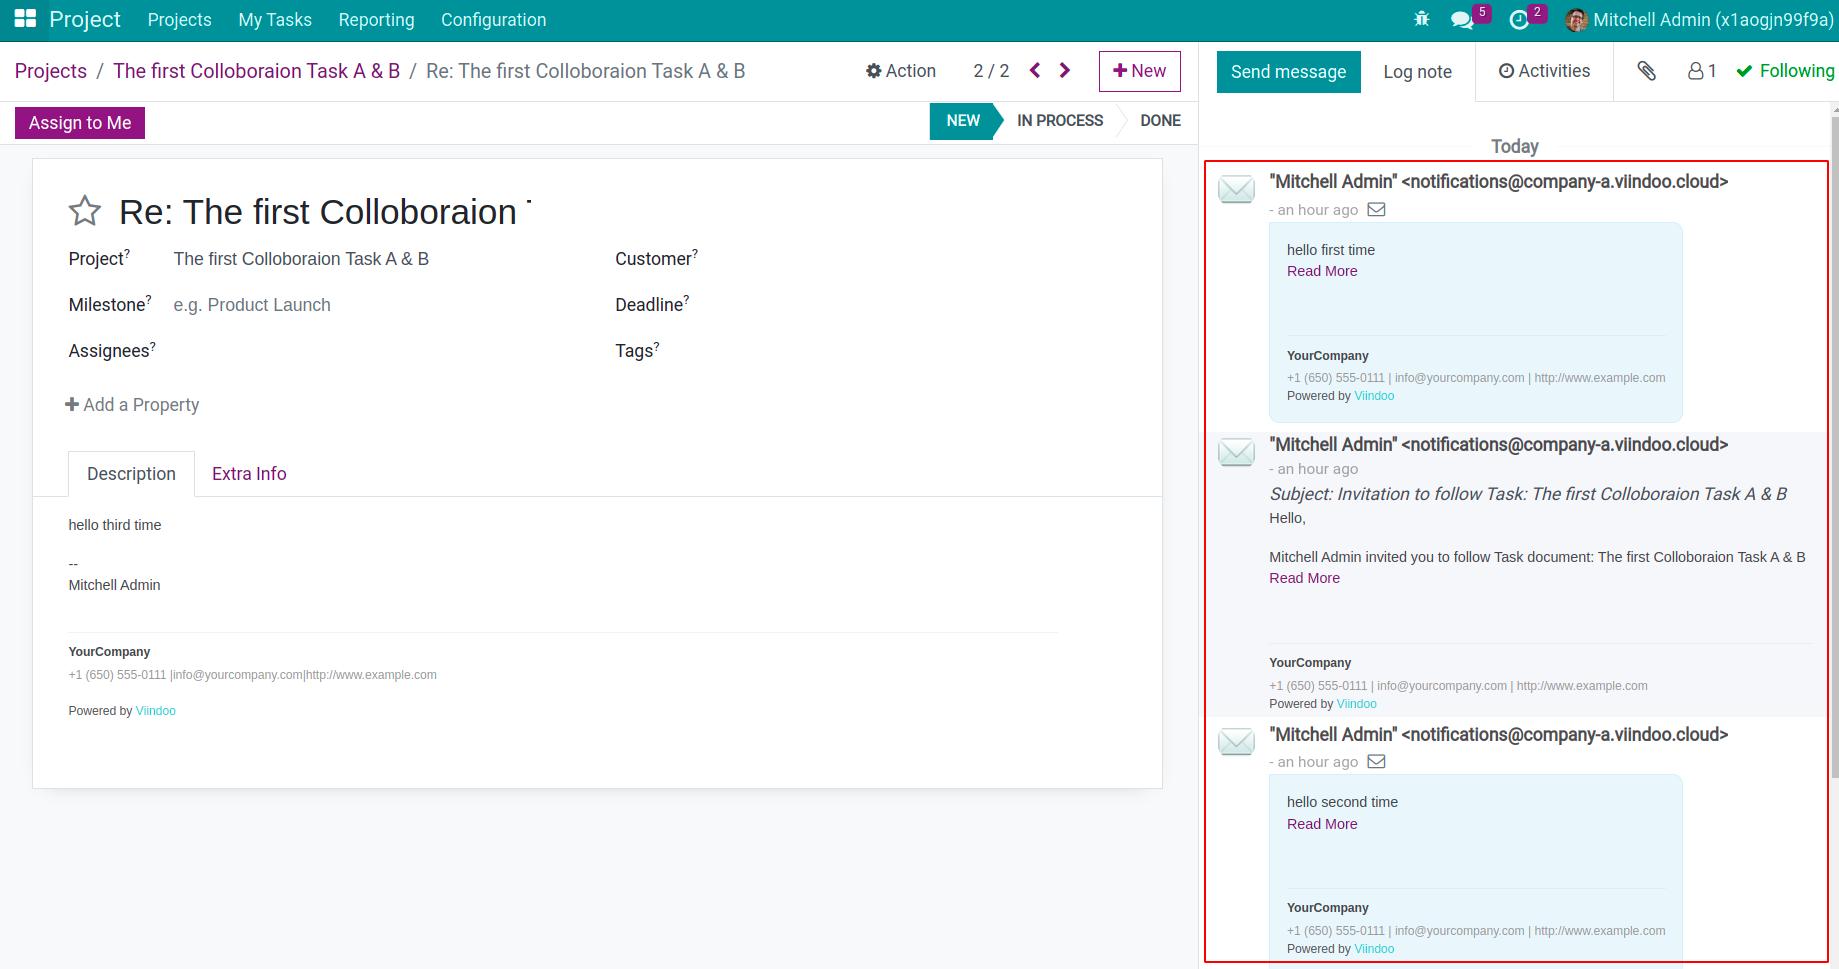
Now, the content of both two email message threads was combined and contained in only one target record interface.
See also
Related articles: