How to manage your e-Learning courses
With the assistance of the e-Learning app in Viindoo software, users can create various E-Learning courses corresponding to many different topics and fields. Each course is like a channel of content management, knowledge exchange and sharing for your online learning platform. This is a writing guide to create an online course in Viindoo software.
Requirements
This tutorial requires the installation of the following applications/modules:
How to create an e-Learning course
Information of e-Learning course
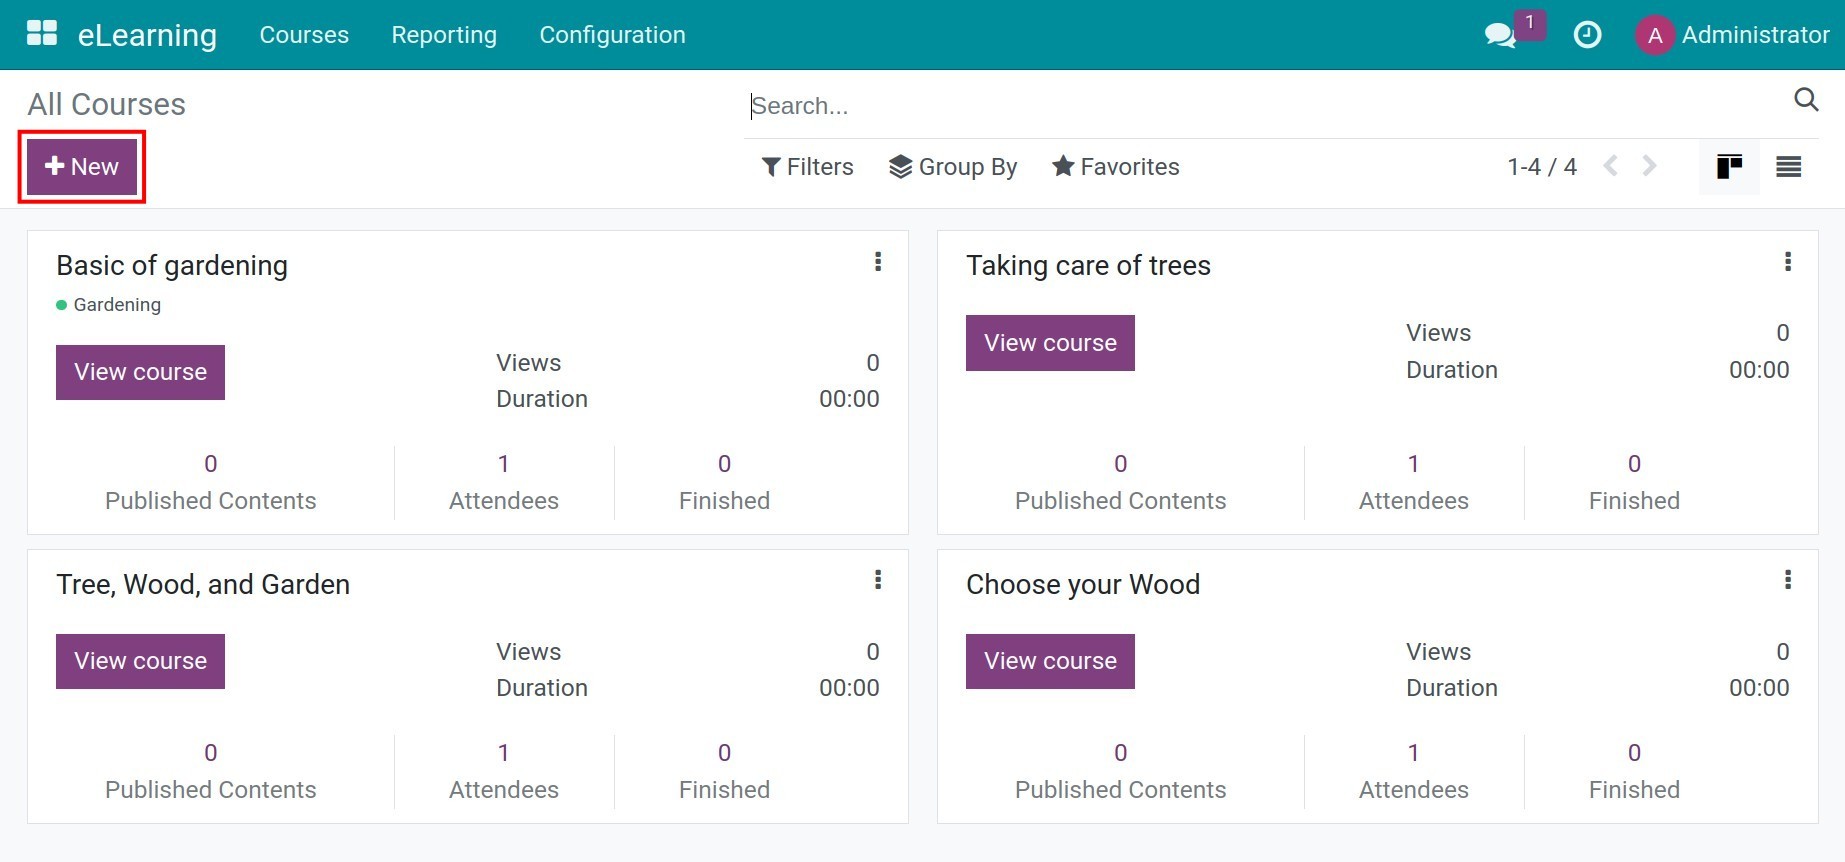
To create a new course, navigate to eLearning app, and click on + New on the eLearning Overview.
Type the title and select tags for categorization and quickly search courses.

Create content for e-learning course
Using the Content tab to plan lessons of the course. You can also add sections, contents and certifications .
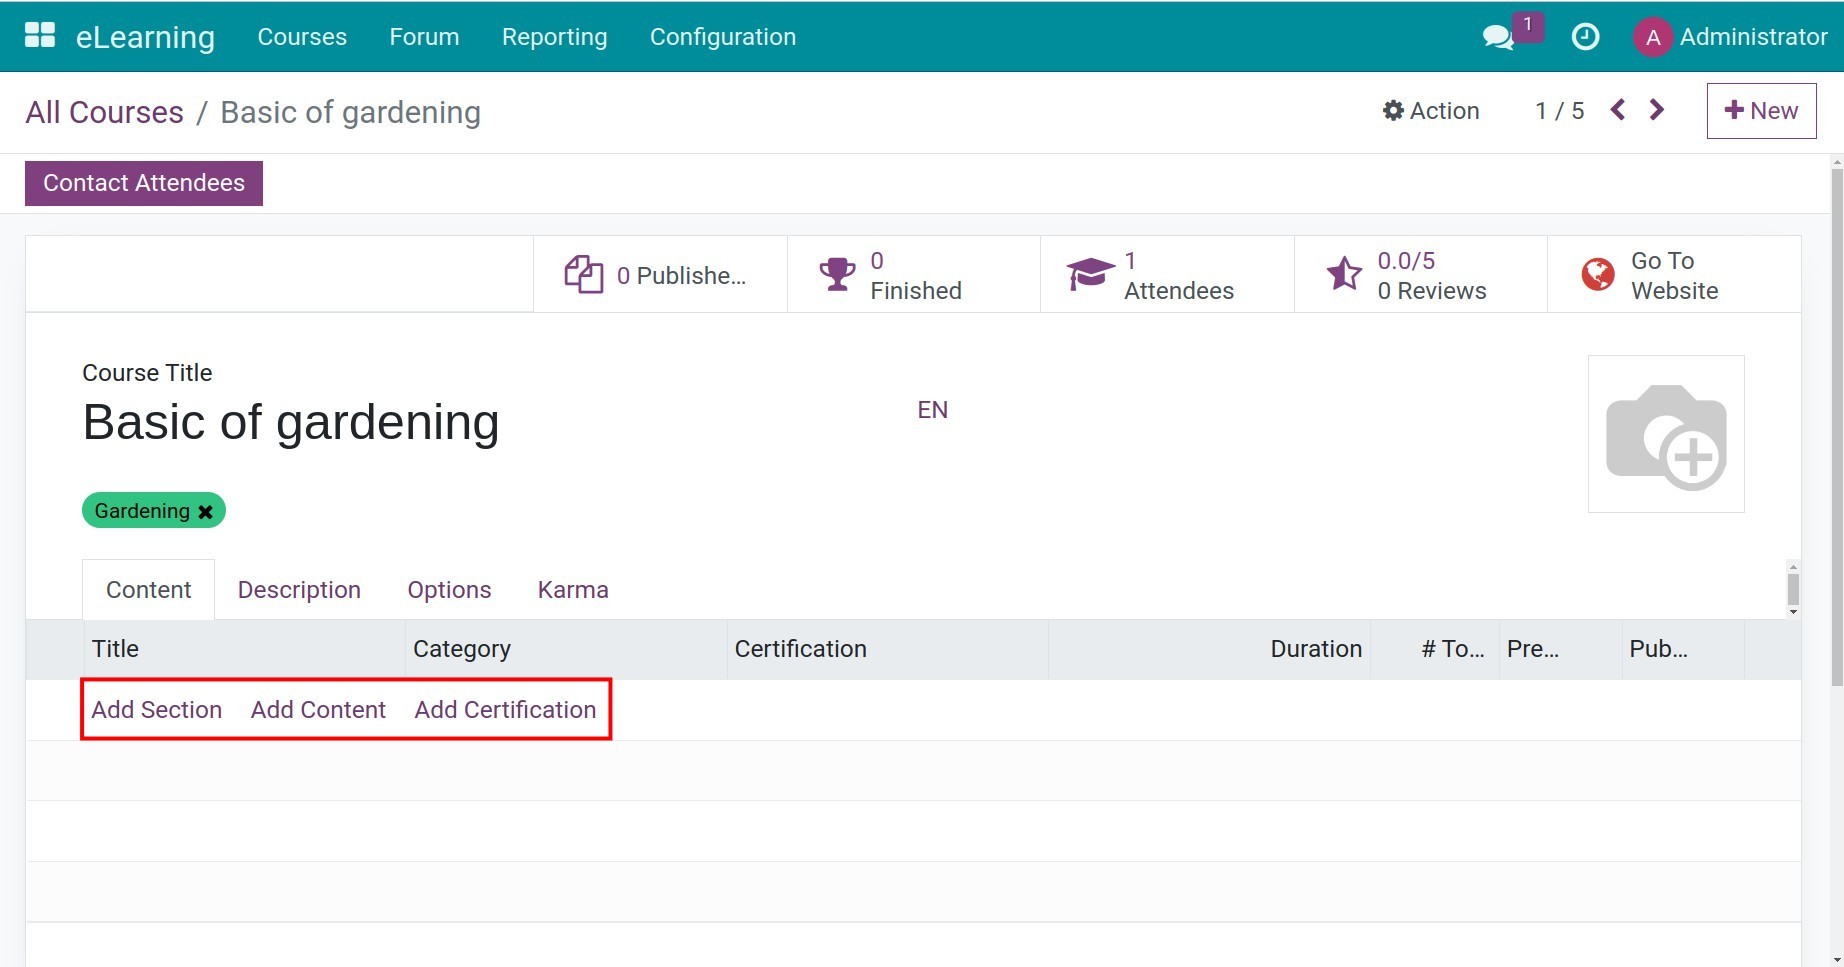
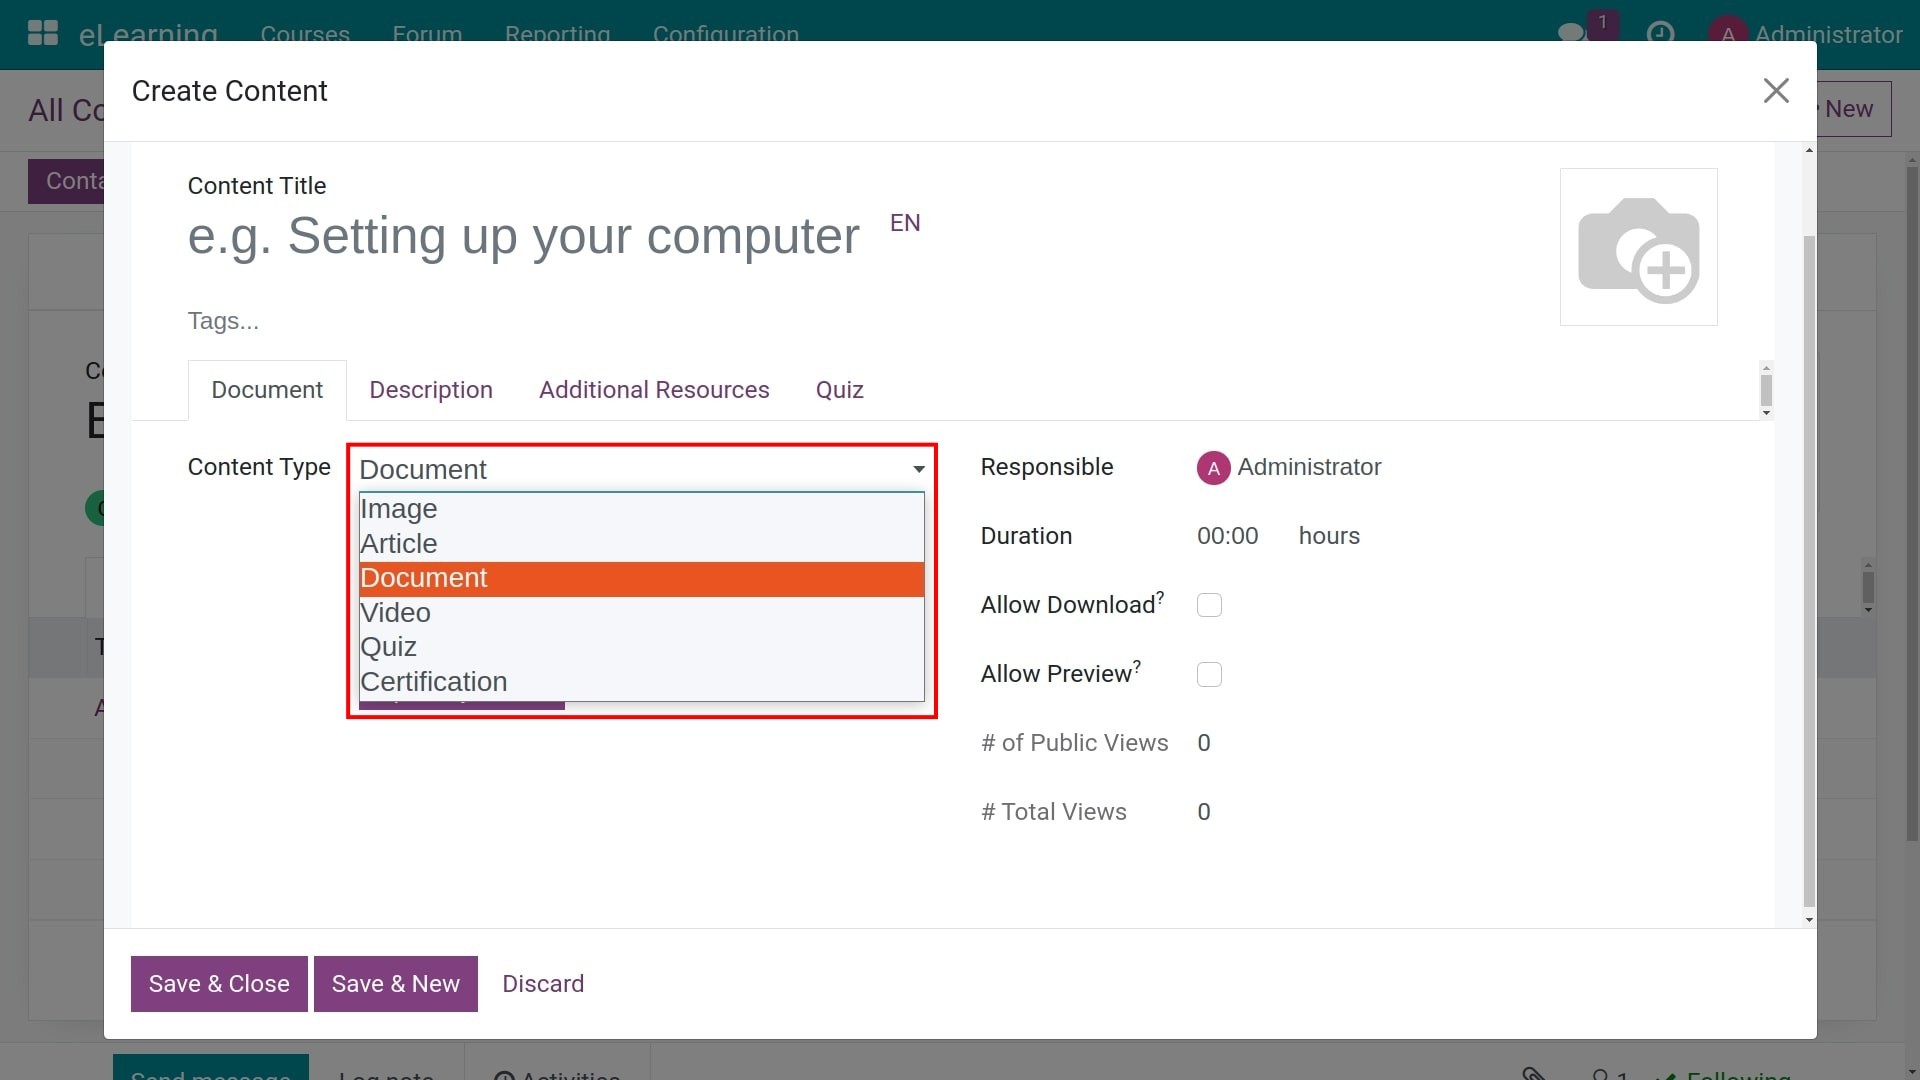
In the Content tab, click Add Content to add new content for the course. The system allows users to create content of lessons with various types:
Image: includes images with notes.
Article: write an article for this course.
Document: document file attached (e.g.: .xlsx, .pdf, .mp4, .rar, .jpeg, etc.).
Video: present a video on another platform (e.g.: link video on YouTube, Vimeo, etc.).
Quiz / Certification: identify content as an online test (with accompanying questionnaires). To see the type Certification, you need to activate the Certification feature .
Some other settings like:
Duration: setting the estimated completion time for this content.
Allow Preview: allow the user don’t need to join the channel to access the content of the course.
Allow Download: allow the user to download this content.
# of Public Views: public views of this content.
# Total Views: total view of this content.
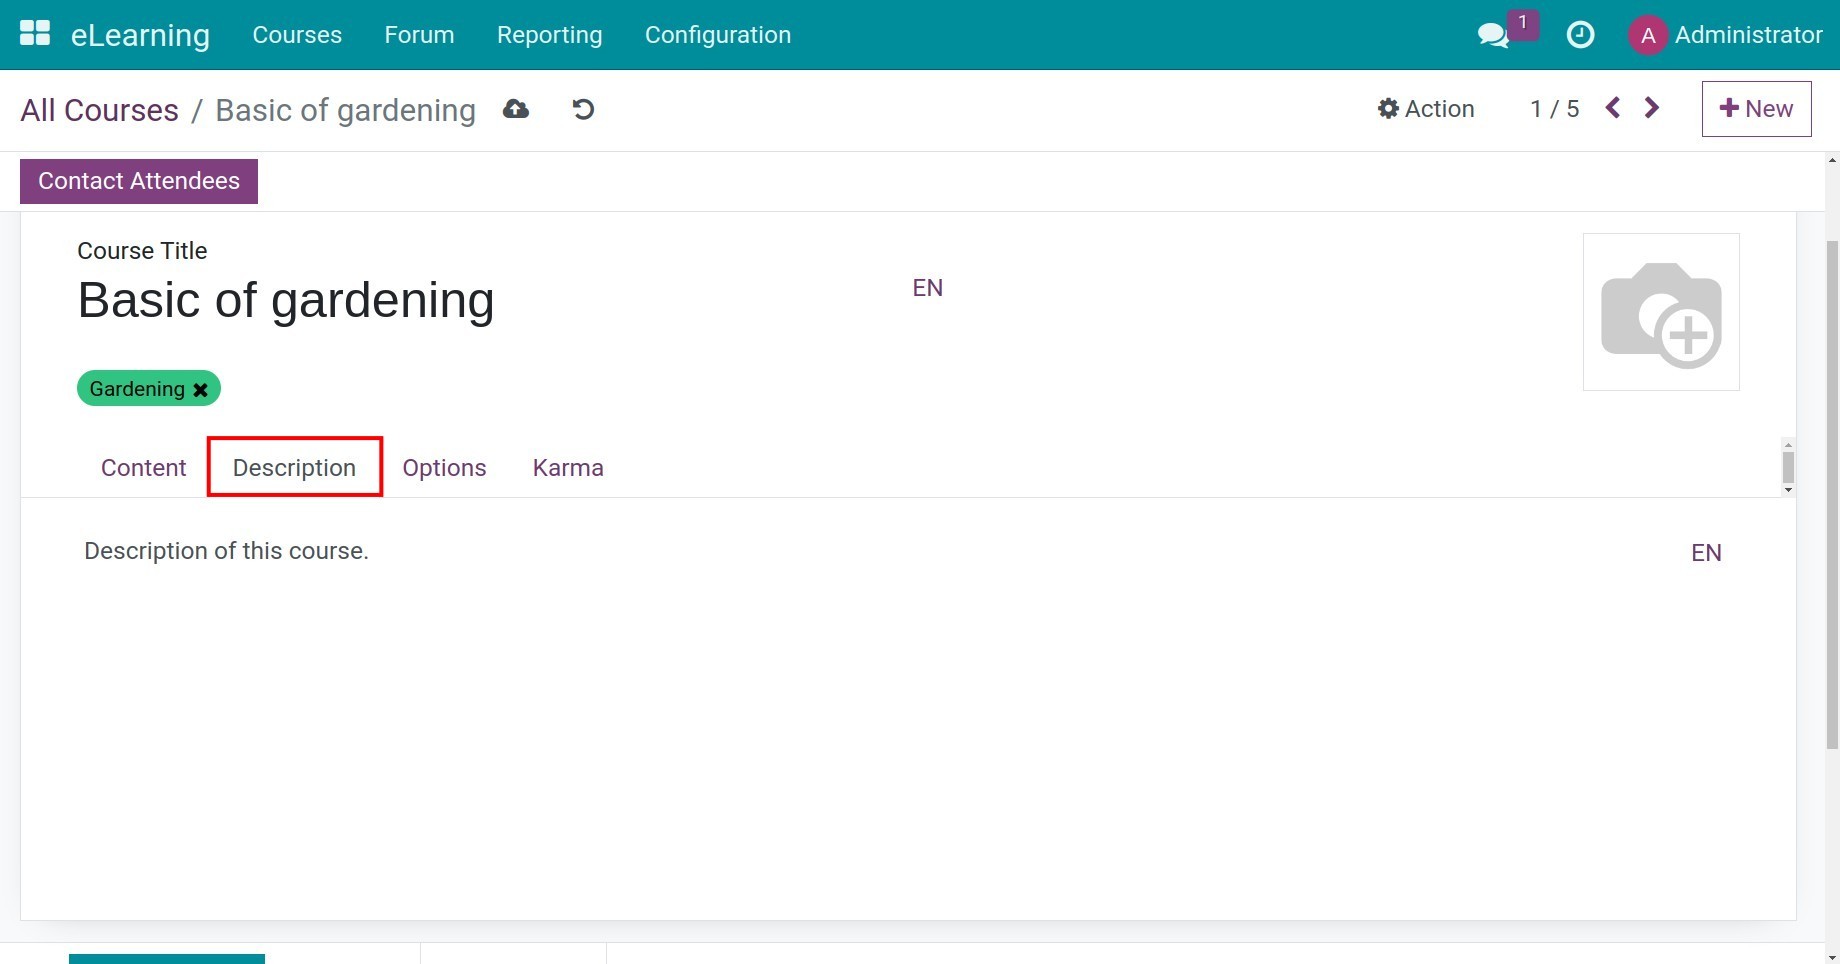
Description tab: enter a detailed description that will be displayed below each content.
Additional Resources tab: you can add external links and resources for users to refer to further.
Quiz tab: set up content rewards and questions.
Finally, click on Save & Close to save all the above contents or Save & New to create another course’s content.
In the Description tab, users can provide the general information and target of this course. This information will be displayed below the course title when posted.
Significant settings for e-Learning course
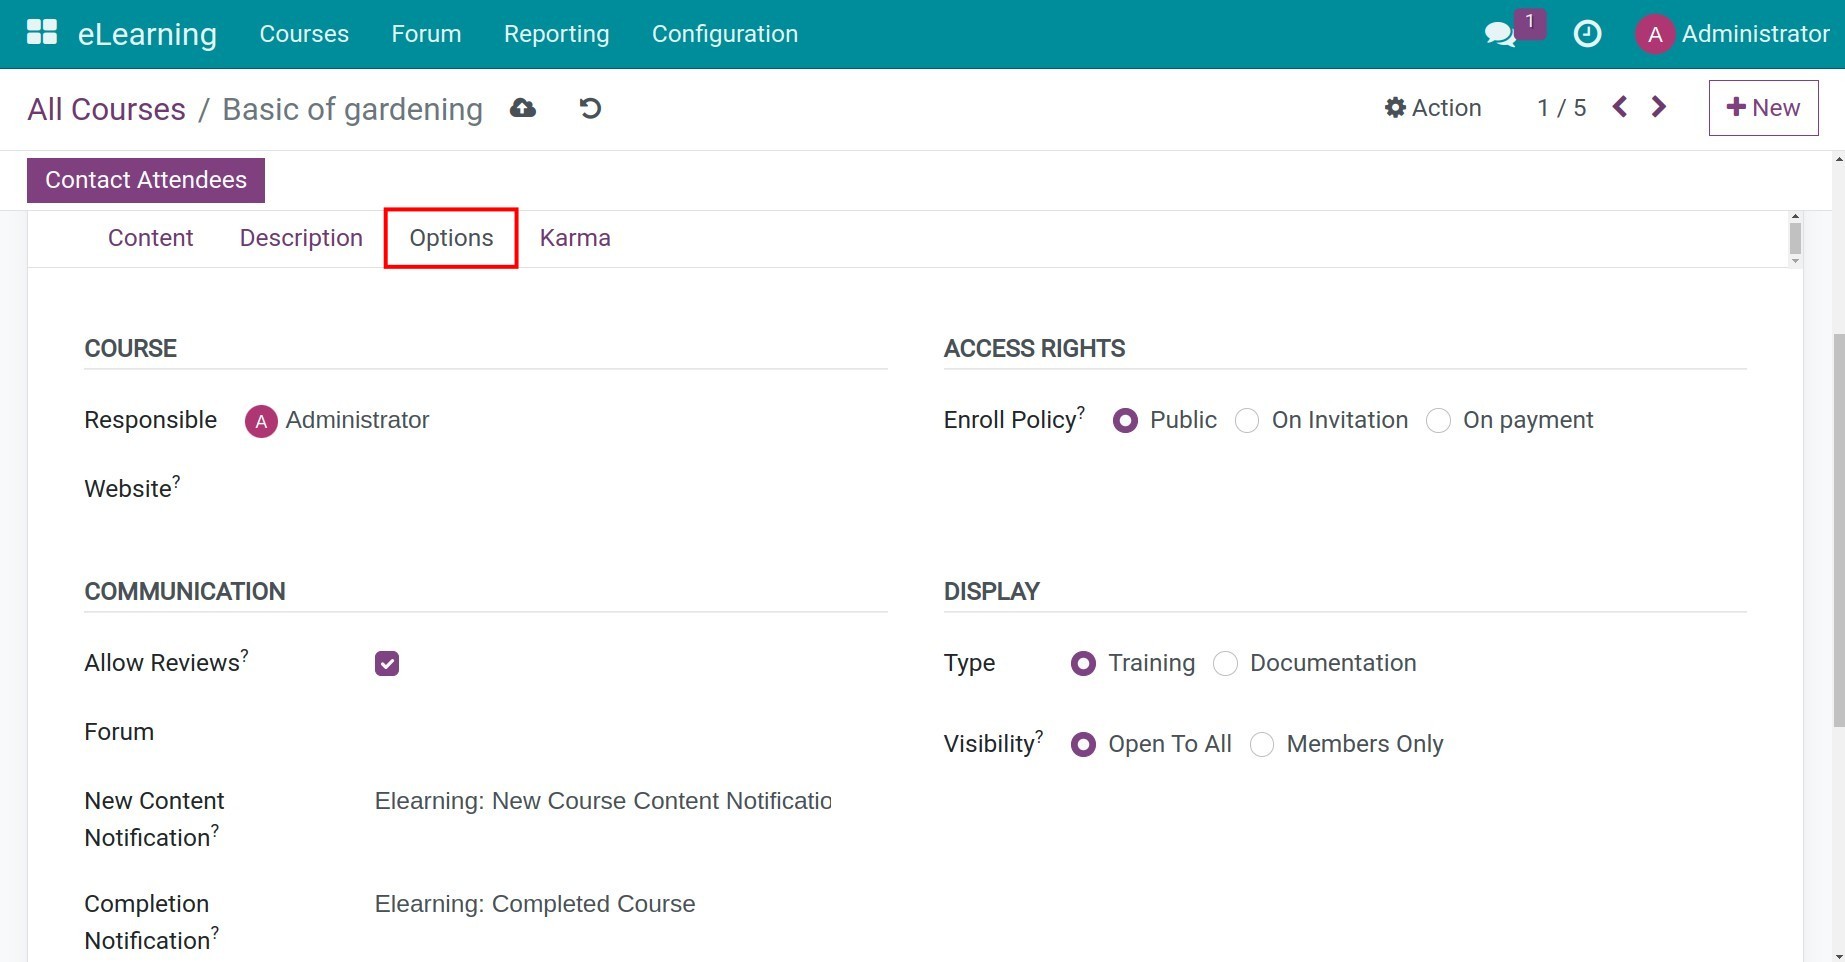
The Options tab shows various options related to the course as followings:
![eLearning course options]()
Responsible: the internal user who is responsible for this course.
Access Rights: to help you select an Enroll Policy:
Public: is public policy and everyone can join.
On Invitation: sending invitations via email. Only those who receive the invitation email can join the course. This content might be created from the ready email templates described in the platform.
On payment: users have to pay a fee to join the course. When you select this item, the course is considered as a saleable or purchasable product.
Communication: allow active or inactive rating, post comments, review , exchange information on the forum (if any), and set up email for new content or course completion.
Display: includes two options Training and Documentation. You can select to open this course for all viewers or members only.
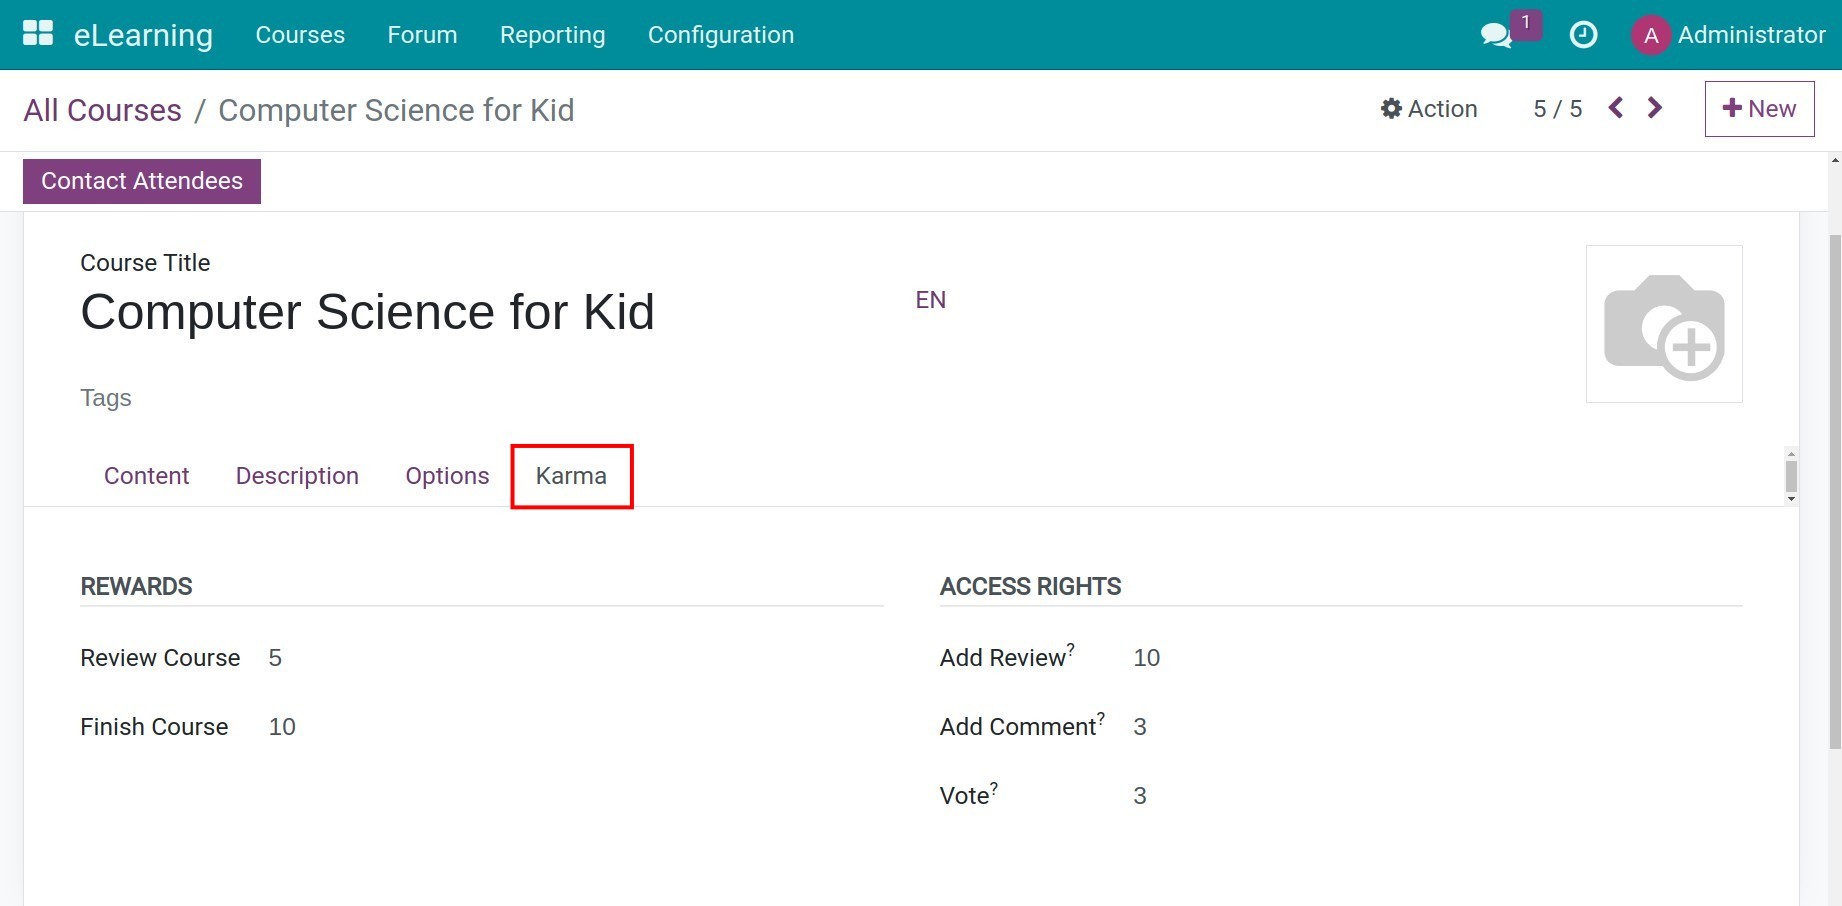
Karma is the system of bonus or penalty points that helps you sustain motivation for your members (employees or applicants) to participate in the course more exciting turns up. If they complete tasks such as: adding comments, reviews, taking the exams, etc. they can get Karma points. These points will serve as a measure of your credibility in the eLearning community.
Rewards: set points for course evaluation and completion.
Access Rights: allow to set points when adding reviews, comments and votes.
After filling in the course information, click the Save manually icon to save.
Users also edit and give additional content to an existing course on the eLearning module. Additionally, users can share the course with many applicants by using the sharing options on the website view.
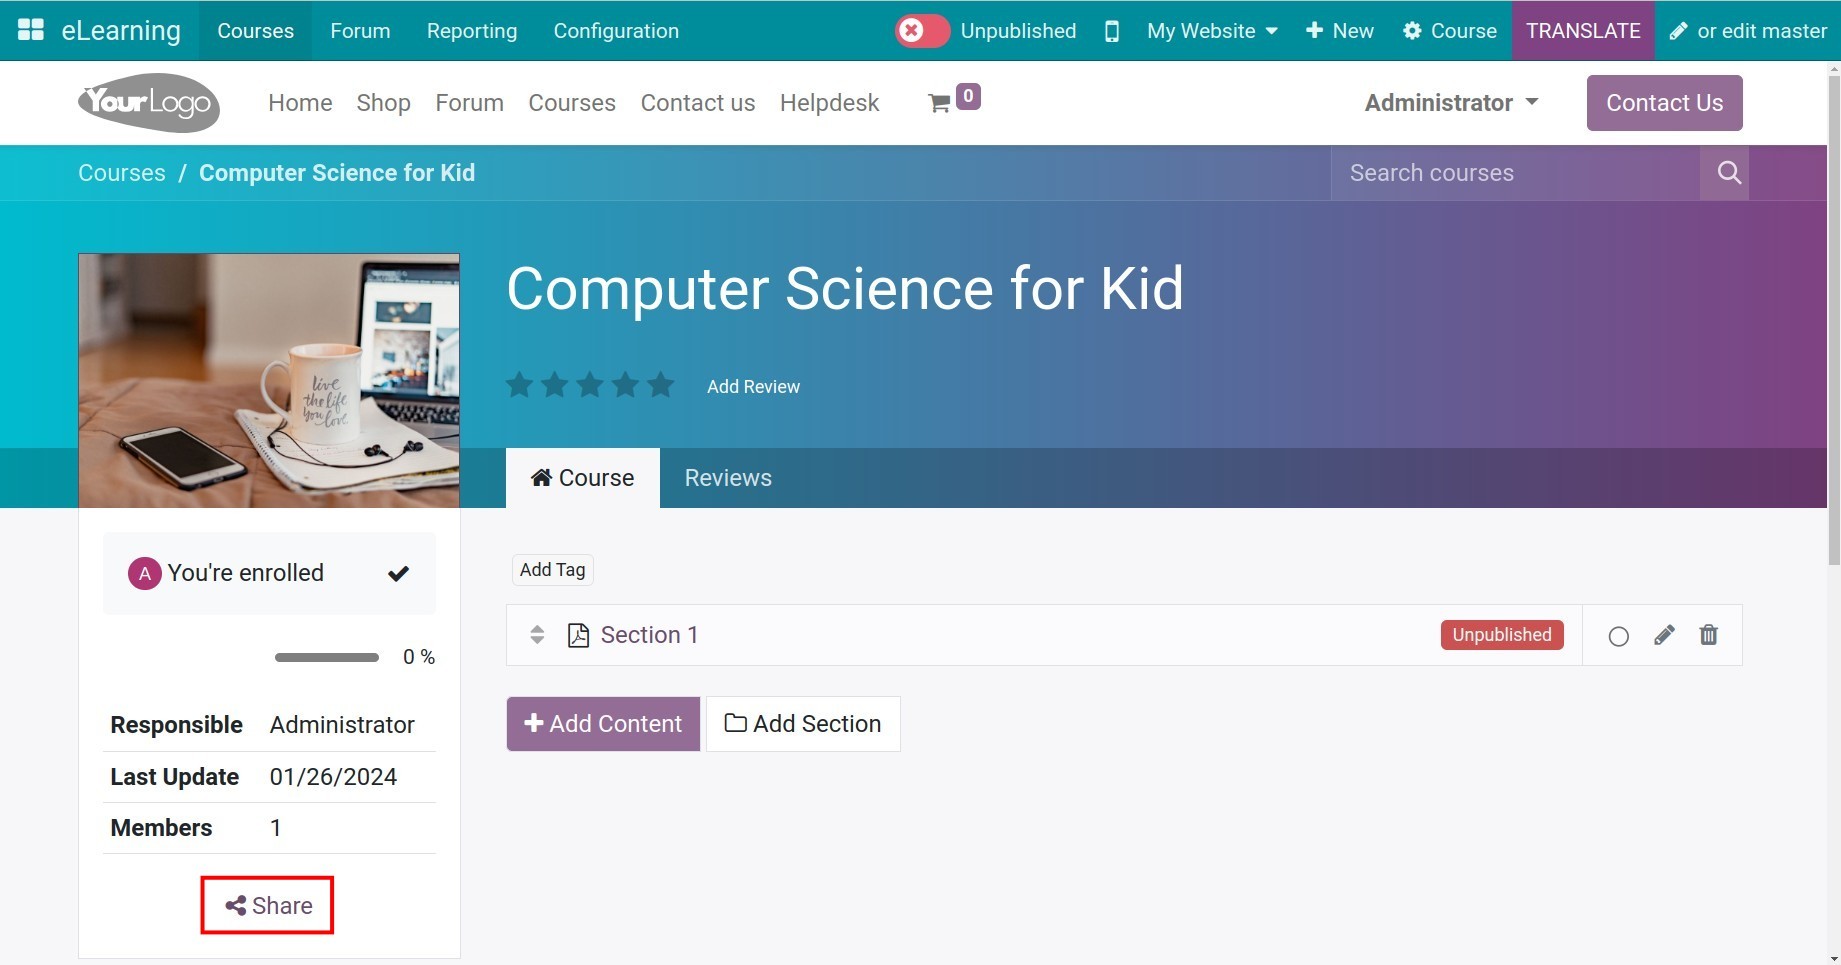
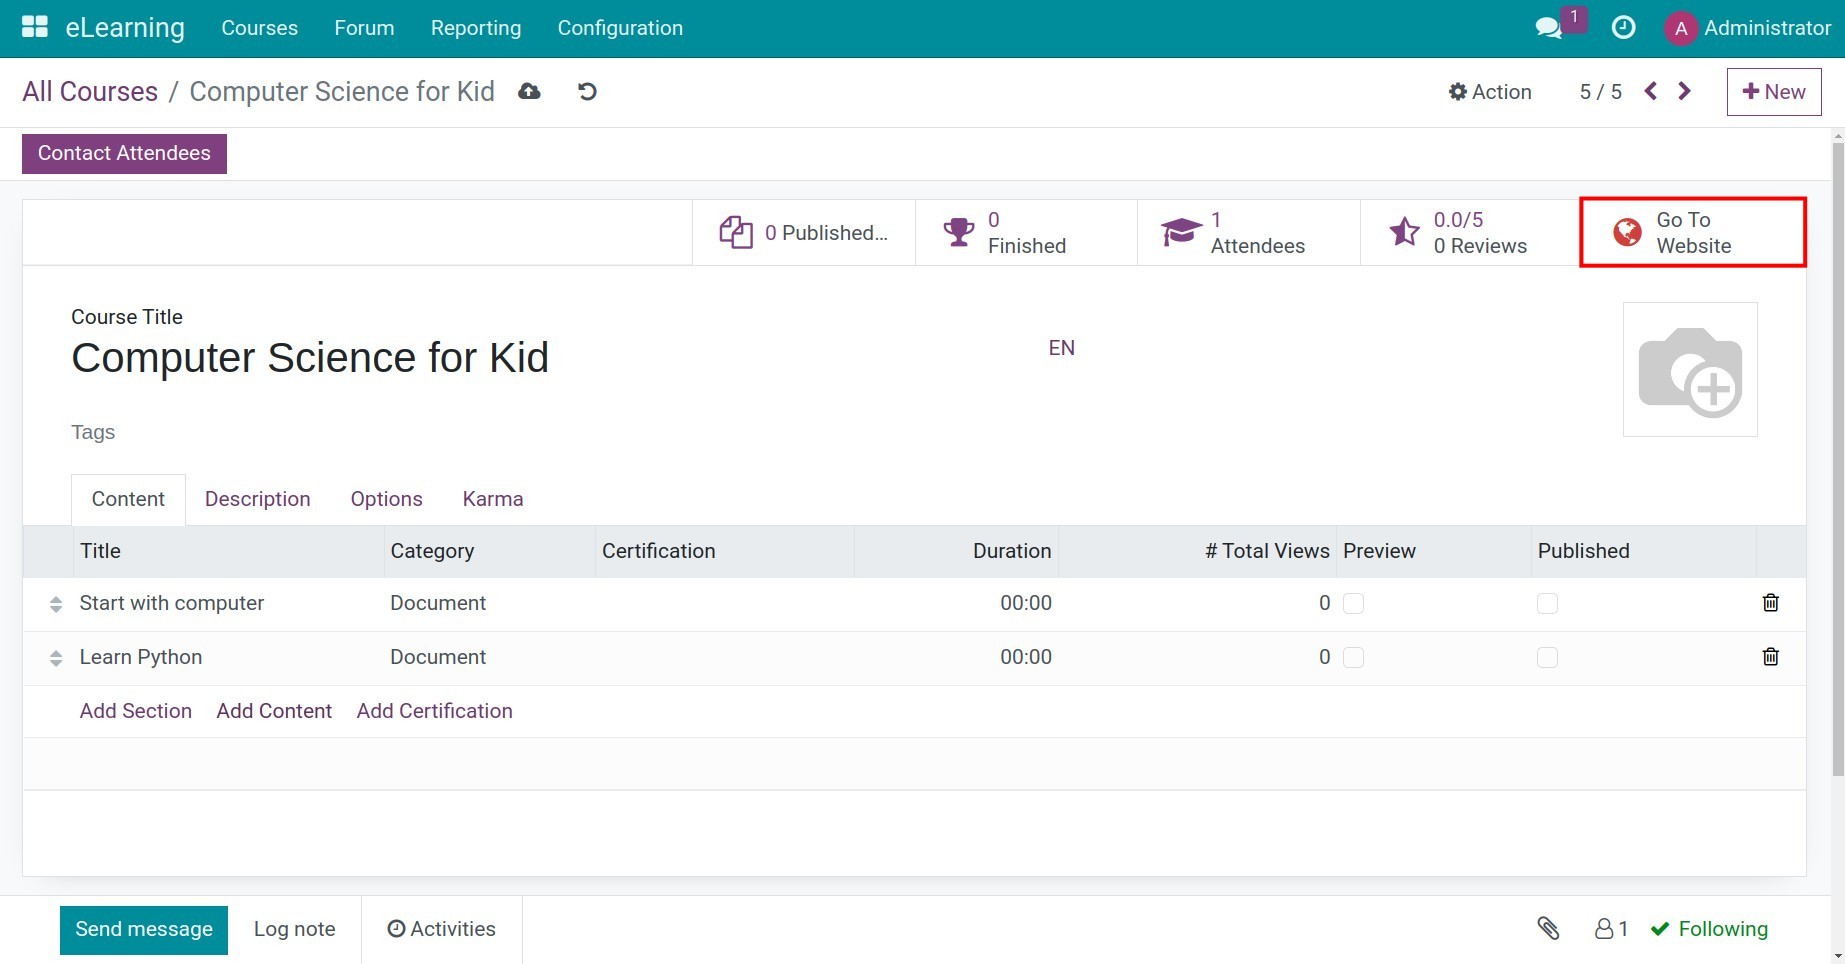
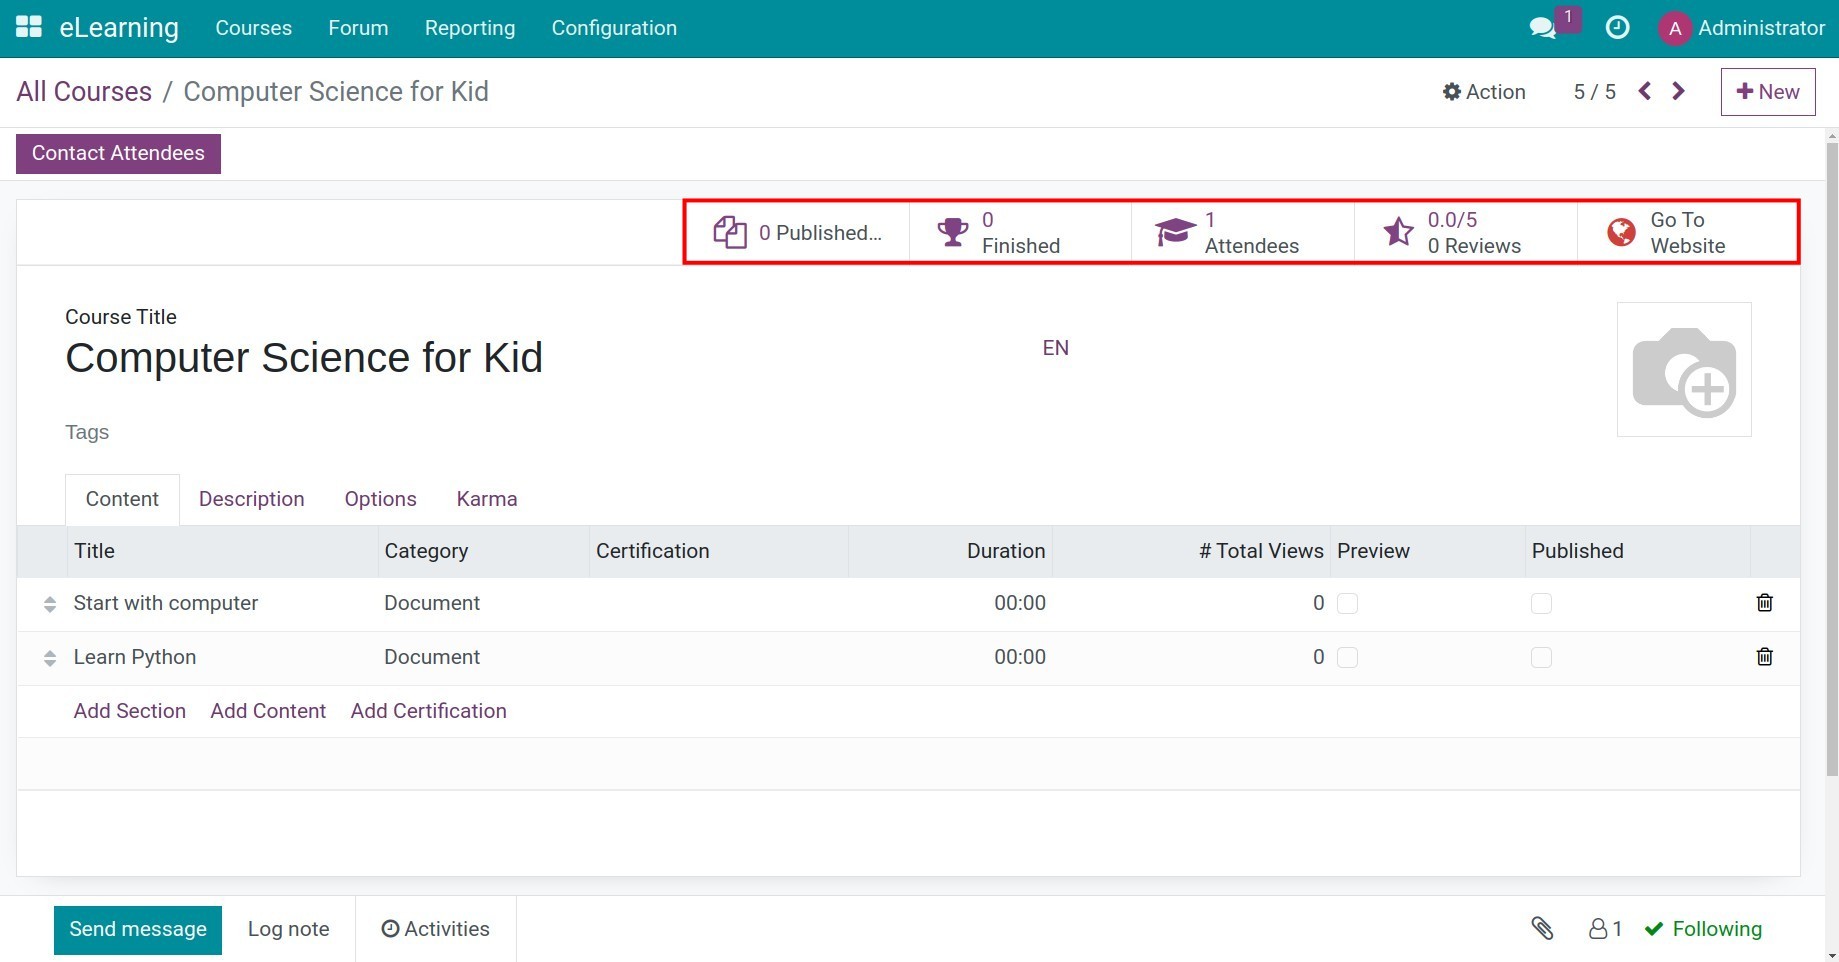
How to publish an eLearning course
To publish the course on a website, you need to click on the Go to Website button in the upper right corner.
The system will direct you to the website interface and you need to click on the red button in the upper right corner to switch the state of course to Published.
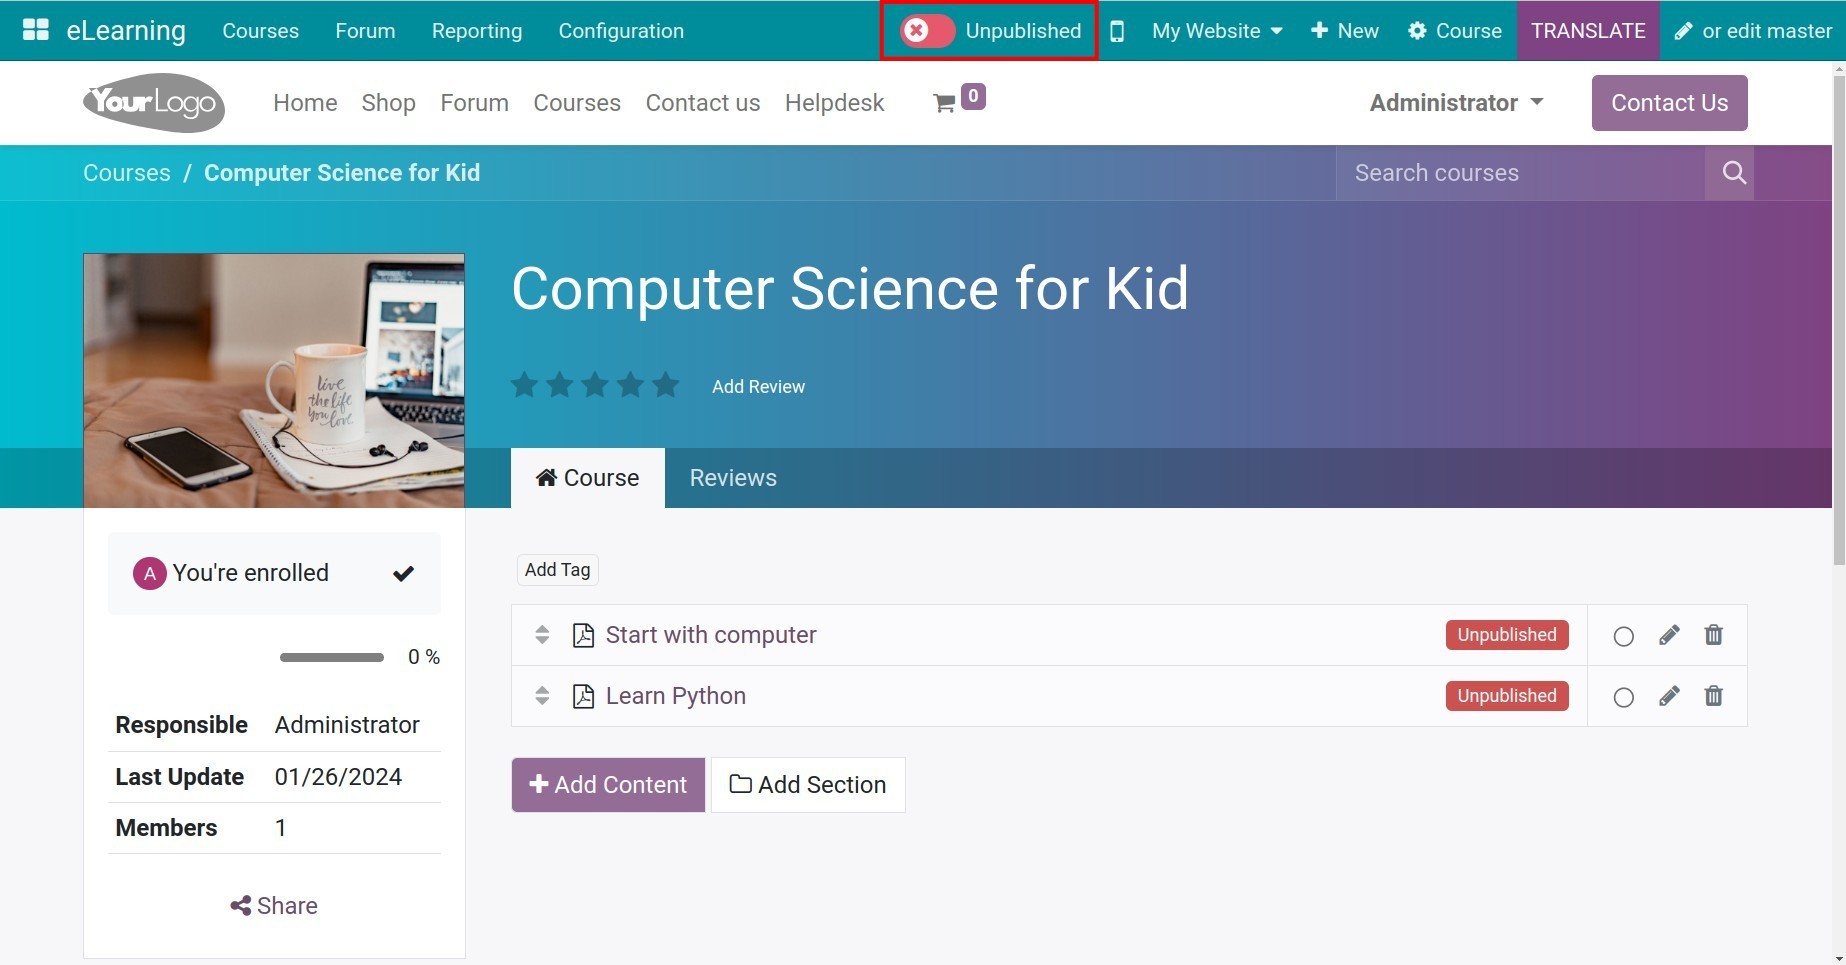
The course is ready to be accessed online on the website.
You can get statistical information: the number of visitors, participants, the number of people who have completed the course, and the number of comments and reviews when the course is published.
See also
Related articles
Optional module