Create and publish blog posts
Requirements
This tutorial requires the installation of the following applications/modules:
Create a Blog post
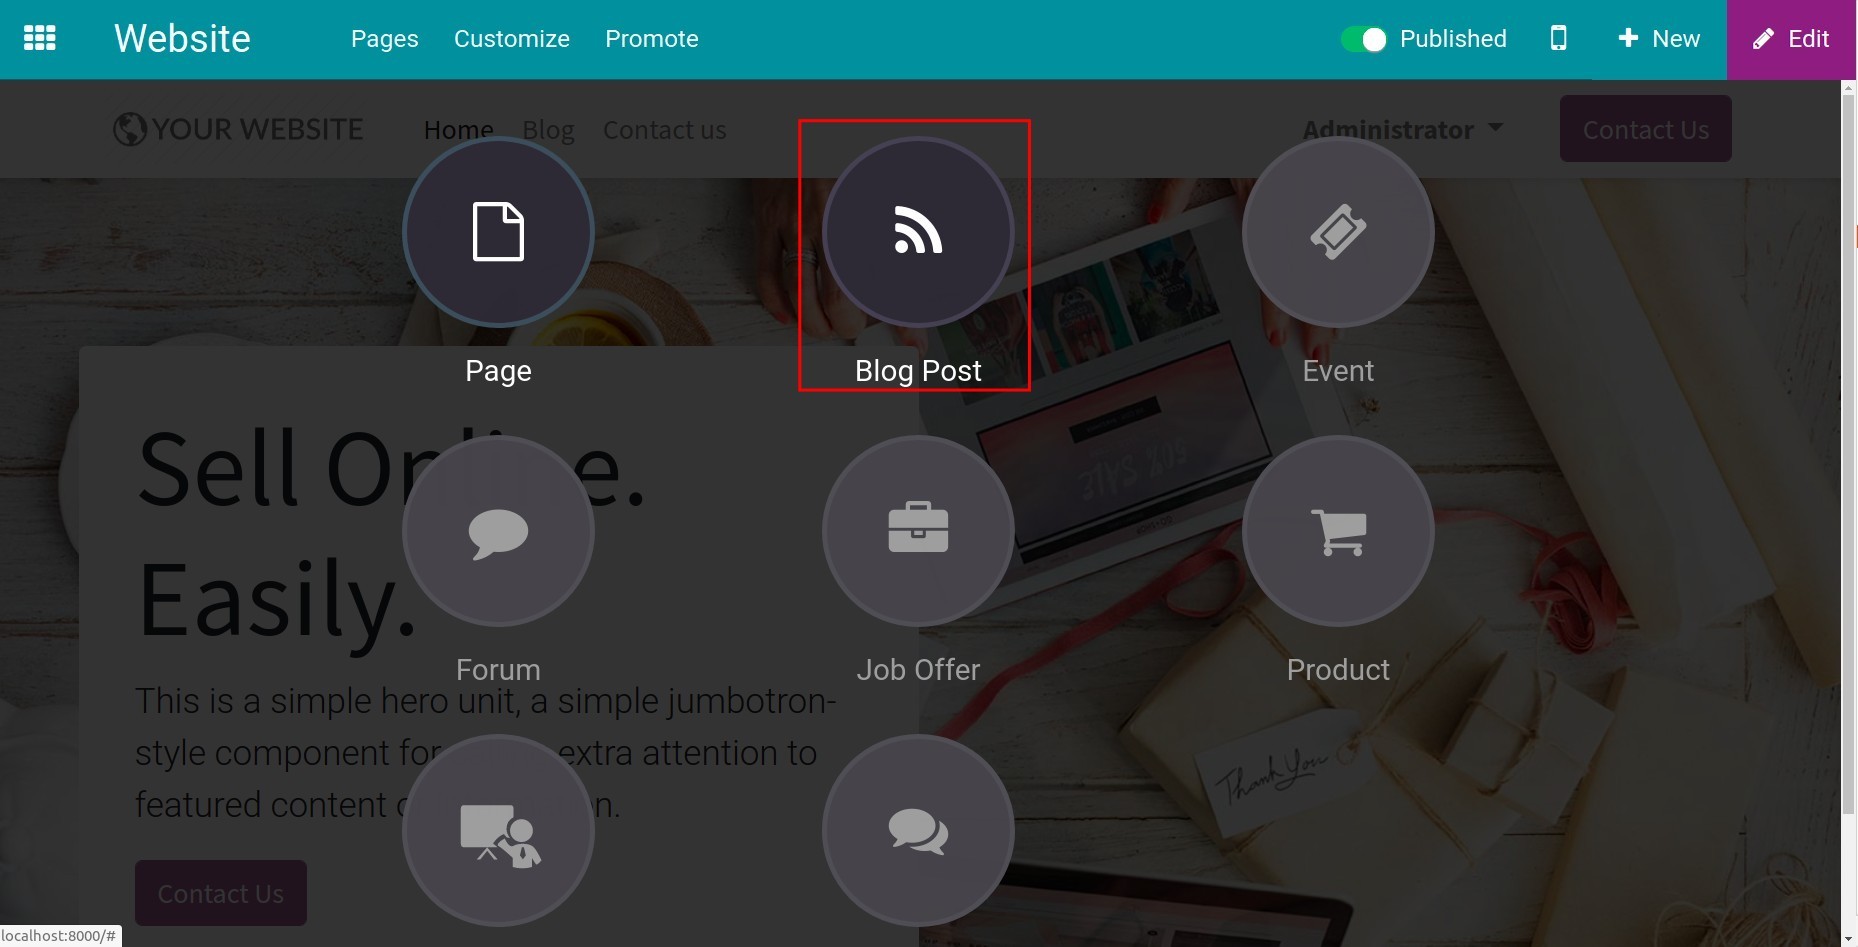
First, in the app Website, click on the button Go to Website.

Click on the button New, and select the icon Blog Post.

Now the editing view appears with two main parts: the left side is the blog post content, the right side one is the editing tools:
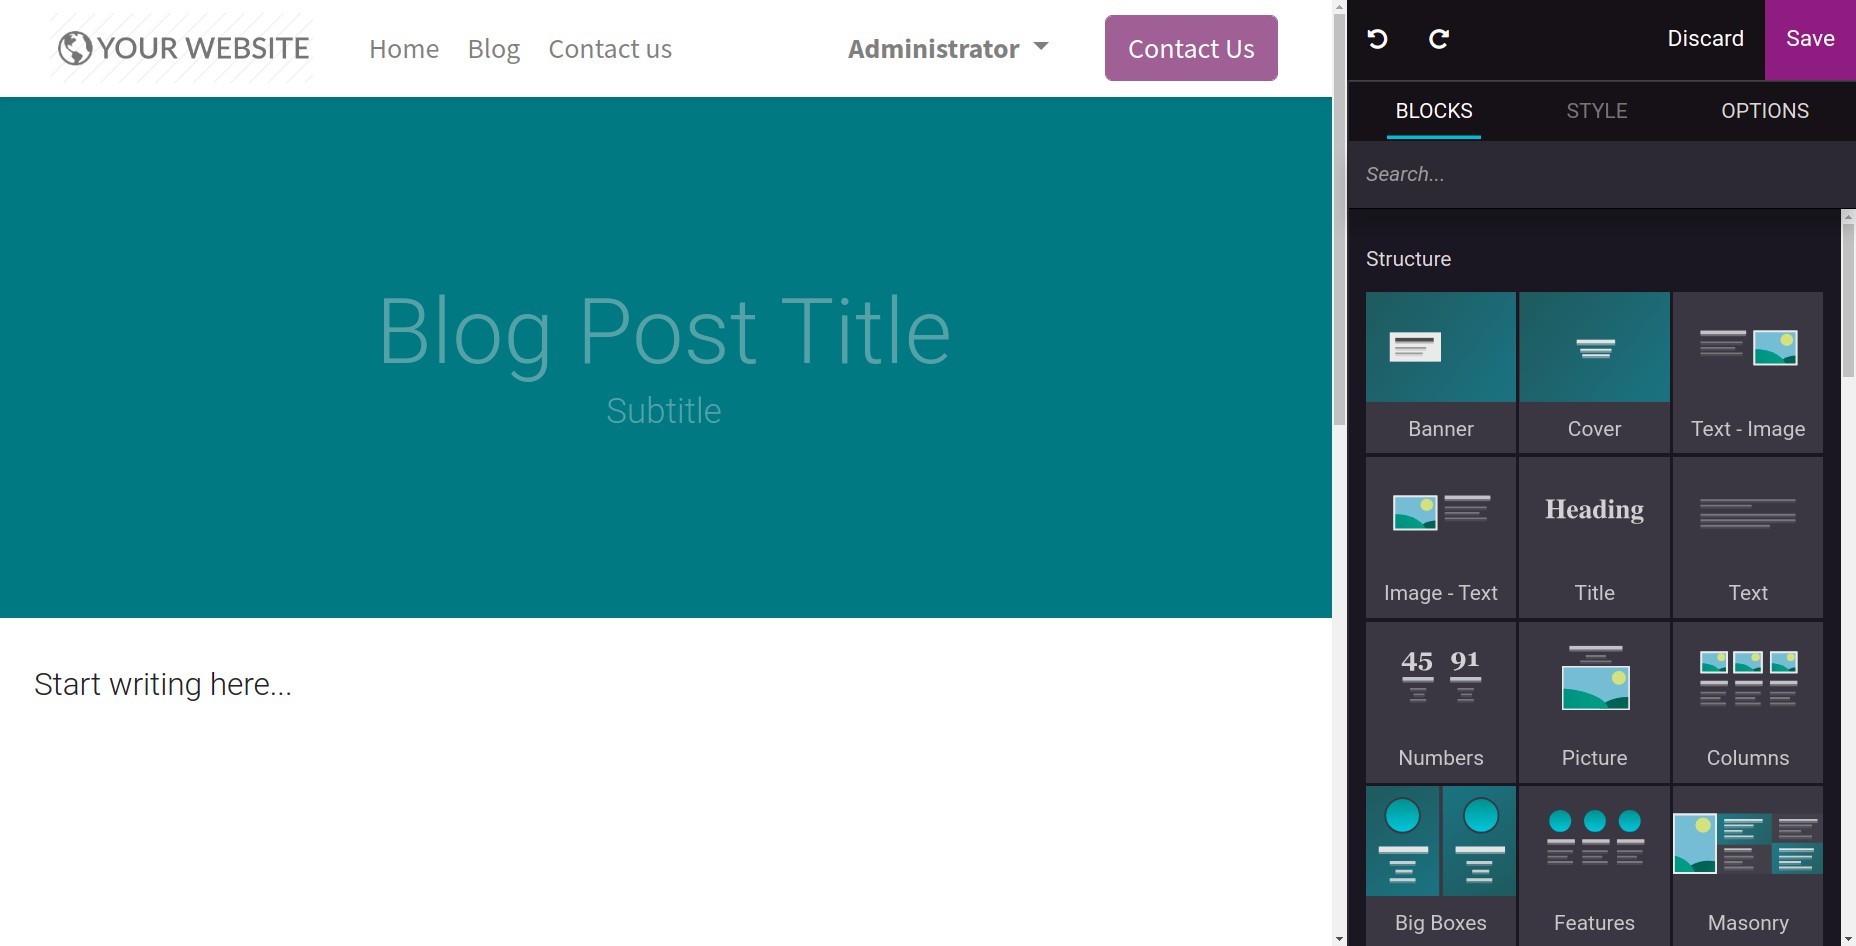
Blocks: The available blocks to design and apply features to contents;
Style: The format tools for texts, the same as Google Docs, Microsoft Word;
Options: The advanced design tools for layouts, colors, etc.
A default Blog webpage in Viindoo has Blog Heading and Sub-heading. Click on each one to edit.

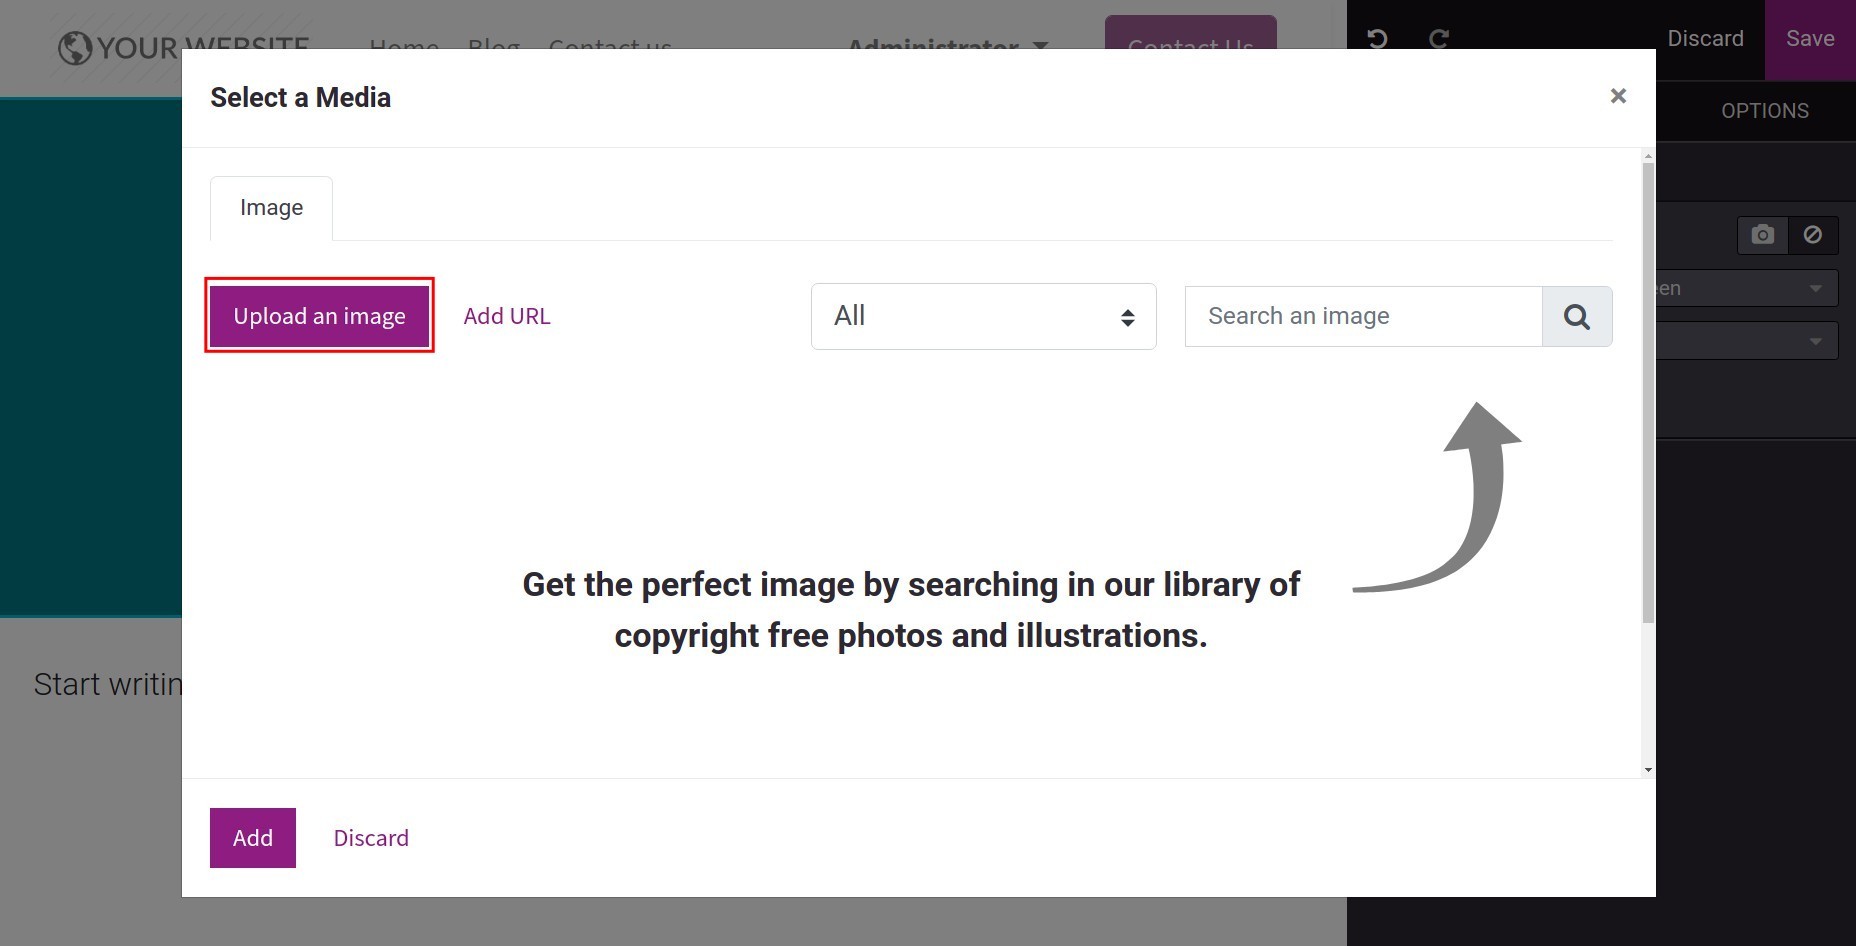
To add an image to the blog-post heading background, click on the Camera icon, and select Upload an image to upload the image in your device to the system library. Now click on the button Add to apply that image.


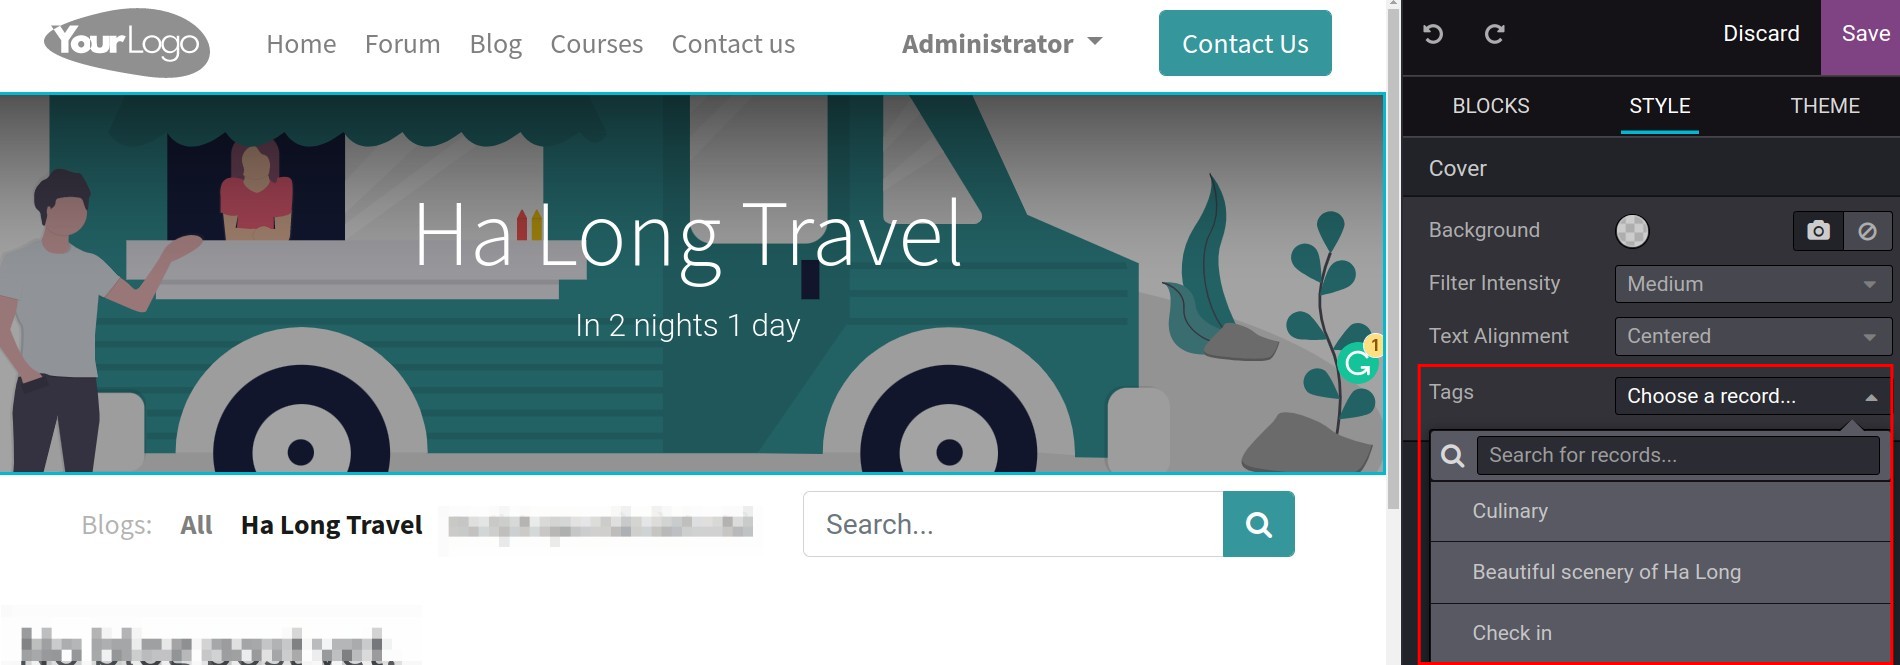
Also add tags to blog posts by selecting the box Tags.

Next, let’s move to Blocks to edit the blog post contents just by dragging and dropping the available blocks.
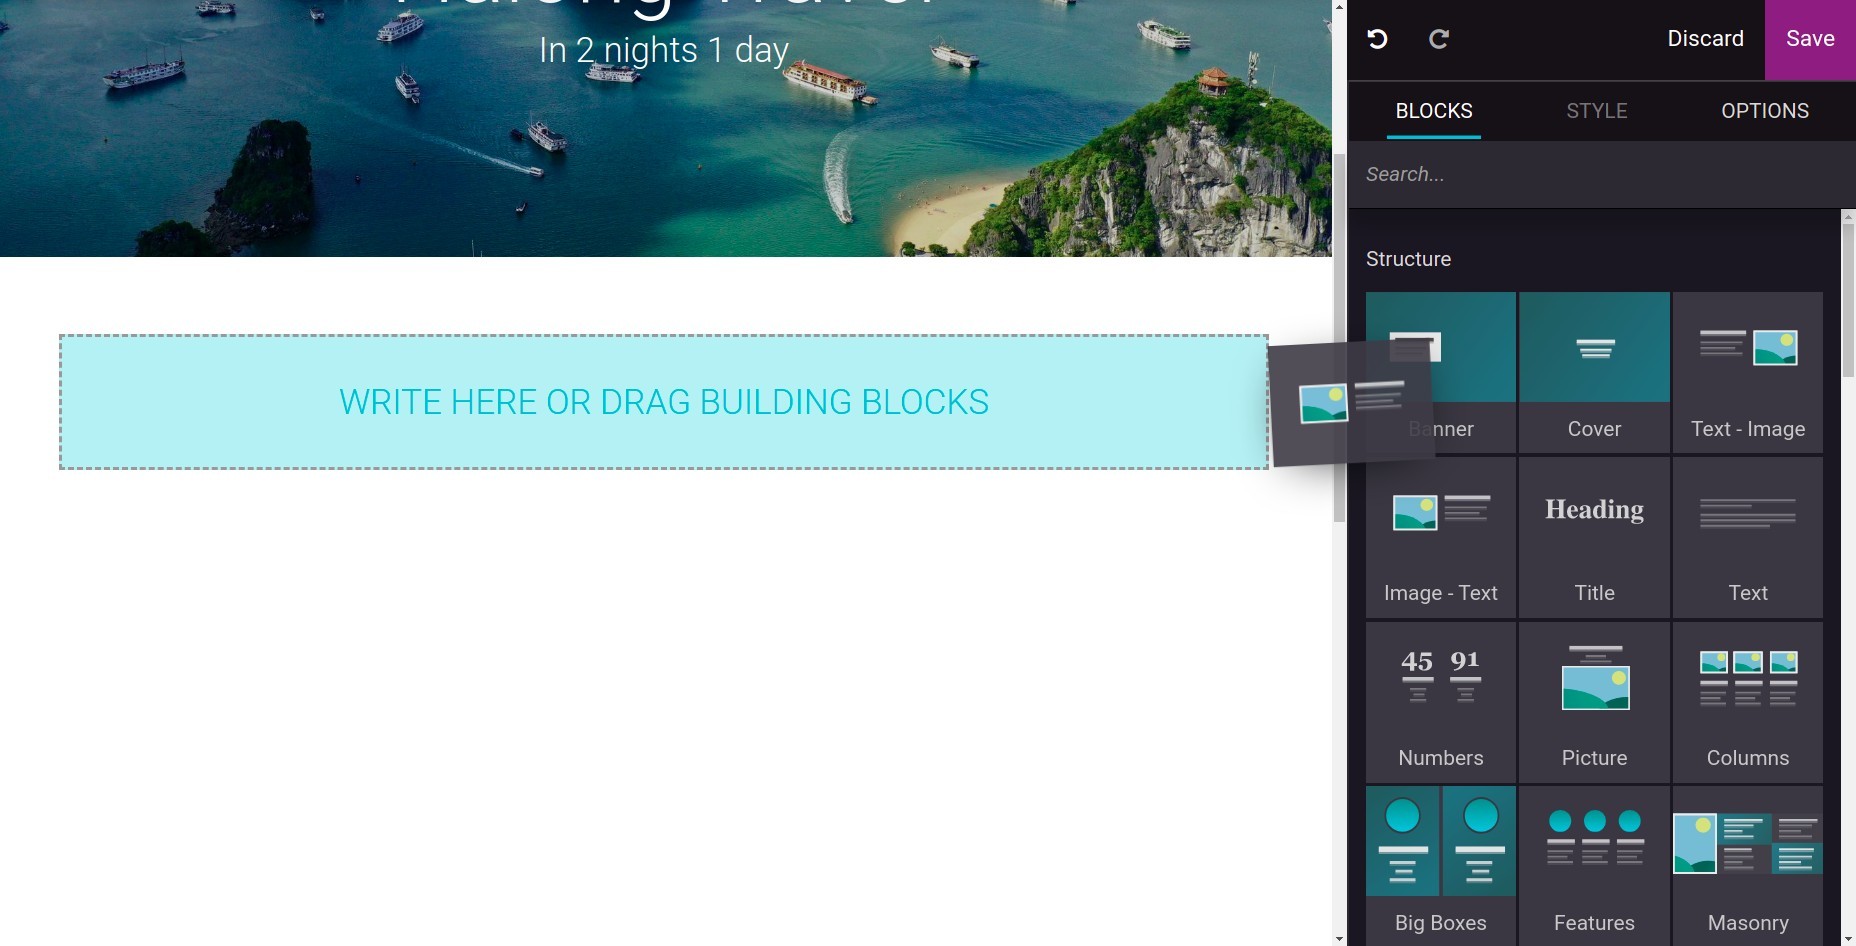
To edit a block, select the content inside it and use editing tools in Style.
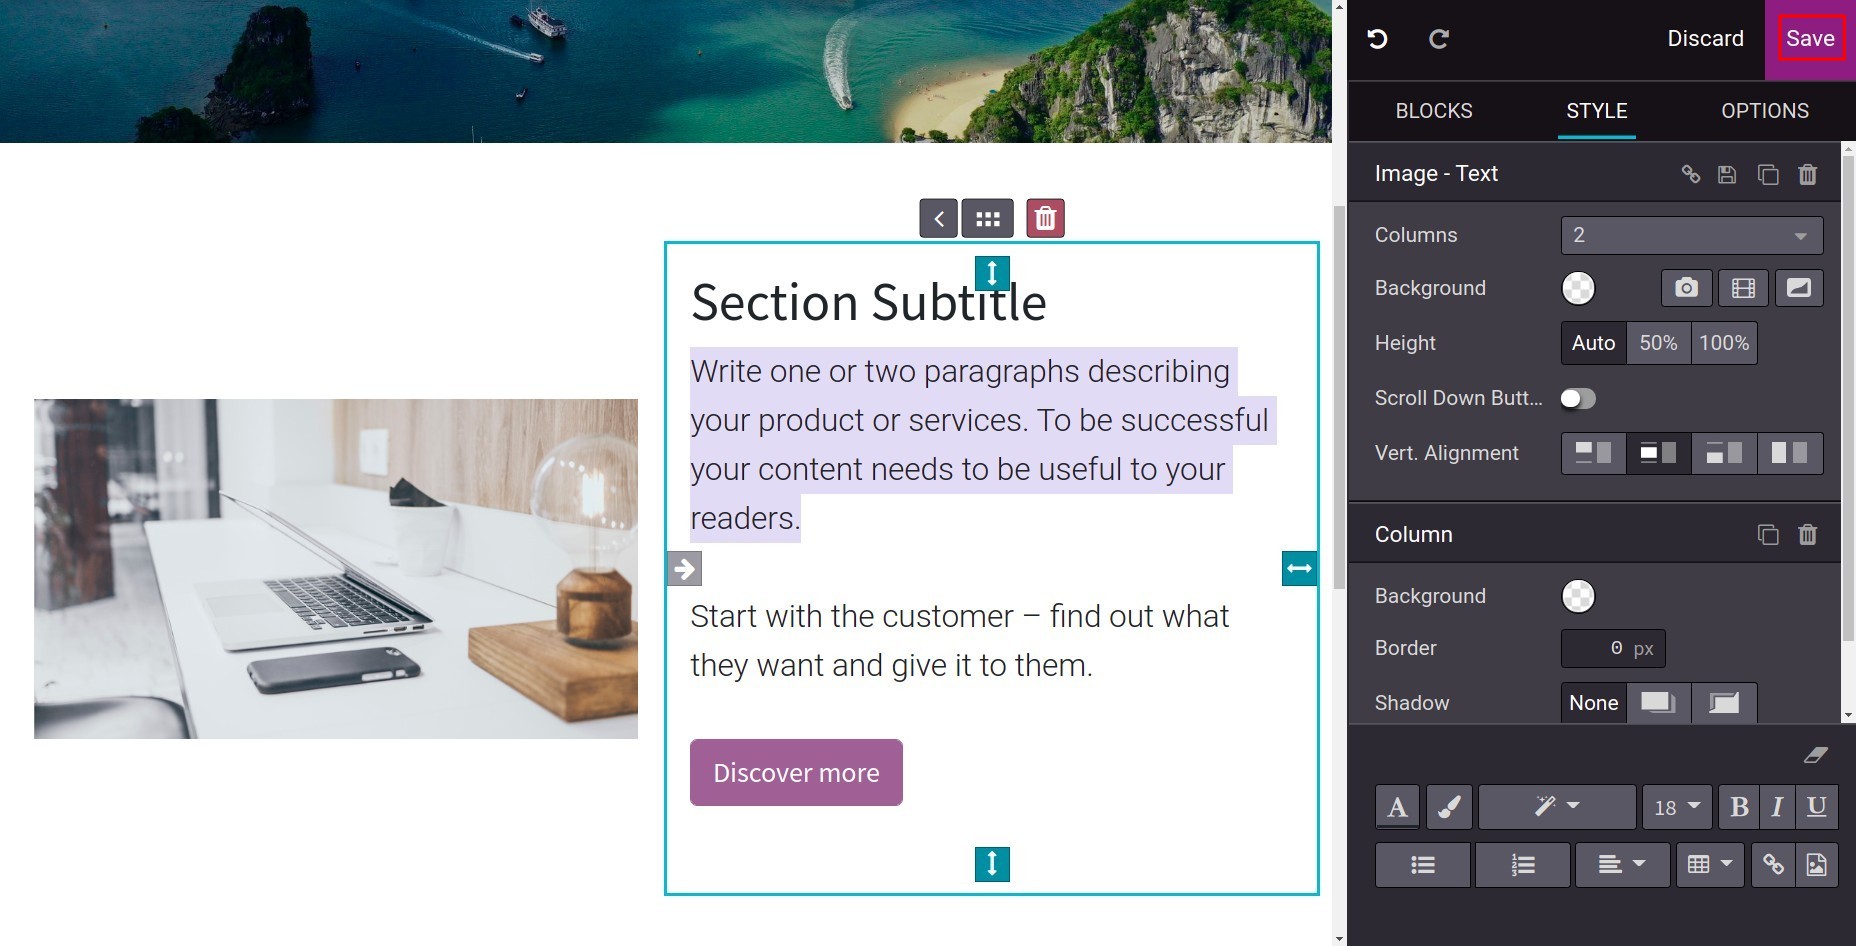
After finishing editing and designing, click on the button Save.
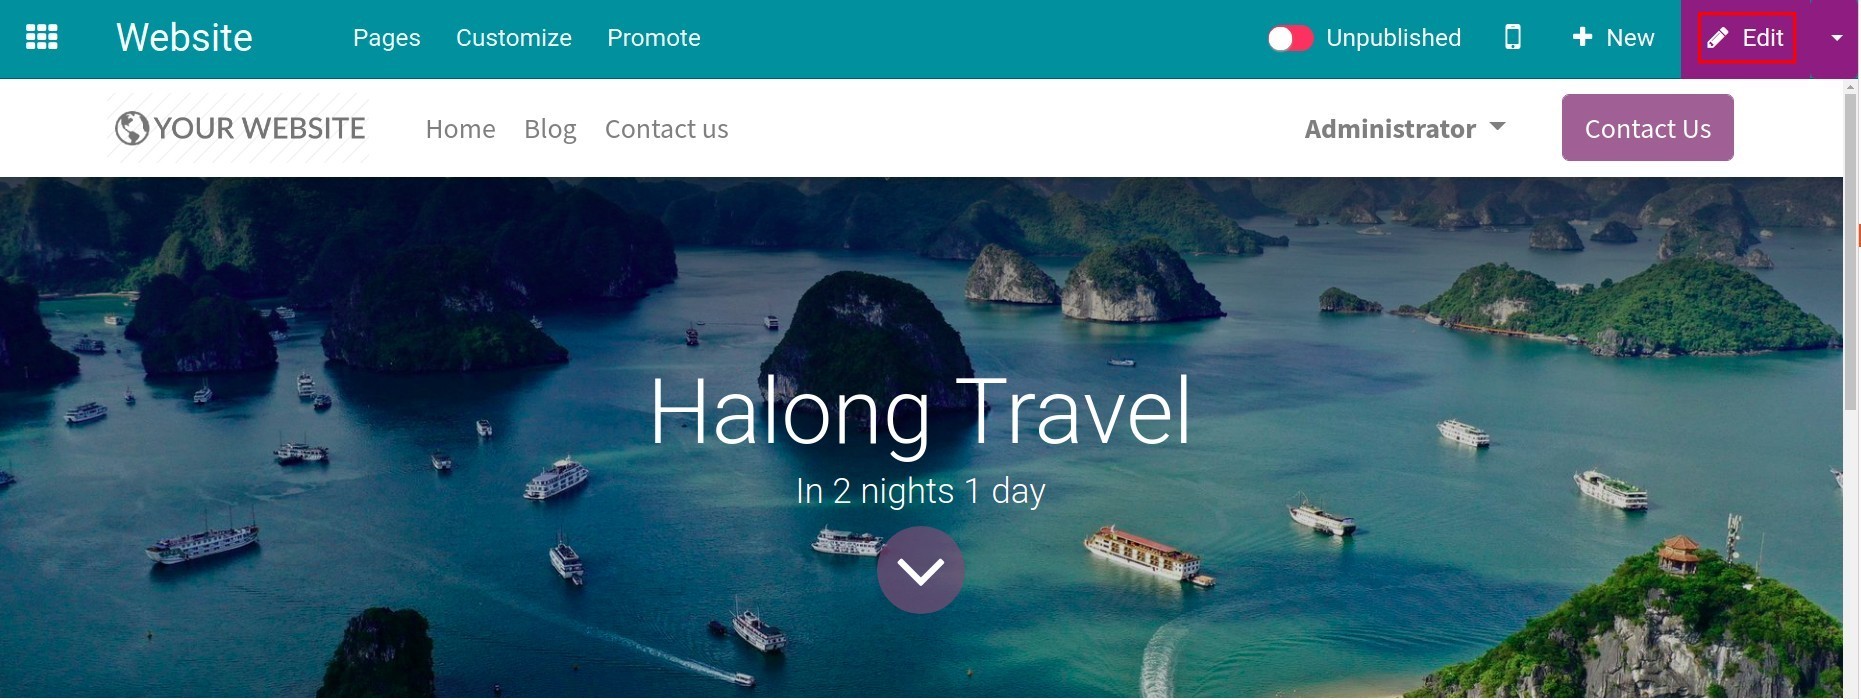
Sometimes when you want to edit the post again, press the button Edit on its top right side.
Publish
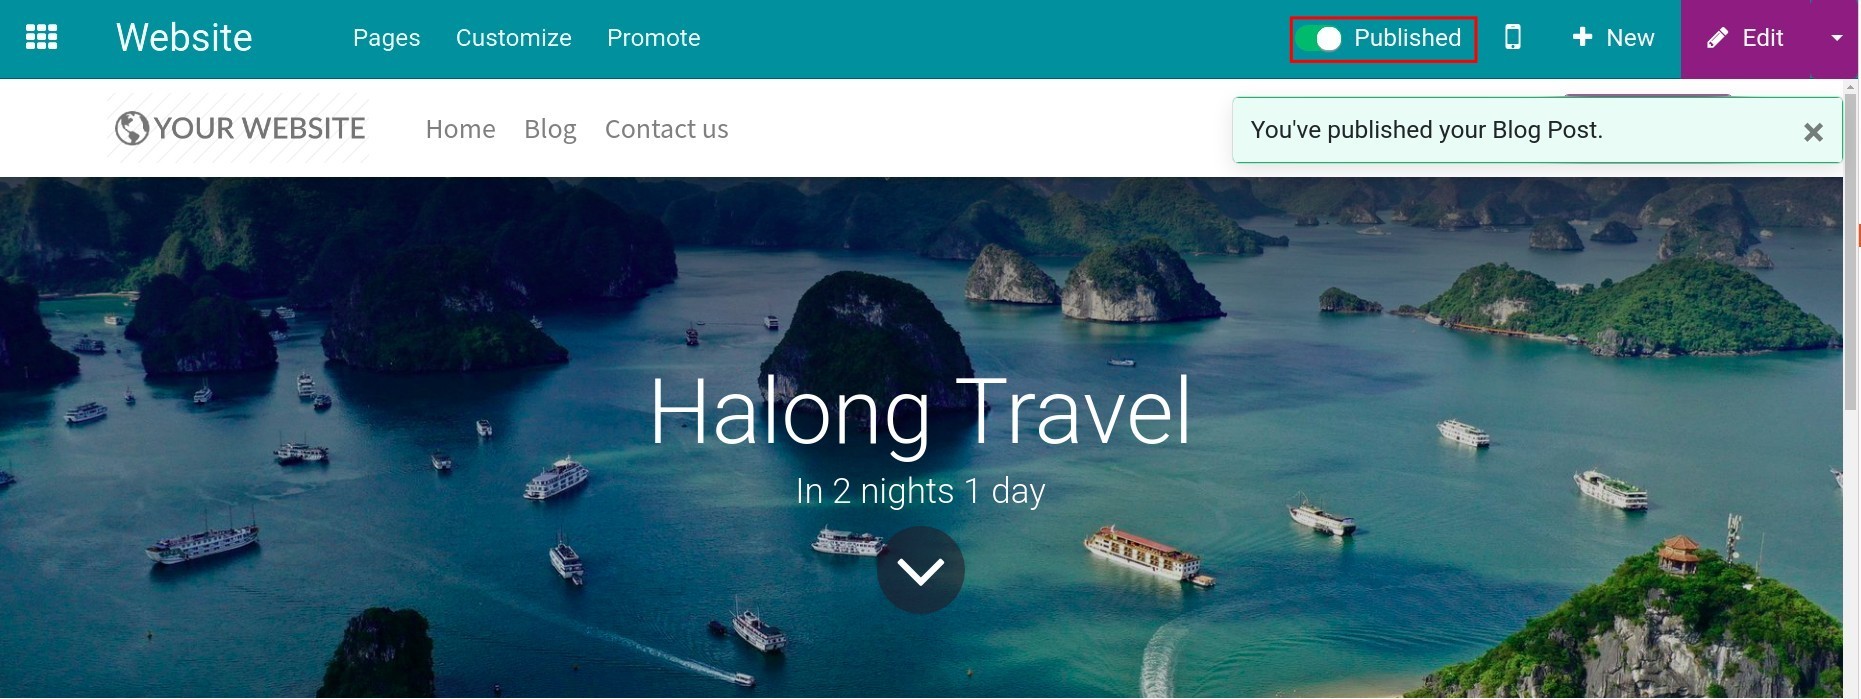
With the Editor and Designer right on the Website, you can check all the blog posts your employees have made before. After confirming the contents, let’s publish it on the website for the visitors to see it. To publish blogs, you swipe right at Unpublished to change it into Published.
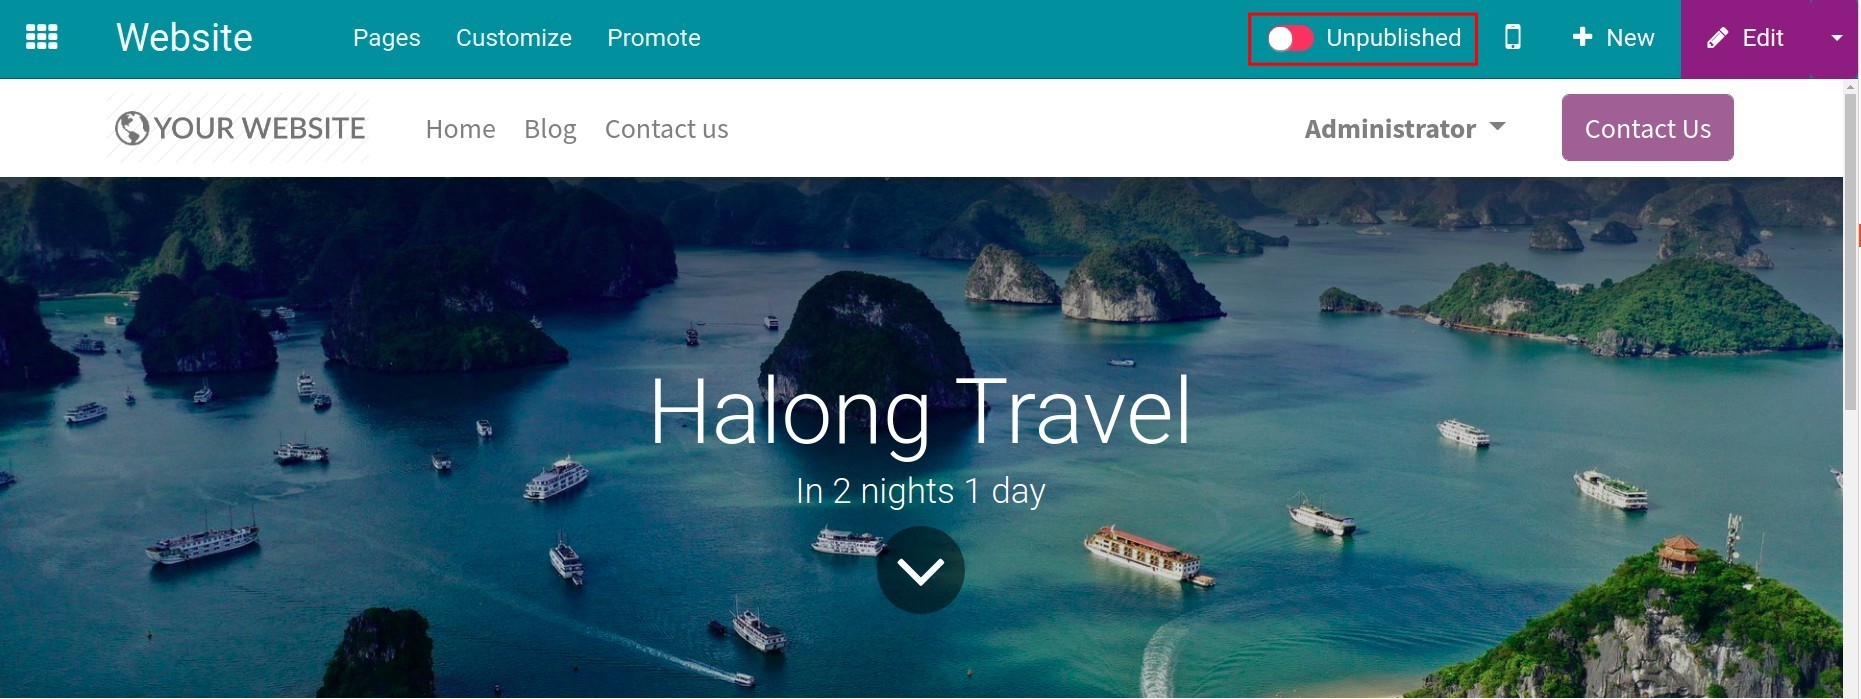
Now every visitor can read the blog post on your website.
See also
Related article
Optional module