How to sell booths in the event
The organization and management of events bring many benefits to enterprises. Especially, creating and selling booths brings more value, helping enterprises establish more relationships with many partners. Viindoo business management software provides features to help enterprises manage the sale of event booths in the best way.
Activate the feature of selling booths in the event
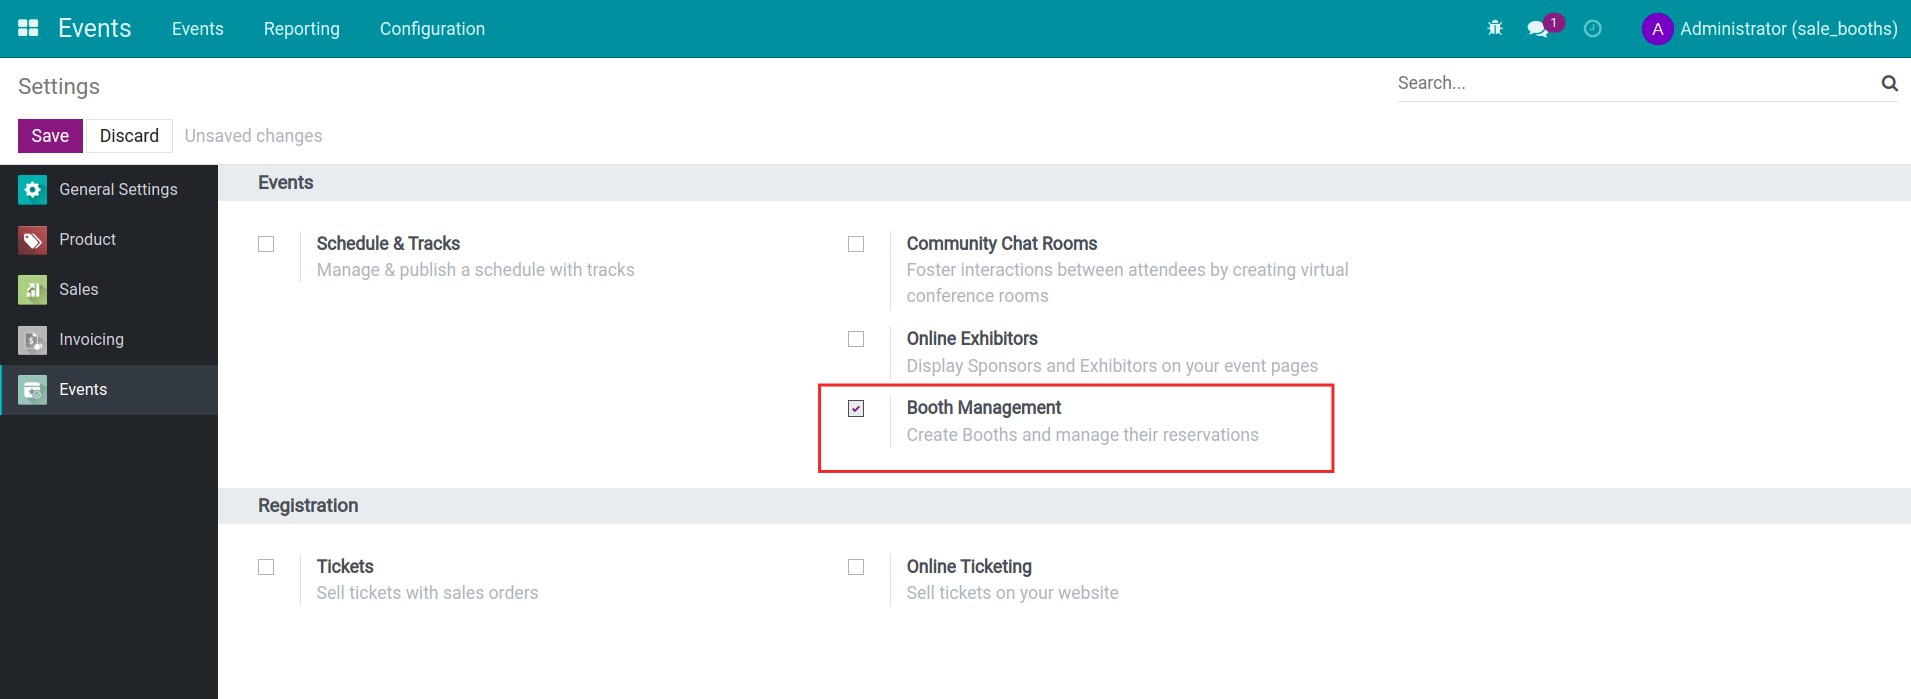
To activate the sell event booths feature, you need to install the Sales app and activate Booth Management by accessing Events ‣ Configuration ‣ Settings.
You tick Booth Managemnet and press Save.
Create a booth in the event
Set up the booth categories
You navigate to Events ‣ Configuration ‣ Booth Categories to set up the booth categories.

The system has already set up the list of booth categories, press the Create button to create a new booth category.

You need to fill in the information of the category according to the information below:
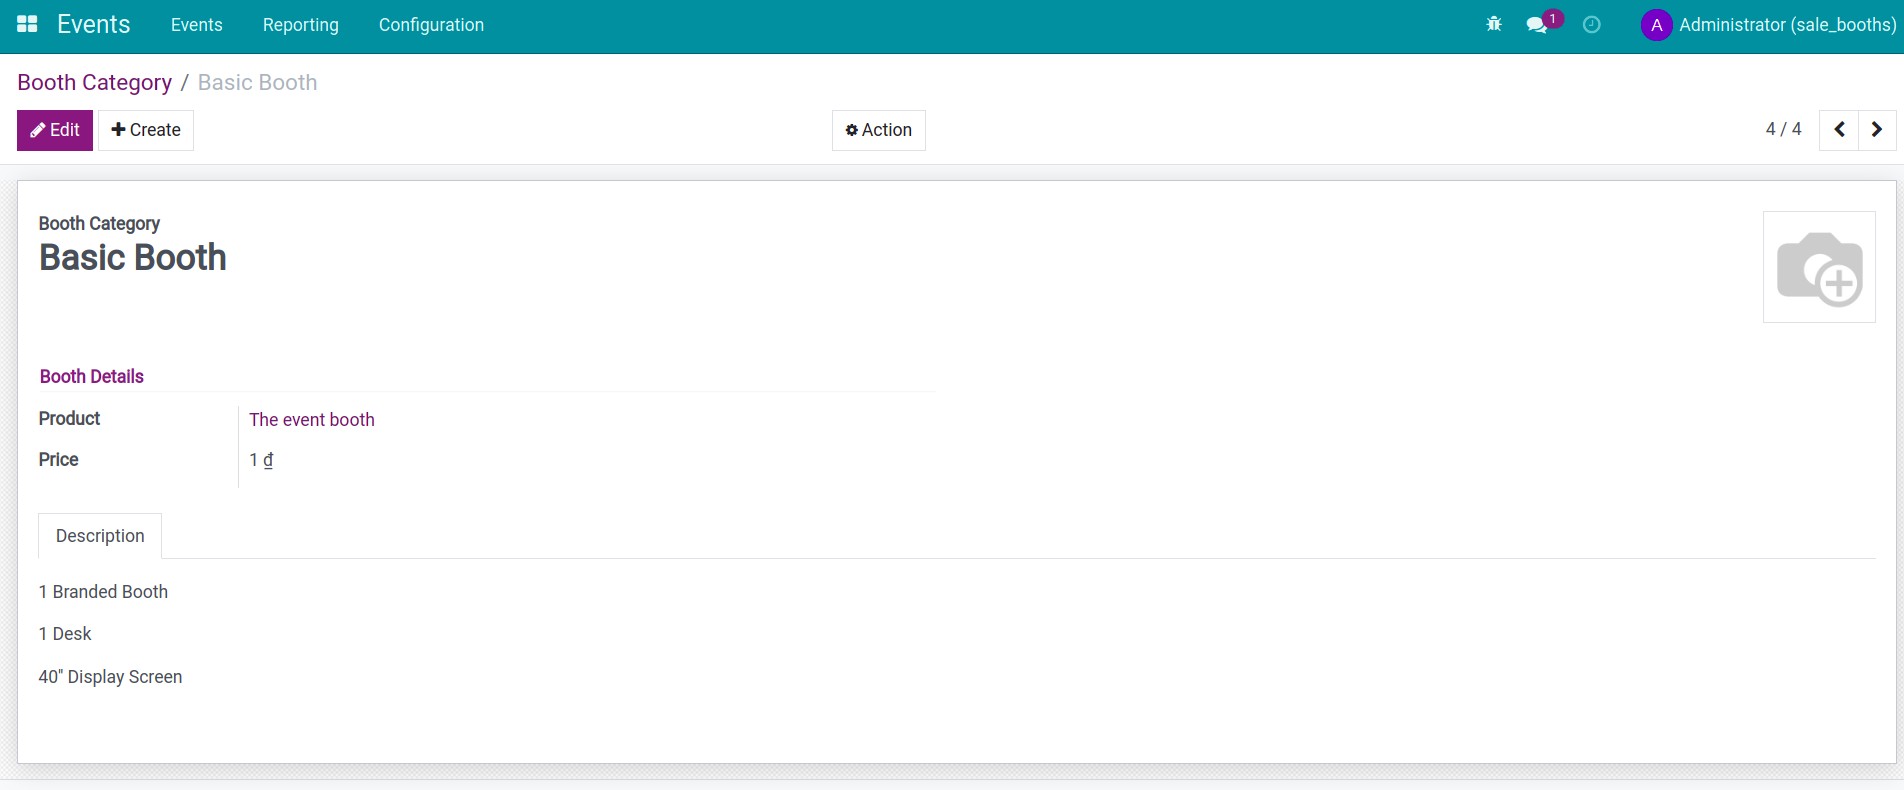
Booth category: type the name of the booth category.
Product: product associated with this booth category.
Price: the selling price of the booth category.
Description: detailed description of the features and supporting tools of the booth category such as: area of the booth, screens, tables, chairs.., helping buyers understand information before choosing to buy a booth.
After filling in the information, click Save.
Create a booth for the event
First of all, you need new create a new event, fill in the necessary information of the event.
There are two ways to create a booth:
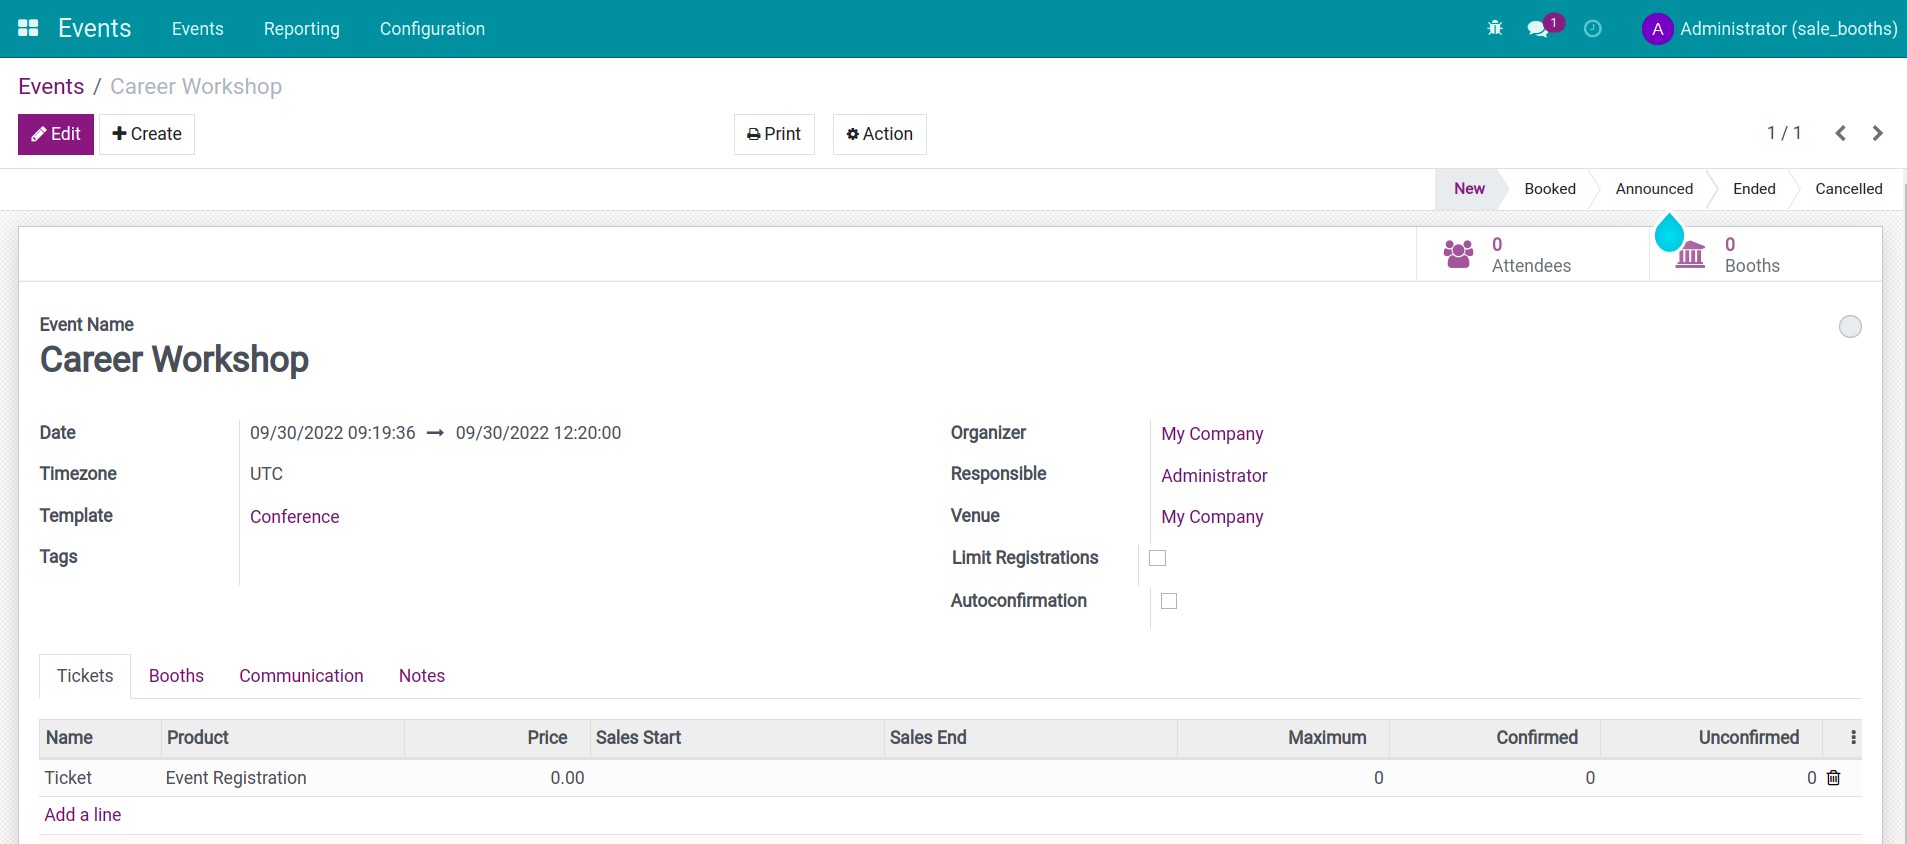
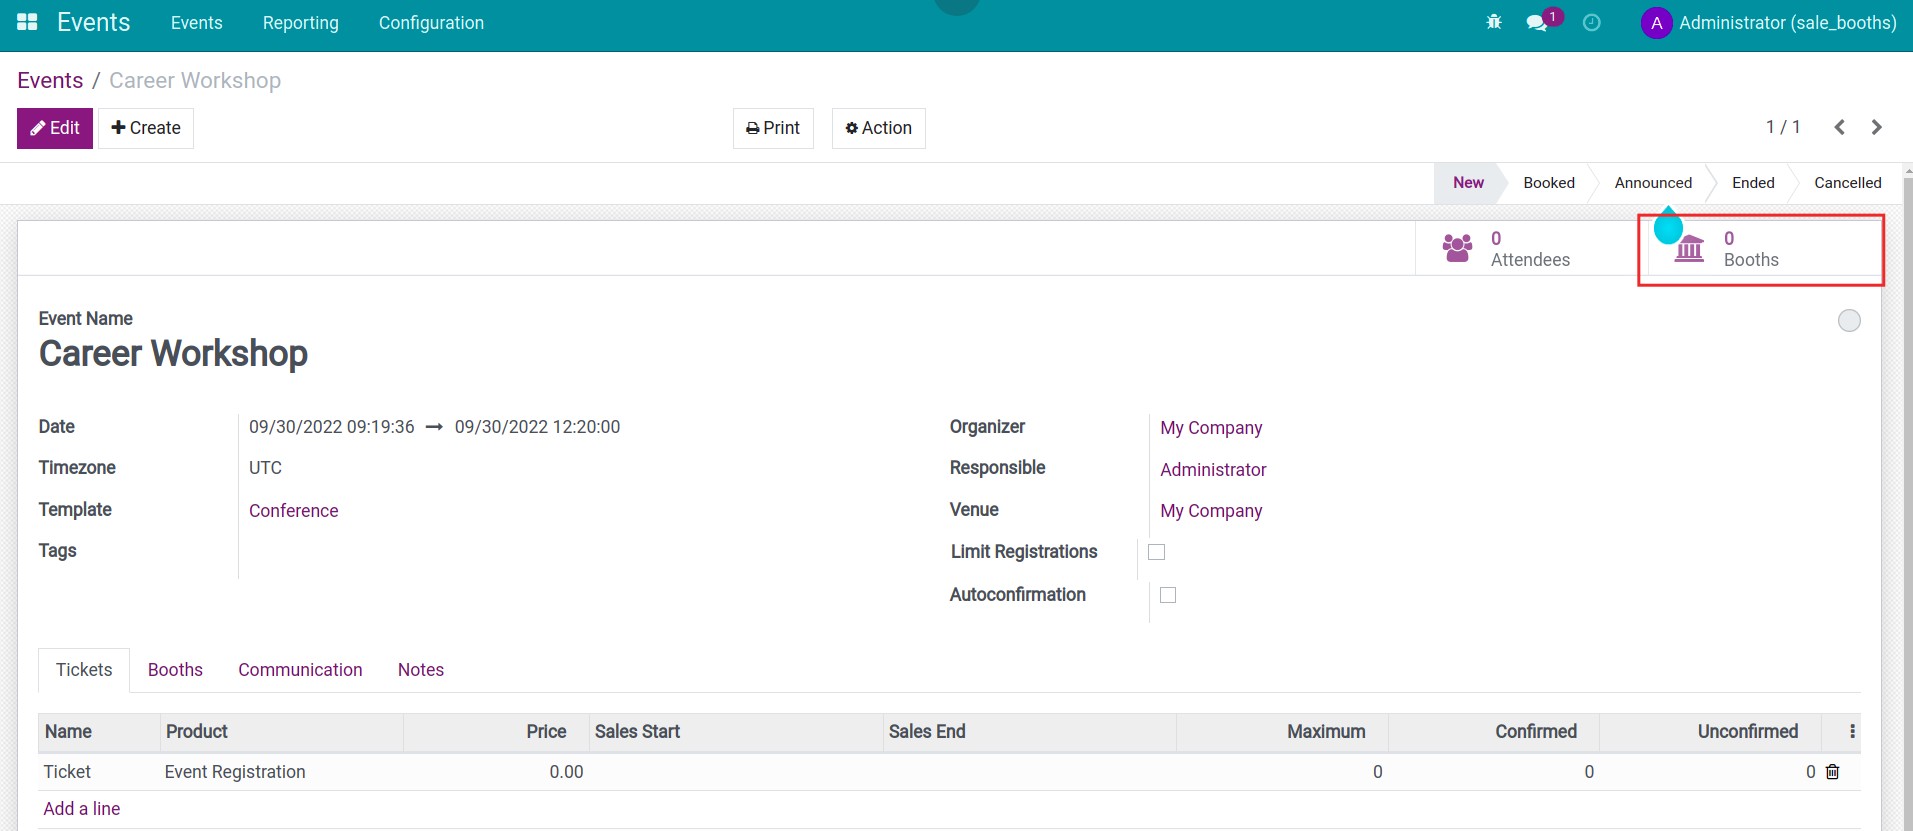
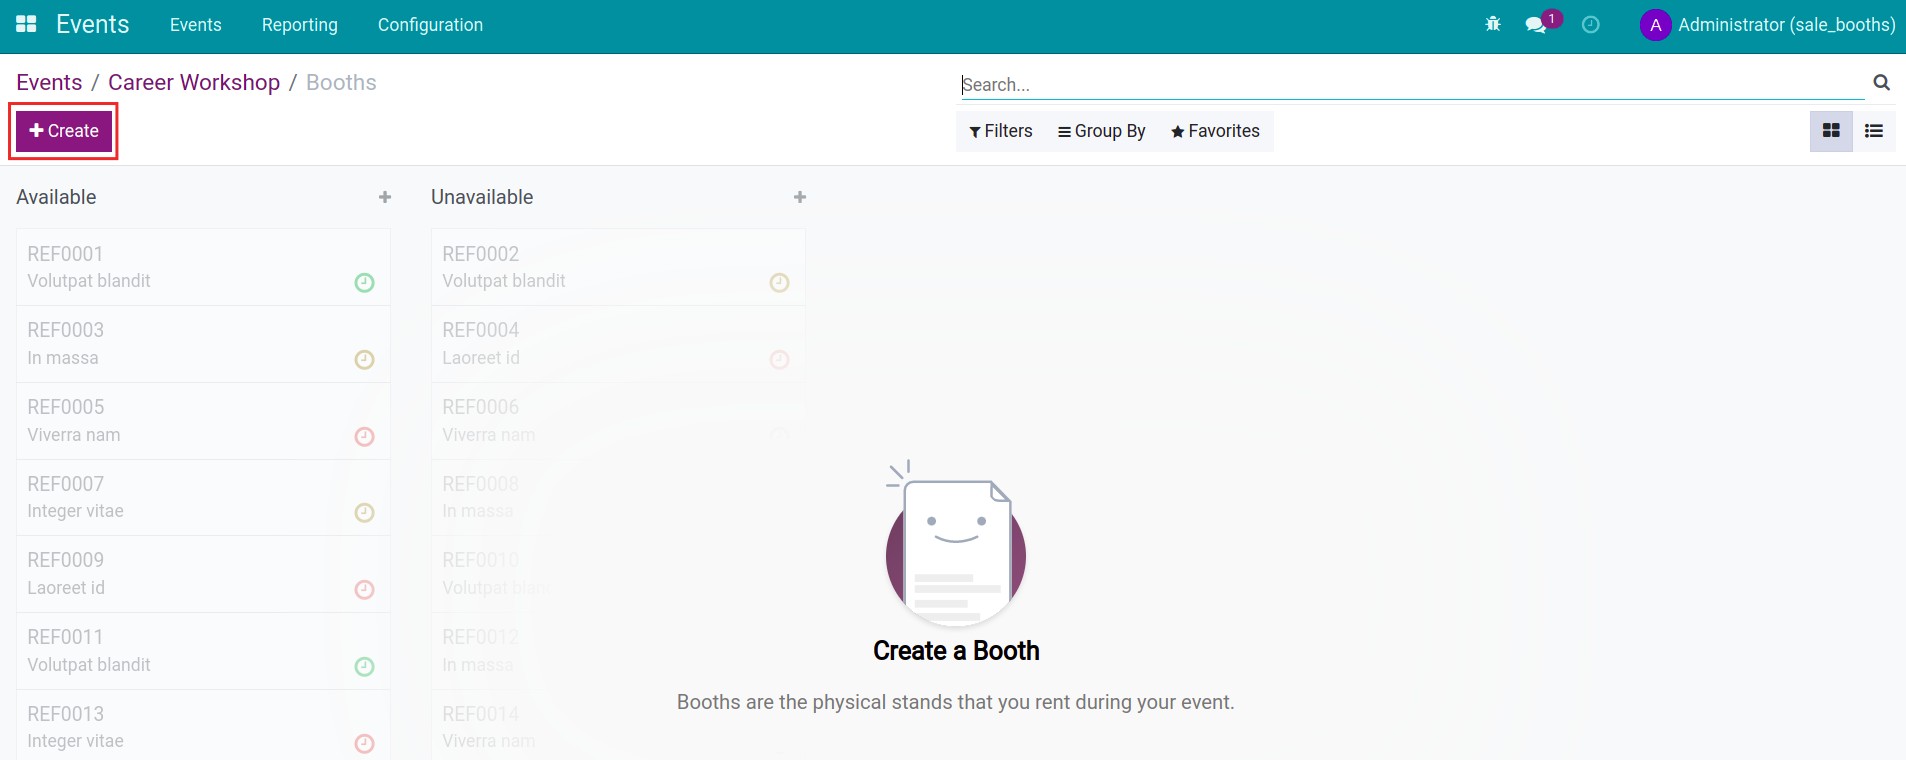
Option 1: create Booth on the Events view.
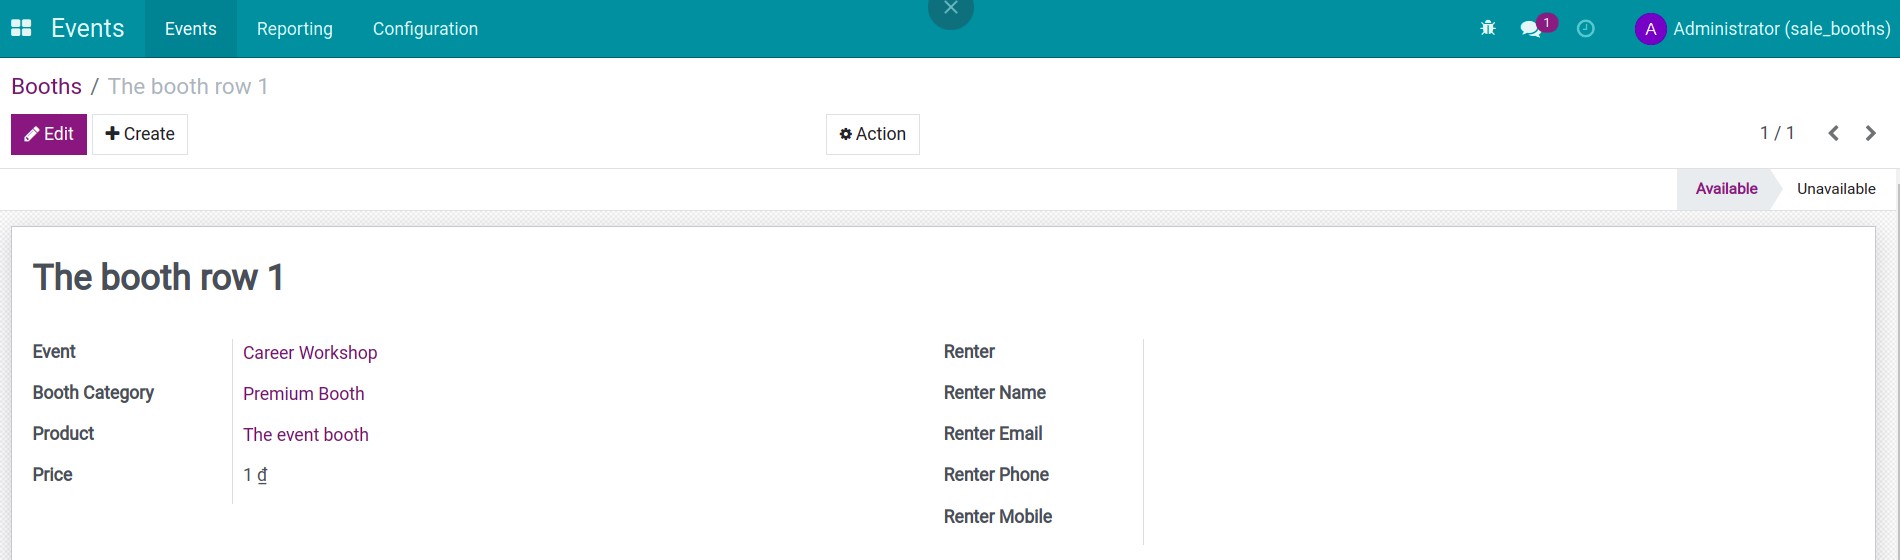
You select the Booth button on the event view to create a new booth in the event.
You press the Create button.
You fill in the information of the booth:
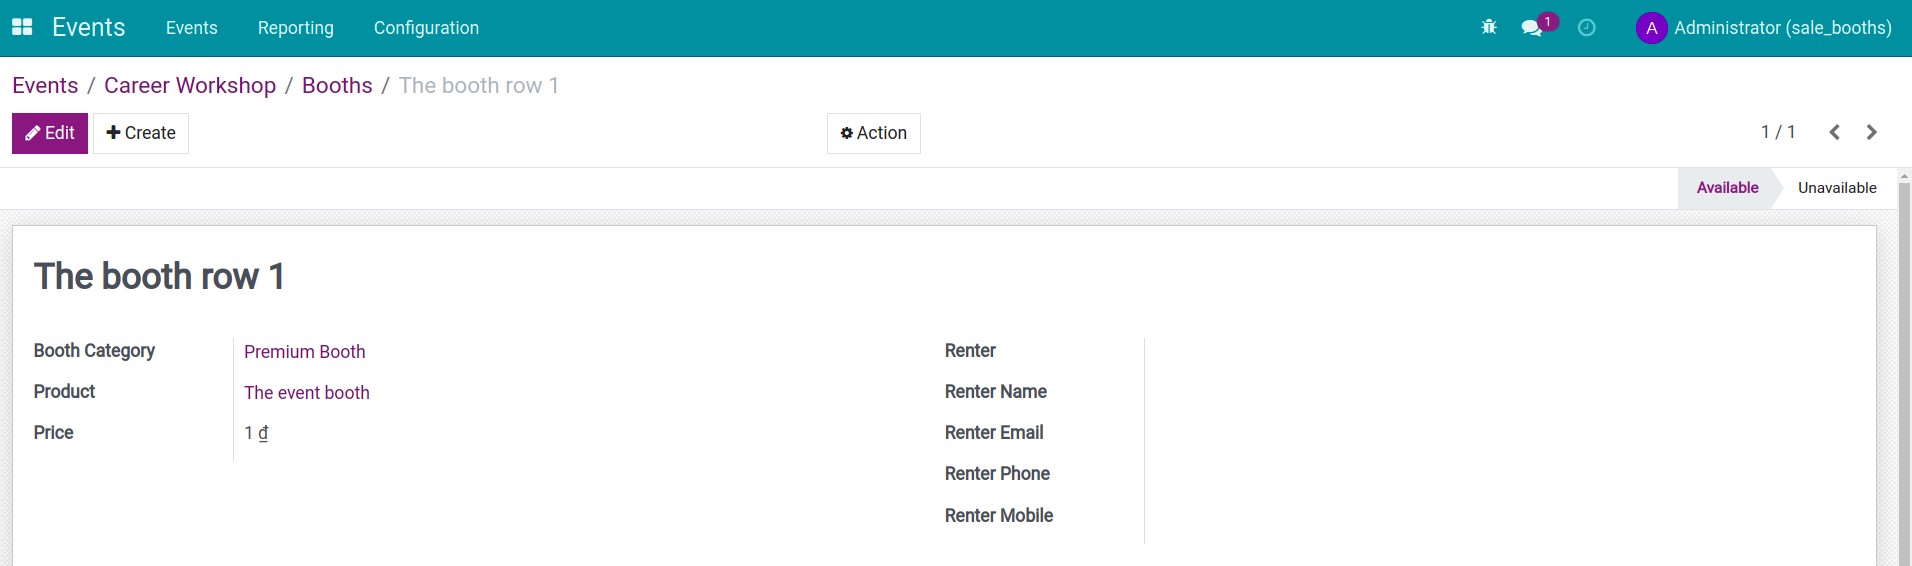
Name: the name of the booth.
Booth Category: select the established booth category.
Renter: the renter can be an organization or an individual.
Renter Name: the name of the renter of this booth.
Email: the renter email.
Renter Phone: the renter’s phone number.
Renter Mobile: the renter’s mobile phone number.
Note
If the booth has no buyers, all information about renters is left blank.
Click Save to save the information.
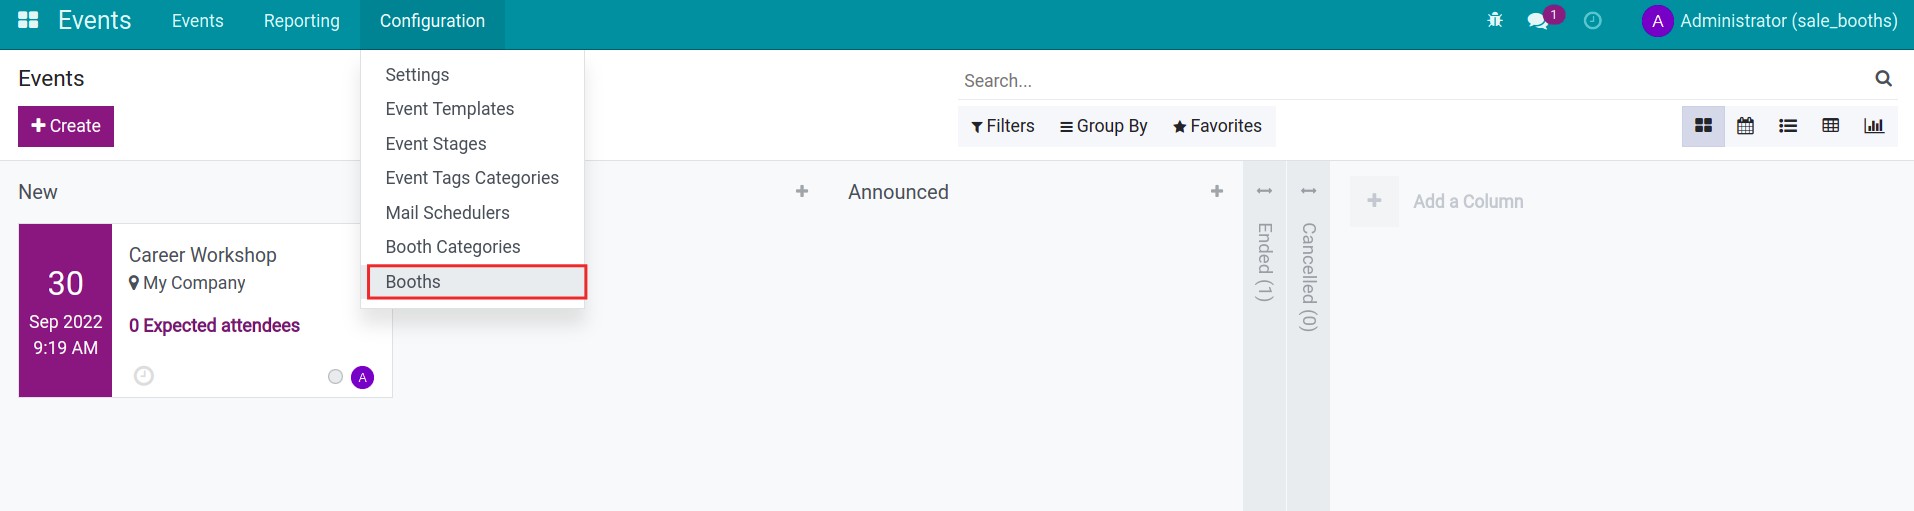
Option 2: create booth in the event configuration menu.
Note
You need to have Administrator access rights of the Events app and enable the debug mode to see menu Booths.
You access the Events app, select Configuration, then select Booths.
You press Create.
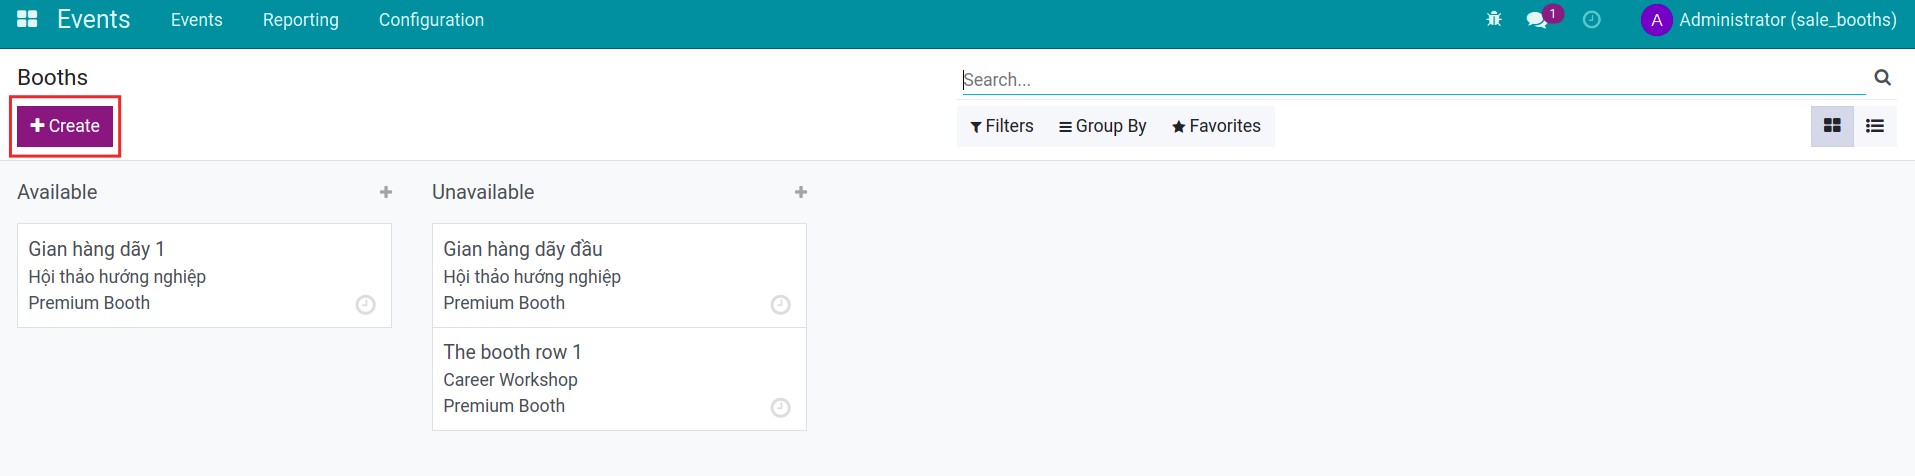
You fill in the information as instructed in option 1.
Sell event booths in the Sales app
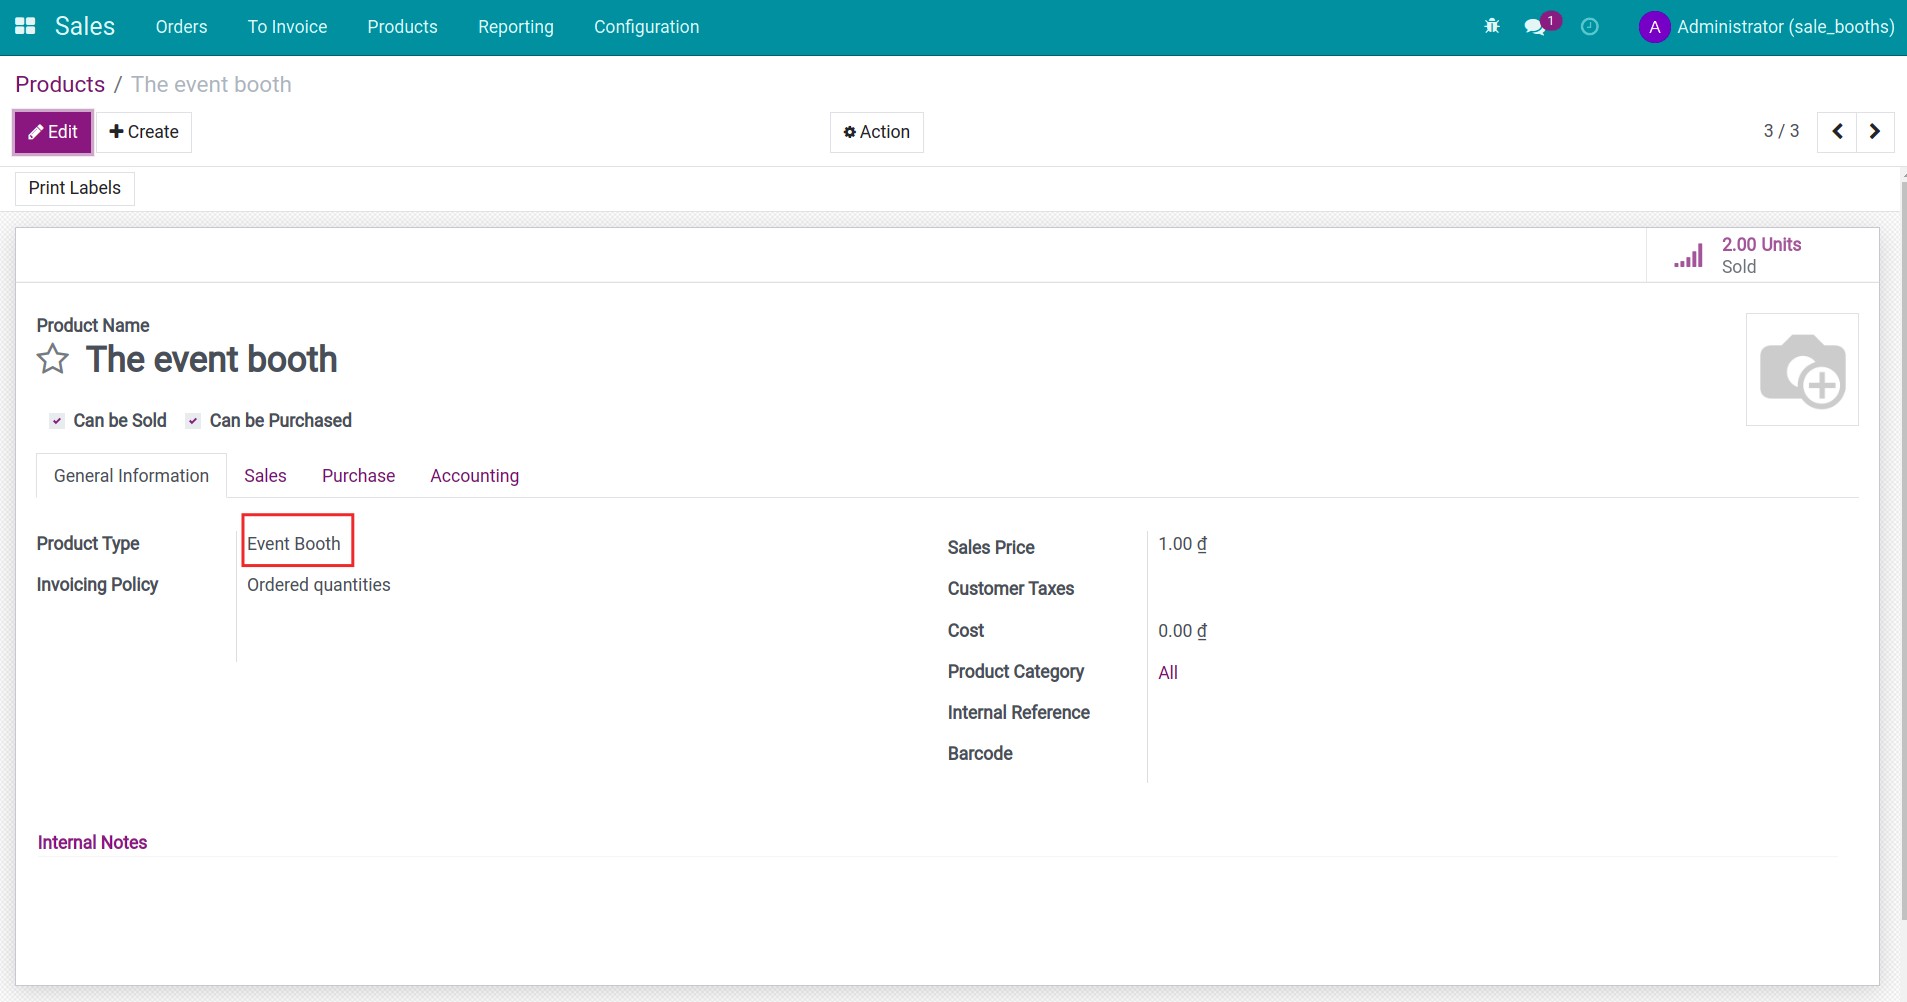
You can sell your booths as a product by creating a product, you go to Sales ‣ Products ‣ Products and select Create.
You choose Product Type as Event Booth.
Next, navigate to Sales ‣ Sales Orders ‣ Quotations to create sales orders.
At the Order Lines tab, you Add a product is Event Booth. At this point, a window pops up allowing you to select the event you want to purchase the booth from. When choosing an event, you will continue to select the category of booths and finally select the booth you want to sell.
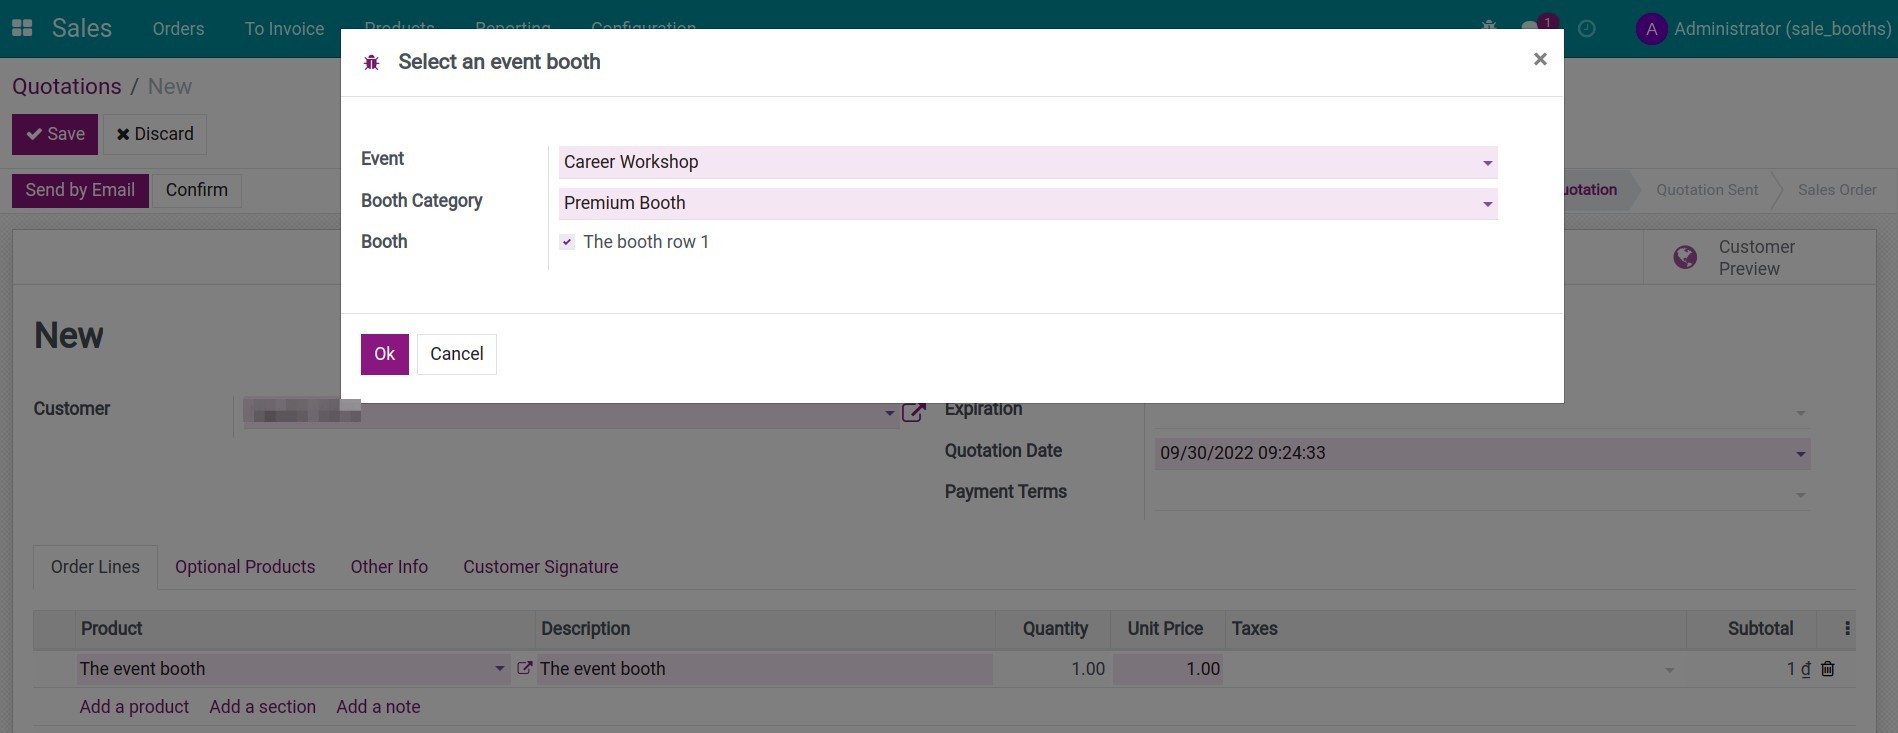
After selecting the booth you want to sell, check the information and press Save for quote information.
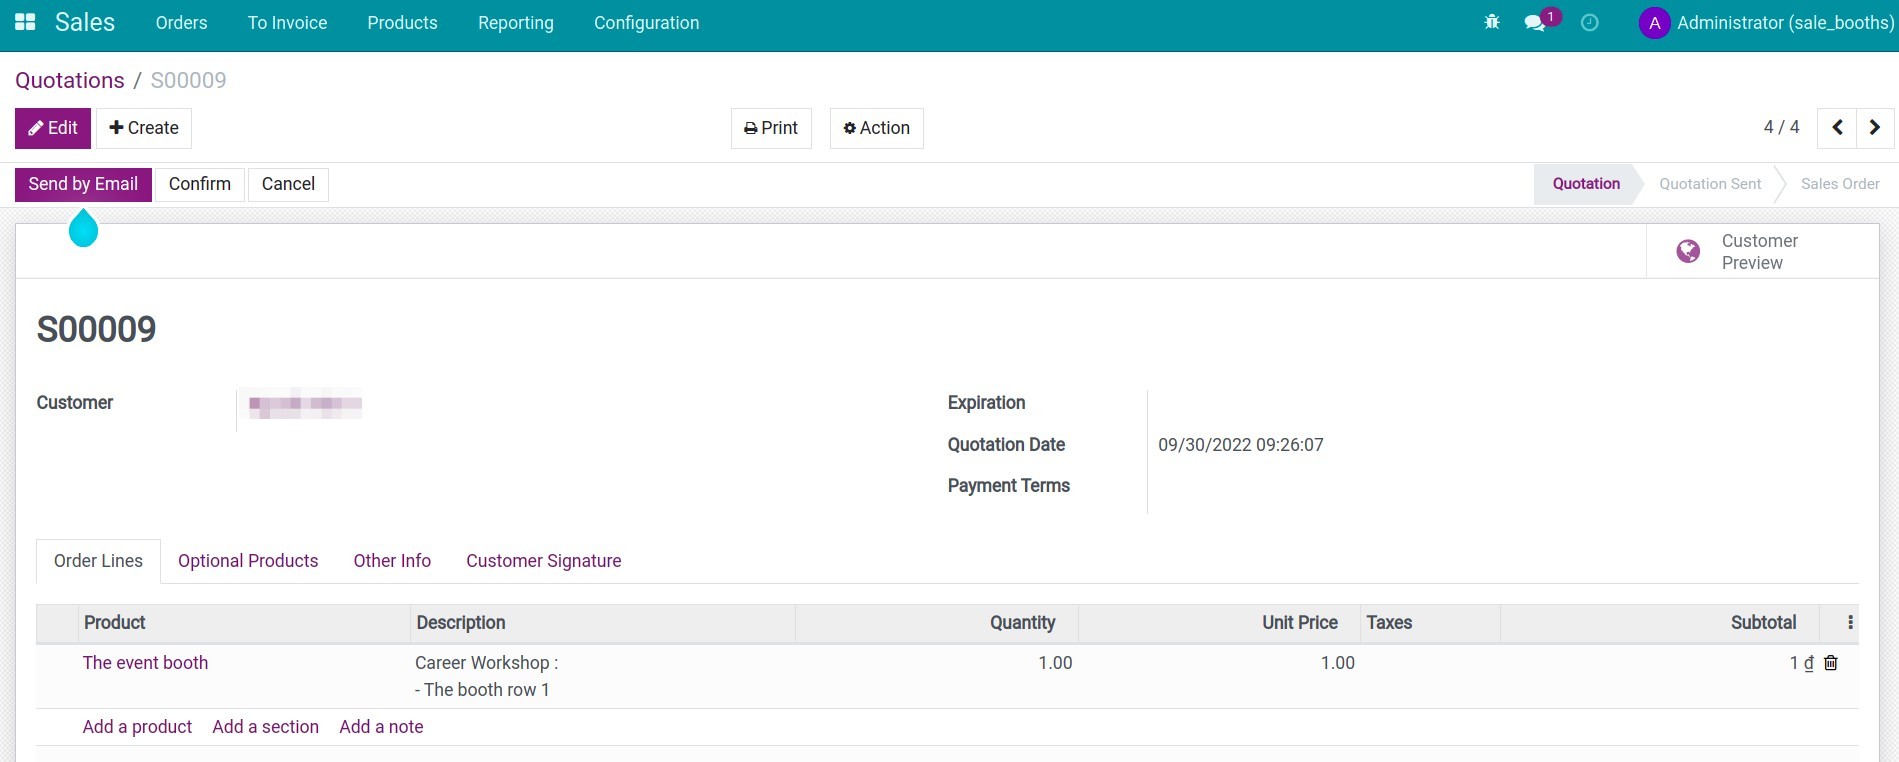
Click on Confirm to confirm the sales price quote. After confirmation, on the sales order appears a button Booths.
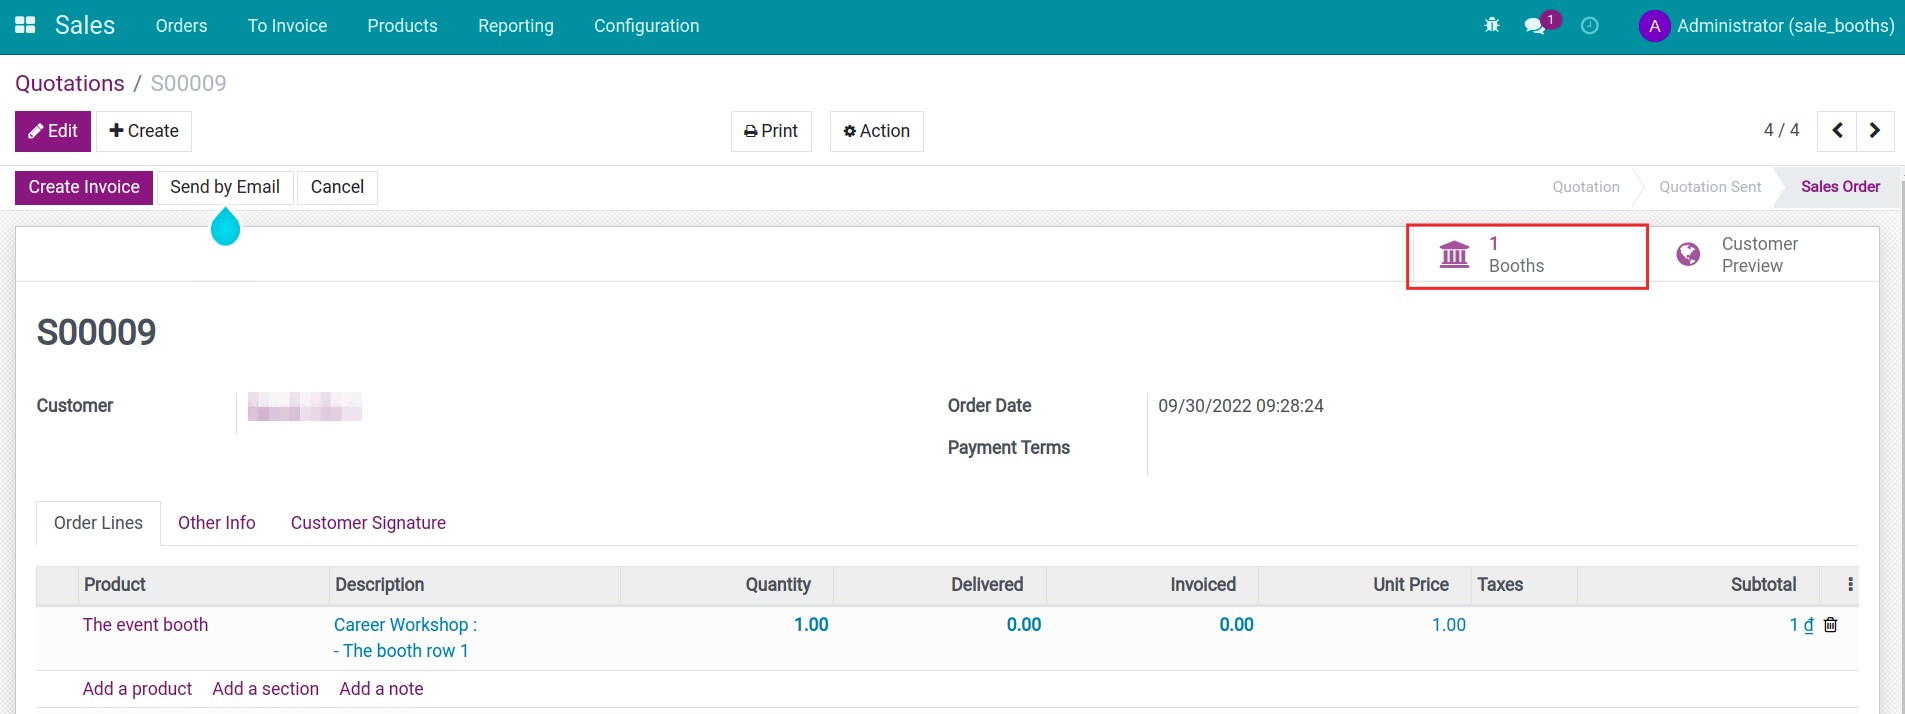
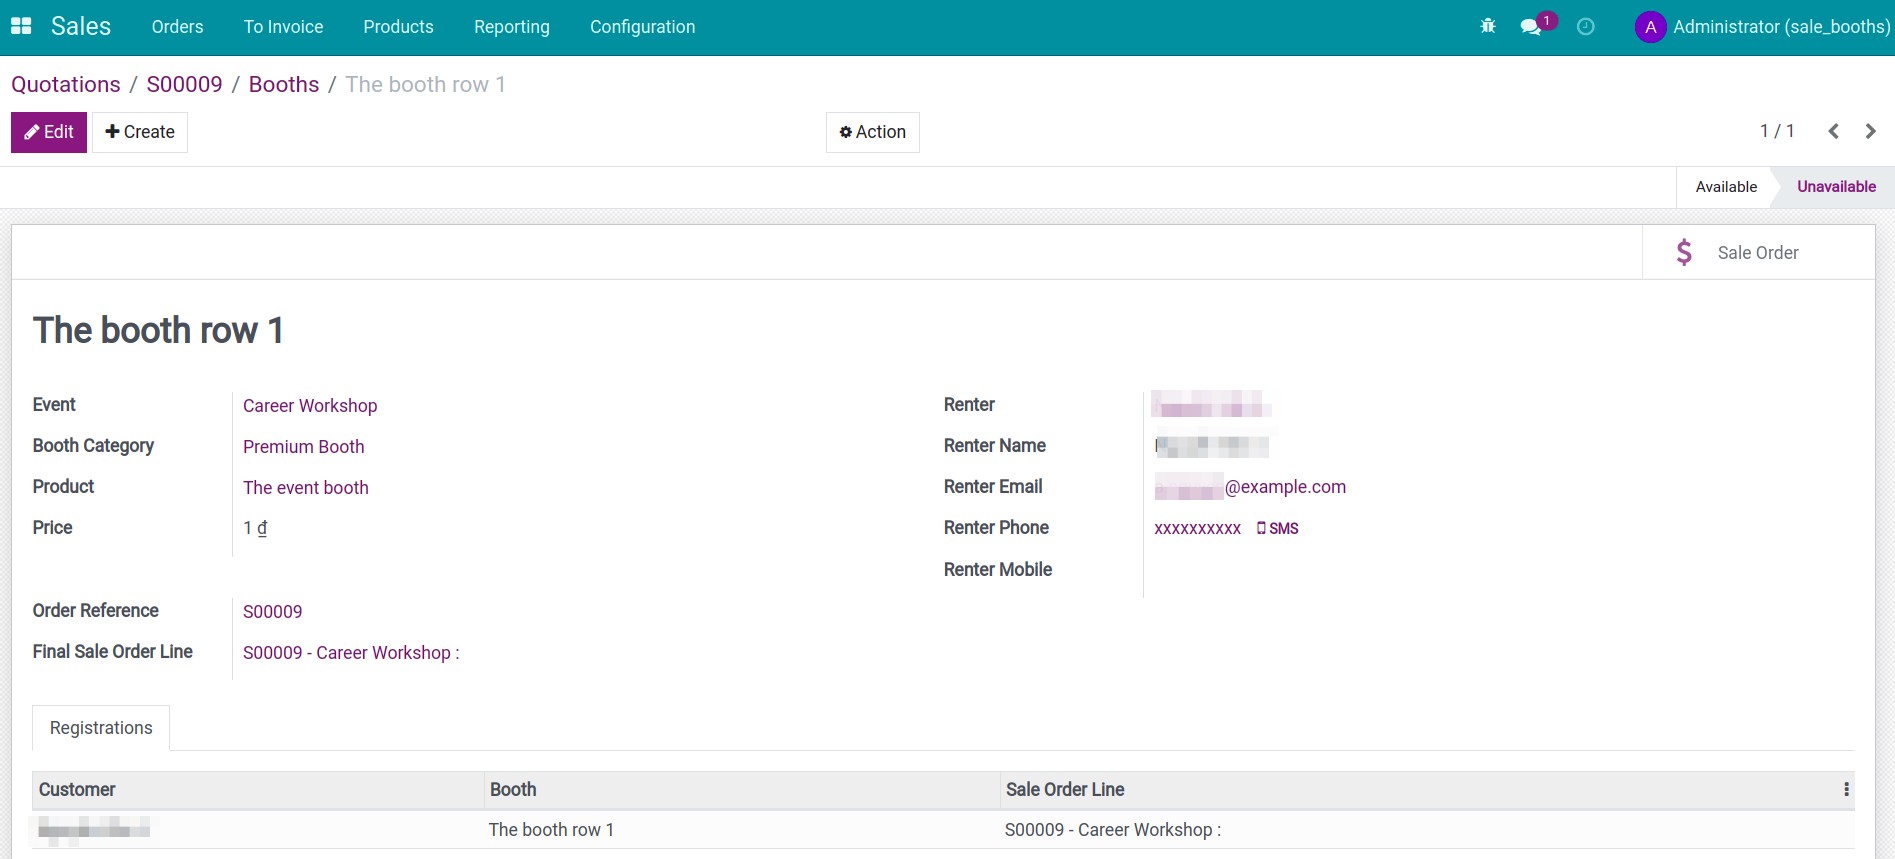
Press this button, you can see the details of the sold booth and the orderer information. This booth is also linked to the sale order. Store status also changed from Available to Unvailable.
See also
Related article
Optional module