Get started with Appointments management
Requirements
This tutorial requires the installation of the following applications/modules:
Basic settings for the Appointments App
To make it convenient for customers to schedule appointments and to help you manage appointments effectively, you need to set up some basic settings.
Note
In order to do this, you need to have the Administrator access right of the Appointments app.
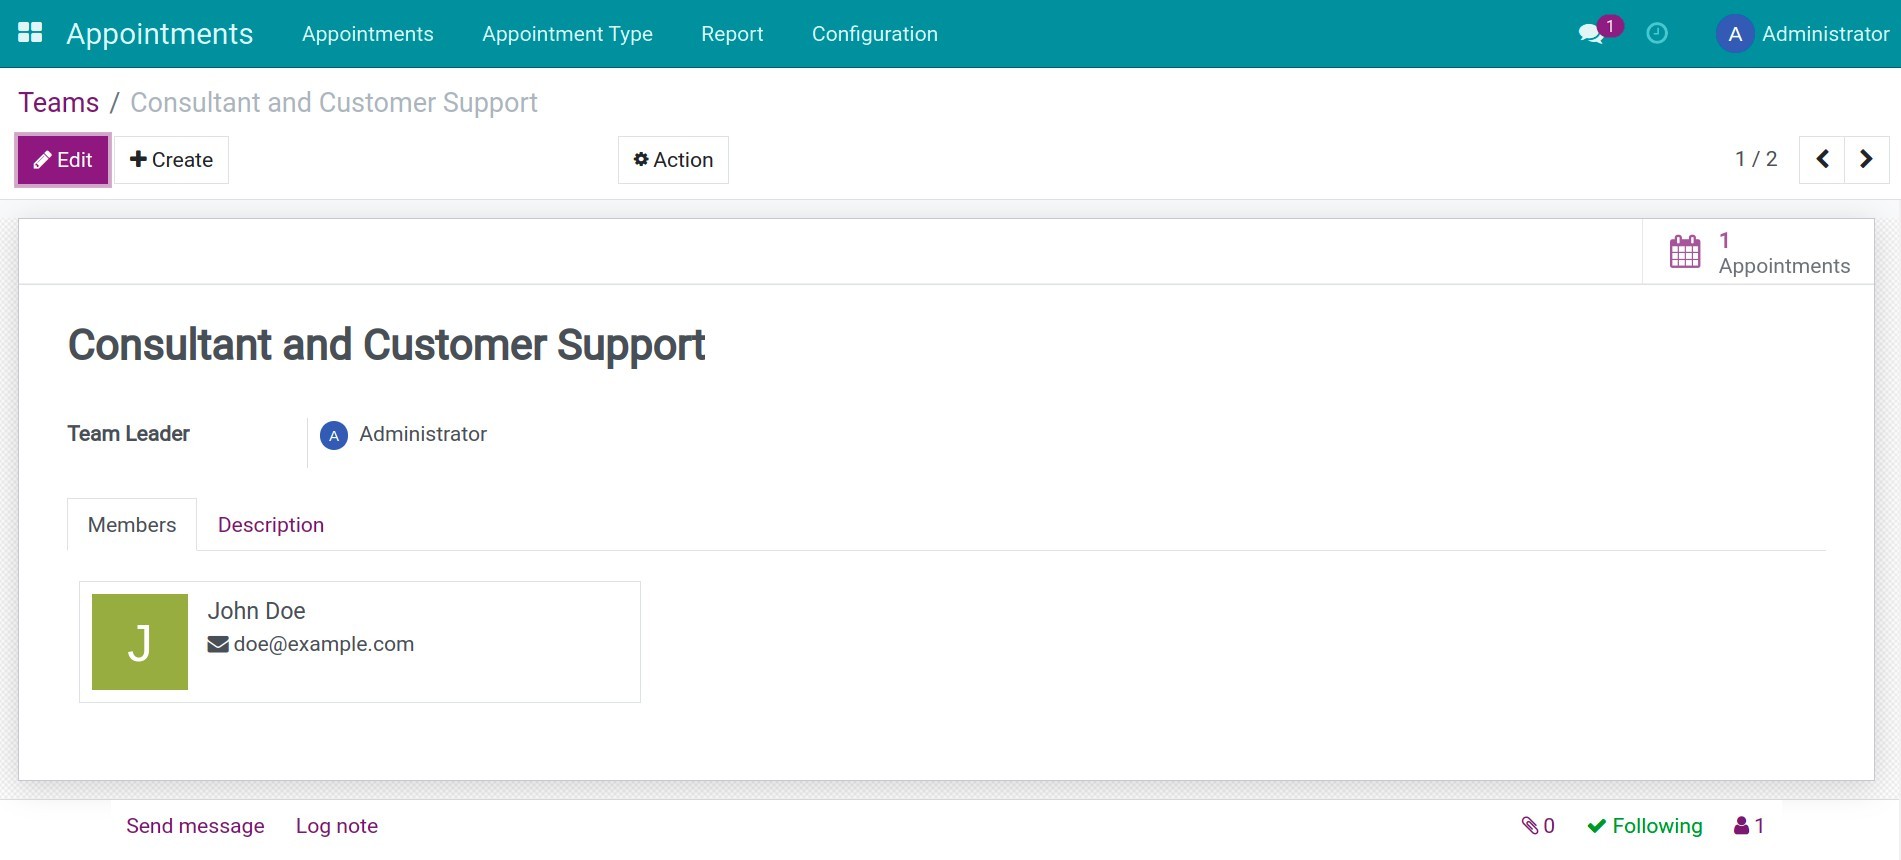
Set up Teams for Appointments
Navigate to Appointments ‣ Configuration ‣ Teams.
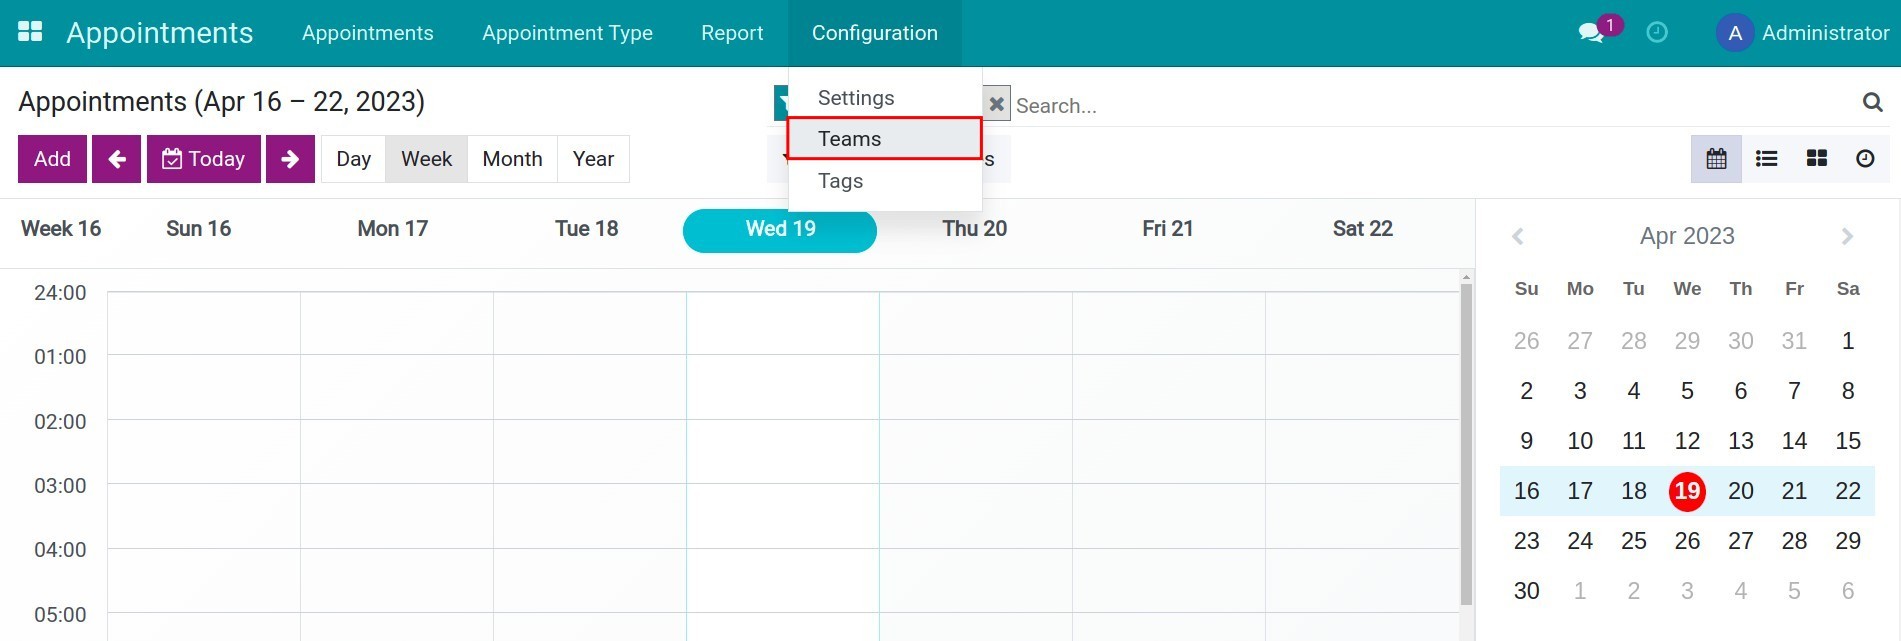
And then, press Create to create a team.
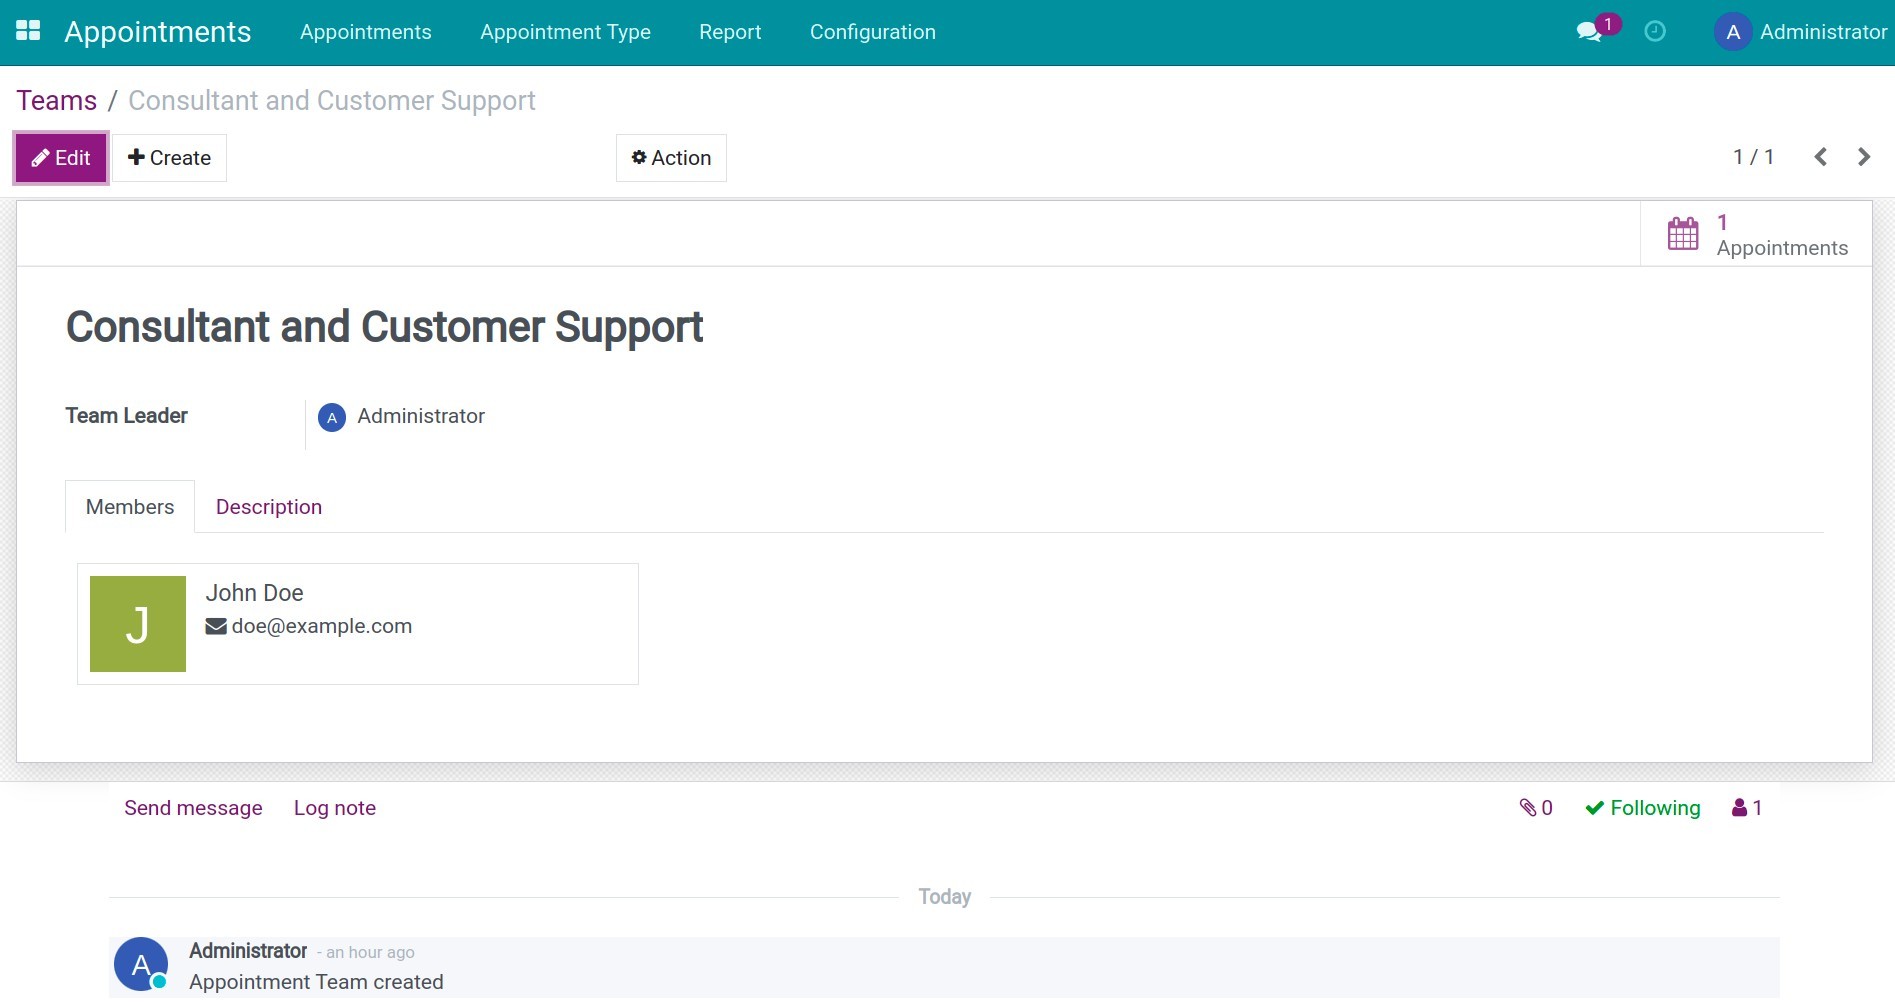
Team Leader: Select a user to be the leader of this team.
Members tab: Similar to Team Leader, you can select the members for this team.
Description tab: Add additional information for this team, e.g. Goals, mission, professional level, etc. of the team.
Set up service tags for appointment classification and search
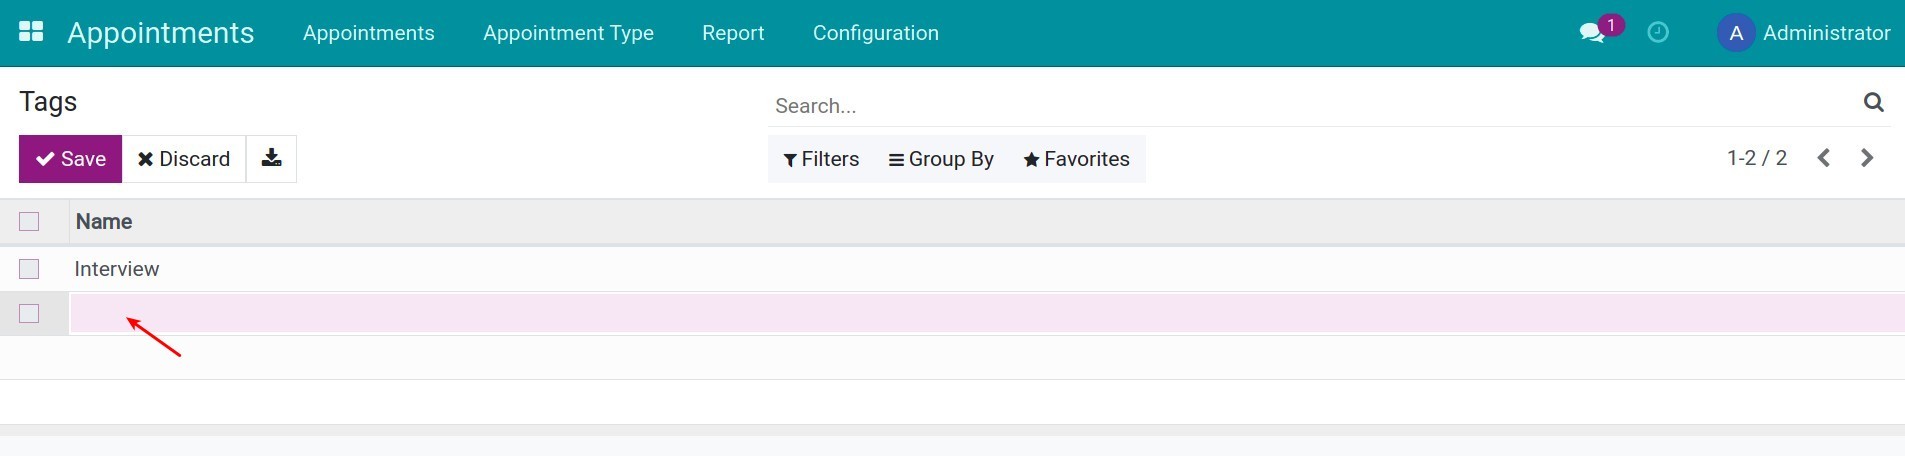
Navigate to: Appointments ‣ Configuration ‣ Tags.
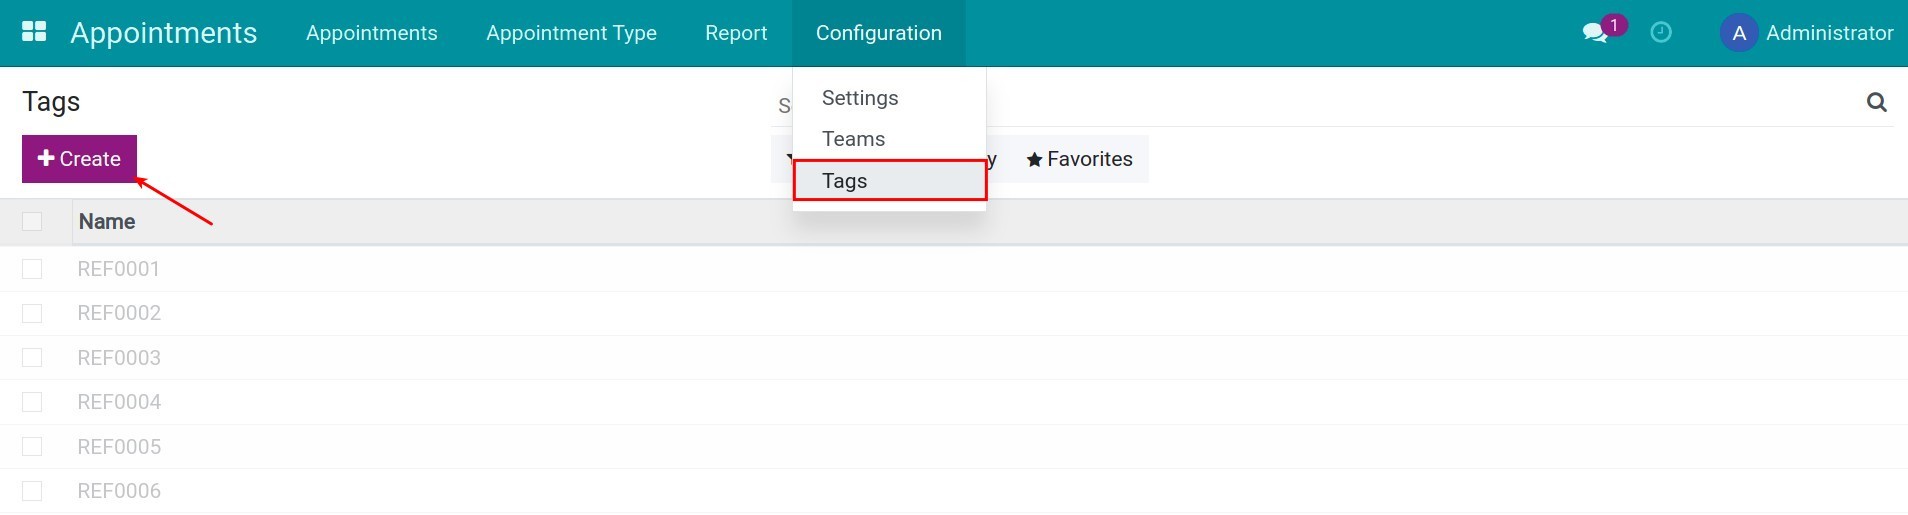
Here, you enter the content for the tag you want to create. This tag will be used on the detail of the appointment, helping users easily classify and search for appointments later. Additionally, users can filter appointments by tag.
Note
See detailed instructions at Filter, Groups and Search use cases in Viindoo.
Classify and create appointments template with Appointment Types
You can create pre-made appointment templates based on service packages, appointment duration, etc. to make it easier for customers to schedule appointments. You can also track and view reports on appointments by type to make appropriate adjustments.
Navigate to: Appointments ‣ Appointment Type. Press Create to create an appointment type.
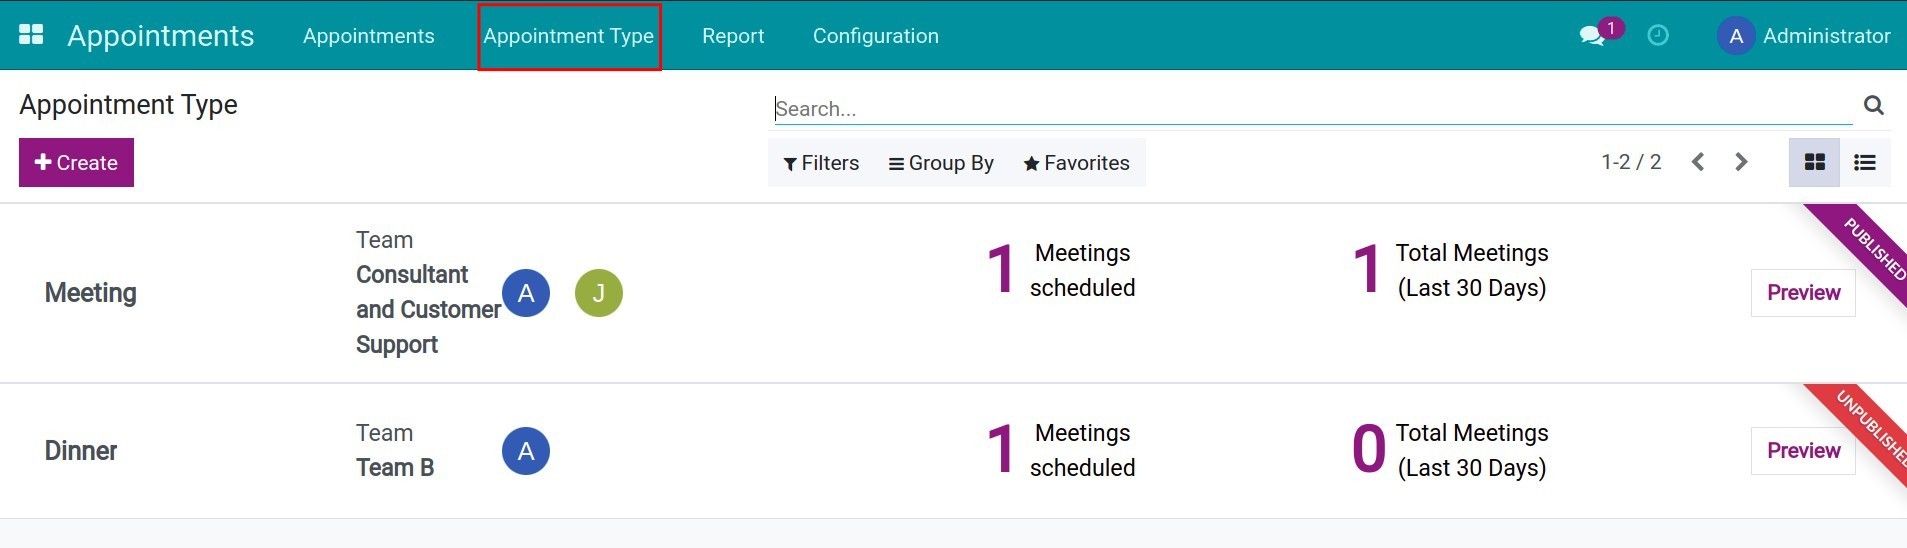
You enter the information on the interface according to the instructions below and then click Publish to allow customers to choose this Appointment Type on the website.
Note
You will also need to install the Website app to allows the customer to set up appointments from your website and set up information according to the instruction.
Appointment Type: Enter the title of the appointment type. This title will be displayed on the Choose Your Appointment interface on the website.
Team: Select the team in charge of this appointment type.
Reminders: Notify all attendees before the appointment takes place.
Sale Order Creation: Check this option if you want this appointment to generate a quotation/sales order on the system.
Working Hours: Used in cases the working time for this appointment type is not set up.
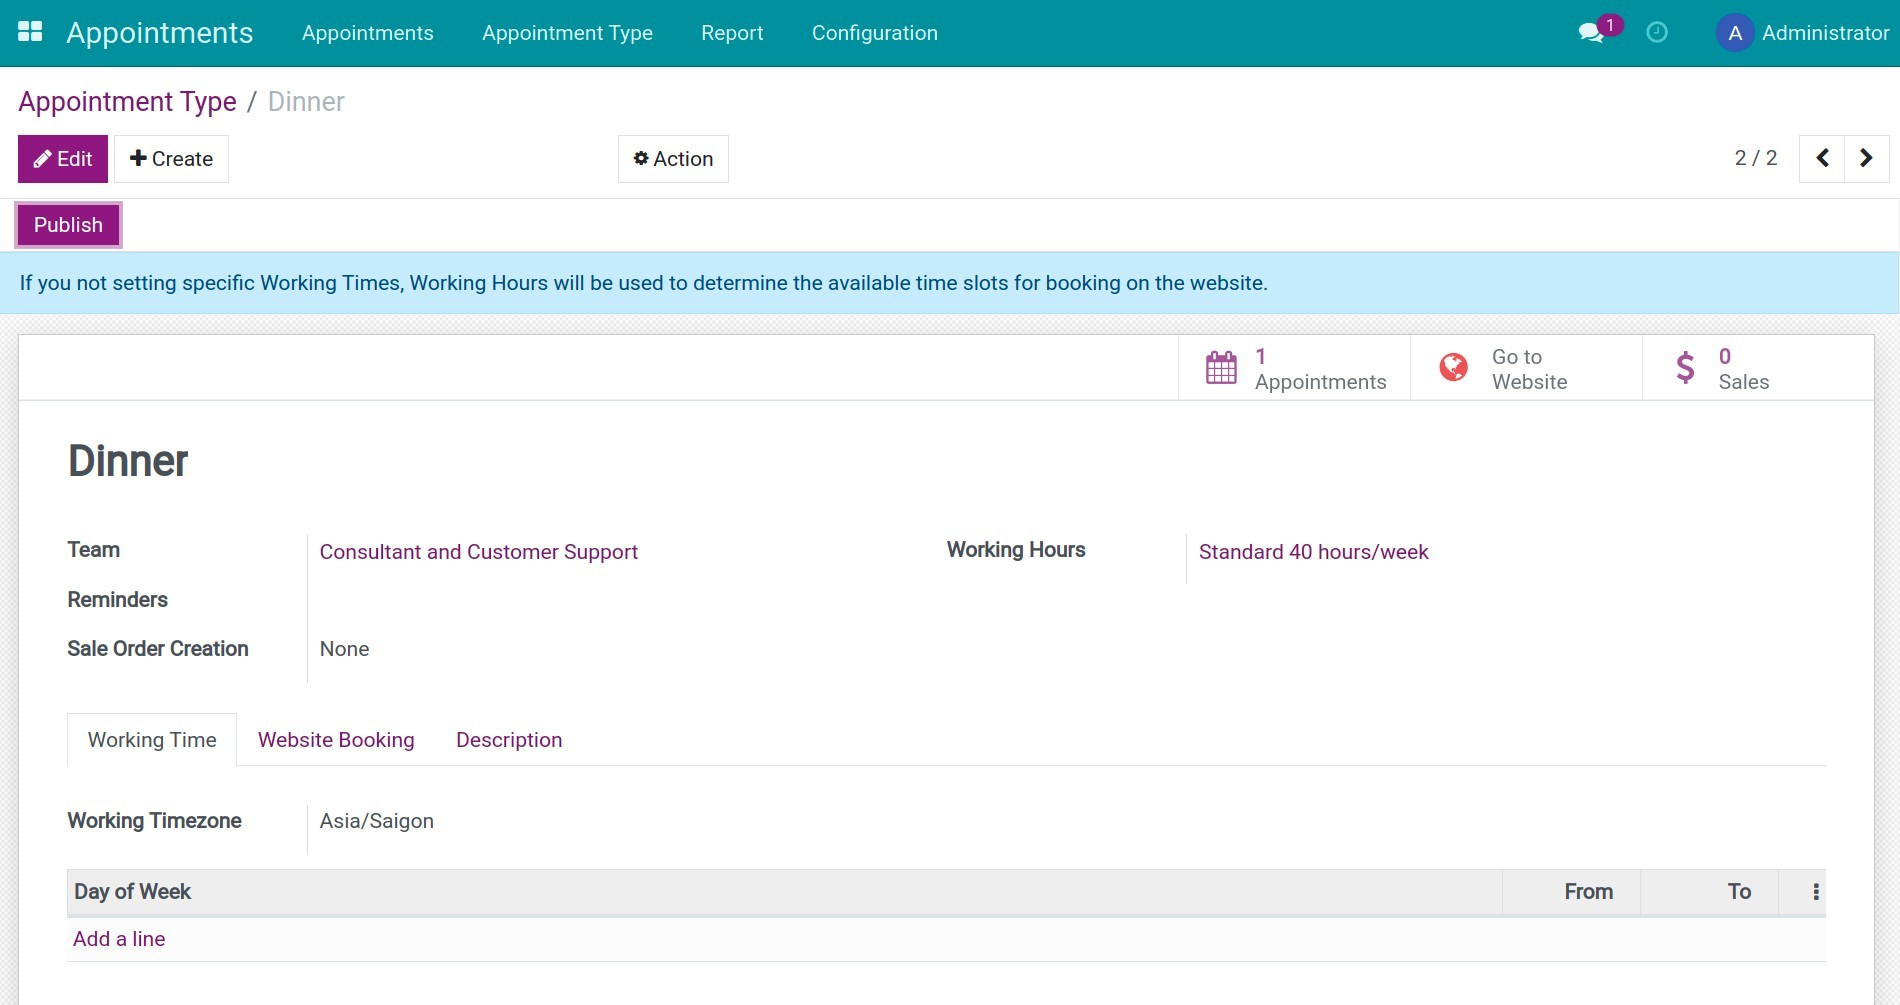
Set up Working Time
On the Working Time tab, select a Working Timezone and set up the working time. This will allow customers to schedule appointments during your working hours, based on your company’s time zone.
Working Timezone: The time zone when this appointment takes place.
Additionally, users can set working hours for specific days of the week.

Set up Website Booking
Select the Website Booking tab and fill in the information:

Unavailable Booking: Allow customers to schedule appointments even when no users are available on the website.
Duration: The default duration of the appointment. For example, when setting the duration here to 30 minutes, when a customer schedules an appointment, the duration displayed to the customer for this appointment will be 30 minutes. The customer will not be able to edit or extend the time for that appointment.
Scheduling: The minimum time to book before the appointment.
Website Image: Upload an image for the appointment type. This image will be displayed on the website.
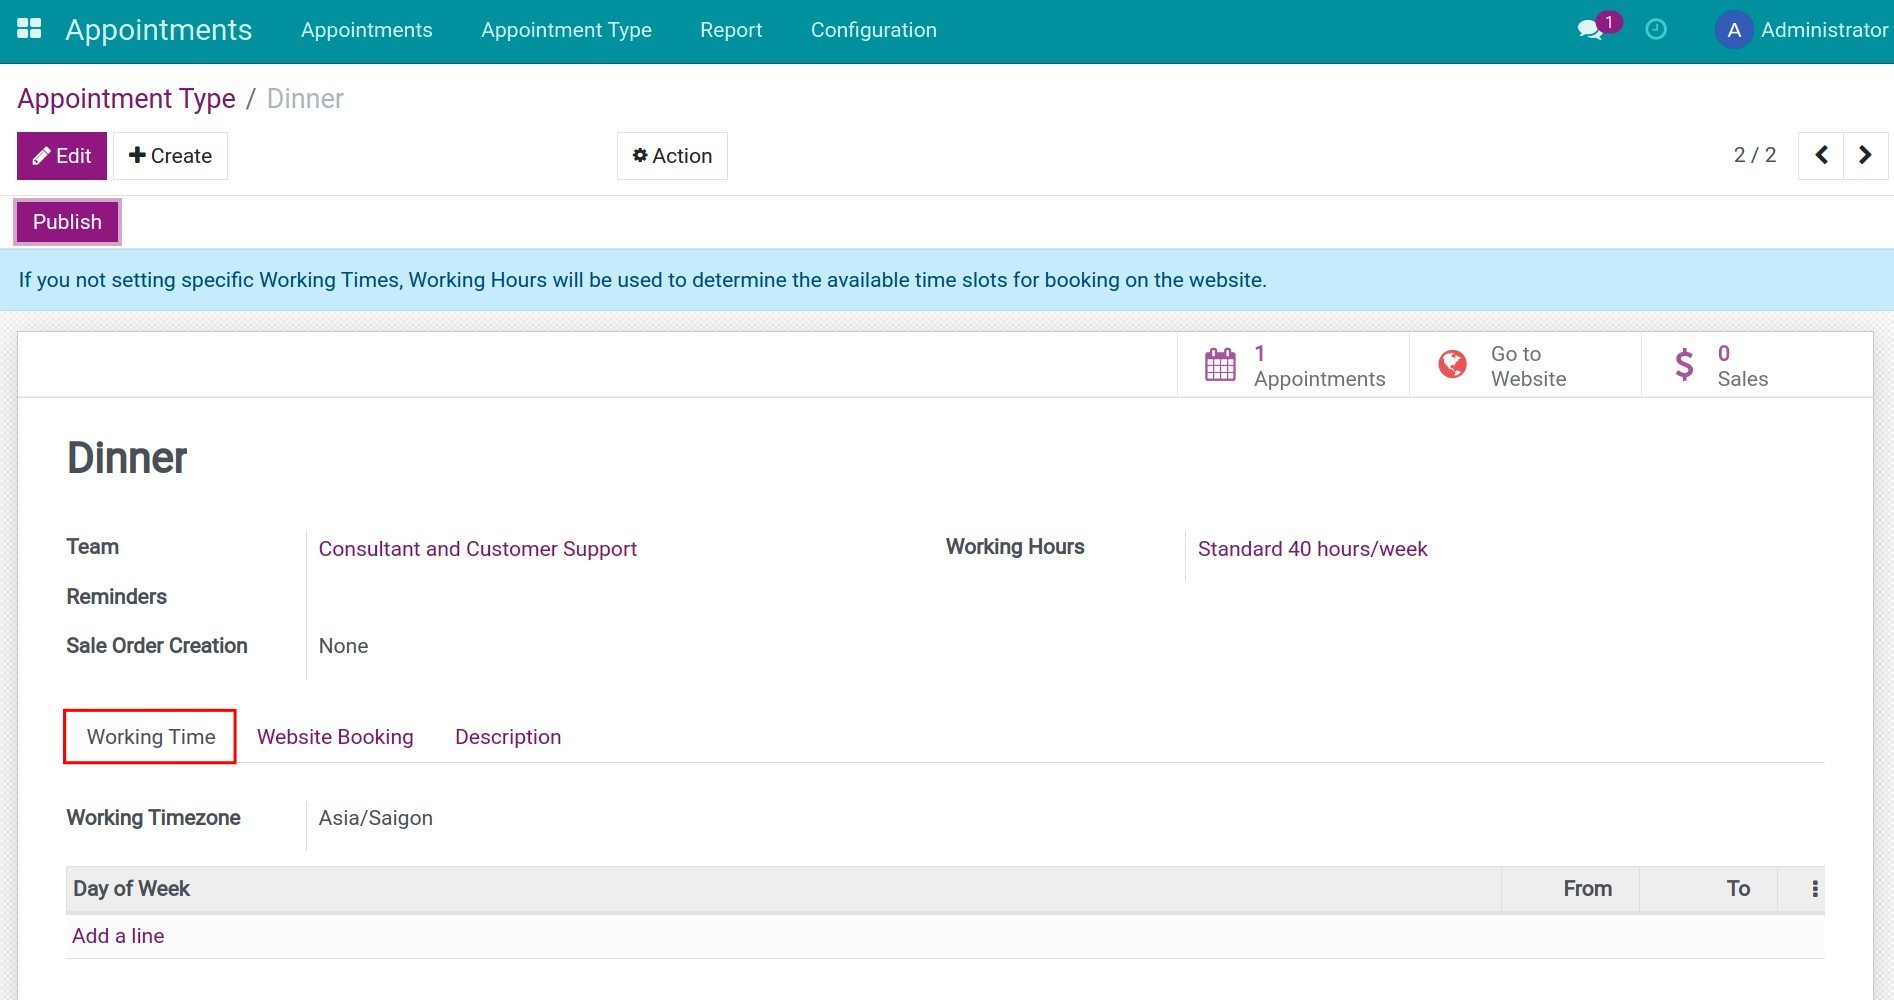
Create a Description for the appointment type
You click on the Description tab to enter additional information such as the purpose, and contents related to this appointment type.
Integrate Appointments with other Apps to support customers
Integrate Appointments with CRM
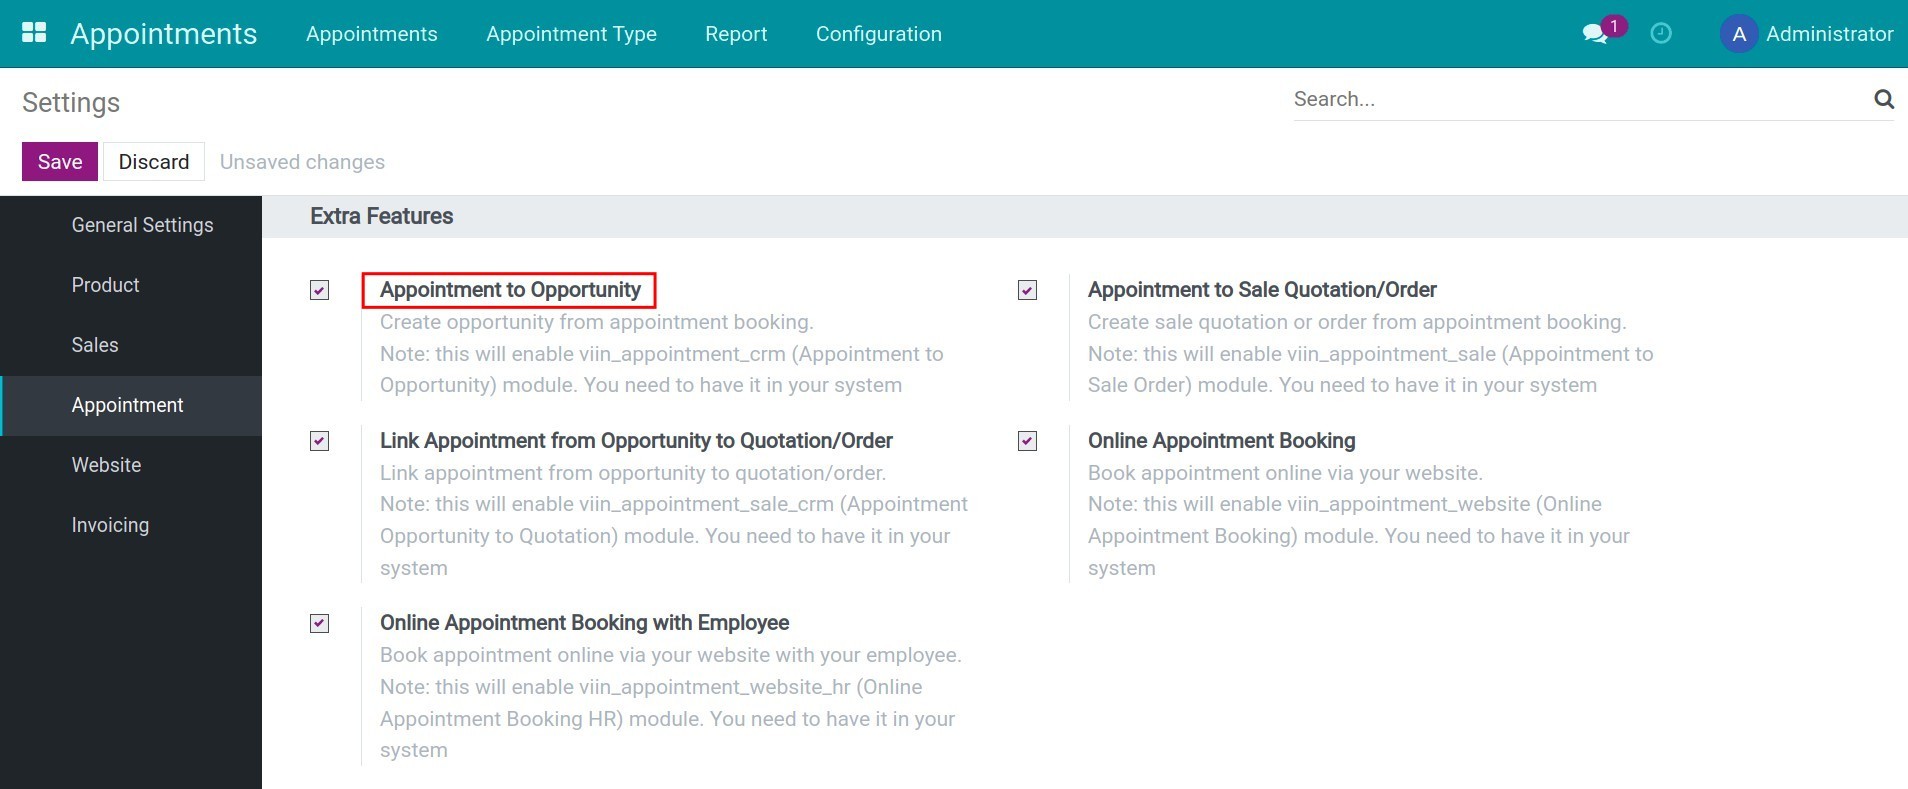
Navigate to: Appointments ‣ Configuration ‣ Settings. And then check on Appointment to Opportunity and press Save.
At this point, the appointment manager will return to the Appointment Type interface and consider whether to automatically create opportunities for this appointment type by checking the Create Opportunity field.

Integrate Appointments with Sales
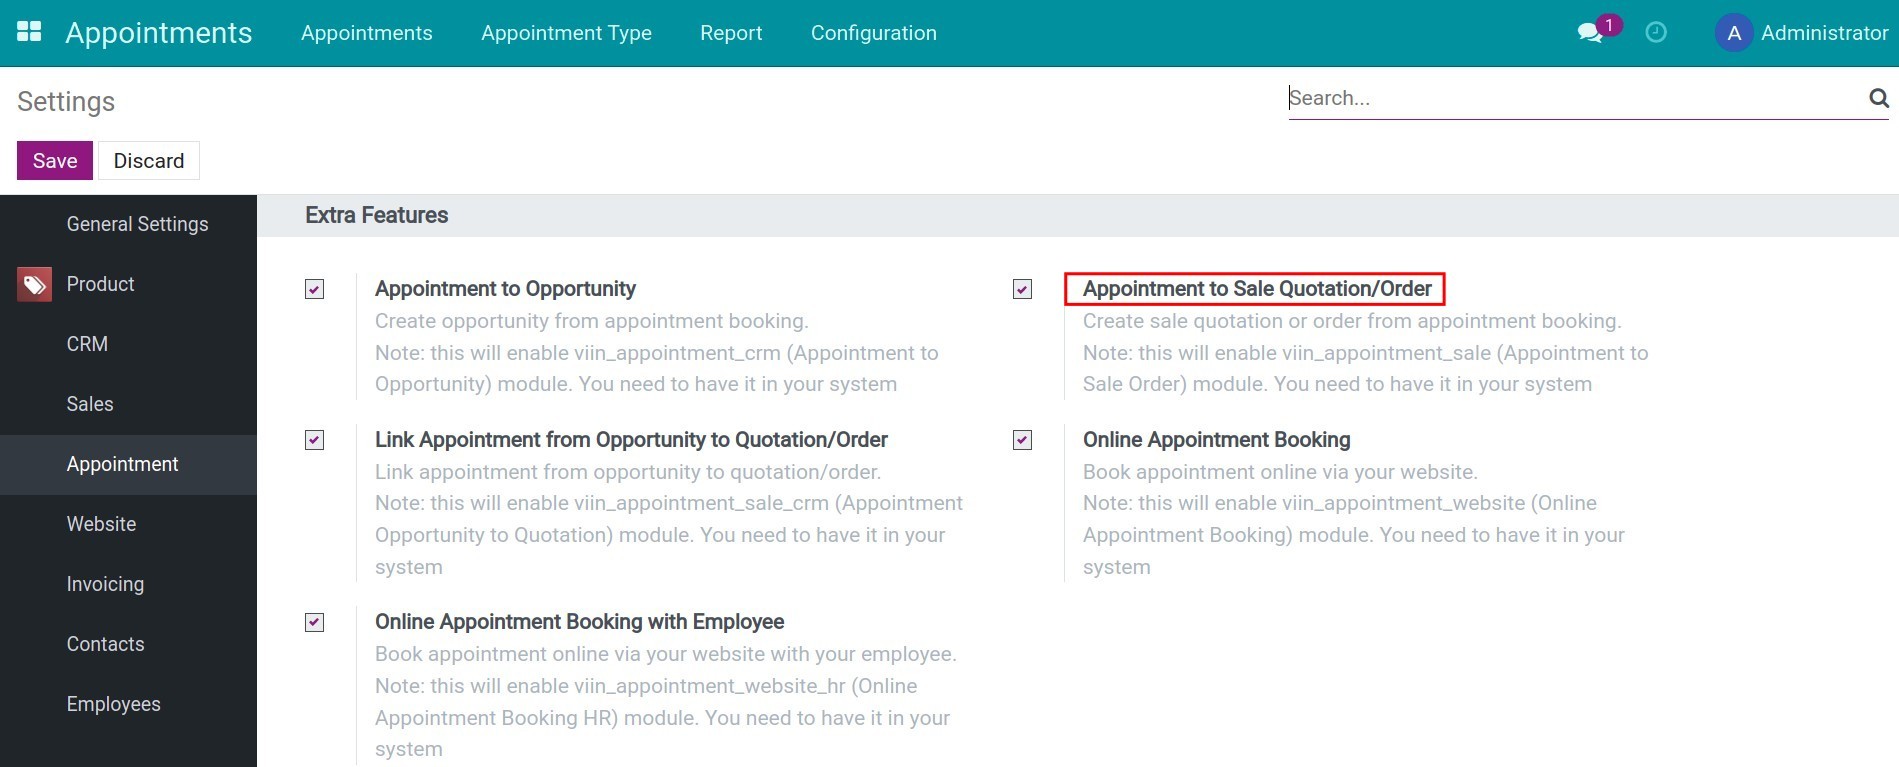
Navigate to: Appointments ‣ Configuration ‣ Settings. And then check on Appointment to Sale Quotation/Order and press Save.
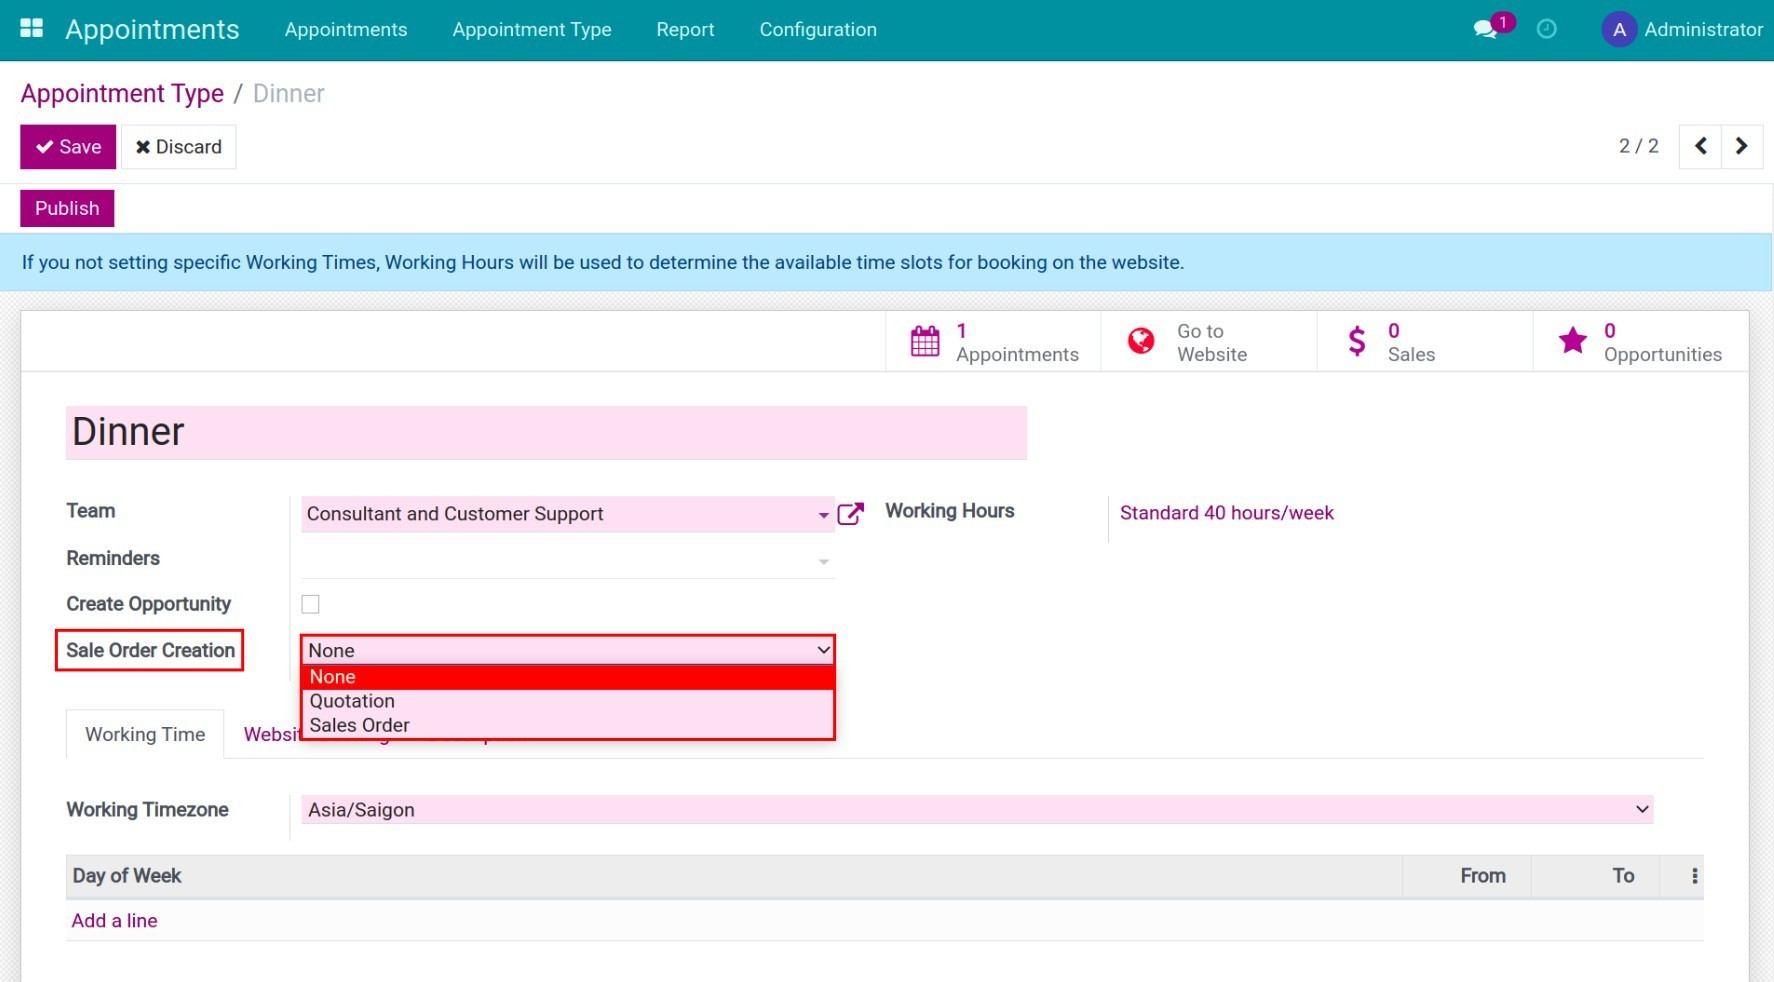
Similar to integrate Appointments with CRM. On the appointment type interface, the manager will see the Sale Order Creation field. The manager can choose the creation method: None, Quotation, Sales Order.
Integrate Appointment with Website
Navigate to: Appointments ‣ Configuration ‣ Settings. And then check on Online Appointment Booking.
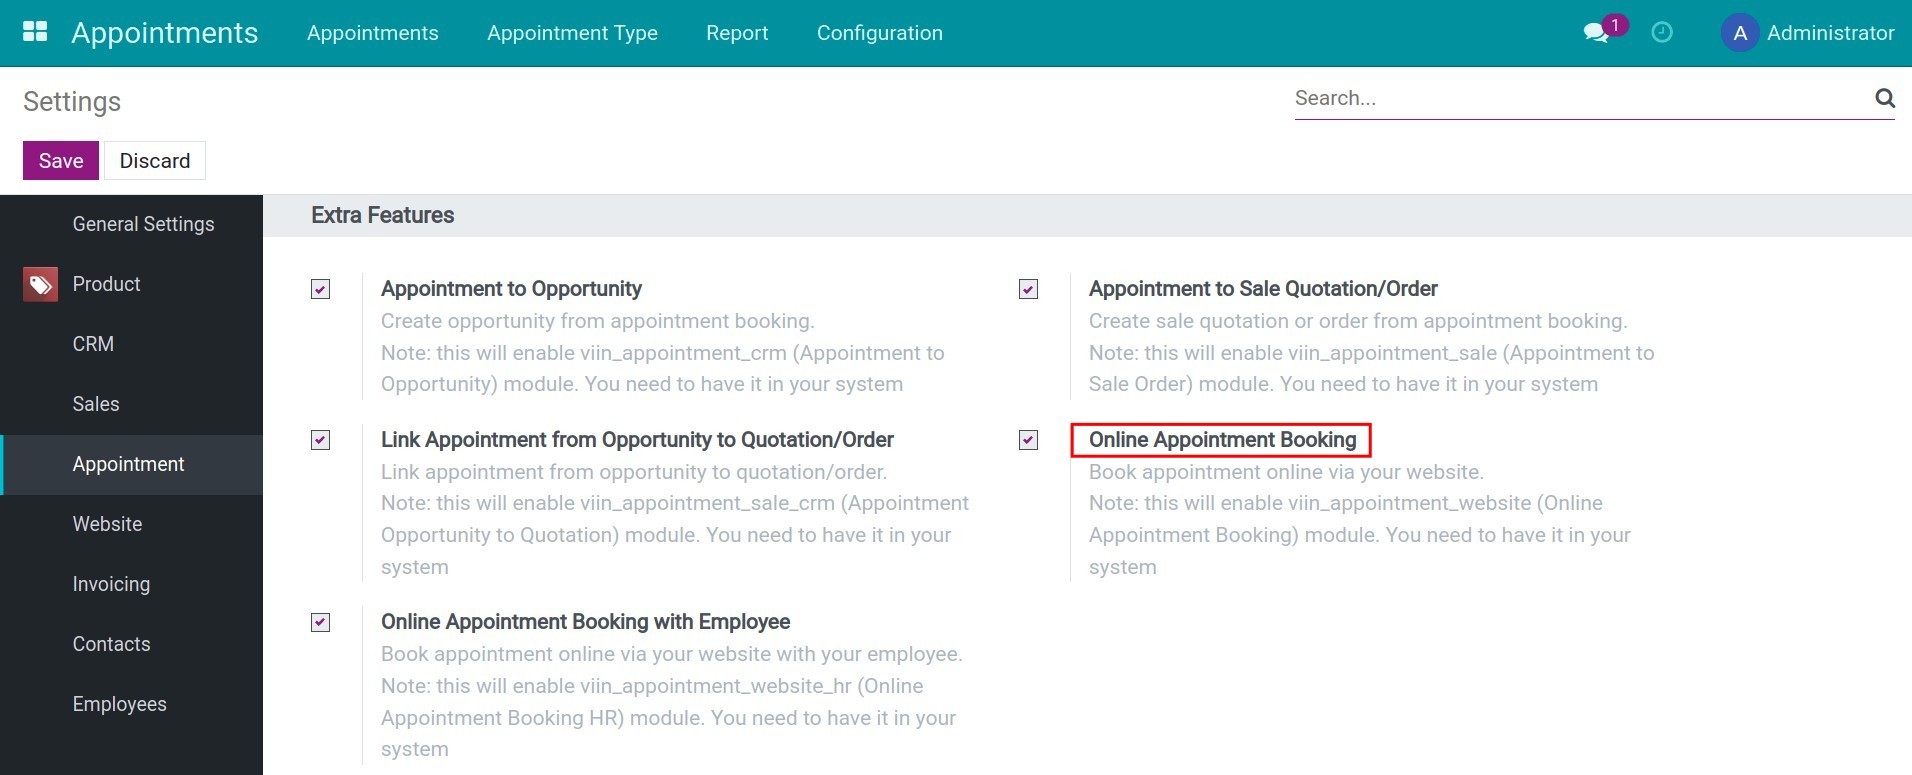
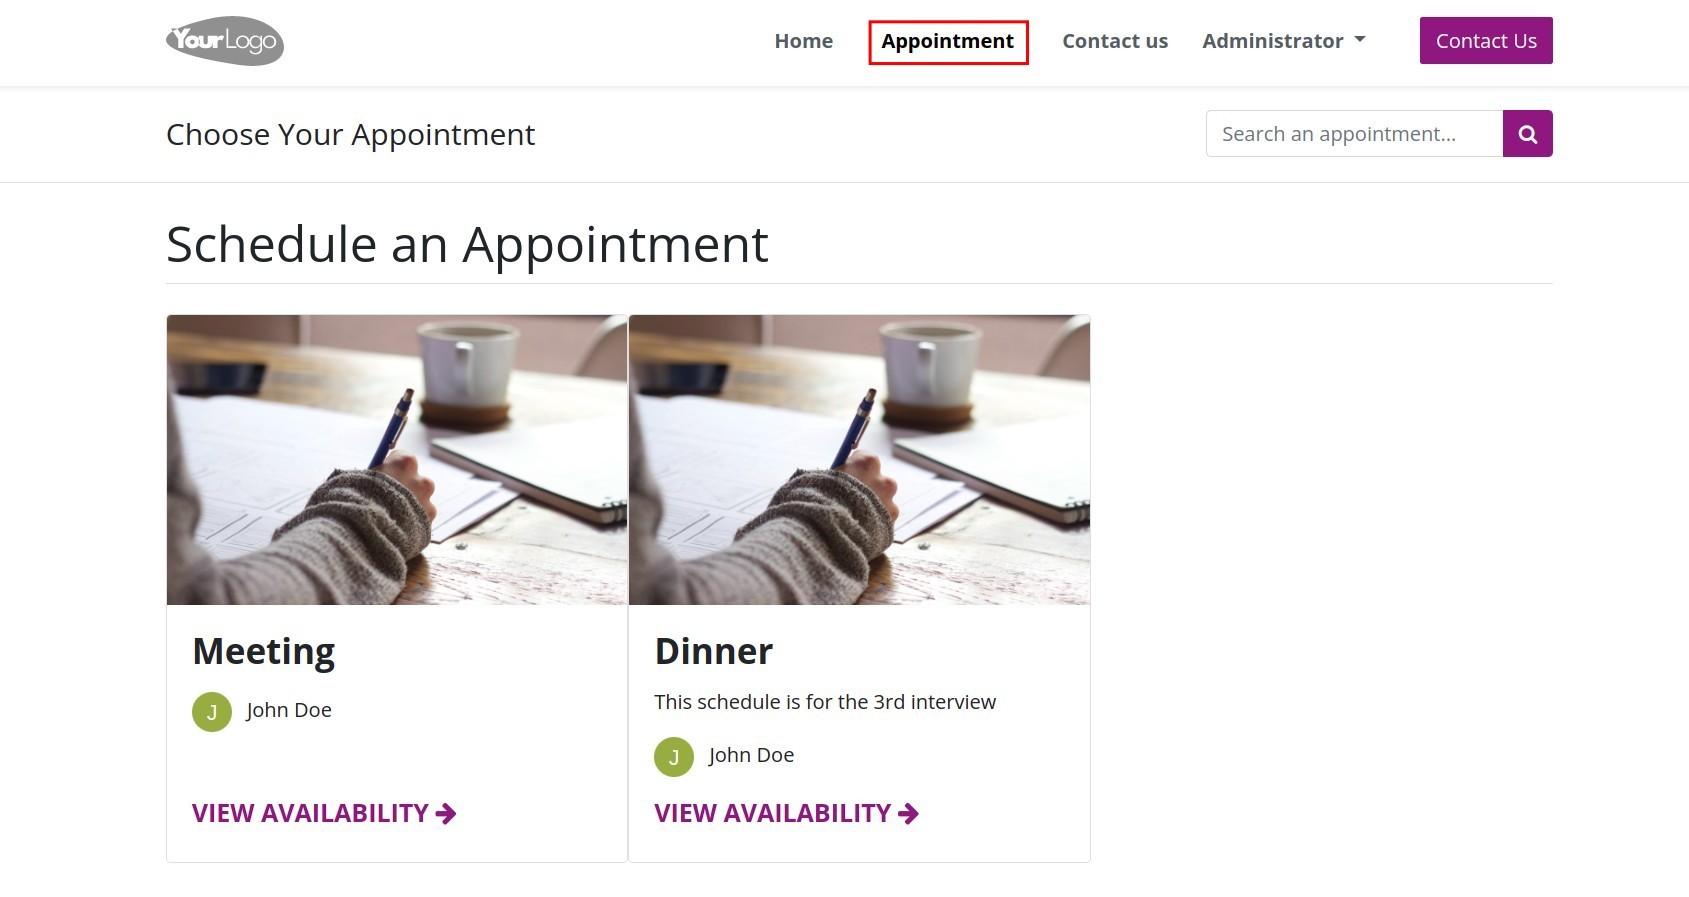
After this feature is activated, an additional page called Appointments will appear on your website. Customers can access this page when they visit the website and schedule an appointment.
Link Appointment from Opportunity to Quotation/Order
Navigate to: Appointments ‣ Configuration ‣ Settings. And then check on Link Appointment from Opportunity to Quotation/Order.
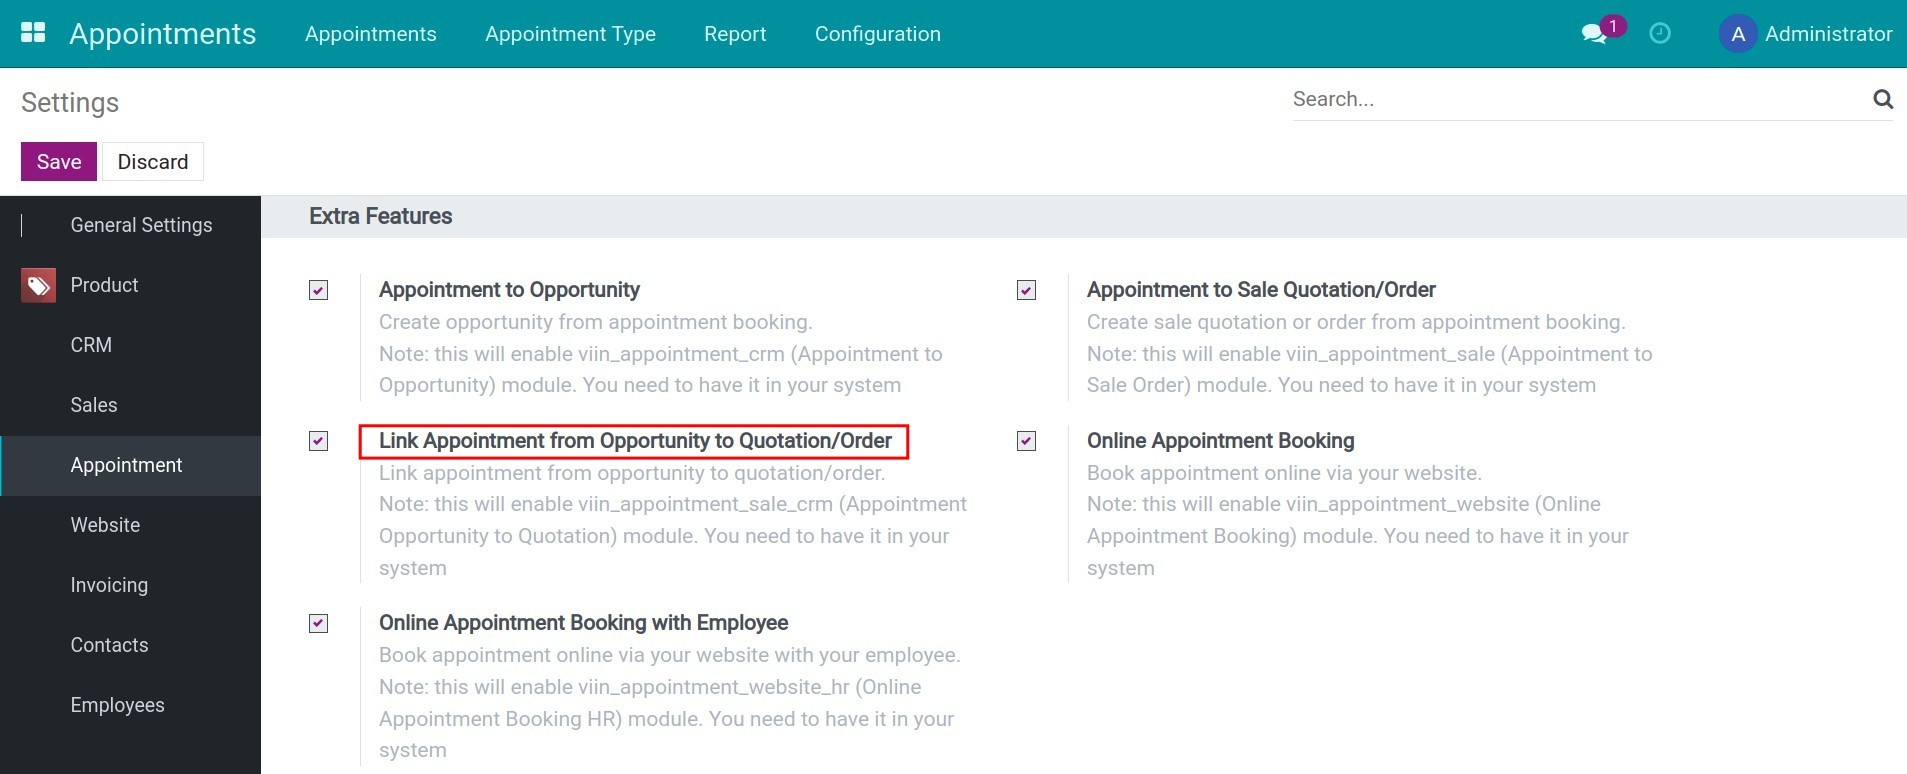
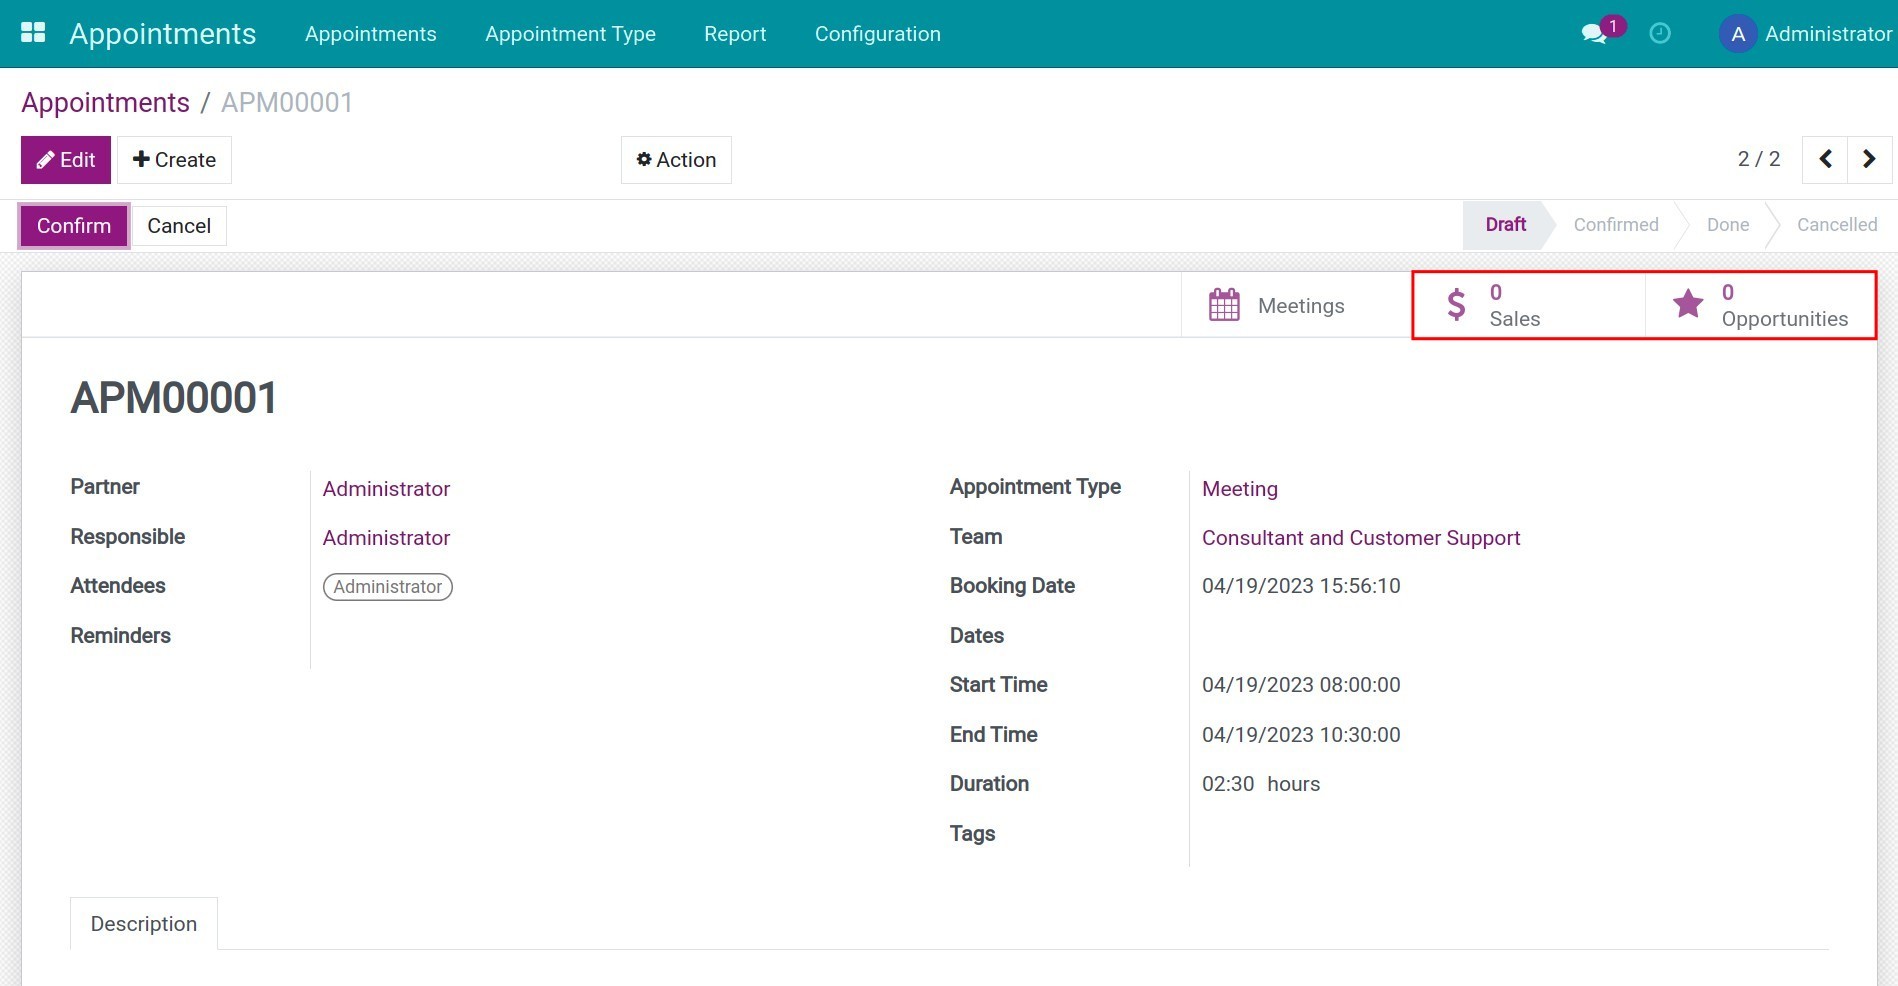
This feature will link the appointment to the quotation created from the appointment’s opportunity. For example, from the appointment’s opportunity, you create a quotation. The system will display this quotation on the appointment interface.
Online Appointment Booking with Employee
Navigate to: Appointments ‣ Configuration ‣ Settings. And then check on Online Appointment Booking with Employee.
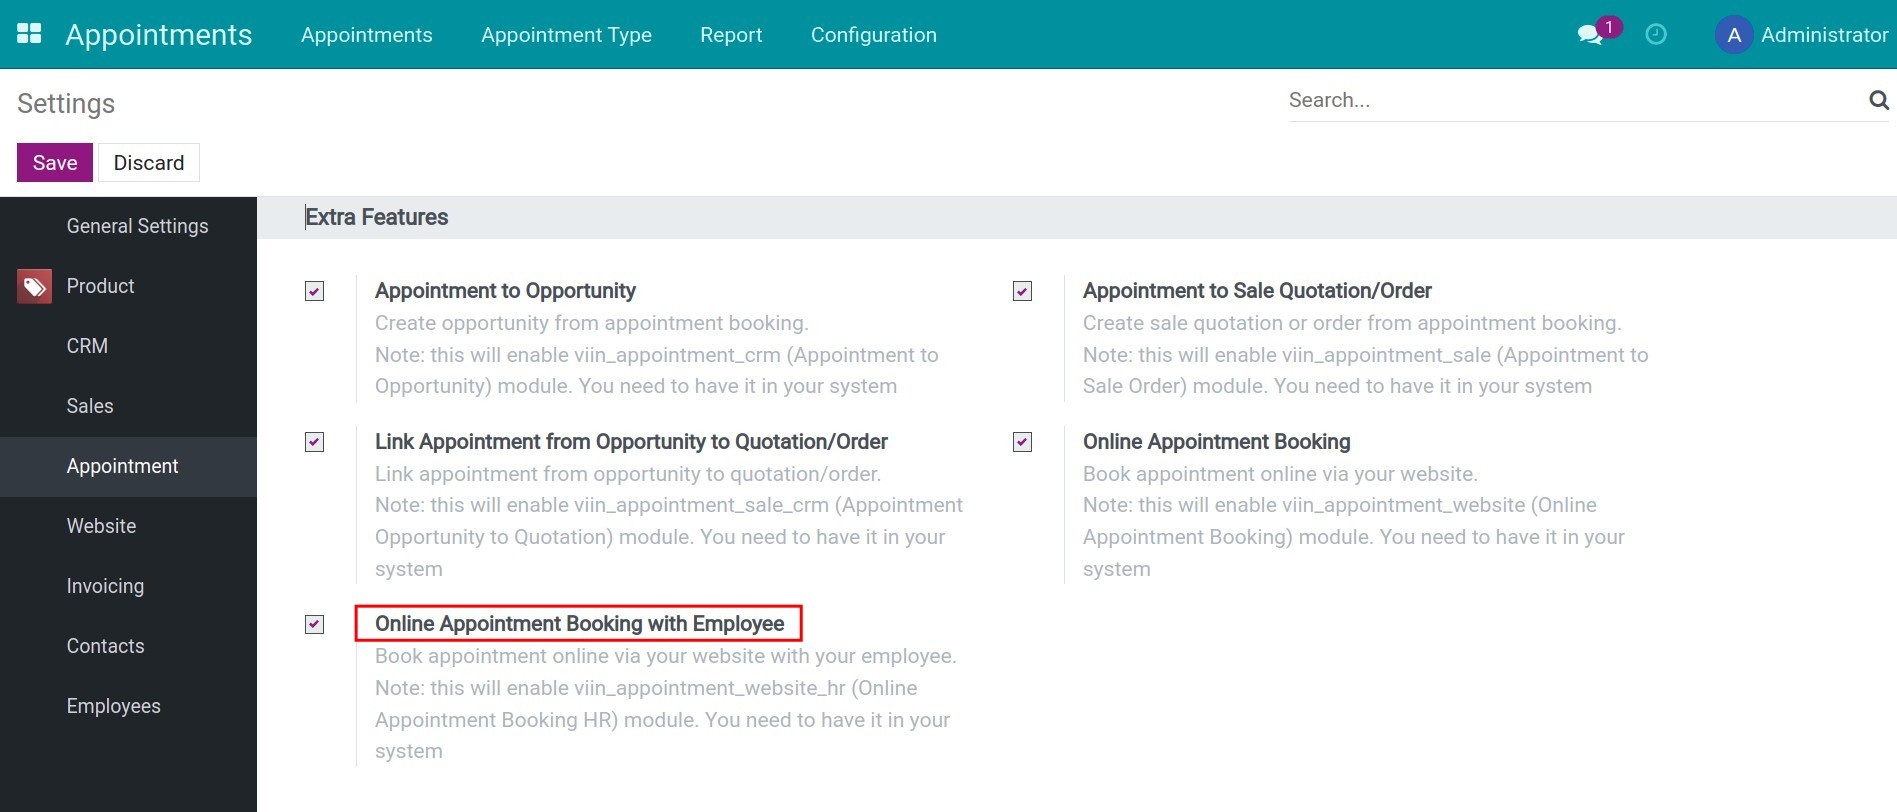
When customers go to the website, they can choose an appointment with employees from the list you have set up in Team.
Note
Customer will only be able to select employees of the Team set in the appointment type. It is not possible to select other employees not on this list.
See also