Create an online meeting room in the event
Nowadays, organizing events online must be no stranger to us. Organizing events online helps us not to be affected by space and time. To help users manage their online events, the Events app of business management software Viindoo has provided a community meeting room feature.
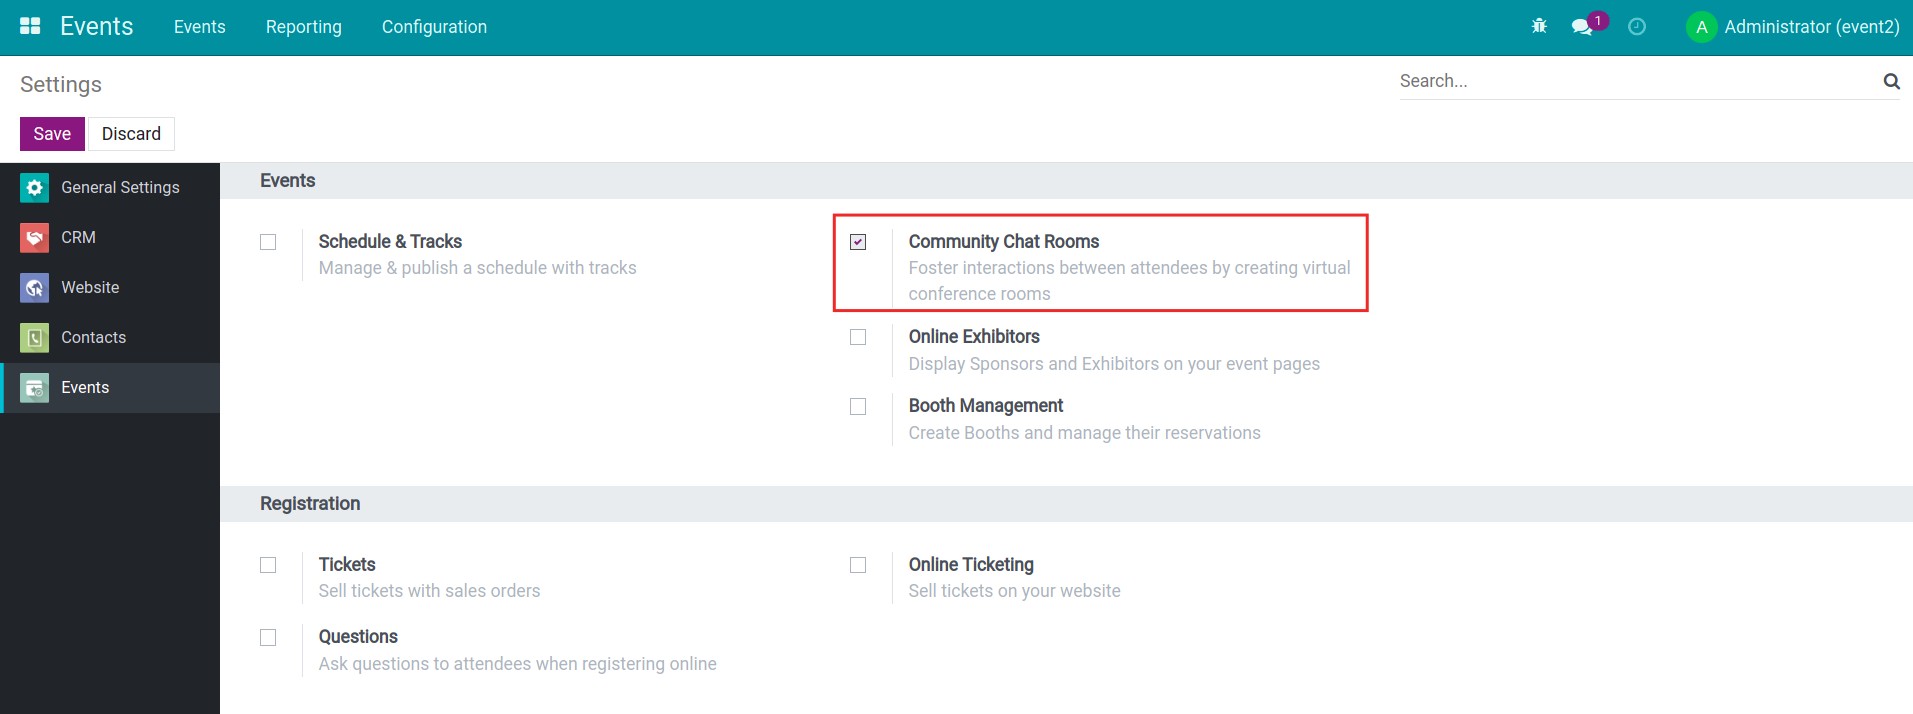
Activate the community chat rooms feature
You navigate to Events ‣ Configuration ‣ Settings, and activate the Community Chat Rooms feature.
Create an meeting room for the event
Create an event on the website
To create an online meeting room, first, you need create a new events.
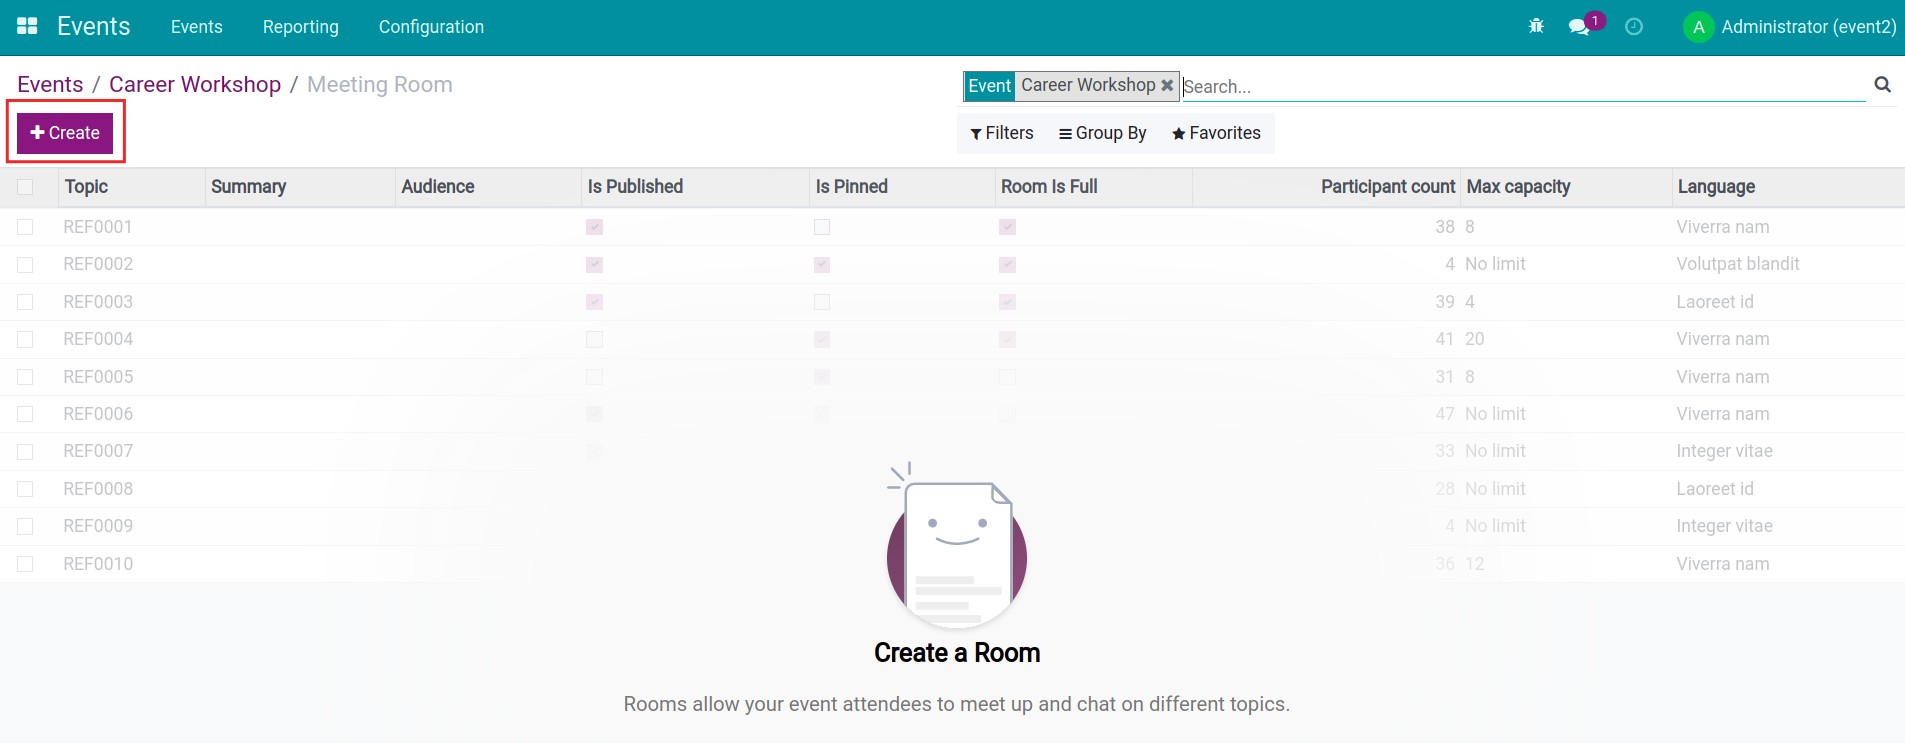
Navigate to the Events app, at the Events overview view, press the Create button.
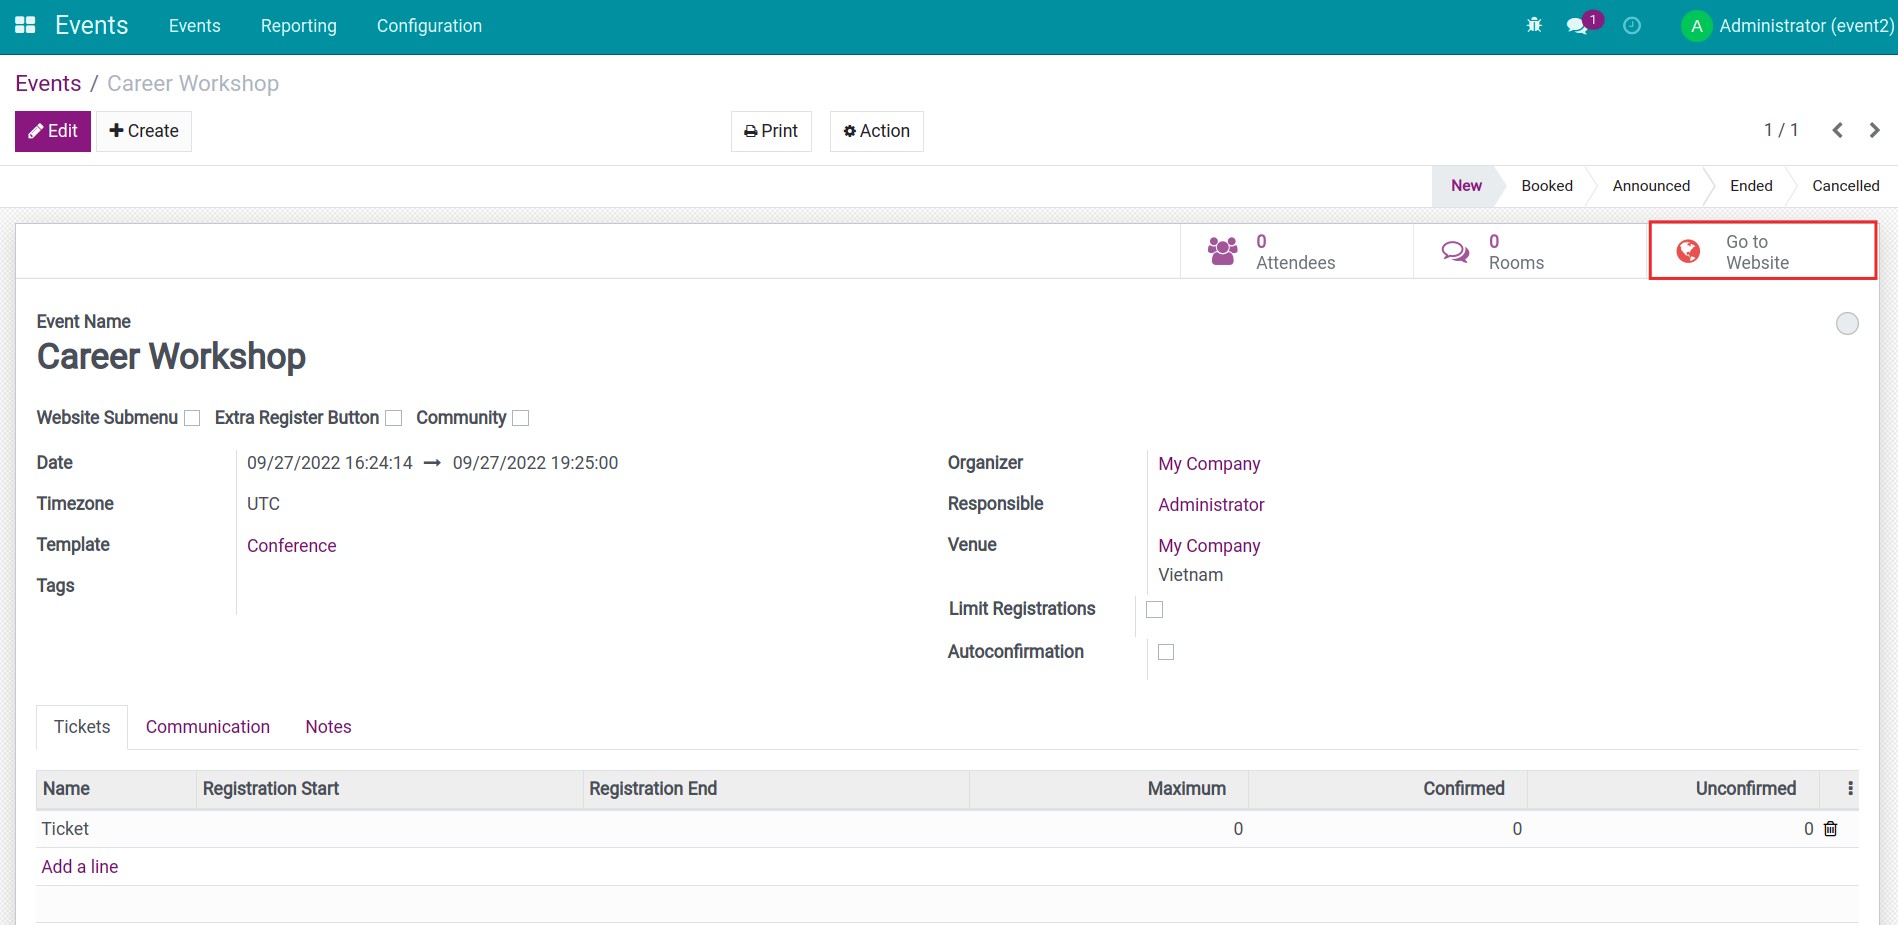
You fill in the necessary information of the event, then press Save.

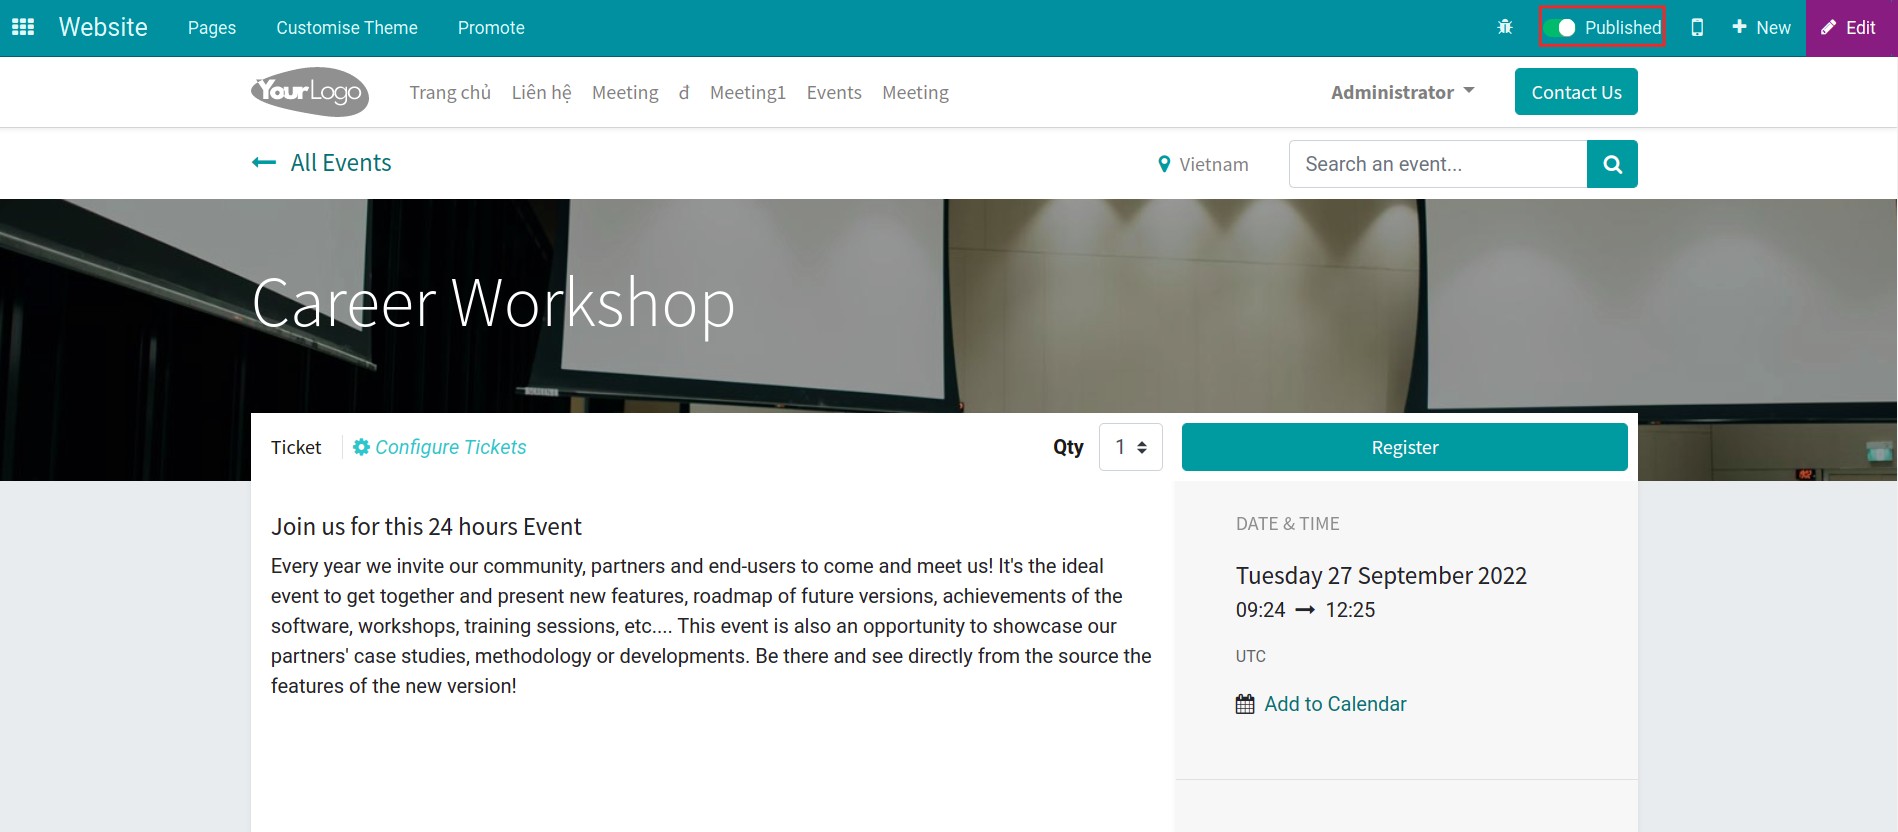
After creating the event, you publish the event on the website, select Go to Website to see the event displayed on the website, then press the Unpublished button to switch to the status Published.
Create the meeting room for the event
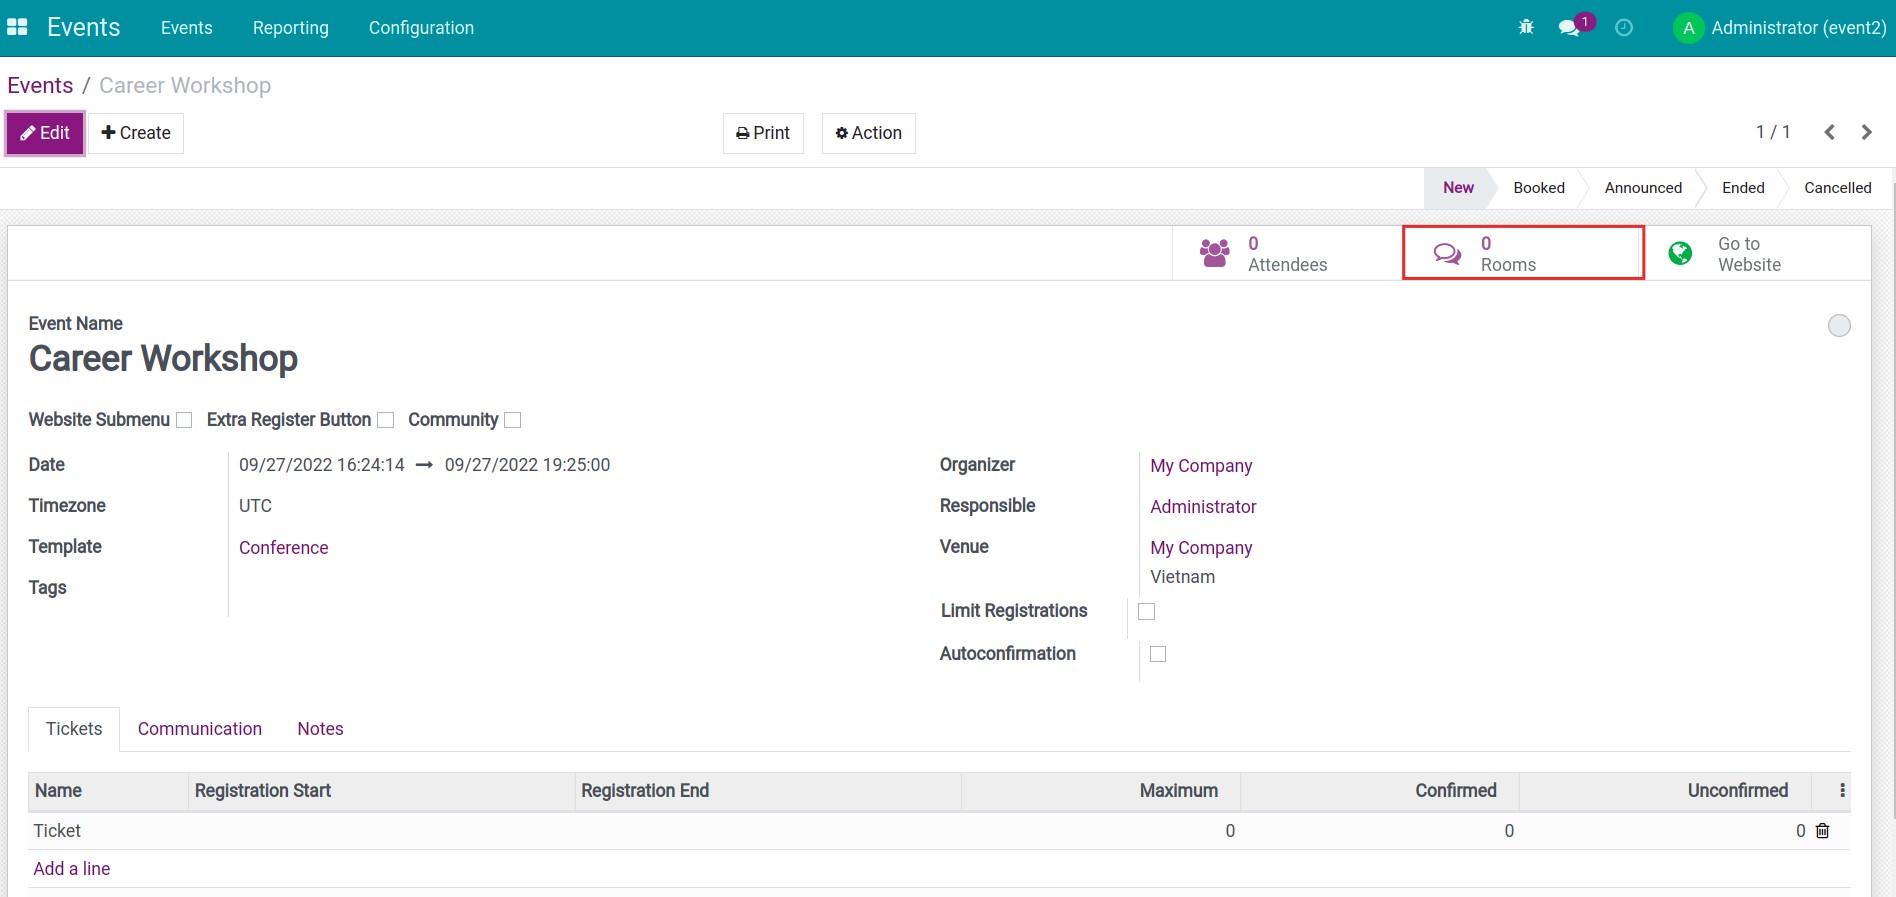
After activating the Community Chat Rooms feature, on the event creation view, a button Room appears. This button will show user how many online meeting rooms for this event.
To create an online meeting room, click this button, select Create to appear the meeting room creation view.
You need to fill in the necessary information of the online meeting room:
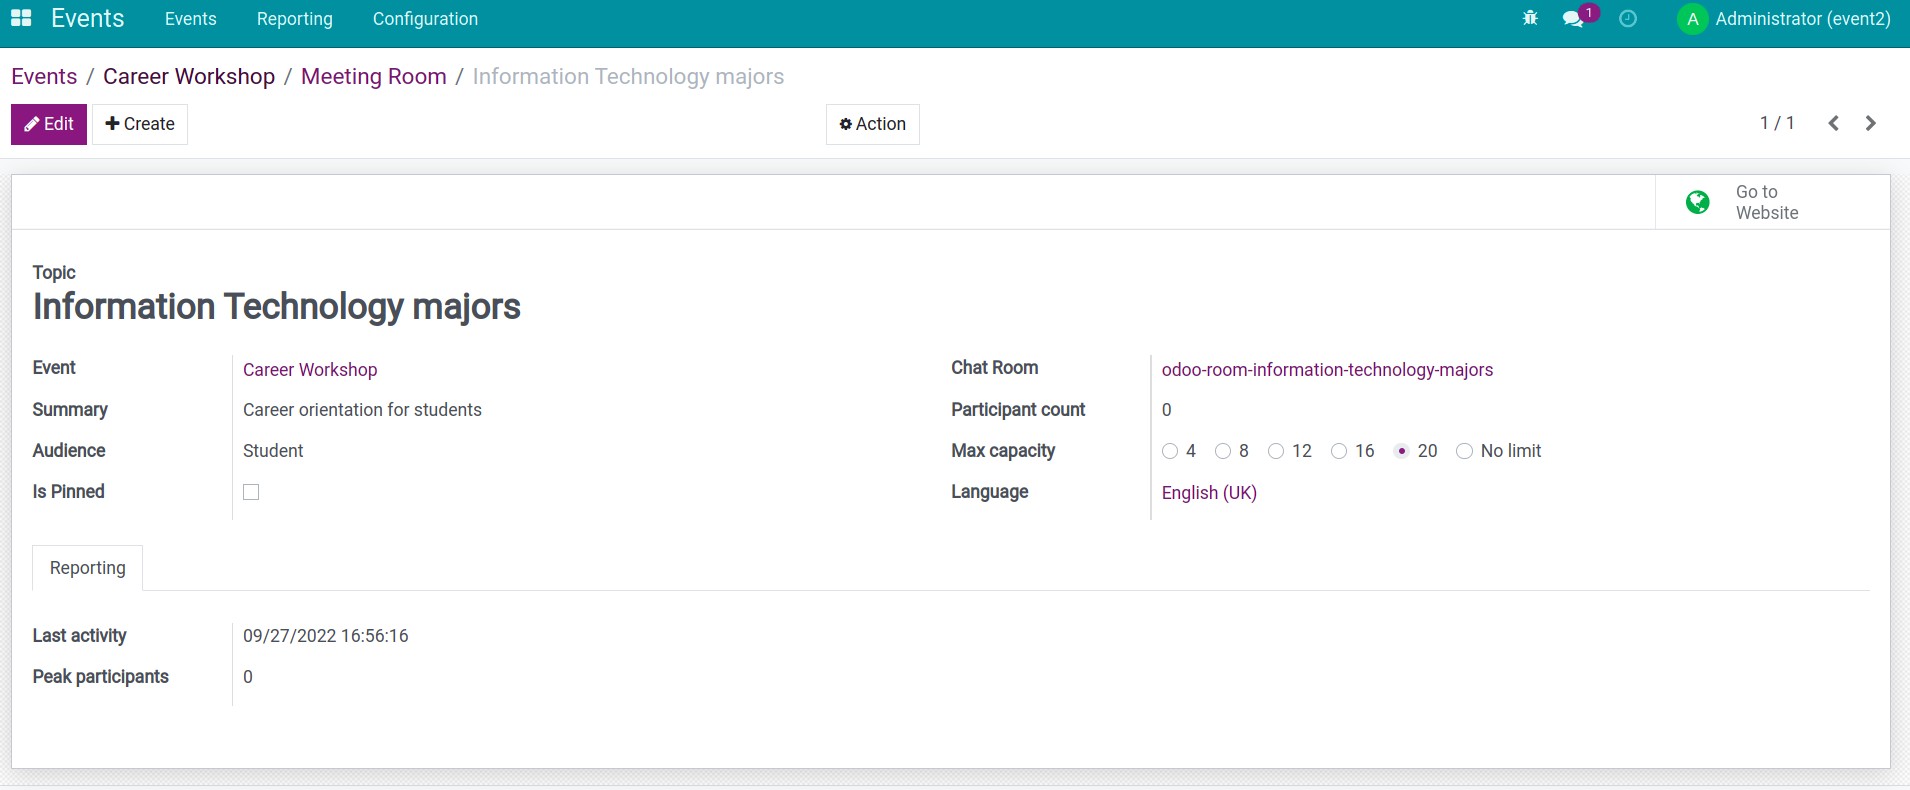
Topic: the name of the meeting room.
Event: event to which this meeting room belongs. Here, this information has been automatically populated with the name of the previously created event.
Summary: summarize what attendees the meeting room will discuss.
Audience: who are the event attendees?
Is Pinned: if checked, the meeting room will be pushed to the first in the list of meeting rooms of the event
Chat Room: the meeting room code.
Participant count: statistics on the number of people who attended this meeting room.
Max capacity: maximum number of people that can join this meeting room.
Language: select the language attendees will use for the discussion.
The Reporting tab allows users to monitor the meeting room’s statistical information.
Last activity: record the time when the meeting room is created, each time the attendee joins and exits the meeting room.
Peak participants: statistics on the number of people who attended this meeting room.
After filling in the necessary information of the meeting room, click Save to save the information.
Publish the meeting room on the website
In order for the meeting room to appear on the website, you need to publish the meeting room on the website.
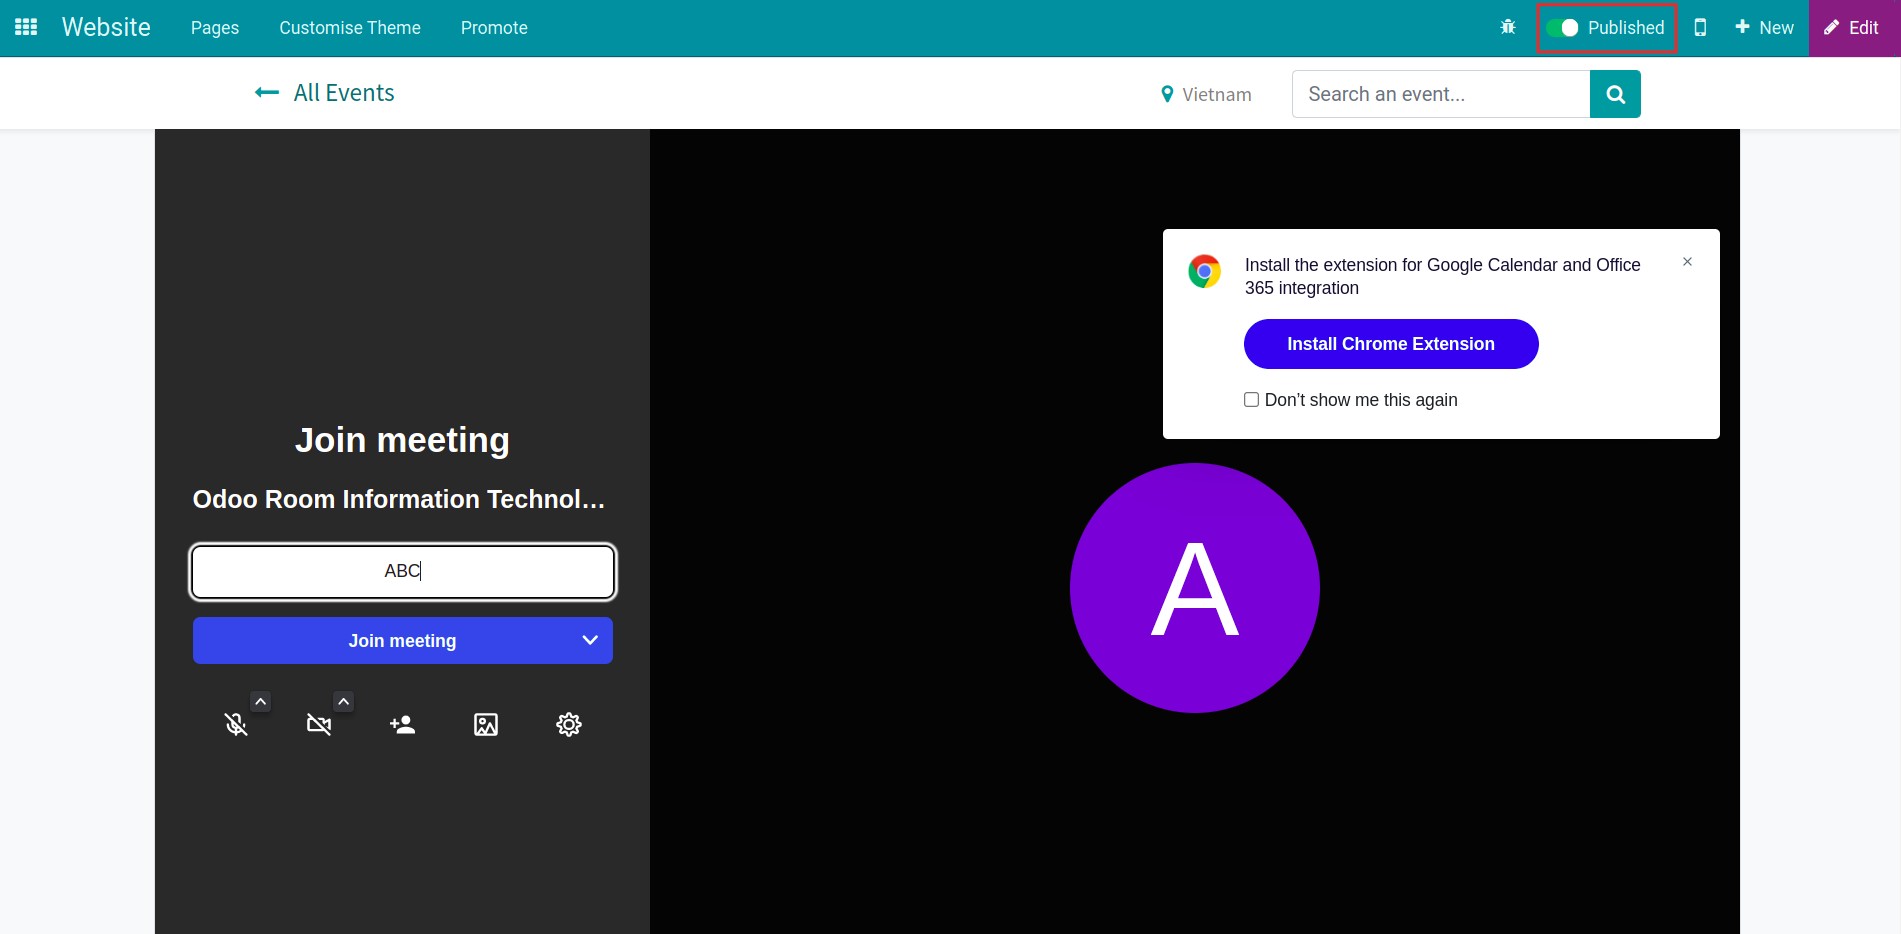
First, at the meeting room view, select Go to Website to see the meeting room displayed on the website, then press the Unpublished button to switch to Published.
Then you need to create a meeting room menu of the event on your website.
Note
You must create a separate meeting room menu for each event
Navigate to the Website app, select Go to Website and execute follow these steps to create a menu:
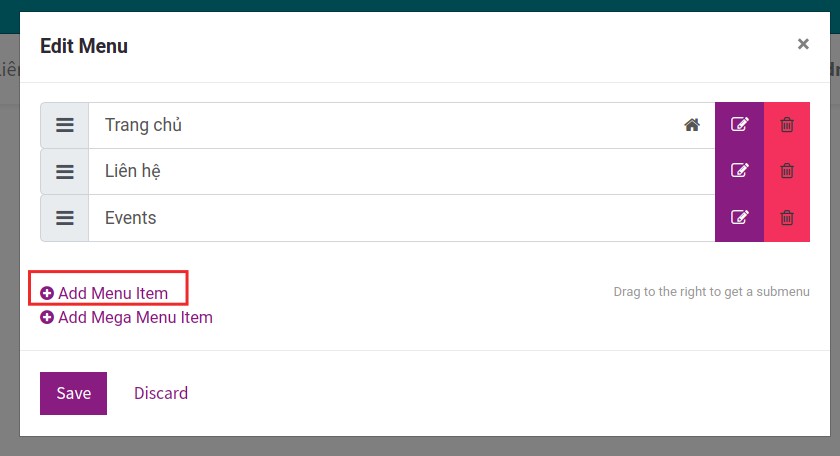
Step 1: navigate to Pages > Edit menu > Add Menu Item.

Step 2: fill in the information of the menu item.
Menu Label: the name of the menu you want to create. Example: Career seminar room.
URL or Email: add the link of the meeting room you want to appear on the website. Example: /event/hoi-thao-huong-nghiep/community.
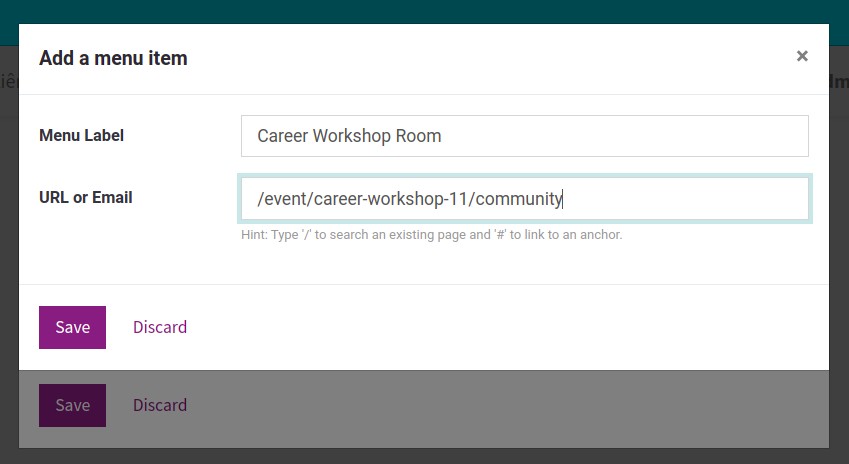
Step 3: press Save.
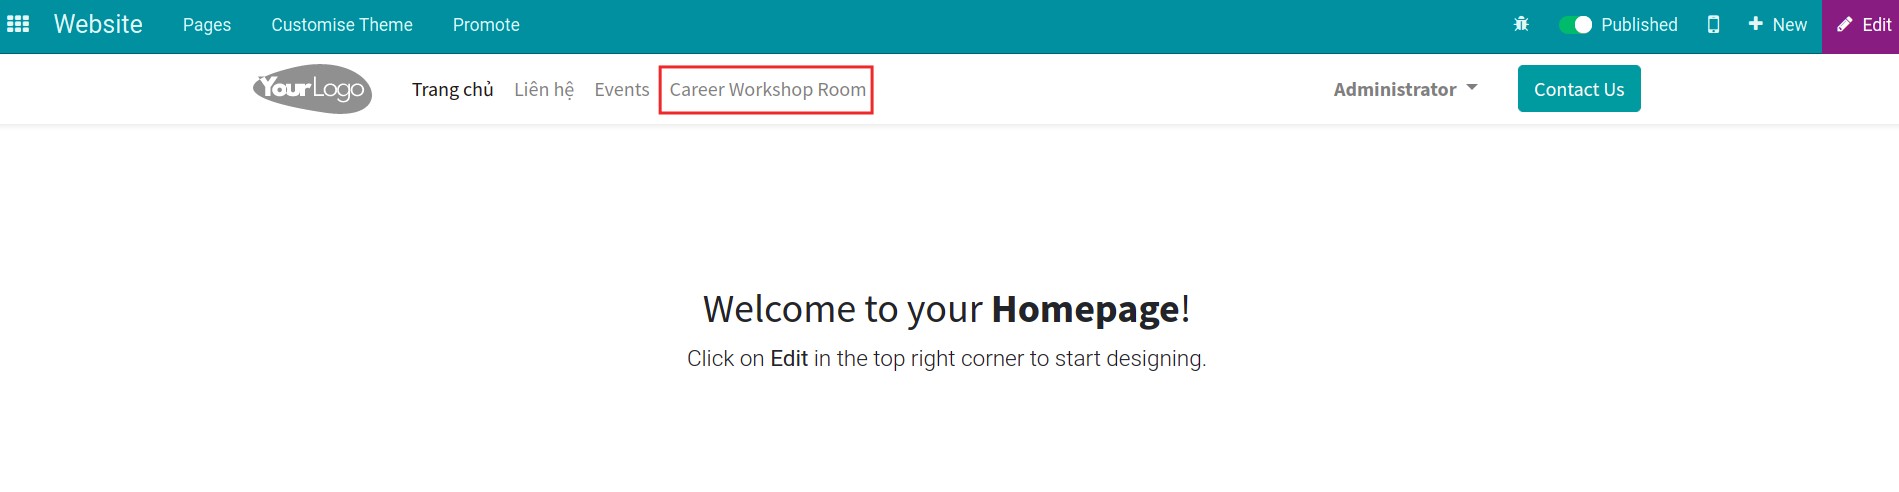
So, you have a menu Career Workshop room on the website.
Join the meeting room on the website
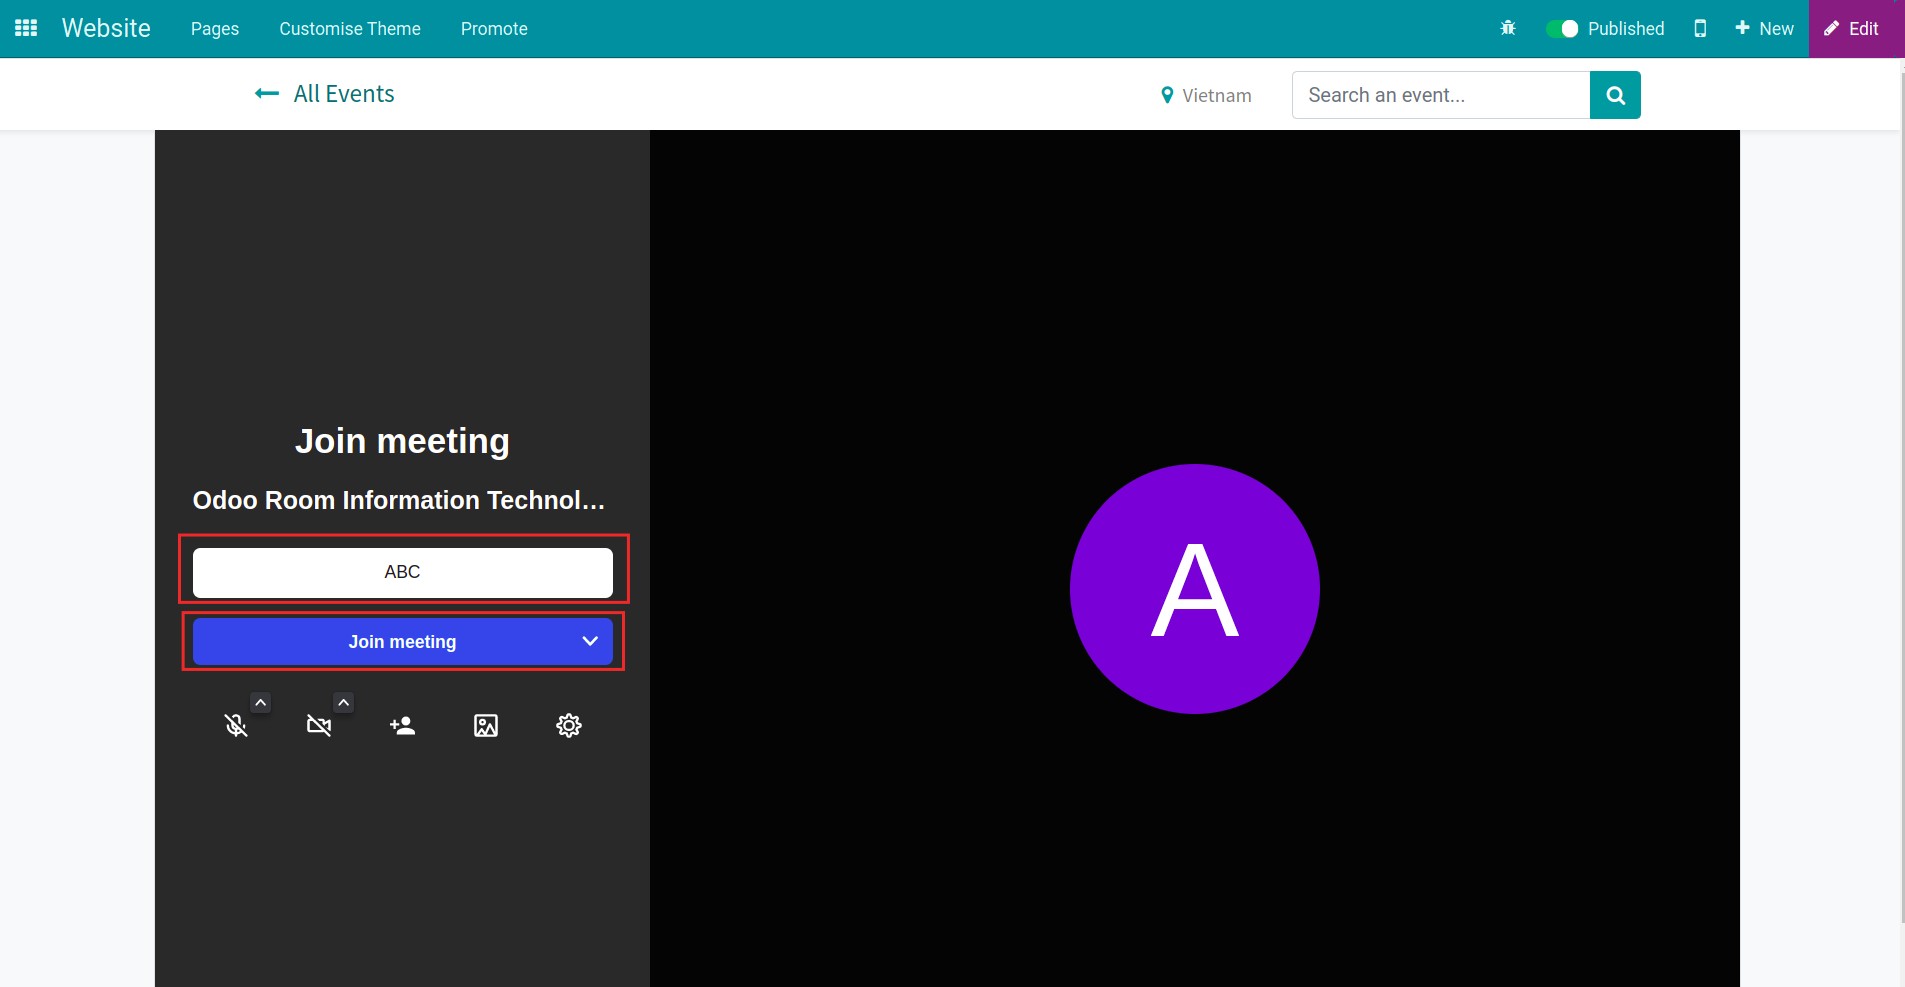
To join the meeting room, you navigate the meeting room menu and select any meeting room, the online meeting view will appear.
To start an online discussion, enter your name and select Join meeting.
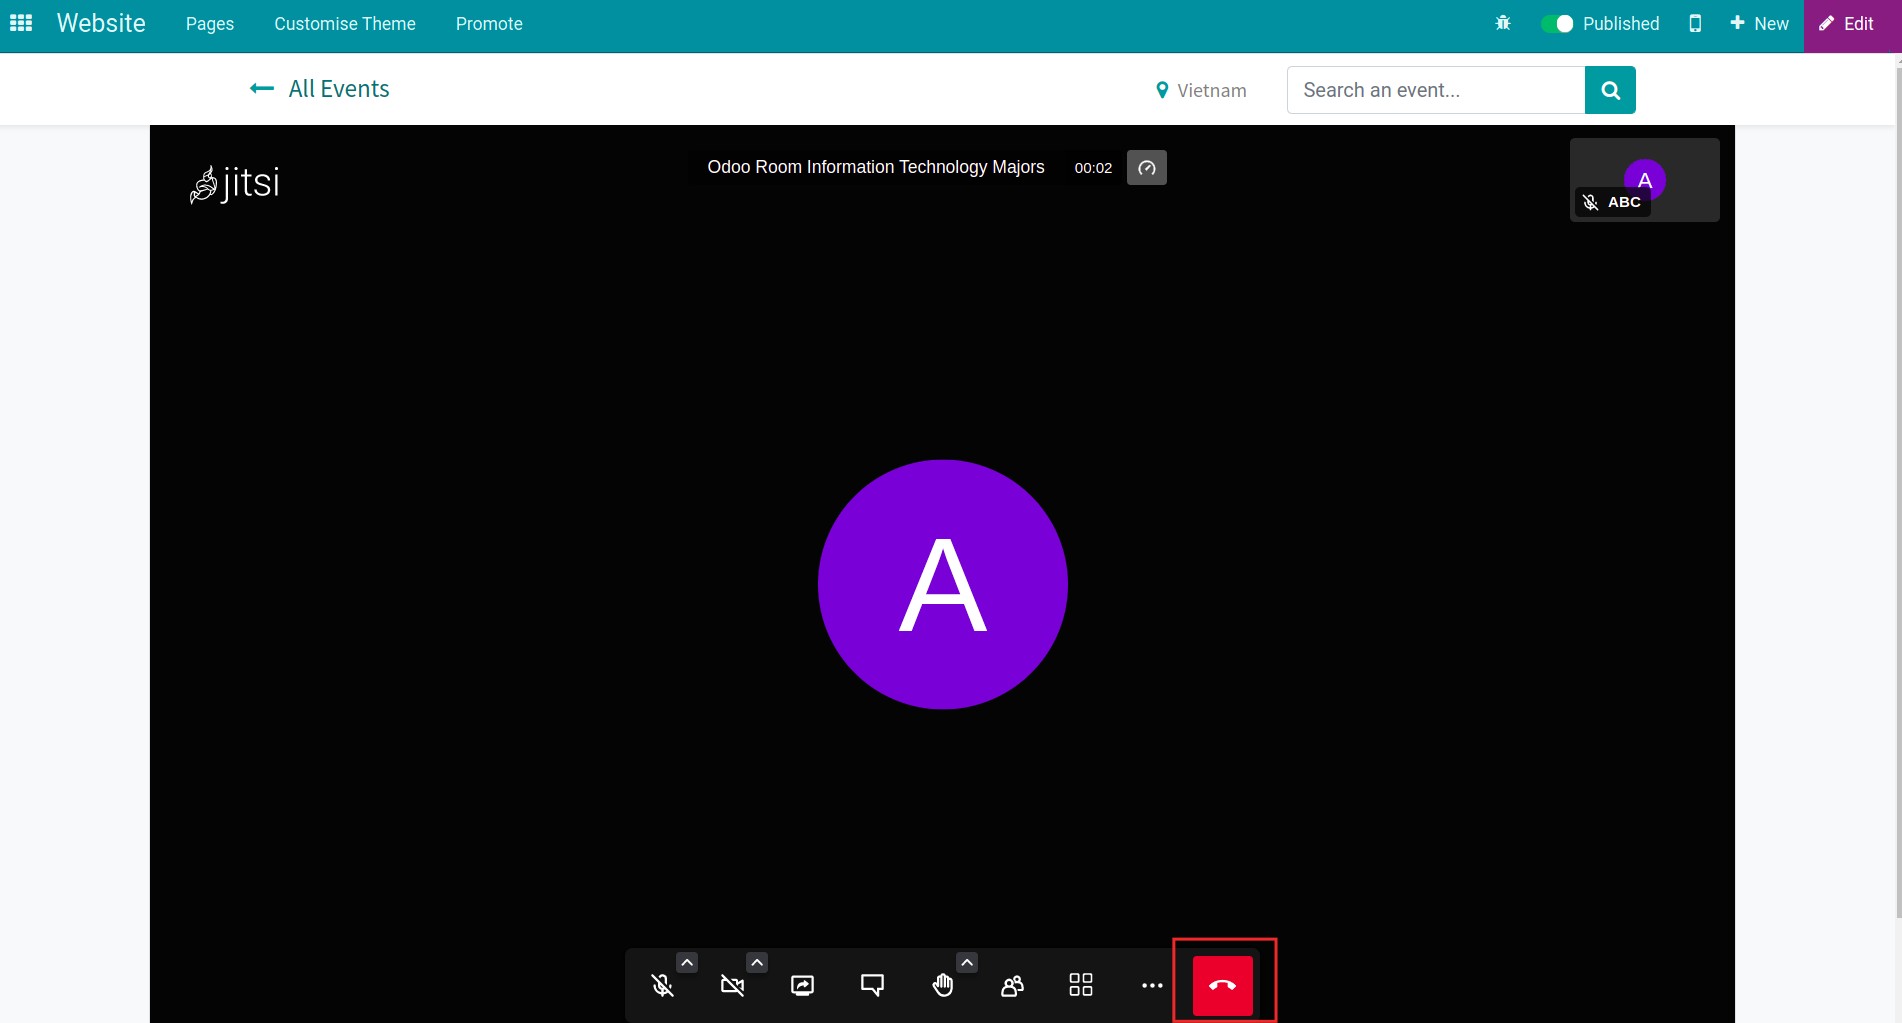
When you want to finish, you select the red button as shown below.
Manage the meeting room after publishing on the website
Note
We will take an example according to the event Career Workshop with Career Workshop room created in the upper part of the article.
Manage the meeting room in the website view
Note
To manage meeting rooms, you must have access rights Administrator in the Events app.
At the website view, you access the meeting room menu. At this view, the meeting rooms of the event will appear.
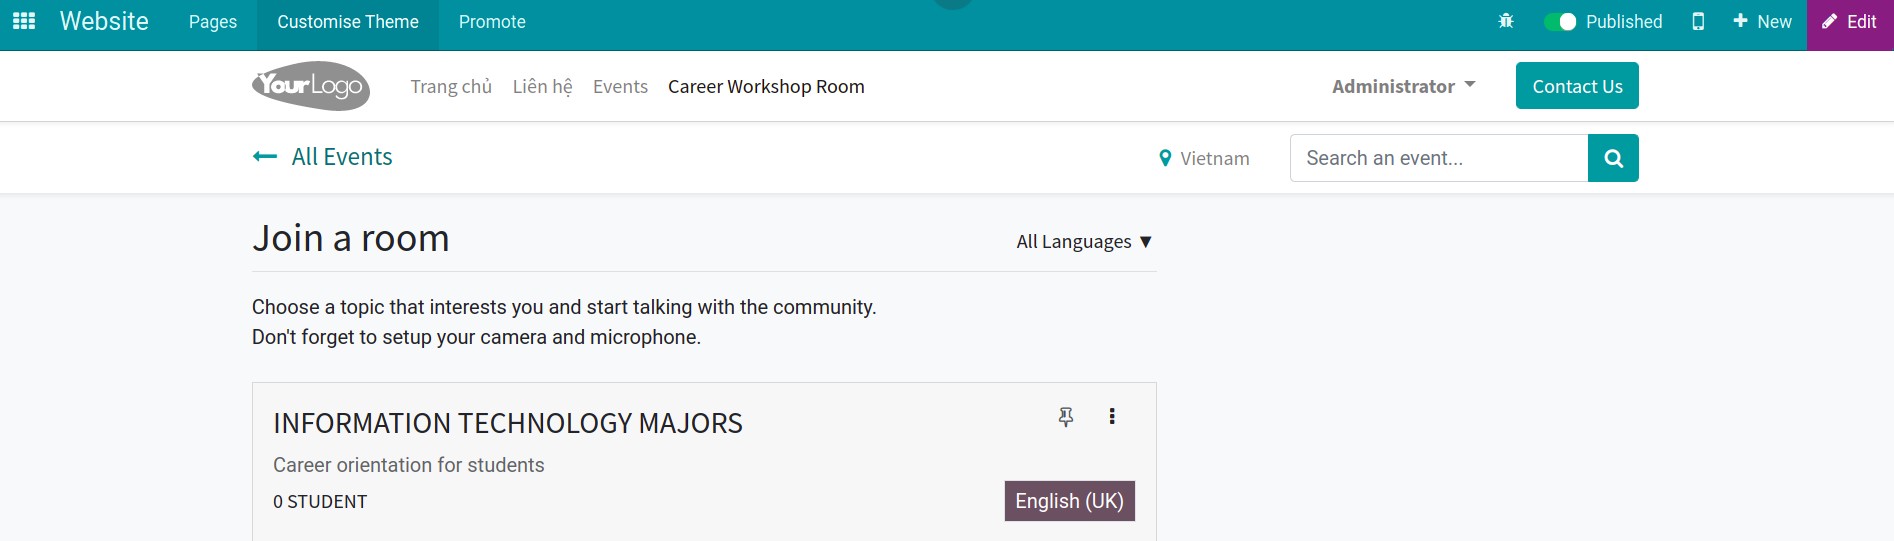
At the meeting room list view, you can see the number of attendees. Additionally, you can customize meeting rooms with the following settings:
Pin

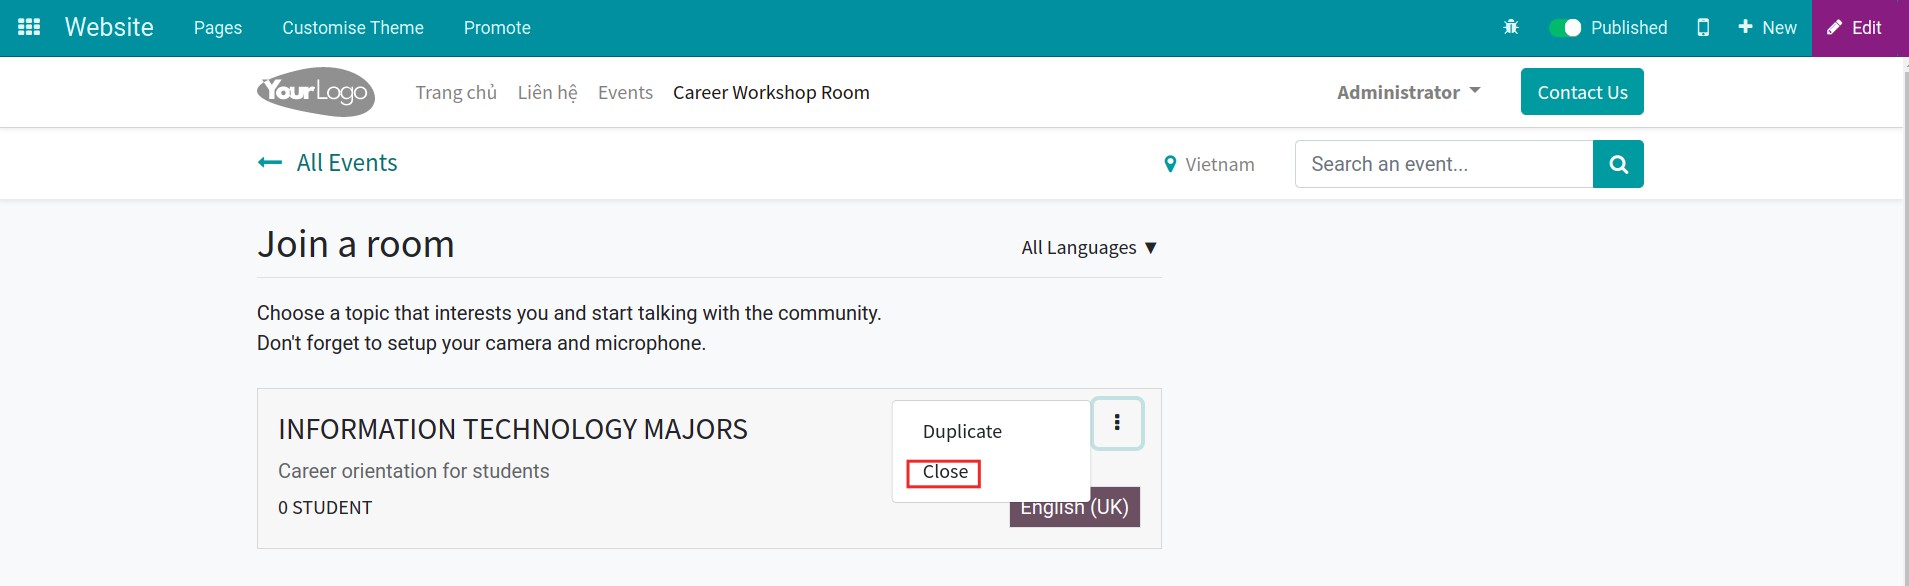
Duplicate: duplicate an additional meeting room similar to the existing meeting room.
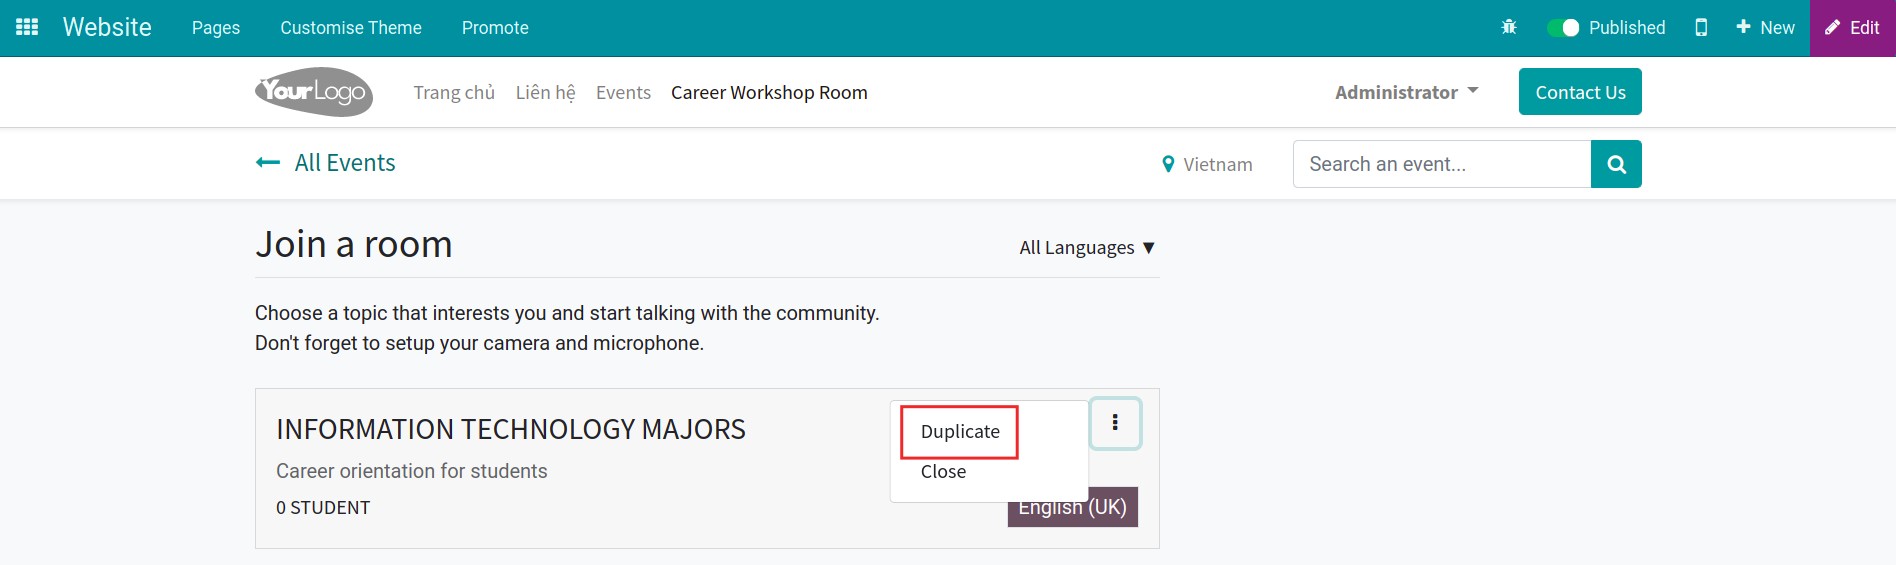
Close: select this button if you don’t want the meeting room to appear anymore.
Manage the meeting room in the Events view
After the online meeting room ends, you can navigate the Events app, find the event Career Workshop and select Rooms. You can view the list of meeting rooms of the event.
In this view, you can see other information, different from the information set in the meeting room creation field:
Is Published: checked if you have published this meeting room on the website.
Is Pinned: checked if you have pinned this meeting room.
Room is Full: checked if the room is full.

See also
Related article
Optional module