Biometric attendance device intergration
Viindoo software supports biometric attendance device integration. Timekeeping using biometric attendance devices brings much value to your company’s attendance management process:
Guarantee consistency, make sure there is no mistake in the result;
Prevent cheating in attendance;
Time-saving for the attendance managing process;
Etc.
Requirements
This tutorial requires the installation of the following applications/modules:
How to install the module
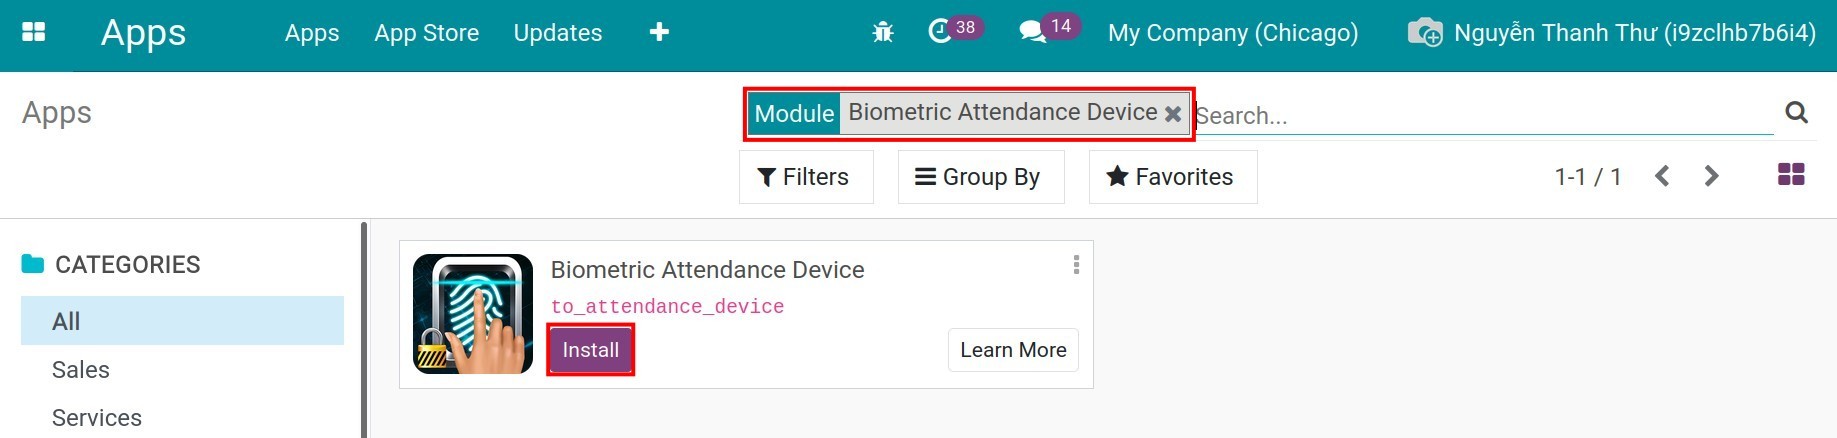
To use the Attendance device integration function, you need to install the Biometric Attendance Device module (to_attendance_device).
Access Apps, search for “Biometric Attendance Device”, and then press Install.
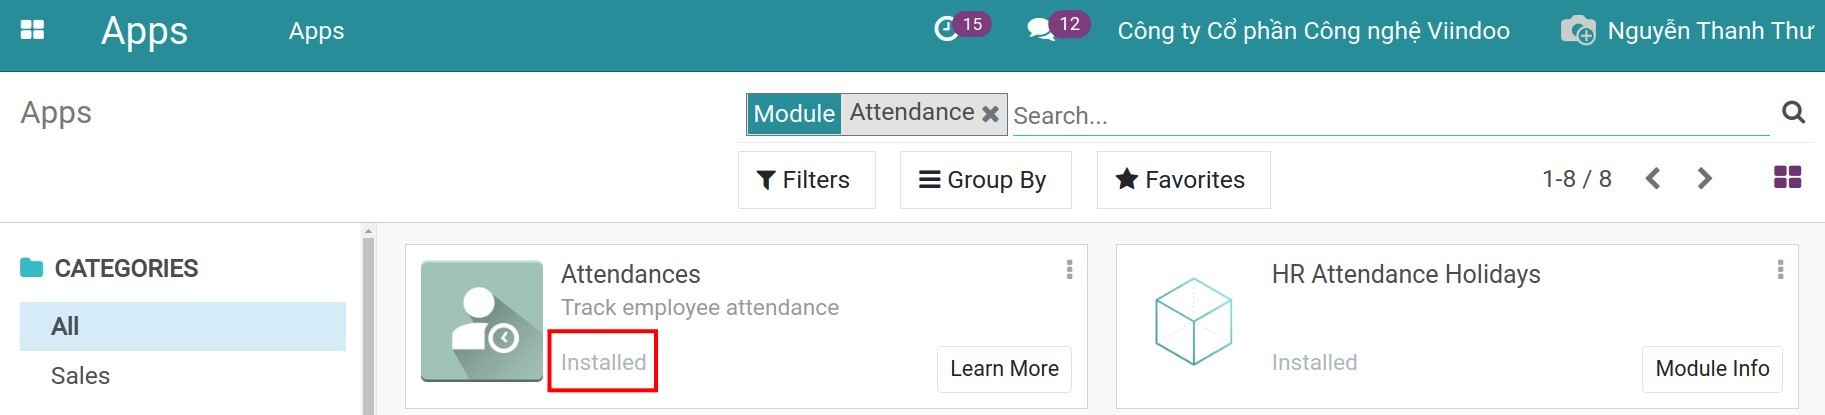
After installing the module, the system will auto-install the Attendances module (hr_attendance), which allows you to manage the attendance data using the Biometric Attendance Device module.
How to set up
Set up biometric attendance devices
Note
Currently, Viindoo software is designed to be able to integrate with every attendance device on the ZKTeco platform.
Enter Attendances app, select Attendance Machines > Machines Manager.

At the device information view, press Create.

A Devices Information view will appear.
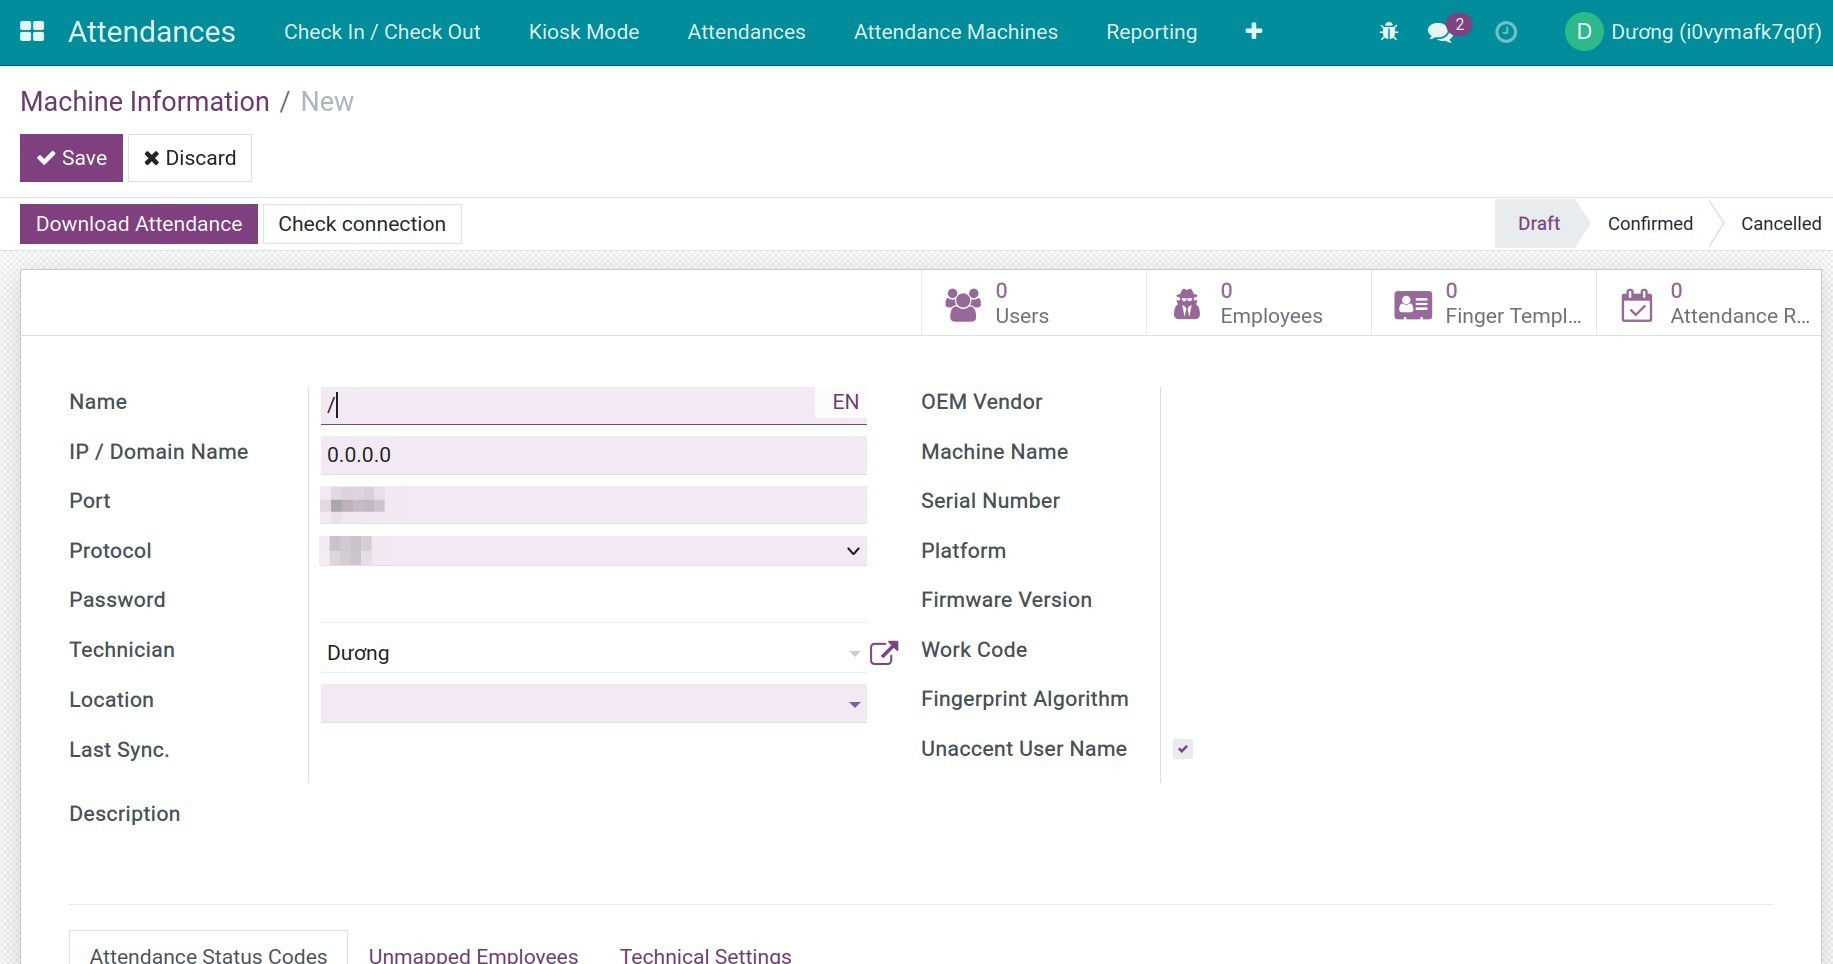
Fill in the needed information as follow.
General information
Enter the following information:
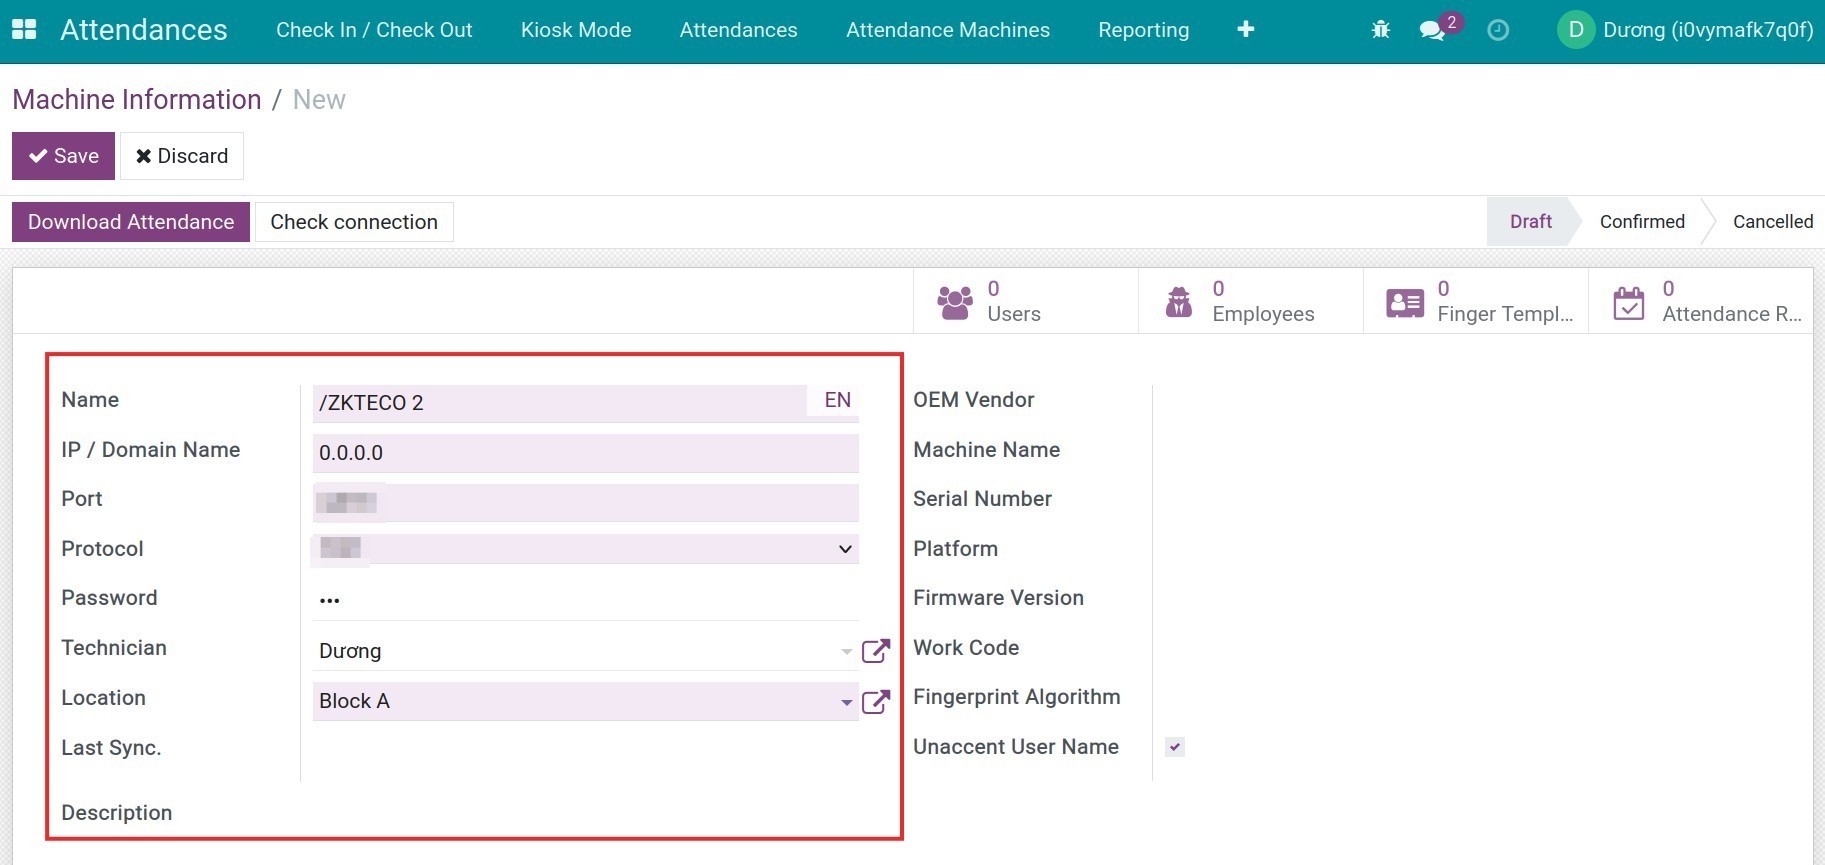
Name: the name of the device. You should select the most recognizable name for the device, for example ZKTeco K14 No.1.
IP/Domain Name: is the address connected to the Attendance device.
For the connection in the local network, it is the IP set up on the device.
For connections from the internet, this is the company’s static IP. This address is provided by the internet service provider you are using. You need to configure NAT/Portfowarding to route connections from Static IP to the internal IP address of the attendance device.
Port: is the port to connect to the device.
For connection in the local network, this port coincides with the port installed in the device.
For connections from the internet, you need to configure NAT/Portfowarding to route from the external port to the internal port (which is the port installed in the device).
Note
IP/Domain and Port are two parameters set up on the time attendance device to connect the attendance device with your software system. Therefore, make sure to enter the correct parameters to be able to successfully connect to the attendance device you want.
Protocol: TCP or UDP protocol. If your device is an old version and doesn’t support TCP then you should select UDP.
Password: Create a password to confirm your identity. For example, the person in charge of the attendance device needs to insert this password in order to add more users.
Technician: The employee in charge of this device.
Location: Where the device is put, for example Gate no.1 of building A.
Last Sync.: Show the latest time the device is synced, the system will auto-update after every synchronization.
Description: Note, description for the device.
Unaccent User Name: User name without an accent.
Besides, when you press Get Machine Info, the system will automatically update the following info:
- OEM Vendor;
- Device Name;
- Serial Number;
- Platform;
- Firmware Version;
- Work Code;
- Fingerprint Algorithm.
Attendance Status Codes tab
This is the summary of the employees’ Attendance Status Codes set in the device. The manager will use this information to know if the attendance is a normal or an overtime one, in order to calculate the employee’s salary.
Here is how it display.
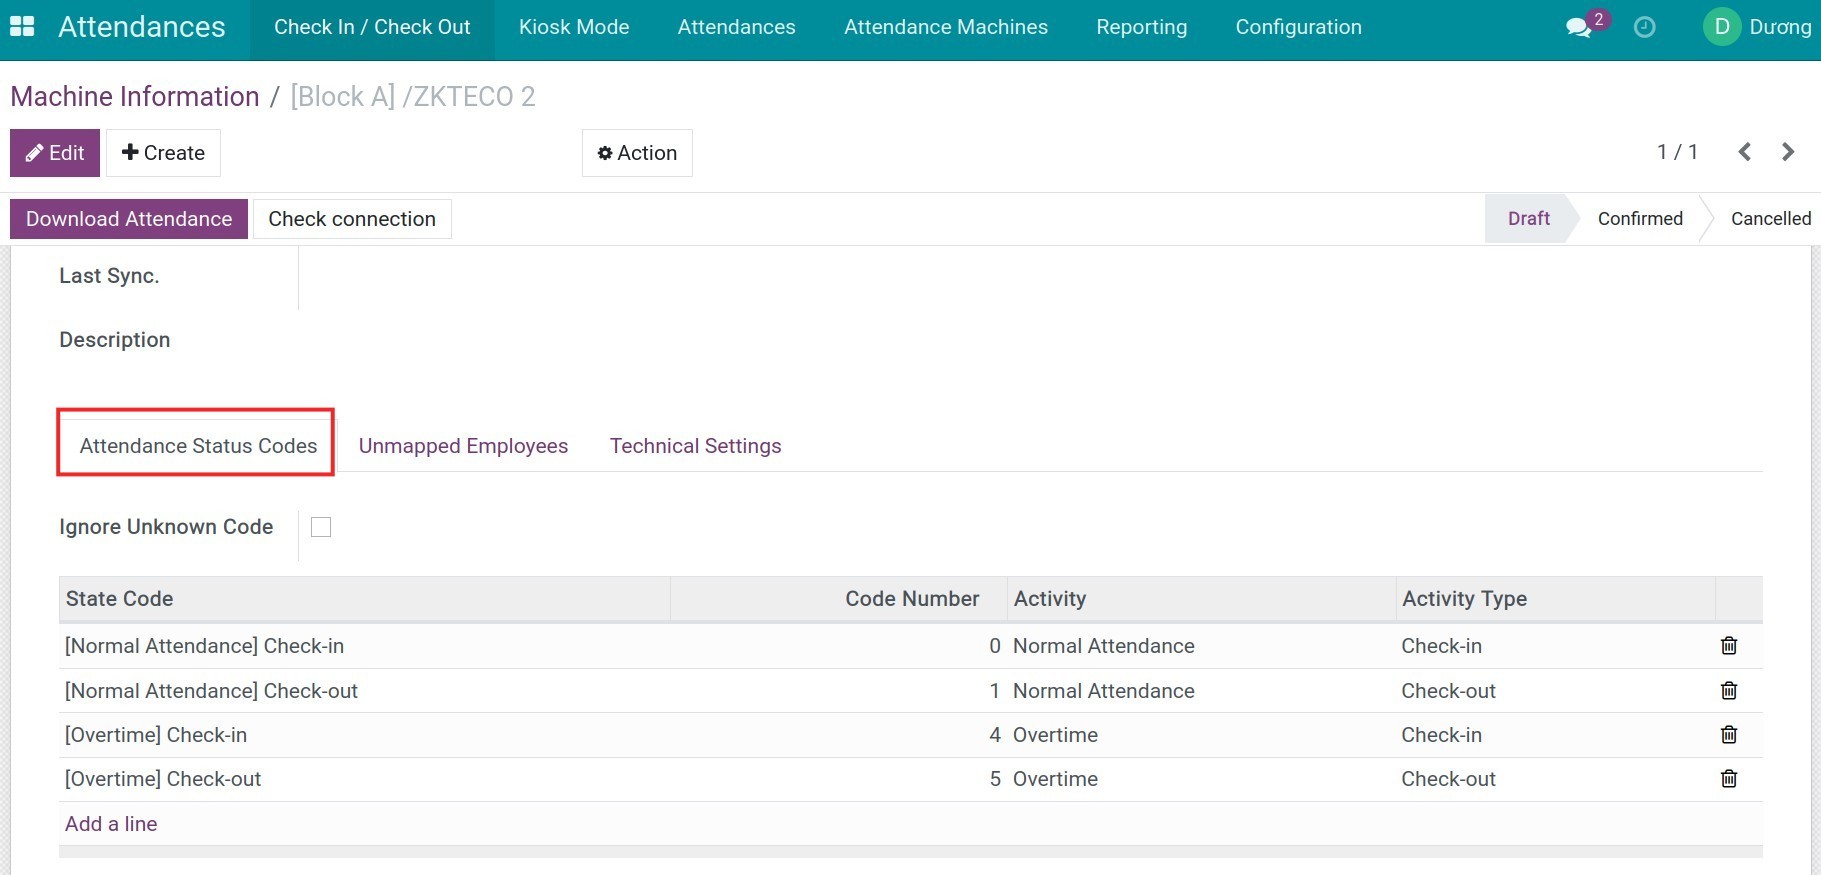
You need to pay attention to the following information:
Ignore Unknown Code: If checked, when you download attendance, the system will automatically ignore the Code that doesn’t belonged to the Attendance Status Codes.
Attendance Status Codes:
State Code: State codes are set in the Attendance device, to show if an attendance is check-in or check-out, normal attendance or overtime. Select the Bin icon or Add a line to delete/add a State code.
If there is not enough state code to serve your purpose, you can set up more Attendance Status Codes by accessing Attendances > Configuration > Attendance Activity. The system will create 2 default activities: Normal Attendance, Overtime. You can click on an activity to edit or create more activities by clicking Create:
Name: The name of the activity, for example, overtime, normal attendance, etc.
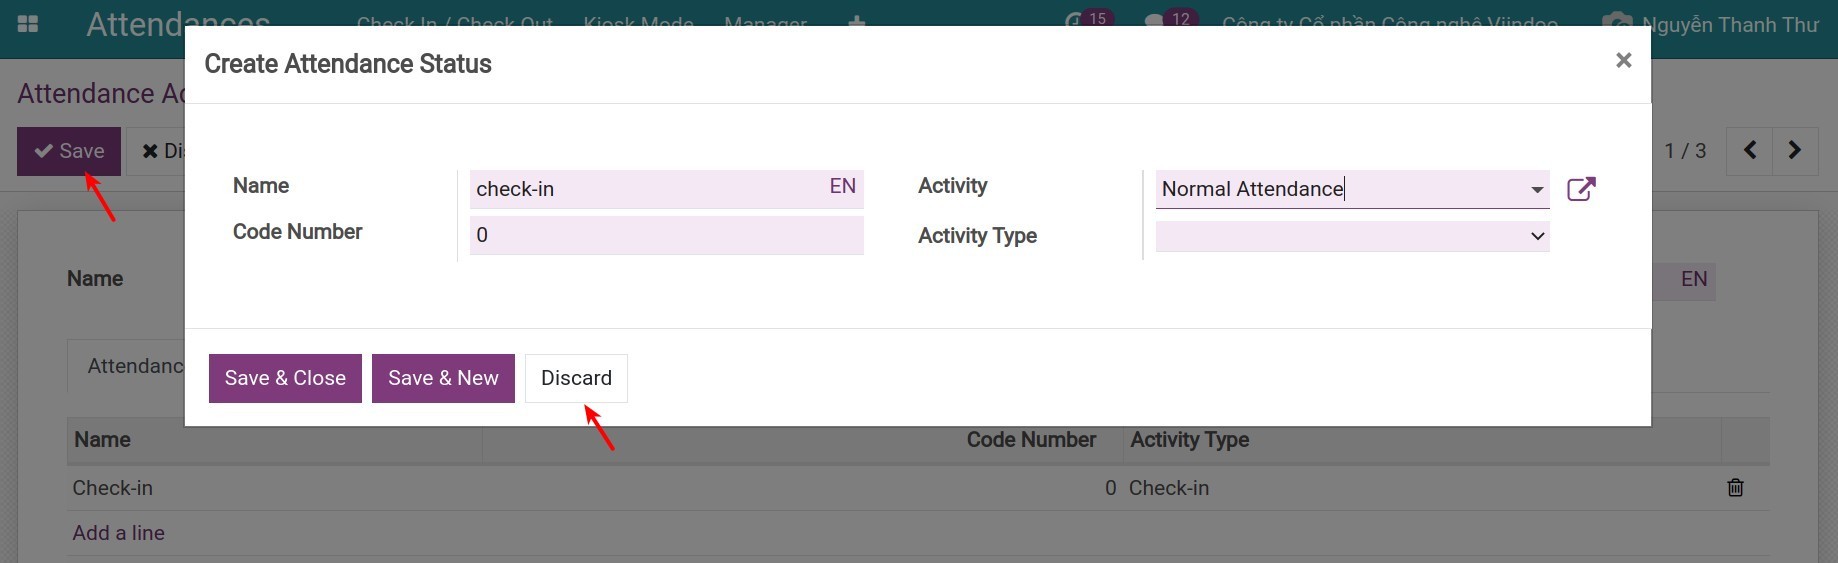
Attendance Status: create an attendance status for this activity. Click on Add a line, a Create Attendance Status pop-up will appear:
Name: The status name, for example, Check-In, Check-Out, Start Overtime, etc.
Code Number: The code of this status, need to be an integer value and not a duplicate of another activity, status code.
Activity: Select the activity that you have just created. If it’s not on the list, you can Discard the status and then Save the activity and then go back to Create Attendance Status.
![Save Attendance Activity]()
Activity Type: select Check-In or Check-out, depend on the name of the status.
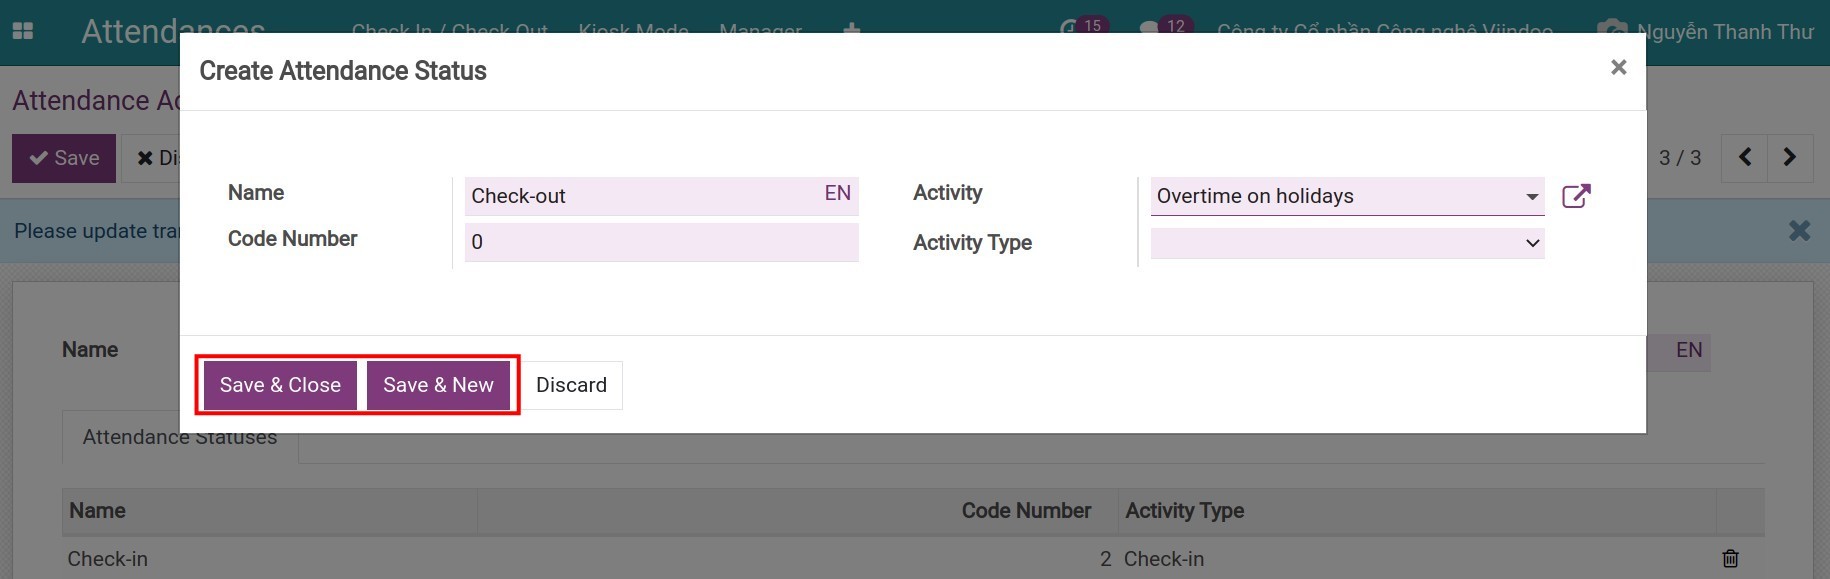
After filling in all the information, press Save & Close. To create a new Attendance Status, select Save & New.
![Save Attendance Status]()
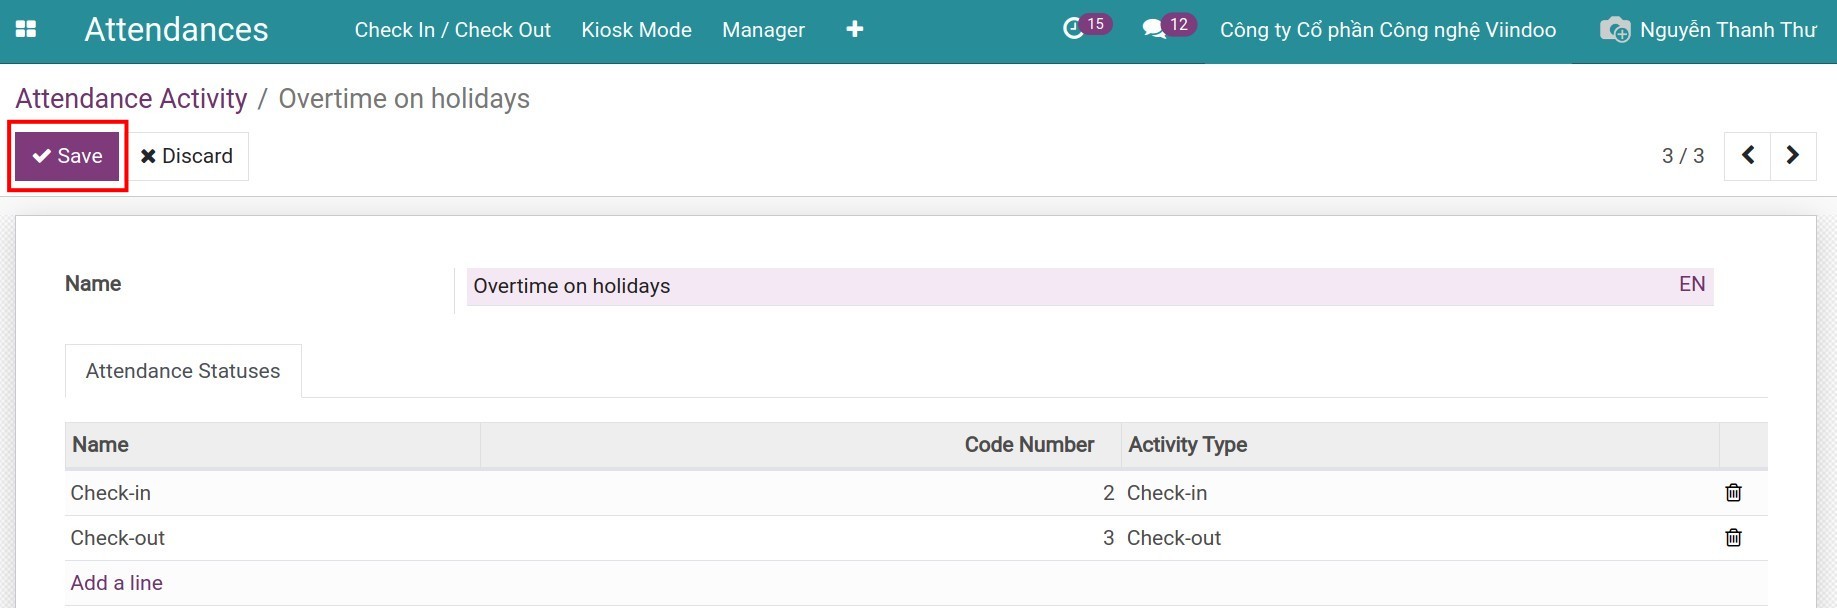
To save the setting on Attendance Activity, press Save.
![Save attendance activity after setting up]()
Technical Settings Tab
Input the technical information of the attendance device.
Here is how it display. You need to pay attention to the following information:
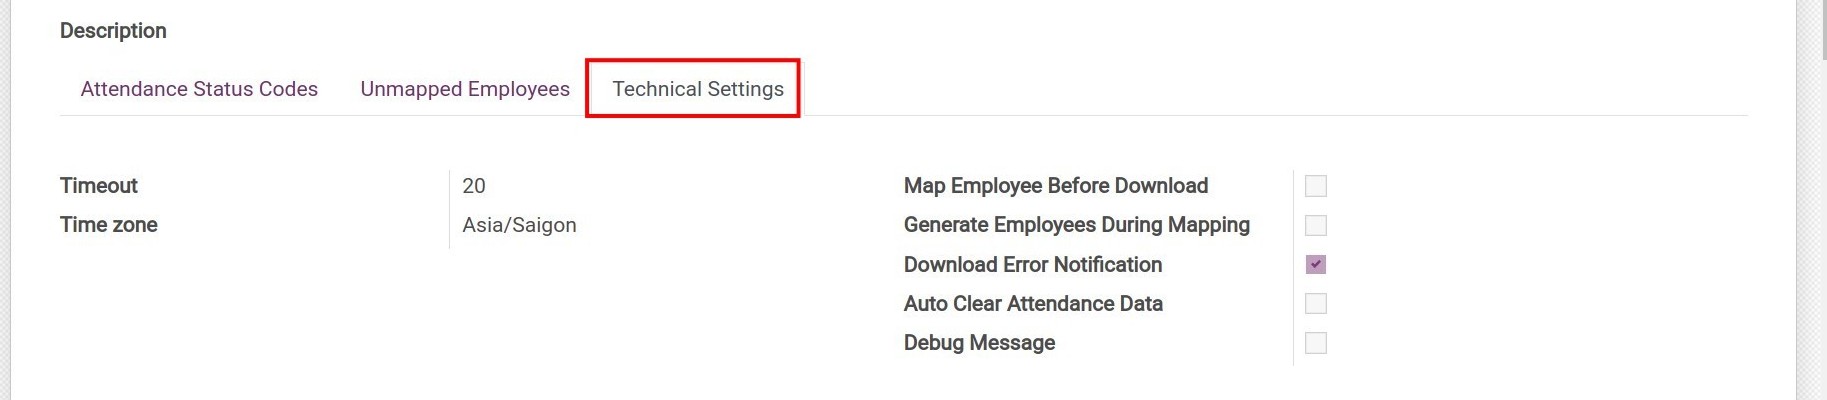
Timeout: the maximum time to connect with the attendance device. Unit: seconds;
Timezone: the device’s timezone, the date and time in the attendance report will be update based on this timezone. The system will update the timezone base on the value set on the timezone of the attendance device creator.
Map Employee Before Download: If checked, the system will map the users of the attendance device with the employees of the system (if available) before downloading data.
Generate Employee During Mapping: If checked, the system will auto-create new employees for the attendance device users that don’t match employee data of the system, and then map them together.
Download Error Notification: If checked,the system will send a notification when there is an error during download, to help the manager quickly find the error and fix them.
Auto Clear Attendance Data: If checked, the system will automatically clear the attendance data on the device after synchronization with Viindoo system to avoid full data.
Debug Message: send notifications in the Open Chatter when there is an error, to help with the debug process.
Upload employees list to the attendance machine
To reduce the workload when importing data into the attendance machine, you can upload the employee list to the attendance device.
Device status
After filling in all the information and save, the status of the device is Draft.
Before bringing the attendance device into use, navigate to Attendance > Attendance Machines > Machines Manager, select the device and then press Confirmed on the Devices Informations view.
If the device is no longer in use, navigate to Attendance > Attendance Machines > Machines Manager, select the device and press Cancelled on the Devices Informations view. The status will change to Cancelled.

Use active buttons on the Devices Information view
On the Devices Information view, you can see the following buttons:
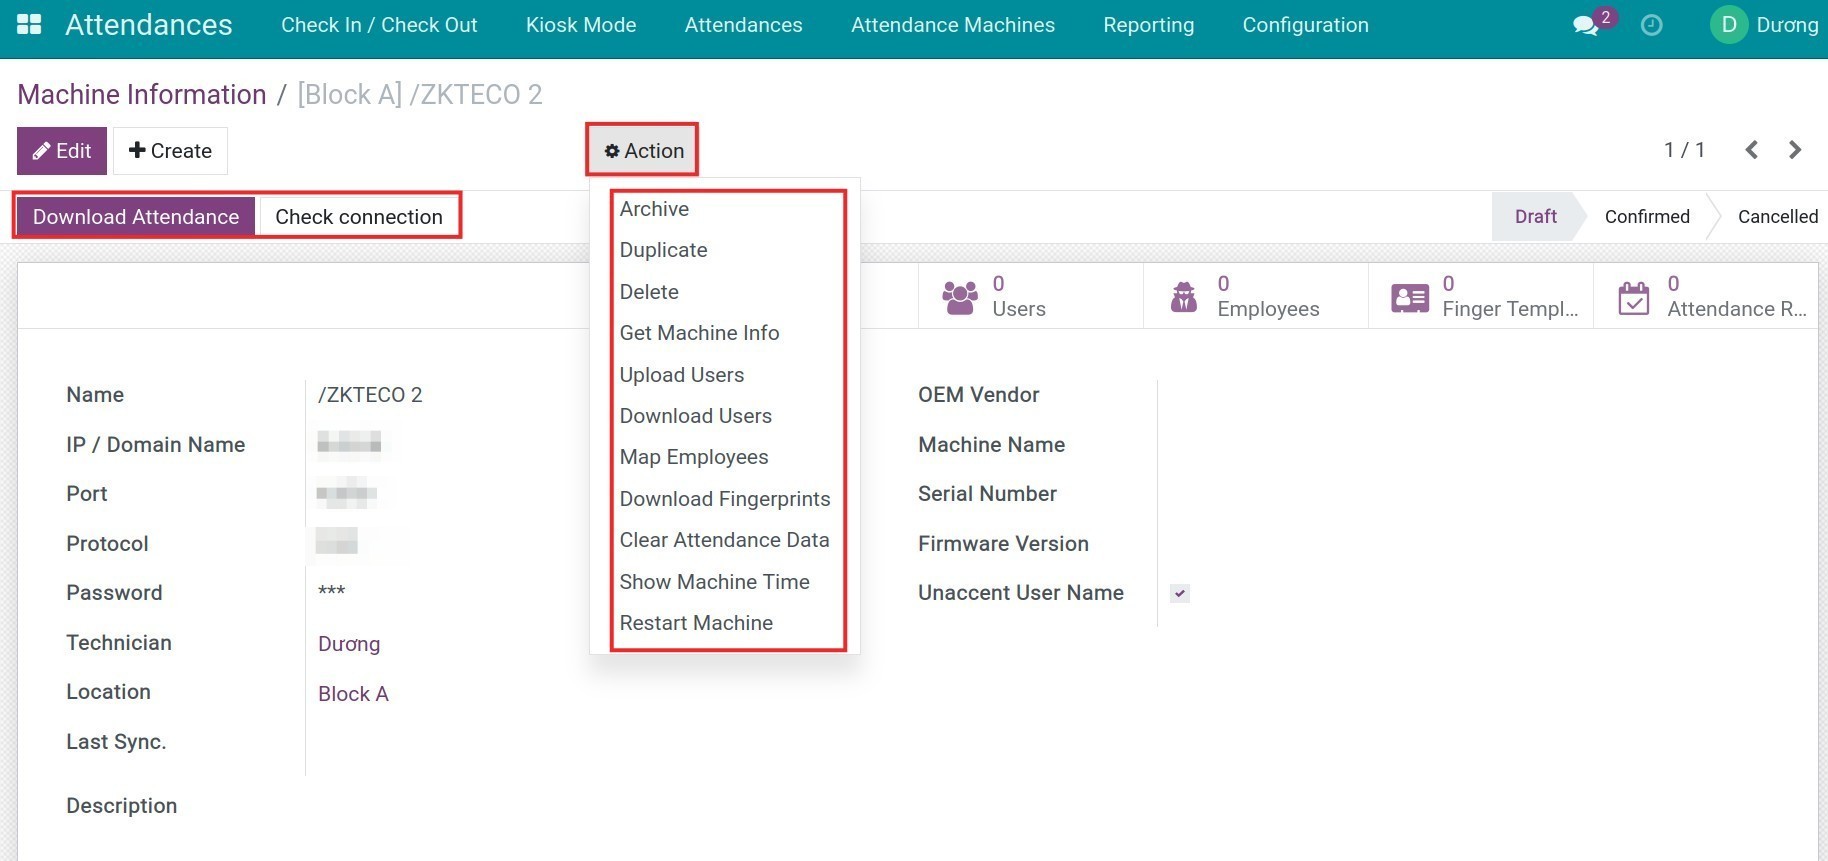
You can press on the buttons to perform the following actions:
Check connection: check the connection with the attendance device.
Get Machine Info: Connect with the device and automatically update the information into the system: OEM Vendor, Device name, etc.
Download Attendace: Download attendance data from the device to Viindoo system.
Download Users: Download the users list that is set on the attendance device.
Upload Users: Upload the employees list to the attendance device.
Map Employees: Map the employees with users set on the attendance device.
Download Fingersprints: Download the employee fingers template from the Attendance device.
Clear Attendance Data: Clear all the data from the attendance device.
Restart Machine: Restart the attendance device.
Show Machine Time: Show the attendance device real time. The time set in the attendance device can be more/less or equal to the time set in the Viindoo system (Activate debug mode to view this feature).
See also
Related article
Optional module