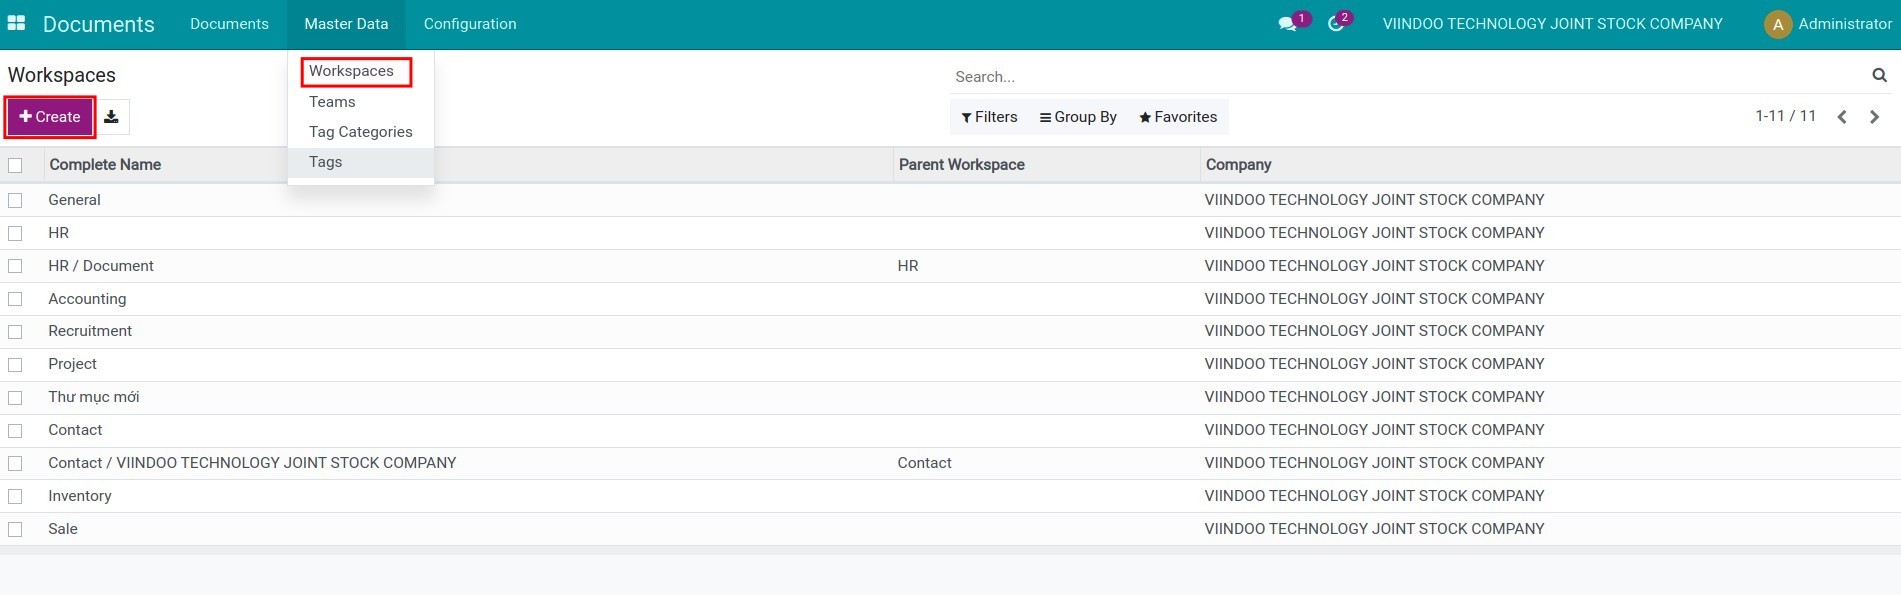
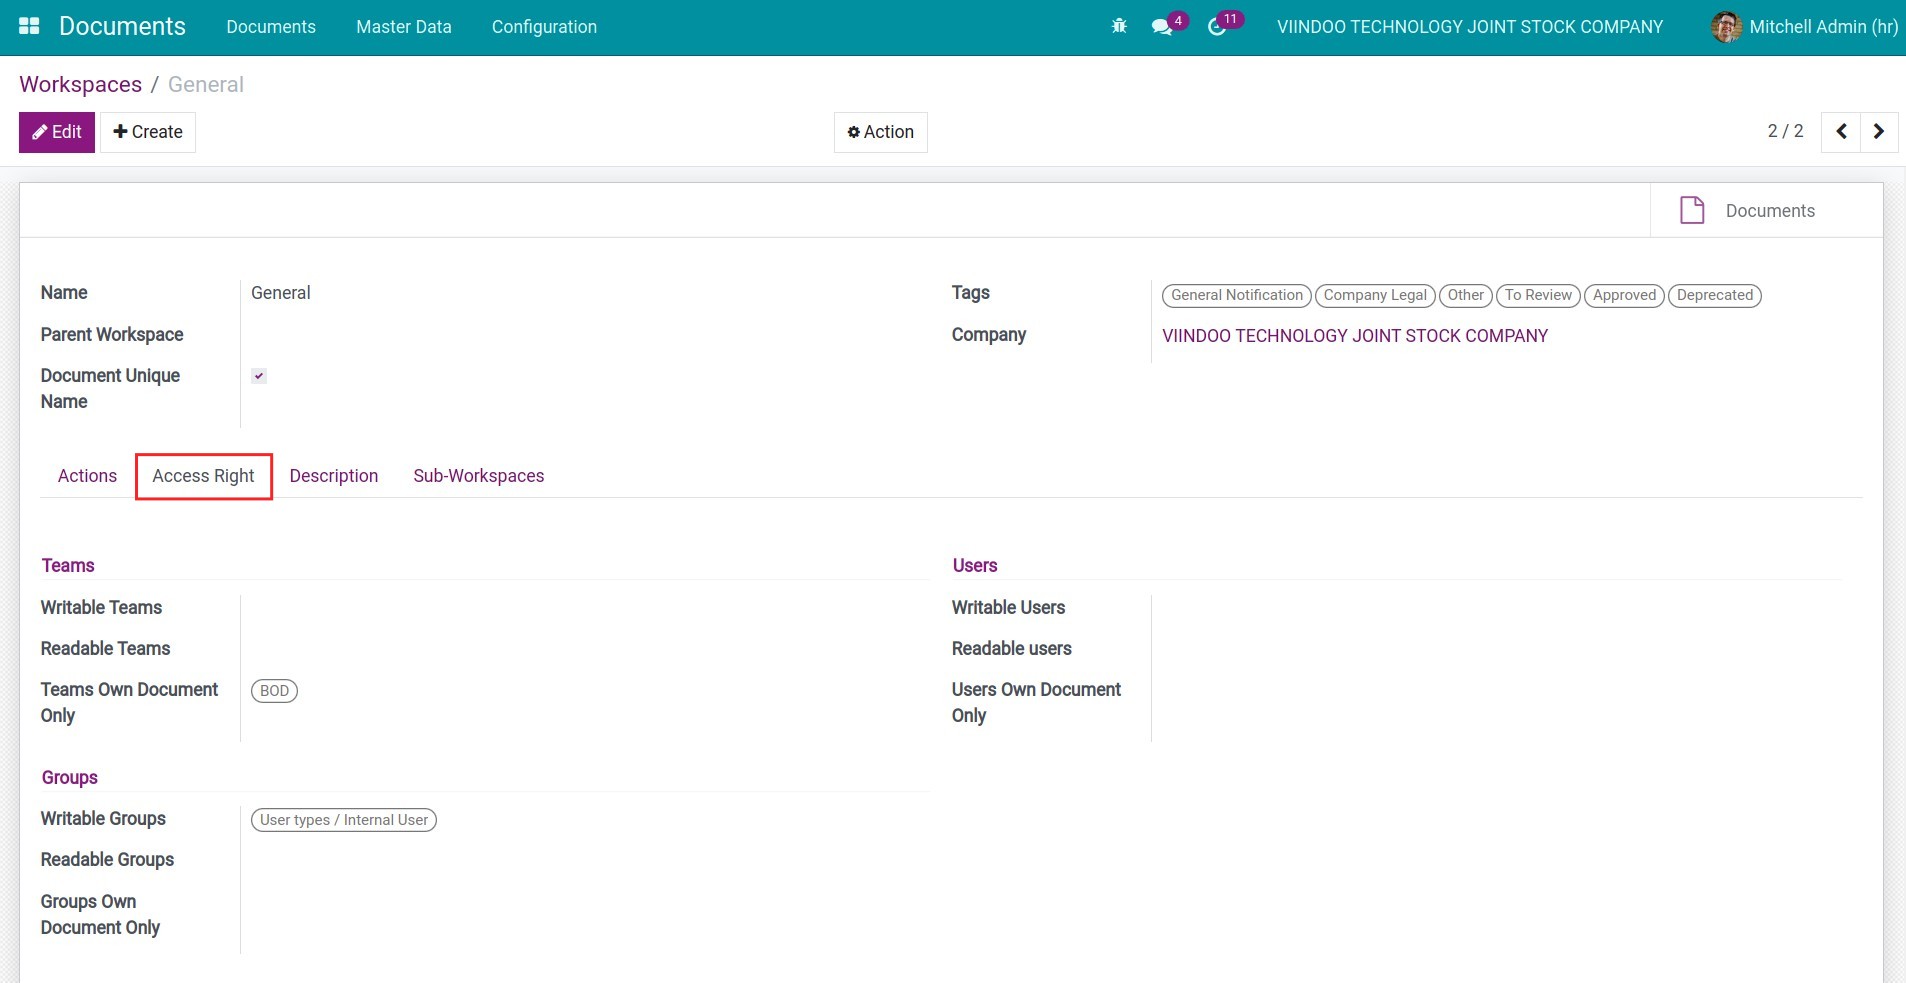
Create a documents workspace/folder
To create a new workspace, navigate to Master Data > Workspaces > Create.
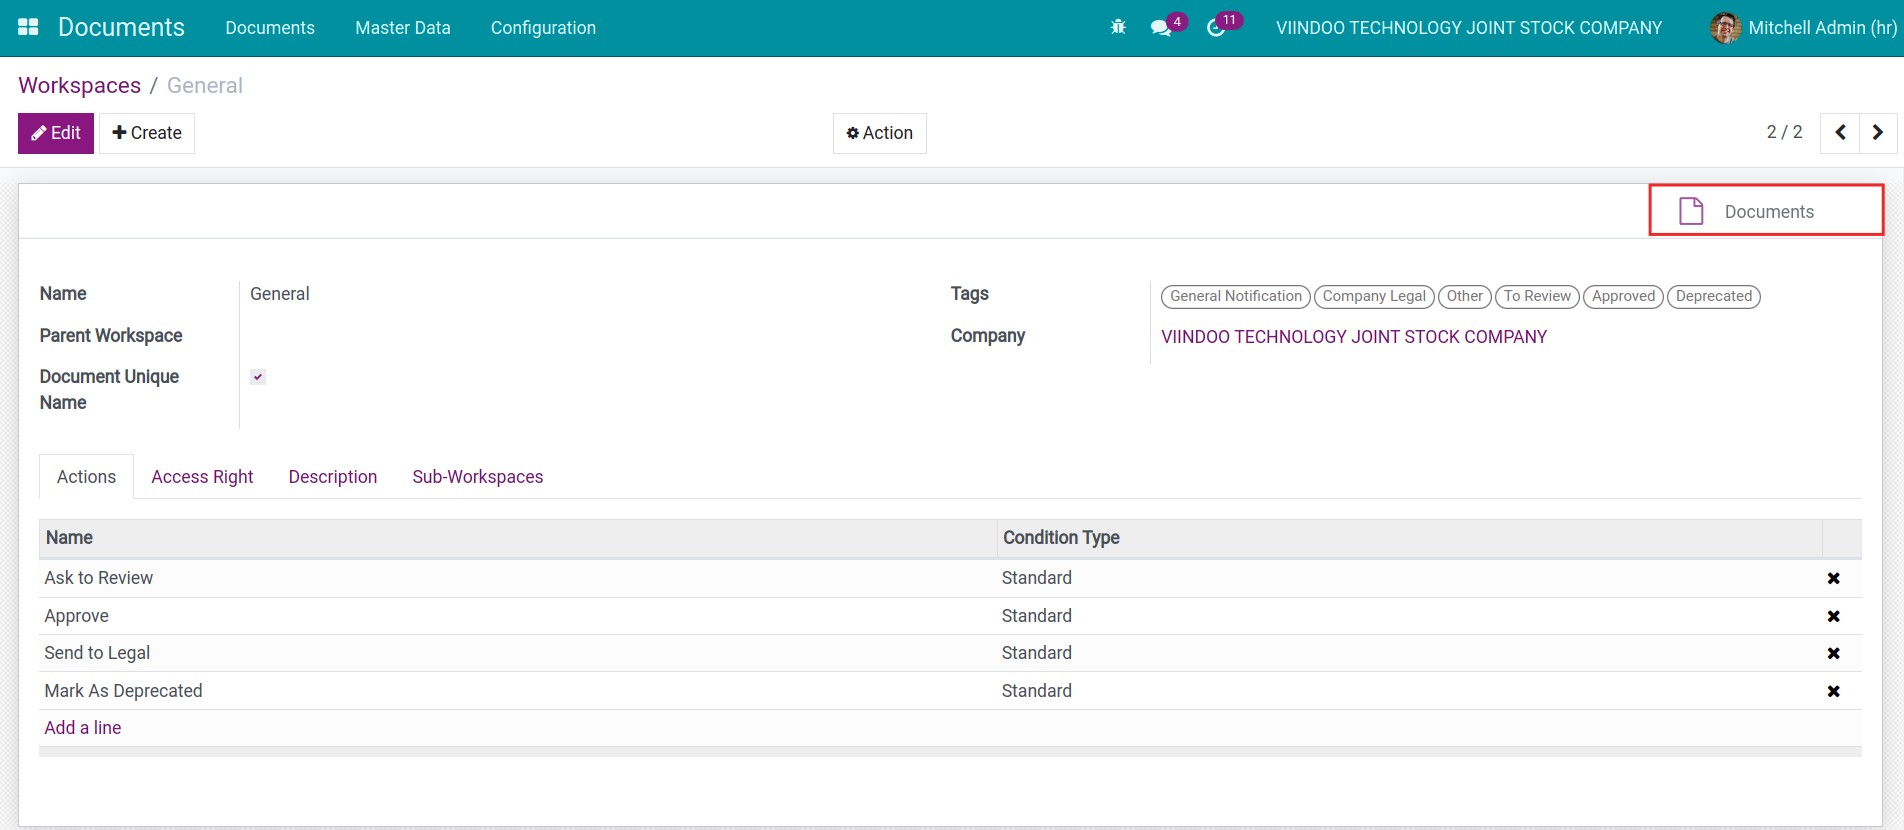
In which:
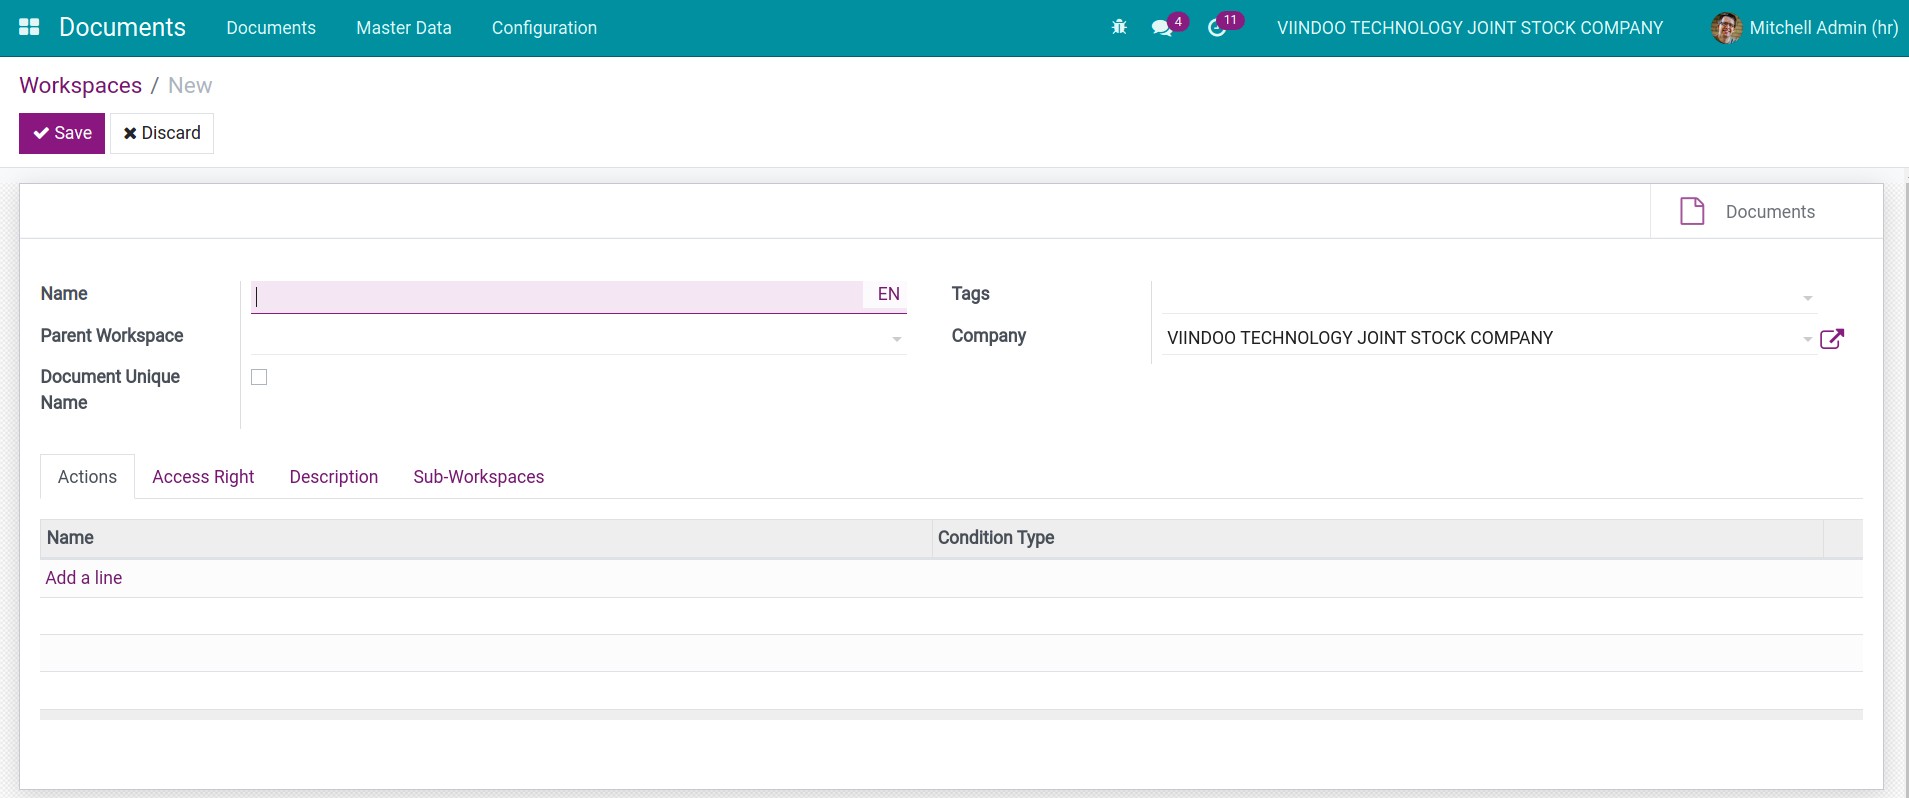
Name: Choose a name for this workspace.
Tags: Add tags to categorize this documents workspace.
Parent Workspace: Select the parent workspace of this workspace (if applicable).
Document Unique Name: If enabled, documents in this workspace cannot have duplicated name.
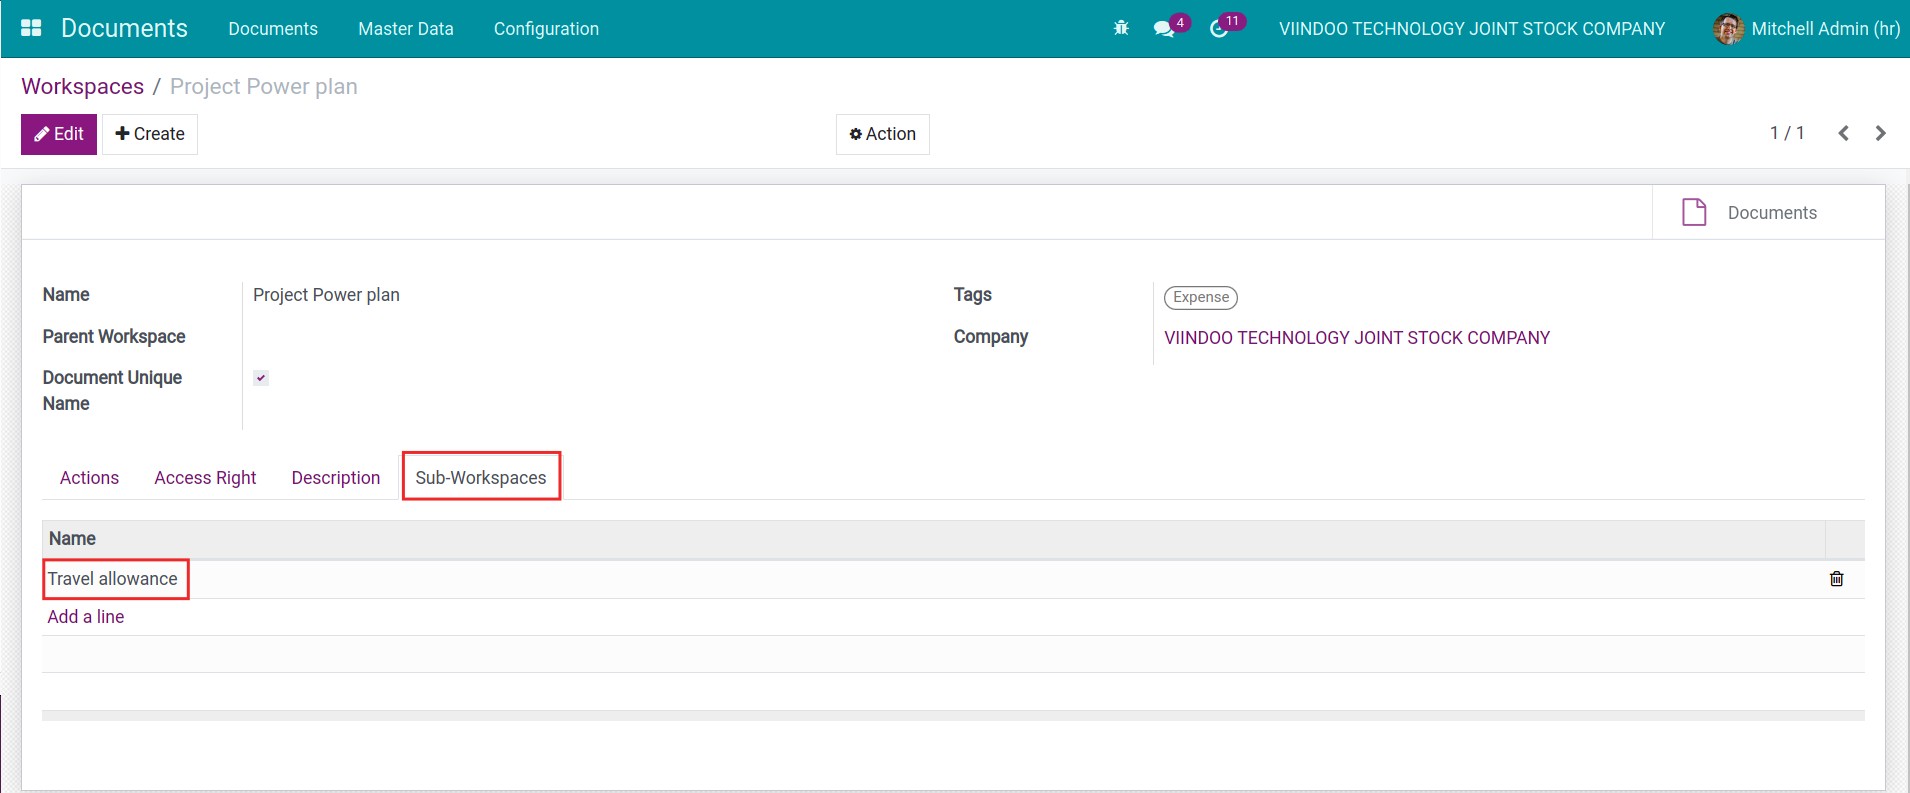
With parent workspace, its sub-workspaces will be listed in the Sub-Workspaces tab.
Configure actions for a workspace
To add an action for documents in a workspace, navigate to the Actions tab, press Add a line and select an action from the available list or create a new one.
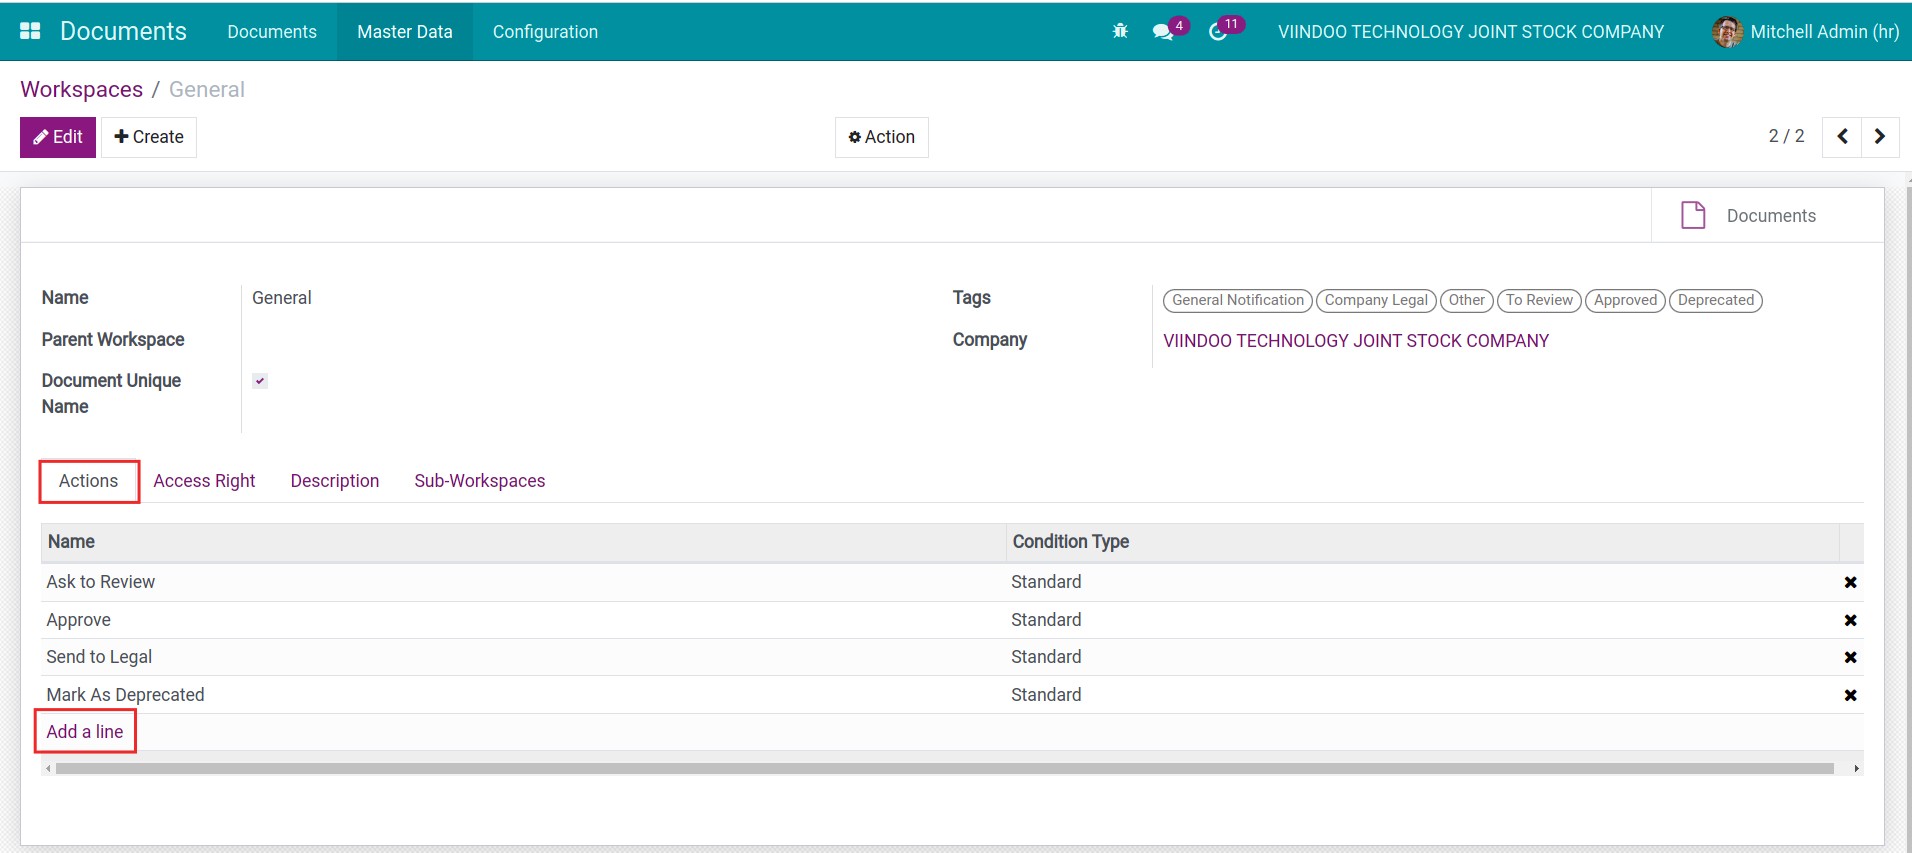
You can add one or various different actions for your workspace. For example: Ask to Review, Mark as Deprecated, etc.
Set up access rights
In the Access Right tab, you can set up the access rights and upload documents to a workspace according to certain criteria.
By Teams
From here, you can decide the write and read rights of this workspace for one or multiple teams at the same time.
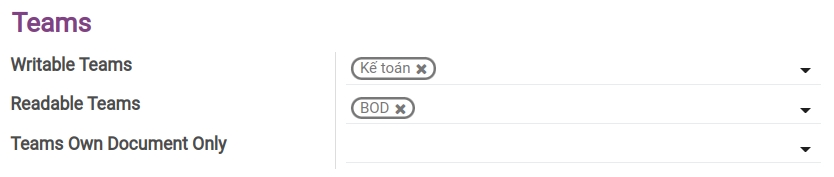
In which:
Writable Teams: Members of these teams can read, upload and edit their own documents.
Readable Teams: Members of these teams can only read documents.
Teams Own Document Only: Members of these teams can read, upload and edit their own documents.
Note
To create a new team, navigate to Master Data > Teams > Create. From here, you need to choose a name and select a leader for this new team and press Save.
By Users
In this section, you can configure the edit and read rights for documents in this workspace for one or multiple individual user accounts at the same time.
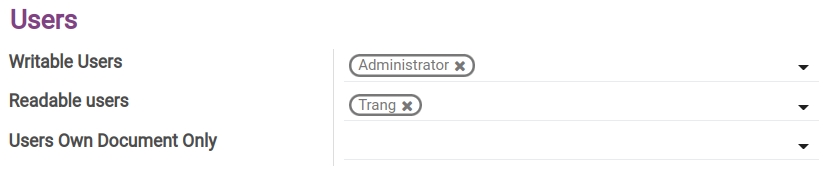
In which:
Writable Users: Users can read, upload and edit their own documents.
Readable Users: Users can only read documents in this workspace.
Users Own Document Only: Users can only read, upload and edit their own documents. Cannot view documents uploaded by other users.
By Groups
You can set up edit or read rights for documents in a workspace for one or multiple group users who have certain access rights groups.
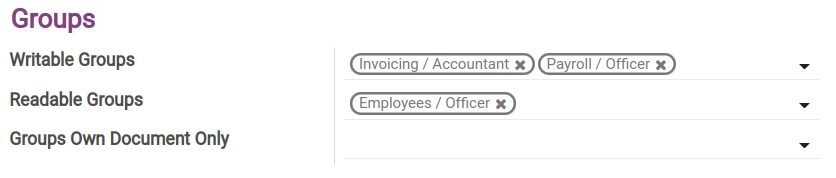
Writable Groups: Users who have these groups of rights can read, upload and edit documents in this workspace.
Readable Groups: Users who have these groups of rights can only read documents in this workspace.
Groups Own Document Only: Users who have these groups of rights can read, upload and edit their own documents in this workspace.
You can navigate to the documents list of the newly created workspace by pressing the Documents button on the top right corner of this workspace view.
See also
Related articles
Optional modules