How to set Mail server for Sending/Receiving emails in Viindoo
Requirements
This tutorial requires you to install the Viindoo instance.
To make it easier for the system users, partners, and customers outside of the system to exchange information, Viindoo system provides a feature that allows integrating your system with other mail servers. This feature allows managing all the information exchanging activities in a single system.
Purpose of the intergration:
Sending and receiving emails with your domain from the Viindoo system.
Send, receive and archive emails on the system.
How to set up outgoing mail servers
To set up an outgoing mail server, the user needs to activate the developer mode and then navigate to Settings > Technical > Outgoing Mail Servers, select Create to create a new server.
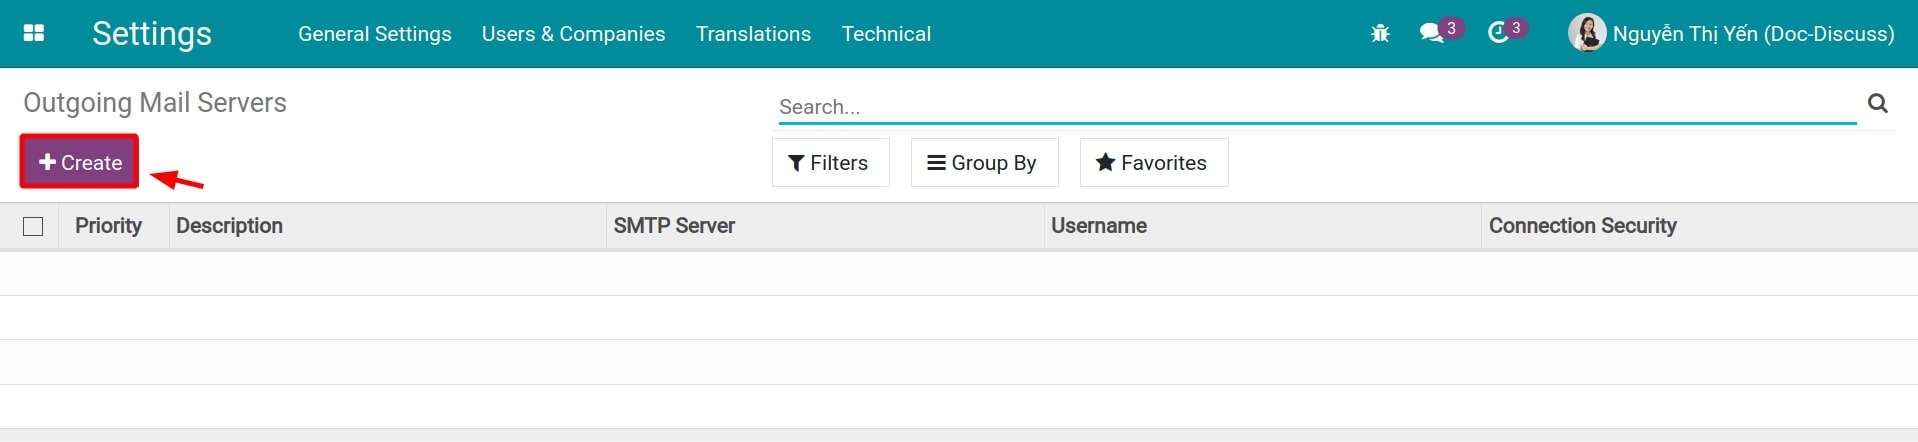
Here, the user enters the following information:
Description: enter a description name;
Active: select this option to activate this outgoing mail server integration.
Priority: If the system has multiple active outgoing mail servers then the server which has the highest priority will be used (10 is the default number, the smaller the number, the higher the priority).
From Filter: Define for which email address or domain this server can be used.
Connection Information:
SMTP Server: Enter the name or the IP of the SMTP server.
SMTP Port: Usually use 465 for SSL and 25 or 587 for others ports.
Debugging: If checked, the connection outside of SMTP will be logged into the server log.
Security and Authentication:
Connection Security: Select a suggested security method.
None: SMTP sessions are done in cleartext.
TLS (STARTTLS): TLS encryption is requested at start of SMTP session.
SSL/TLS: SMTP sessions are encrypted with SSL/TLS through a dedicated port (default: 465).
Username: Enter an username to verify with the SMTP server.
Password: Enter a password to verify with the SMTP server.
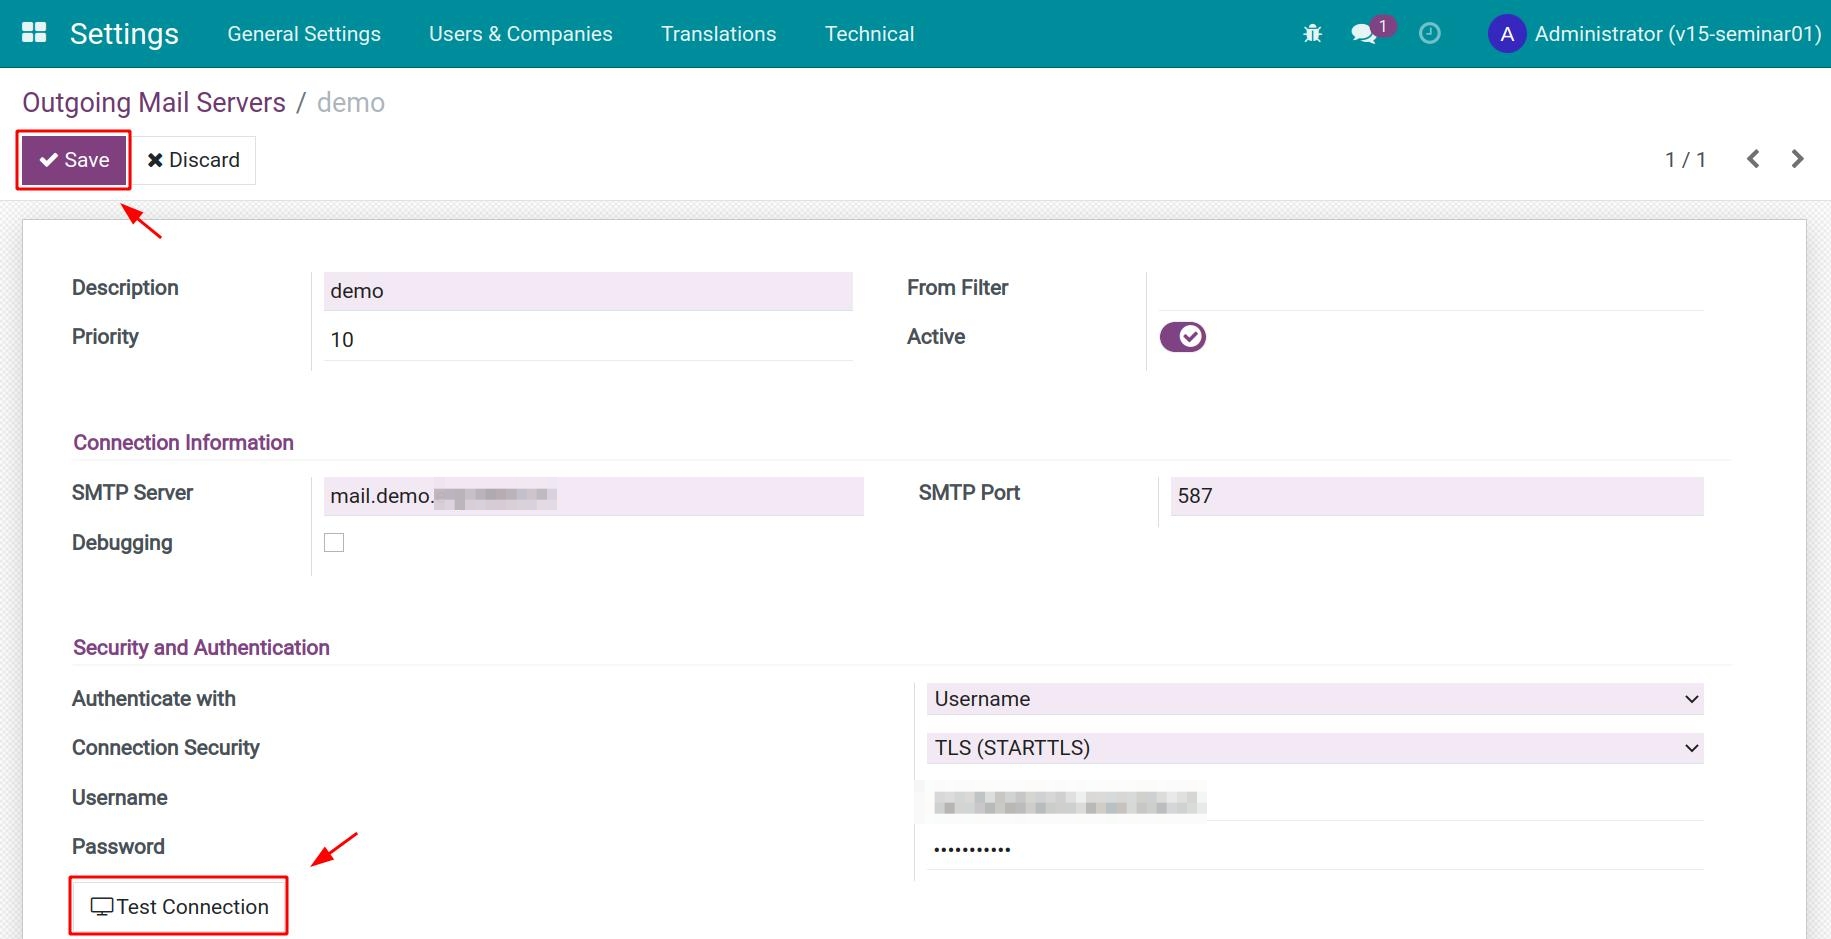
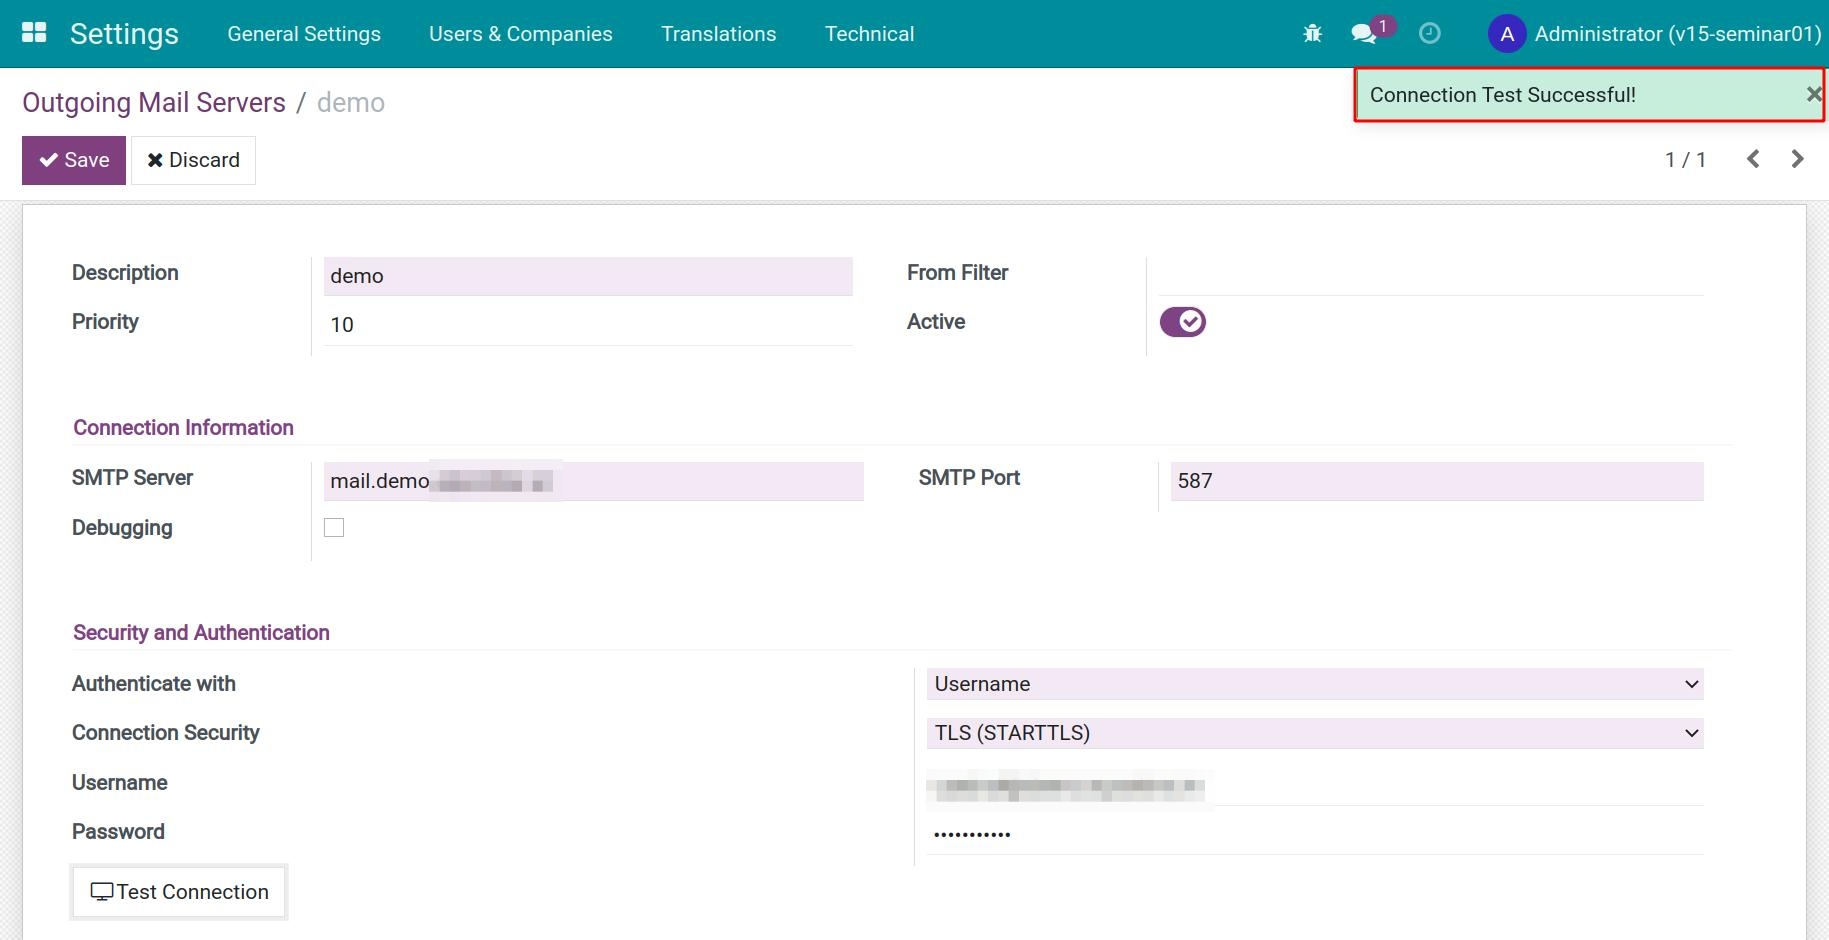
After filling in the information, select Save and Test Connection. If the outgoing mail server integrating information is accurate, the system will show the connection test succeeded popup as follow:
Next, the user needs to access Settings > General Settings, select External Email Servers, and type in the Alias Domain.
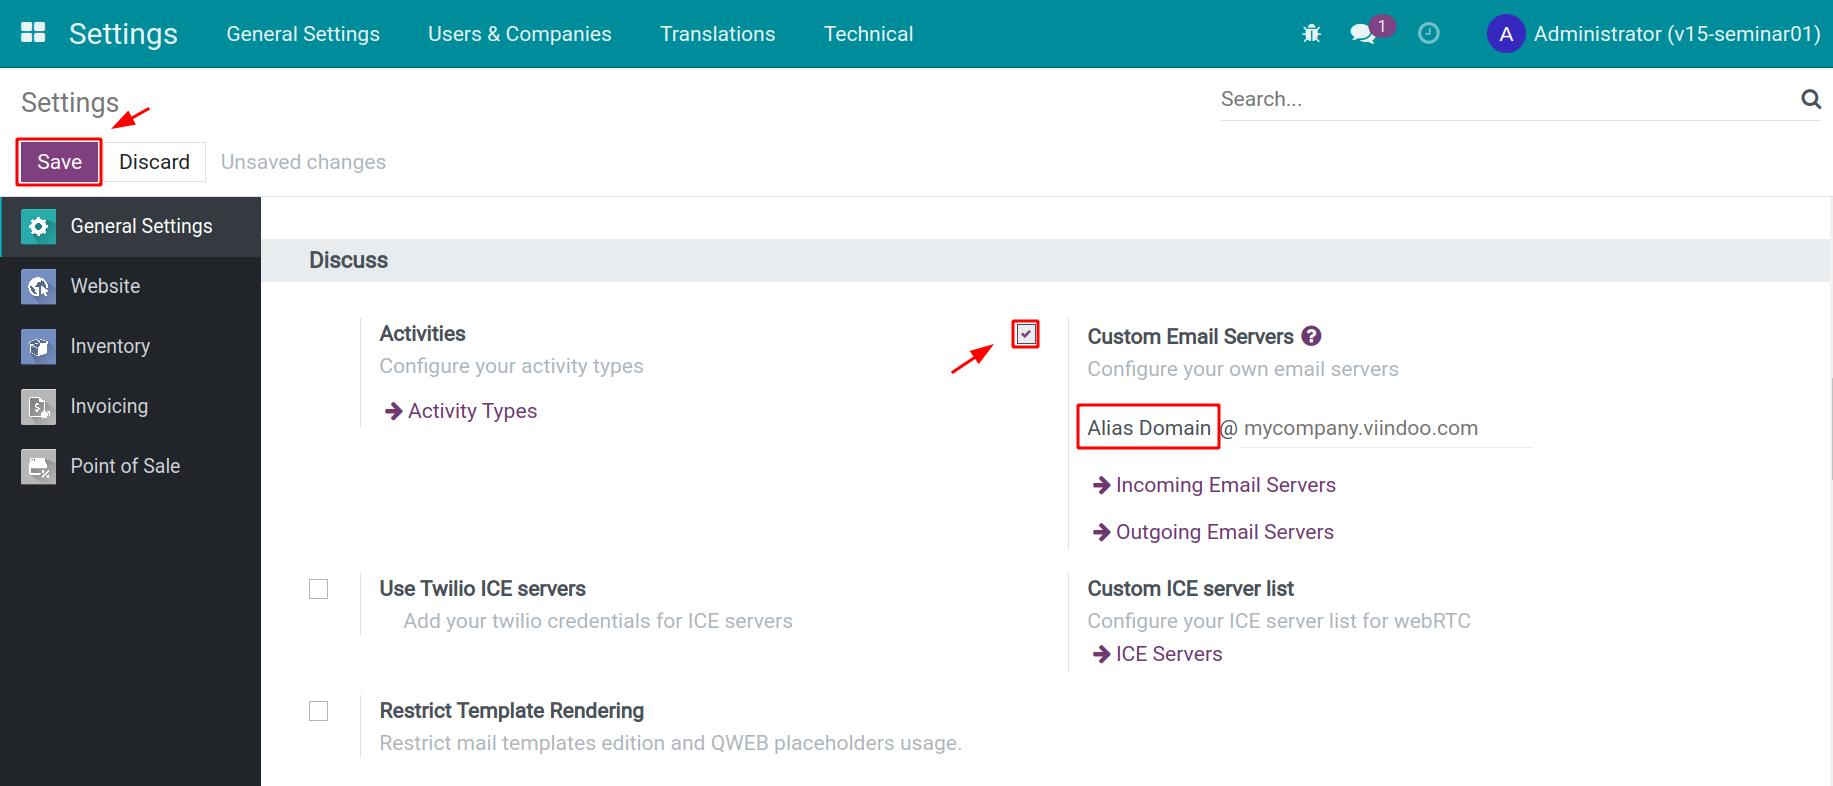
When you enter an Alias Domain here, all the mail sent to an email address that contains this domain will be received and navigated to the right source document if it is recognizable.
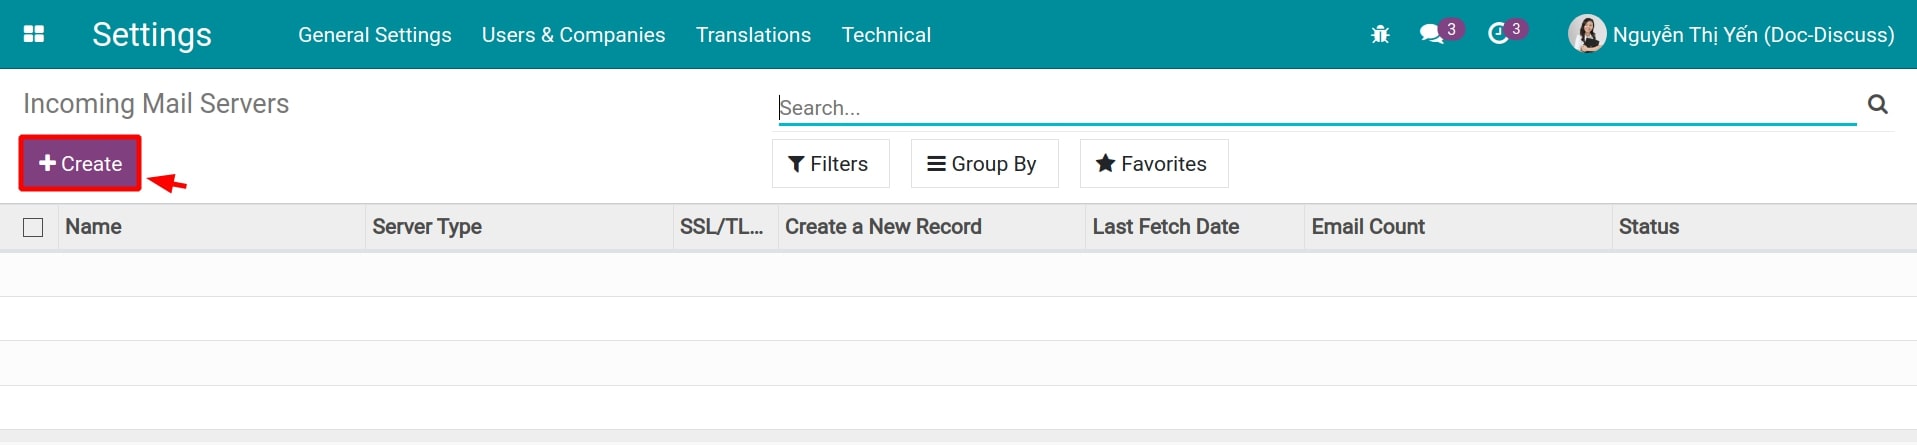
How to set up incoming mail servers
To set up the outgoing mail server, at the developer mode, the user navigates to Setting > Technical > Incoming Mail Servers, select Create to create a new incoming mail server.
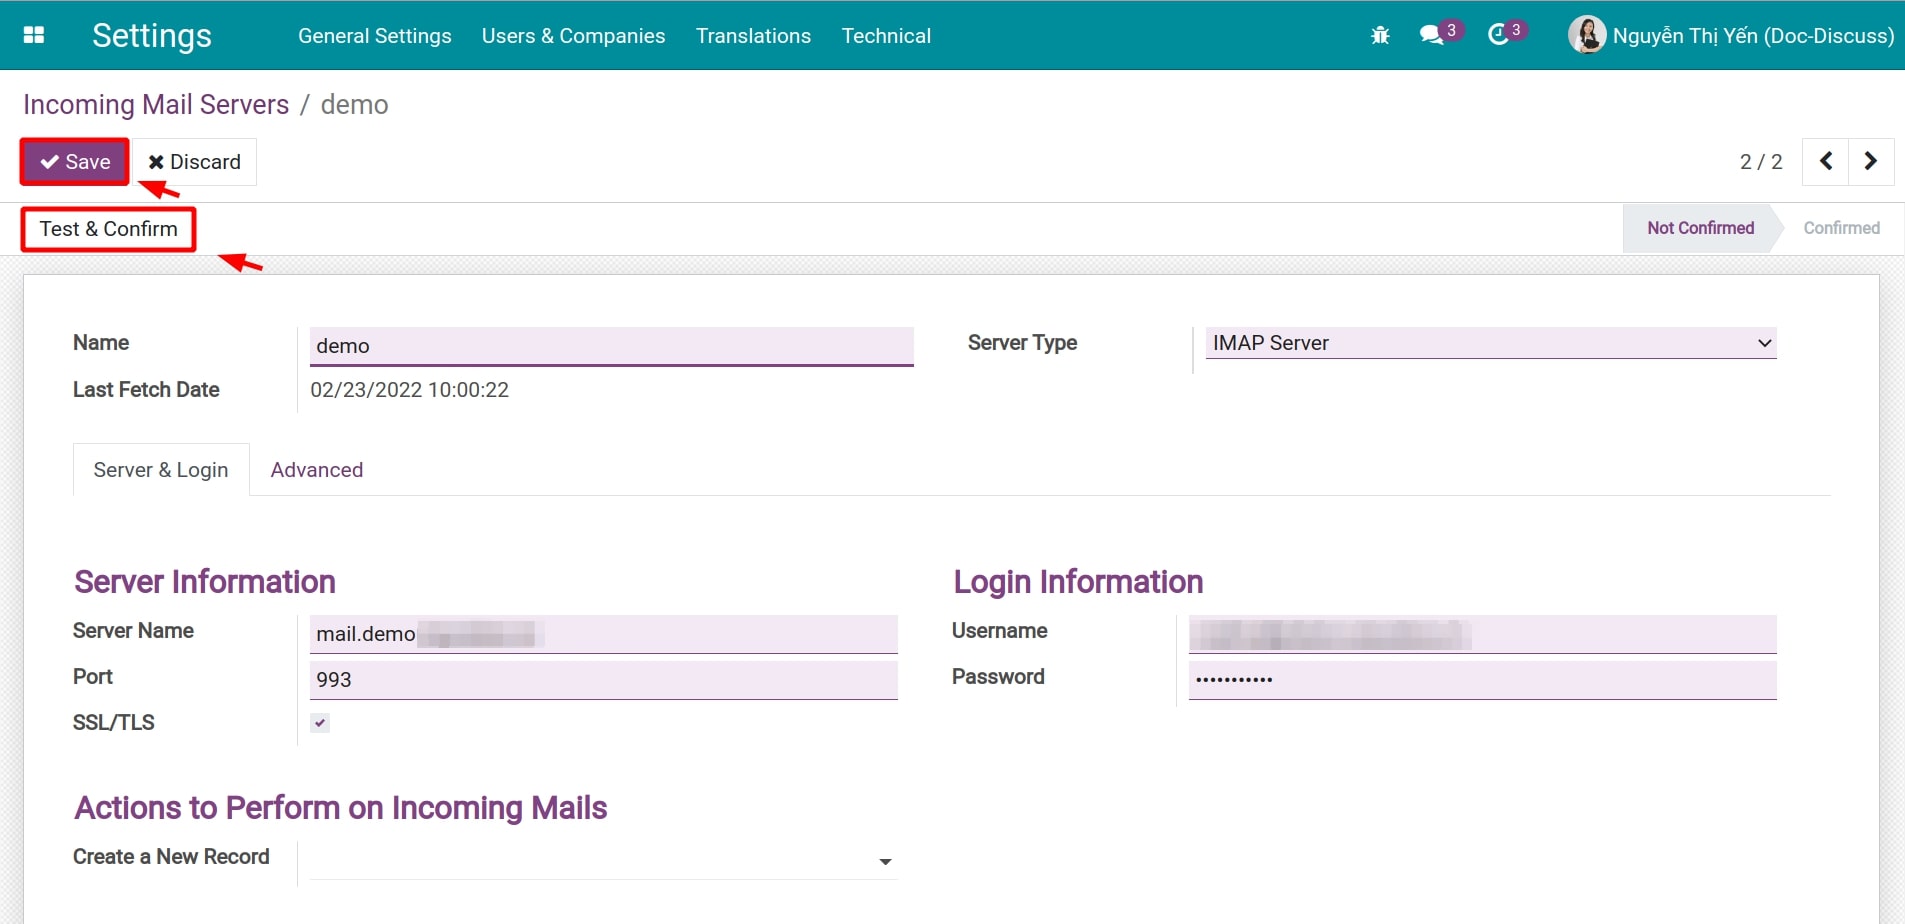
Here, the user enters the following information:
Name: Enter description name.
Last Fetch Date: This field will auto-update the latest date that the system fetches the email from the server.
Server Type: Select one of the suggested server types.
Server & Login tab:
Server information:
Server Name: Type the name or the IP of the incoming mail server.
Port: Type the connection port
SSL/TLS: If you select this security method, your connections will be encoded with SSL/TLS through a dedicated port, by default will be 993 for IMAP and 995 for POP3.
Login Information:
Username: Enter the user name for your incoming mail server.
Password: Enter a password for your incoming mail server.
Actions to Perform on Incoming Mails:
Create a New Record: If the received email cannot be navigated, it will create a new record corresponding to the selected object here.
Advanced tab:
Server Priority: If the system is integrated with multiple incoming mail servers at a time then the integration with the highest priority will be used (the lower the value, the higher the priority).
Keep Original: Select if you want to keep an original of the reference email and attached on messages and documentation (this will double the storage data).
Keep Attachments: Select to download the email to the system with the attached files, if this field is not selected, the attached files will be removed.
Active: Select this option to mark that this incoming email integration is active.

After filling in all the information, select Save and Test & Confirm. If the incoming mail server integrating information is correct, the stage bar will move to Confirmed.
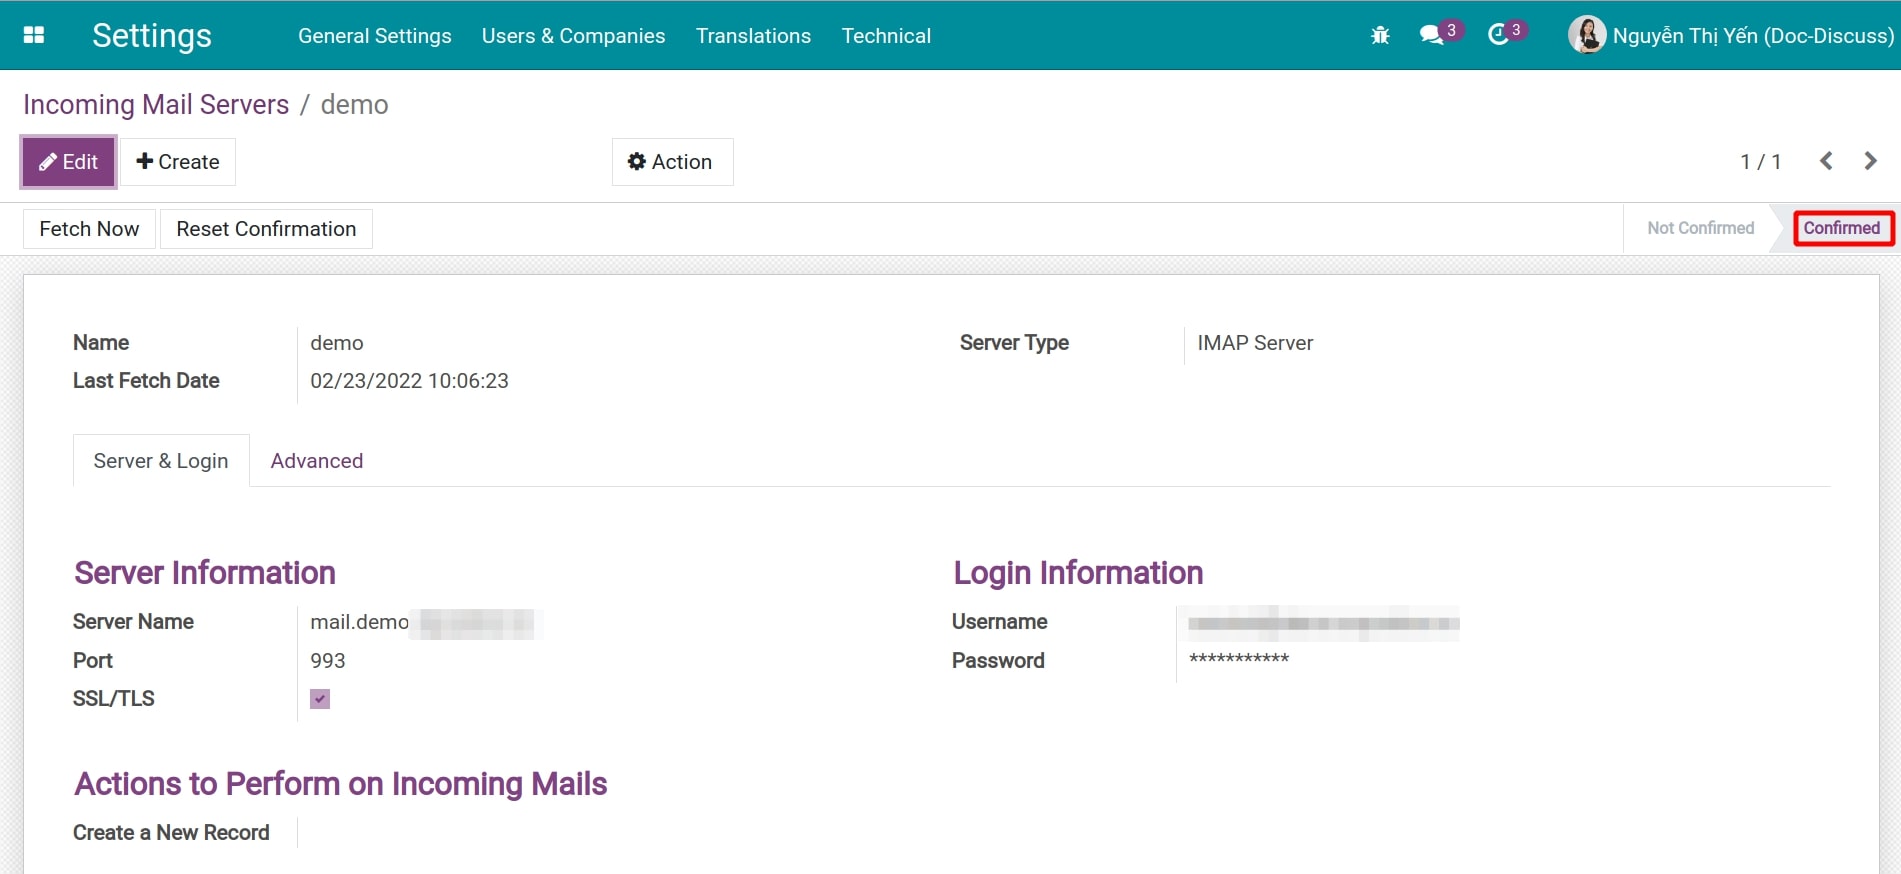
Now, the user has completed all the steps to integrate the system with the outgoing/incoming mail server and can send/receive mail from your system.
See also
Related articles: