Overview and configuration in Viindoo Contact
Contact information is an essential data resource and is considered to be an intangible asset throughout the development of every business. Common contacts such as partners (customers, vendors), institutions (tax authorities, banks, insurance, etc.), employees (personal addresses, relatives. etc.).
All the above information is gathered in the Contacts app, which is seamlessly integrated with the other apps in the Viindoo system, such as Sales, Purchase, CRM, Employees, Accounting, Repair, Warranty, Maintenance, Project, etc. It helps the information to be consistent and centralized, increasing the efficiency of collaboration in the business.
Installation
Go to Viindoo Apps, search for the app Contacts using the keyword Contact. Select the app and hit Install.
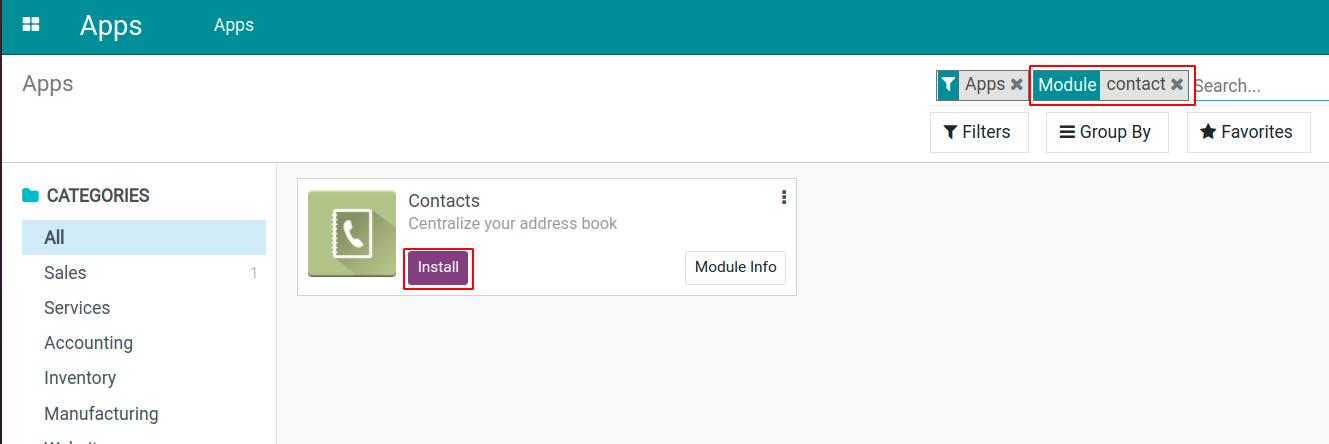
After this app is installed, it will appear on the main menu

Note
Installing the app, such as Sales, Purchase, CRM, Accounting, etc. will automatically install the Contacts app at the same time.
Access Rights
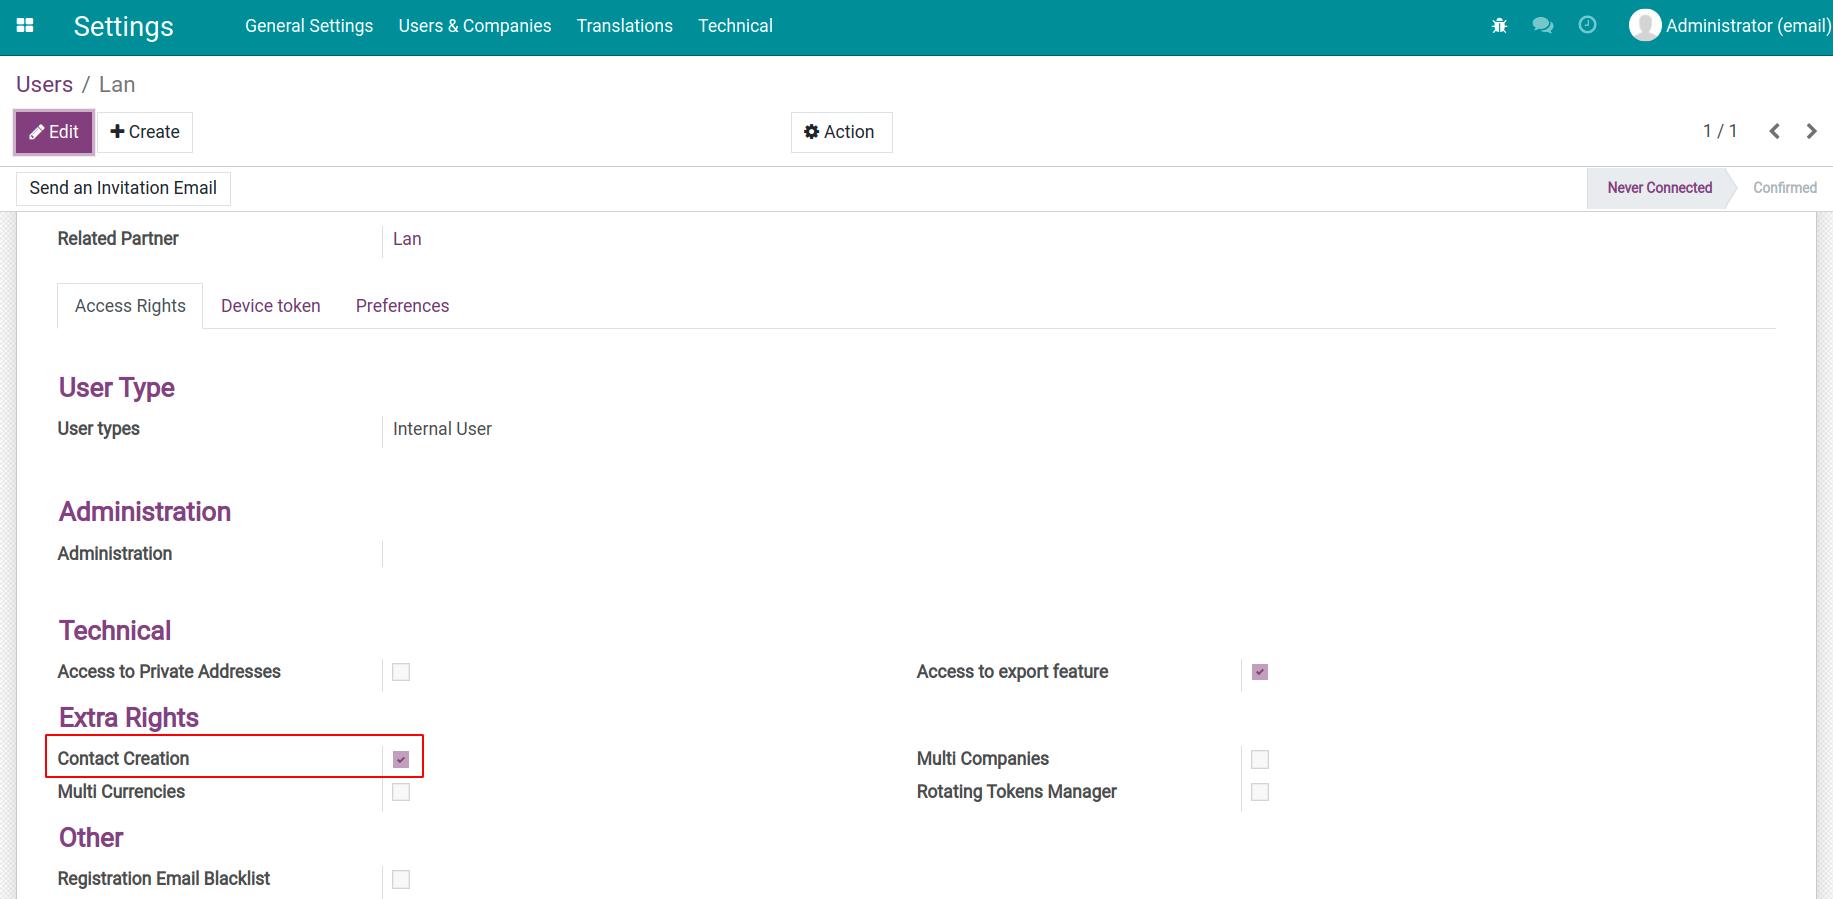
Navigate to . Create a new user or select an existing one to edit his/her access rights. In the Extra Rights section, check or uncheck the option Contact Creation.
Note
You need to activate the debug mode to be able to view and do this configuration.
If checked on Contact Creation: the user can view, create, edit, delete, duplicate and archive contacts.
If not checked on Contact Creation: the user can only view and archive contacts.
Tip
If you have no specific rules for management or are not too strict in creating contacts, you may want to skip this section to avoid putting all the creation of contacts work on a few specific people, especially when you are new to the system.
Configuration
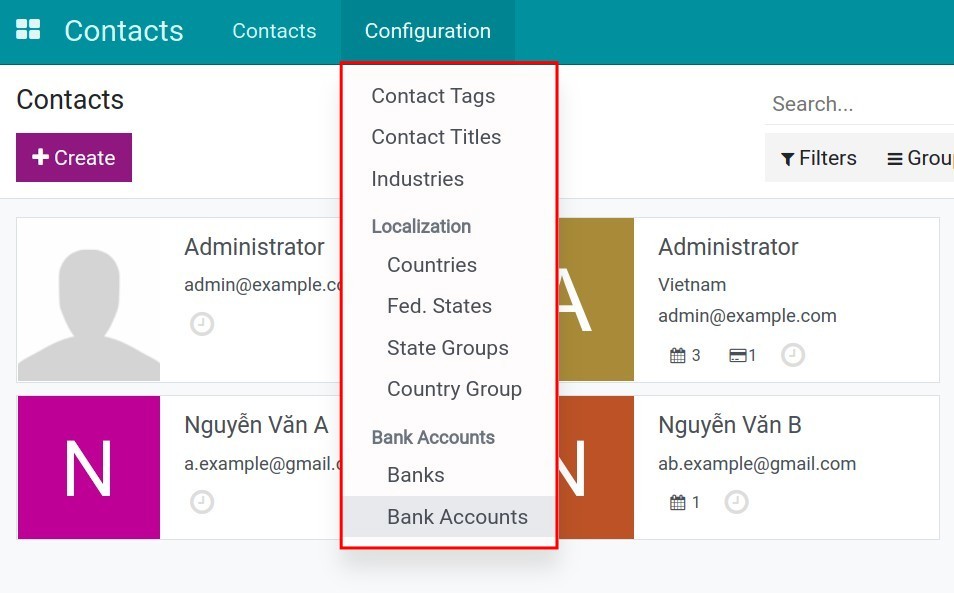
Navigate to . Here you can configure the general information, such as Contact Titles, Countries, Fed. States, Banks, etc. for the contact creator to use.
Note
By default, installing the Contacts app will automatically generate all the countries, contact titles, fed. states, state groups and the respectively country group.
Contact Titles
Allows you to set up appropriate titles for different contacts.
Navigate to . Hit Create and enter the title and abbreviation.
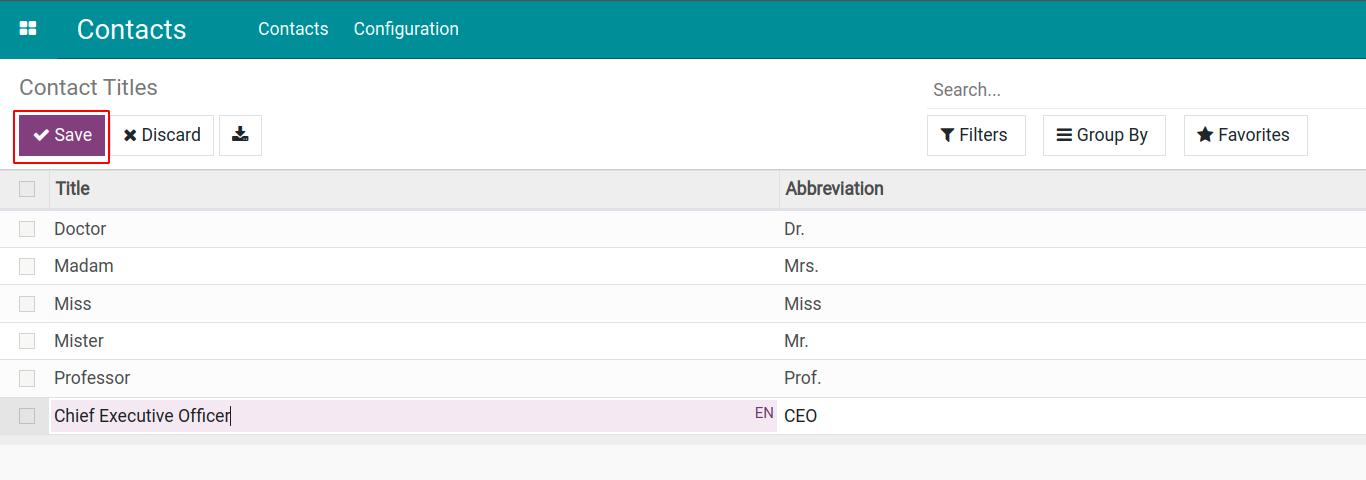
Hit Save.
Industries
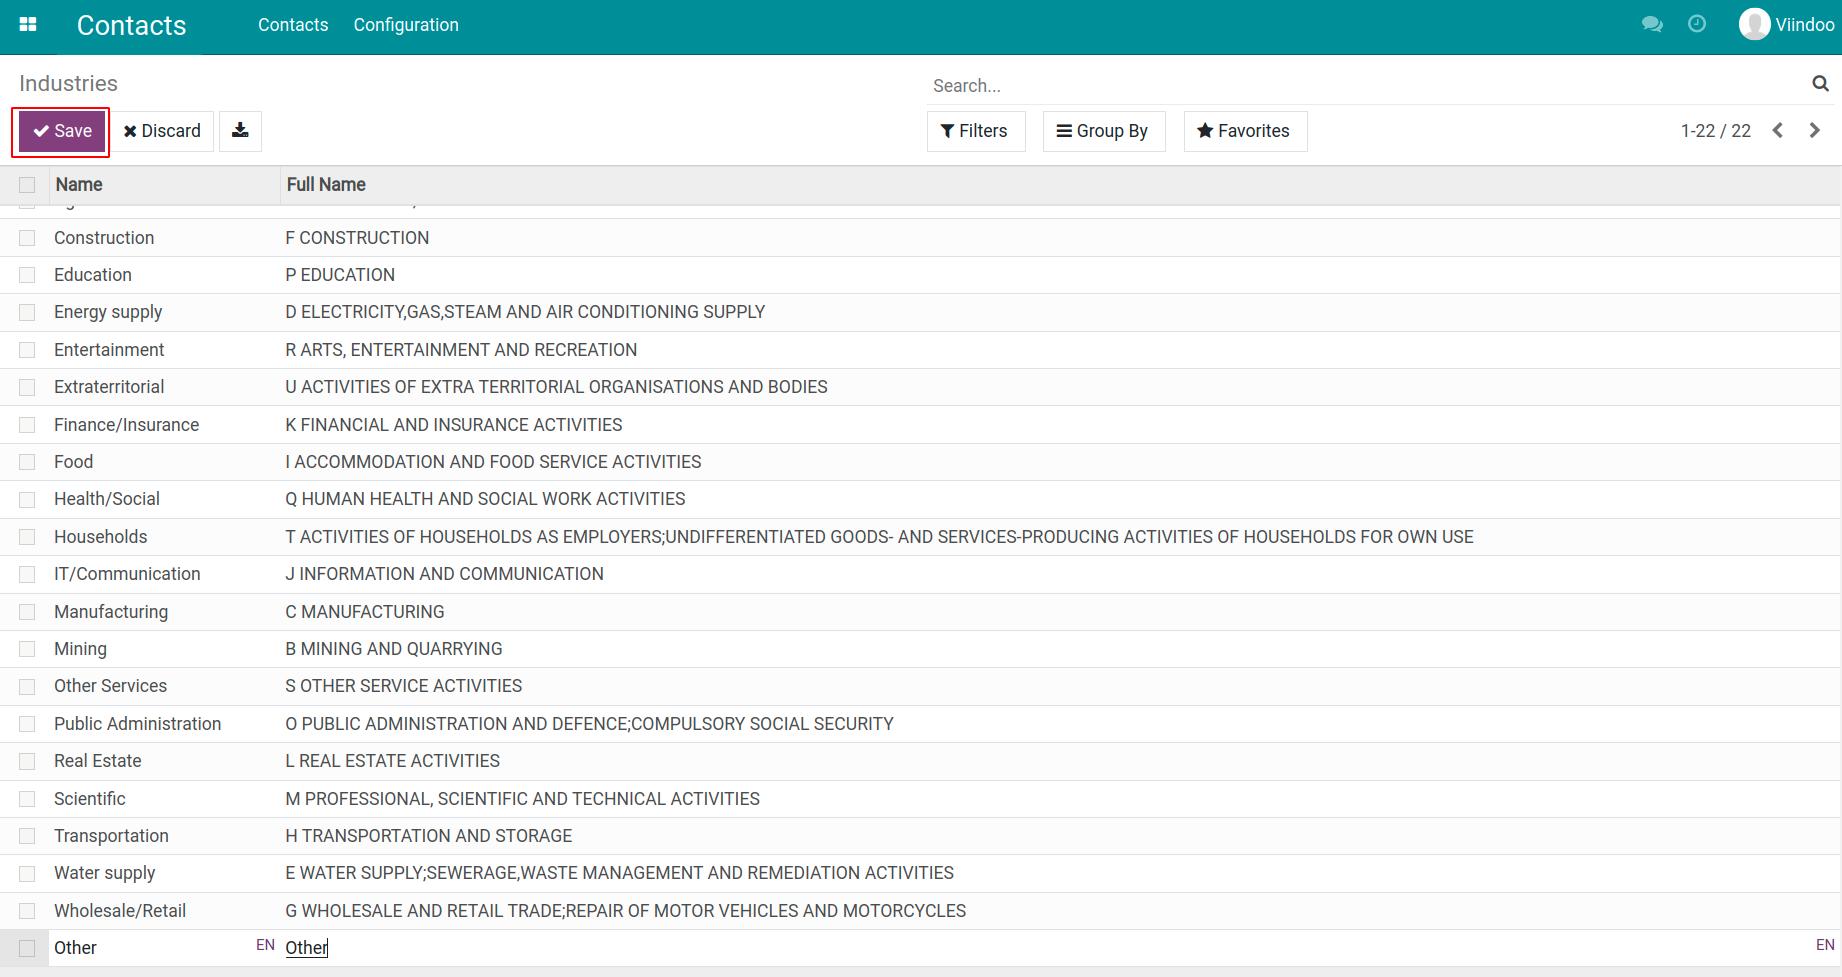
This is where the business sectors are established, helping us to categorize contacts. These, in the picture below, are automatically created by the system. You can also customize or add a new one.
Countries
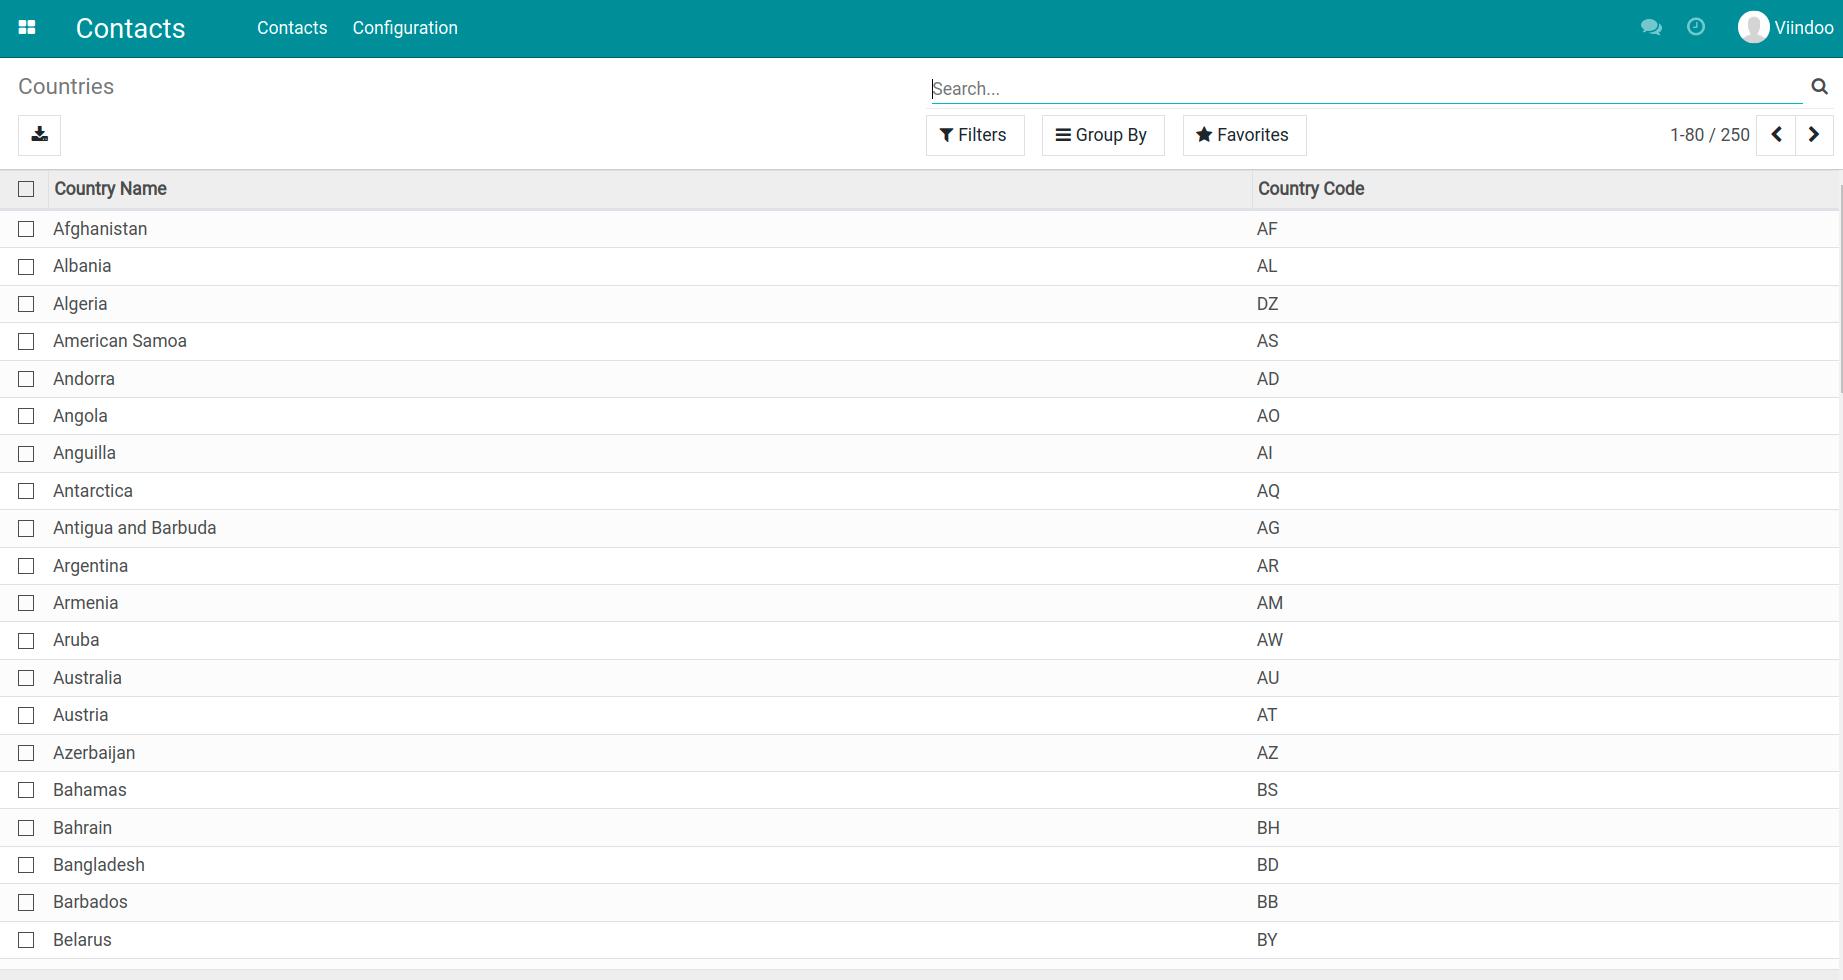
The place where the countries in the world are set up. When selecting a country for a contact, the system will pull data from here. By default, the system has already created data for countries around the world.
Fed. States
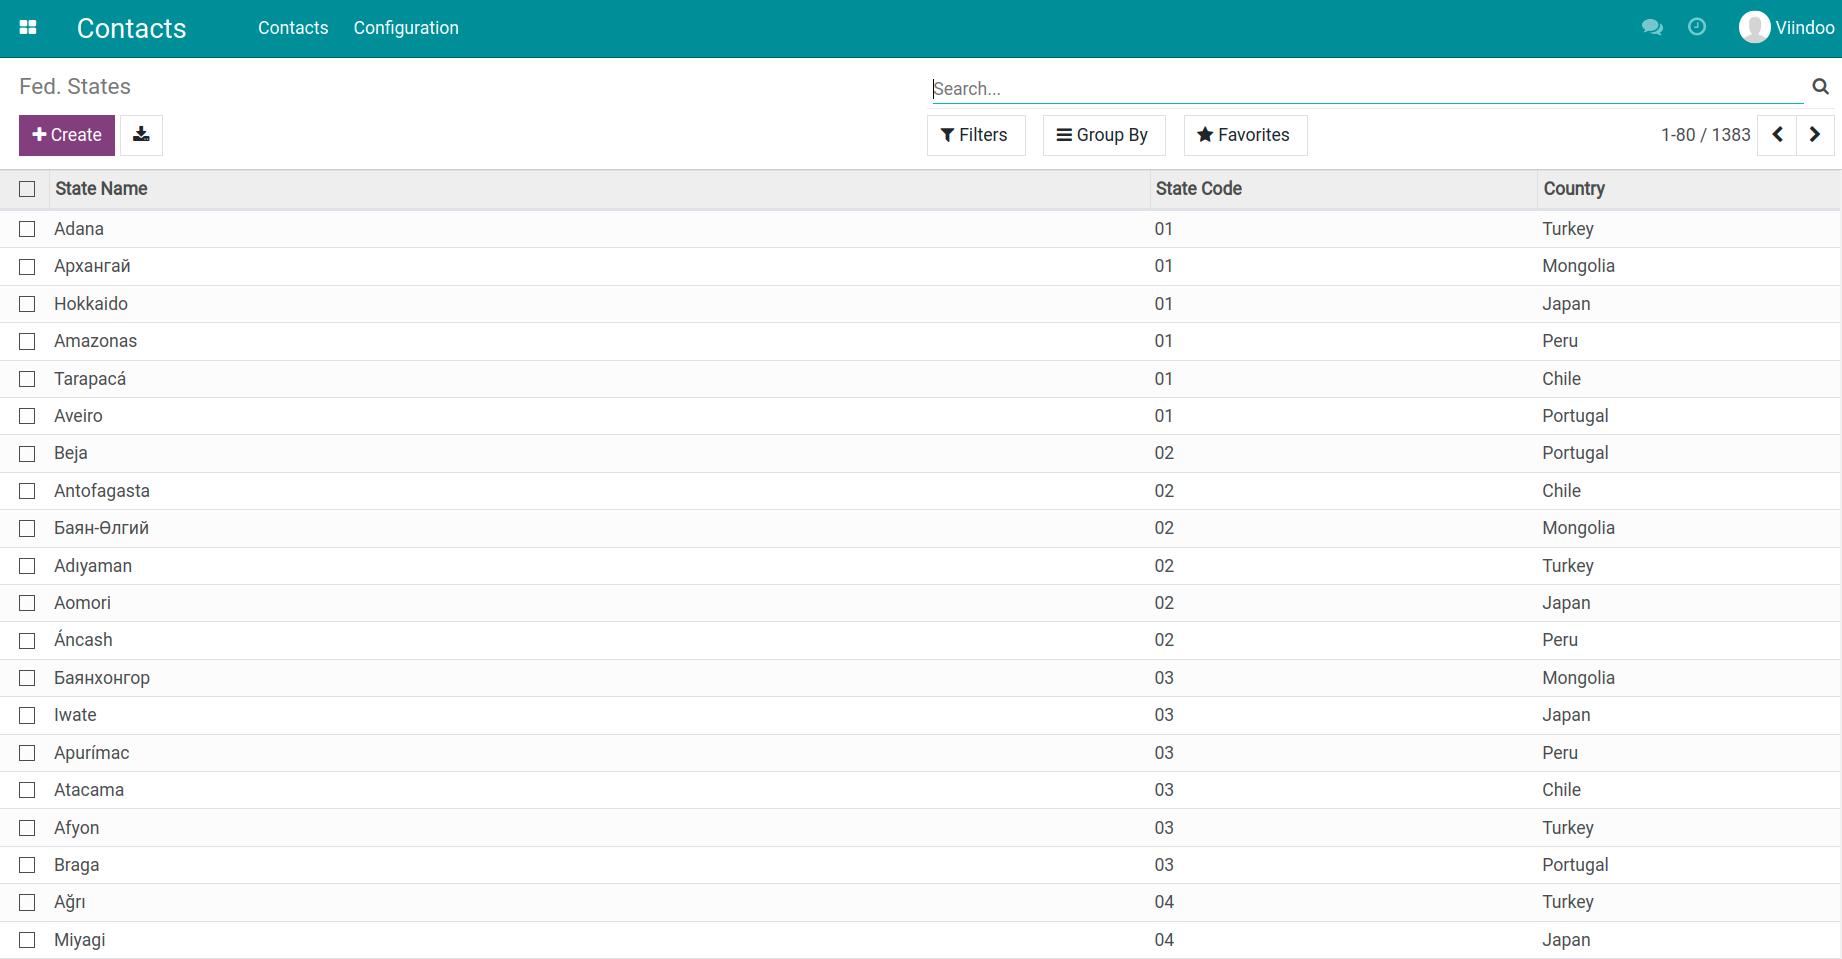
Also, the system has already created data for the states/provinces of some countries. You can also hit Create, then enter State Name, State Code, and select a Country to create a new one.
State Groups
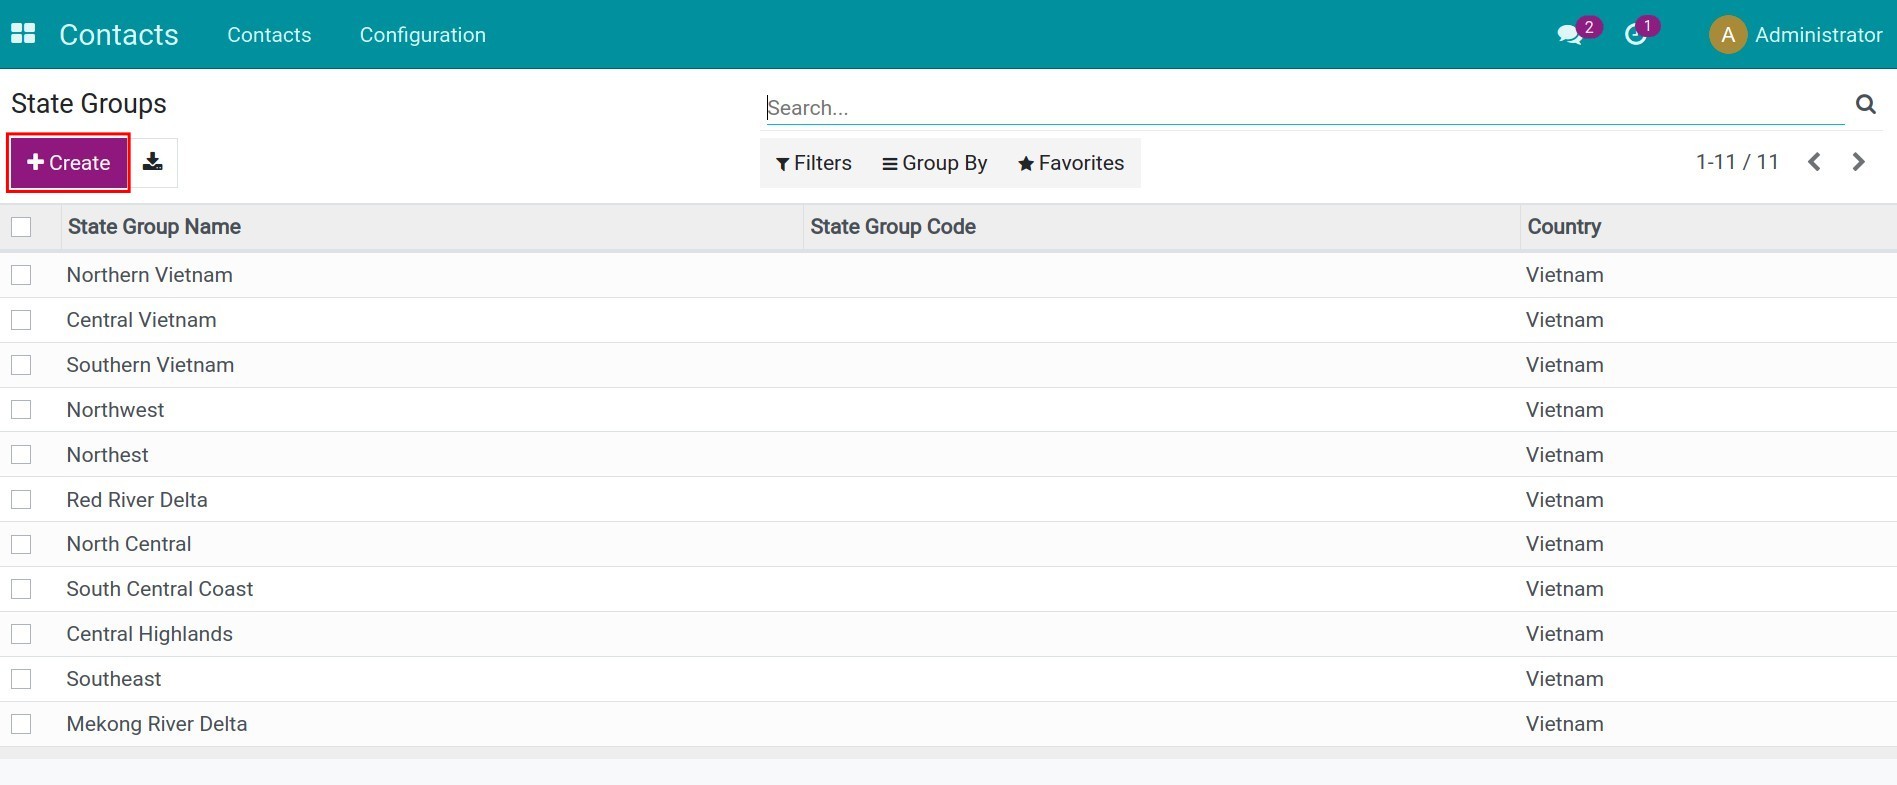
Along with the Fed. States, the Viindoo system also allows you to categorize contacts by State Groups for appropriate segmentation and management strategy. Besides the default data created by the system, you can create new state groups by pressing the Create button and then filling in the needed information.
Country Group
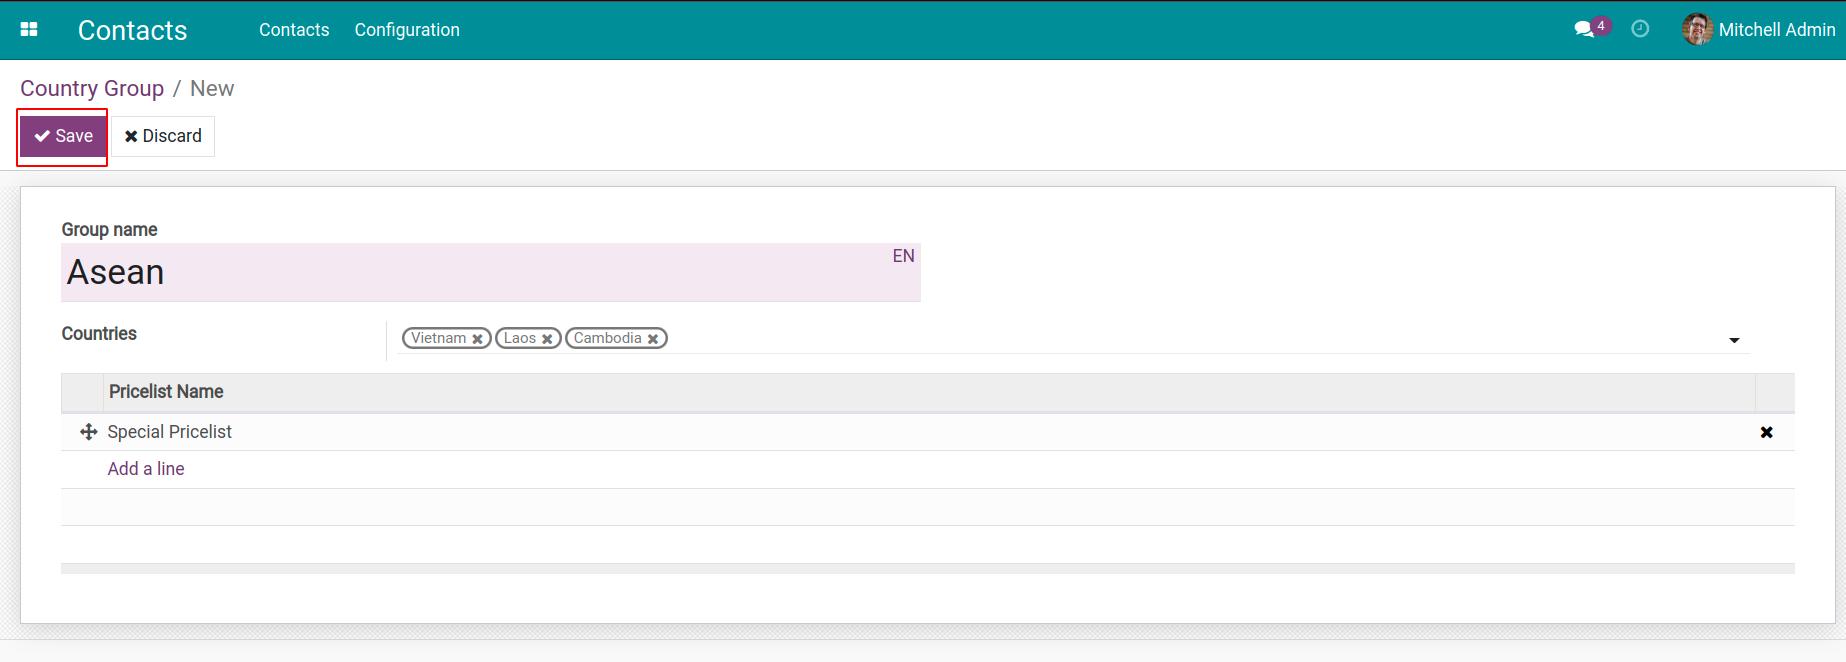
Allows you to group countries into the same group. For example, ASEAN countries, EU, etc., for categorization, filtering, or implementing regional production and business strategies.
To do it, hit Create. Then fill in the followings:
Group name: Name the countries group
Countries: Select all the countries that belong to this group.
Pricelist Name: Allows to choose different pricelists for countries of different groups (USD, EUR, …). This feature is only visible when you install the related apps such as Sales, Accounting, etc. and you have the access rights accordingly in those apps.
Note
If more than one pricelist is set up, the system prioritizes taking it from the top to the bottom of the list.
Banks
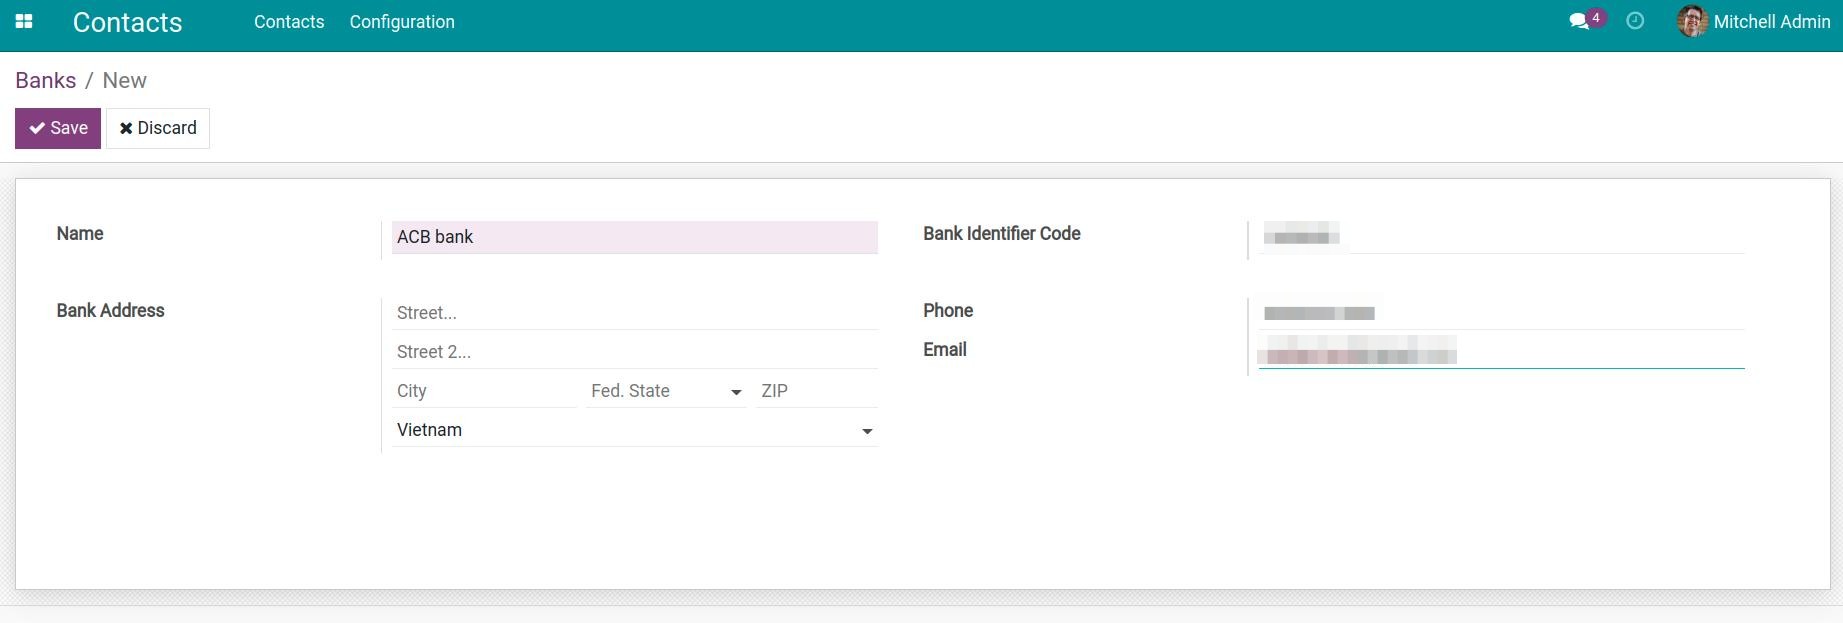
A place to store the information of banks that are involved in the transferring and receiving money of your business. Hit Create to add a new bank. The setup information includes:
Name: Name of the bank.
Bank Identifier Code: The SWIFT/BIC code used when making international transactions.
Bank Address: Address information of the bank.
Phone: Phone number to contact the bank.
Email: Email address to contact the bank.
Hit Save.
Bank Accounts
Store a bank account list of existing contacts in the system. Hit Create to create a new bank account. The Information to enter:
Account Number: Bank account numbers to use in transactions.
Account Holder: The owner of this bank account.
Bank: The bank that this account belongs to.
Account Holder Name: The name on the bank account registered with the bank.

Note
All information, bank accounts created from the other places (on employee profiles, Accounting app…) will also be gathered here.
Tip
All the information above can also be created directly on the contact creation view without having to navigate to the configuration.
See also
Related article
Optional module

