How to use Batch transfers and Wave transfers
Normally, you will have to go to the warehouse location whenever a transfer occurs. If there are many stock transfers, you will have to travel many times to different locations. To solve this problem, the Inventory Management Application provides a Batch transfers and Wave transfers feature to support users in performing multiple transfers at the same time.
Requirements
This tutorial requires the installation of the following applications/modules:
Batch transfer
Feature activation
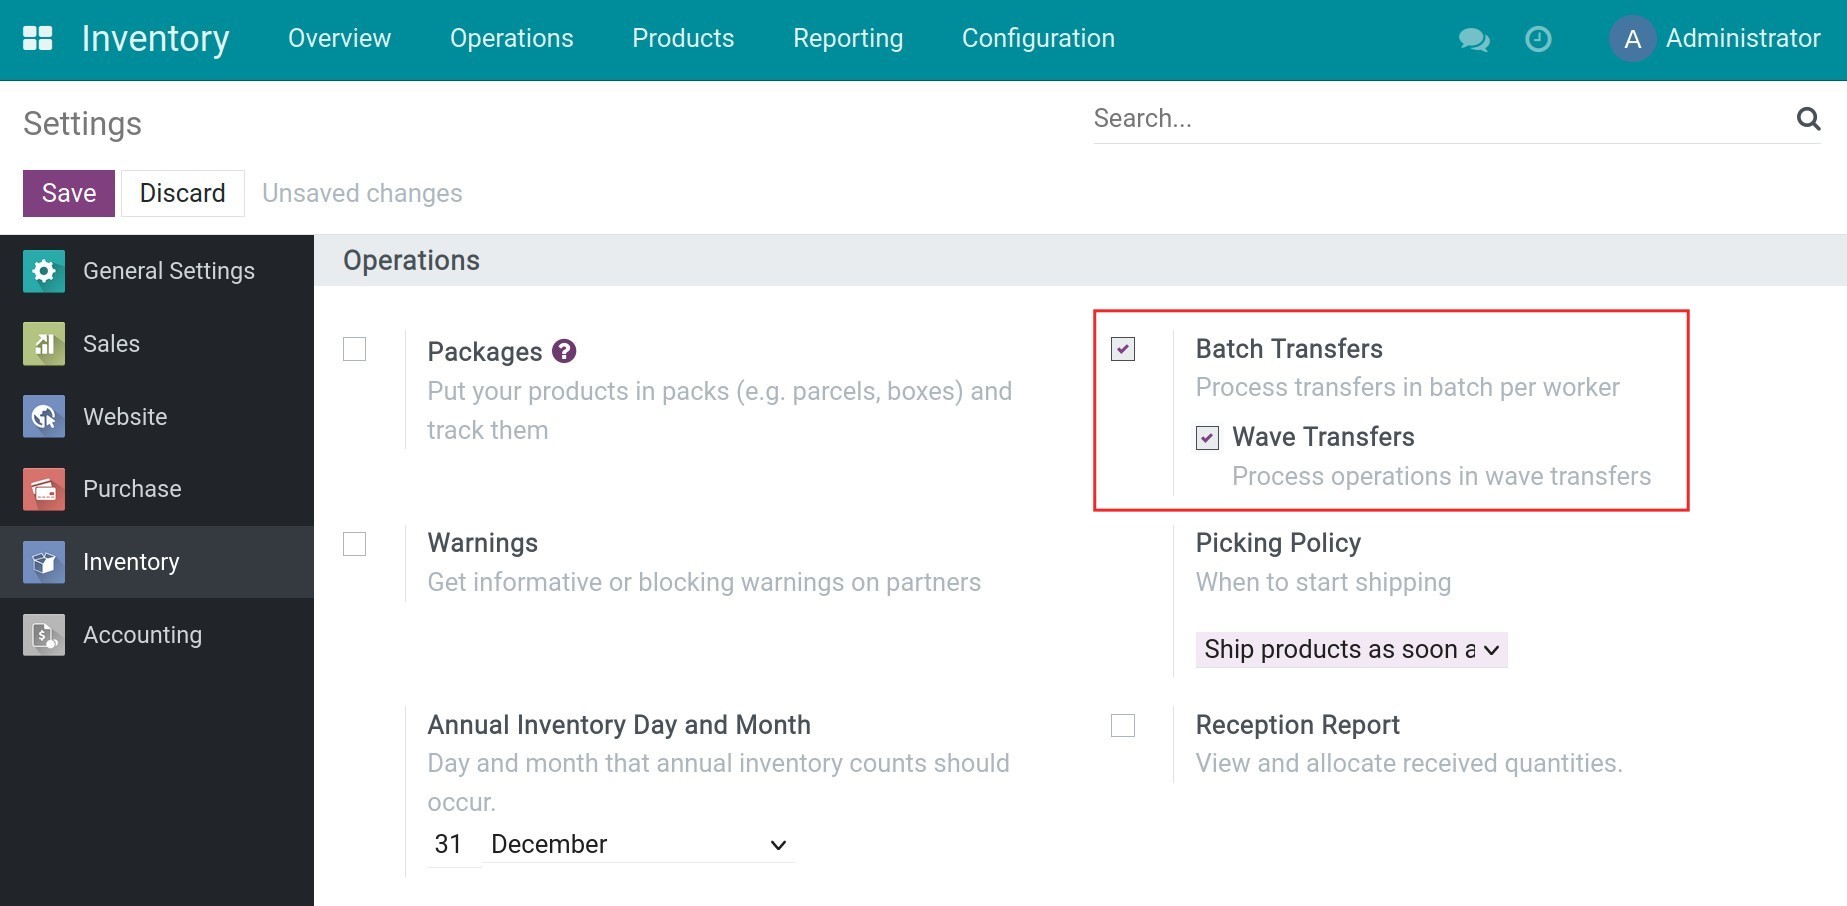
To activate this feature, you navigate to , at the section Operations you check on Batch Pickings > Save.
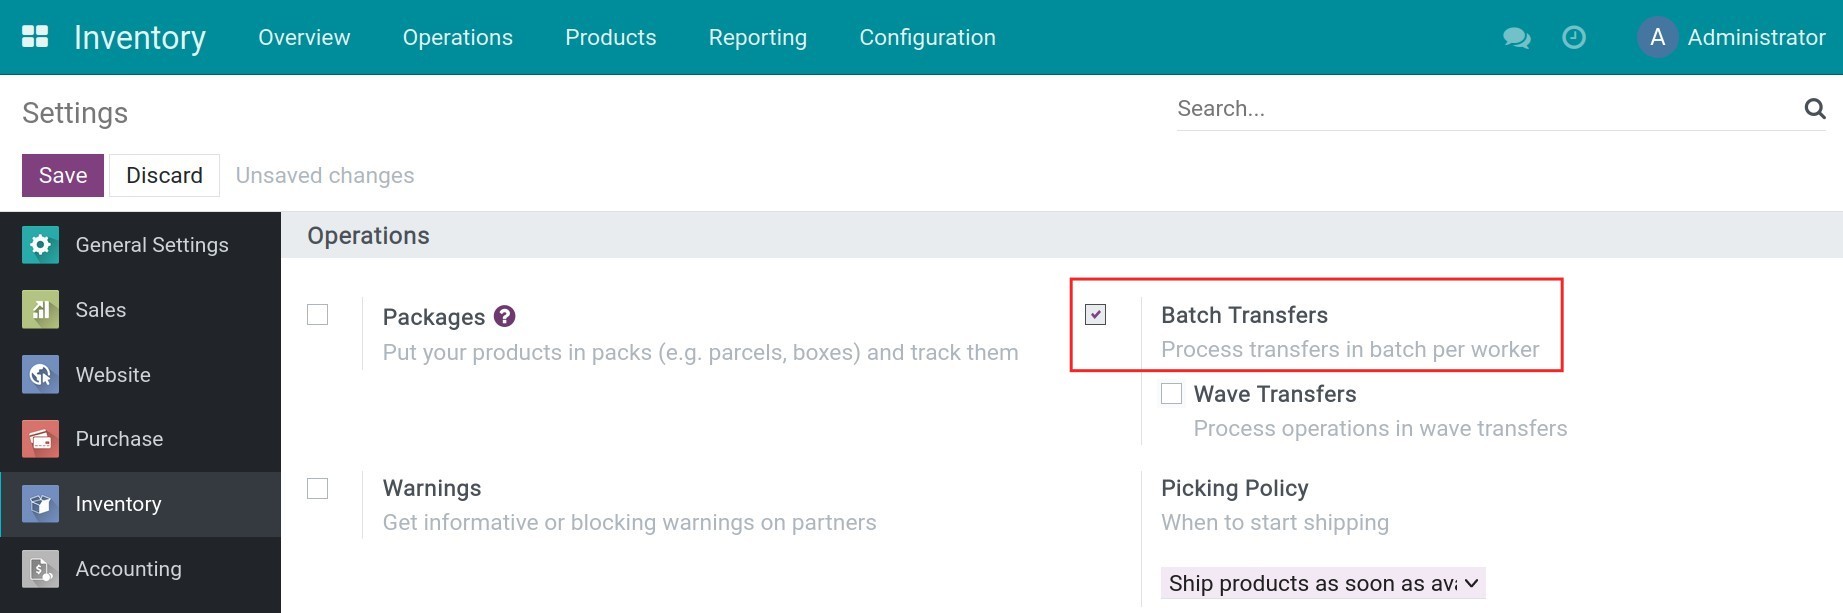
After successfully activating this feature, the system will display the Batch Transfers as a new operation type in the Inventory app.
Steps to perform the batch transfers
There are 2 ways to perform the batch transfer:
Option 1: Create a new batch transfer request
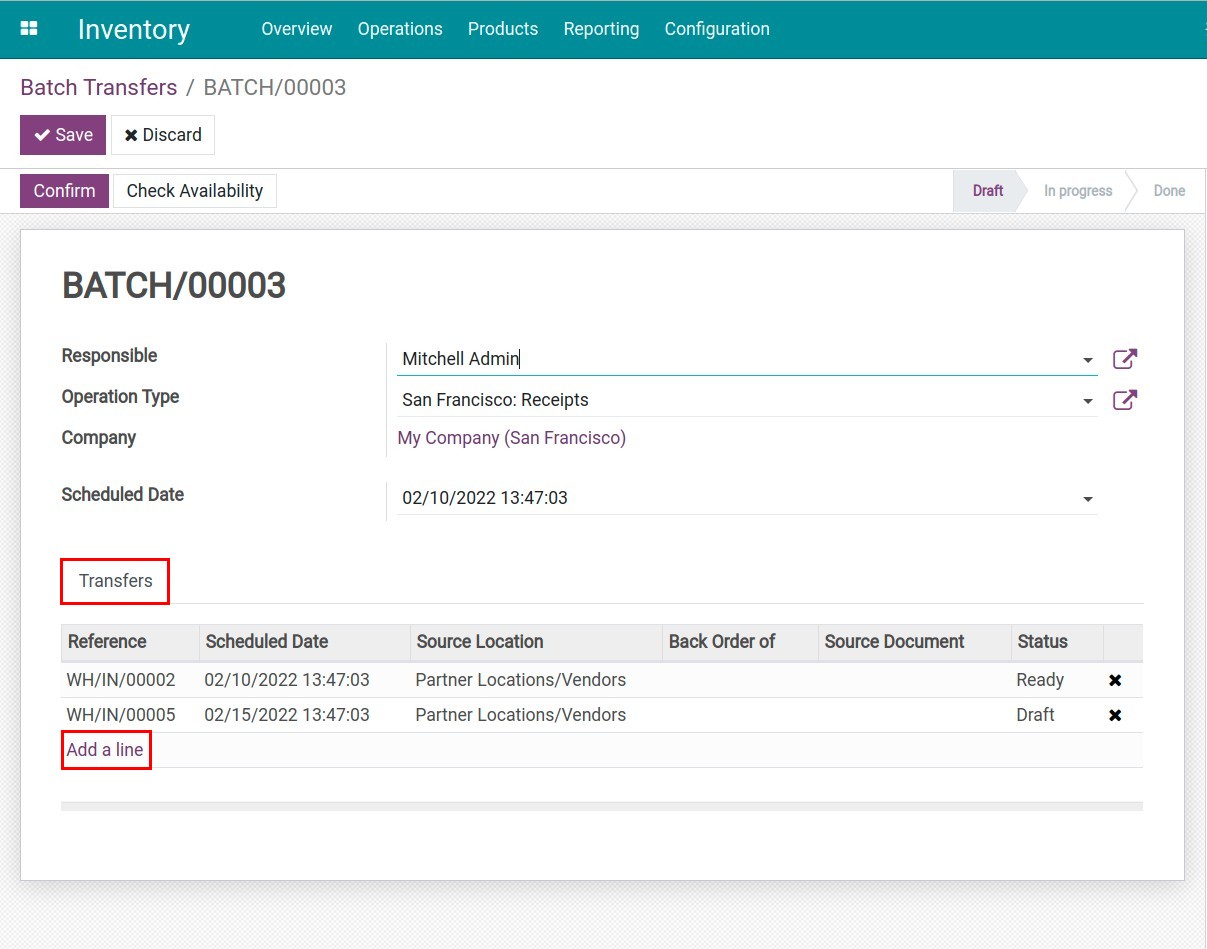
Navigate to , at this stage, you select the suitable information which is the responsible user, and the operation type (Receipts or Deliveries).
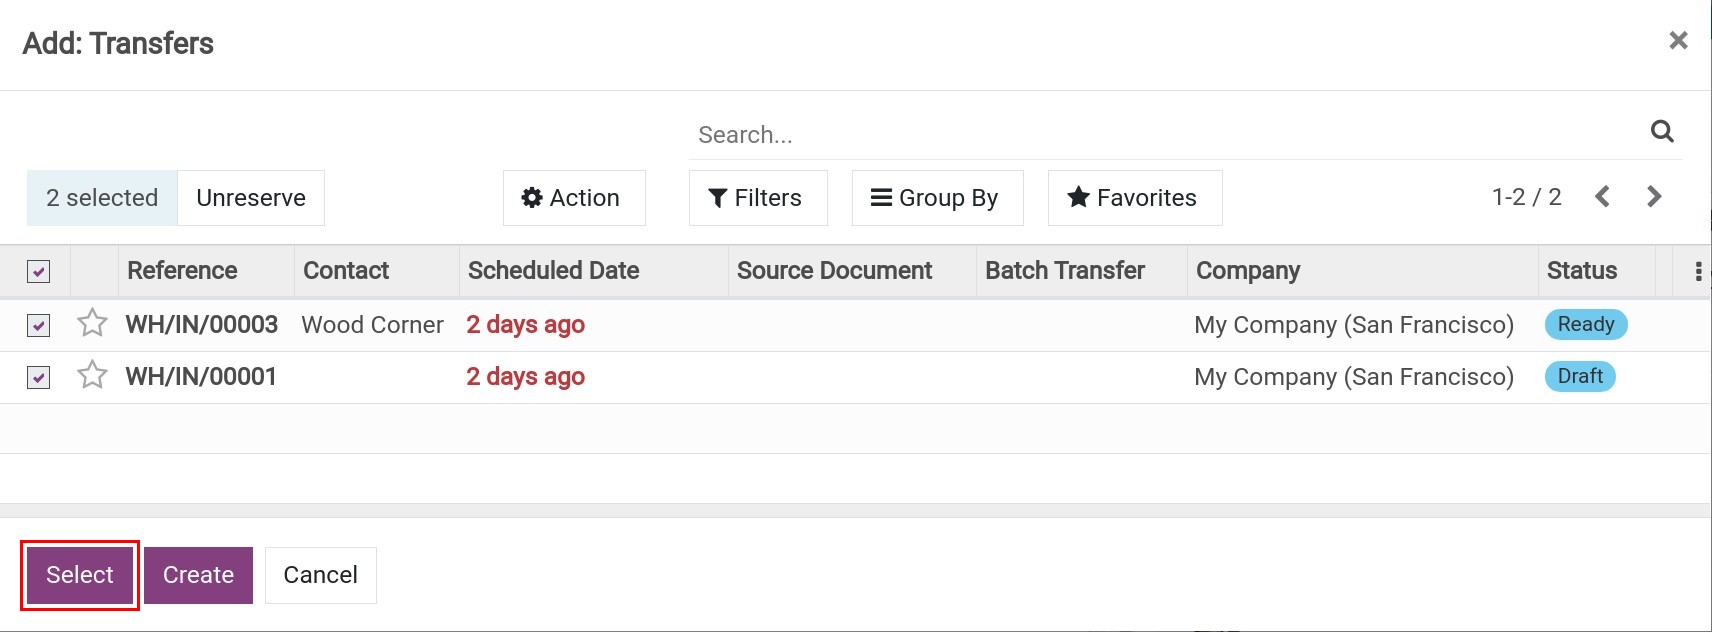
In the section Transfers you check on Add a line, the system will automatically filter all of the requests according to the chosen operation type. After that, you hit on Save button to complete the process.
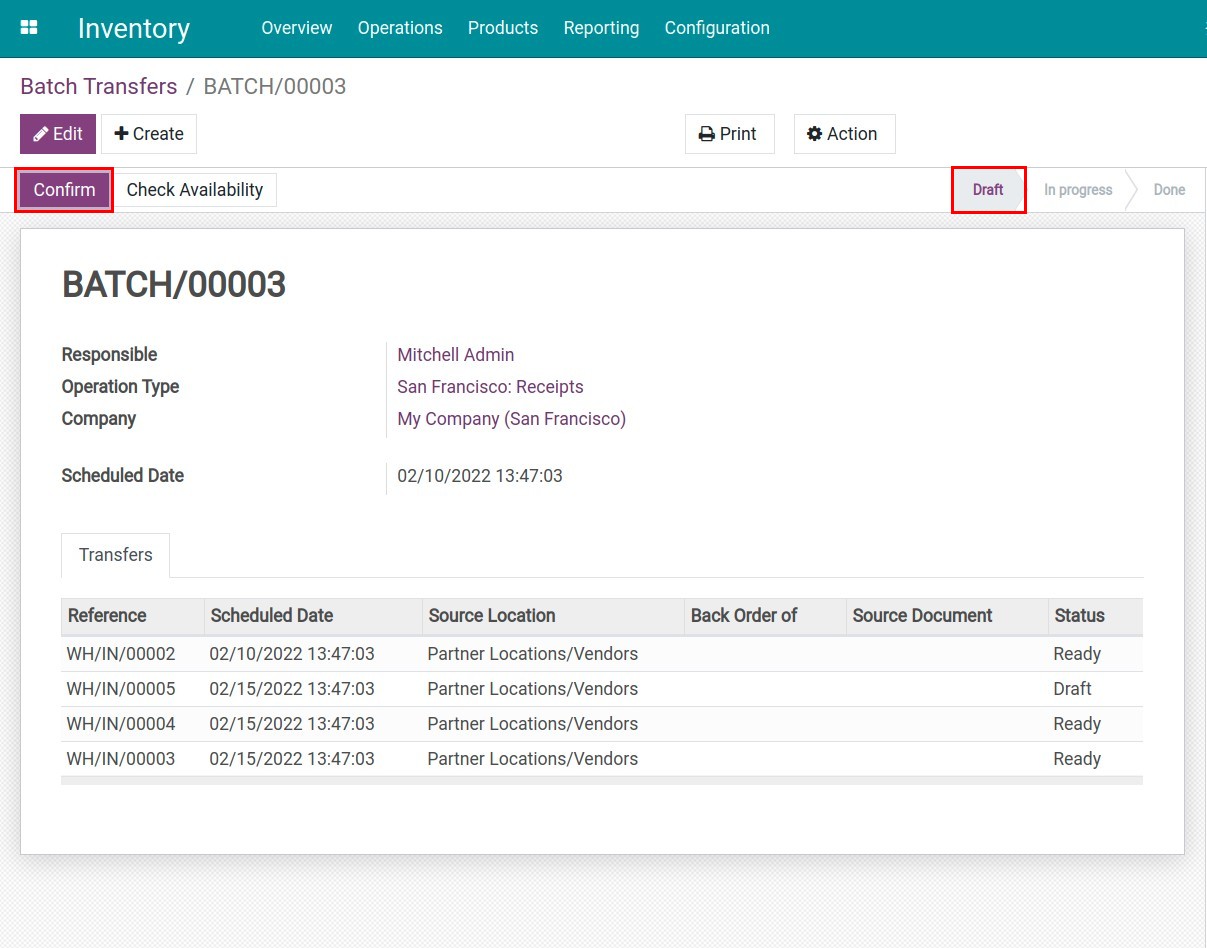
Next, you click on the Check Availability ‣ Confirm button to process the transfer for the selected order, the batch transfer request will be updated to In Progress and its child transfer requests are also being moved to the status Ready.
Note
If the subshift slips are already in the Ready state, you can always click Confirm to switch the total teleport slip to In progress.
After completing the transfers, you select Validate to finish, and the status of the request will be updated to Done.
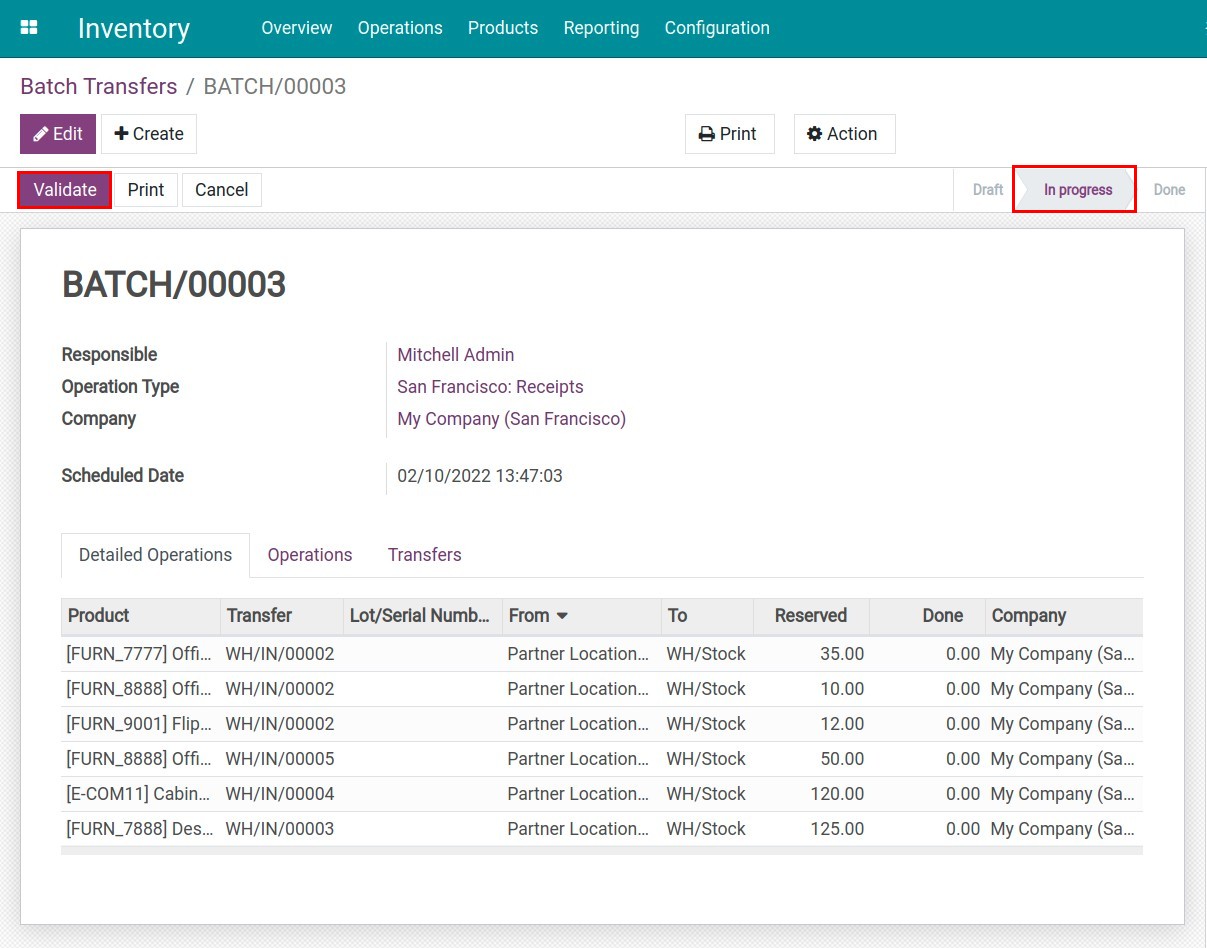
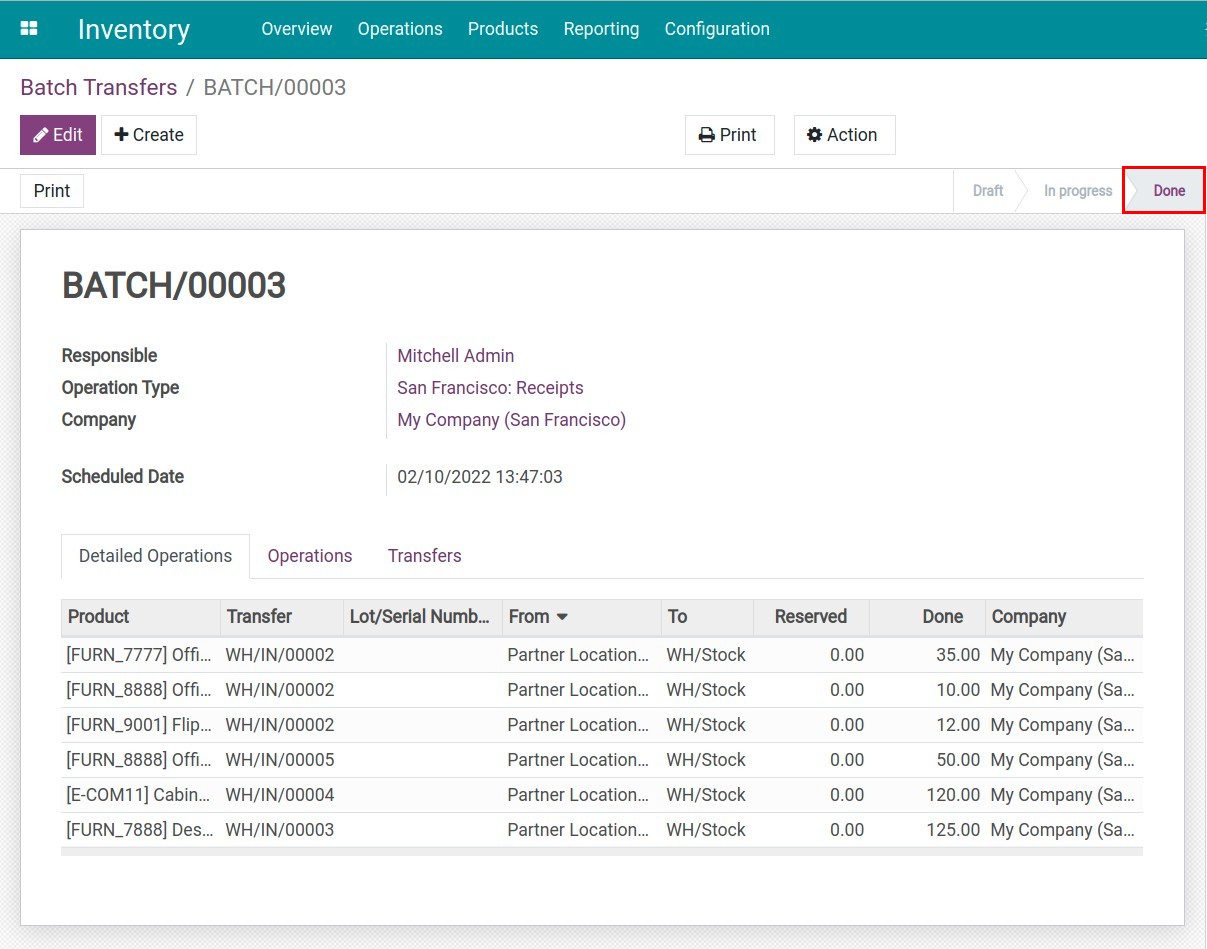
Tip
Select the tab Detailed Operations to see the product’s information in each transfer.
Option 2: Creating the Batch transfer request from the list of detailed transfers
Accessing Inventory ‣ Operations ‣ Transfers, you need to select the transfers and combine them into the batch transfer request, then click on Action ‣ Add to batch.
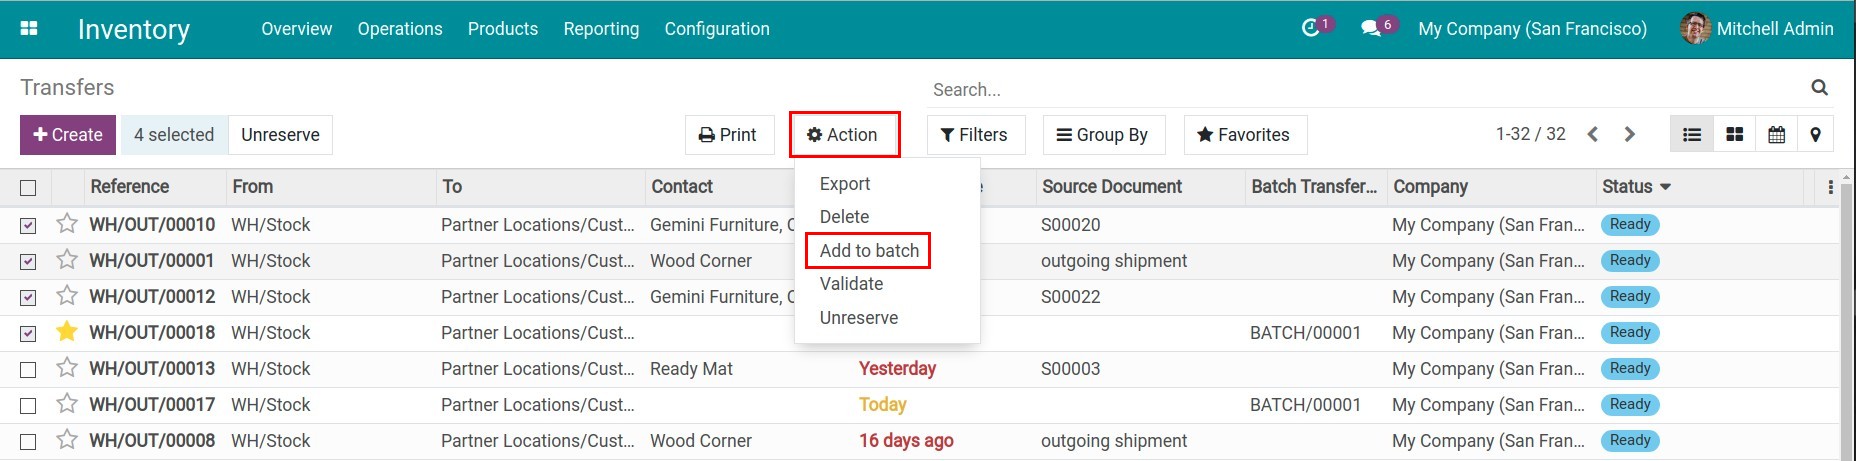
The system brings you 2 options in adding the transfers into the batch transfer request:
Add to an existing batch transfer: Choose the existed batch transfer request which needed to add the transfers, then press on the Confirm button. The transfers will be added to that request.
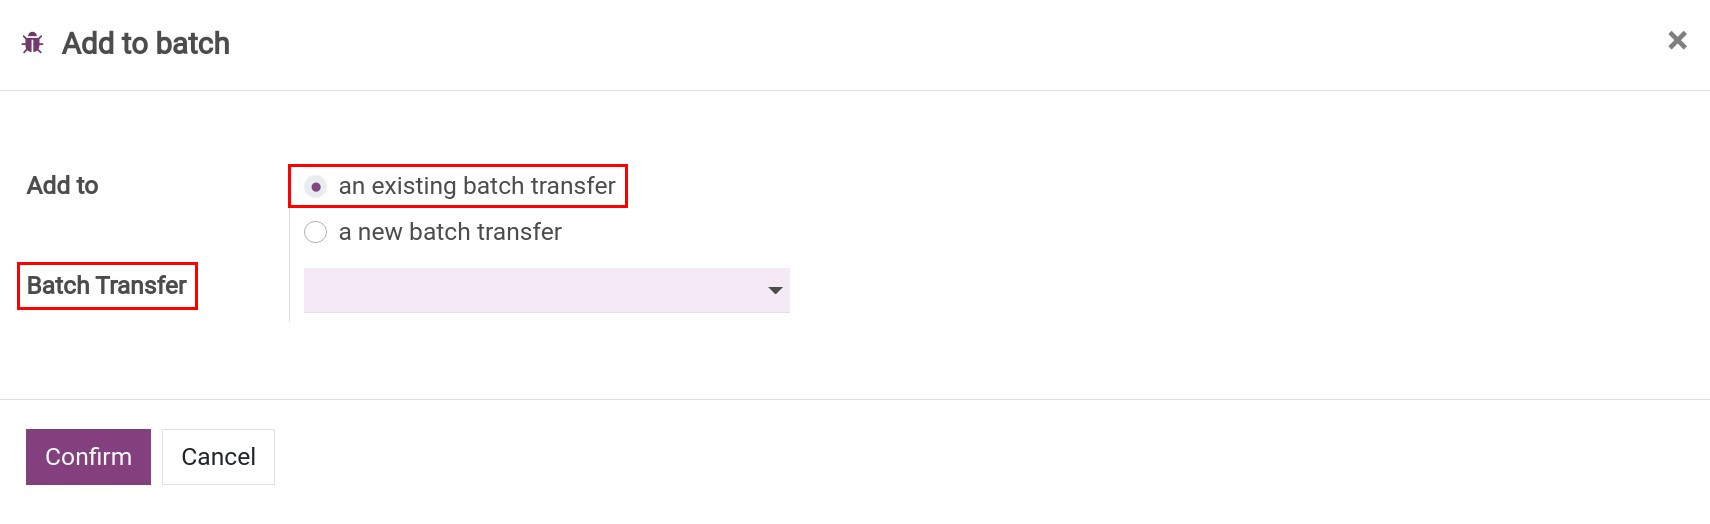
Note
The system only suggests the batch transfer request in the Draft status.
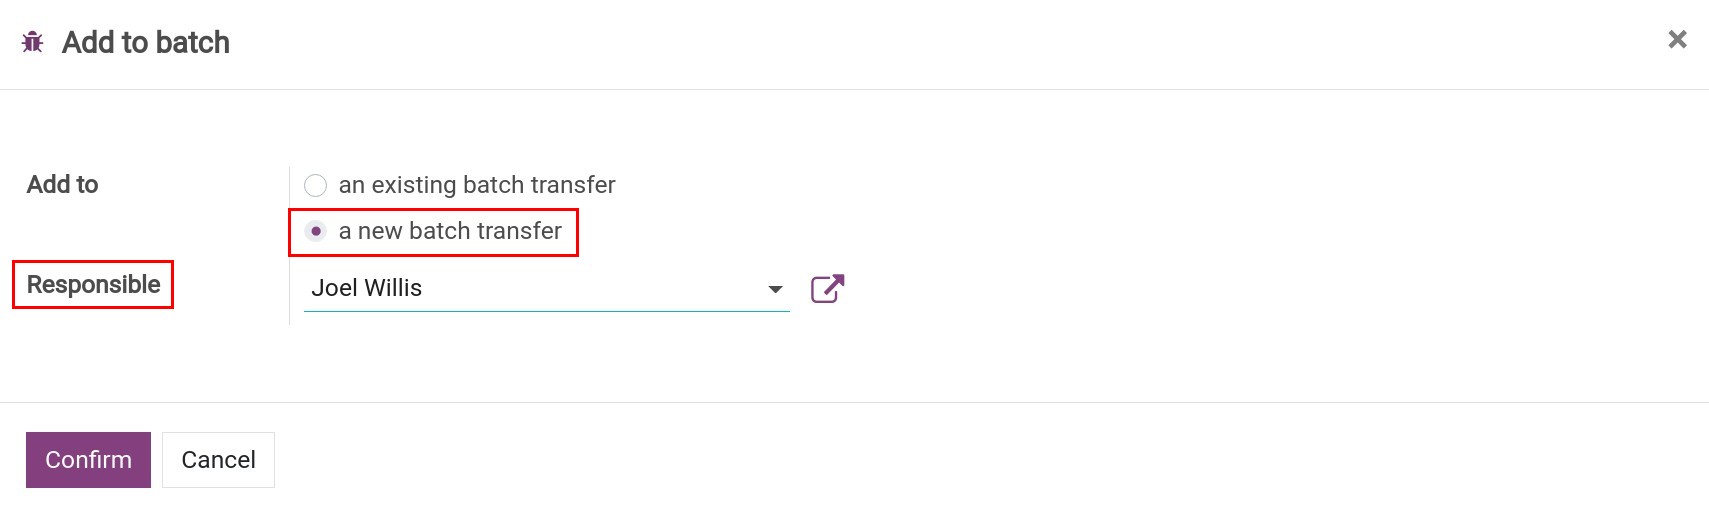
Add to a new batch transfer: After selecting the Responsible and clicking on Confirm button, the system will automatically create the new batch transfer request which includes the selected transfers.
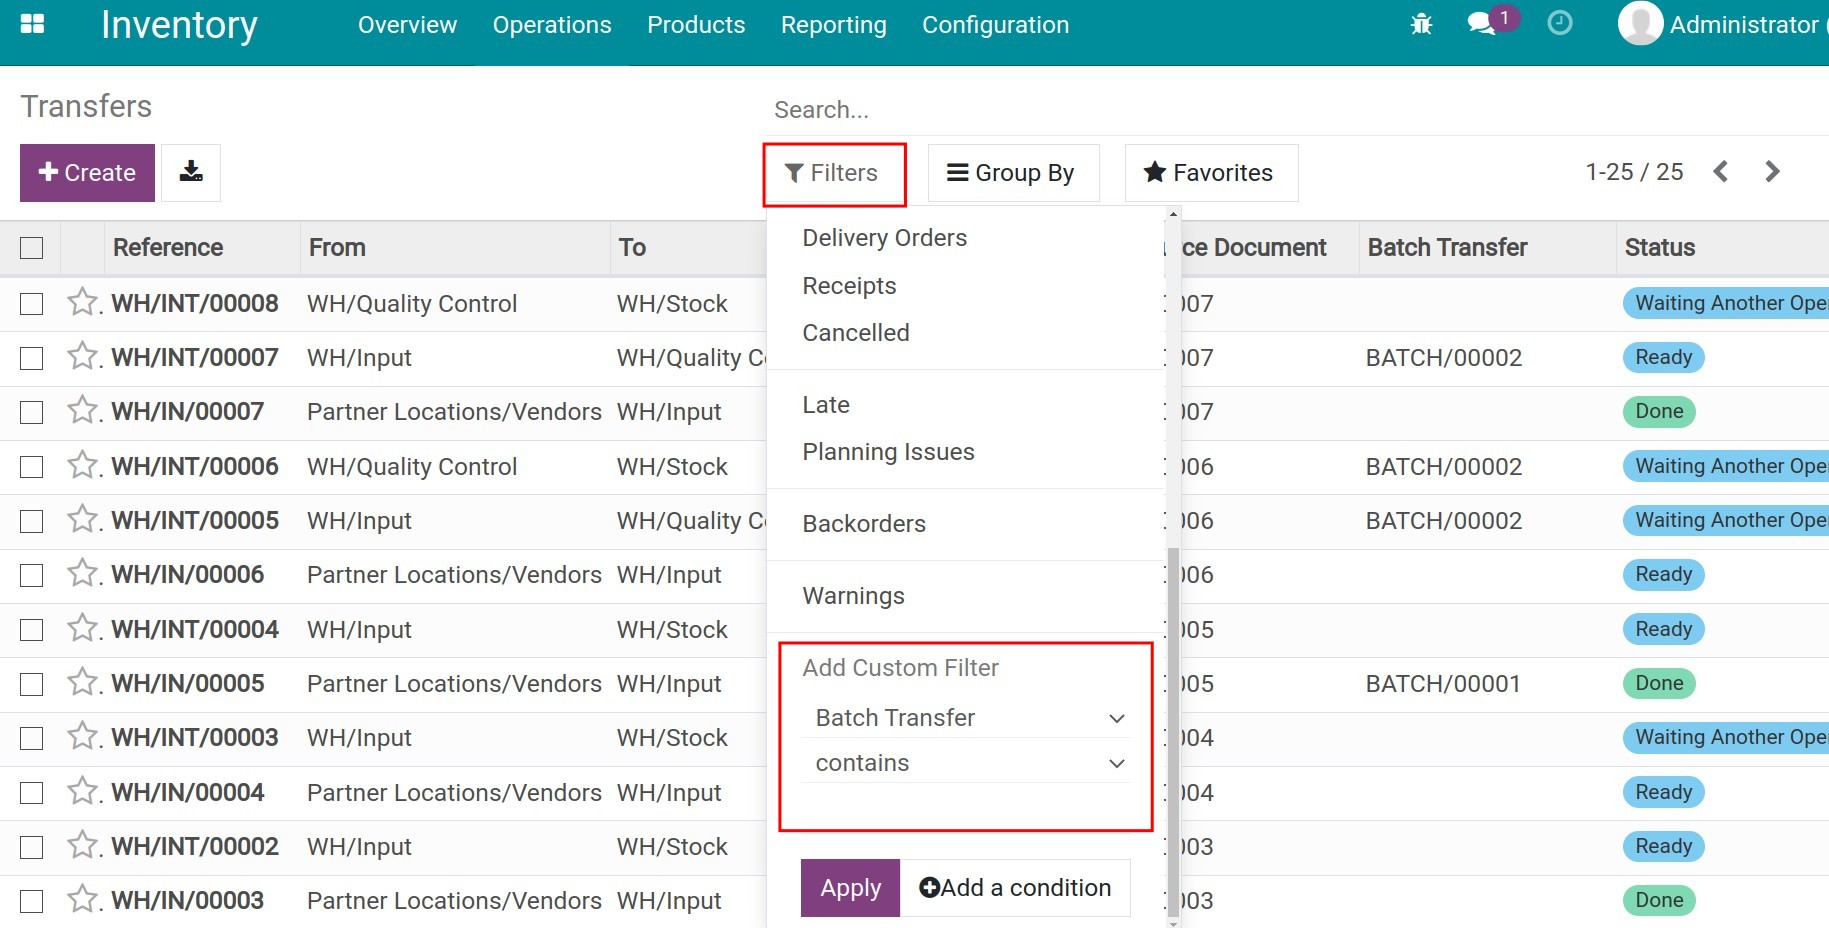
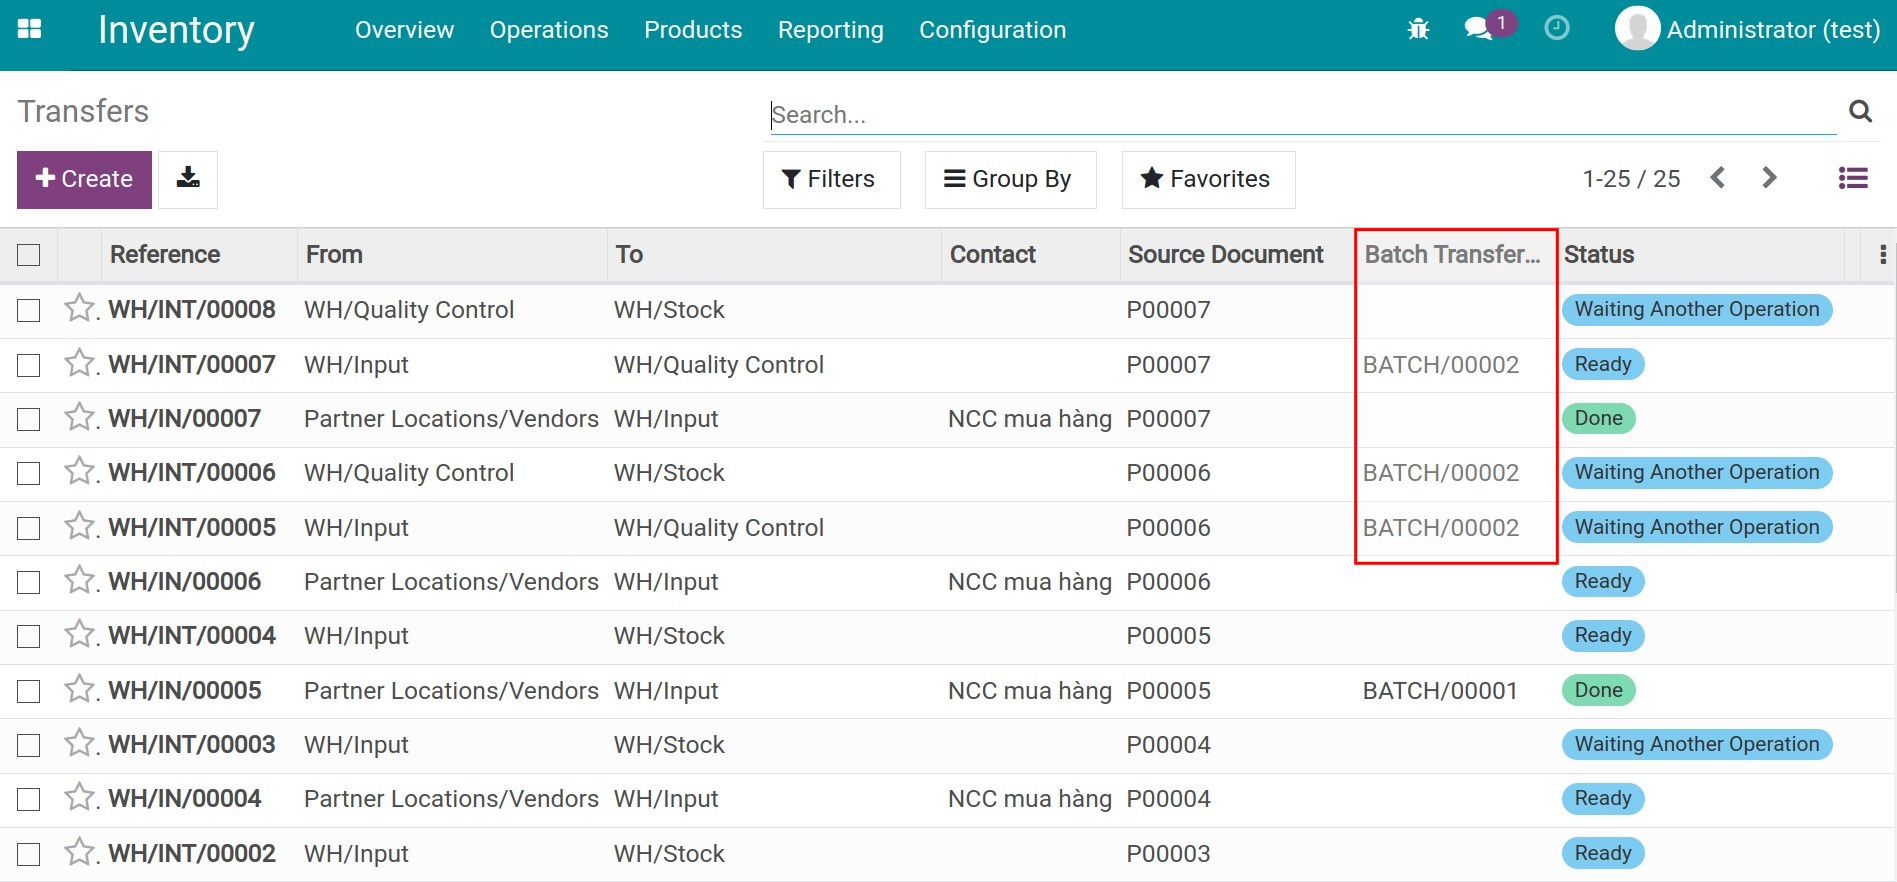
From the list of detailed transfers, you use the Batch transfer filter to search for total transfer.
This is an overview of the steps to activate and use the batch transfers feature to minimize the time it takes to transfer goods to the same places and to be able to handle the transfers better.
Wave transfer
Similar to batch transfer, wave transfer allows you to process multiple transfer orders at the same time. Wave transfer is usually used in big company with a large volume of orders and a variety of products.
Feature activation
To activate this feature, you navigate to , at the section Operations you check on Batch Pickings ‣ Wave transfer ‣ Save.
Steps to perform the wave transfers
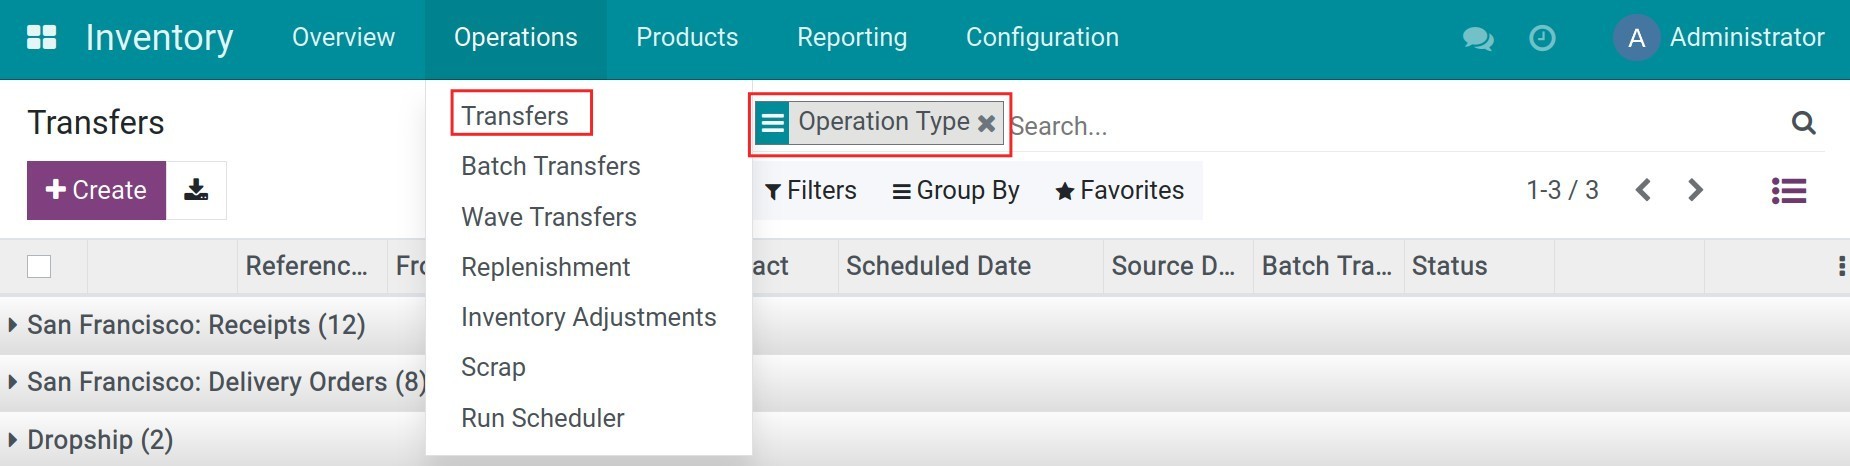
Navigate to , use group by Operation type.
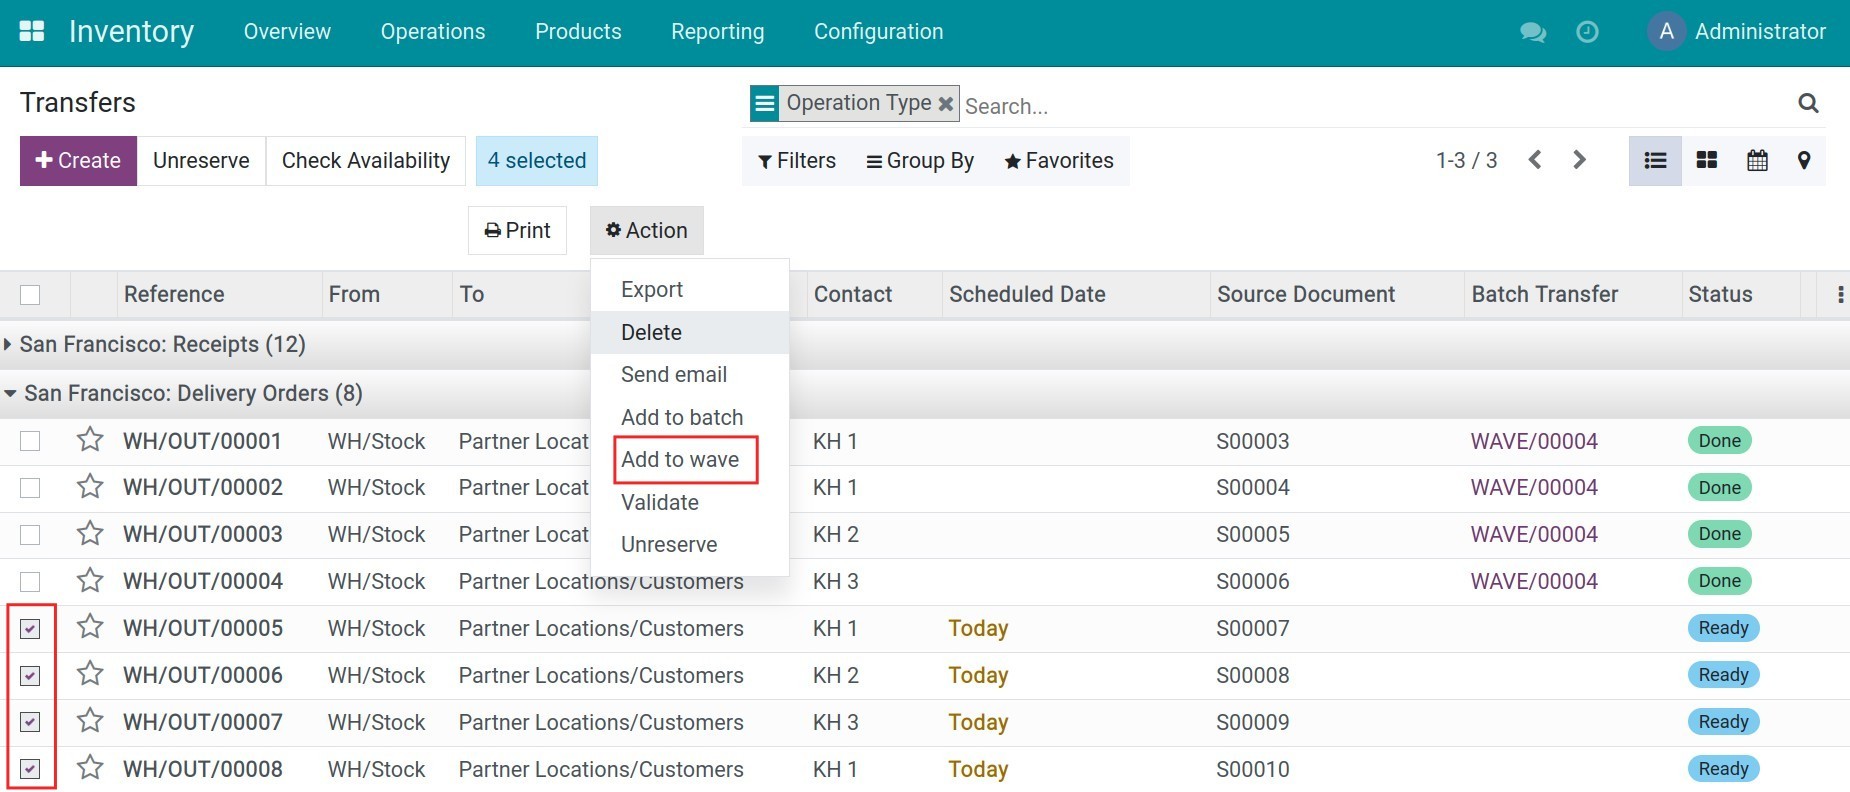
You choose the transfers that need to be add in a wave, click Action and Add to wave.
Now you have 2 options: Add those transfer to an existing wave transfer or create a new one. When creating a new wave transfer, you need to add information of responsible person.
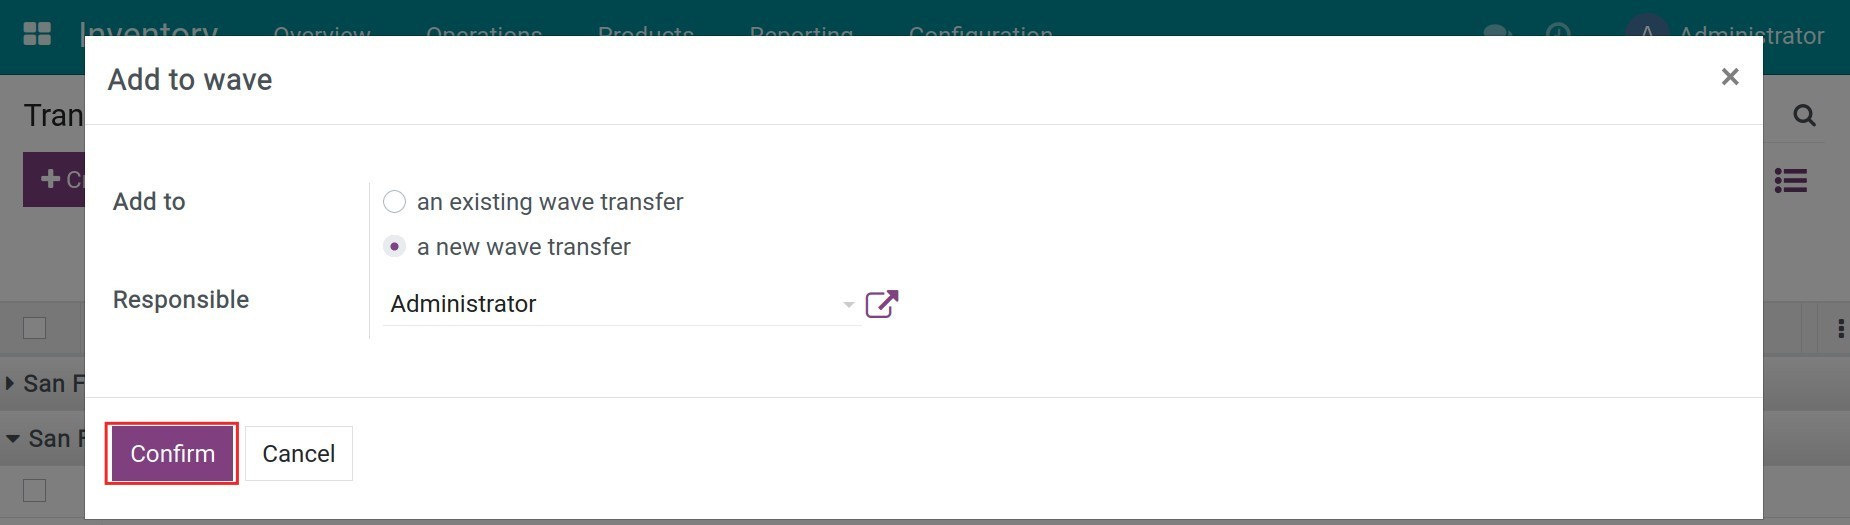
Click Confirm. Now all of the selected transfers will appears on the screen. Now choose the needed transfer to this wave and click Add to wave.

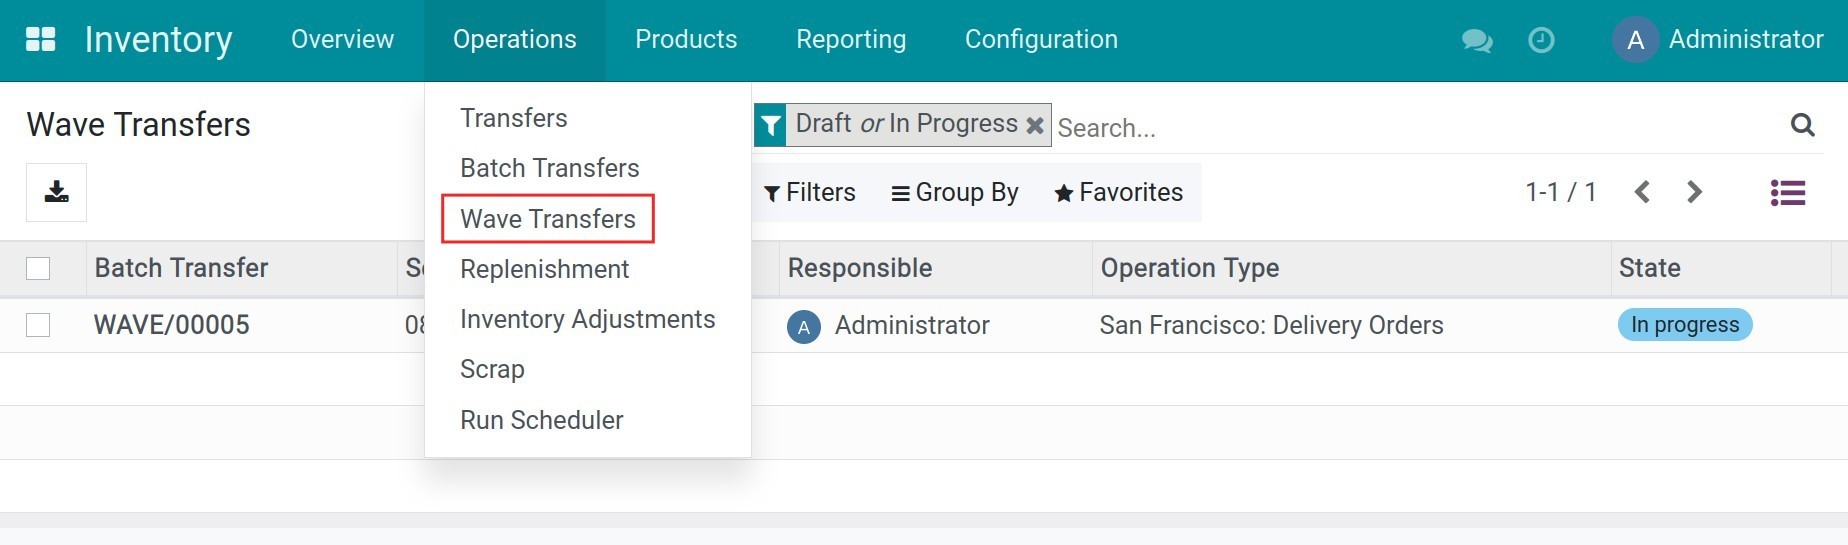
Now a new wave is created. To check information of the created wave, navigate to .
At the wave, you can see that all the selected transfer have been added to tab detailed operations, along with information such as products, transfer, source and destination location, v.v. At this step, you can also add more transfer in this wave by clicking Add a line.
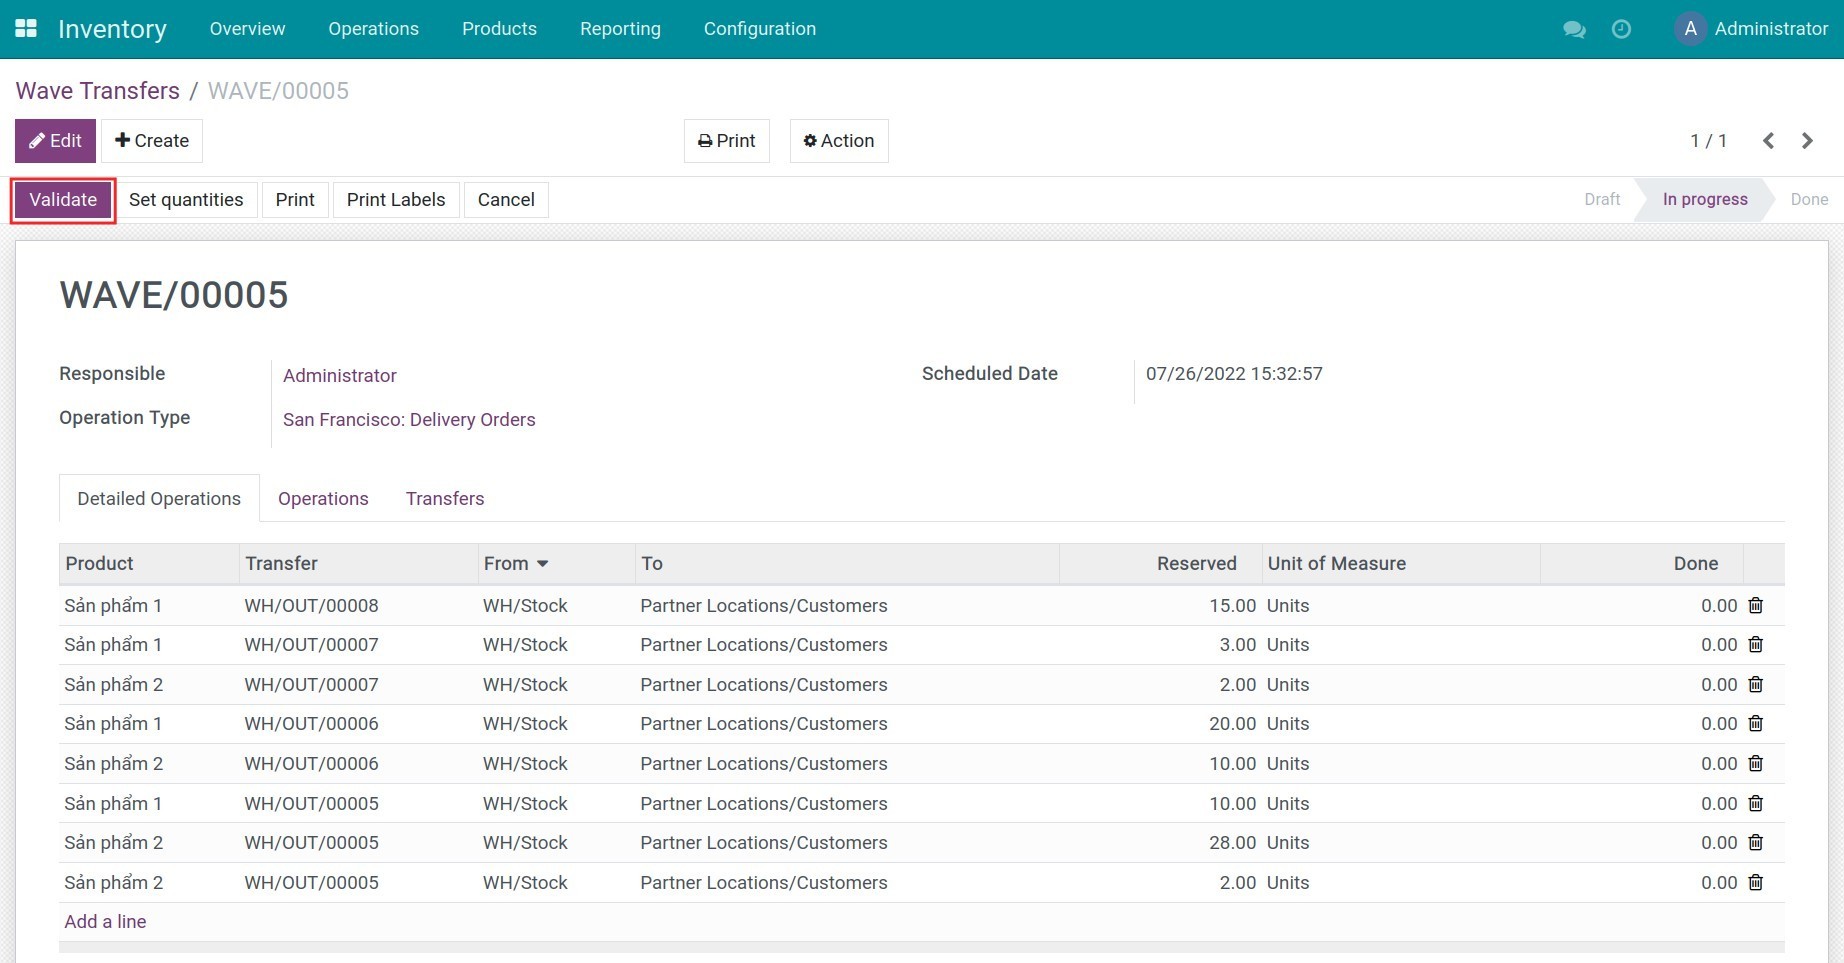
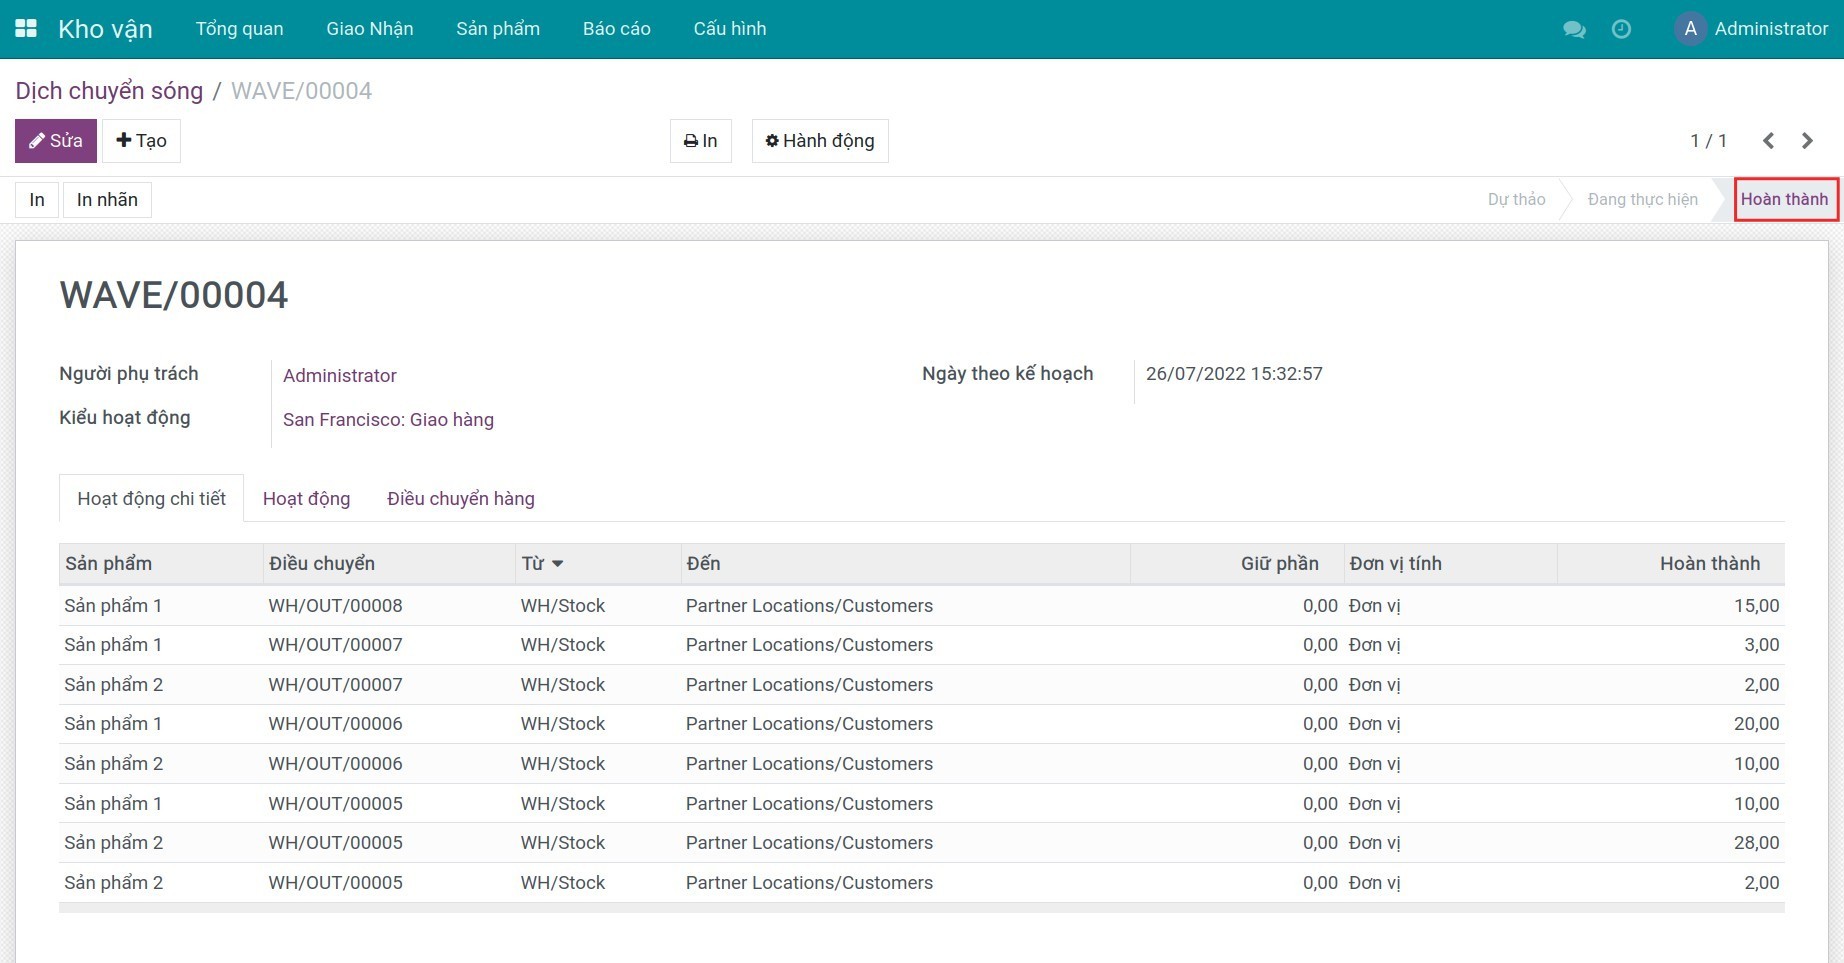
Now you need to fill the done quantities then click Validate to change wave transfer to Done stage.
See also
Related Article
Optional Module