Application of BoMs in Viindoo Sales
With the Bills of Material Type Kit, you can configure various components for a product kit to sell later on. This means that when a sales order is confirmed, the system will automatically generate a delivery slip containing all the components of the product kit.
Requirements
This tutorial requires the installation of the following applications/modules:
Bills of Materials configuration
Configure a product kit
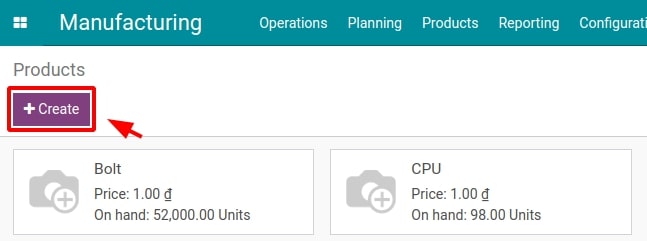
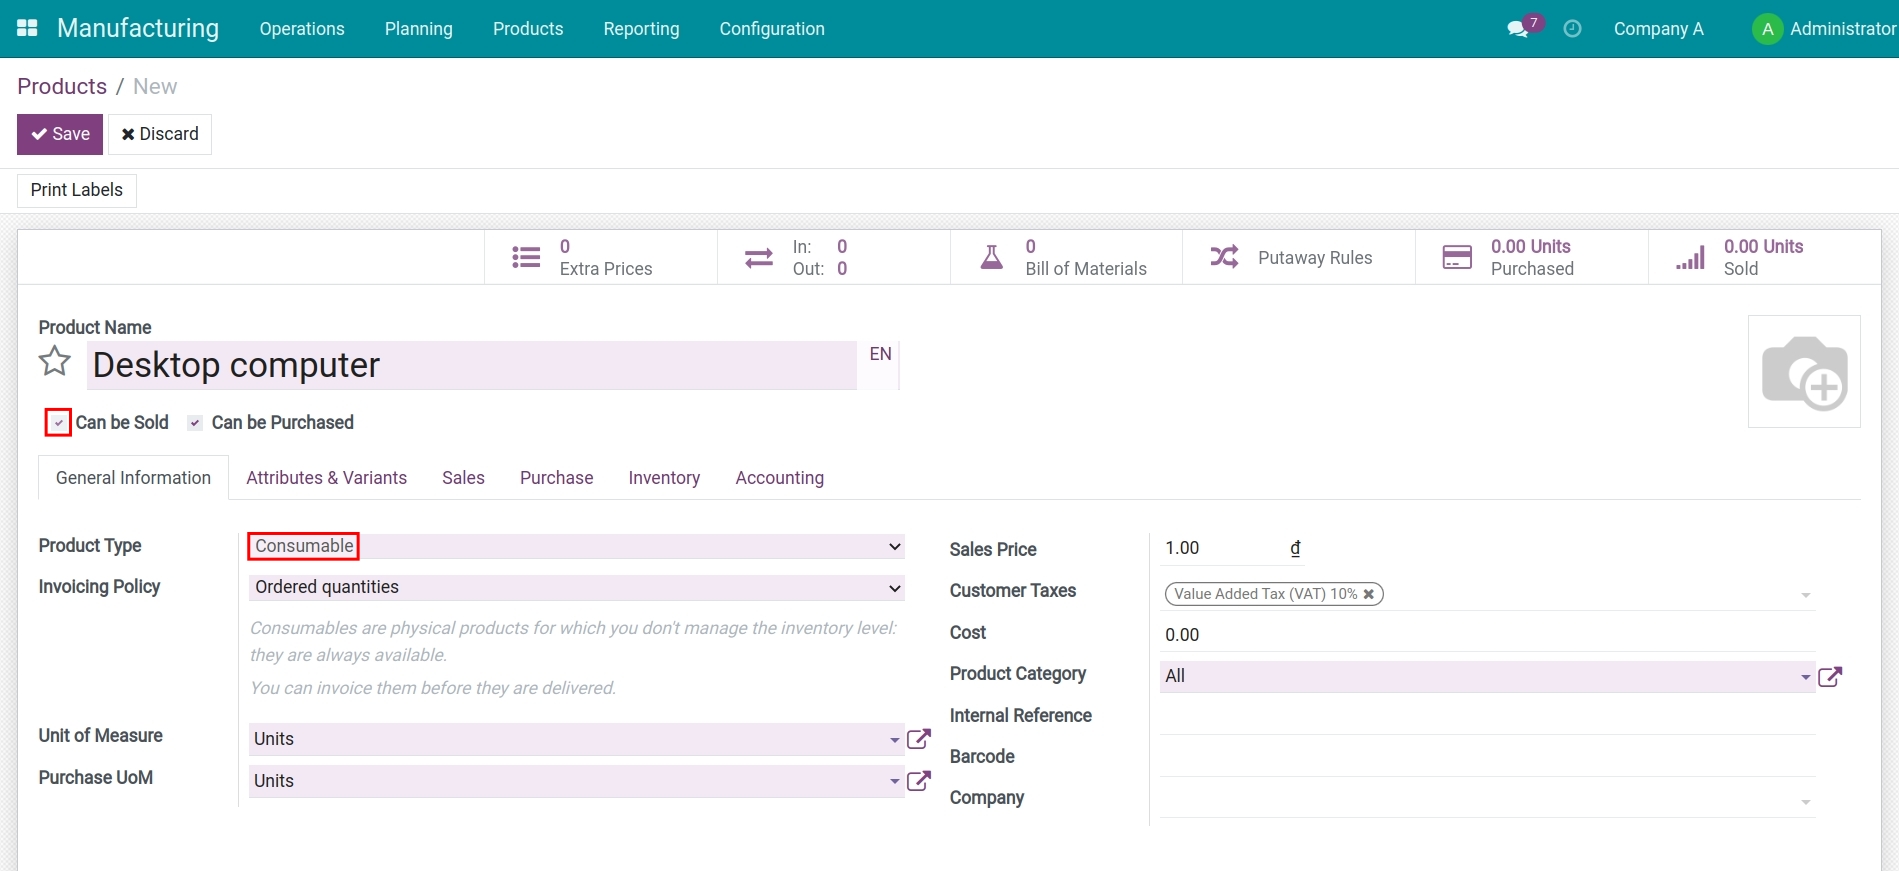
Go to Manufacturing > Products > Products, press Create a new product.
On the product form, configure the following information:
Only select Can be sold, do not select Can be Purchased since the given product will not be purchased.
-
Product Type: select Consumable.
-
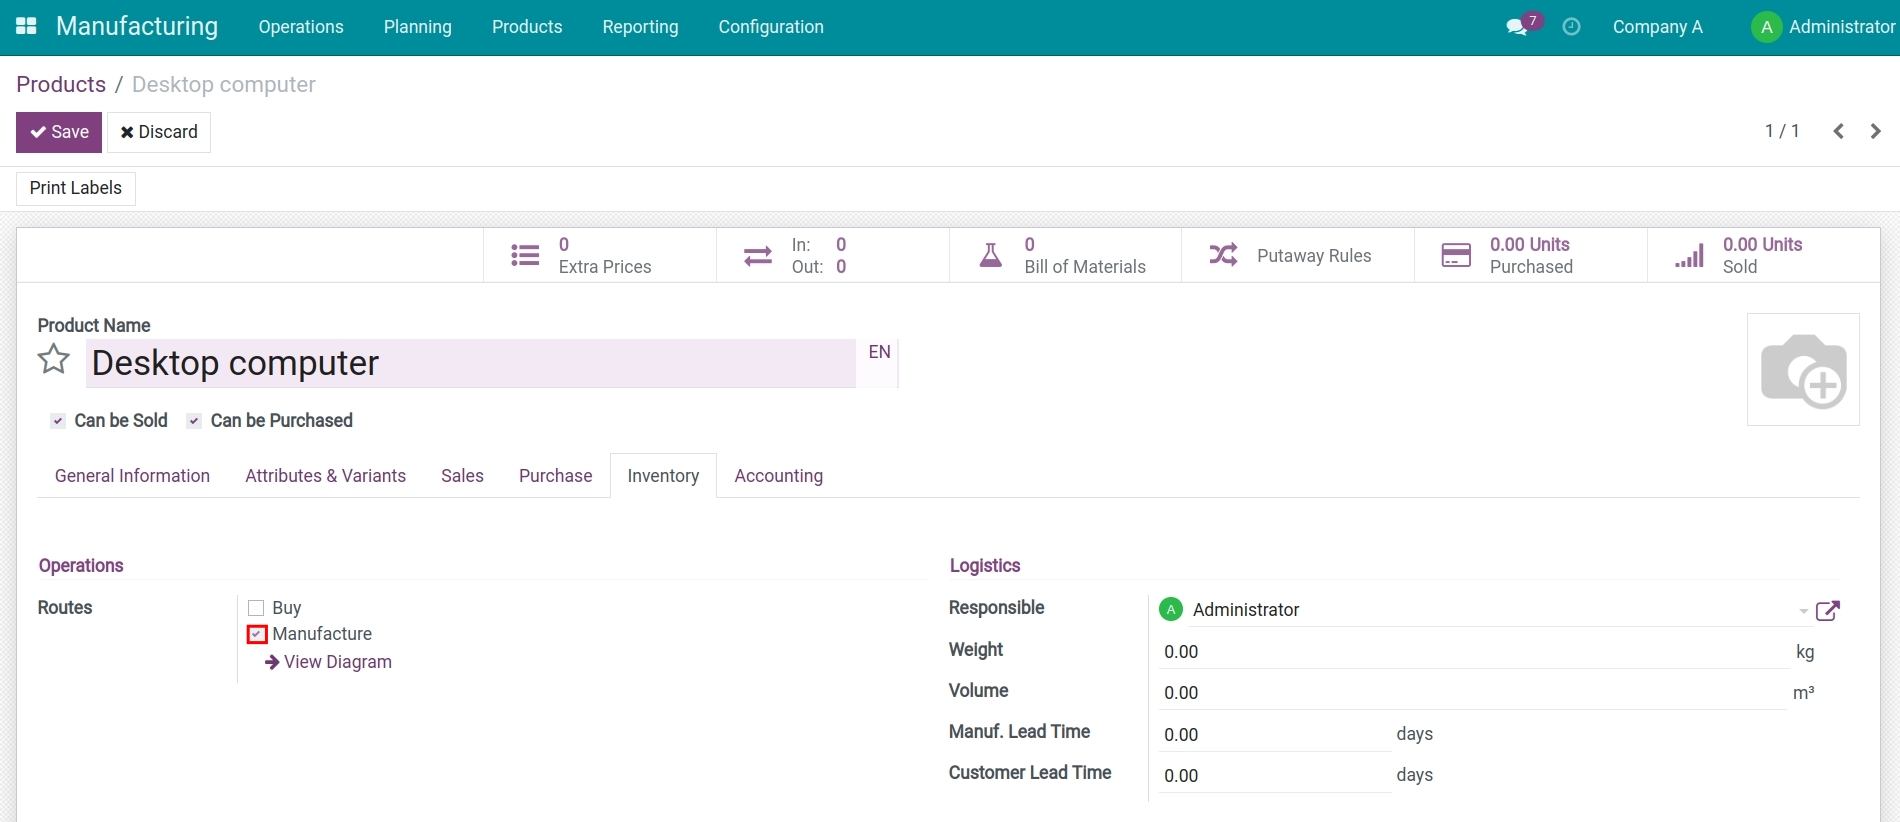
Routes: enable the Manufacture route.
Then press Save to record the configuration.
Configure components of the product
You can create components for the product kit following instruction in the Step to create a new product article.
Configure BoM Kit
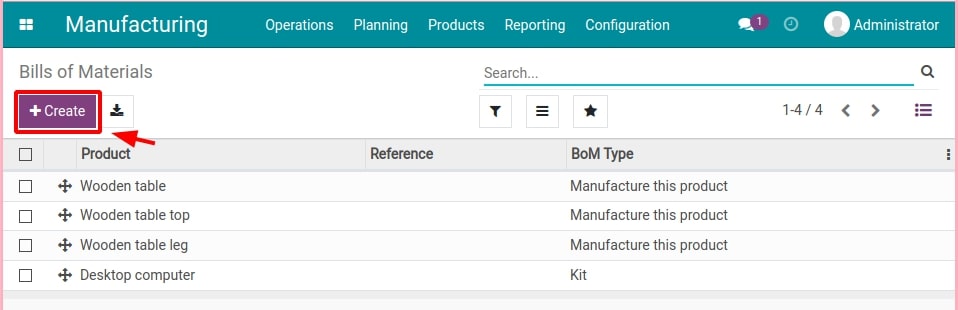
Navigate to Manufacturing > Products > Bill of Materials, and select Create to create a new Bill of Materials.
From here, you can configure all the information related to the BoM:
Product: select the created product in the previous step, which will be managed as a kit;
Quantity: the quantity of the mentioned product;
BoM Type: select Kit;
Components Tab: press Add a line to add the components to your BoM Kit;
Component: add products that will be parts of the BoM Kit;
Quantity: components quantity.
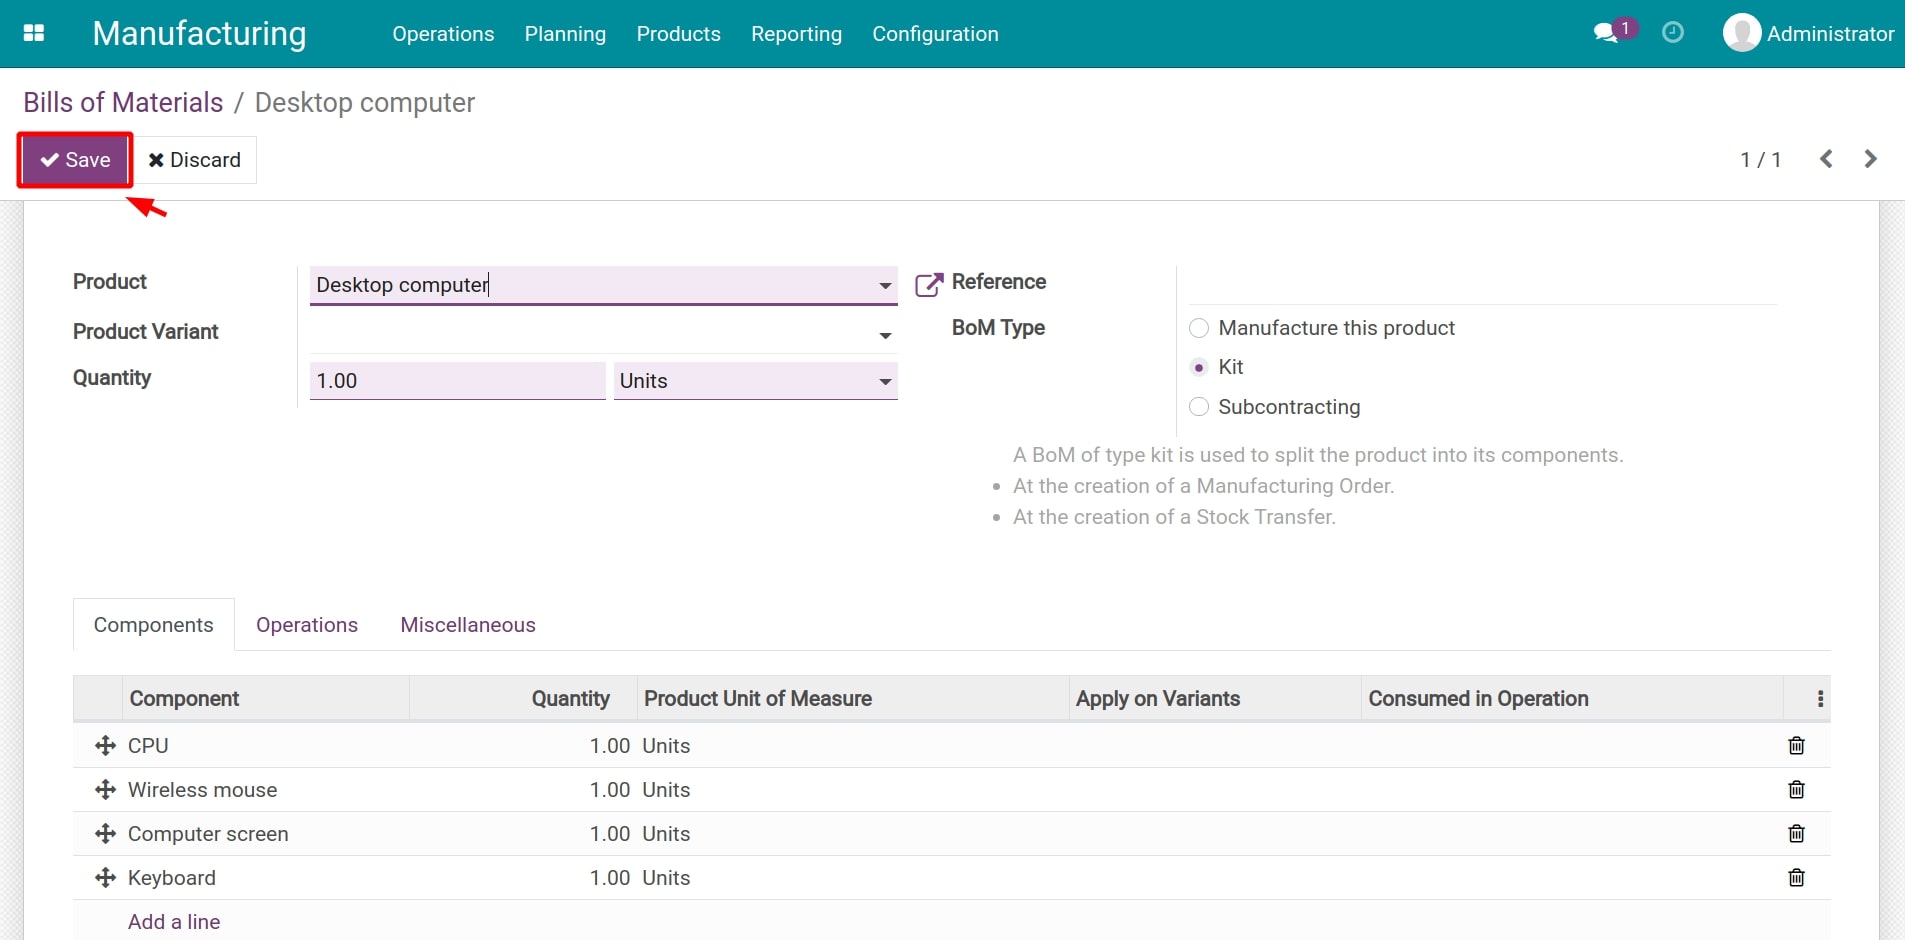
Use the default settings for the rest of the configuration then press Save to finish the BoM creation.
Selling product kit
Navigate to Sales > Orders > Quotations to create a new :doc:` sales order </applications/sales/sales/send-quotations/how-to-create-sales-quotation-and-sales-order>` for the product kit:
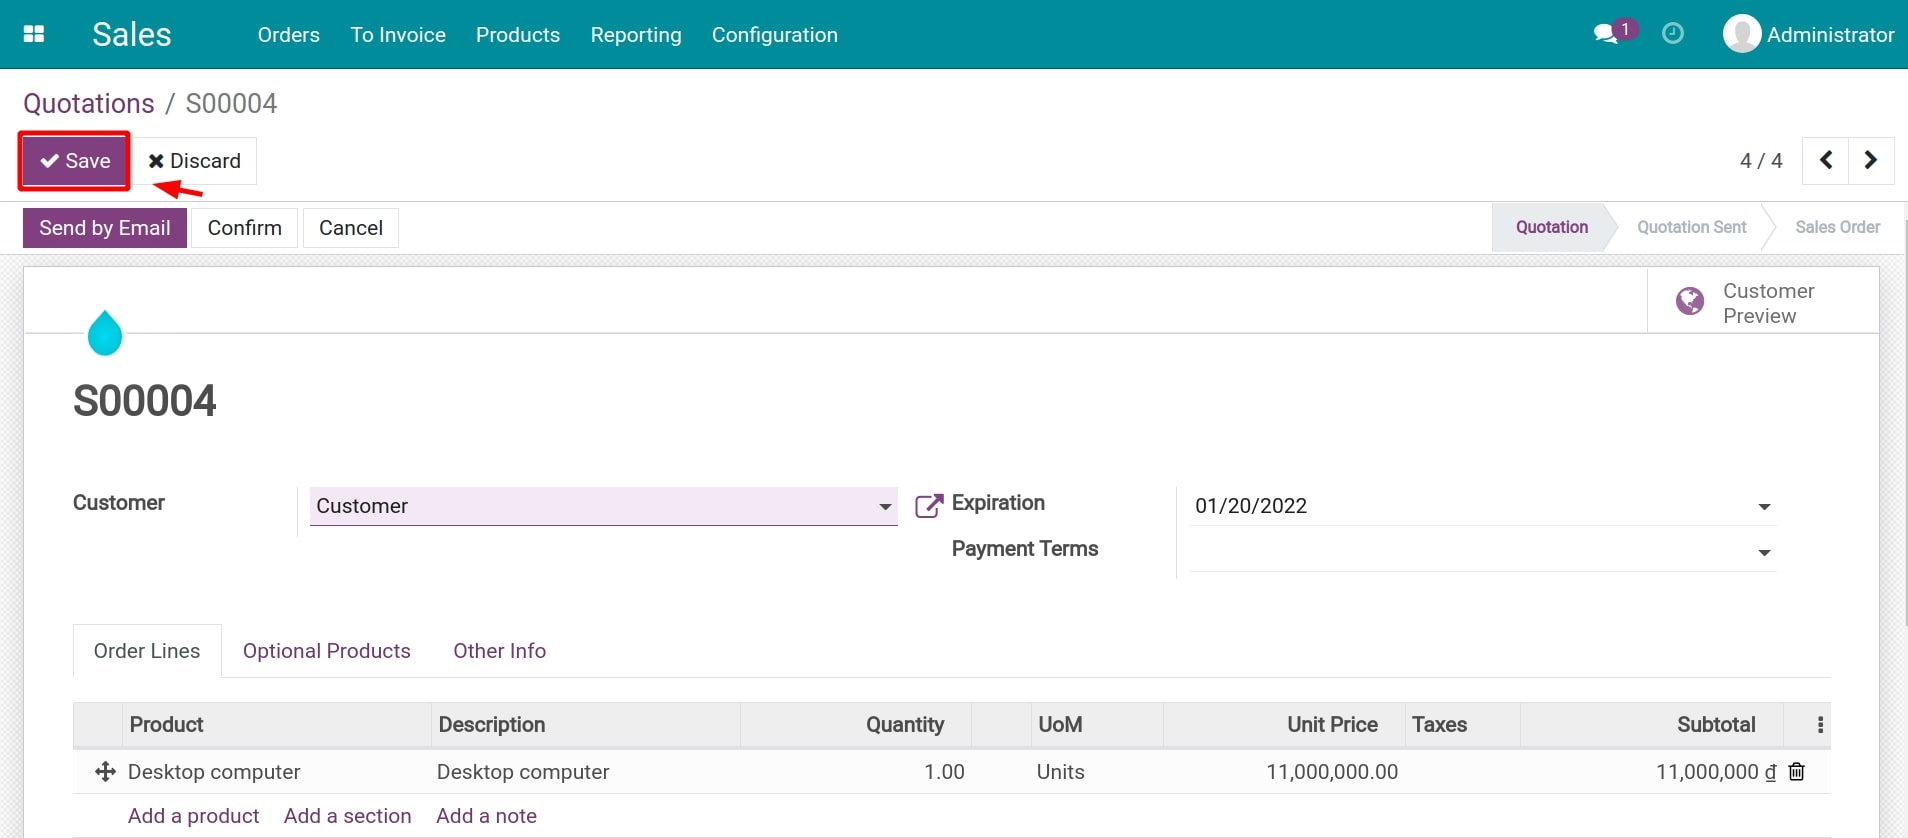
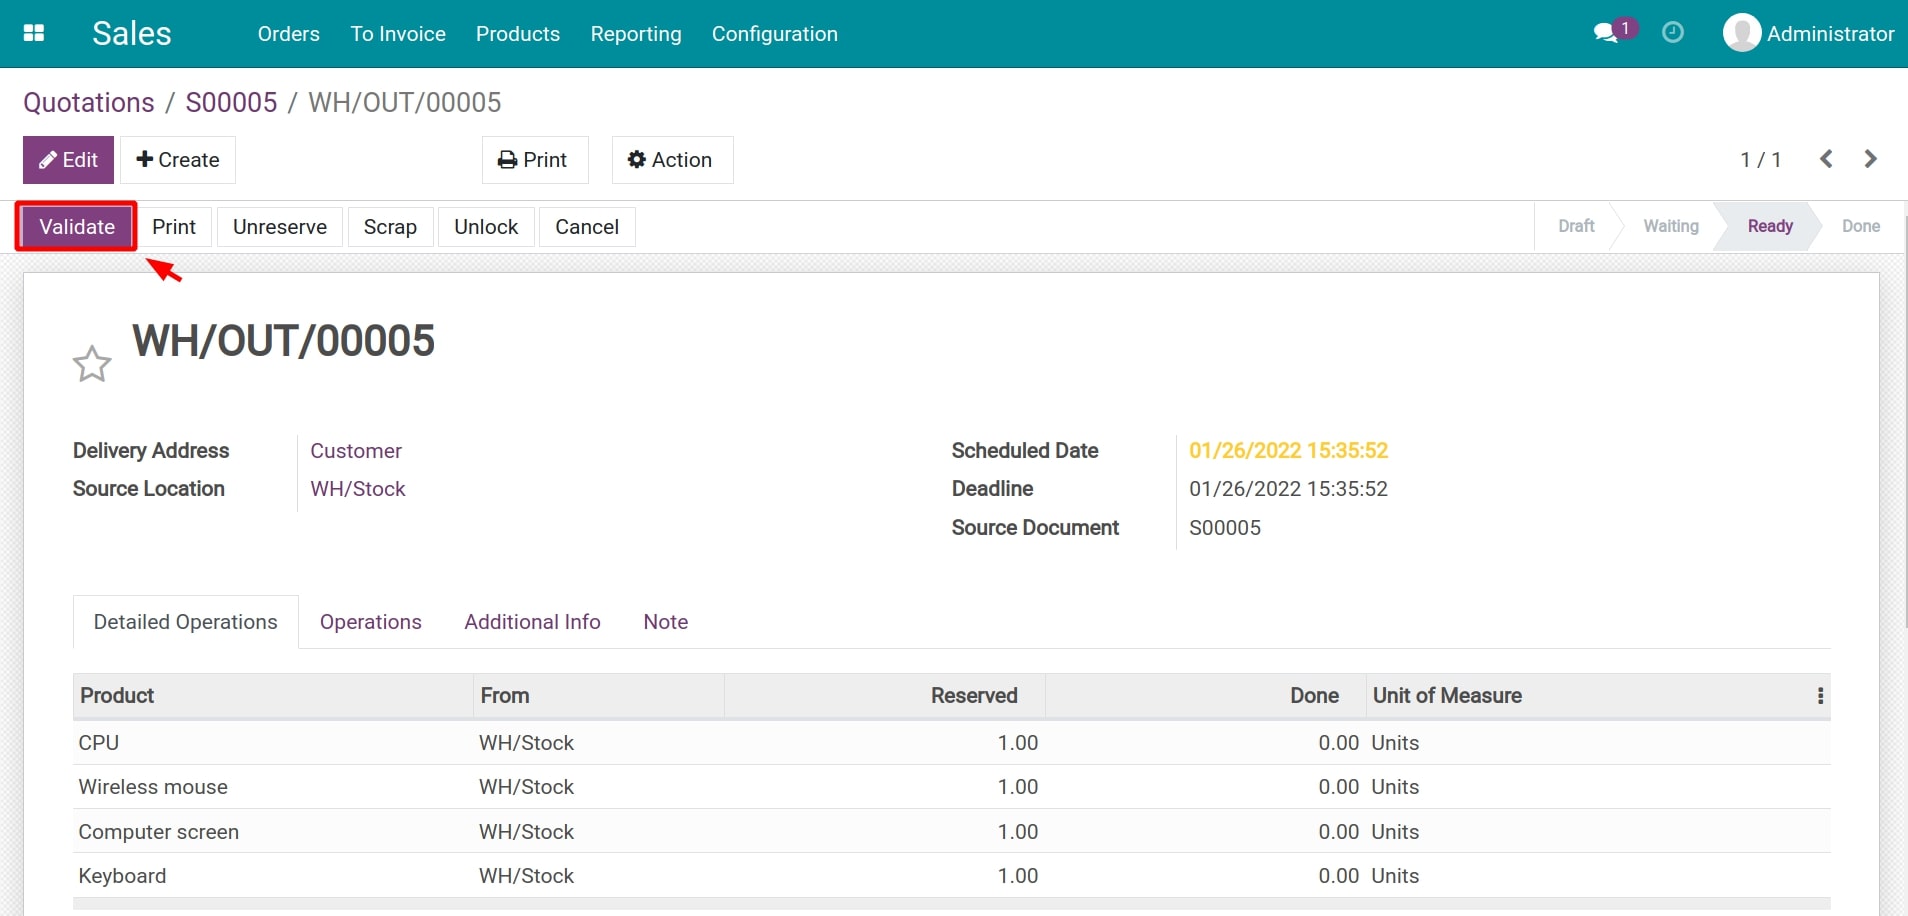
Once the sales order is confirmed, a delivery slip is generated and displayed on the top right corner of the sales order.
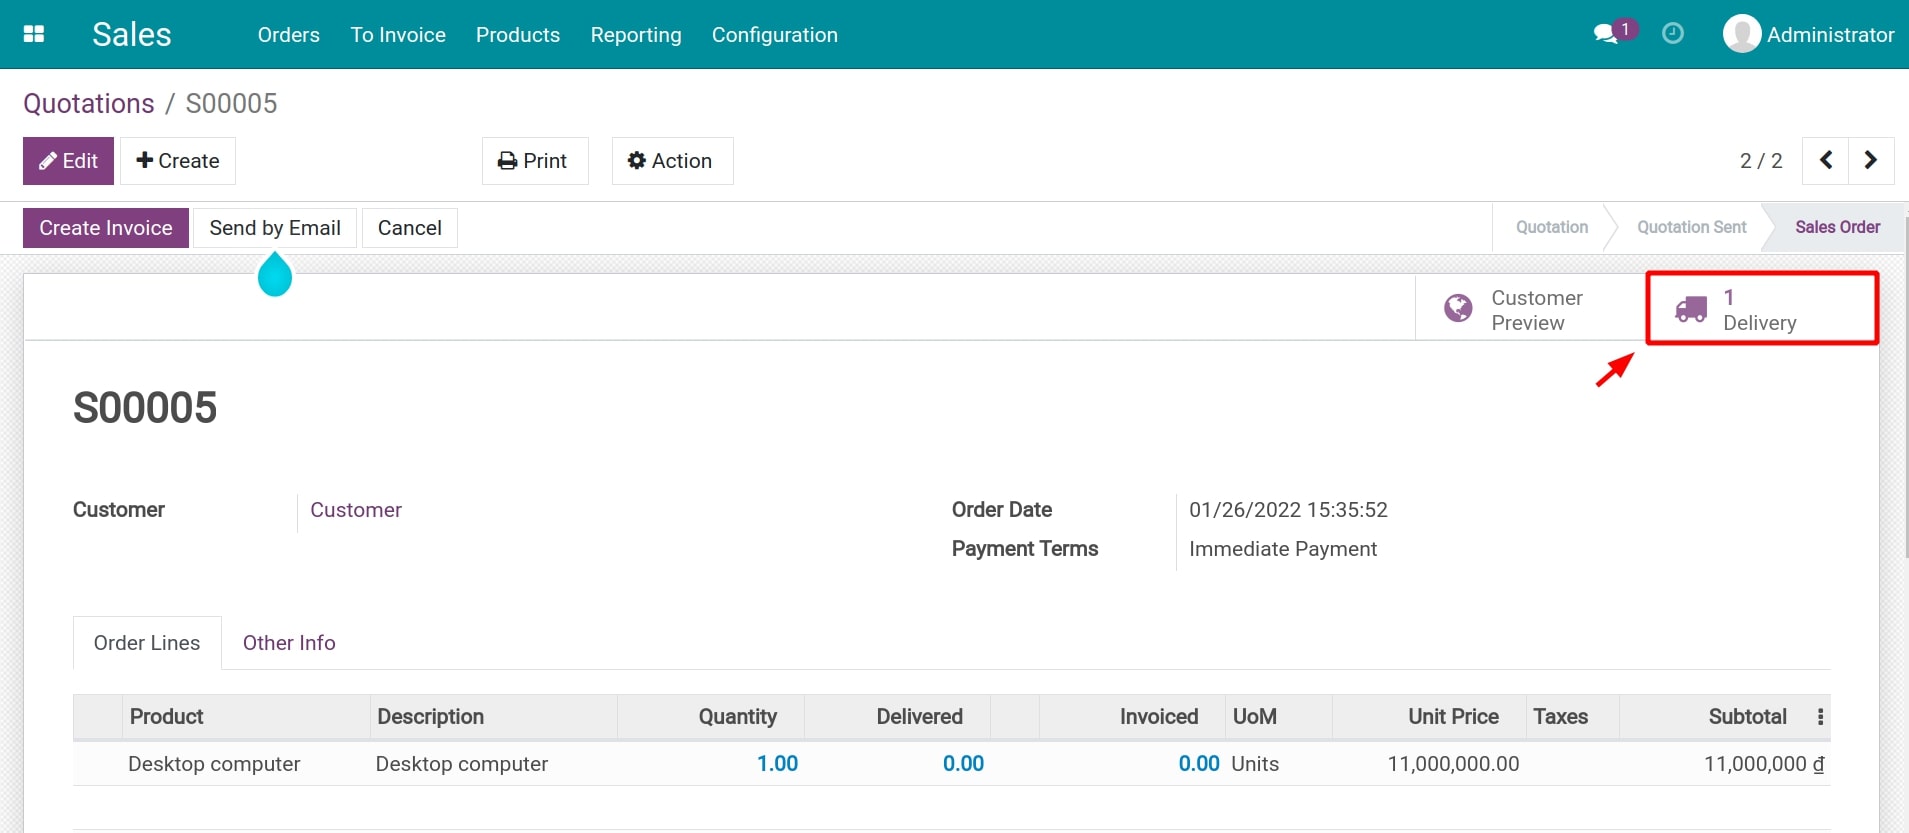
On this delivery slip, you can see the components along with the respective quantities as configured previously on the BoM.
See also
Related article
Optional module