How to create and design a new webpage on Website
Requirements
This tutorial requires the installation of the following applications/modules:
Create a new webpage
To create a new web page for website, navigate to Website > Go to website and do the following:
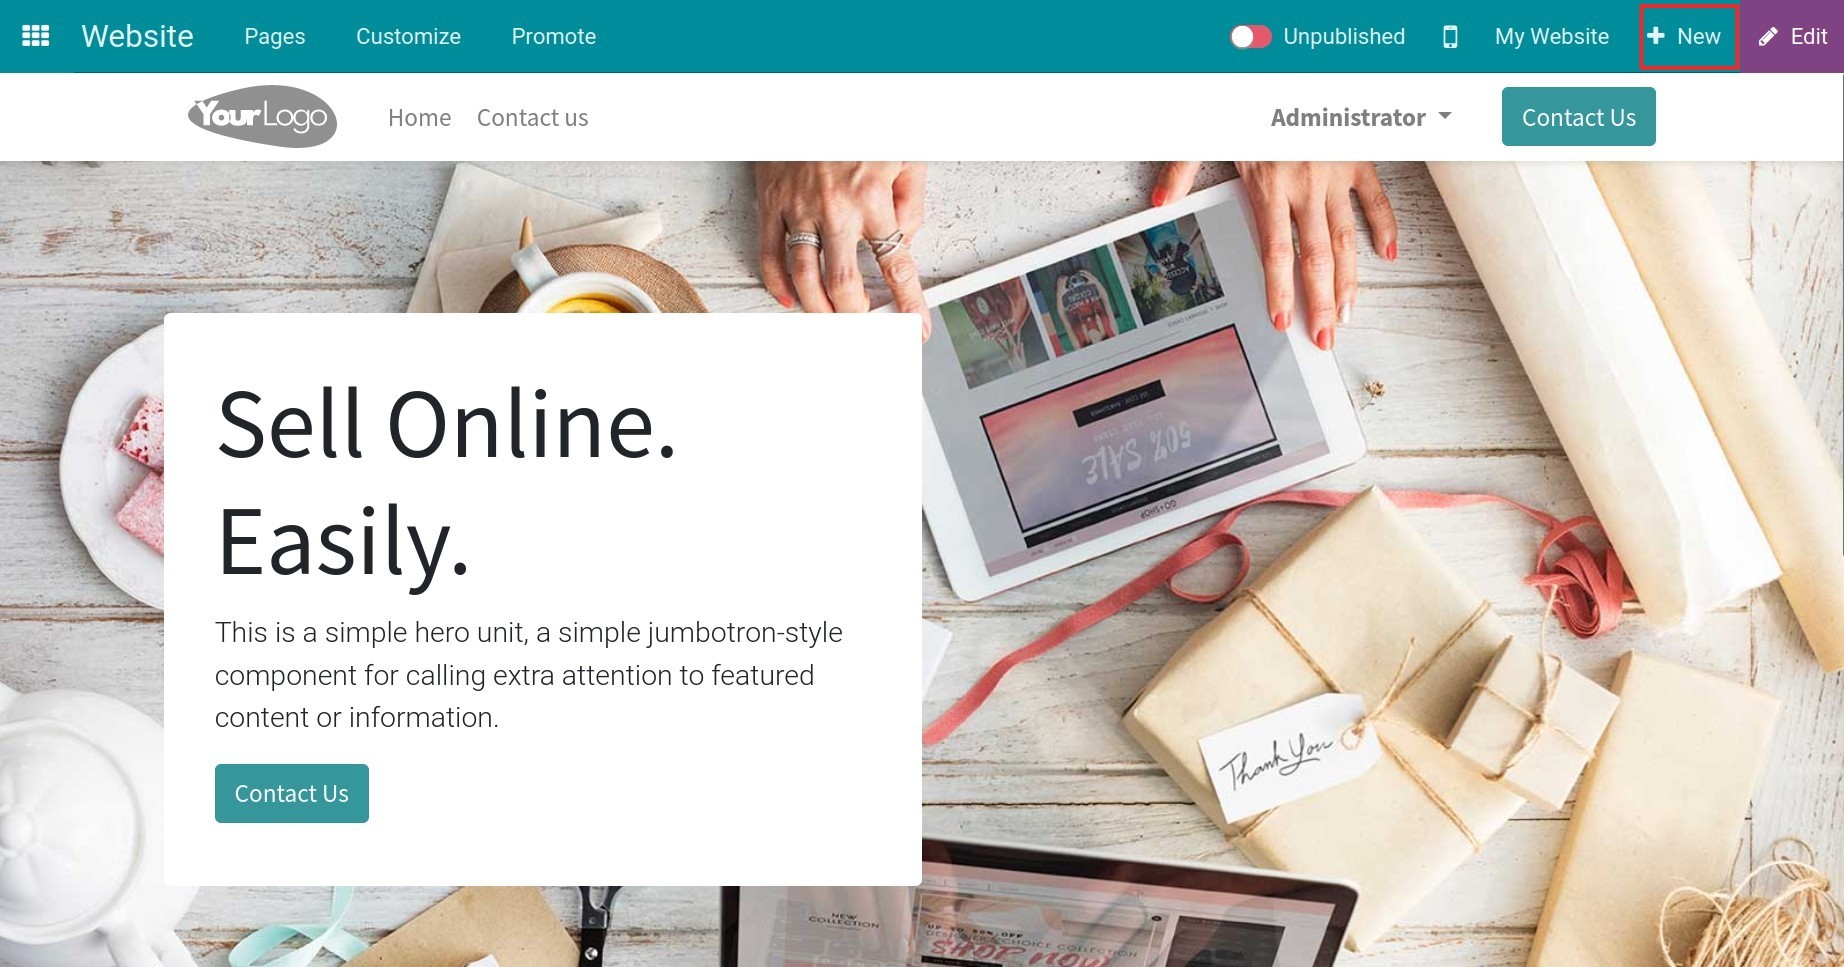
Step 1: In the website design view, click + New.
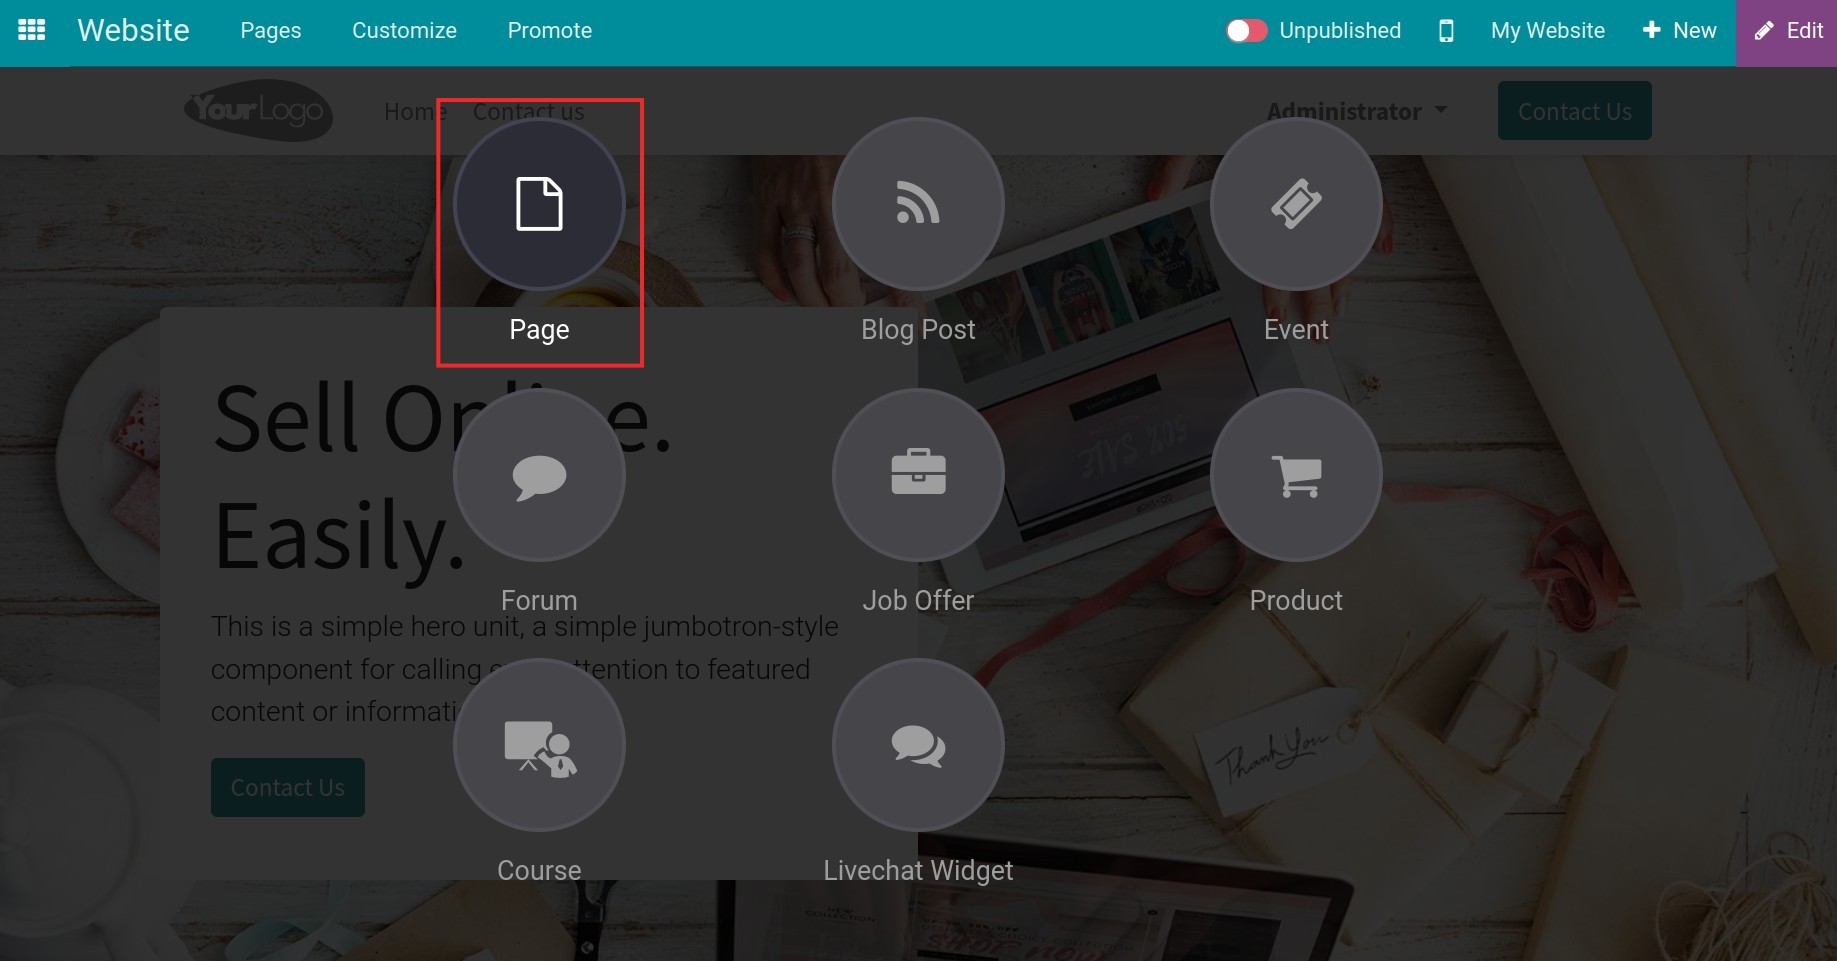
Step 2: Select Page option.
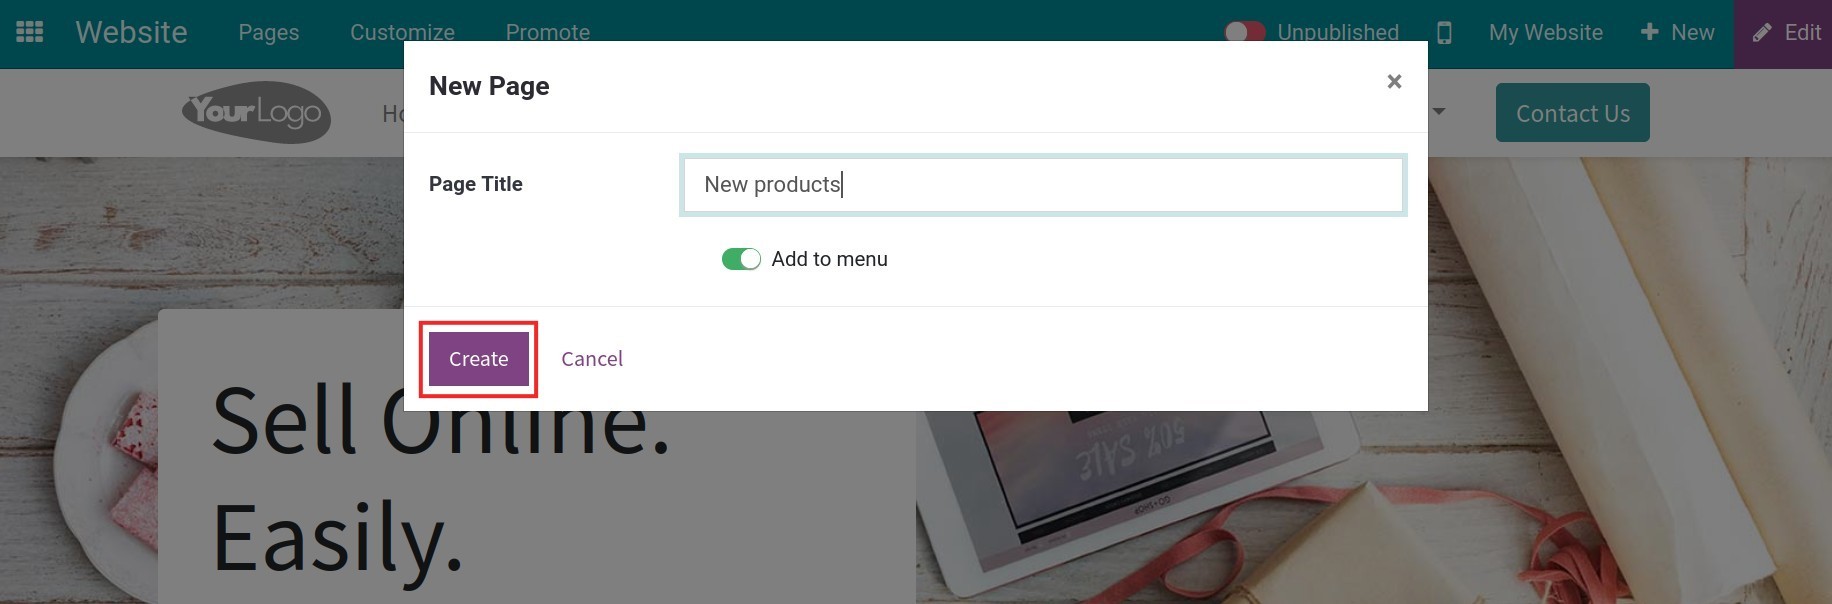
Step 3:
Fill in the information in the New Page pop-up as follow:
Page Title: Enter a page name. The page name will be displayed in the browser’s tab.
Note
Page Title is included in the URL of the page.
Add to menu: Enable this feature if you want the pages to be shown up in the menu bar.
Click on the Create button to confirm creating the page.
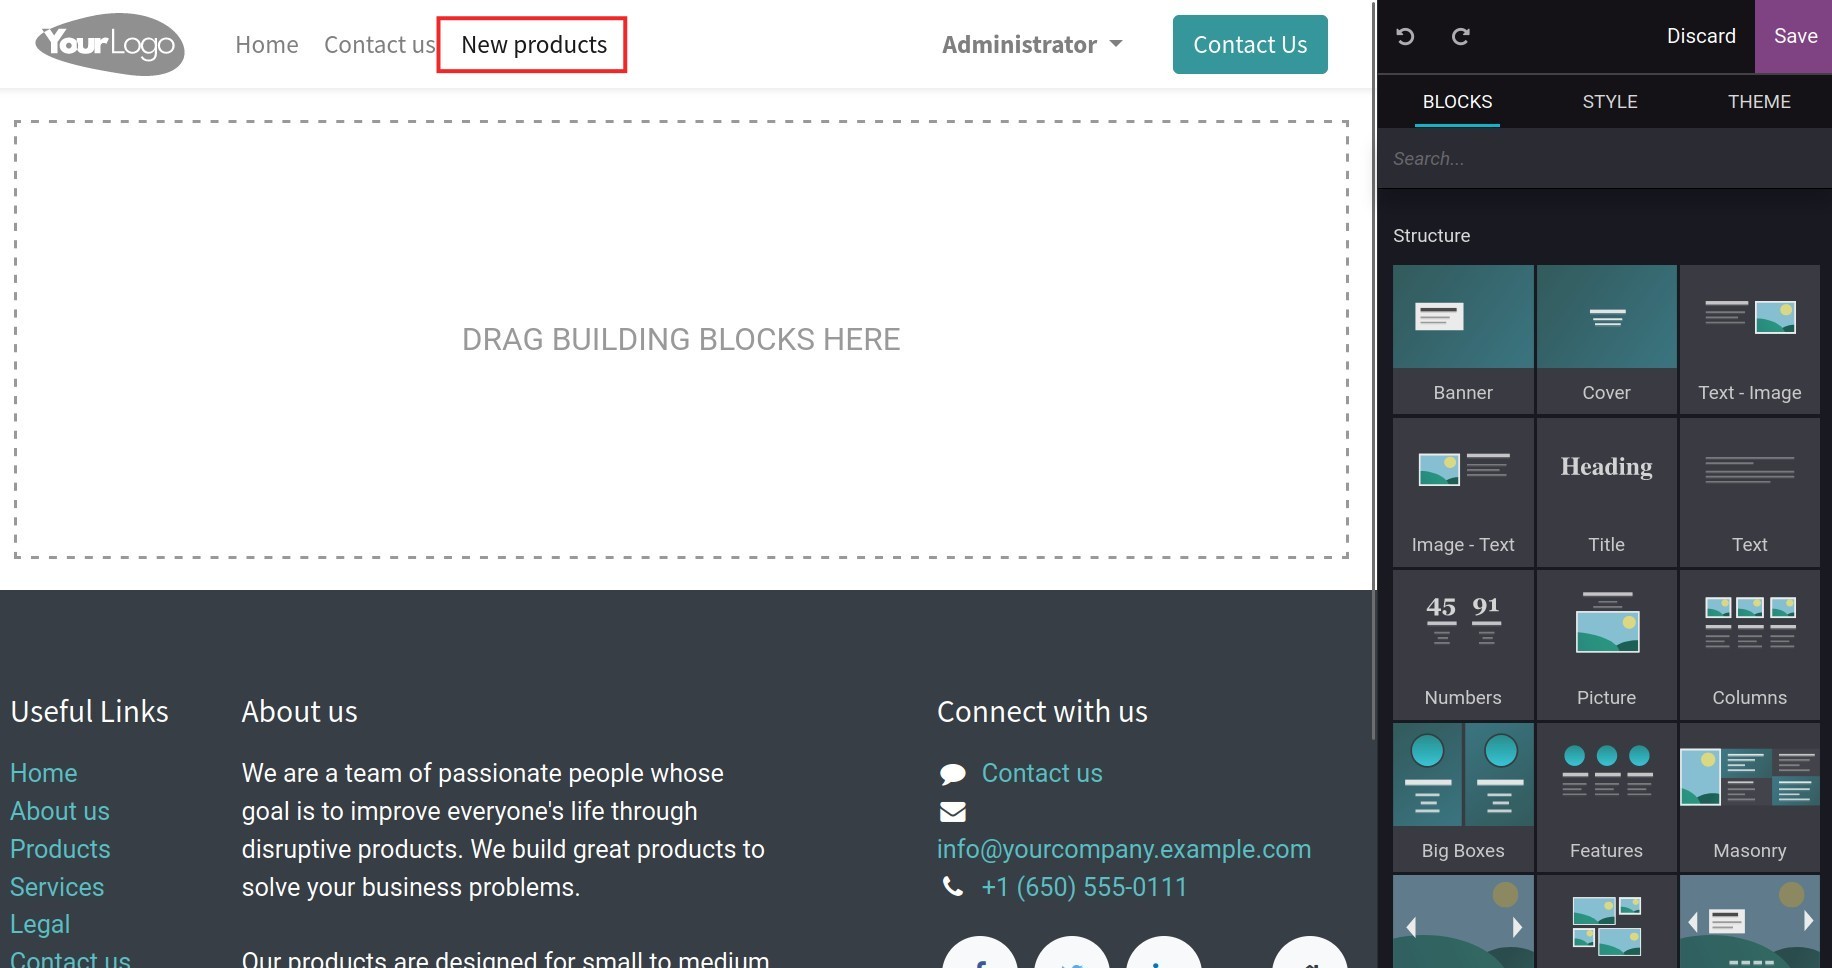
After clicking Create, the created page will be displayed on the menu bar if you enable Add to menu.
You can create and manage multi websites and setup multi-language for your website.
Create contents on the pages
Build content blocks
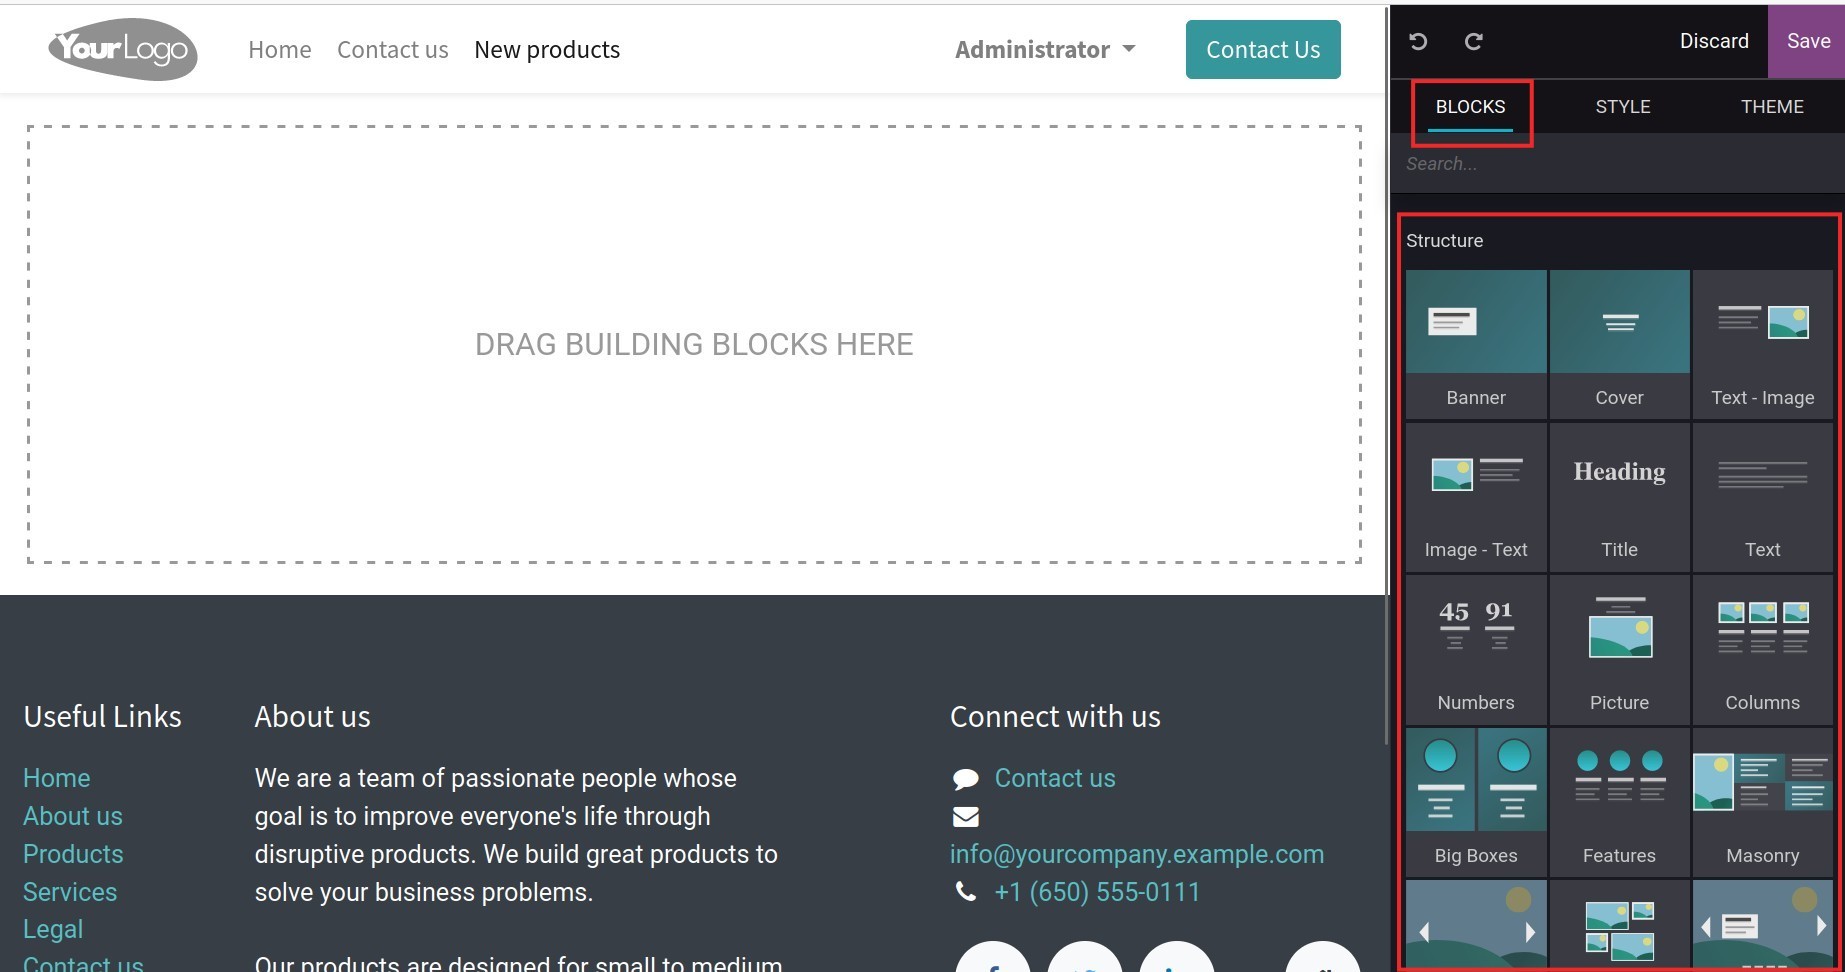
After creating the pages, users can see the existing content blocks on the website’s tools bar and use them to build and design the pages.
Tip
You can use the Search block to assist webpage visitors in searching for information on the entire website.
Drag and drop the blocks
To drag and drop the blocks, follow these steps:
In the BLOCK tab, select the block structure that matches the content you want to create.
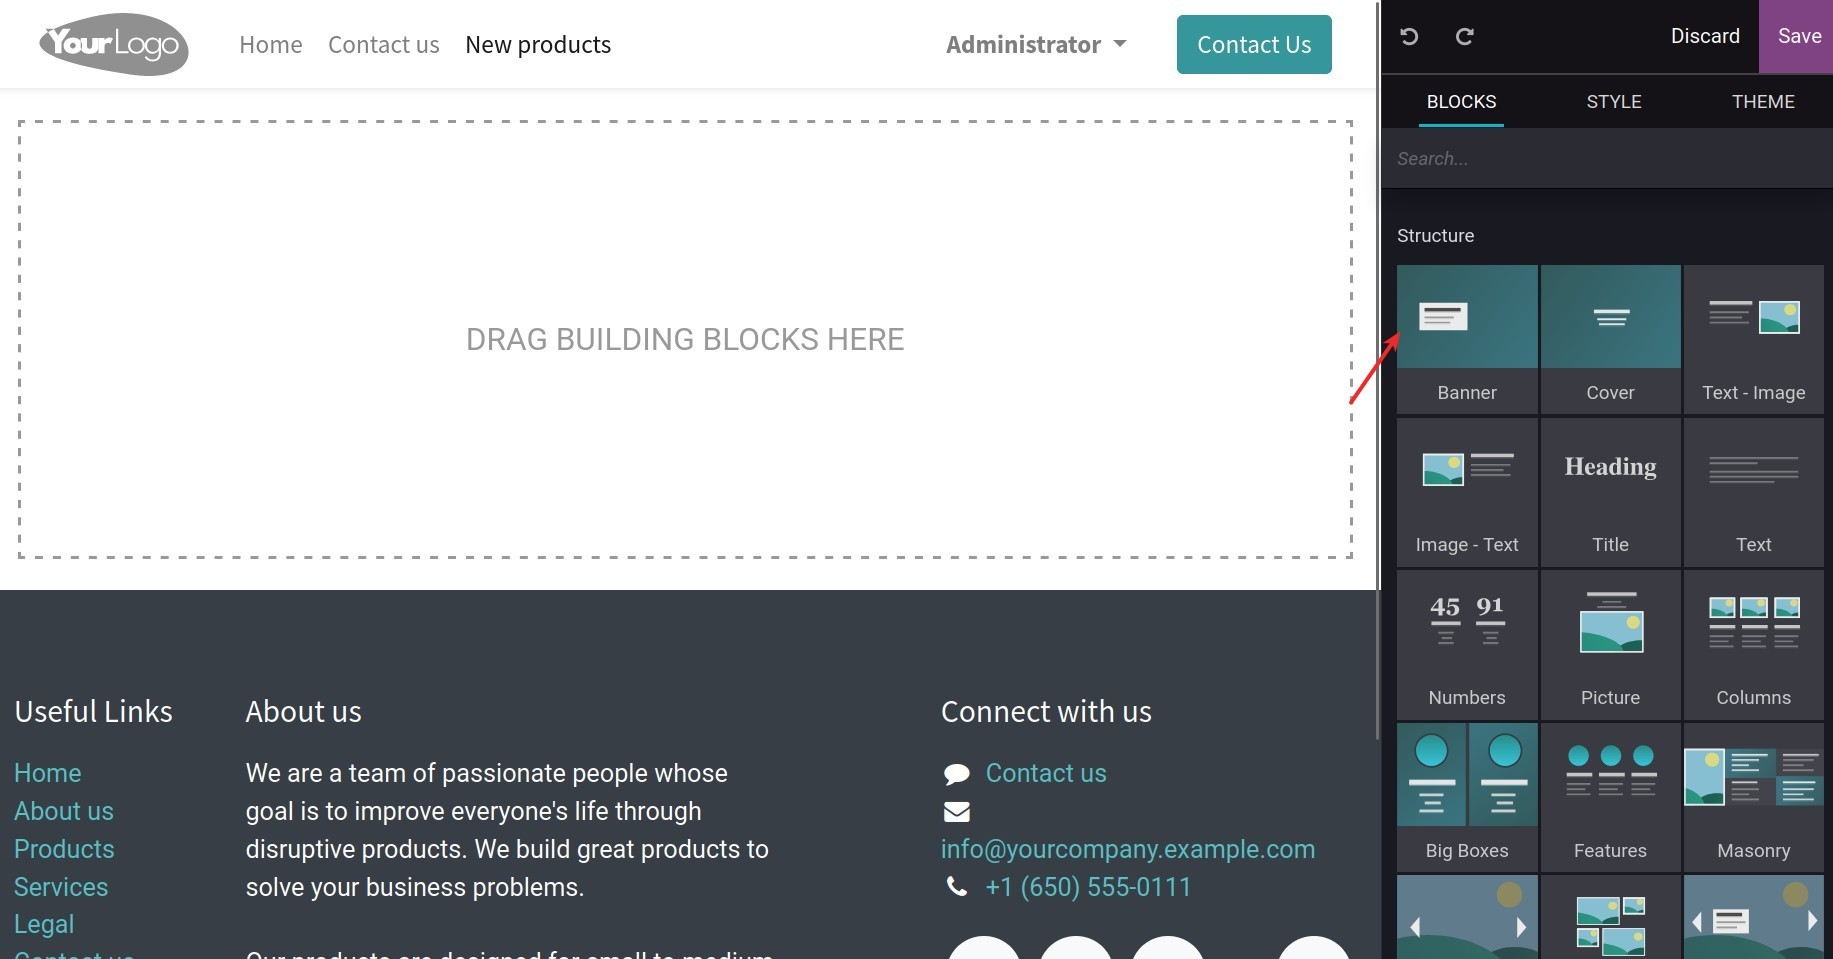
Hold the mouse button to drag the selected blocks to the page.
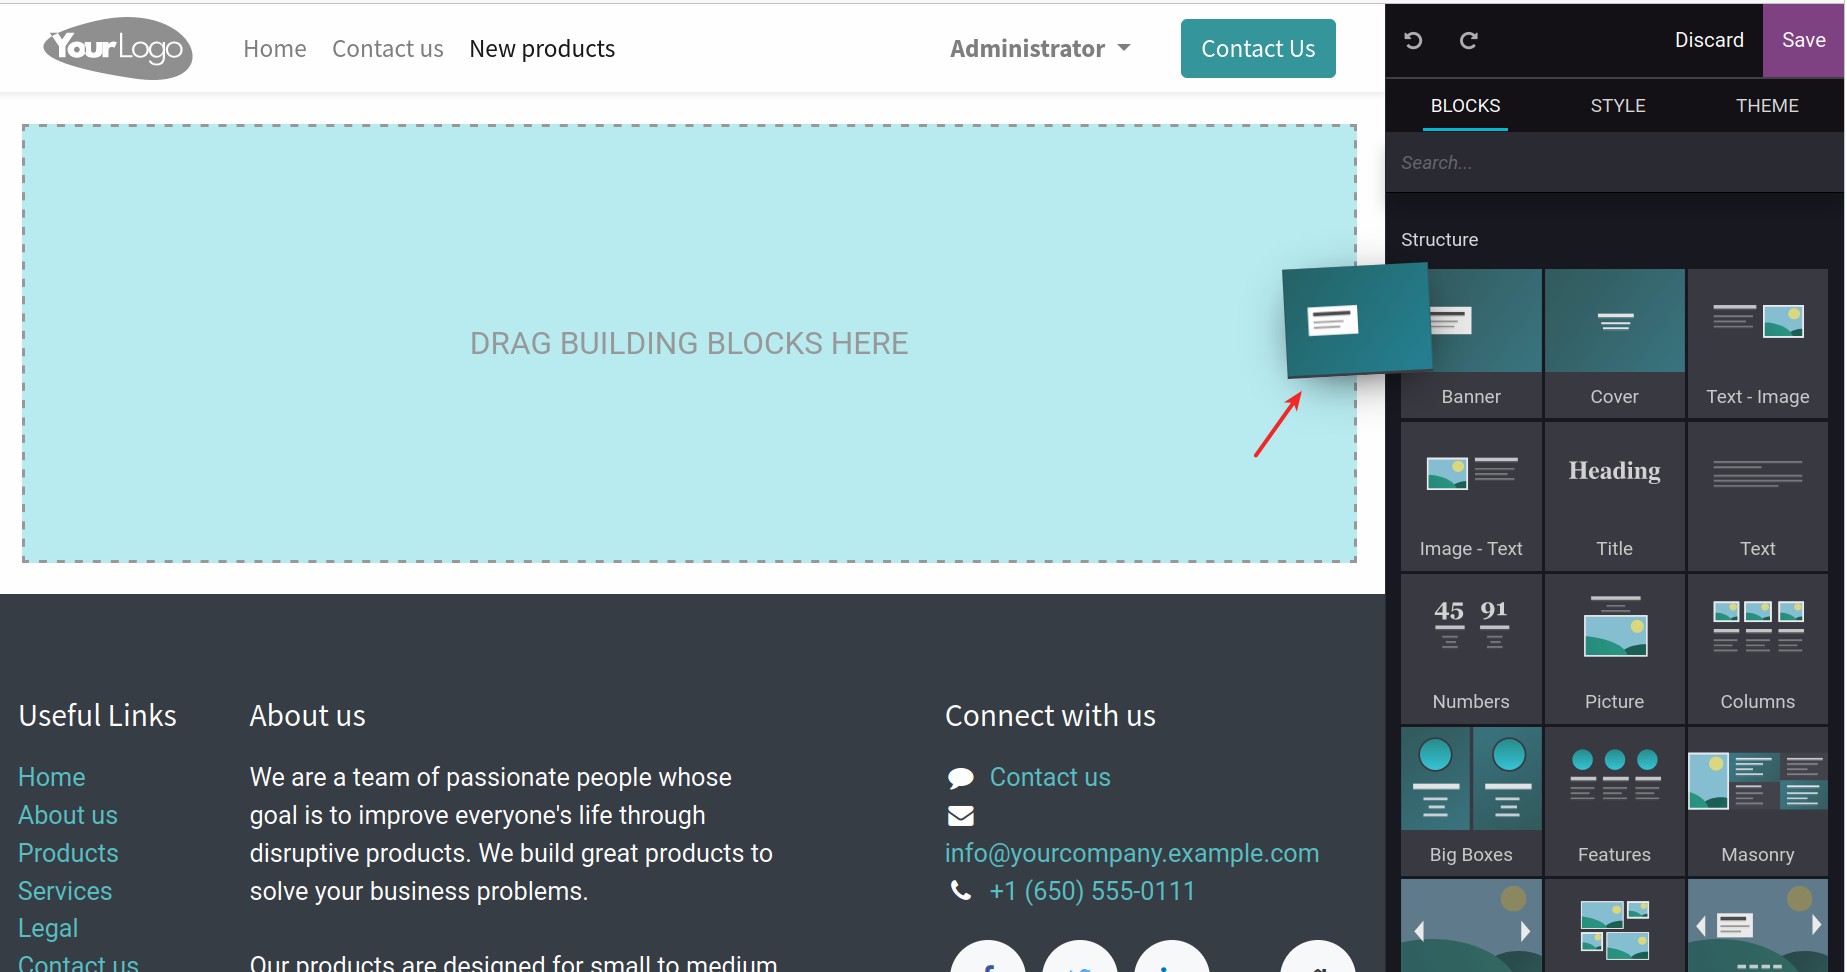
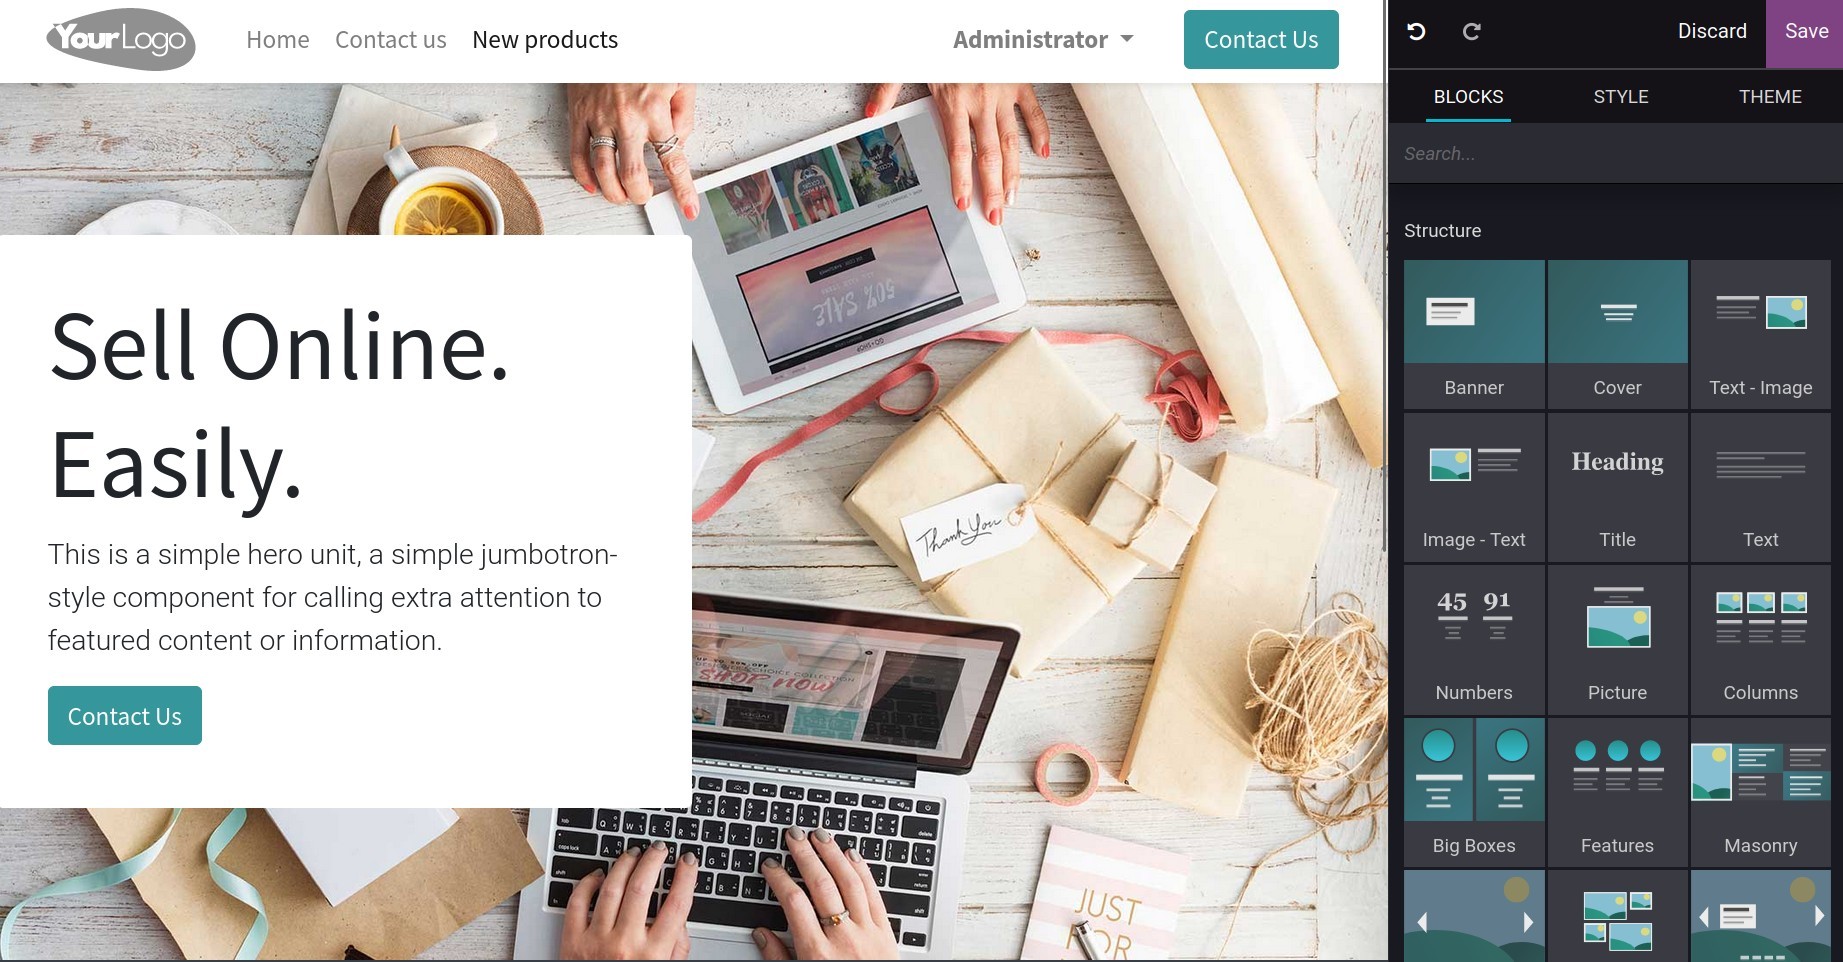
Release the mouse button to finish adding blocks to the page.
Tip
Use the search bar under the BLOCKS tab to find the blocks faster.
Blocks operation
In addition to the dragging and dropping, users could move, resize, remove and duplicate the blocks.
For any action, remember to select the blocks that need to be edited at first.
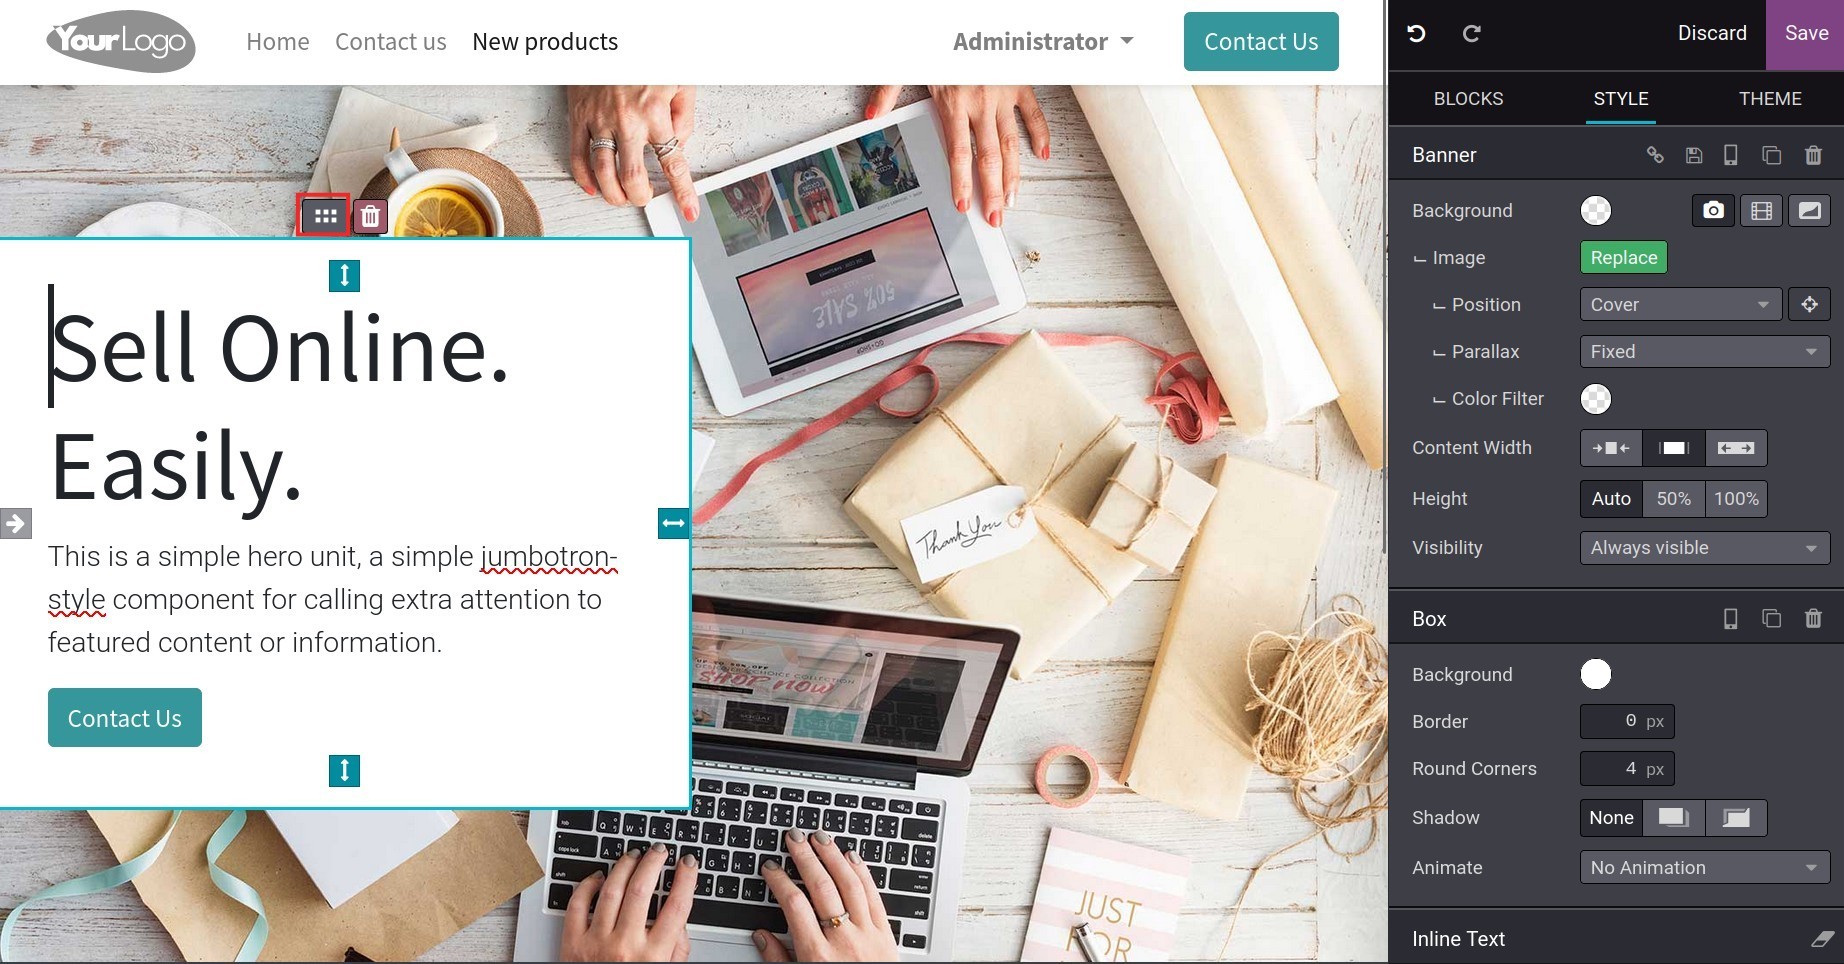
Move: by one of the following two buttons:
Click and hold this button to move the block.
![Move blocks]()
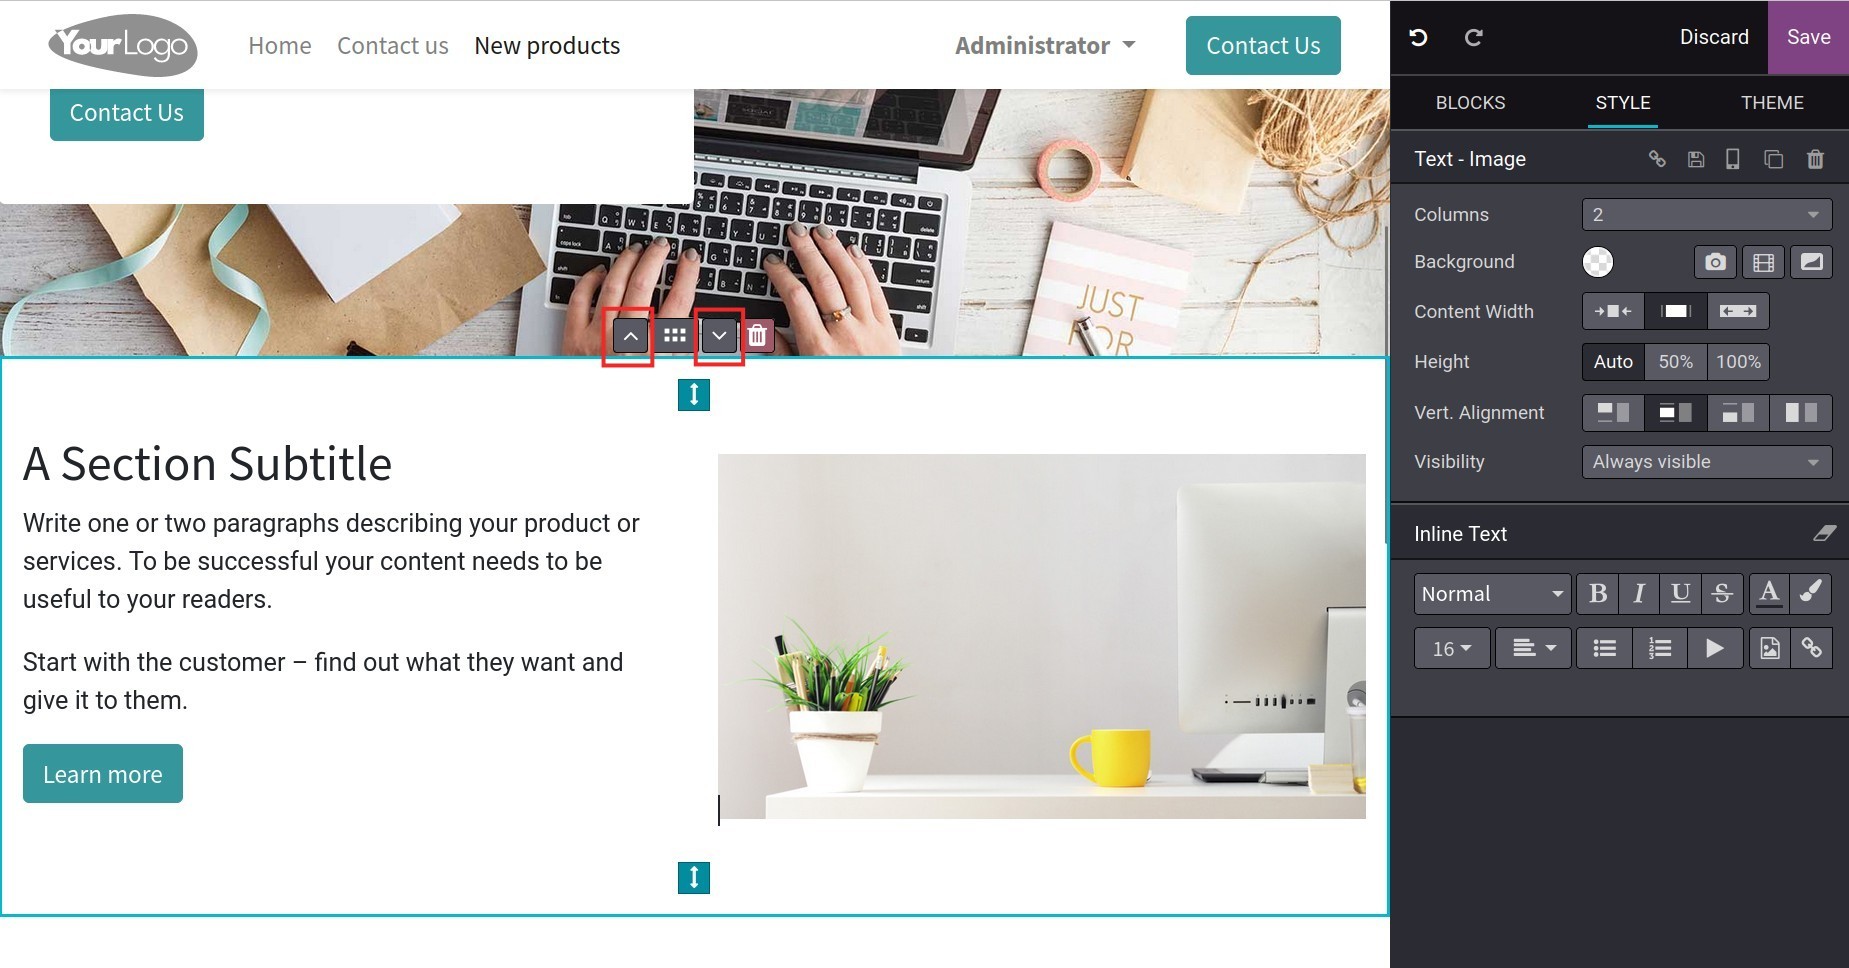
Move the block by clicking the arrow buttons.
![Move blocks in the arrow buttons' direction]()
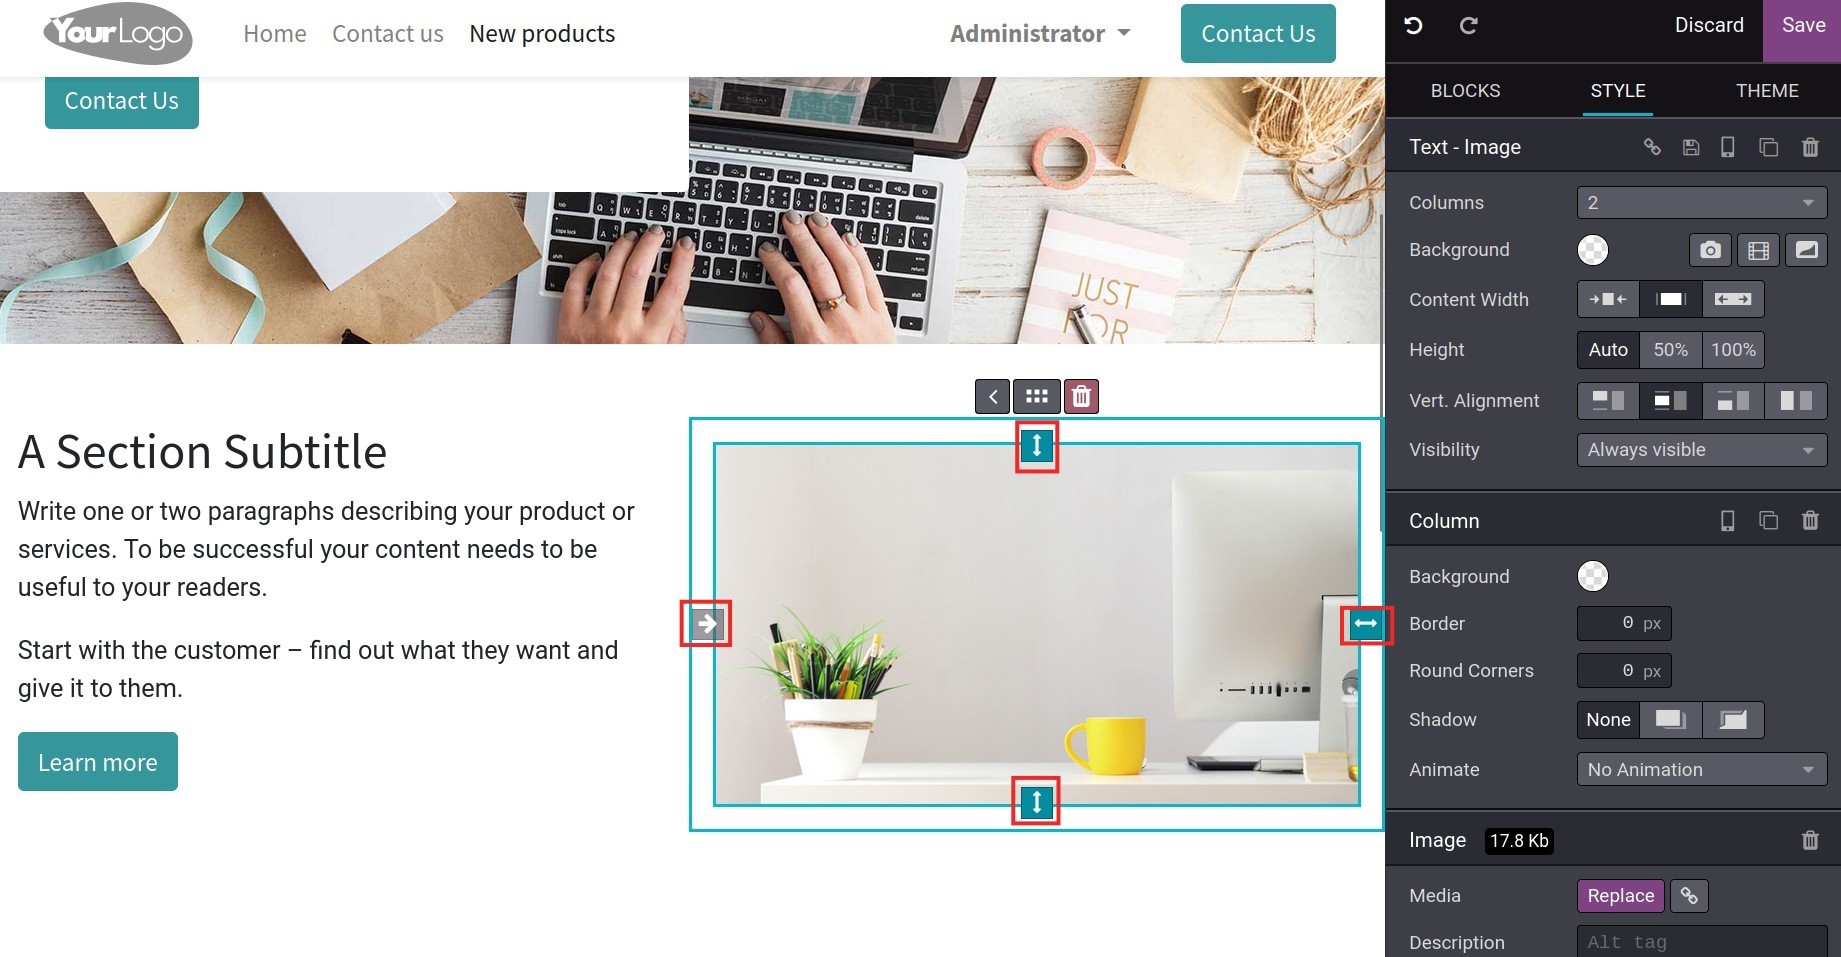
Resize by using these 4 buttons:
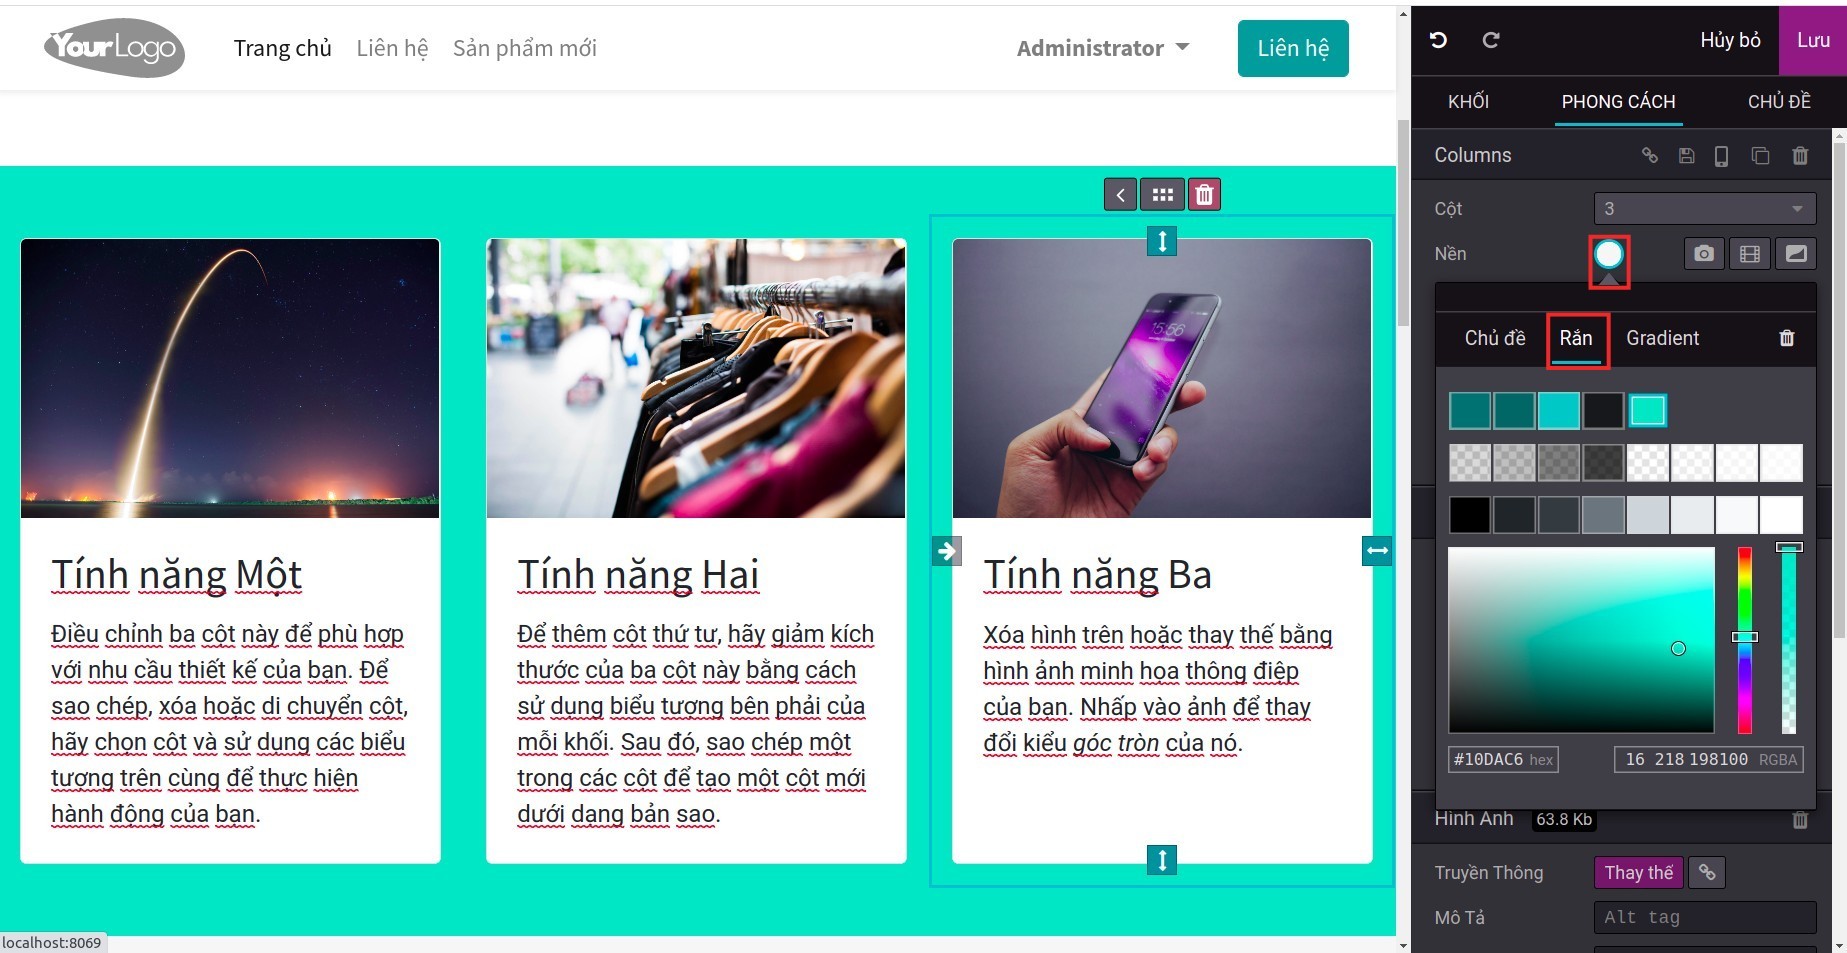
Change the background color:
Choose another color.
![Choose another color]()
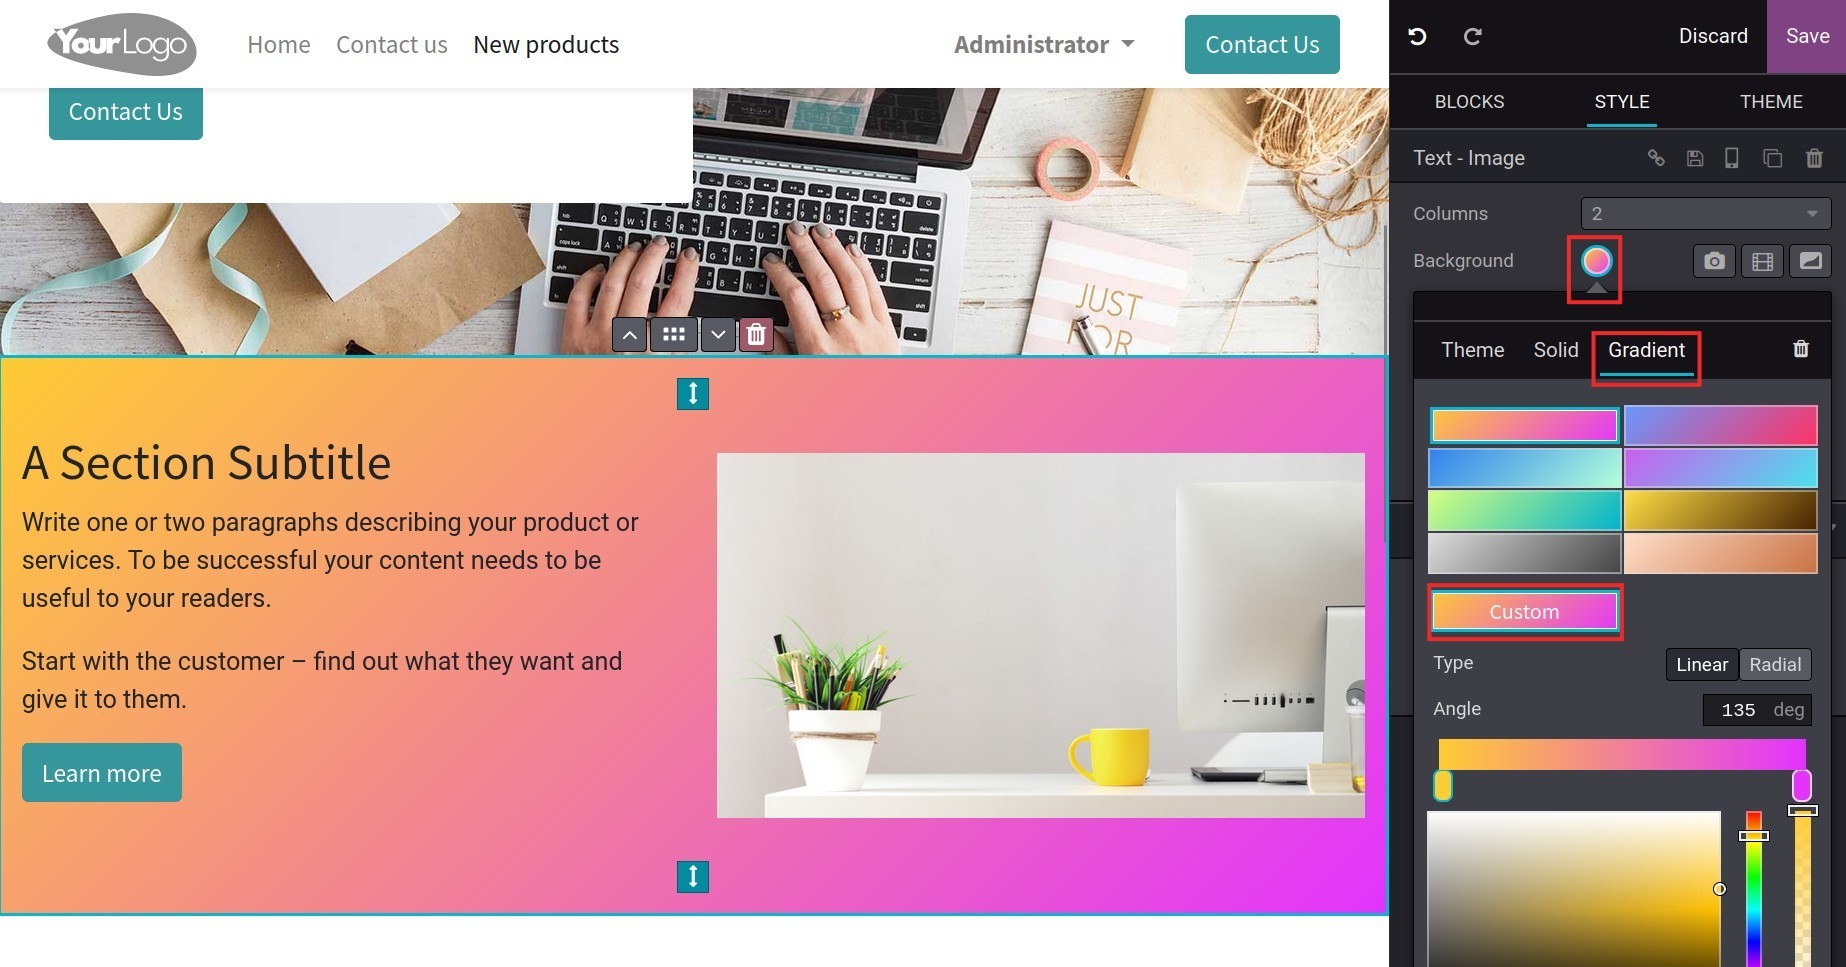
Choose gradient color: choose an available gradient color or click on the Custom button to build another gradient color.
![Choose gradient color]()
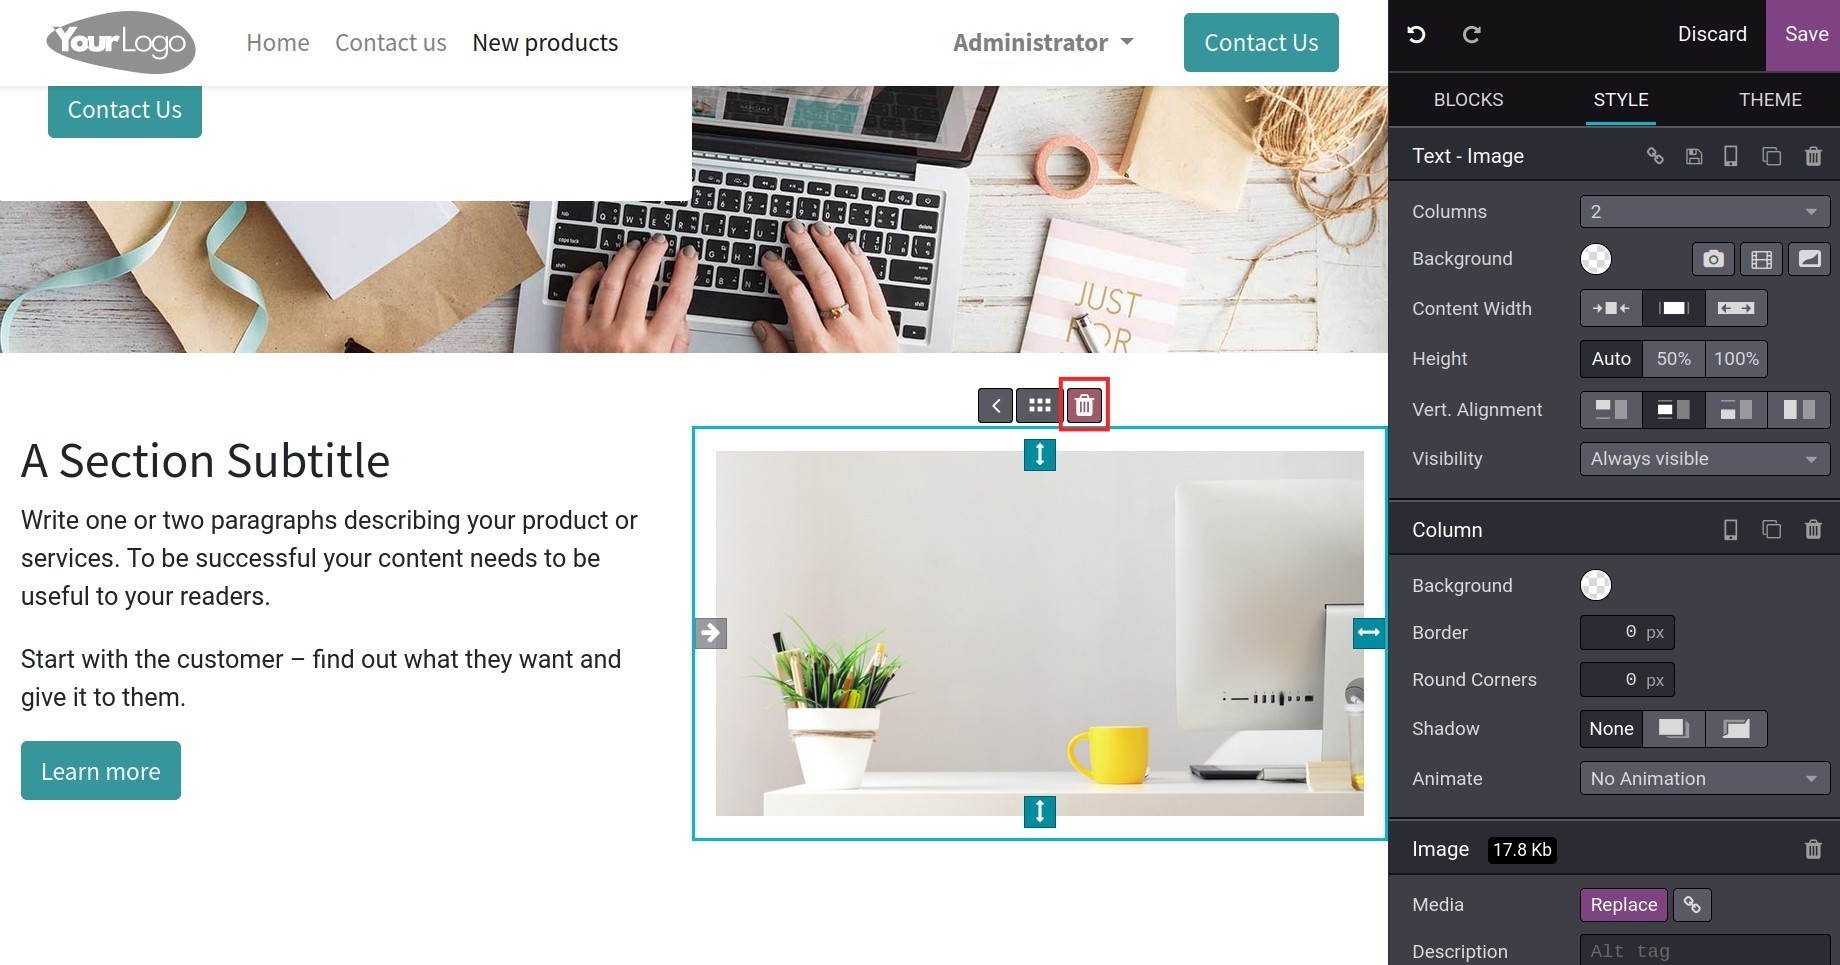
Remove:
Duplicate Container: Choose one of two buttons:
The Duplicate Container button on the Columns section is to duplicate all the columns on the added blocks.
The Duplicate Container button on the Column section is to duplicate only the selected column.
![Duplicate blocks]()
Click on the mobile device icon to display/hide this block from the phone interface. This helps to display necessary information on your website with a reasonable layout regardless of the device.
![Mobile device icon]()


Edit content
Edit text
Edit text on the designed blocks by clicking on that text content and using the editing toolkit on the STYLE tab.
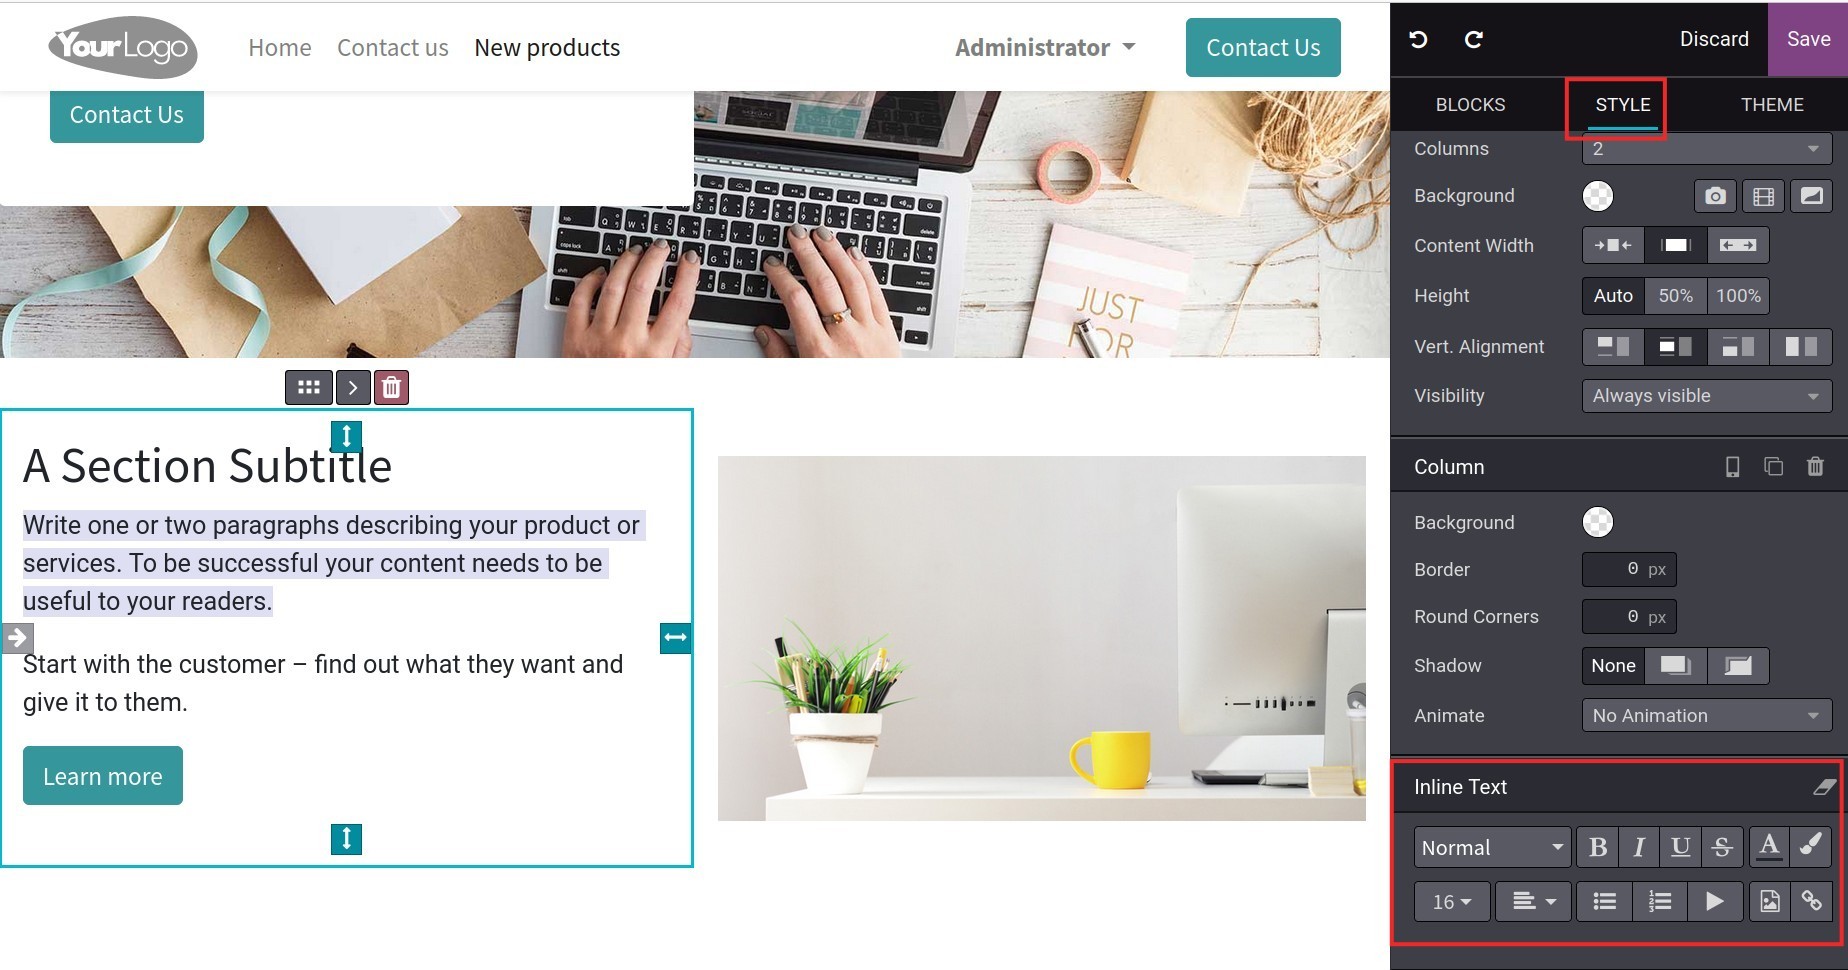
Users need to select the text that they want to edit and then select the option for editing the text properties.
Colors:
Text color: Change the color of the text.
![Edit the color of text]()
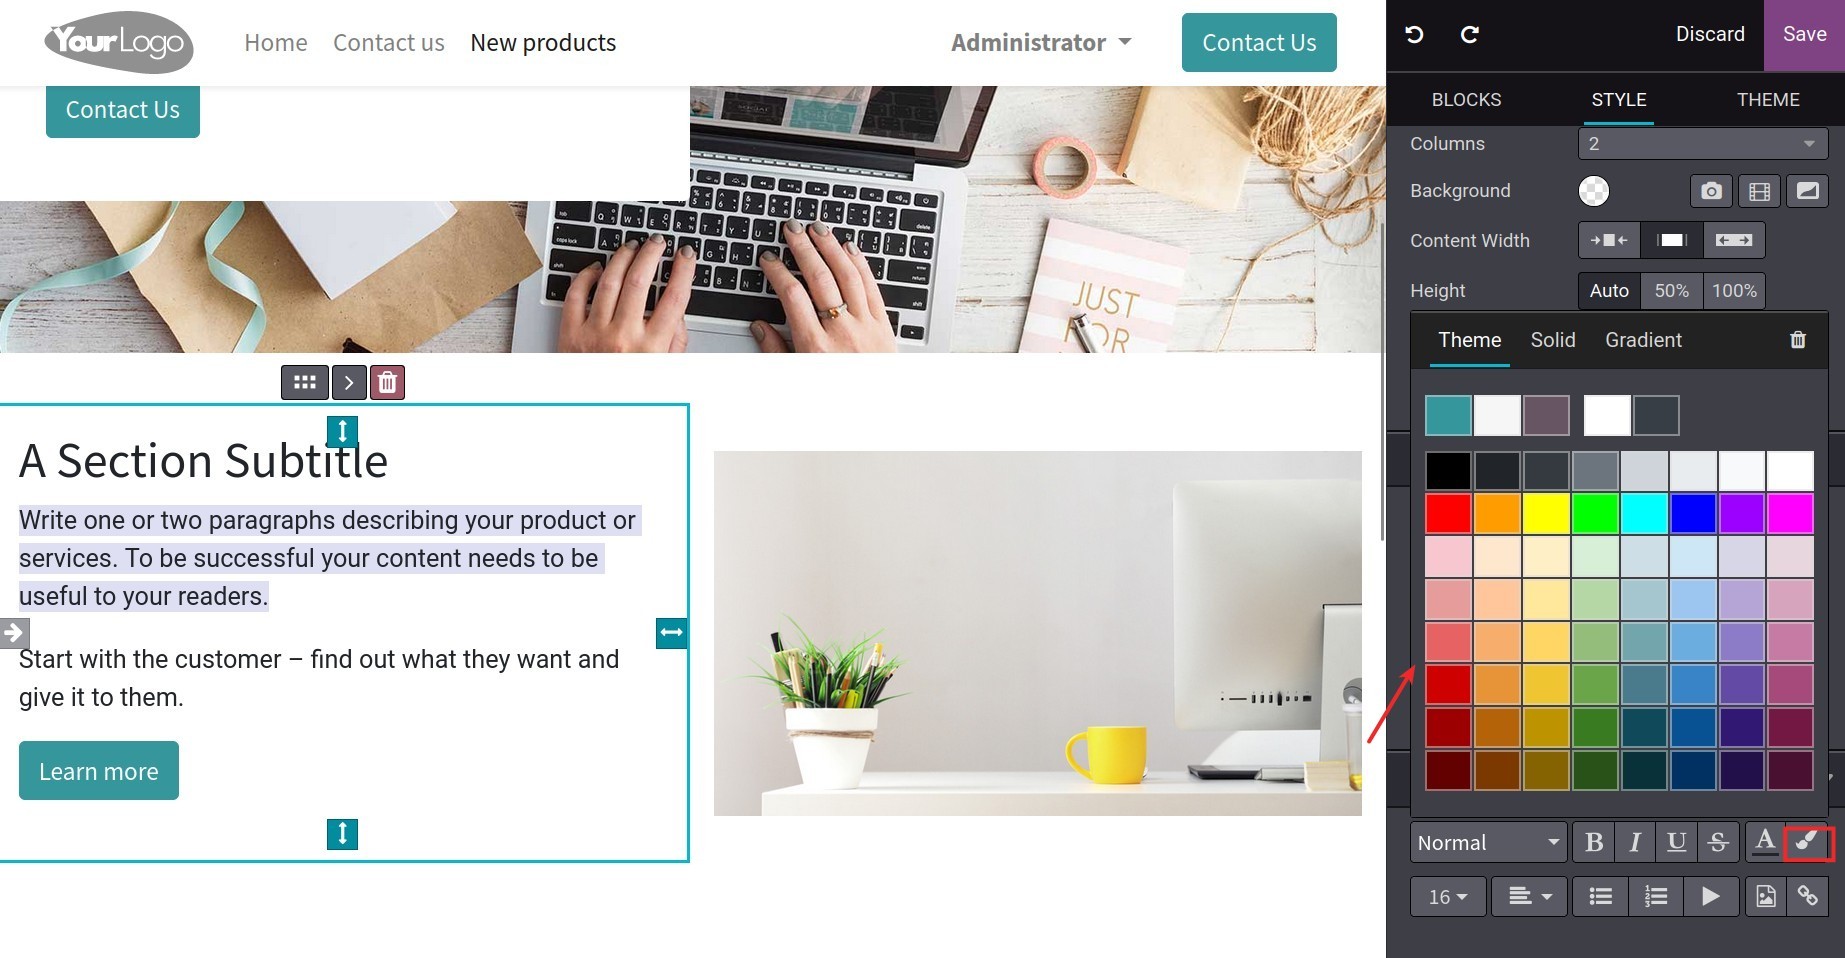
Background Colour: Change the background color of the text.
![Edit the color of background]()

Tip
Use the Hex code bar under the colors range to find faster.
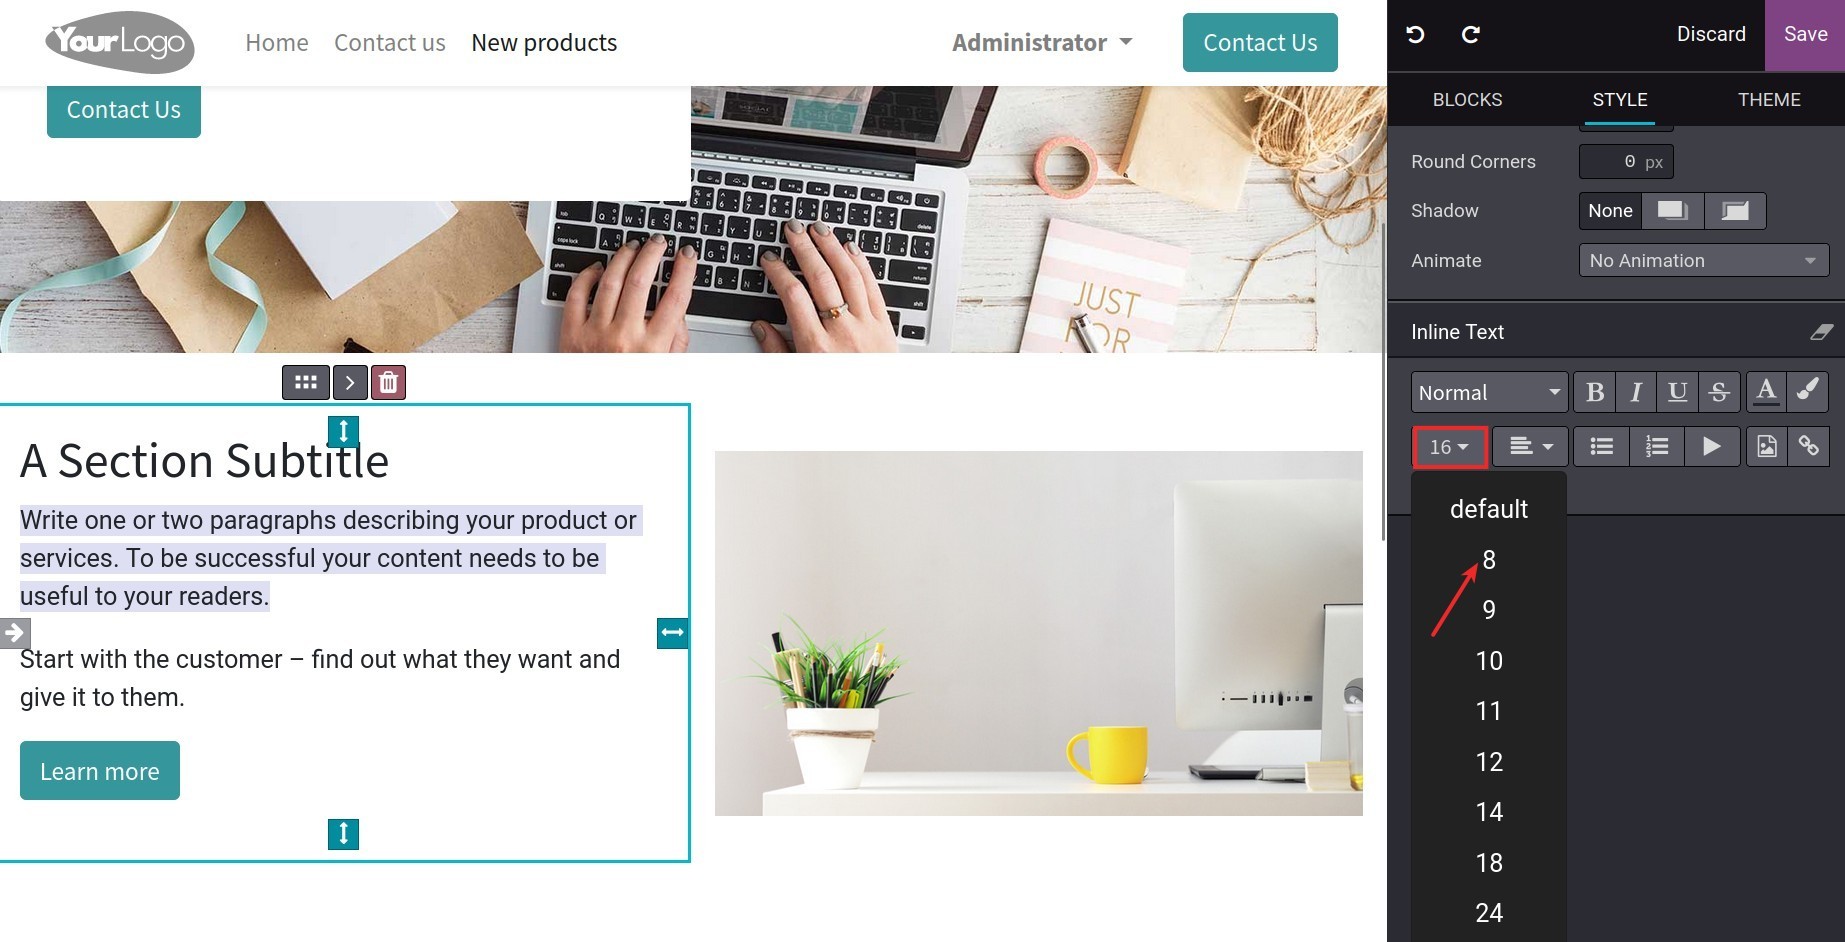
Font size: Change the font size of the text.
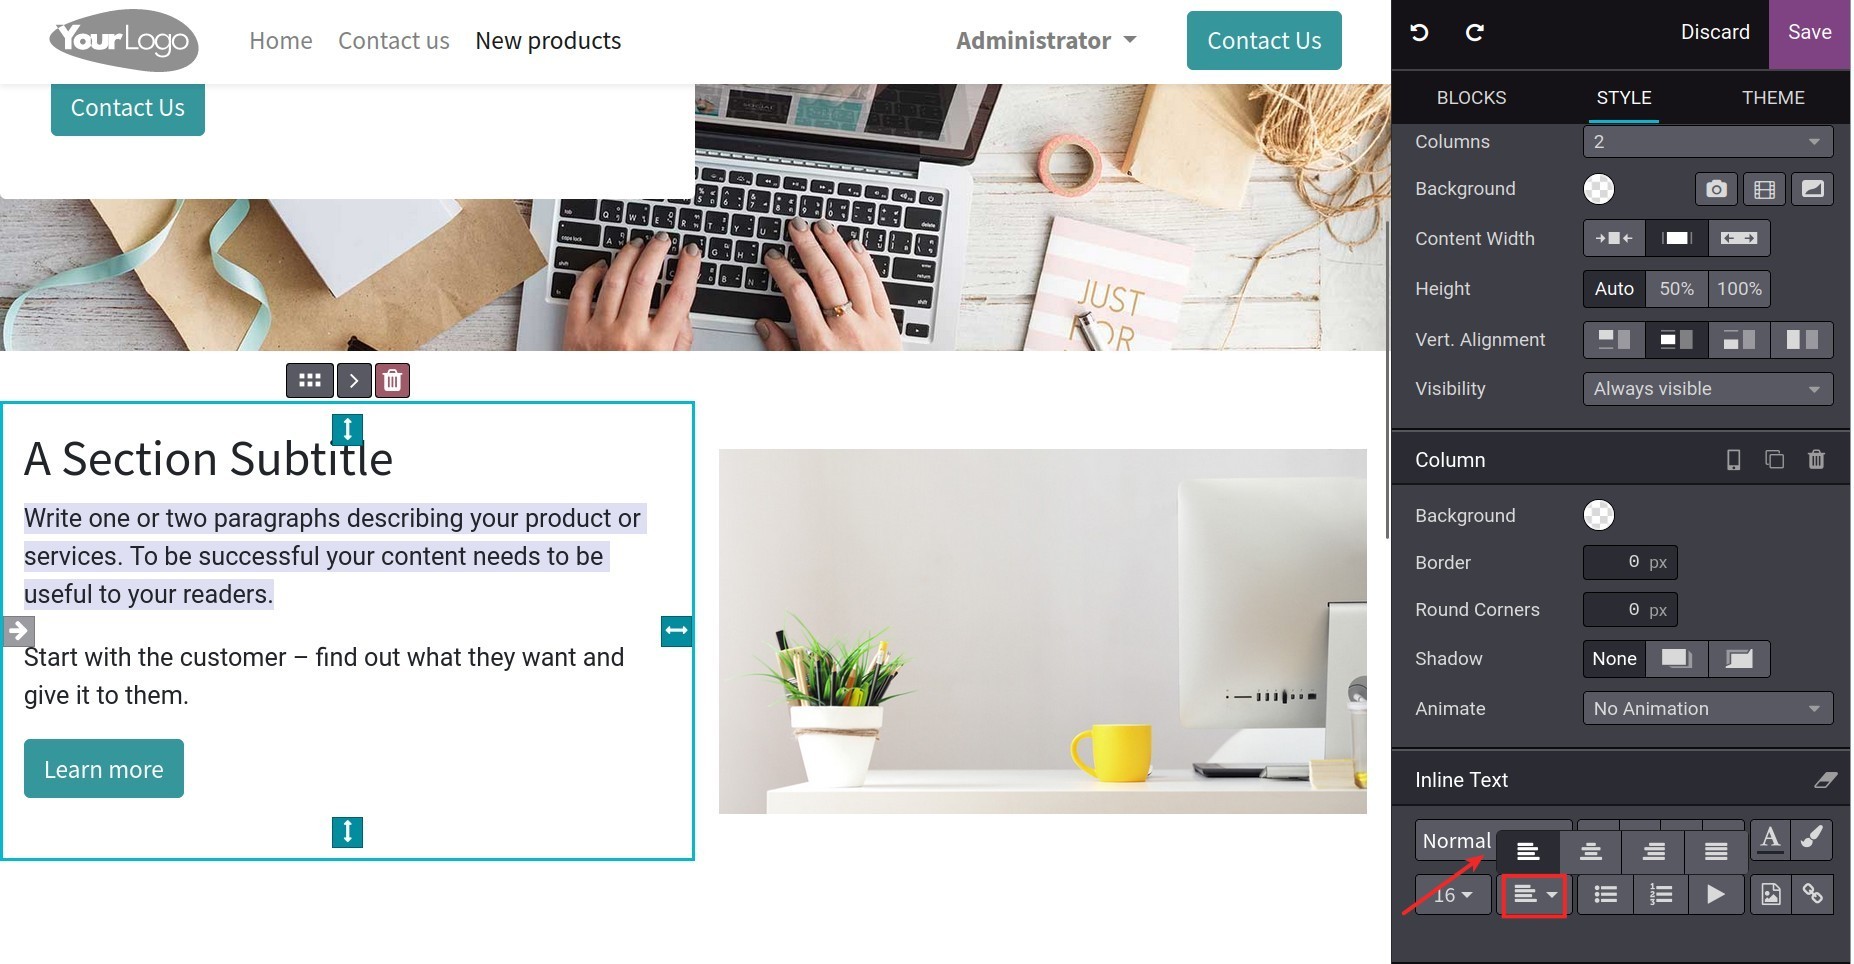
Paragraph: Align the text.
Edit images
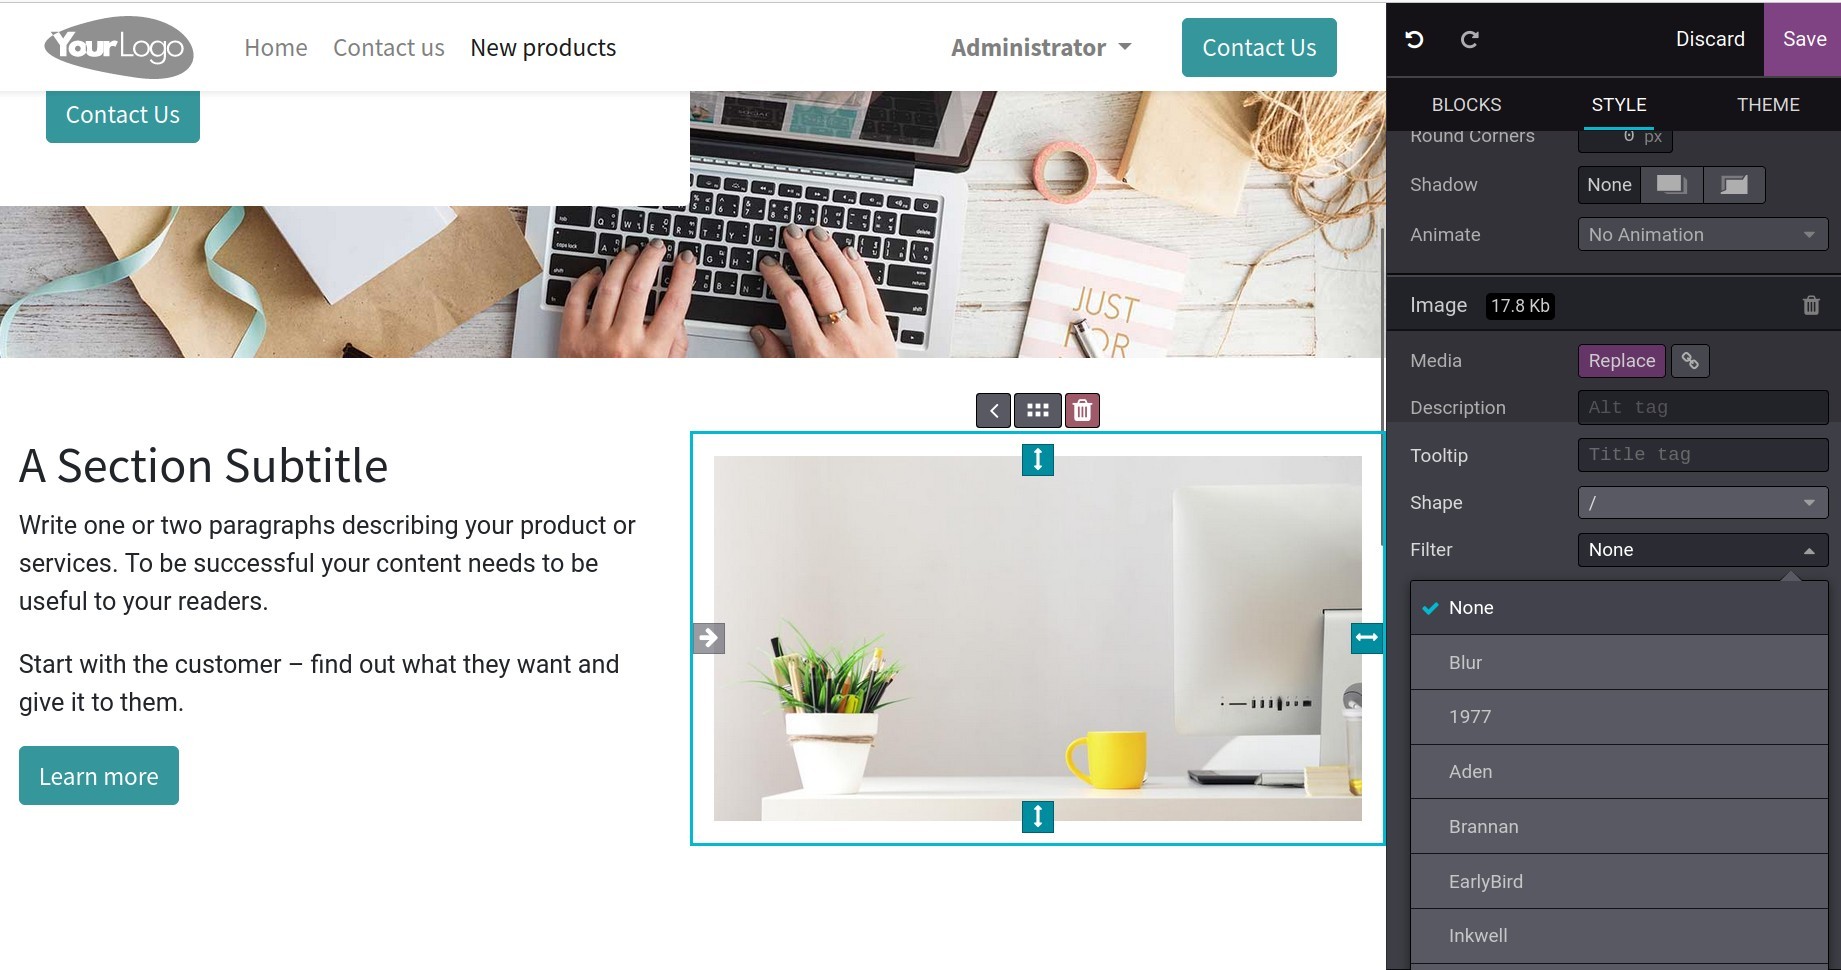
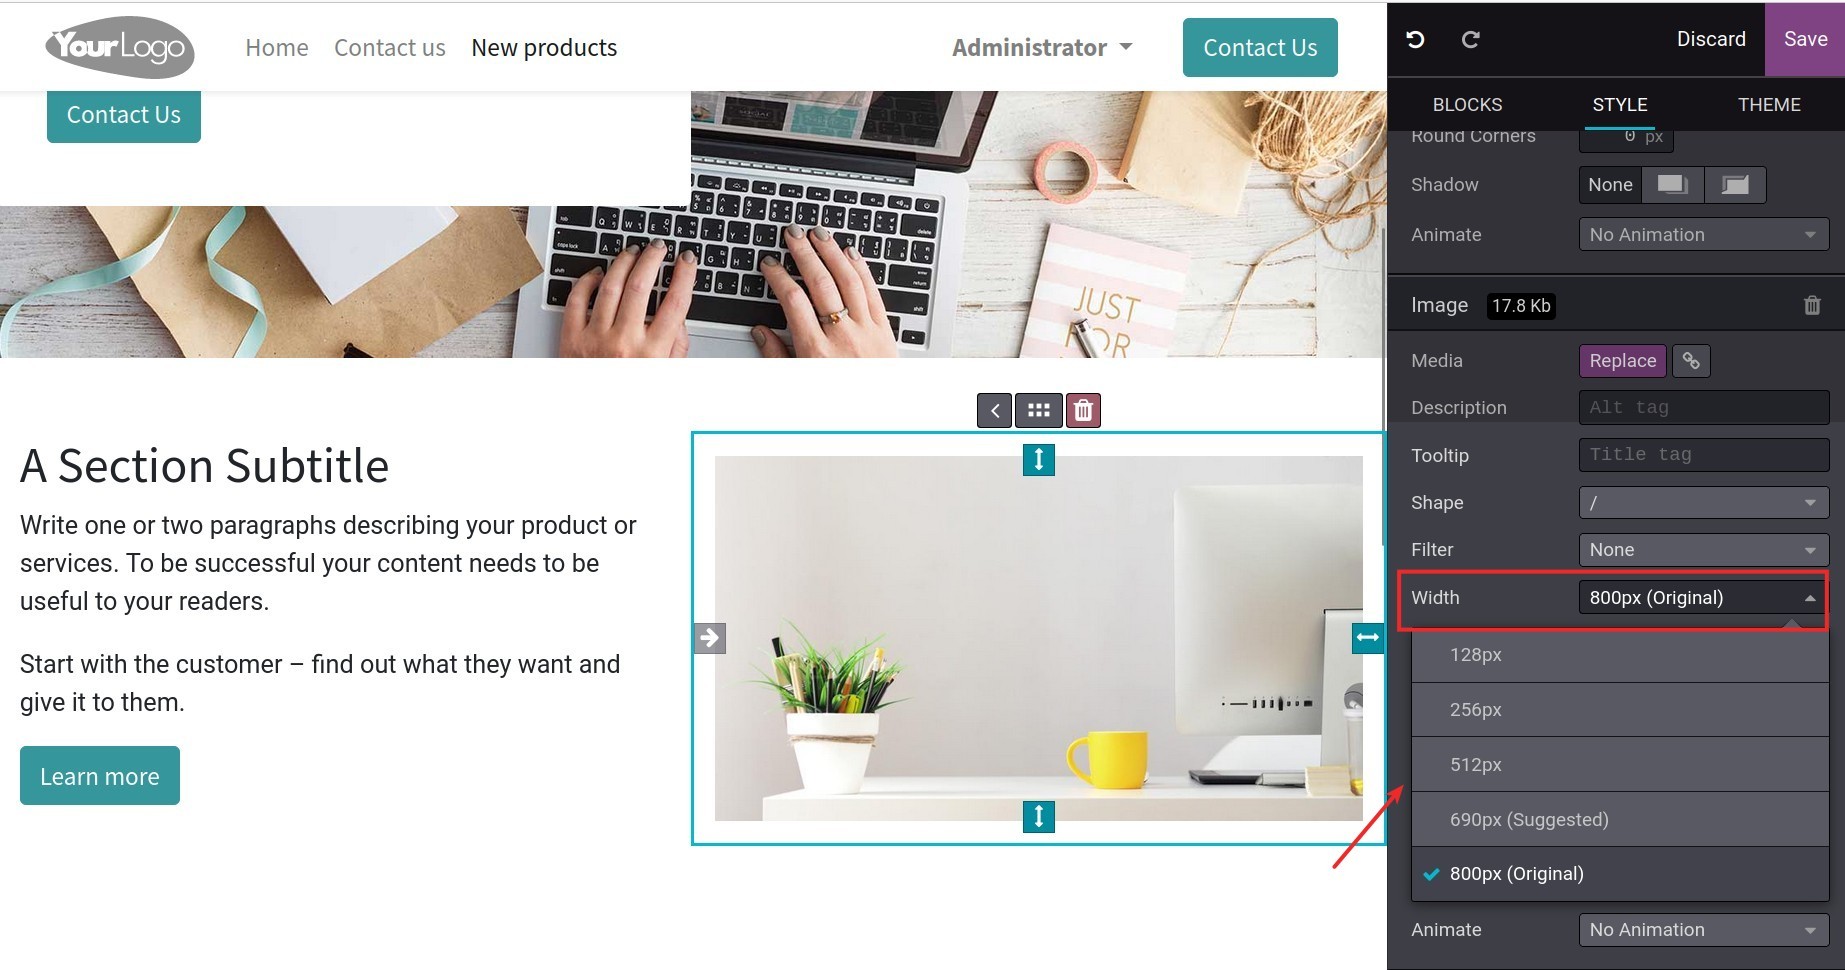
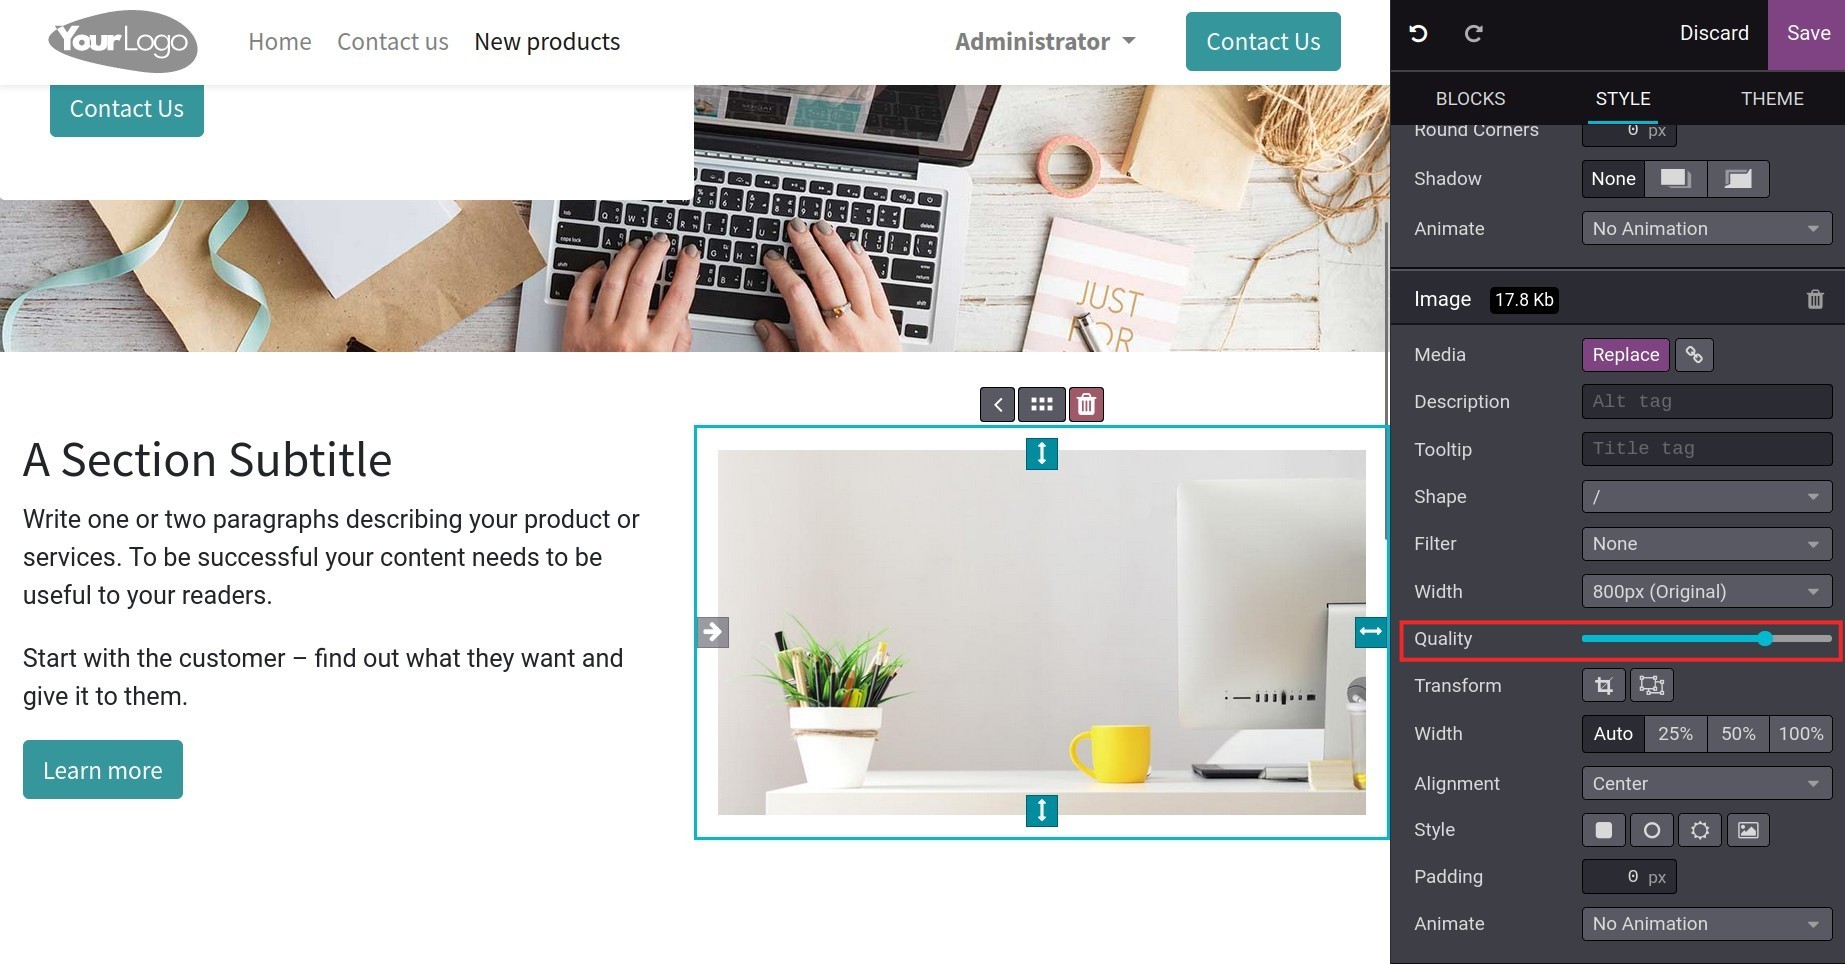
Similar to text editing, click on the image that needs to be edited. On the STYLE tab, the Image section allows you to select different Shape, Filter, Width and Quality to edit the image.
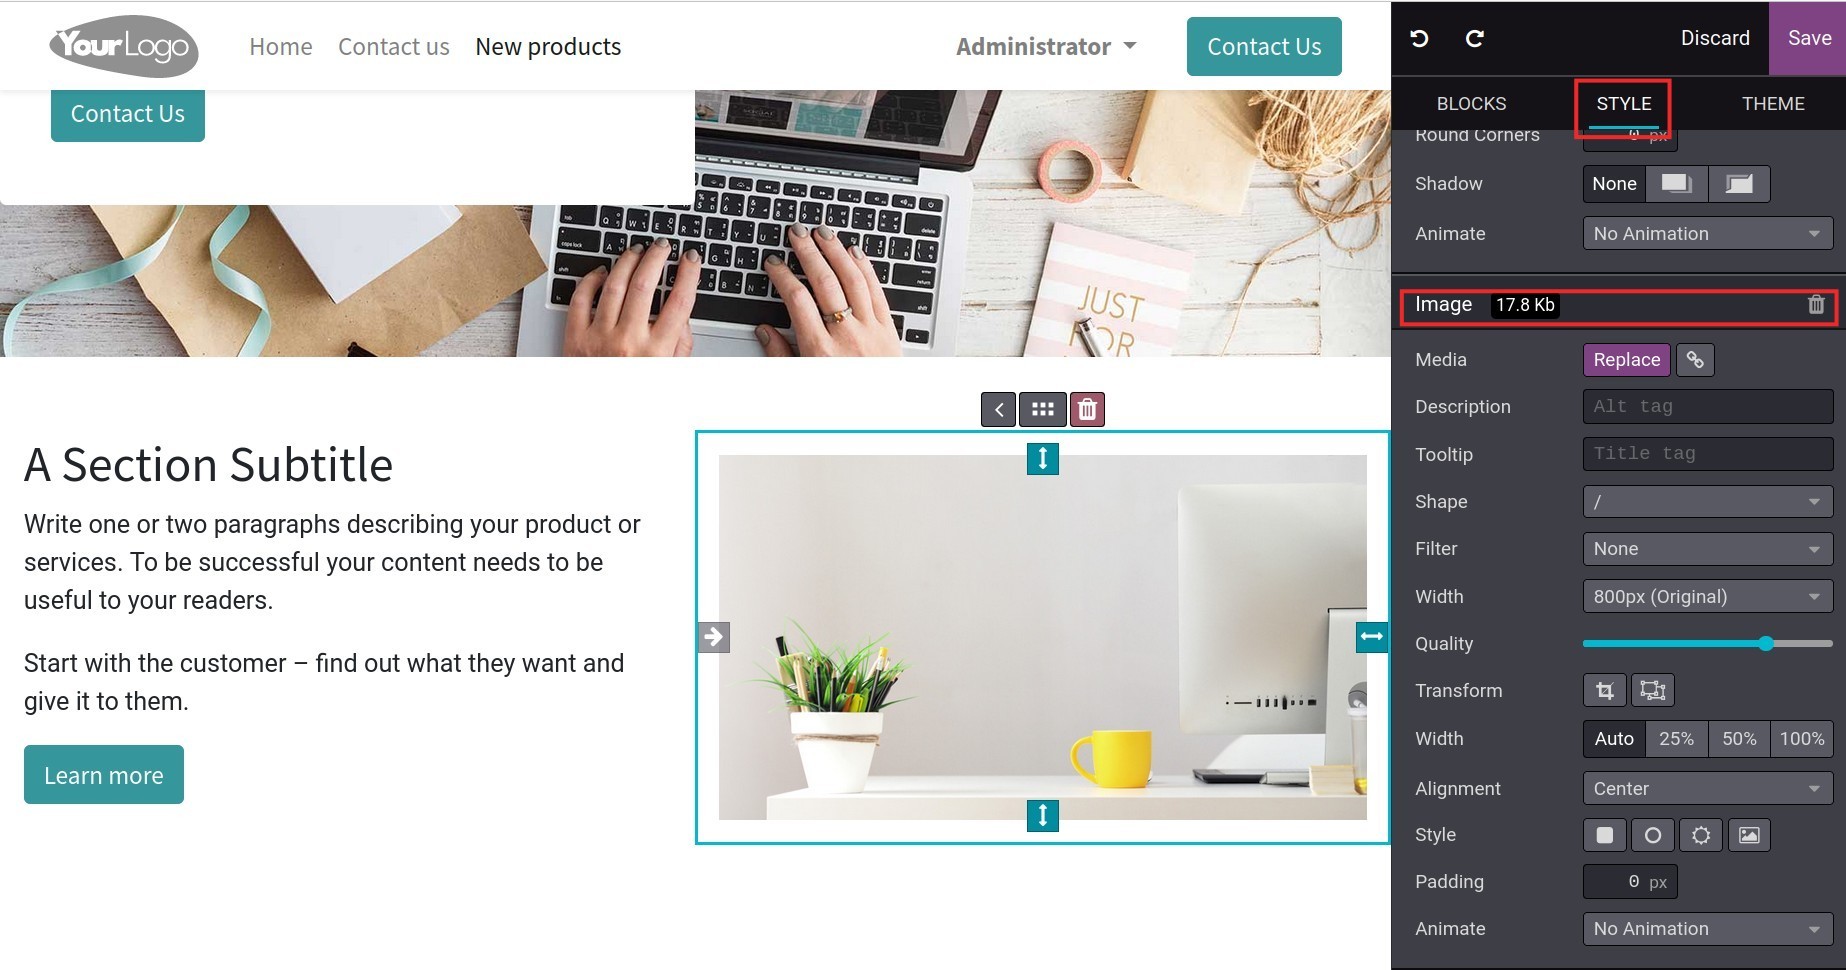
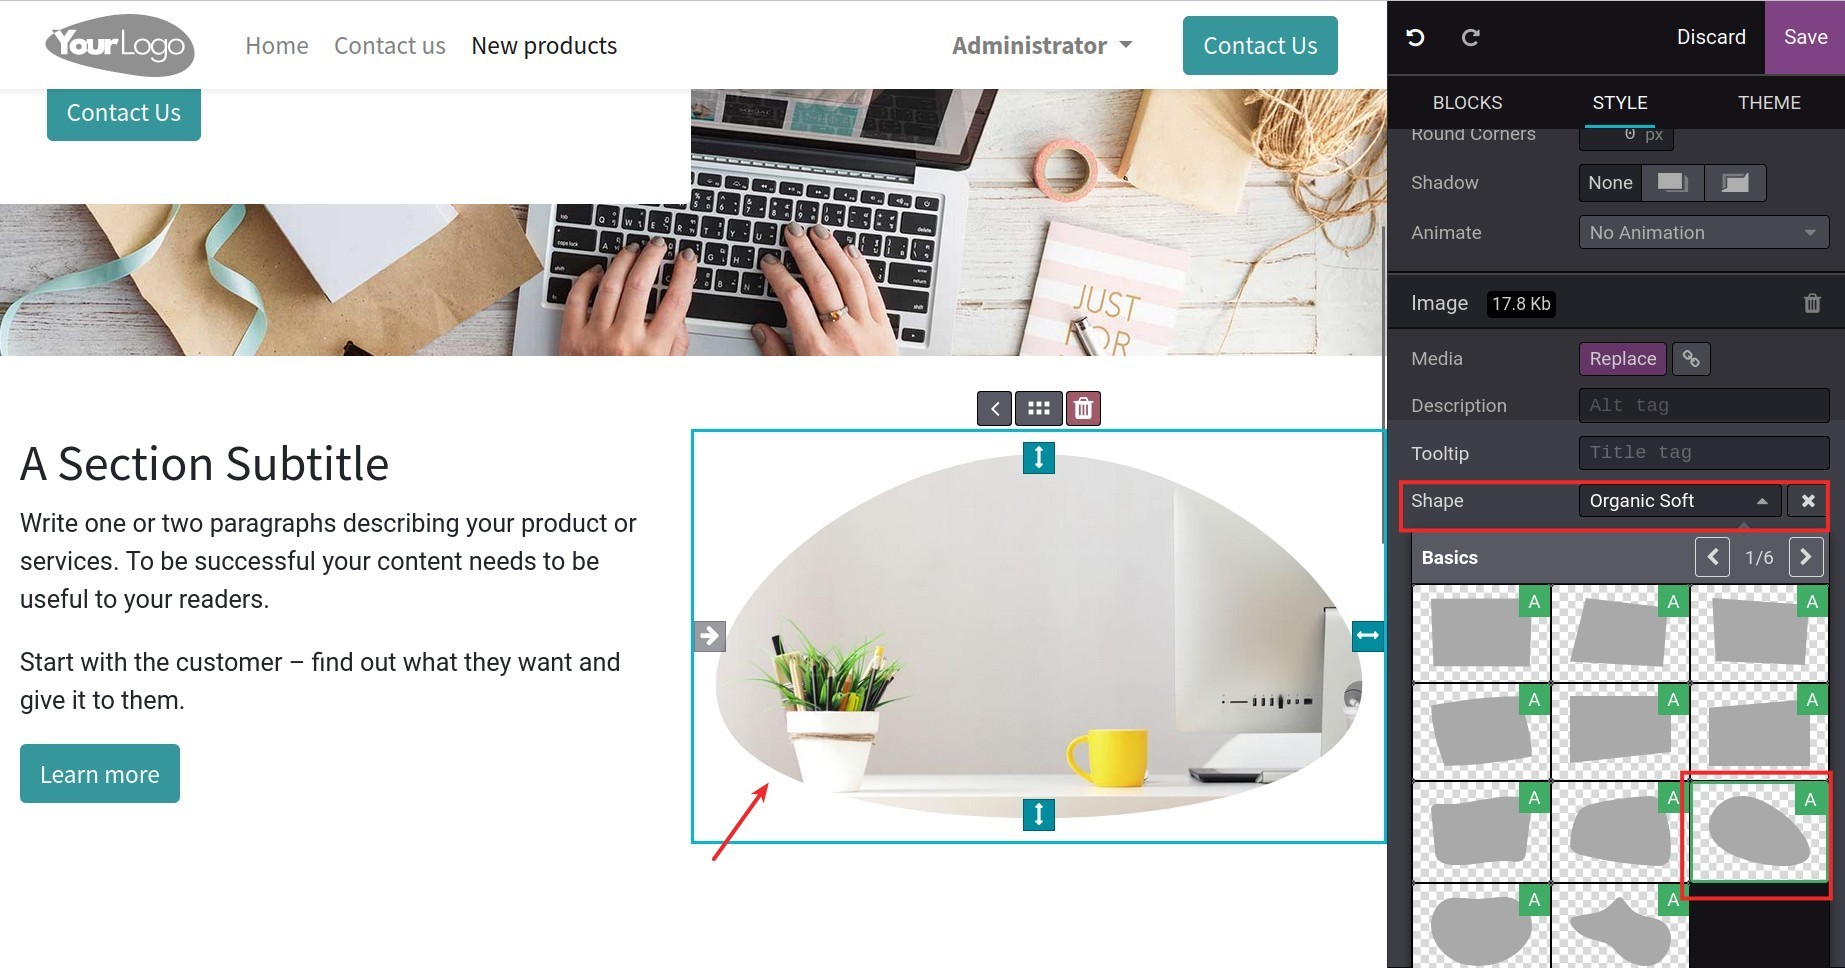
Shape: Choose a shape for image.
Filter: Select the filter for the image.
Width: Select the image resolution.
Quality: Modify the image size.
Tip
Using the Width and Quality features to optimize and improve the loading speed of the images for the pages. Refer to How to do Search Engine Optimization (SEO) in Viindoo.
Add links
Viindoo Website app allows adding links of any content (text, images, pictogram, etc.) on the page.
Follow these steps to add a link to the content:
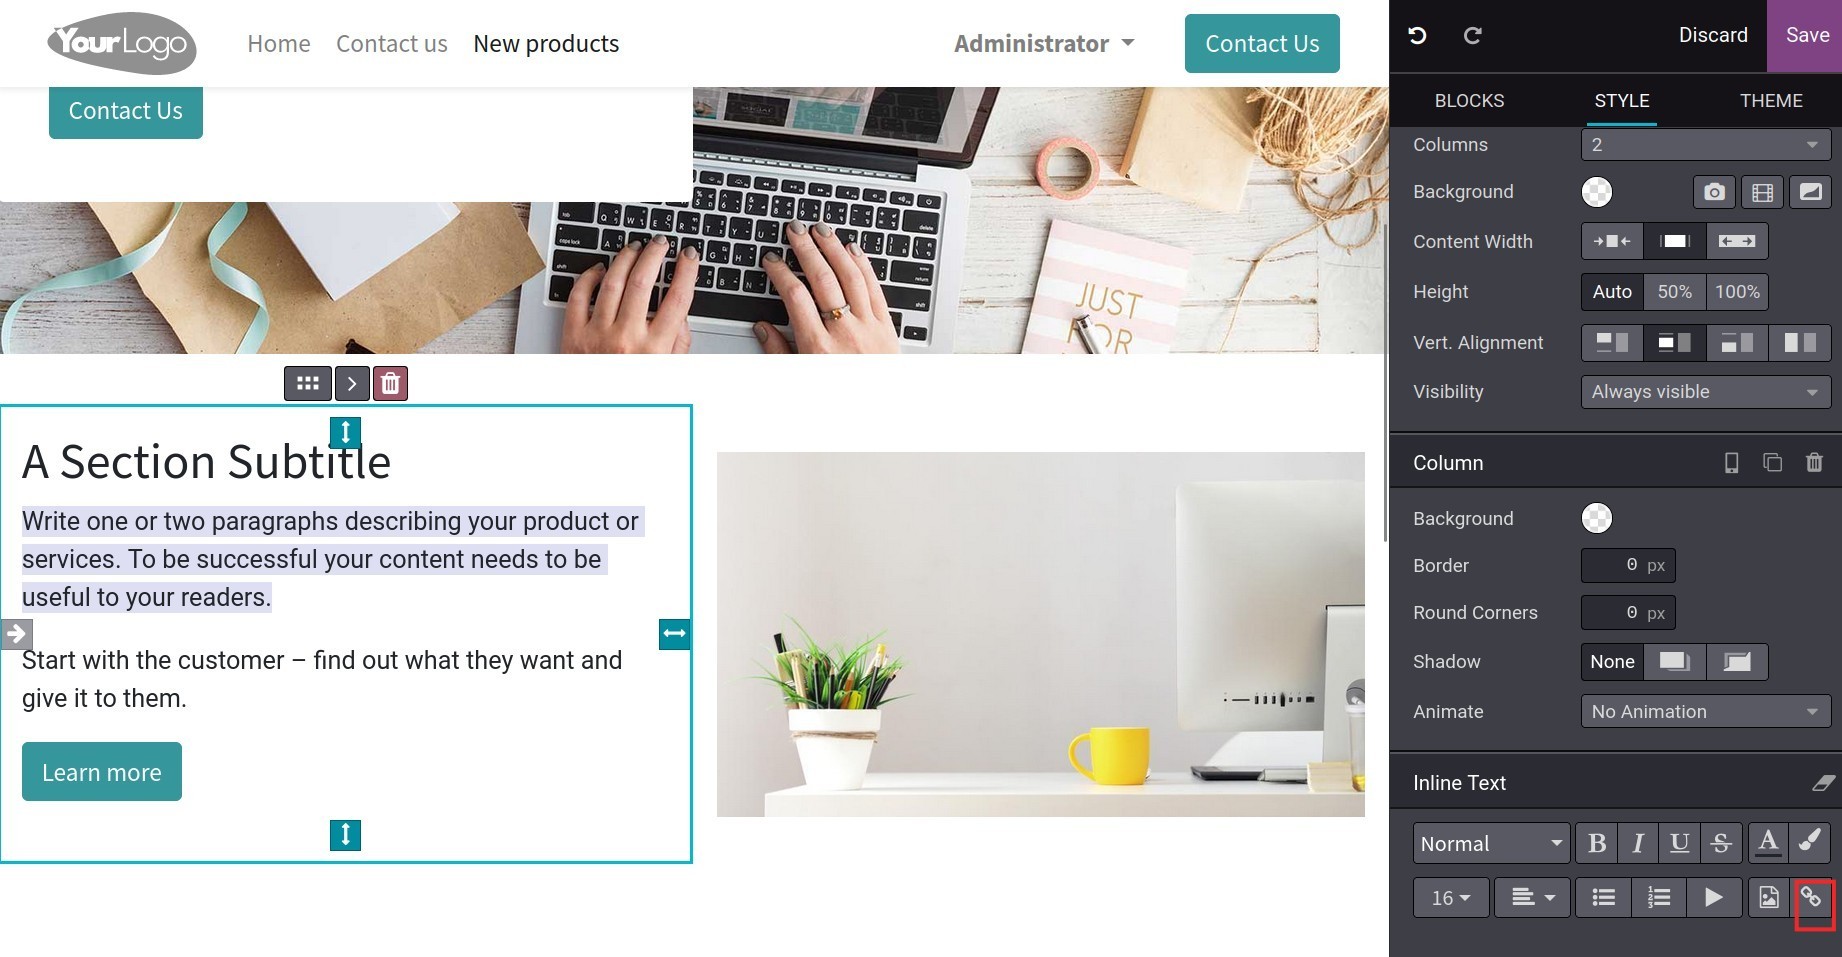
Step 1: Select the content you want to add the link.
Step 2: Click on the Link icon.
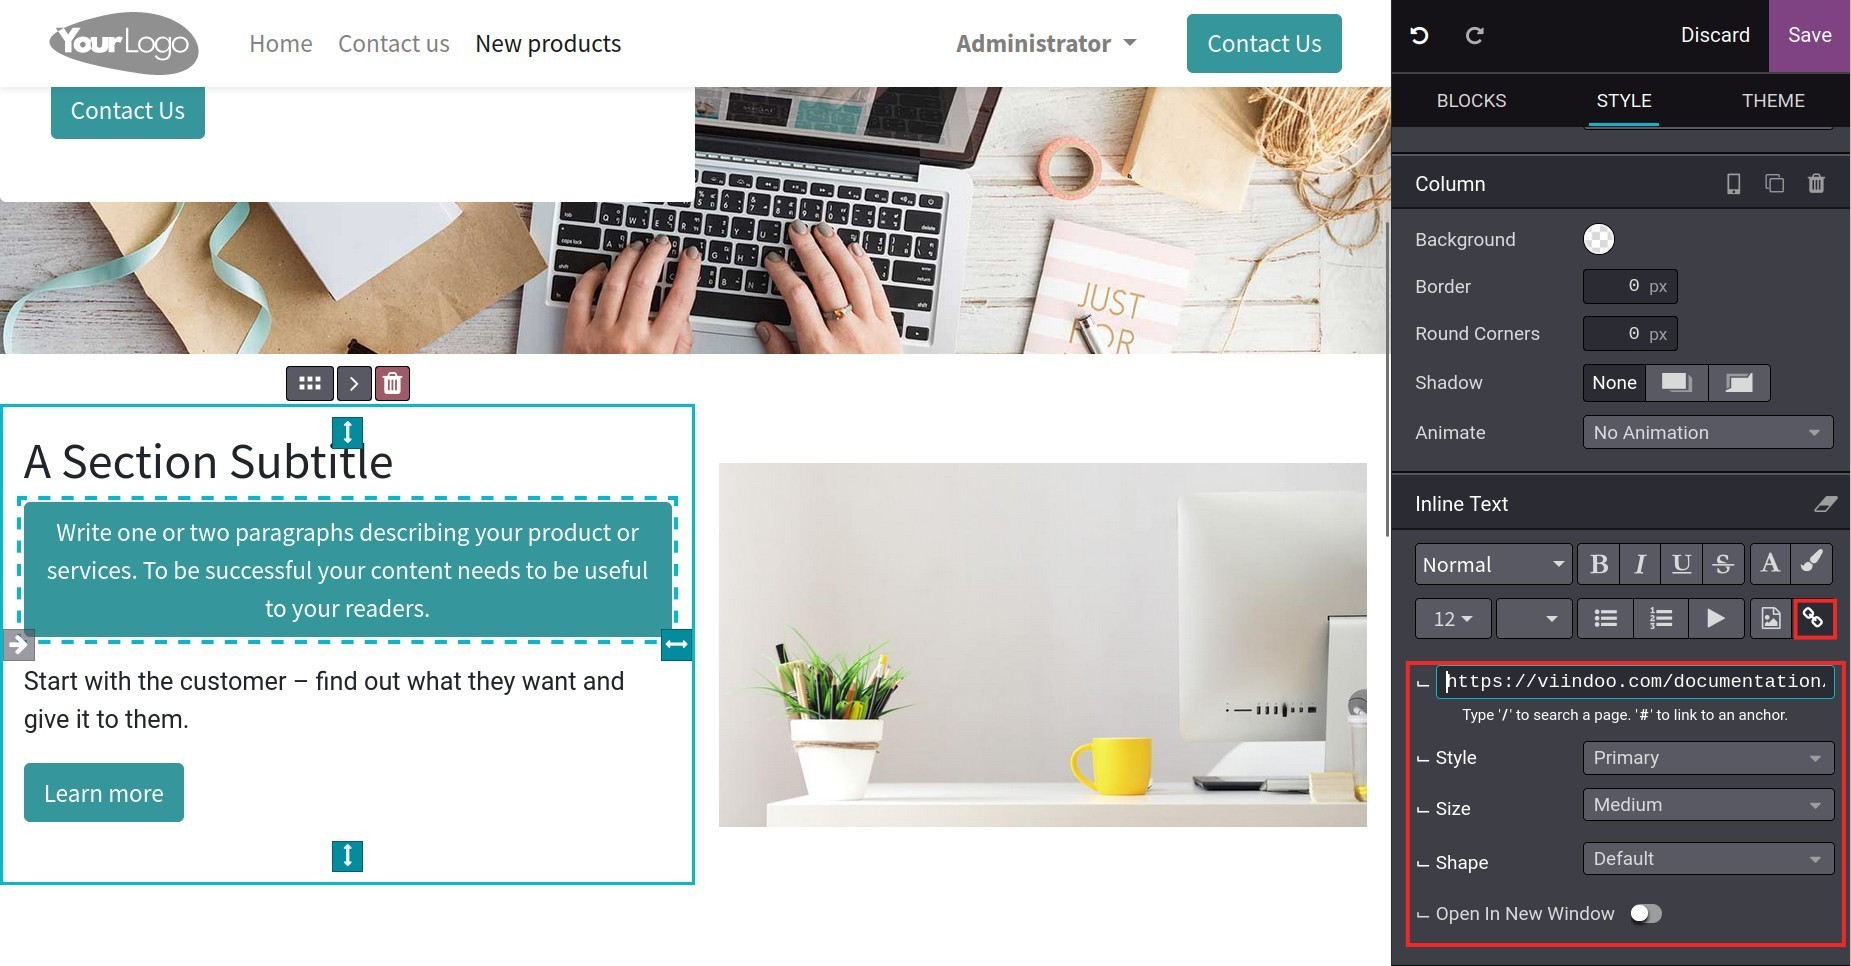
Step 3: Fill in the information on the Link to pop-up as follows:
URL or Email: Enter an URL or an email you want to add to this content.
![Add URL or email]()
Style: Select the display option for the link content.
Note
When selecting Primary or Secondary, the Size and Shape fields will be shown for you to select.
Open in new window: Enable this feature if you want to open a new window when accessing this link.
Step 4: Click on Save to finish.
Insert media
To insert media (images, documents, pictogram, videos) to the page, users need to select the area where they want to insert and click the File/Image button.

On the Select a Media pop-up, there are options to add media in the tabs:
Image: Select an image to upload, add an URL or search and add an existing image.
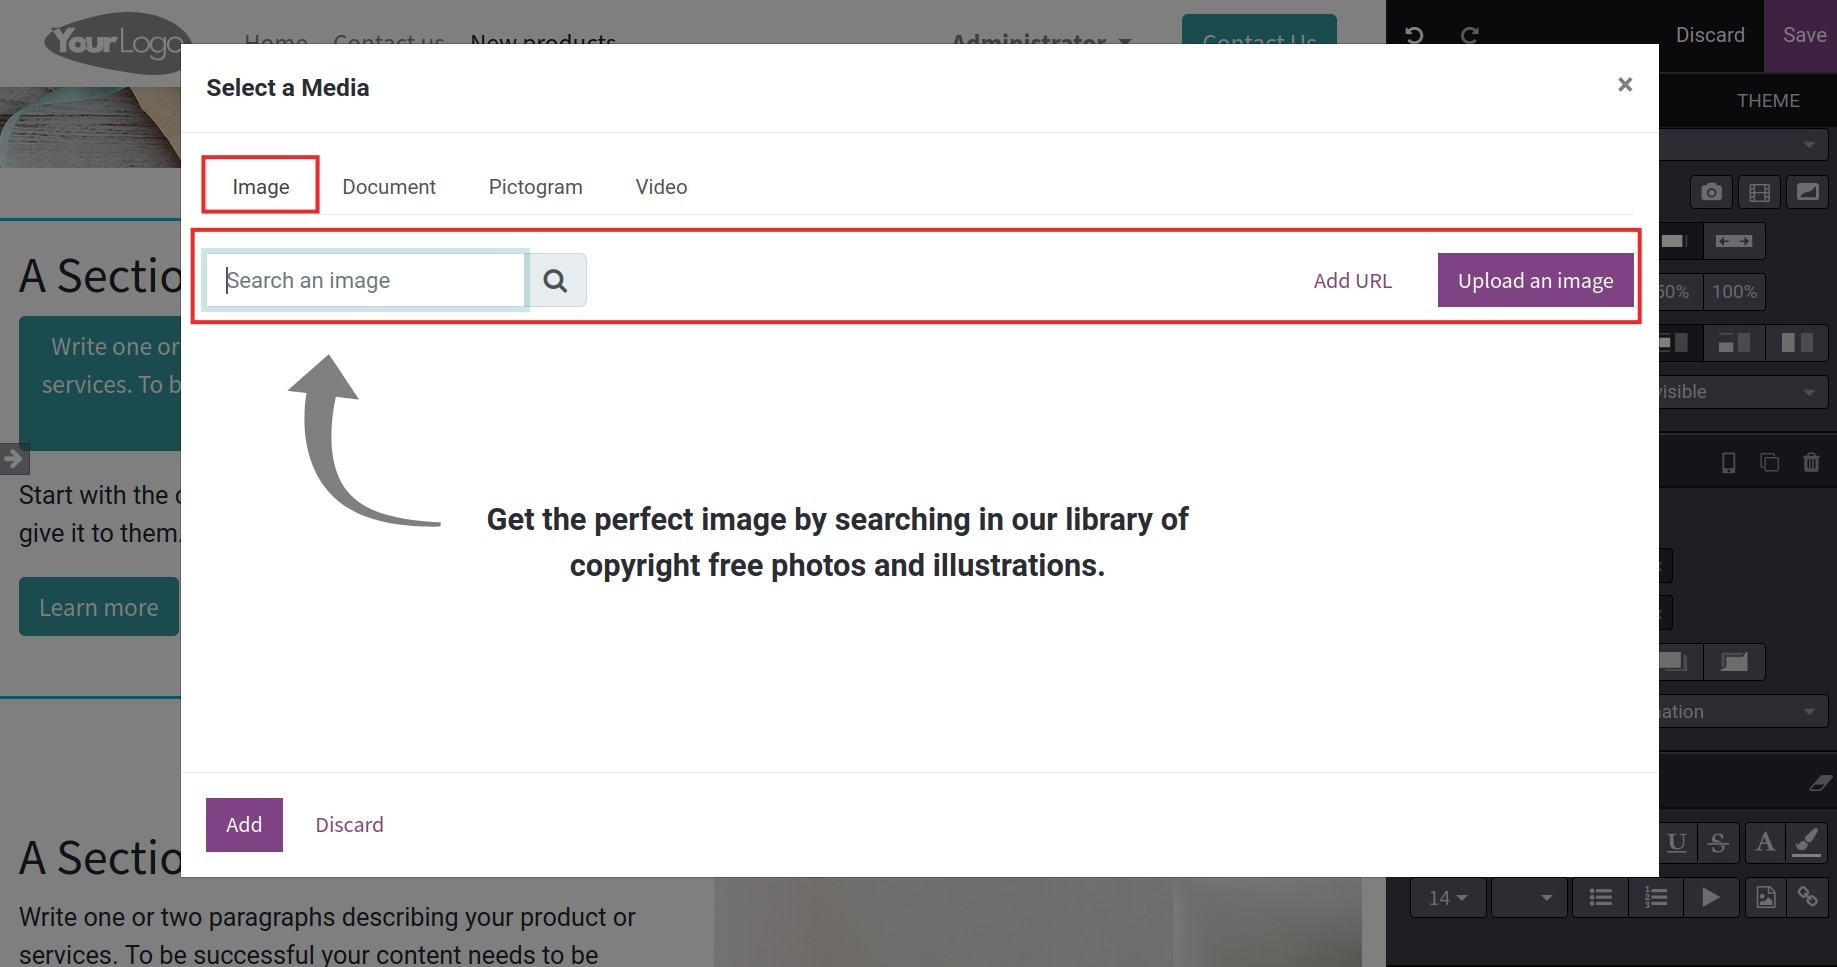
Tip
You can use free image library at Unsplash: How to integrate with free image library at Unsplash.
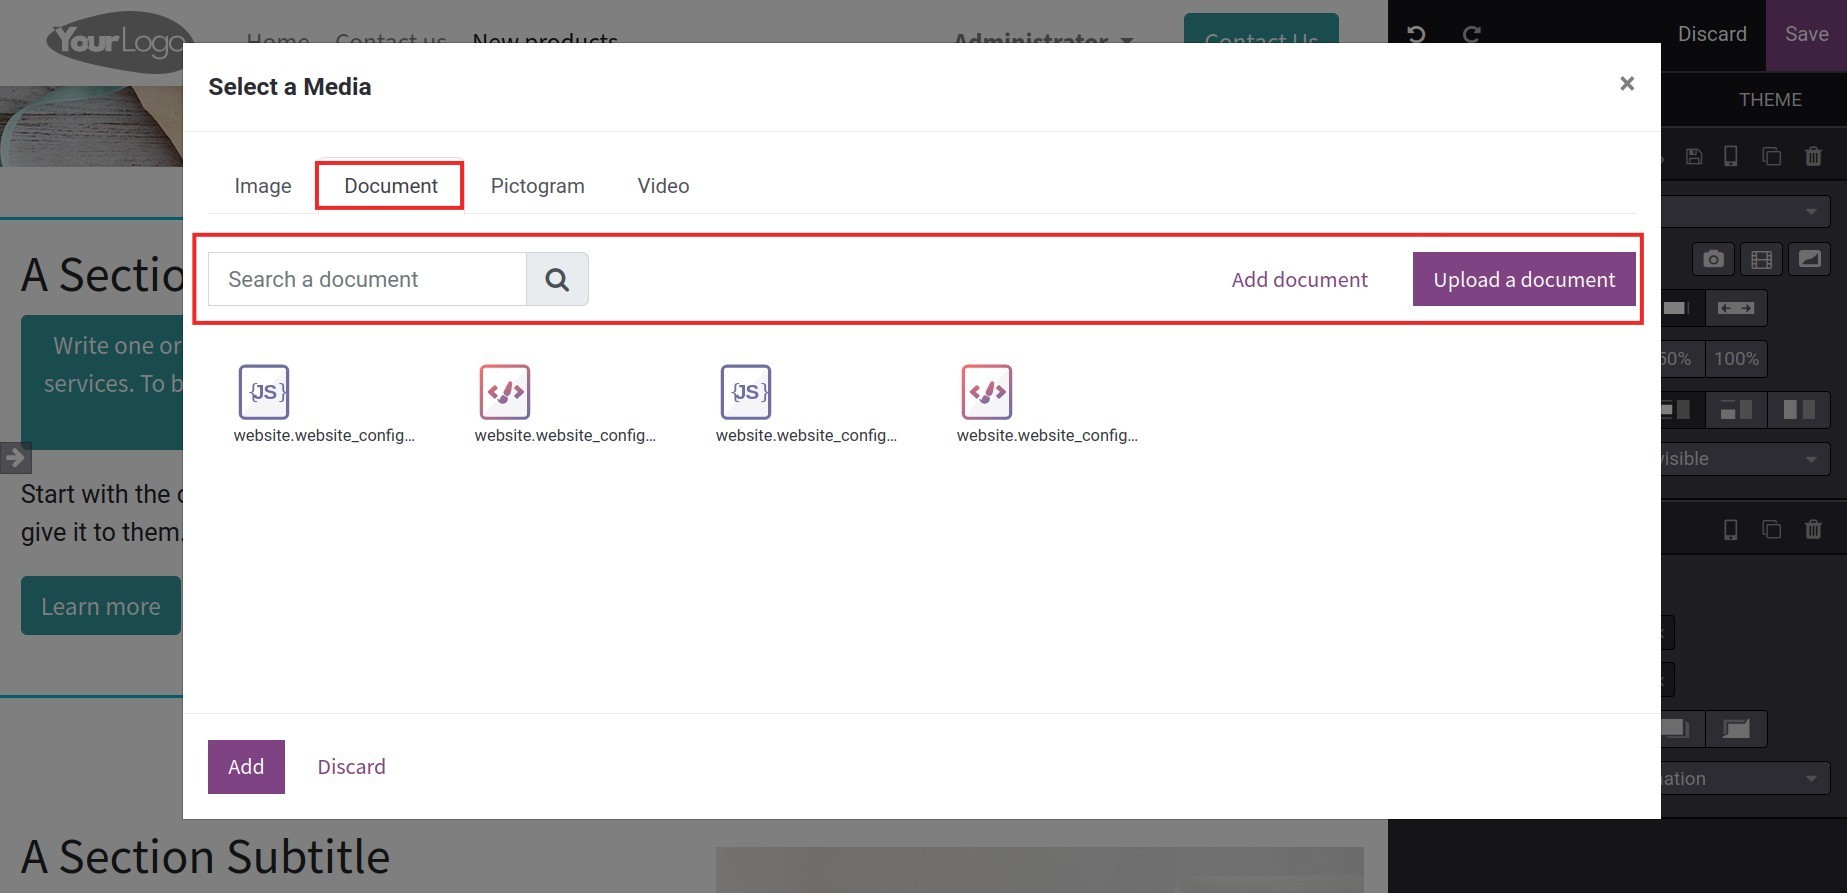
Document: Upload a document or add an URL. Moreover, users can search and re-use a document.
Pictogram: Add an existing symbol. Besides, each symbol has its own name so you can find it more easily.

Video:
Paste an URL or embed code of the video.
![Paste the video code]()
Enable the video display features:
Autoplay: Video is auto-played on the page.
Loop: Video is auto-repeated after finishing.
Hide player controls: The control buttons such as play/pause, volume, settings, etc. won’t be shown on the video’s control bar.
Hide fullscreen button: Fullscreen button will not be displayed in the video’s control bar.
Hide Youtube logo: The Youtube logo will not be displayed on the video’s control bar.
![Display options of videos]()
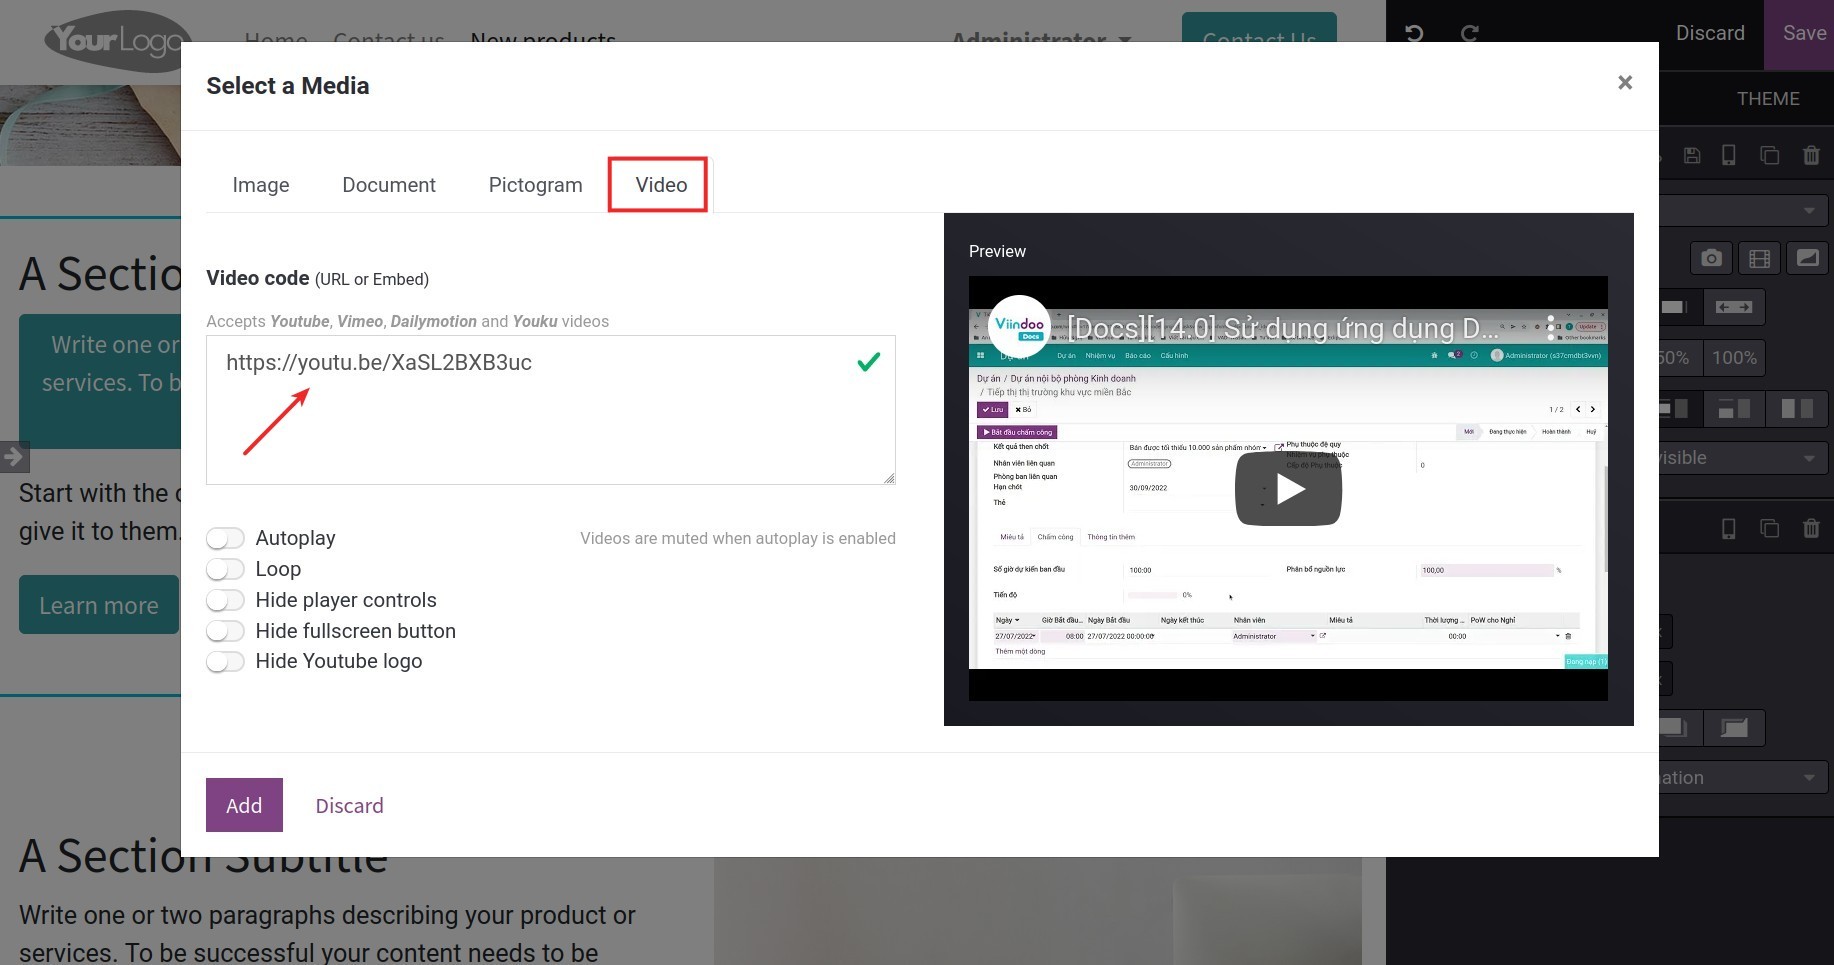
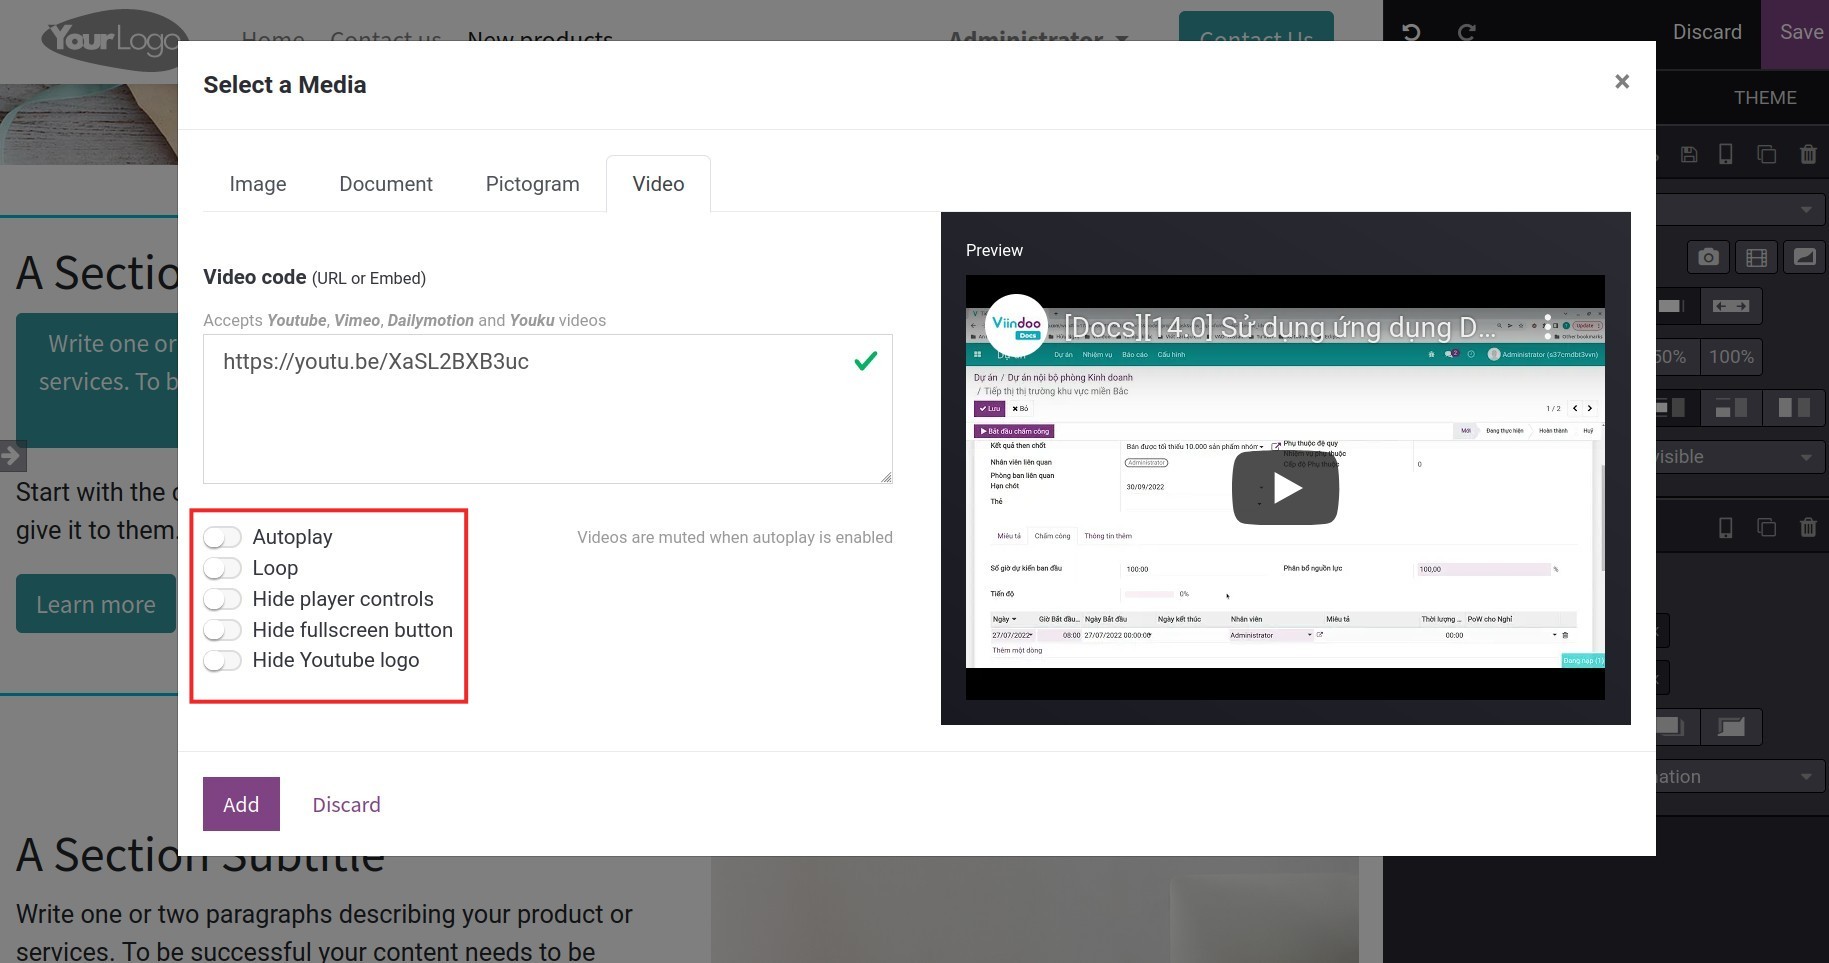
Note
The Select a Media feature allows adding videos from Youtube, Vimeo, Dailymotion and Youku.
Videos are muted when Autoplay is enabled.
After any action, remember to click Add to confirm adding media to the page.
Tip
After you create a webpage, you can track your website’s traffic in: