Steps to design, customize your Shop in Viindoo
With Viindoo, you can design, customize the products introduction page with simple operations without the knowledge of programming or the complicated support tools.
Requirements
This tutorial requires the installation of the following applications/modules:
Product Configuration
First, you need to create the enterprise’s products.
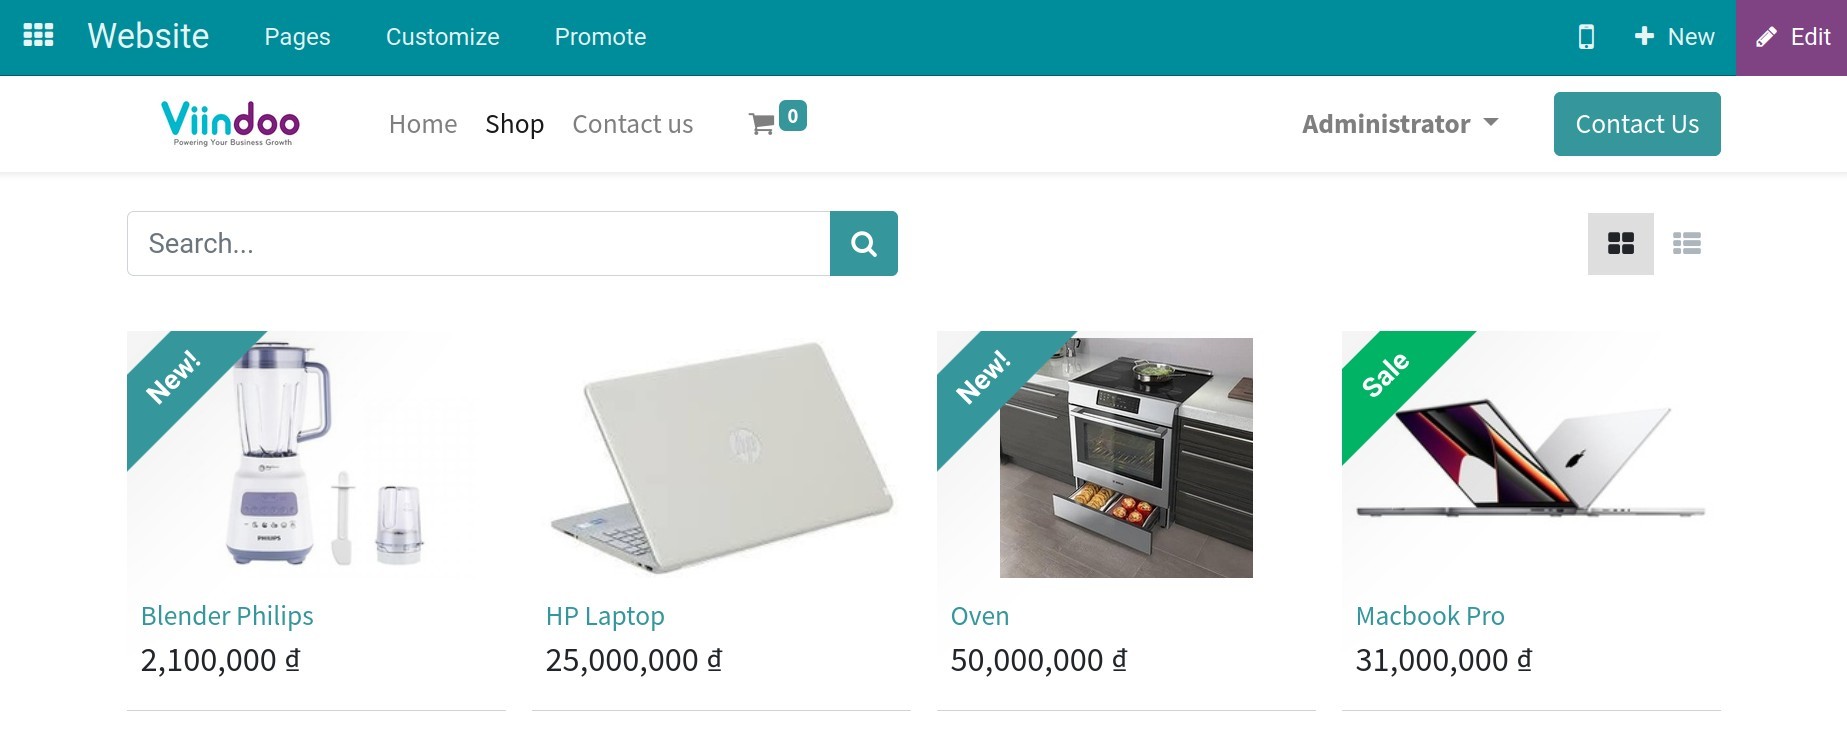
After publishing, the products will be displayed on the Shop page.
Product page customization
For the best support to purchase the product, you should enable the following features.
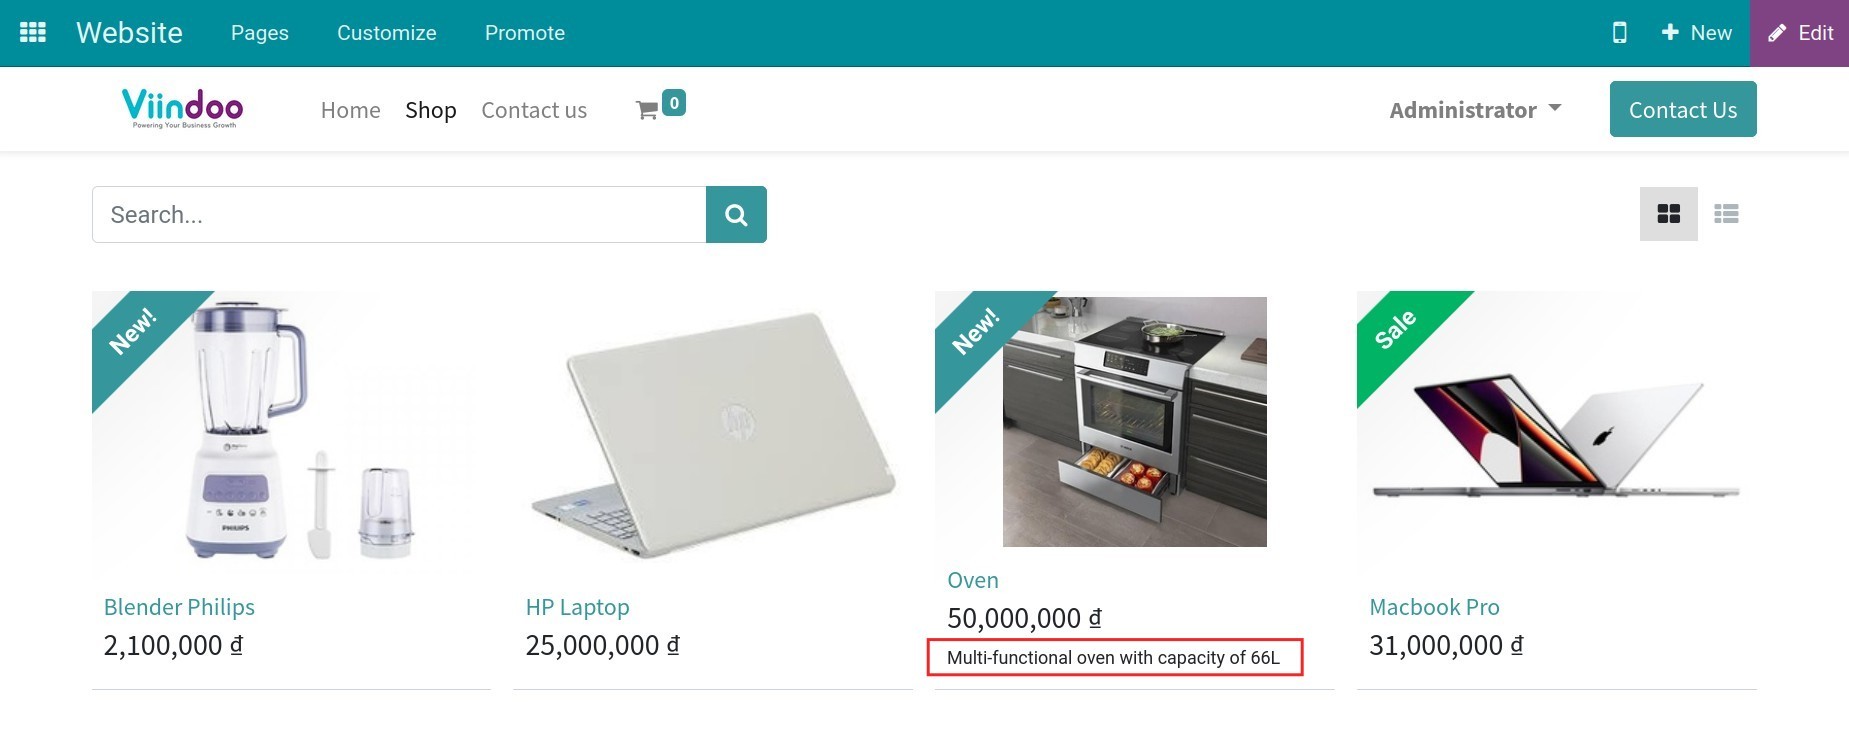
Product Description
This is marketing content, explaining what the products are and what they do. It provides the detailed information about the product features and benefits so that customers will understand and make orders. To display the description, navigate to Website ‣ Customize, enable the Product Description feature.

when pointing to the product, its description will be displayed under the product image.
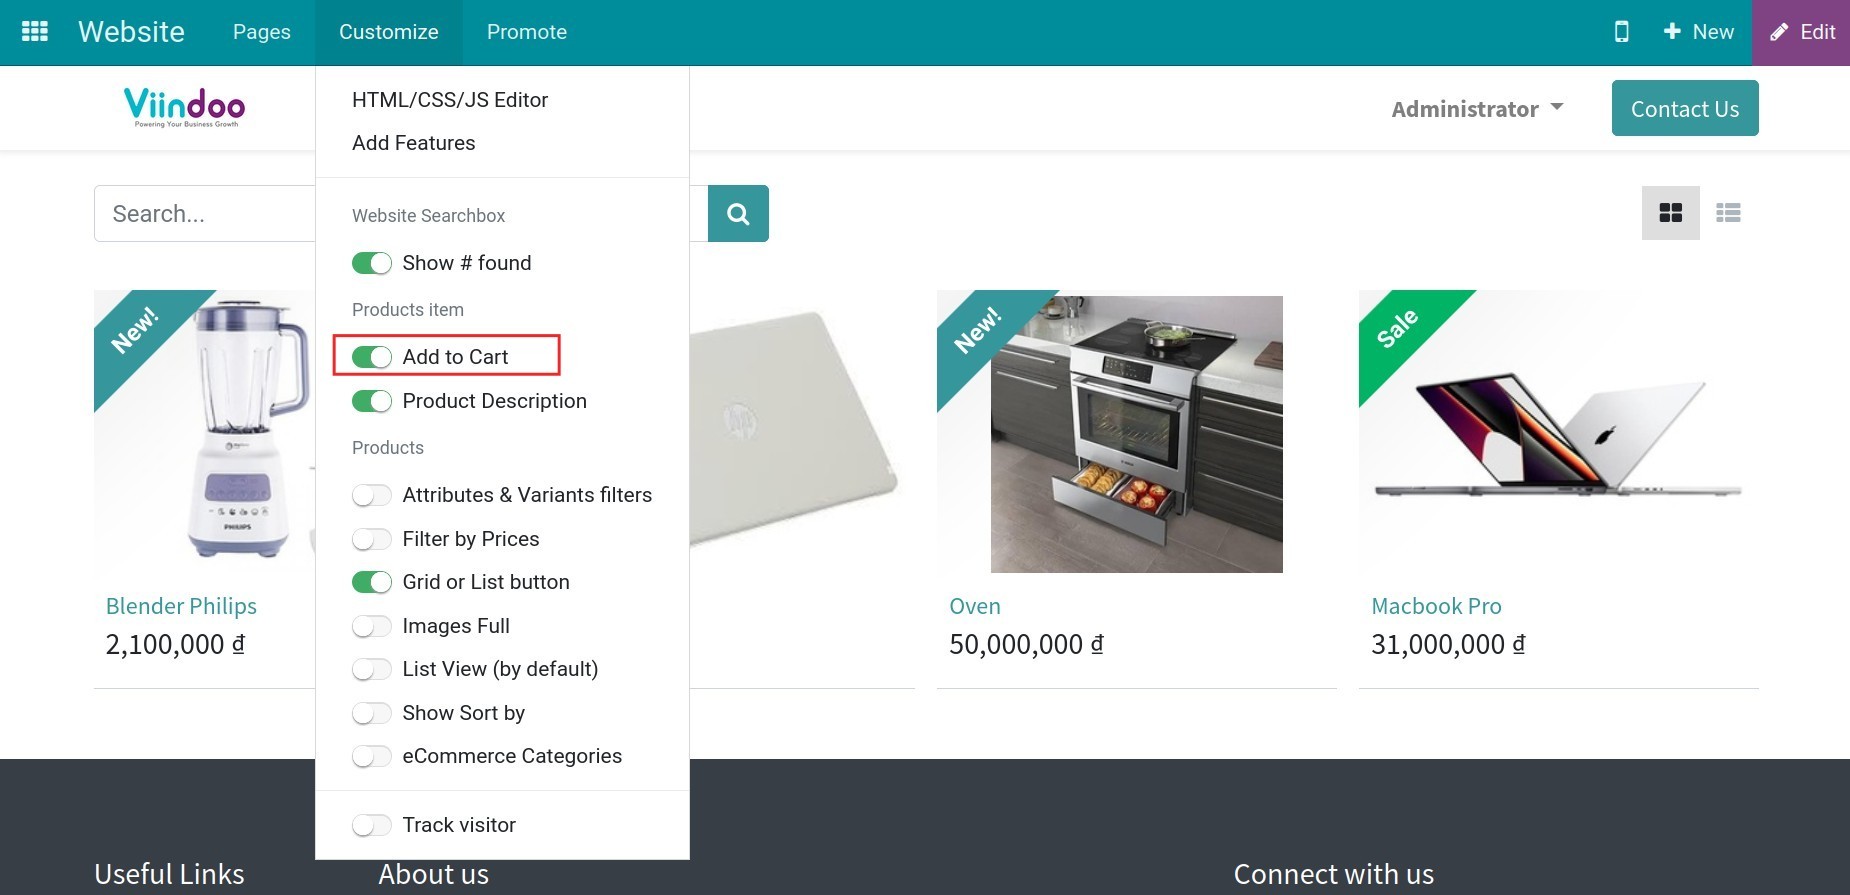
Add to Cart
This feature allows customers to add products to the cart faster. Accessing Website ‣ Customize, enable the Add to Cart feature.
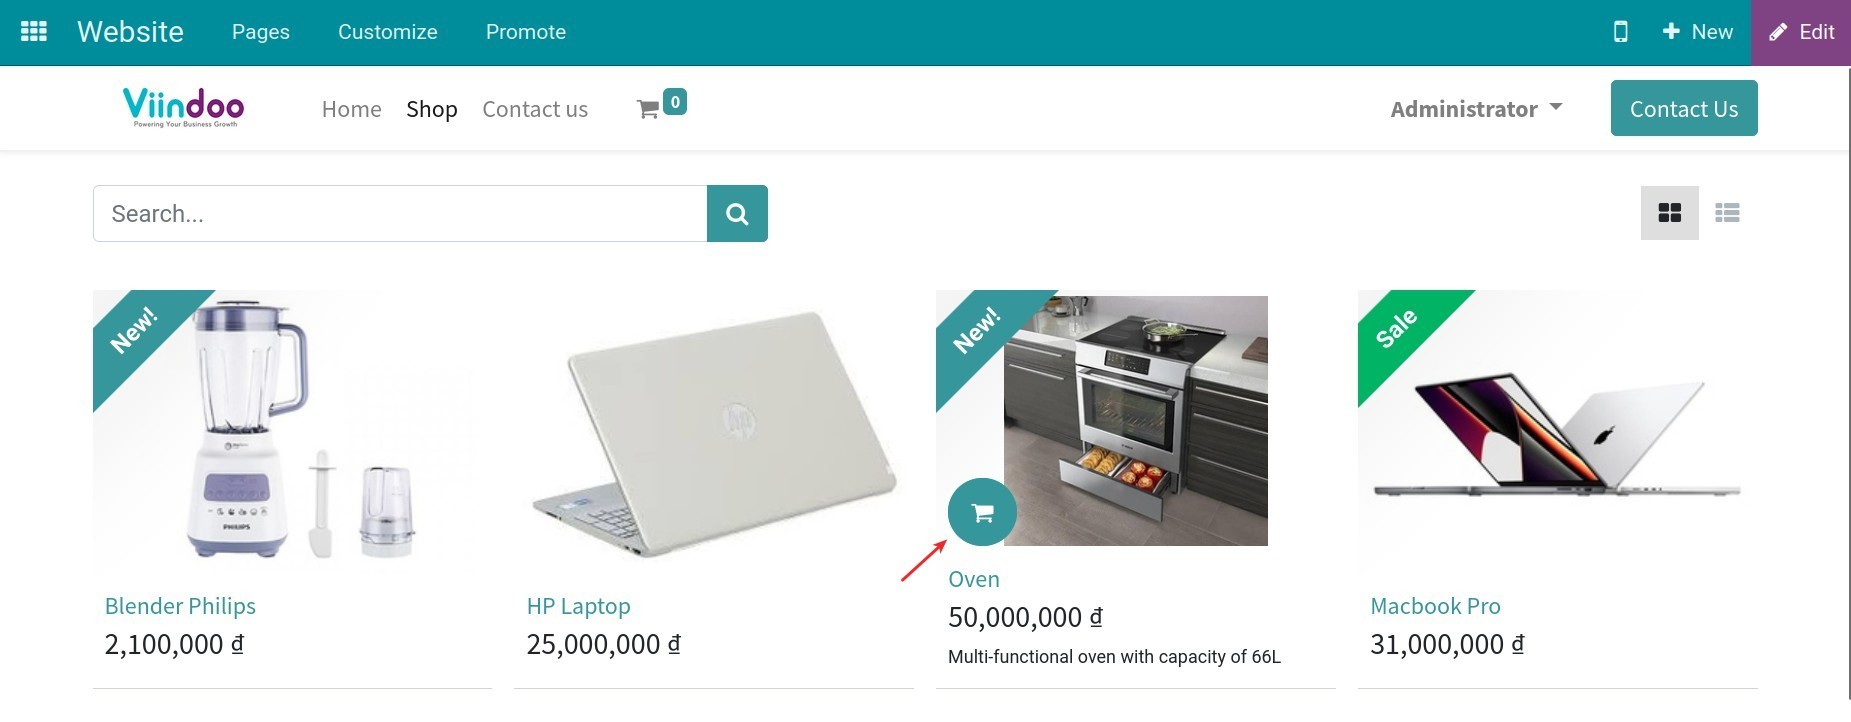
After enabling this feature, the cart icon will appear right on the product image. You just need to click on it to add the product to the cart instead of hitting on each product.
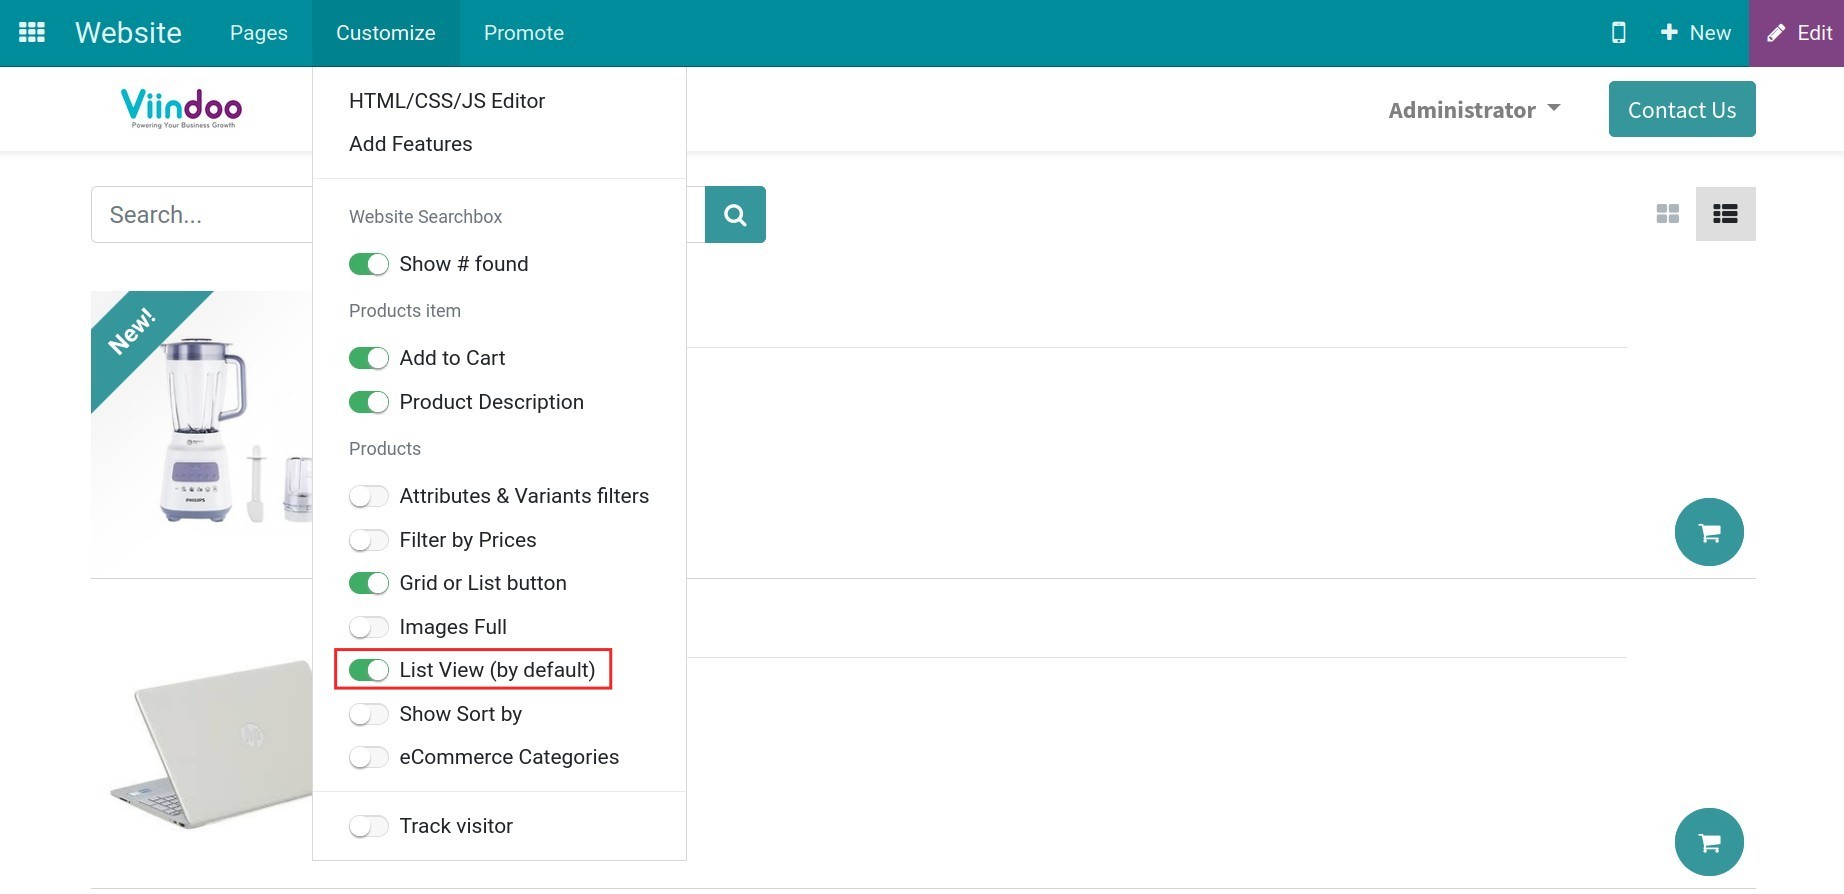
List View (by default)
You go to Website ‣ Customize, enable the List view feature. The system will display the products with the list form.
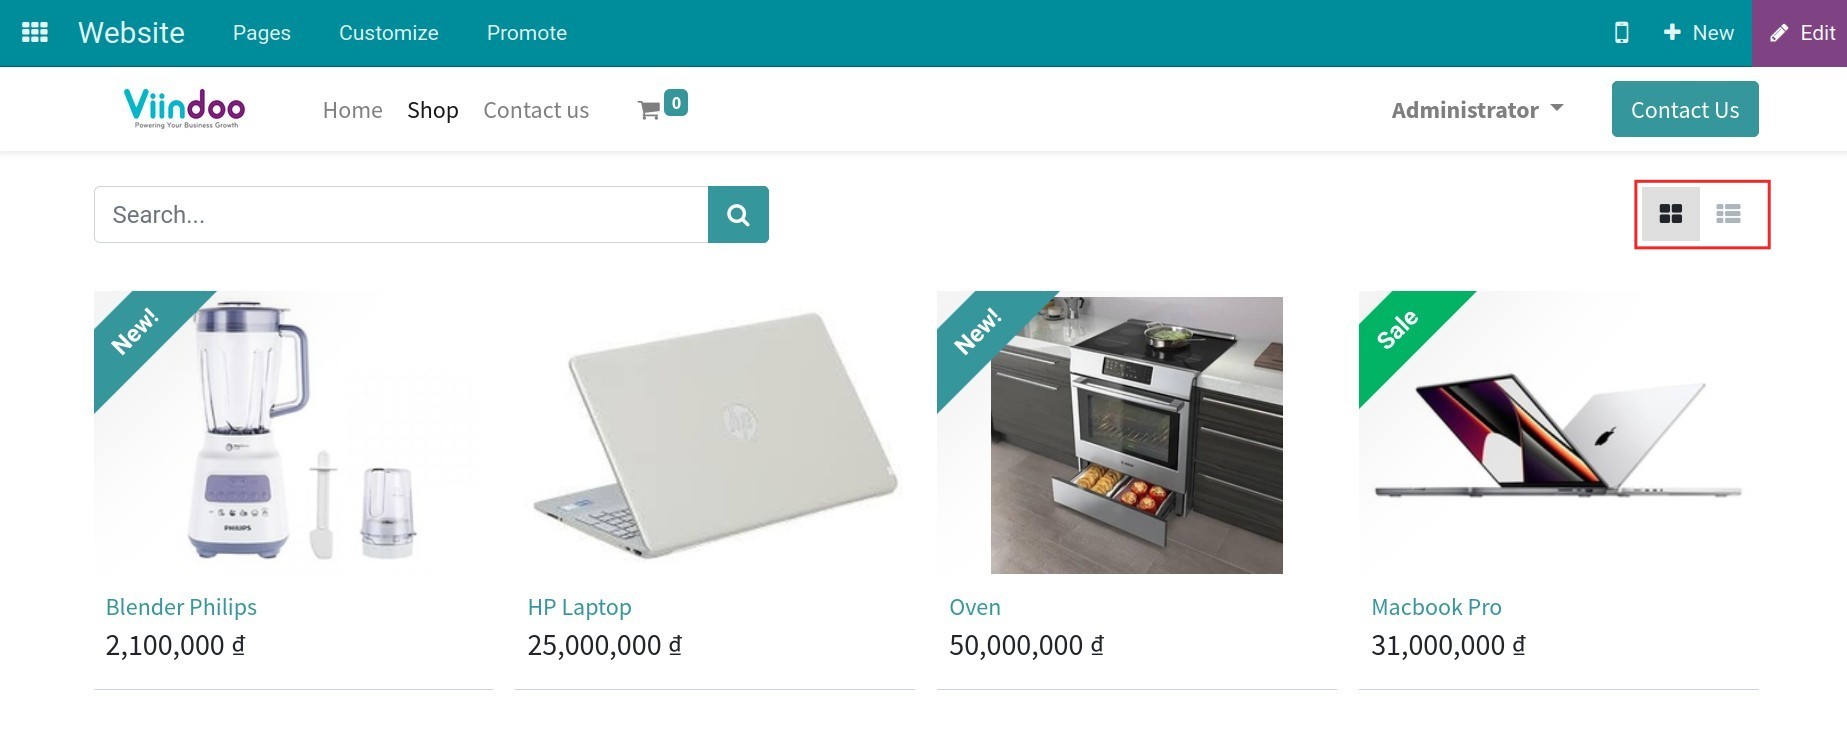
Grid or List button
You go to Website ‣ Customize, enable Grid or List button feature.
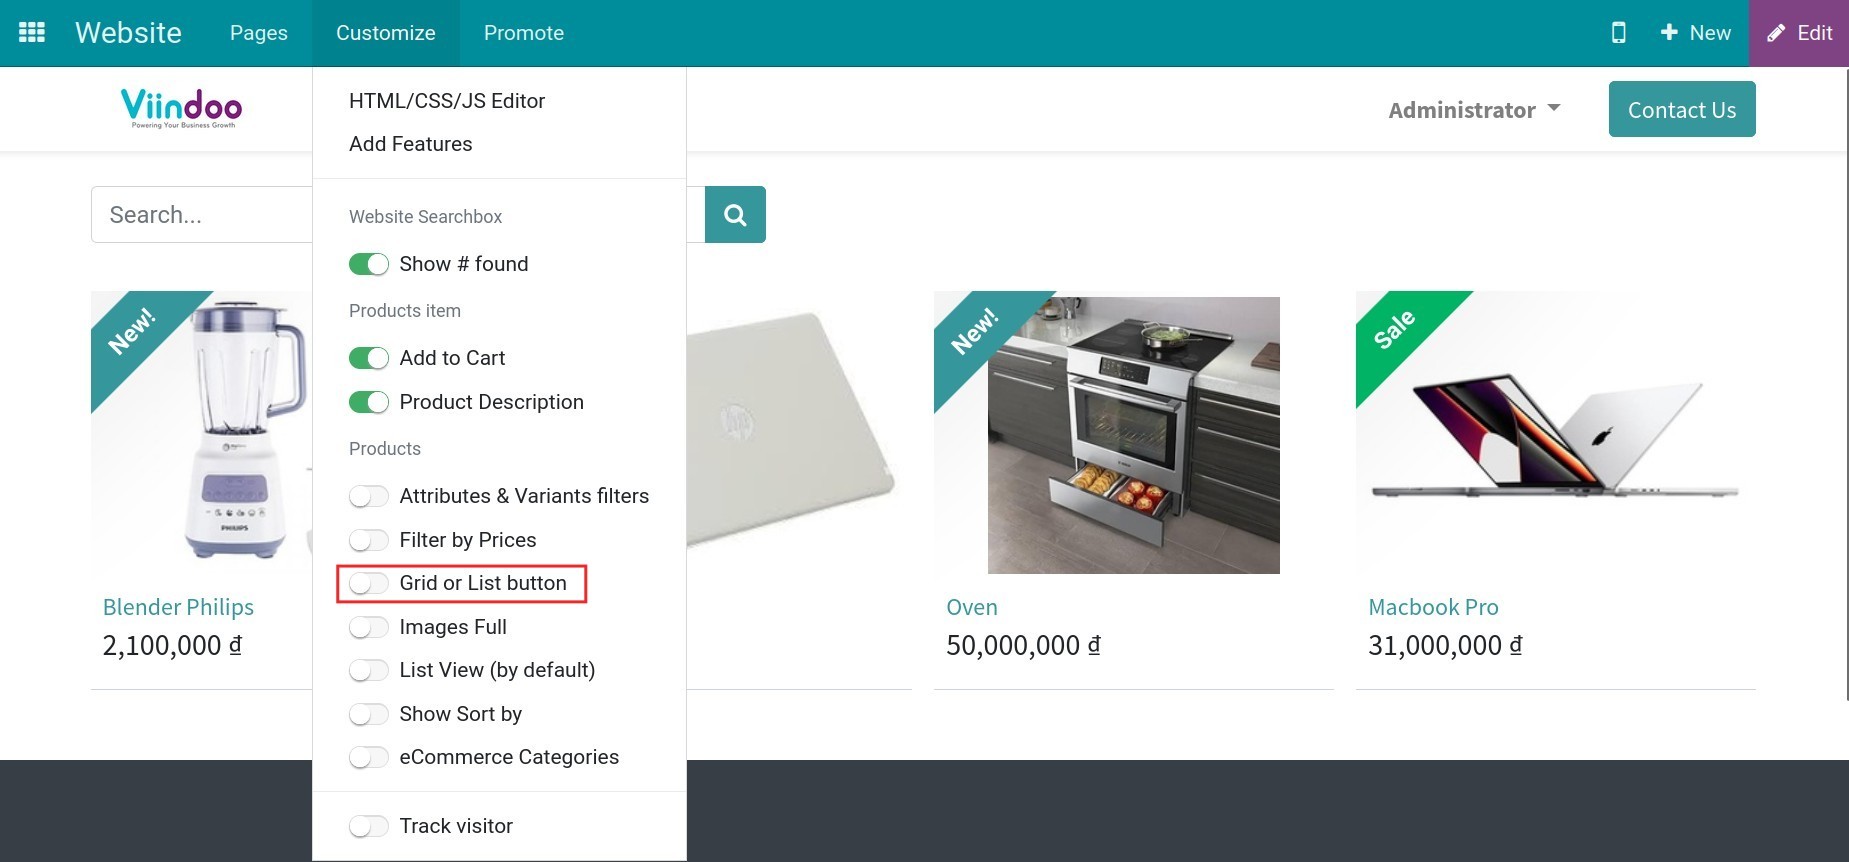
These buttons will be appeared, which allow you to swap the way to display products on the website according to the demand.
Product Attribute’s Filters
To display the product’s attributes, you navigate to Website ‣ Customize, enable the Product Attribute’s Filter feature.
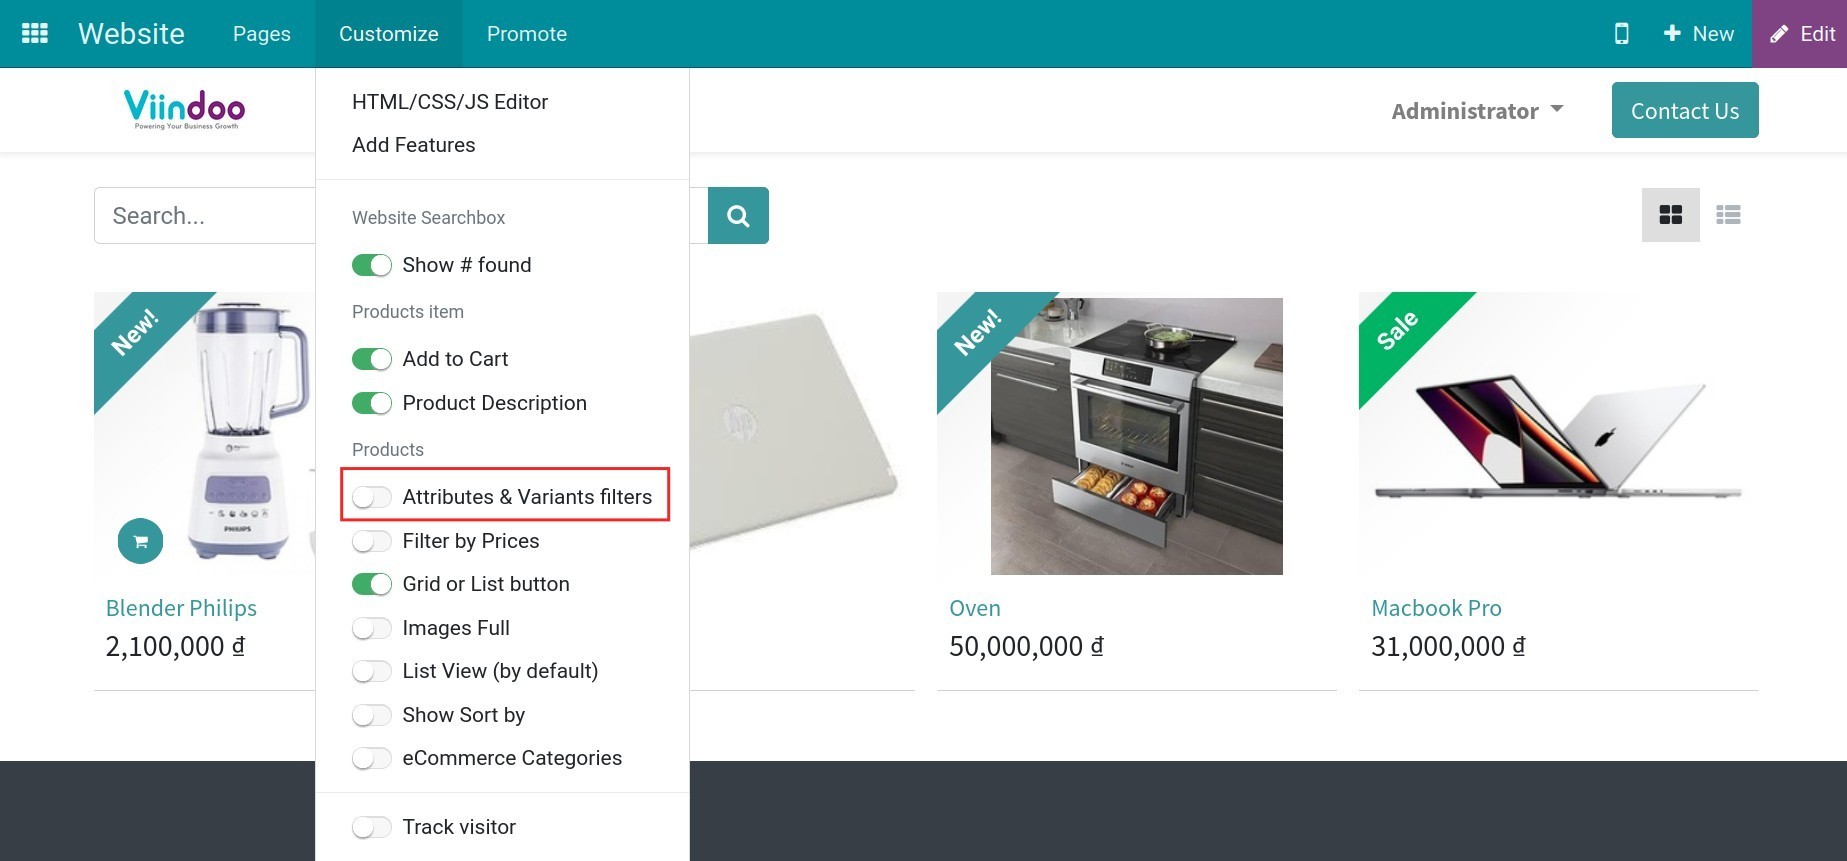
After that, the product’s attributes will be displayed and allow you to choose.
Filter by Price
To search products in specific price range, you navigate to Website ‣ Customize, enable the Filter by Price feature.

After that, you can choose the suitable price range by adjusting the price bar. The products in selected price range will be displayed.

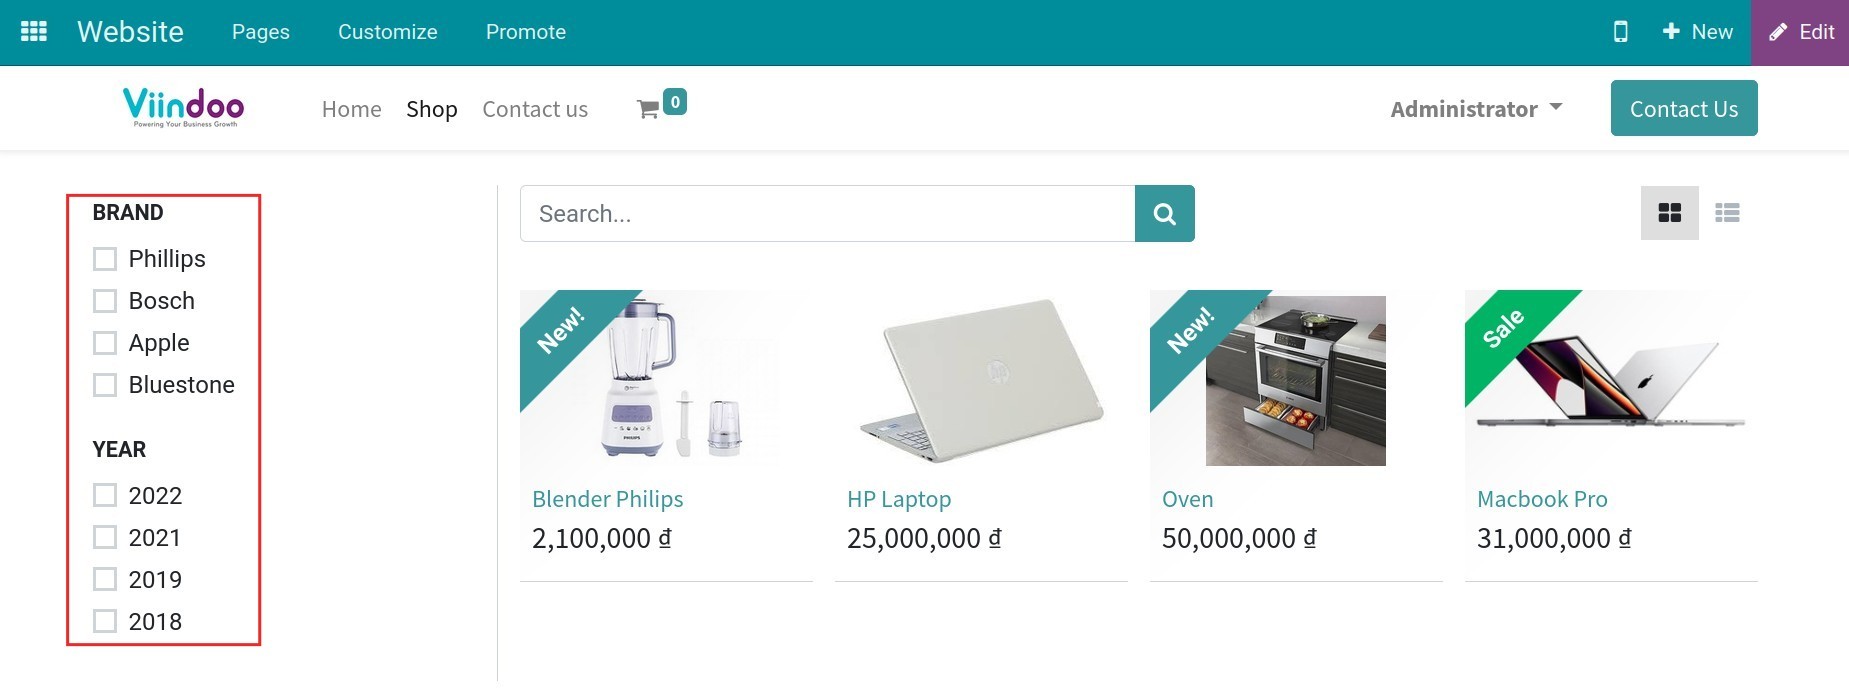
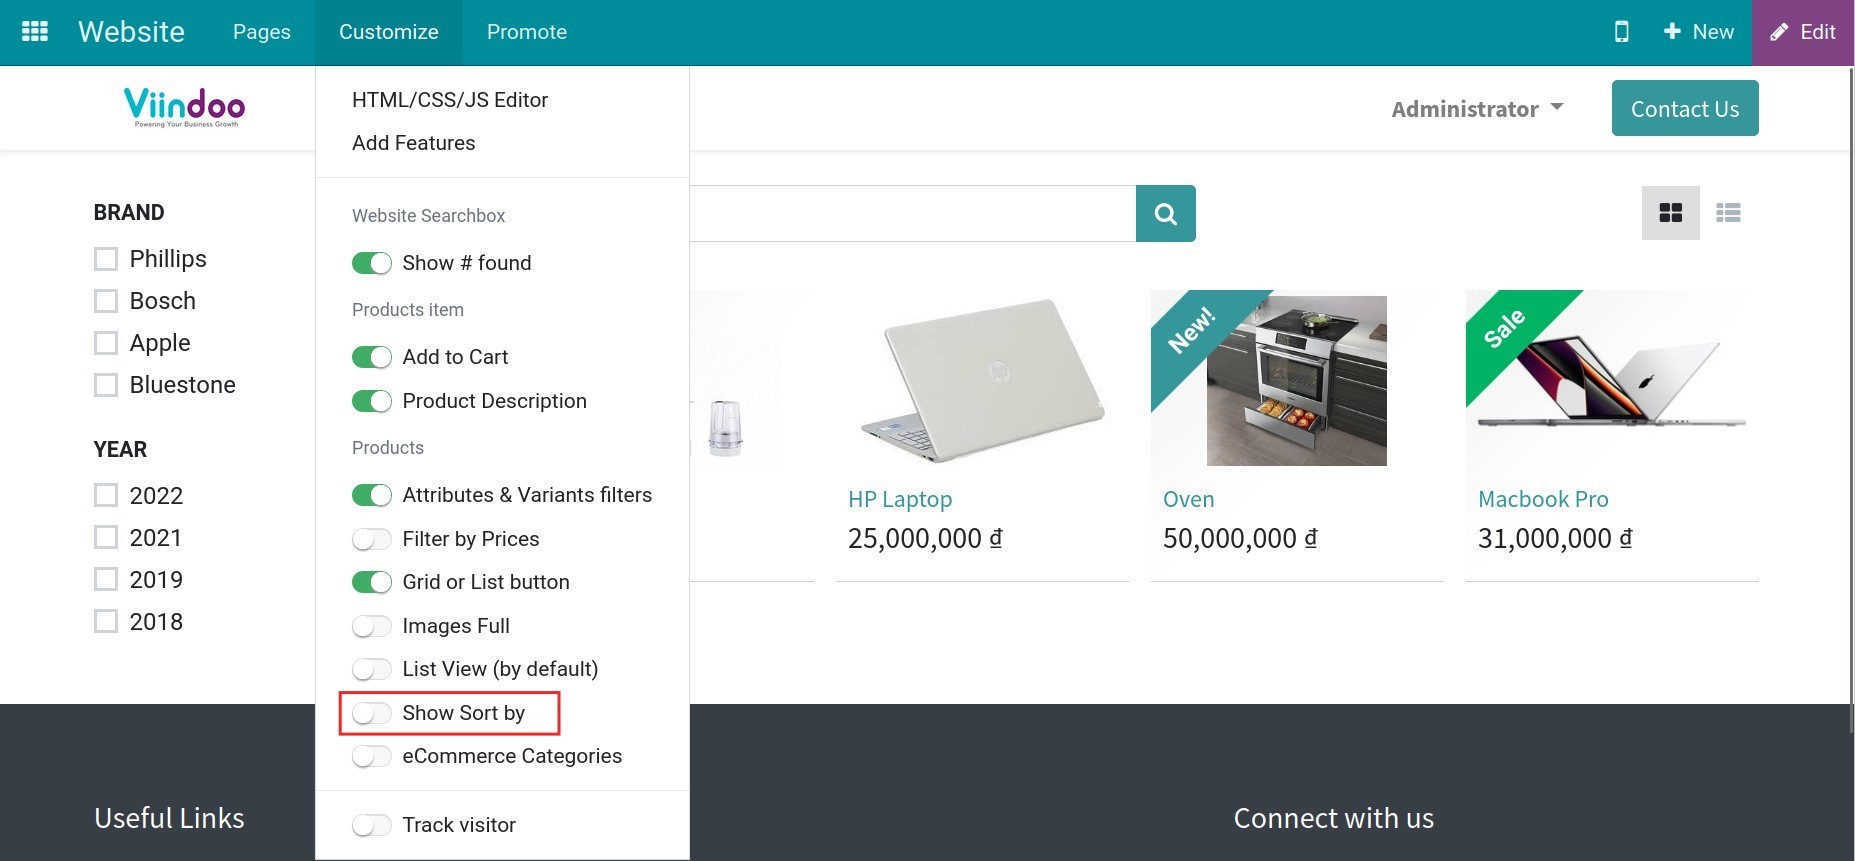
Show Sort by
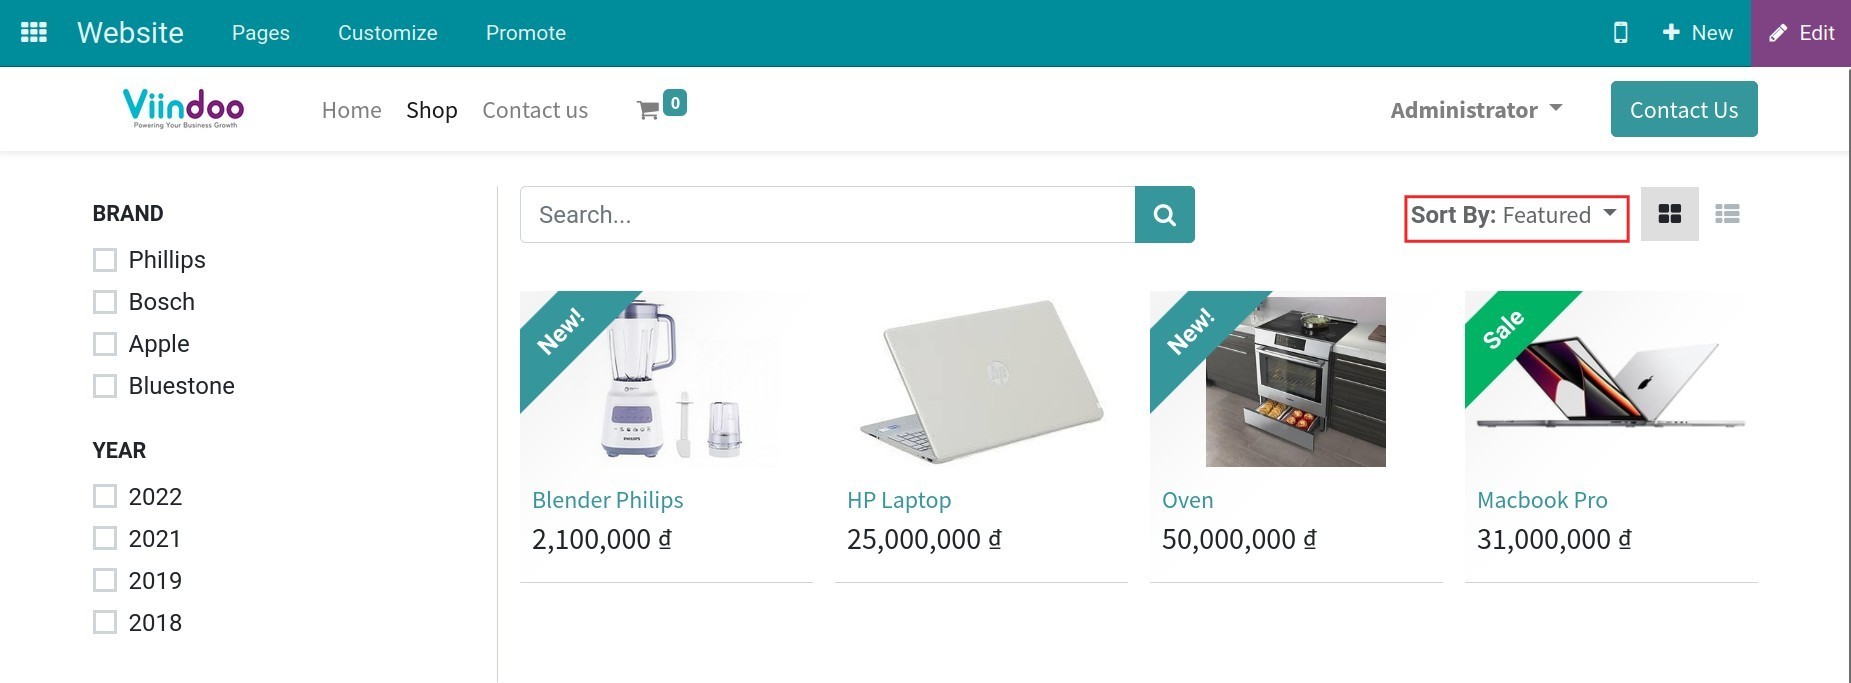
After activating the Show Sort by feature by navigating to Website ‣ Customize, the system will display a button that allows you to select the option to sort the products.
Now, you can select the way to sort the products by price or name.
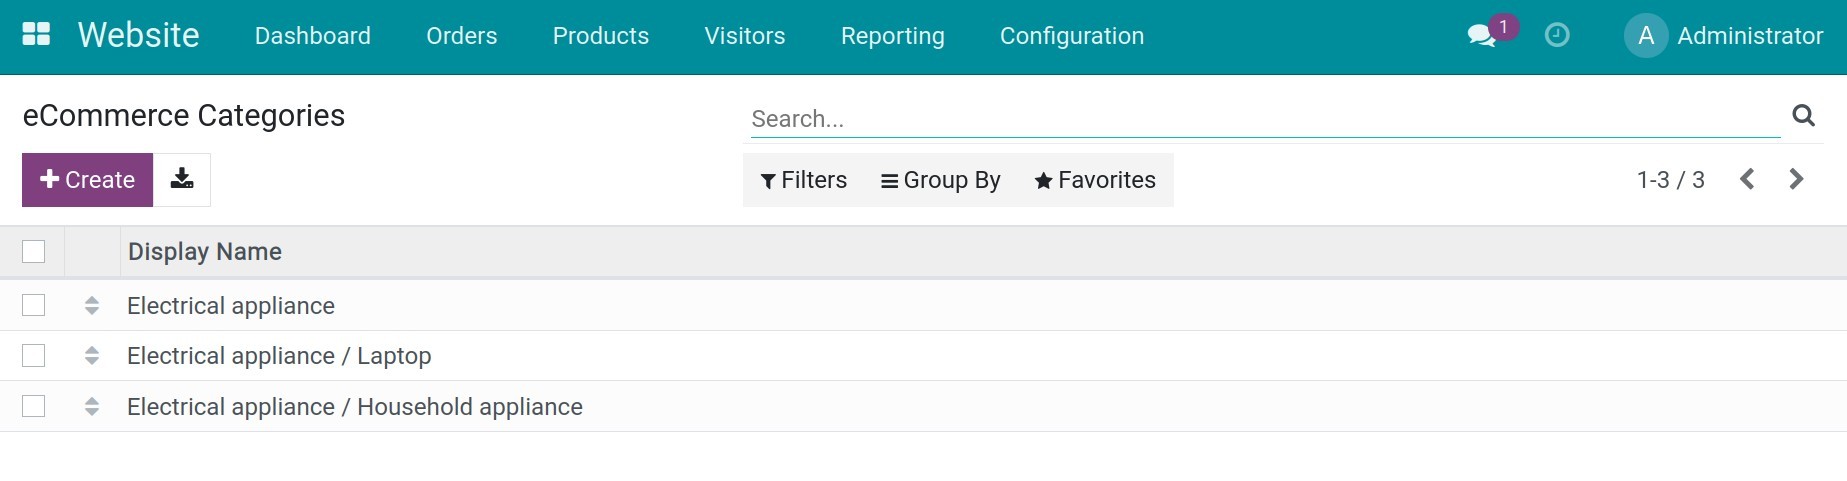
eCommerce Categories
To display the product’s categories, first, you need to configure the eCommerce Categories. For instance, you have the product categories:
Go to Website ‣ Customize to enable the eCommerce Categories.
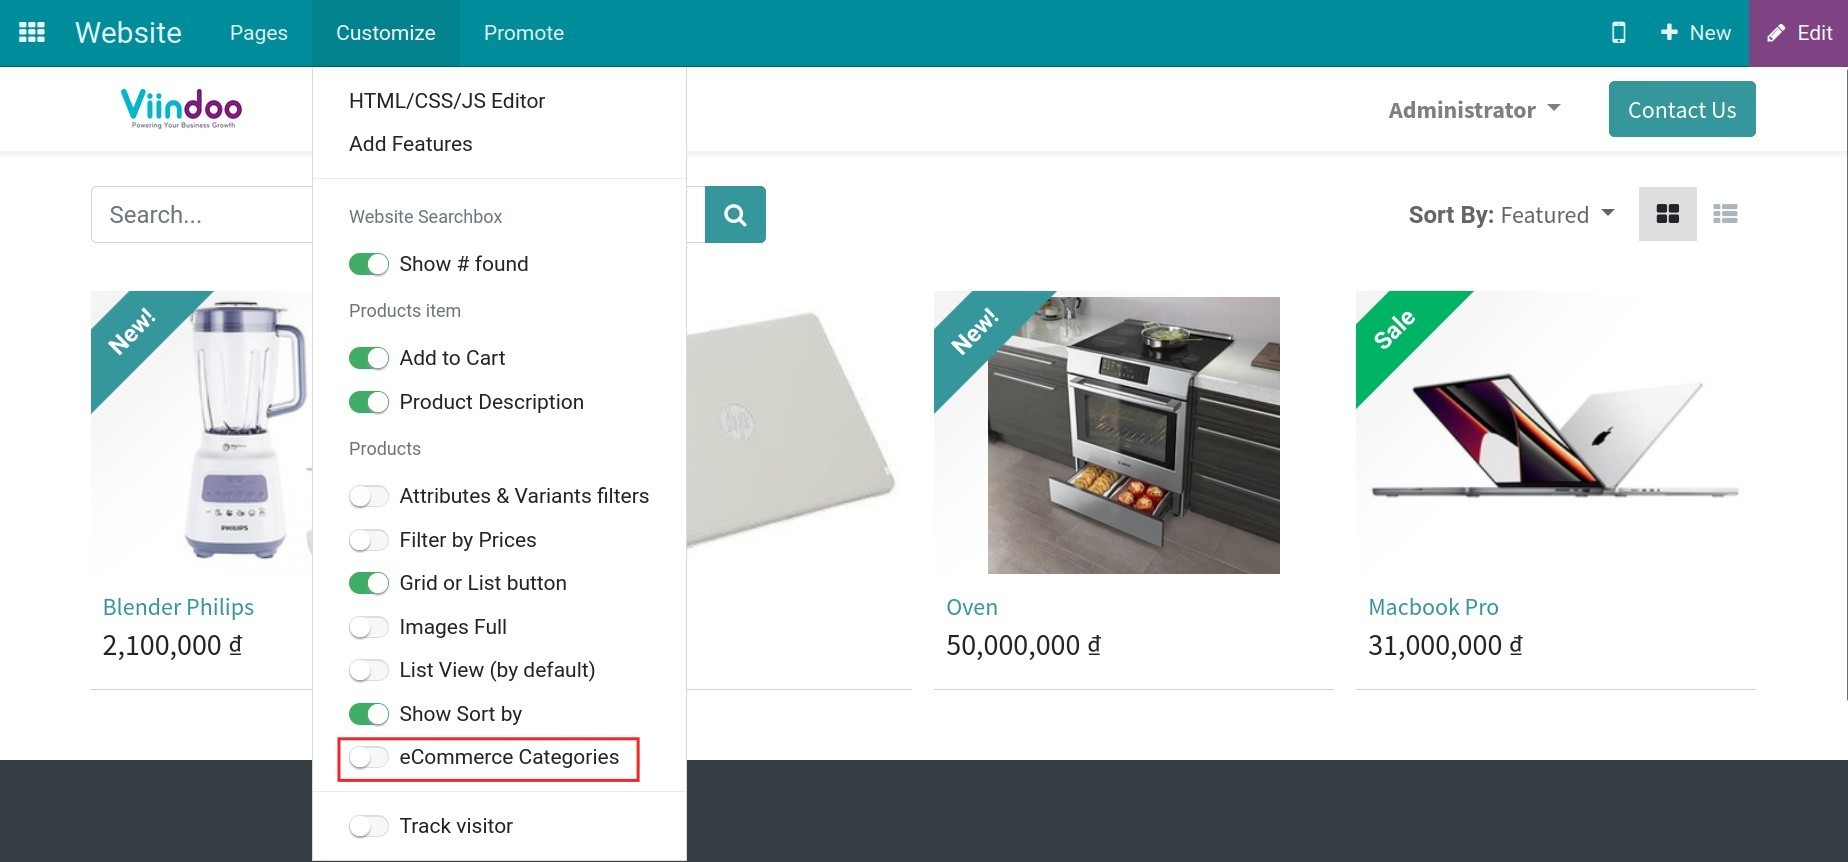
The eCommerce categories will be shown on the left side of the screen, which allows you to choose.

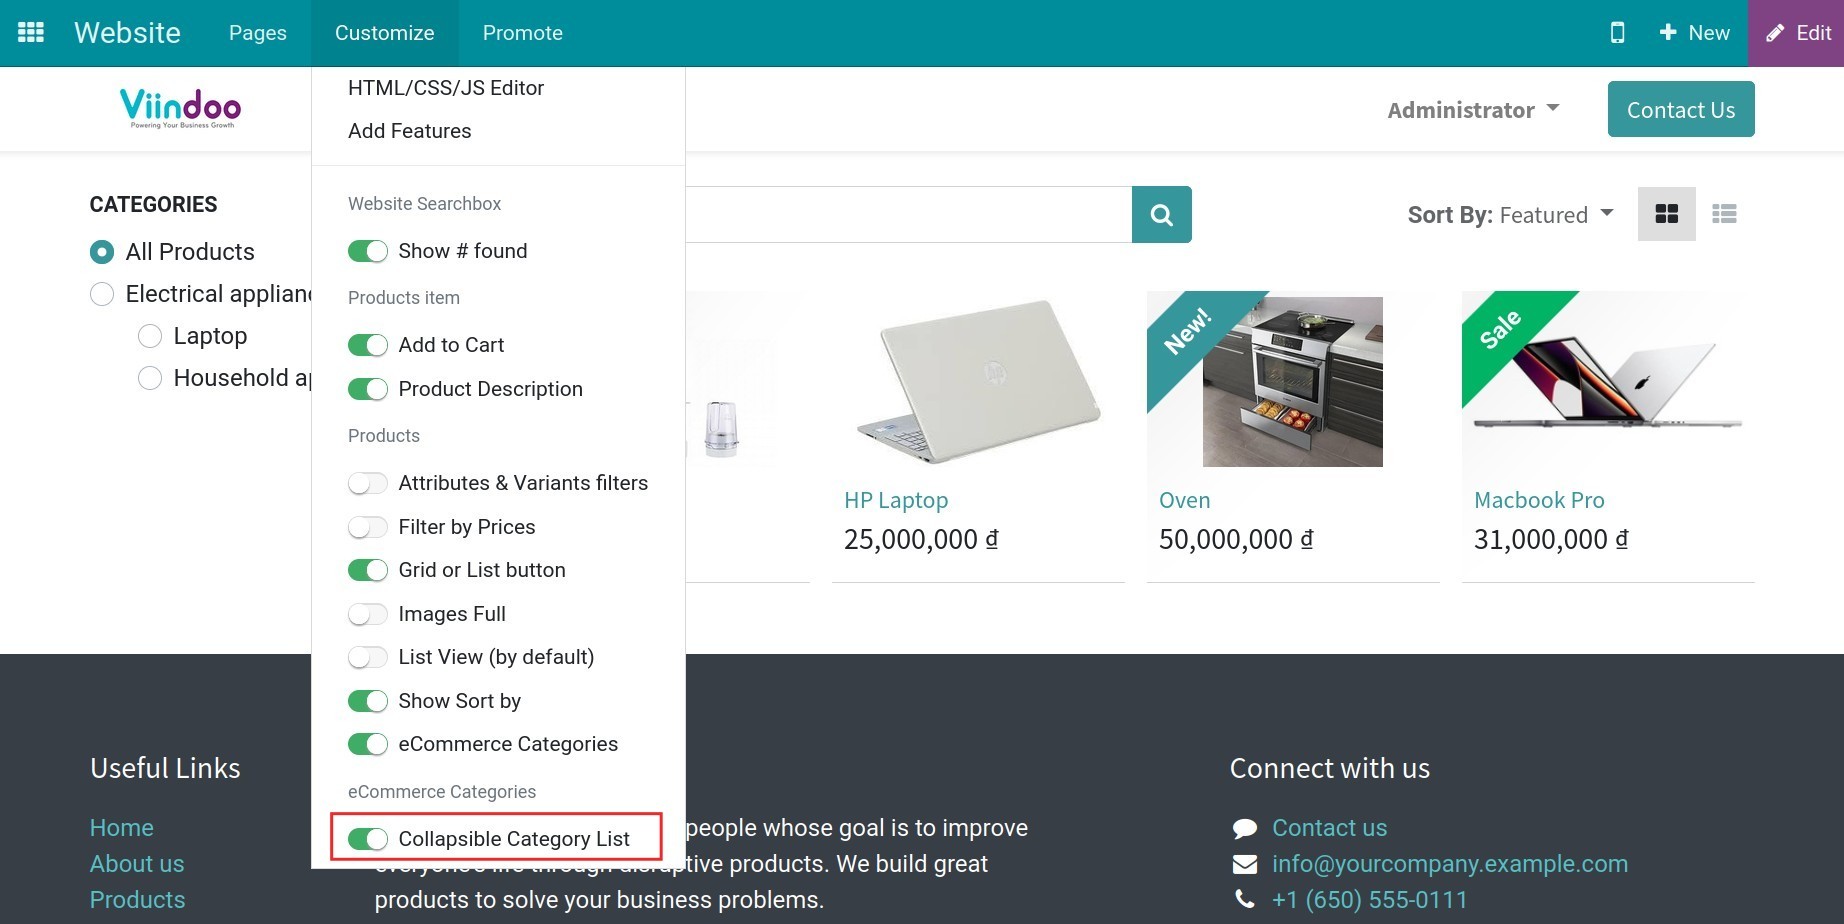
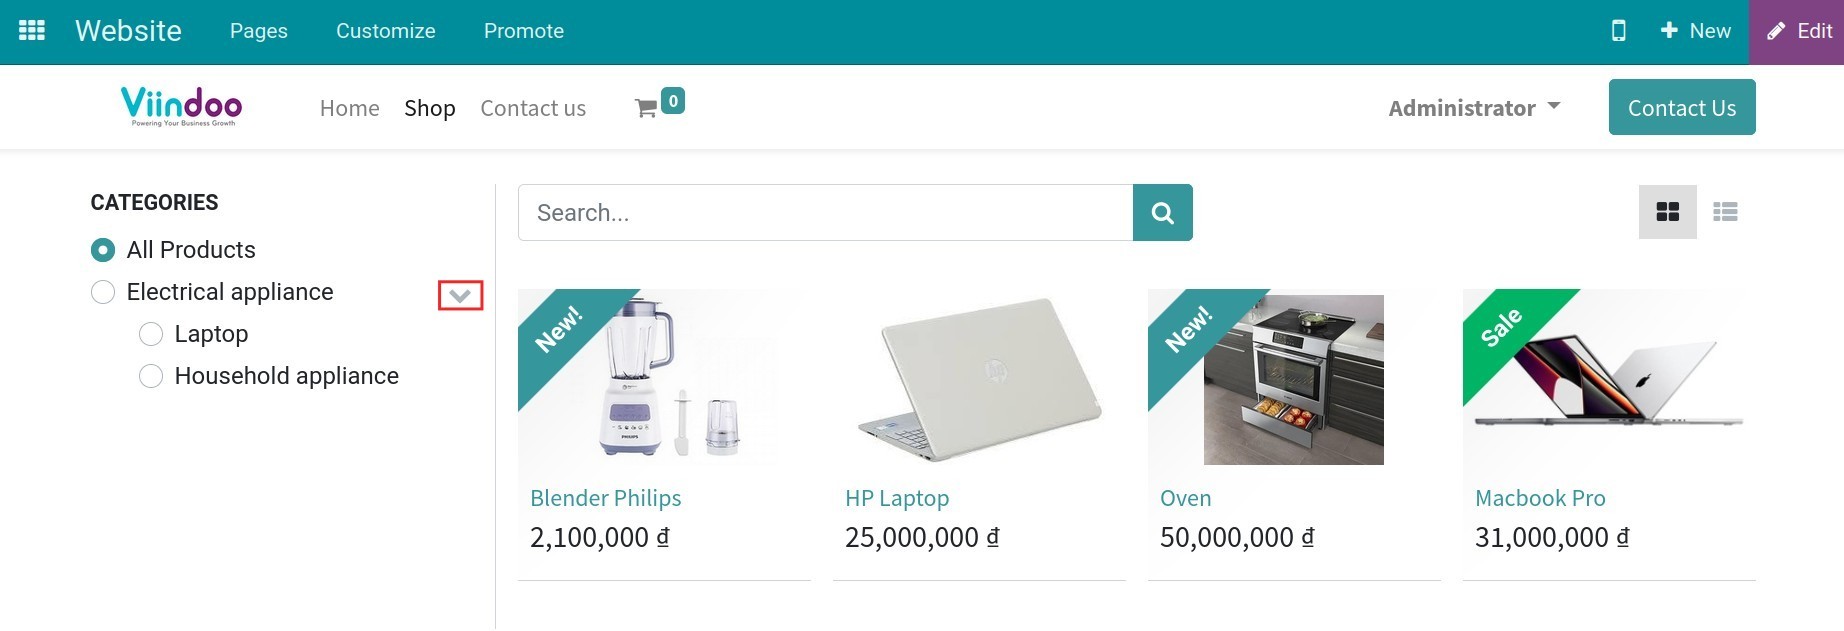
Collapsible Category List
With this feature, you can collapse the eCommerce categories or open it to view the detailed information of the products belonging to each of these categories.
More details about configuration the eCommerce categories on Create and manage eCommerce product categories on the website.
See also
Related articles
Optional modules