How to manage multi websites
Viindoo Website app allows users to create and manage the website independently on a single database. From there, it helps to diversify the way information is organized and clarify customer segments on the website.
In this article, we will guide you on how to set up and manage multi-websites on both the back-end and front-end.
Settings
Create a new website
To create a new website, navigate to Website ‣ Configuration ‣ Settings. In the Select the Website to Configure section, press Create a New Website.
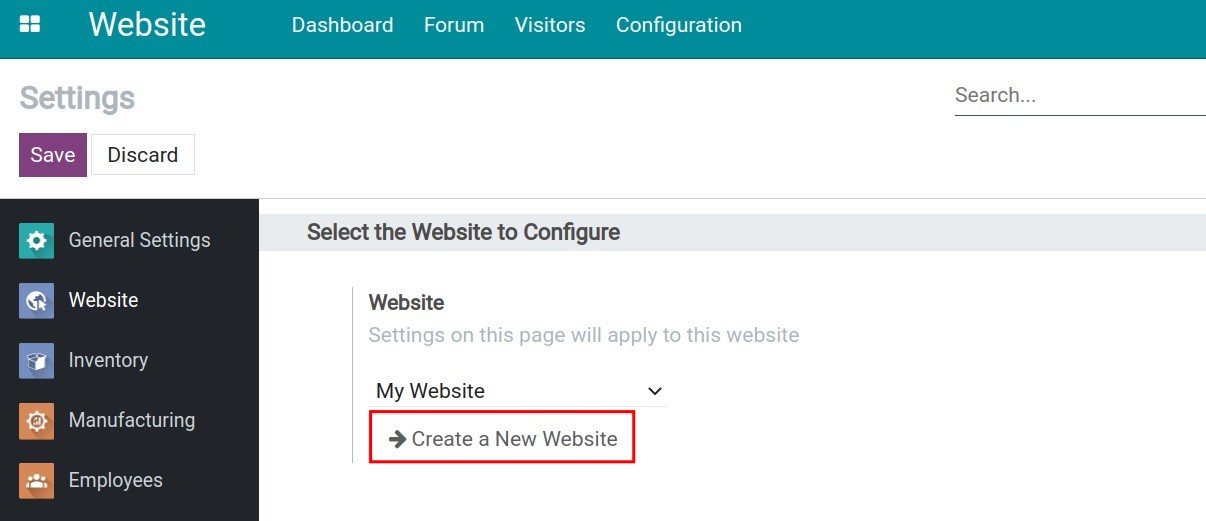
Note
This interface will show up when you have built a website before.
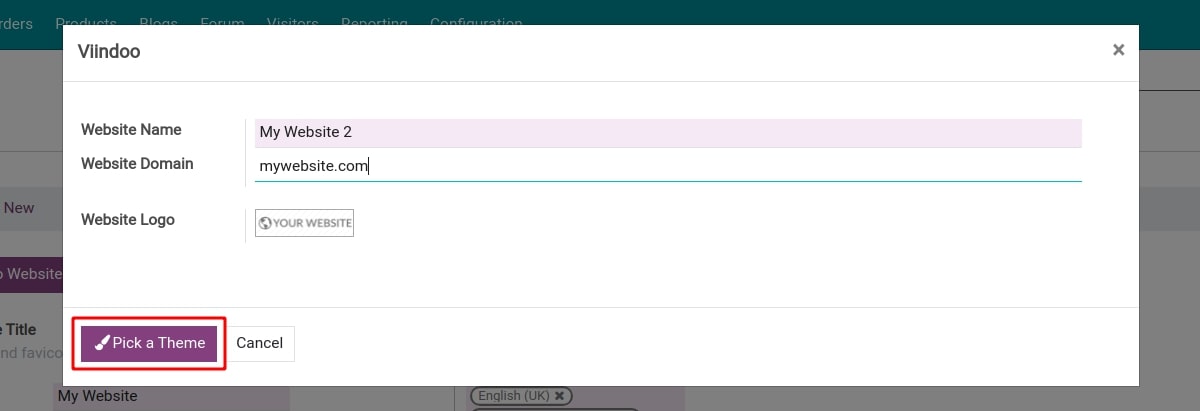
On the Viindoo pop-up, enter the following information:
Website Name: The name of the new website.
Website Domain: The domain of the website. If you haven’t had a domain, you can leave it blank and add the domain later.
Website Logo: The logo of the website.
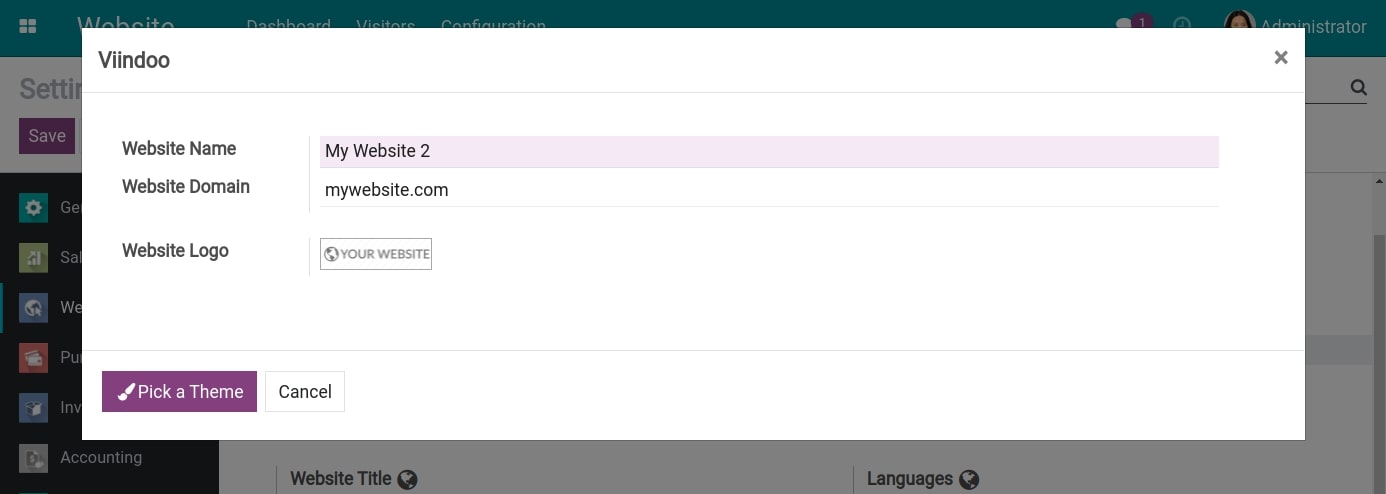
After entering the information, press Pick a Theme to select a theme for your website.
Scroll to find a theme and press Use this theme to select.
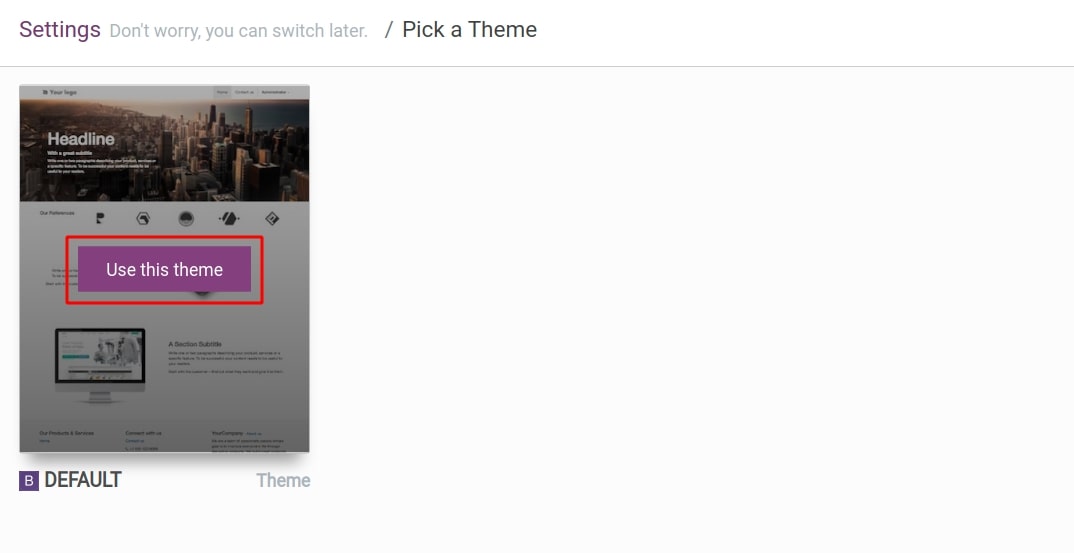
Then, the system will navigate you to a website design view. Here, you can build the pages for your own website.

After configuring, press Save to save the changes, and your website will be created.
Tip
If you want to learn how to set up your own domain, please refer to How to use your own domain name.
Manage multi-website
Manage multi-website from the back-end
All of your websites will be displayed on the main view of the Website app. Select the website you want to view the website data. You can view the data from last week, last month, last year.

Manage pages from the back-end
To manage your pages, navigate to Website ‣ Configuration ‣ Pages.
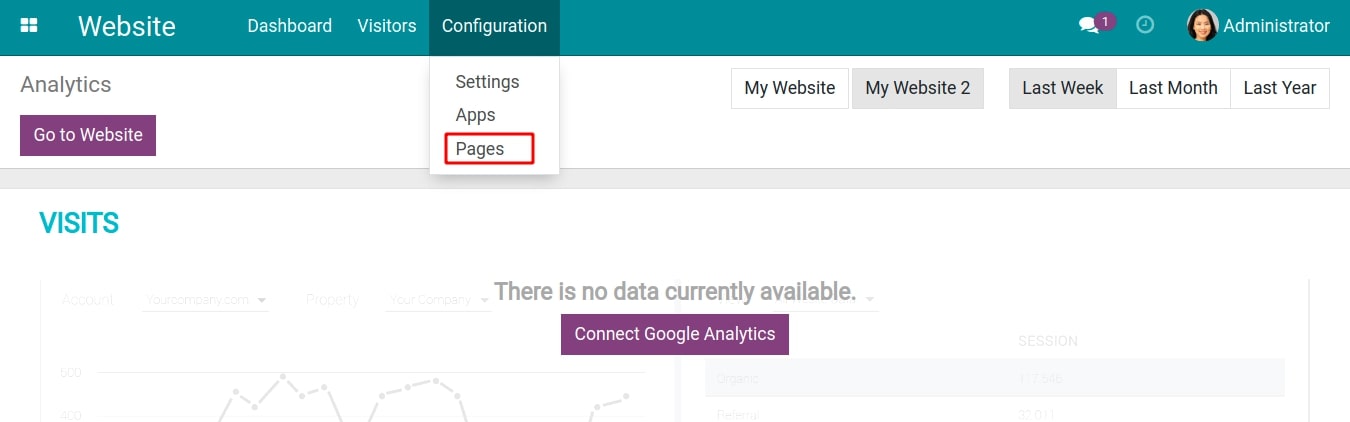
All the pages of the website will be listed here.
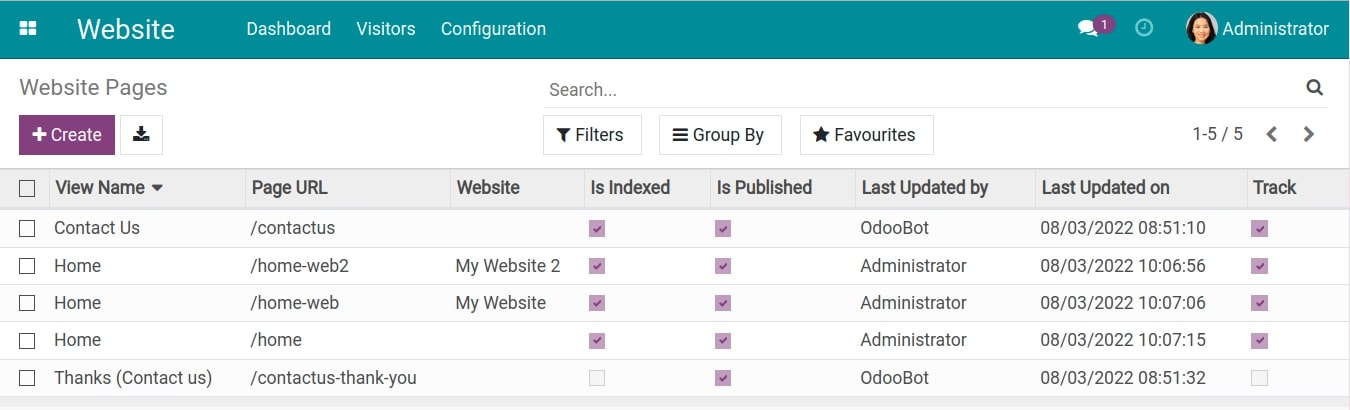
Select a page you want to set up, press Edit and edit the following information:
View Name: The page’s name. This content will be displayed on the browser tabs.
Page URL: Link to the page.
View: This is a technical field to configure the display of View name on this website.
Website: The website that displays this page. Leave it blank if you want this page to appear on all of your websites.
Track: Select to activate the visitors tracking mode.
Is Indexed: Select if you want searching tools like Google to categorize, collect, organize website data, evaluate website rankings and return search results of users.
Is Published: Select to publish the website.
Related Menu Items: Menu items related to the website will be displayed here.
Website: The name of the website that the website wants to display.
Menu: Set a new name instead of the interface name.
URL: Link to the page.
Is Mega menu: If checked, the site will be displayed as a list. Below the main menus there will be sub-menus.
New windows: If checked, when viewing the website, you will be redirected to a new page.
Parent menus: Is a parent level menu.
Display groups: Users of this group will be able to view the web pages. Leave it blank if you allow everyone to see the page.
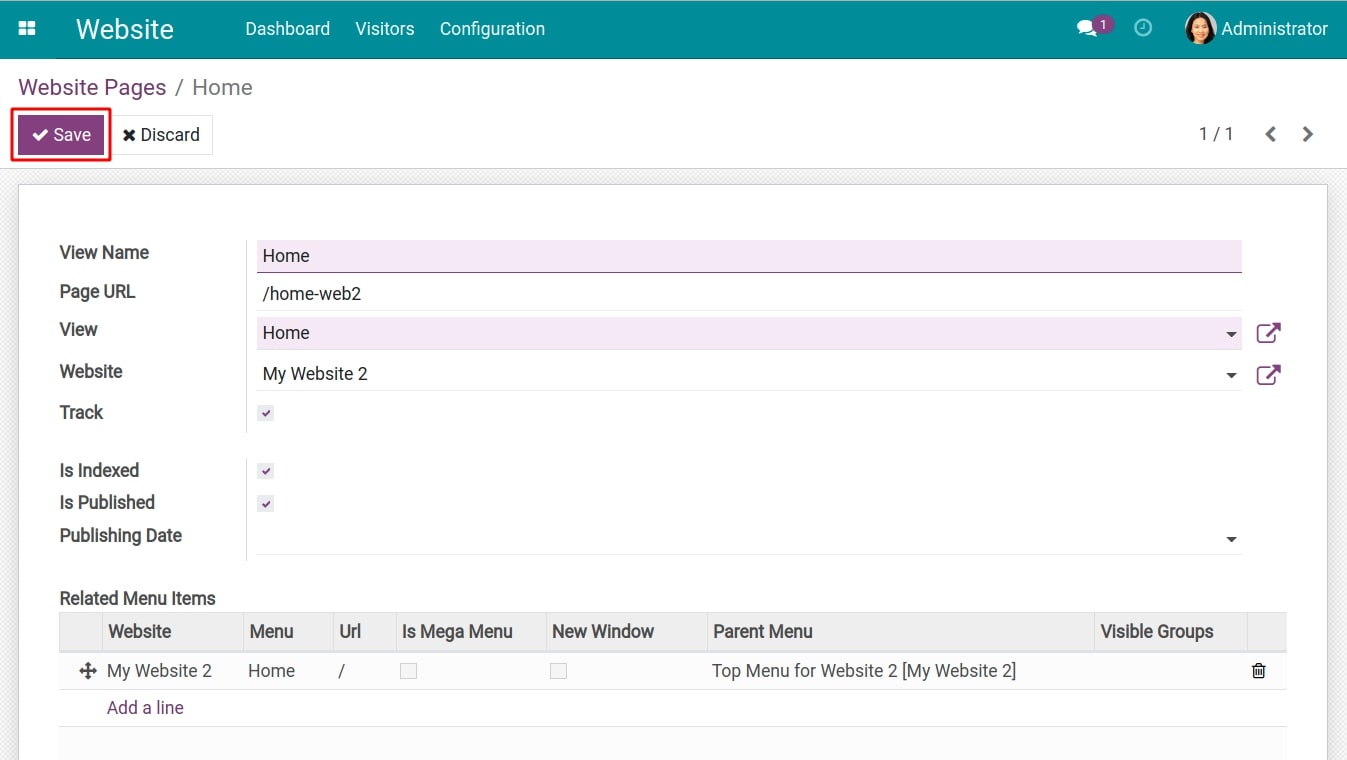
And then press Save to confirm the changes.
Manage multi-website on the front-end
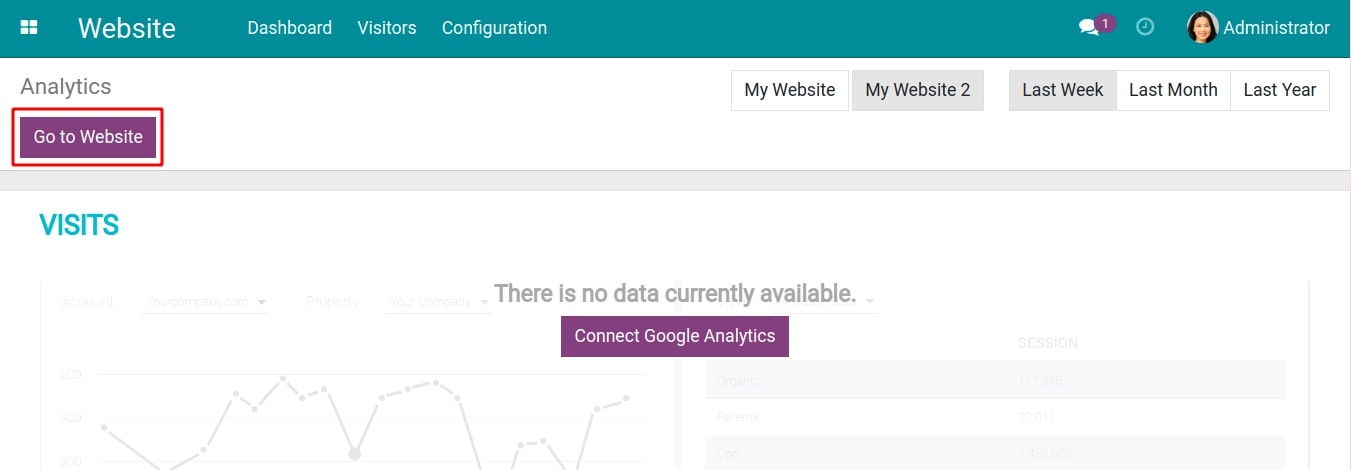
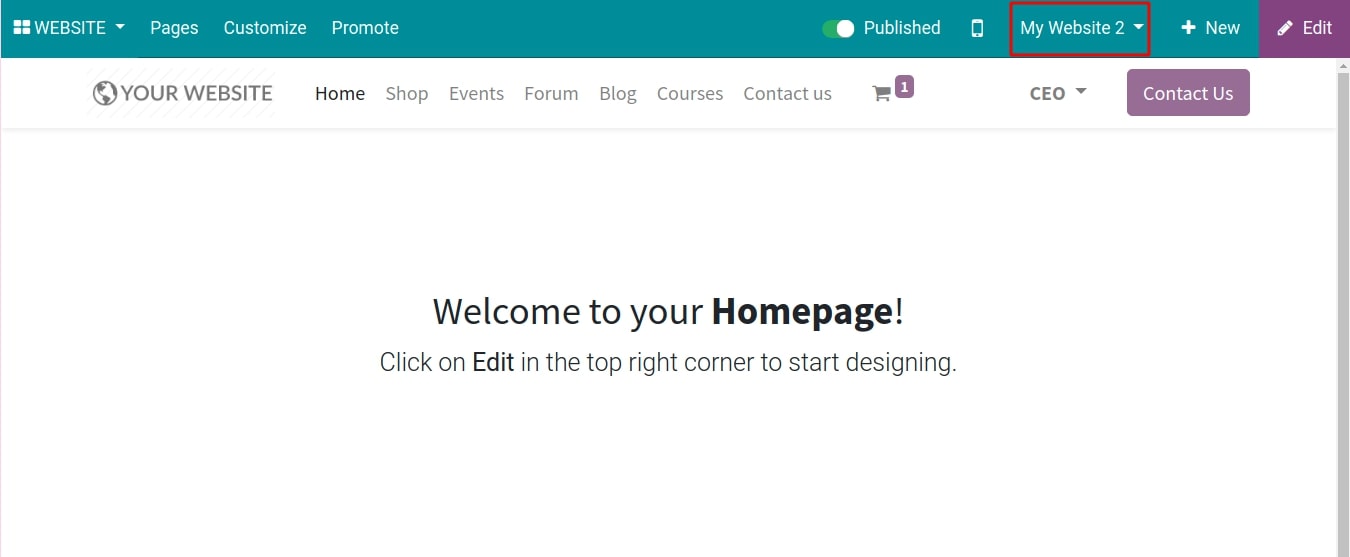
To view the website on the front-end interface, navigate to Website ‣ Go to Website.
On the top right corner, press the website name to change the website.
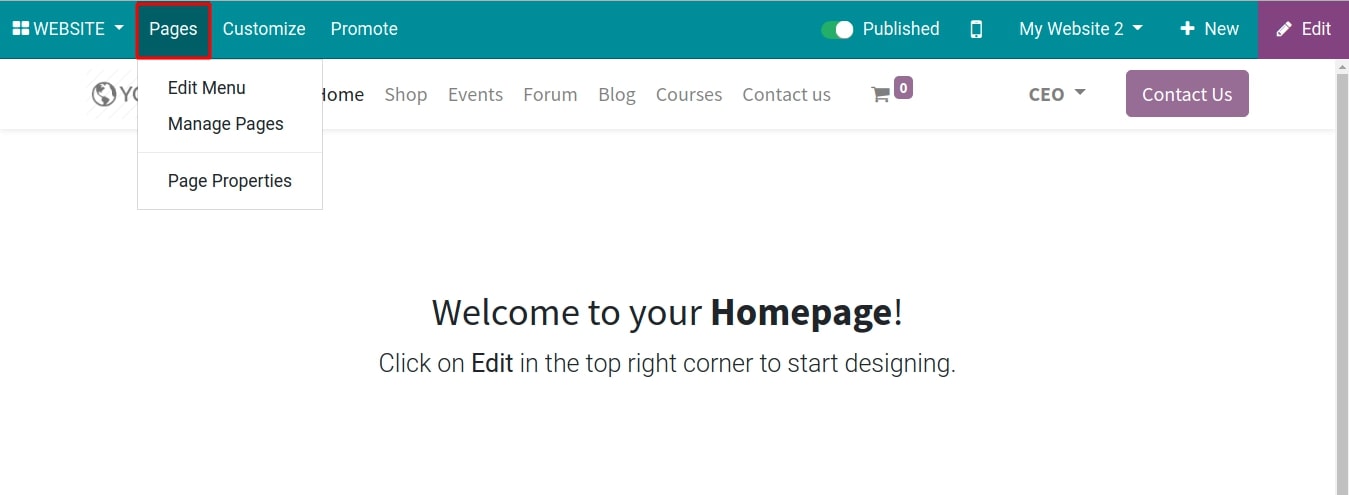
Manage pages on the front-end
At the pages menu, you can set up the following information:
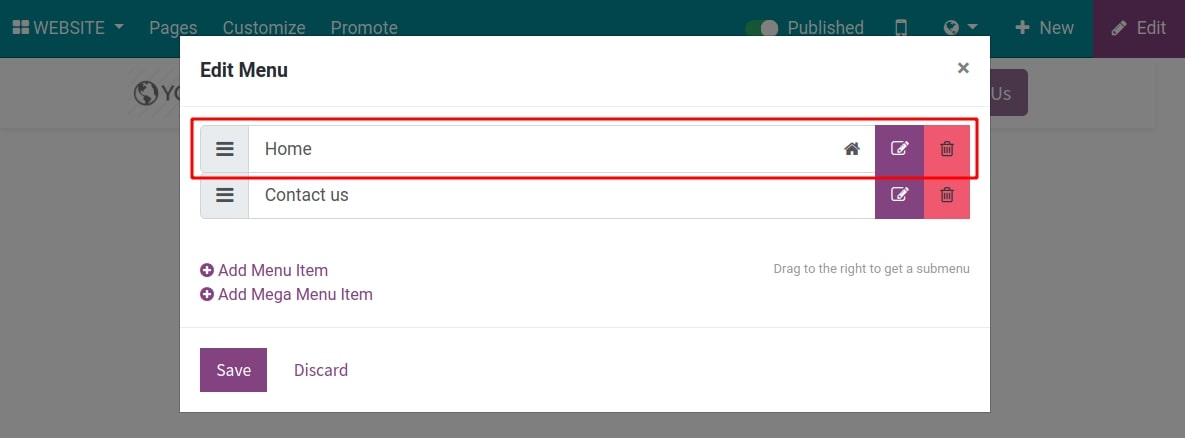
Edit Menu
Edit, drag and drop and delete the pages from the website menu.
![Edit menu]()
Tip
To create a sub-menu, drag and drop to the right.
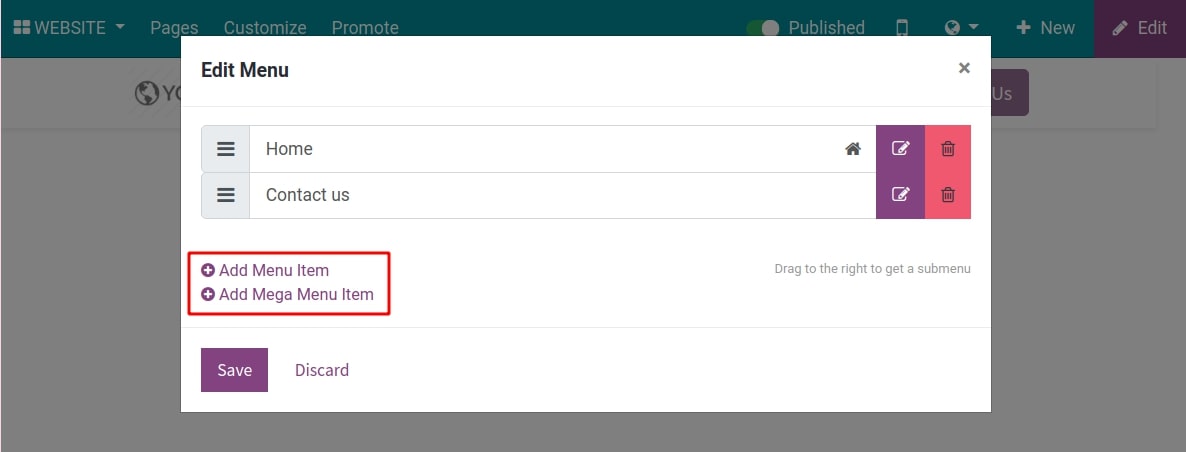
Add menu items and mega menu items to your website.
![Add menu items and mega menu items to your website]()
Add Menu Item: Add a new menu to the main menu.
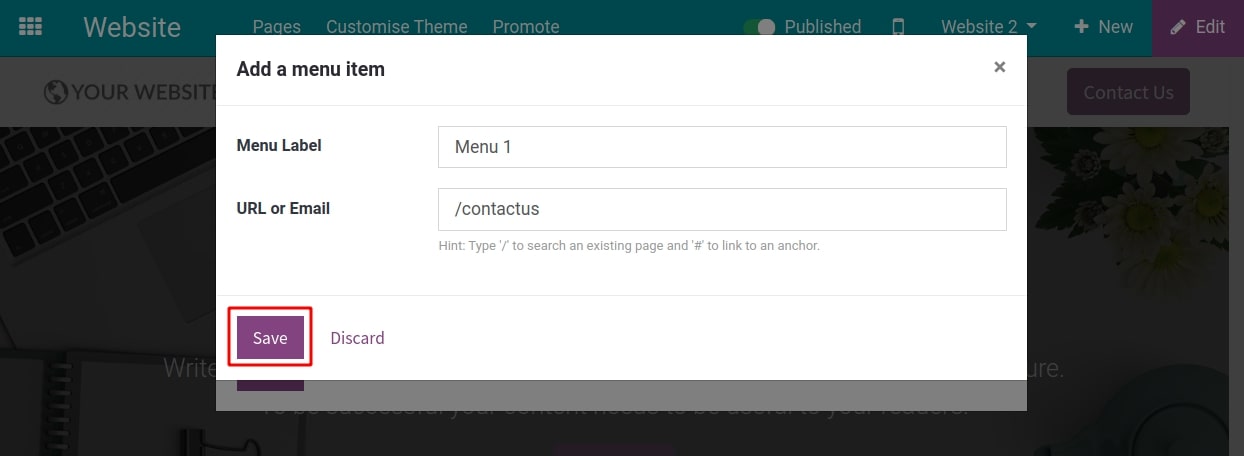
On the Edit Menu pop-up, select Add Menu Item. The user will be navigated to another pop-up to enter the information for the menu item, including:
Menu Label: The menu label will be displayed on the Header.
URL or Email: Enter the page address or email to attach the menu with an existing page or email.
Tip
Press / to search the existing pages and # to link to an anchor.
![Add a menu item]()
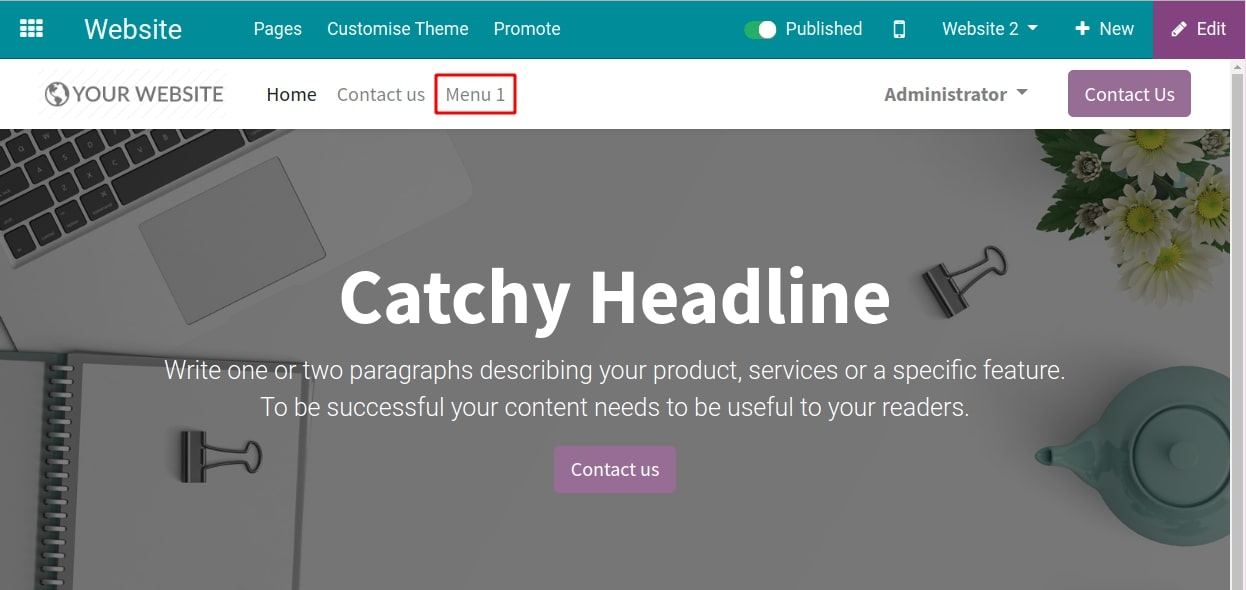
Press Save when you finish. In our example, you will see the Menu 1 appears on the main menu.
![Menu items on the main menu]()
Add Mega Menu Item: Add a new mega menu onto the main menu.
Note
Mega Menu is a multi-level dropdown that allows you to pack all the website navigation into one menu.
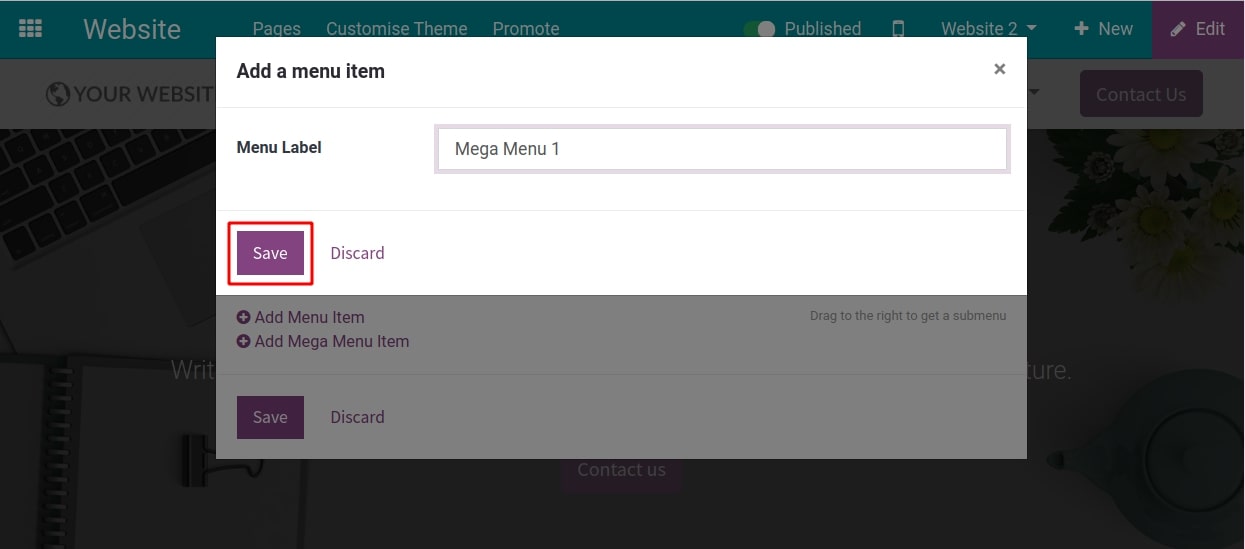
On the Edit Menu pop-up, select Add Mega Menu Item.
Users will be navigated to a pop-up to add a Menu Label. And then press Save.
![Add Mega Menu item]()
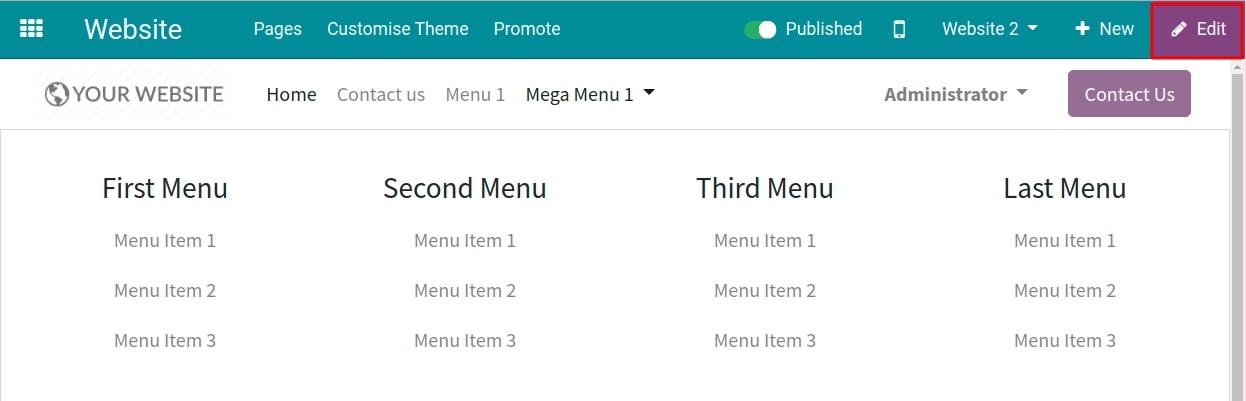
After this step, you will see a Mega Menu name Mega Menu 1 on the main menu.
When you press on the mega menu, will appear a dropdown with 4 sub-menus, in each sub-menu are menu items.
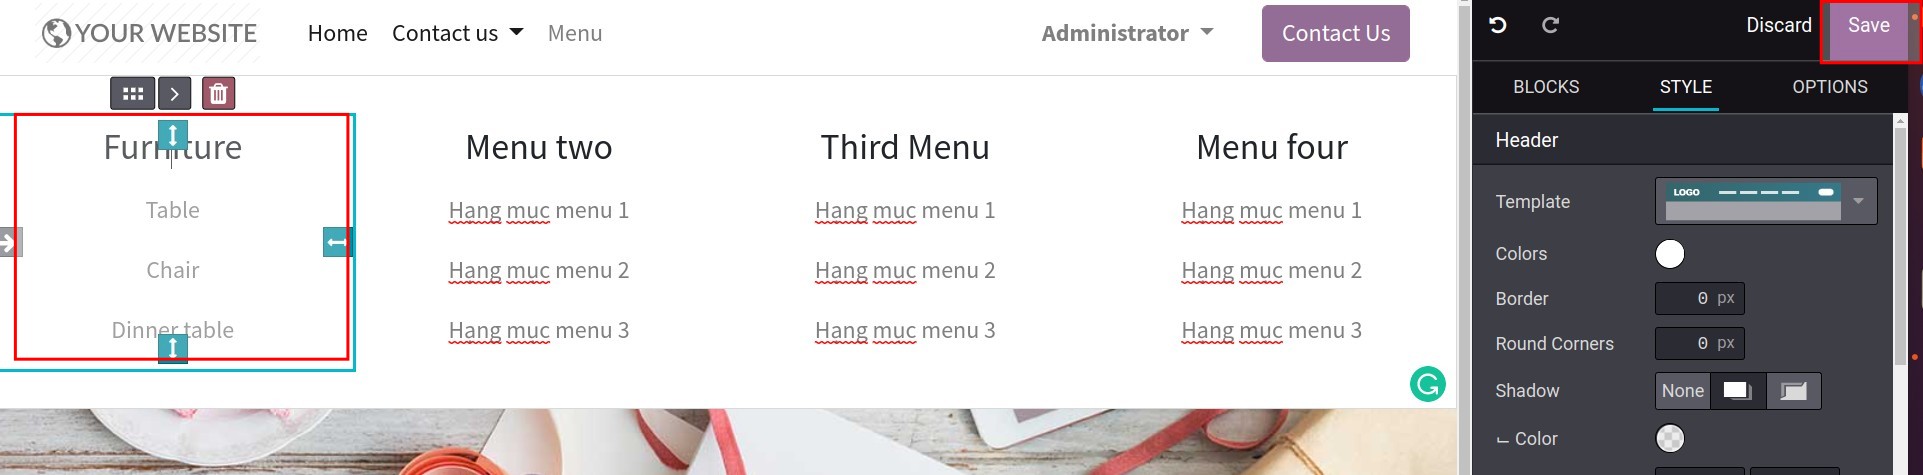
![Edit the mega menu title]()
You can edit the mega menu title by pressing Edit to manually edit each title. Press Save after you finish.
![Edit the mega menu title]()
Manage pages
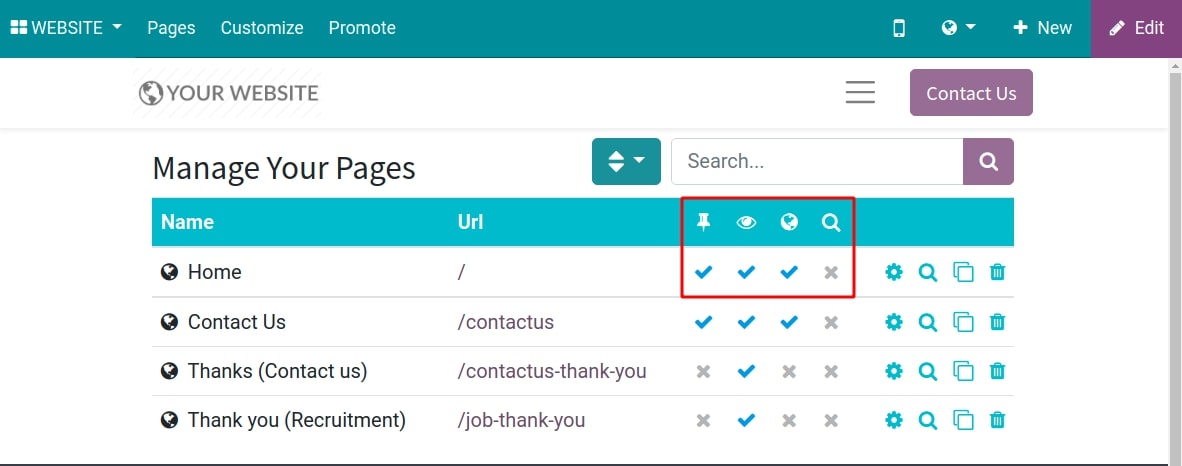
To manage pages, navigate to Website > Pages > Manage Pages. Here you will see the website pages, URLs, and the corresponding display rules:
Does it pine on the main menu?
Has it been published?
Is Indexed?
Has it been SEO optimized yet?
![Check the page’s properties]()
You can also set up:
SEO.
Copy the page.
Delete the page.
![Set up page properties]()

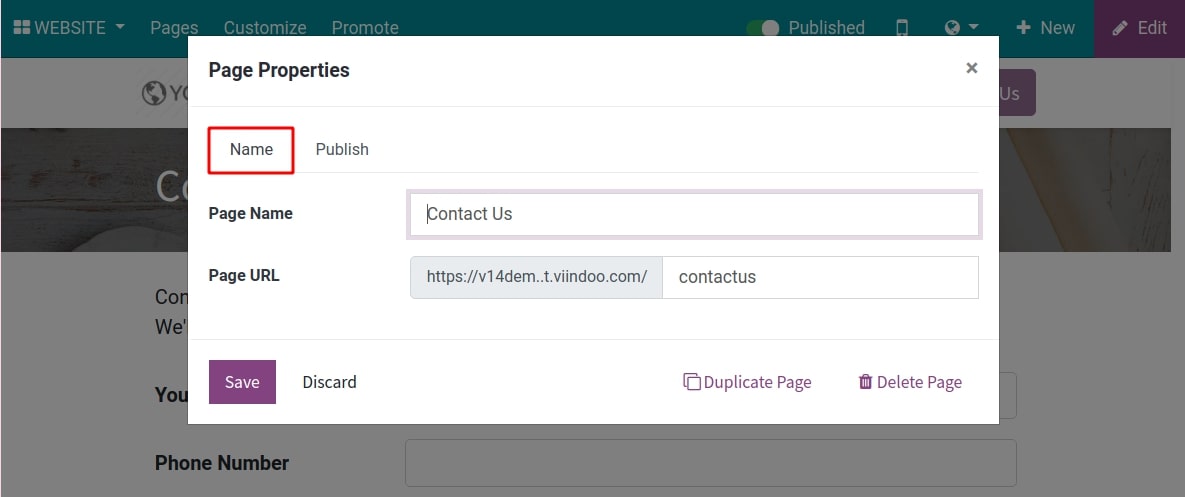
Page Properties
Name tab:
![Set up the page name in page properties]()
Page Name: Edit to change the page name.
![Enter the page name in page properties]()
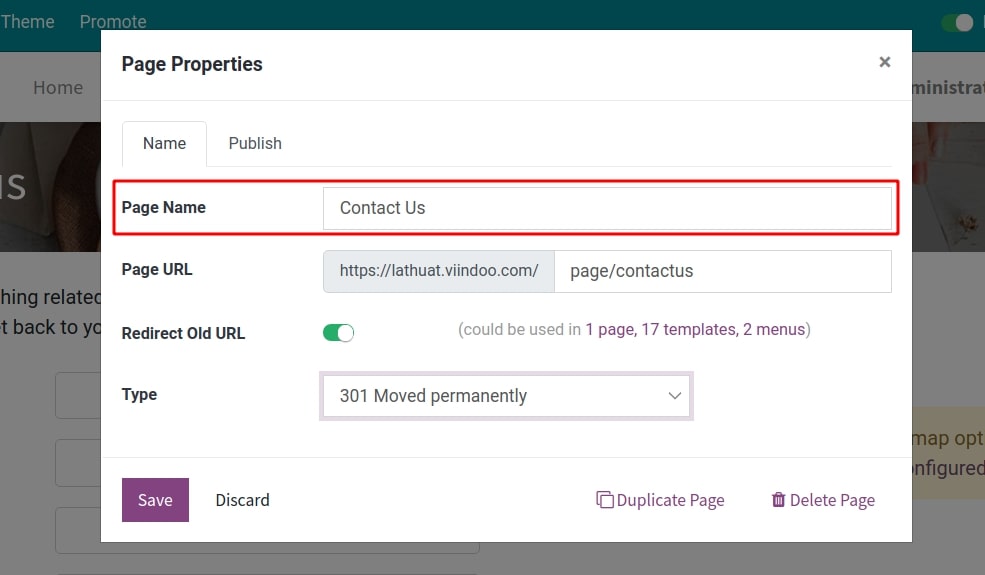
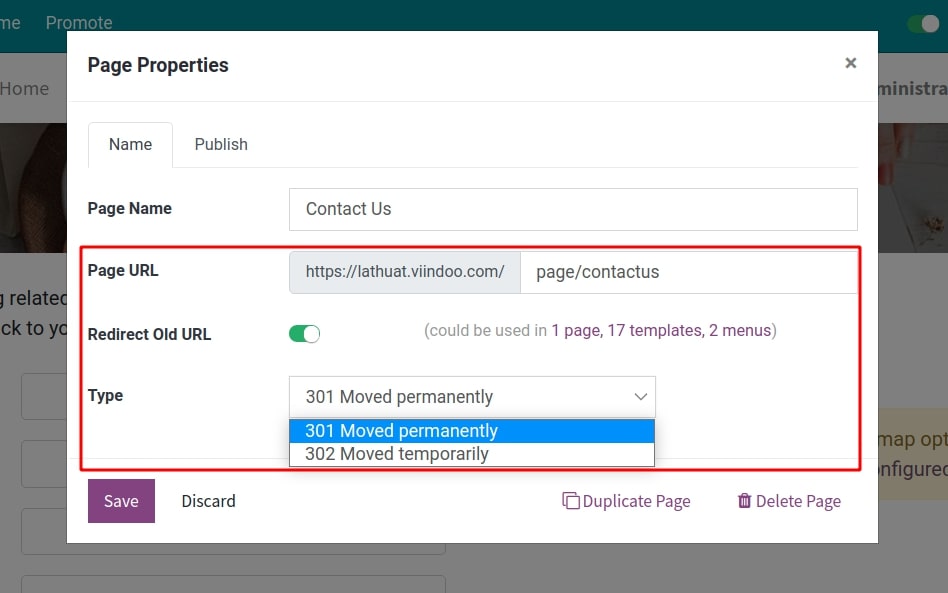
Page URL: When you edit the page URL, the Redirect Old URL option will appear. There are two options for this:
301 Moved permanently - Permanently redirect the old URL to the new URL.
302 Moved temporarily - Temporarily redirect the old URL to the new URL.
![Page URL in page properties]()
This redirection will help keep the traffic, rank from the old URL to the new URL and keep your website from losing its rank.
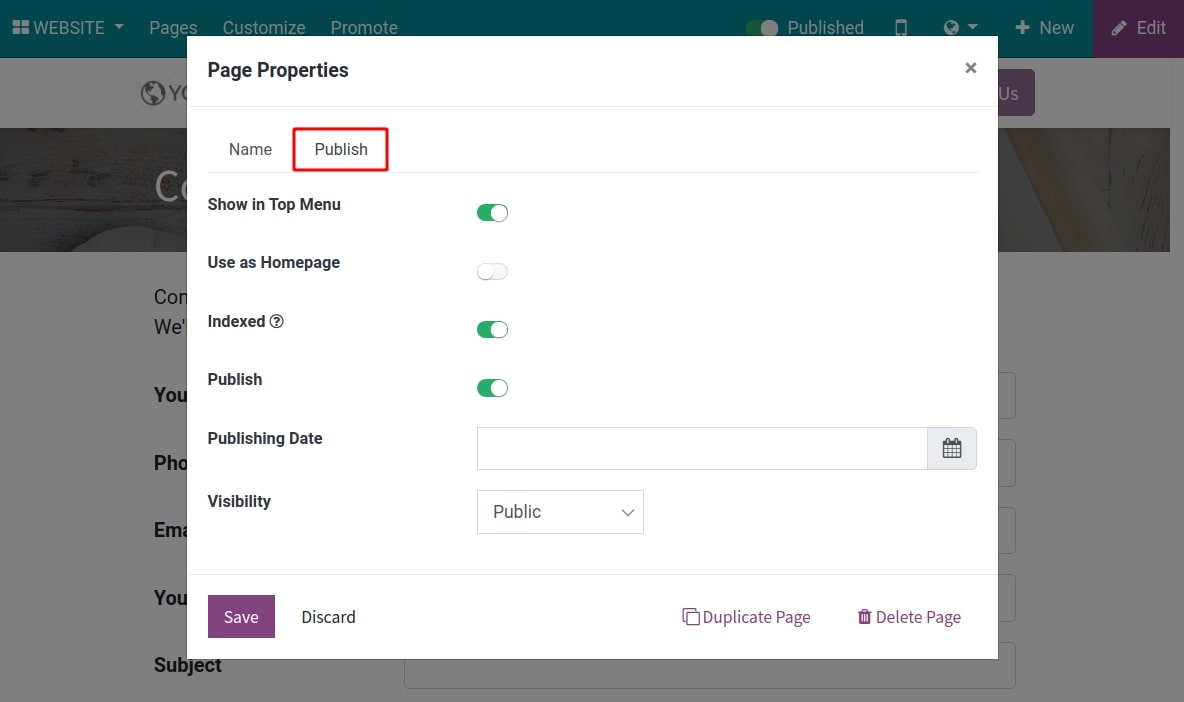
Publish tab:
![Publish set up in page properties]()
See the detailed guide for the Publish tab of the Page Properties here.