Setting advanced features of Viindoo Project
To make the most of advantages to using the Project app, users need to set up the advanced features of the app by navigating to Project app ‣ Configuration ‣ Settings and select the additional advanced feature.
Collaborative Pads
Check on Collaborative Pads ‣ Save to complete the enable process.
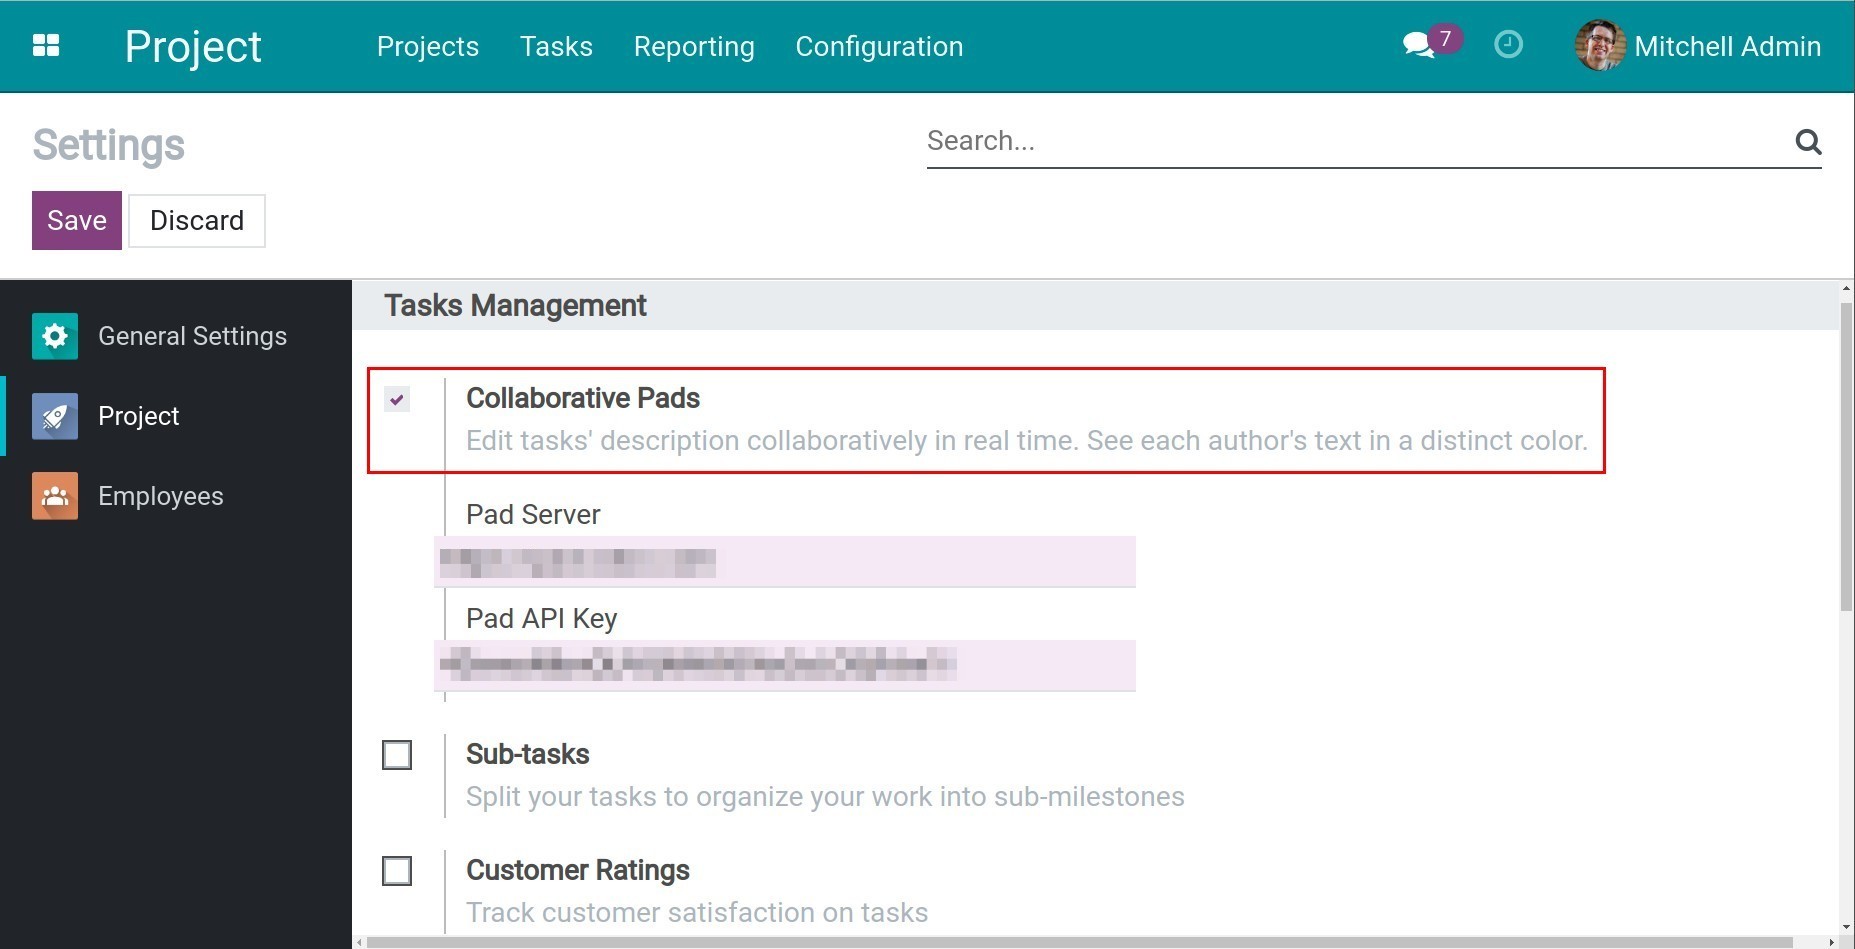
After completing, the Collaborative Pads feature is auto-enabled in every project.
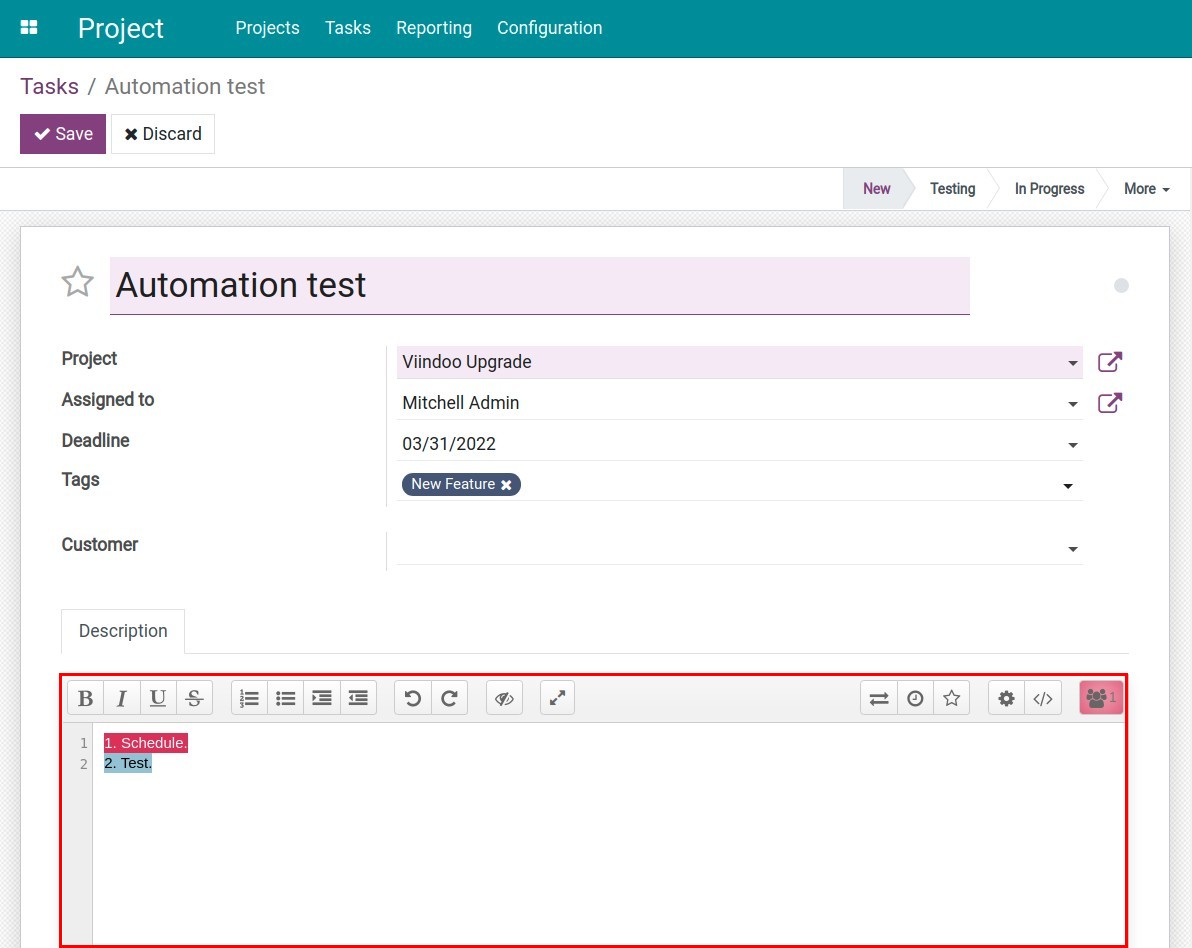
Employees could take notes in the Description tab of a project or task in real-time with the ability to display each author’s text in their own colour.
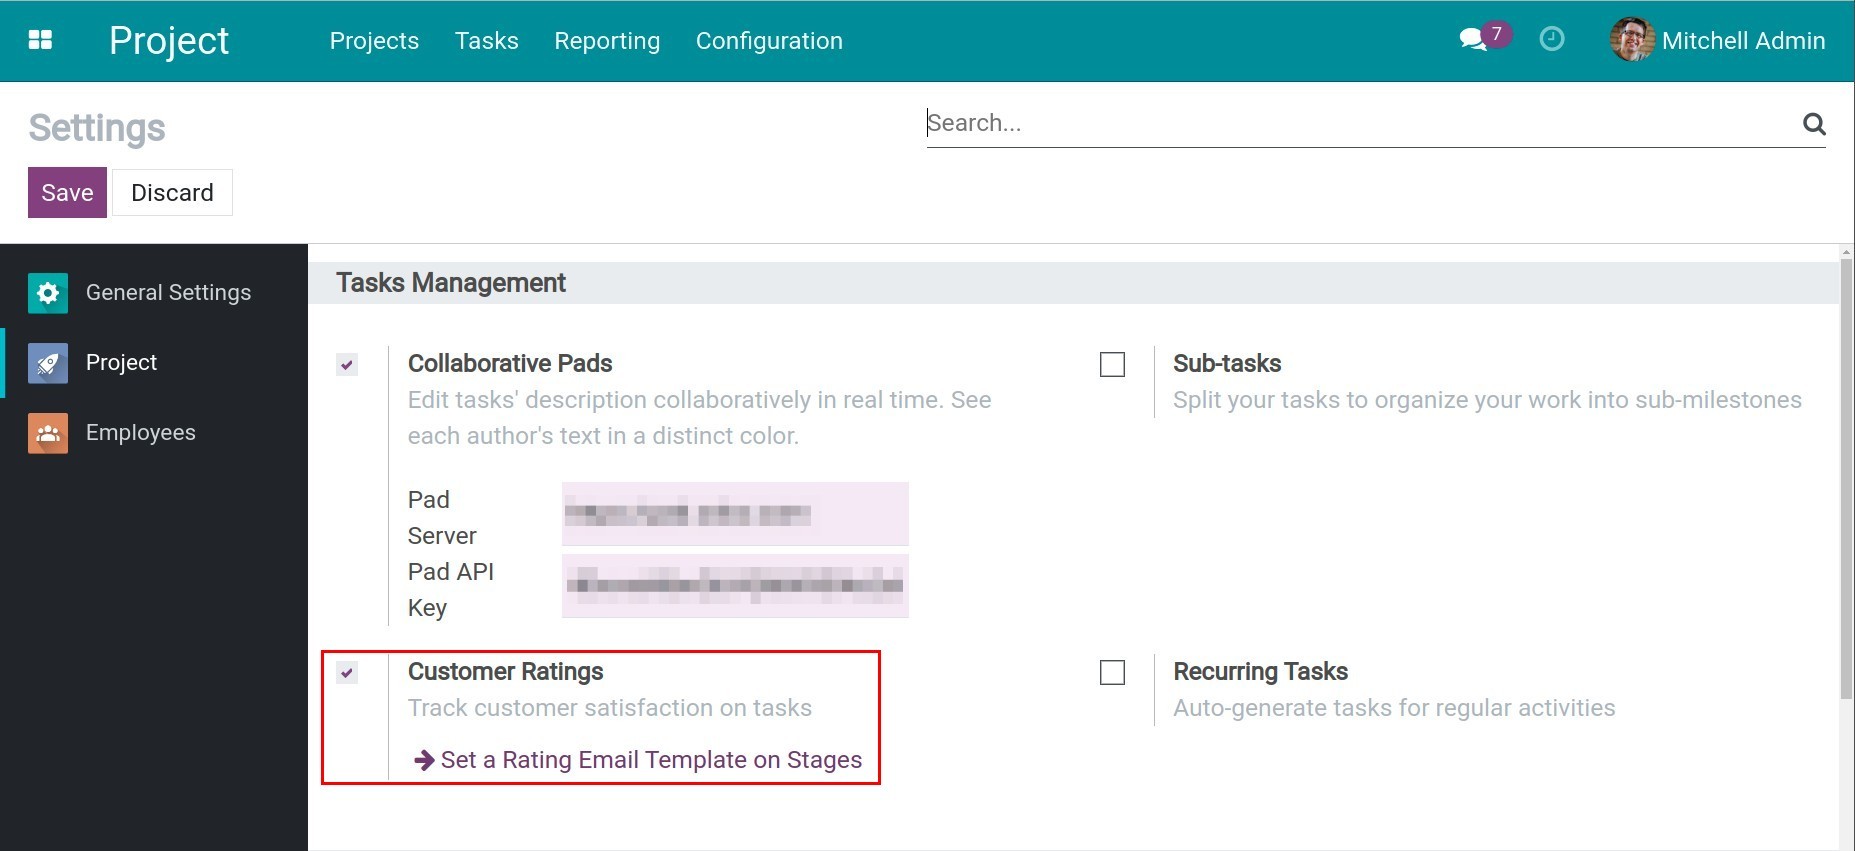
Customer Ratings
The project managers need to track the customer’s feedbacks and ratings of a task for successful project management. Check on Customer Ratings ‣ Save in the Settings of Project app.
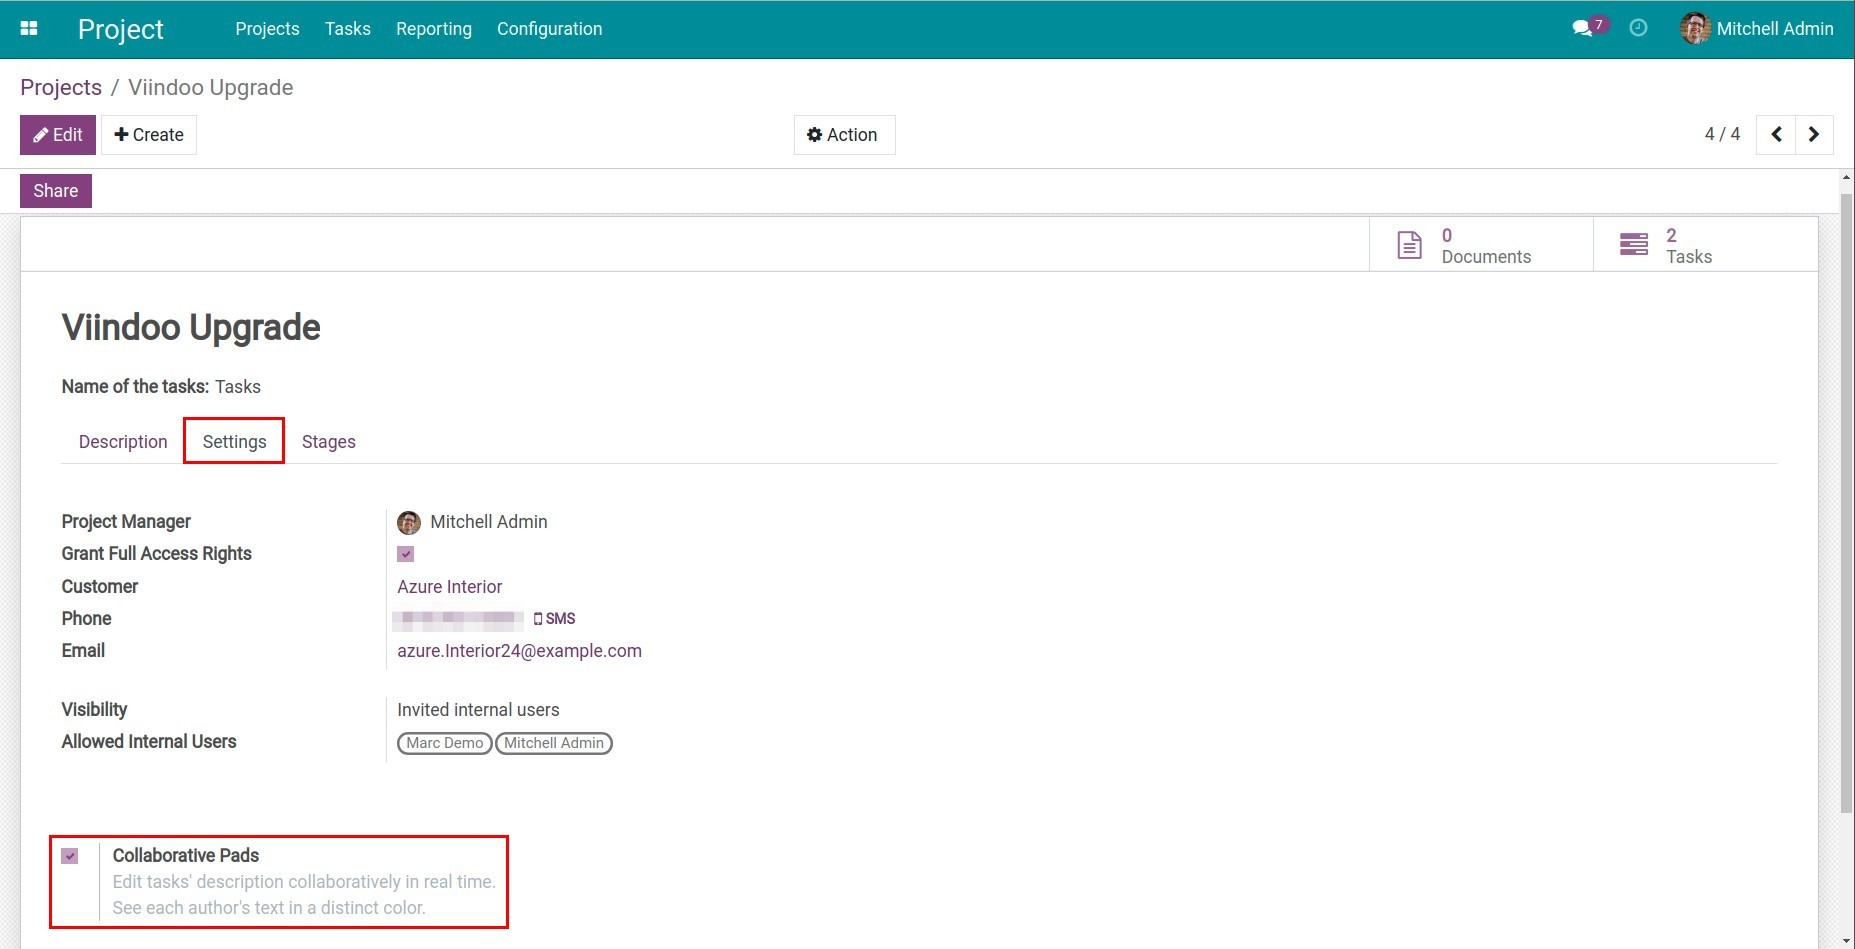
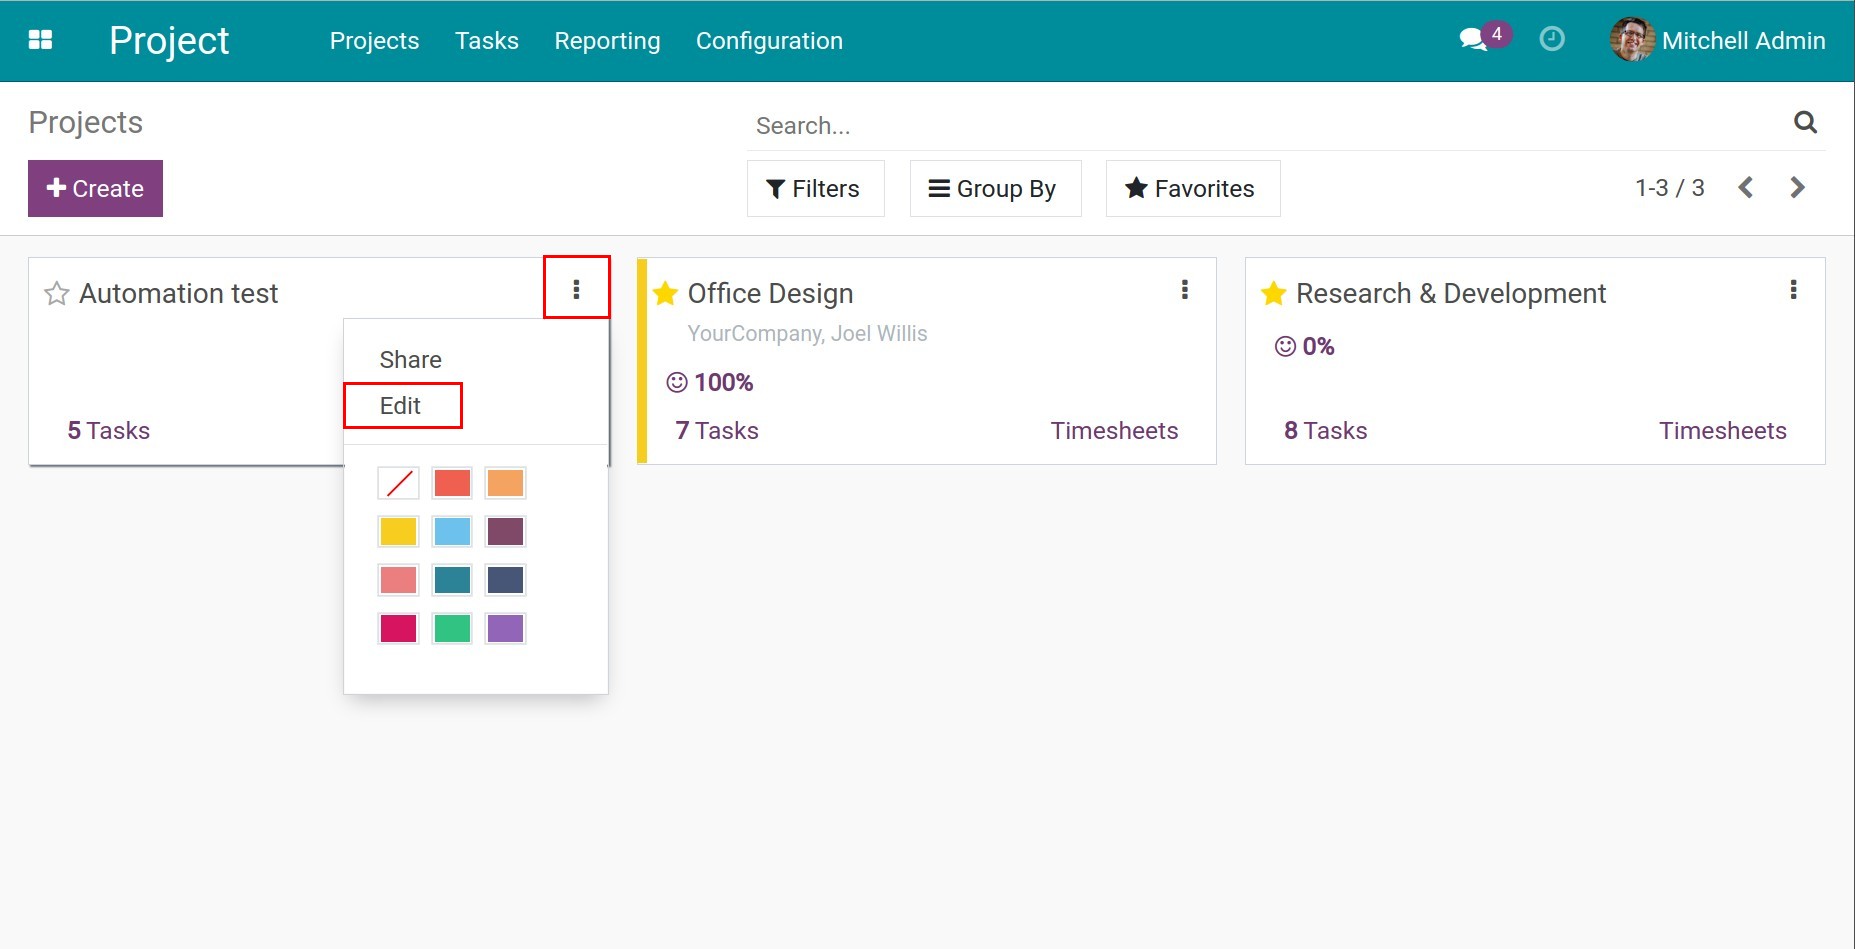
Upon finishing, navigate to Project app ‣ Three dots symbol ‣ Edit in the project to choose the method of getting customer feedback. In the Settings tab, there are 2 options below:
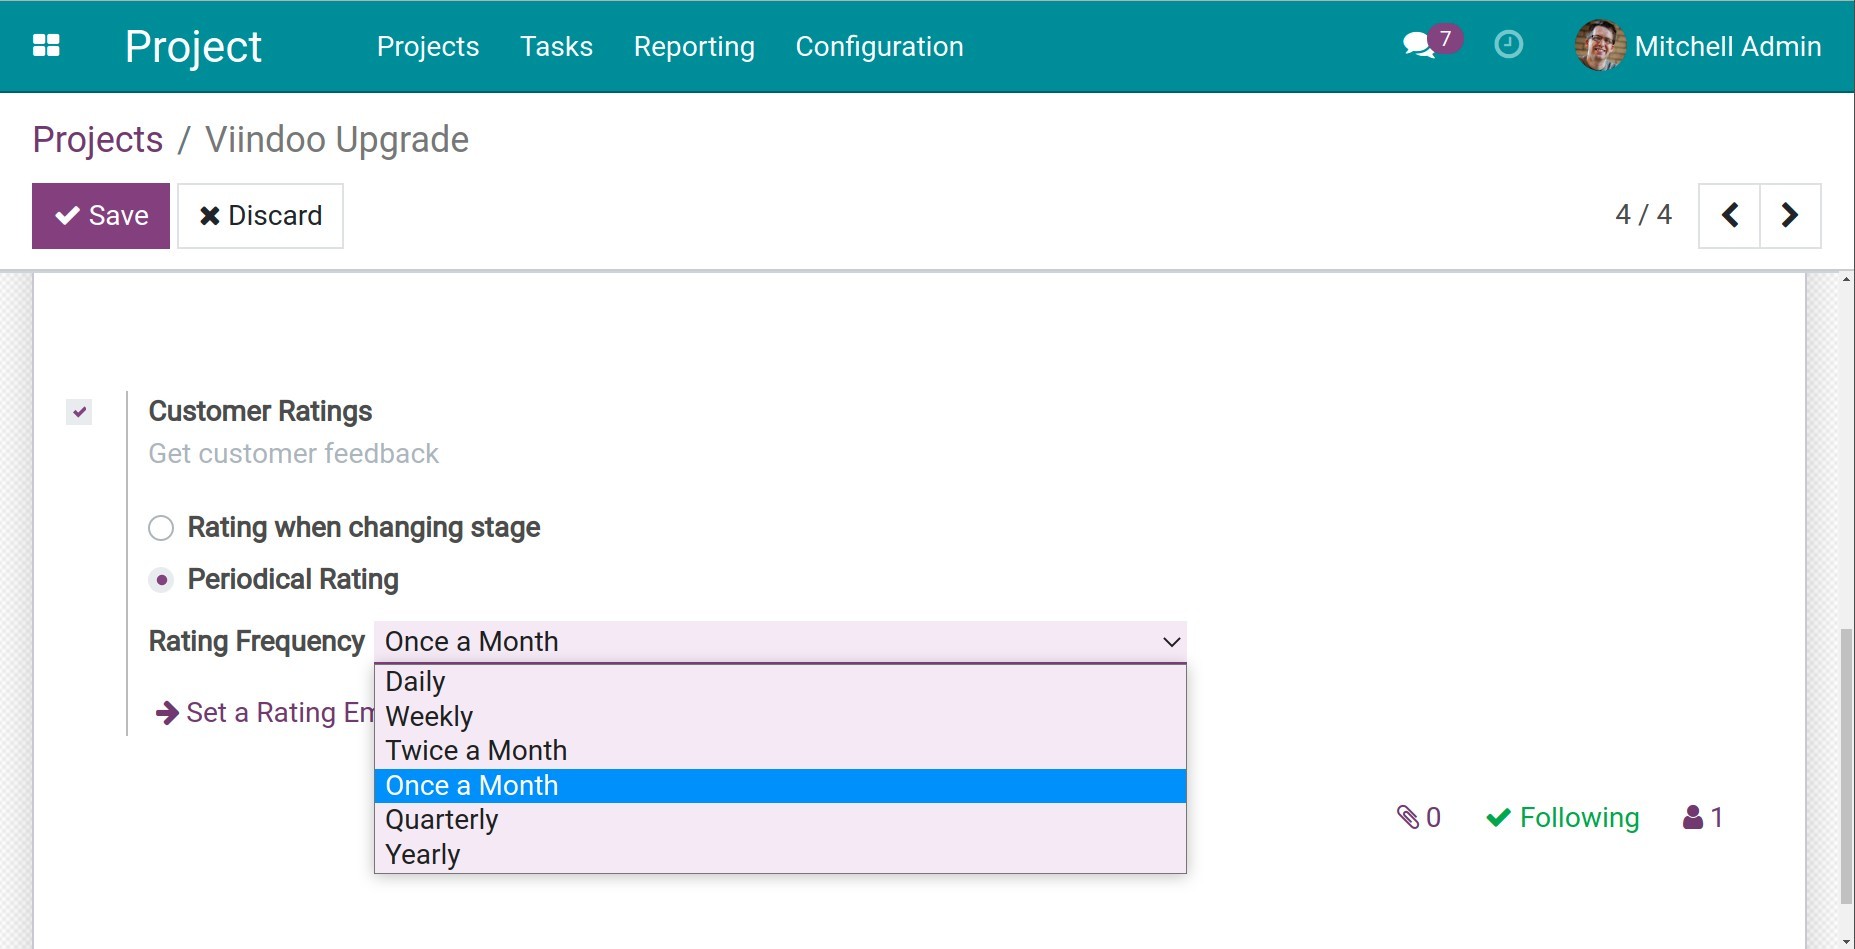
Rating when changing stage: an email will be sent if the task is dragged to another stage.
Periodical Rating: emails will be sent to customers periodically in accordance with the selected option in Rating Frequency.
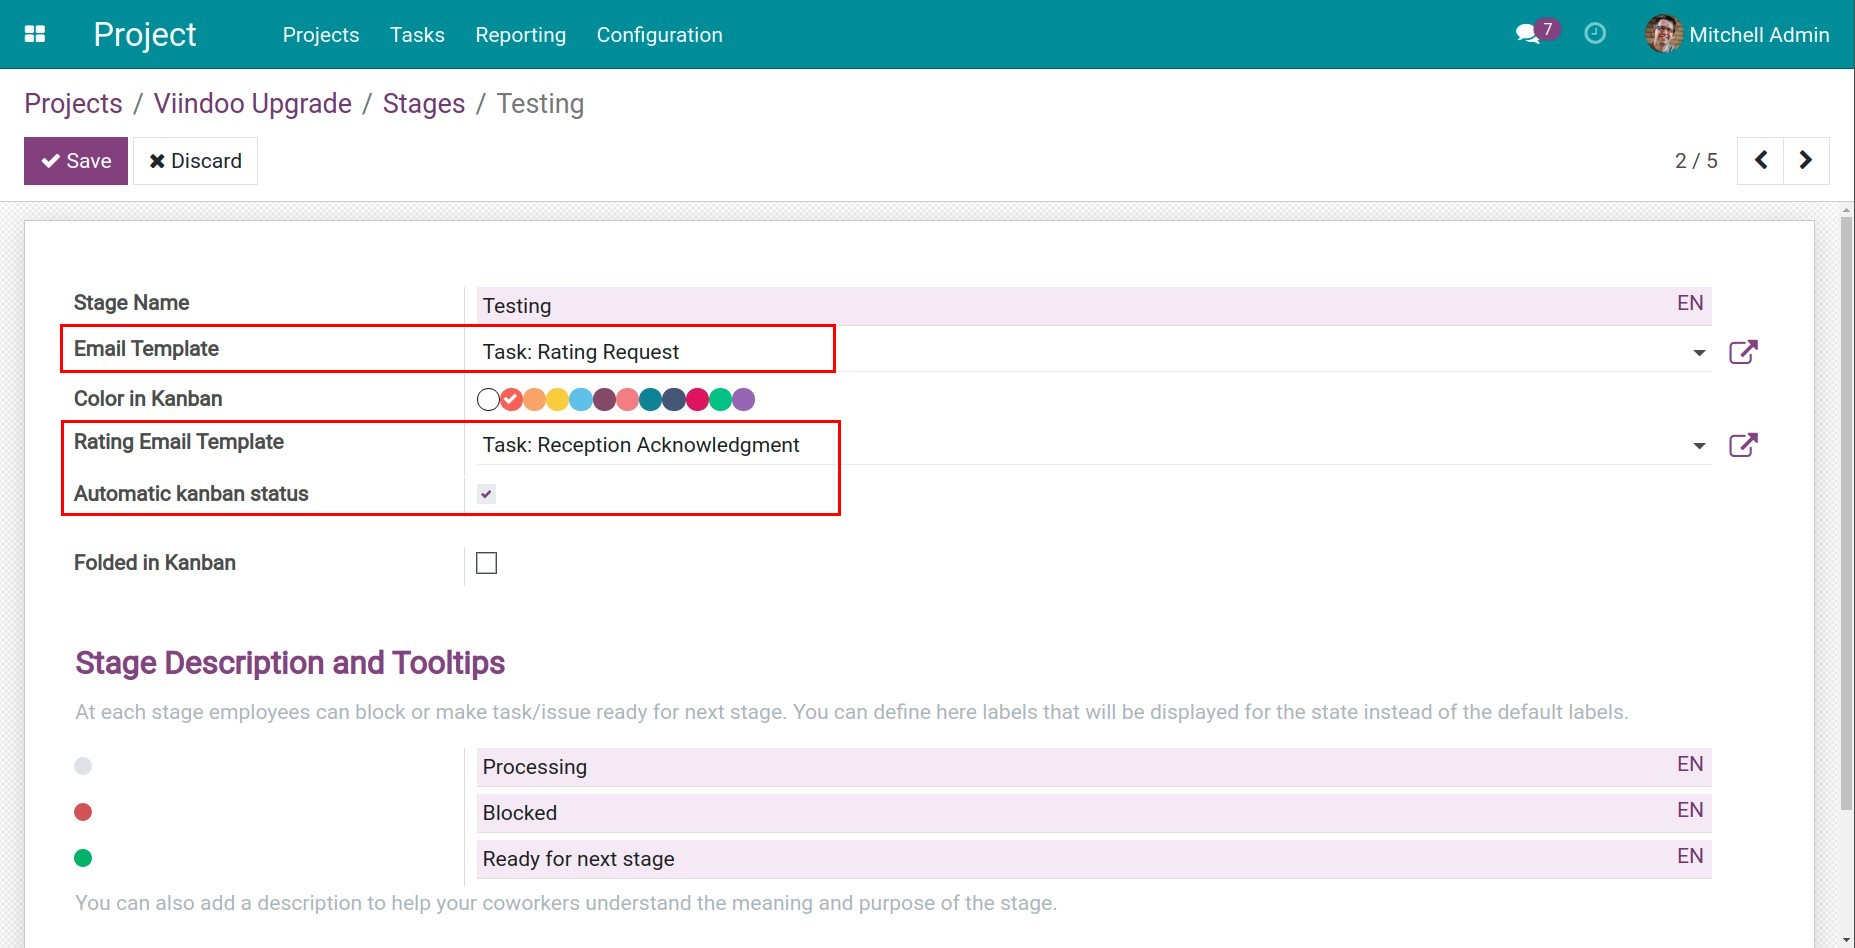
Click on ➡ Set a Rating Email Template on Stages and select emails for each stage.
Email Template: the notification of task reaching this stage will be emailed to customers.
Rating Email Template: emails will be sent to collect customer ratings when the task reaches this stage. When selecting an email template, there will be auto-displayed the Automatic kanban status line. If checked, the tasks will be auto-viewed in the Kanban form when customer feedback to this stage.
If the feedback is Satisfied, the status of task will be changed to Ready for Next Stage (green dot).
If the feedback is Not Satisfied or Highly Dissatisfied, the status of task will be changed to Block (red dot).
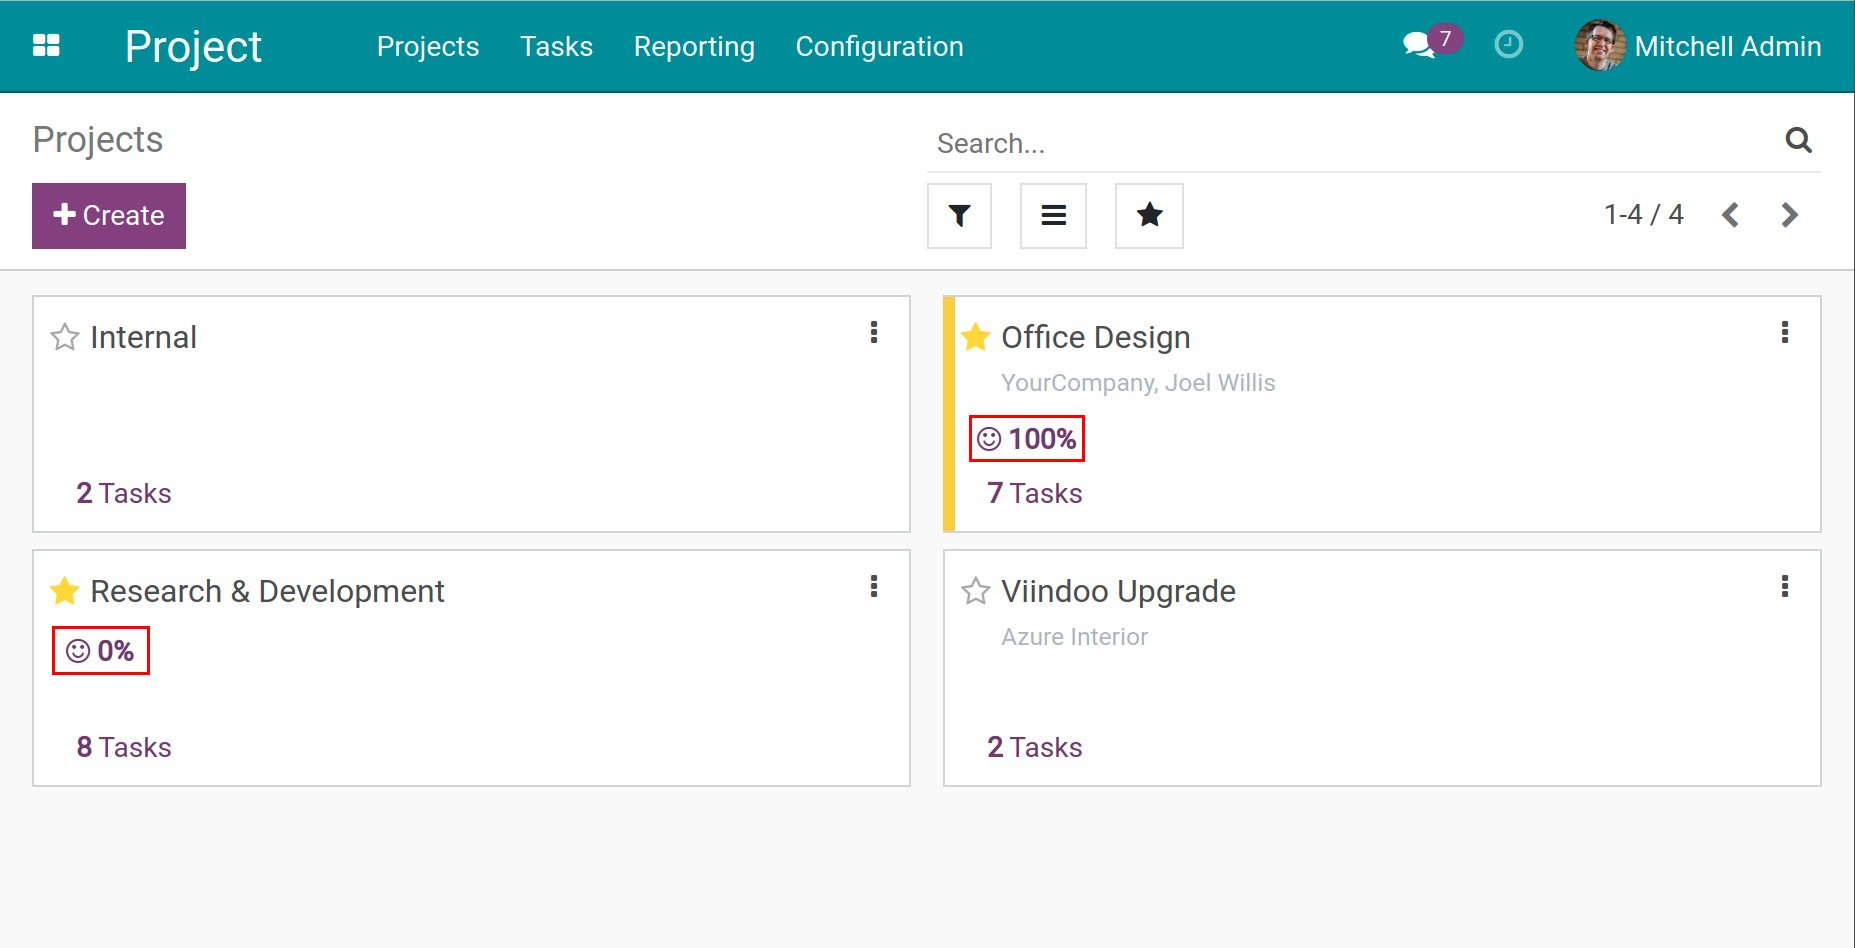
To show the customer ratings, navigate to the project overview and click on the rating percentage icon.
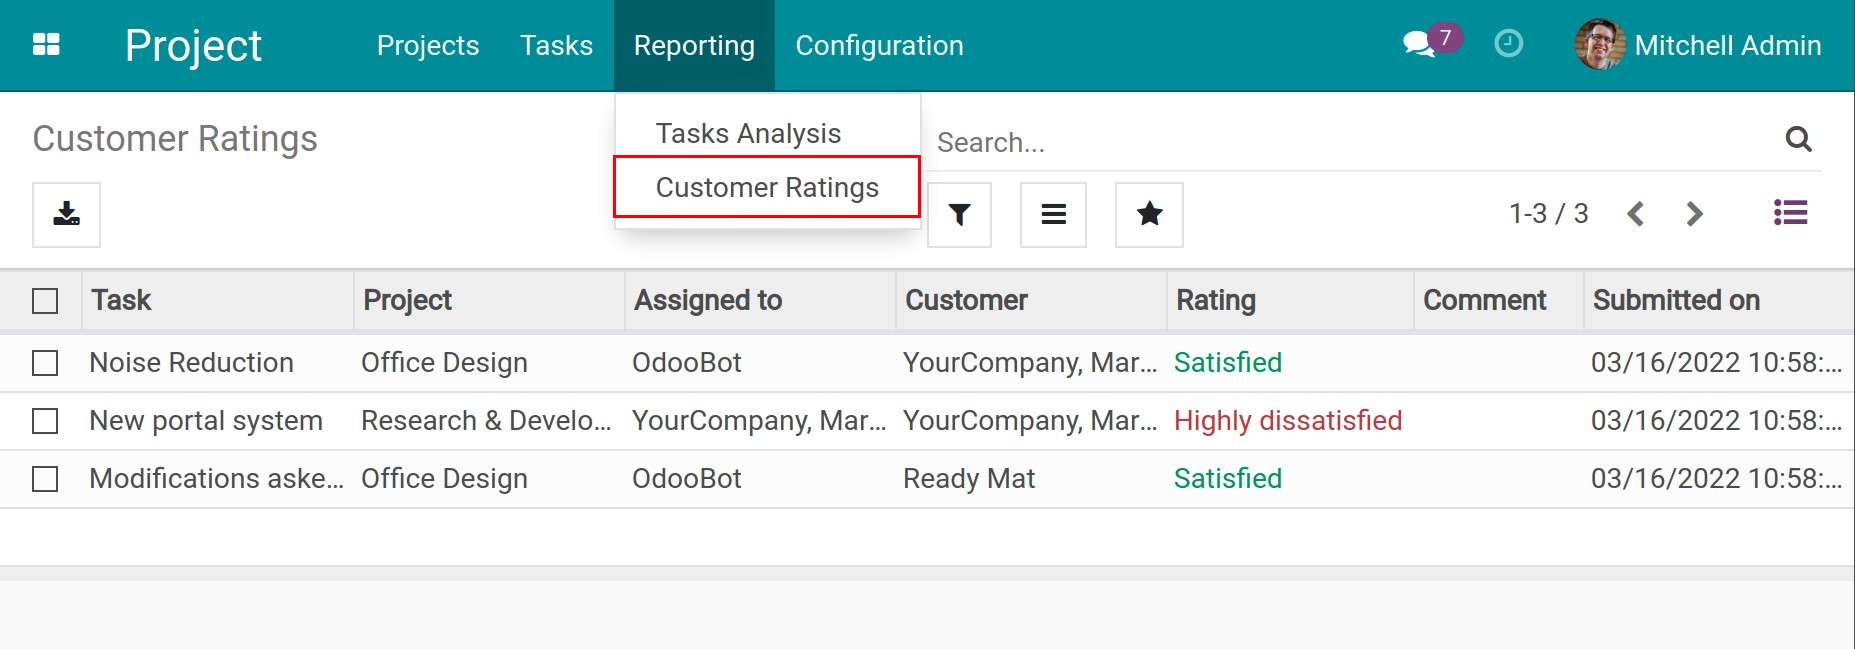
Additionally, to show the customer ratings of all projects, navigate to Project ‣ Reporting ‣ Customer Ratings.
Recurring Tasks
Project app also provides one more helpful feature of Recurring Tasks. With this feature, the tasks of regular activities are auto–generated.
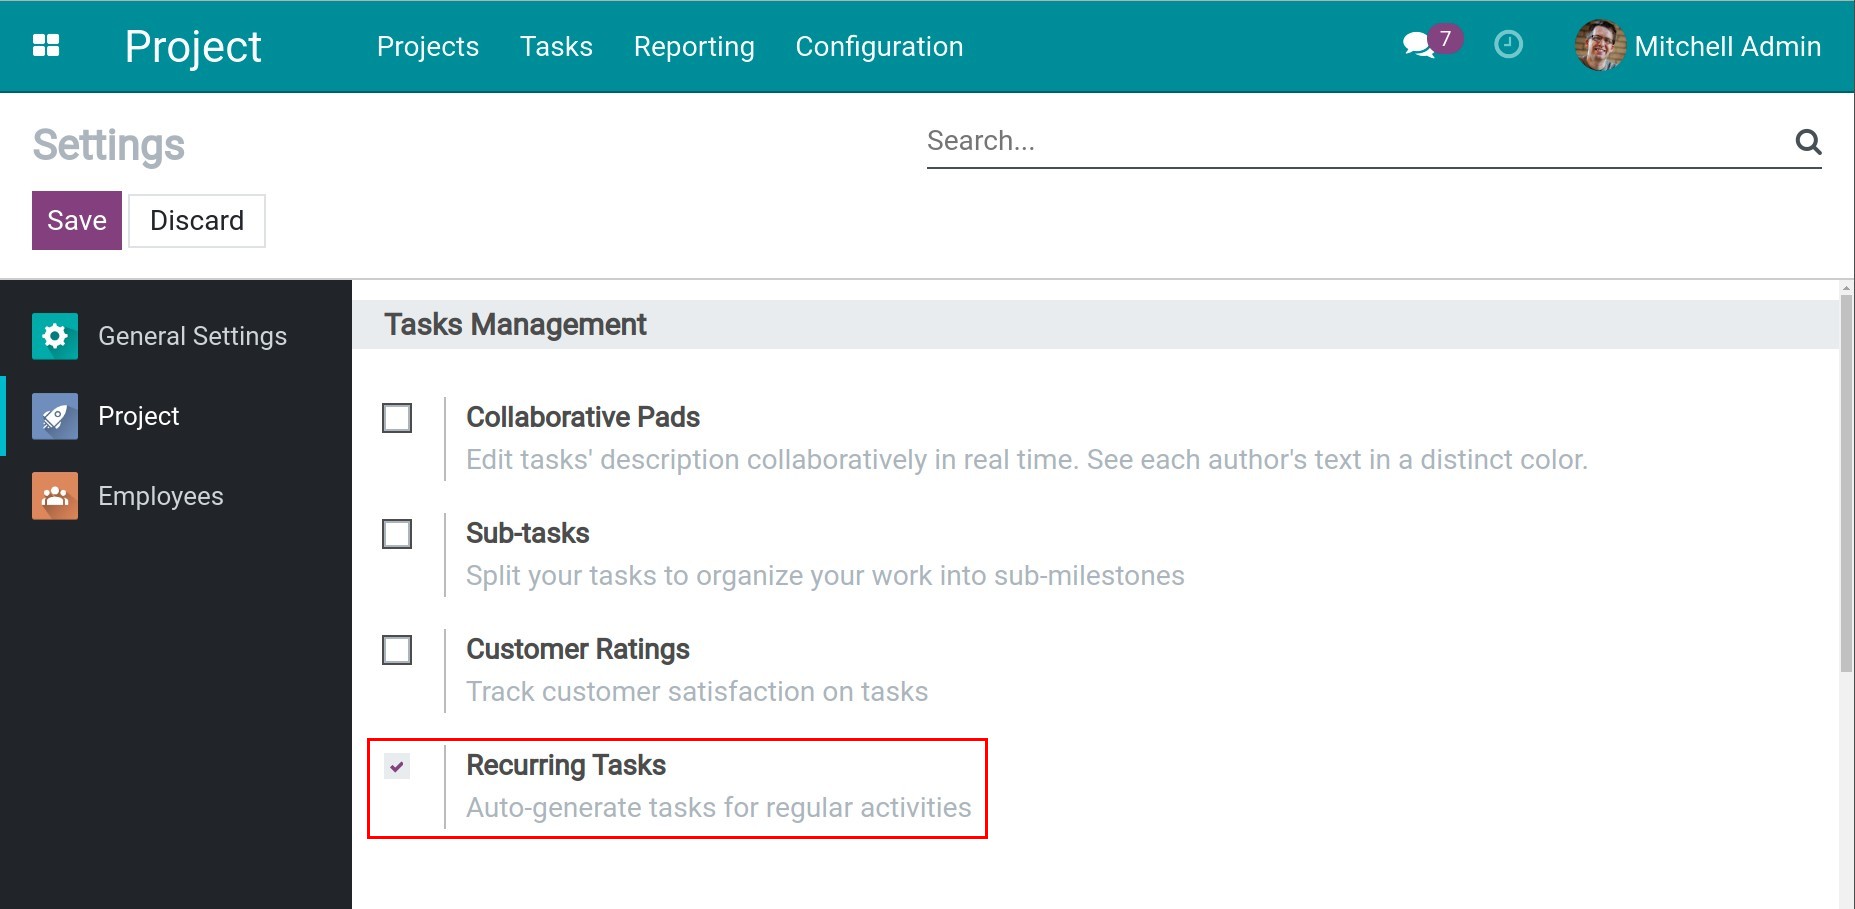
To enable the feature, navigate to Project ‣ Configuration ‣ Settings and check on the Recurring Tasks ‣ Save.
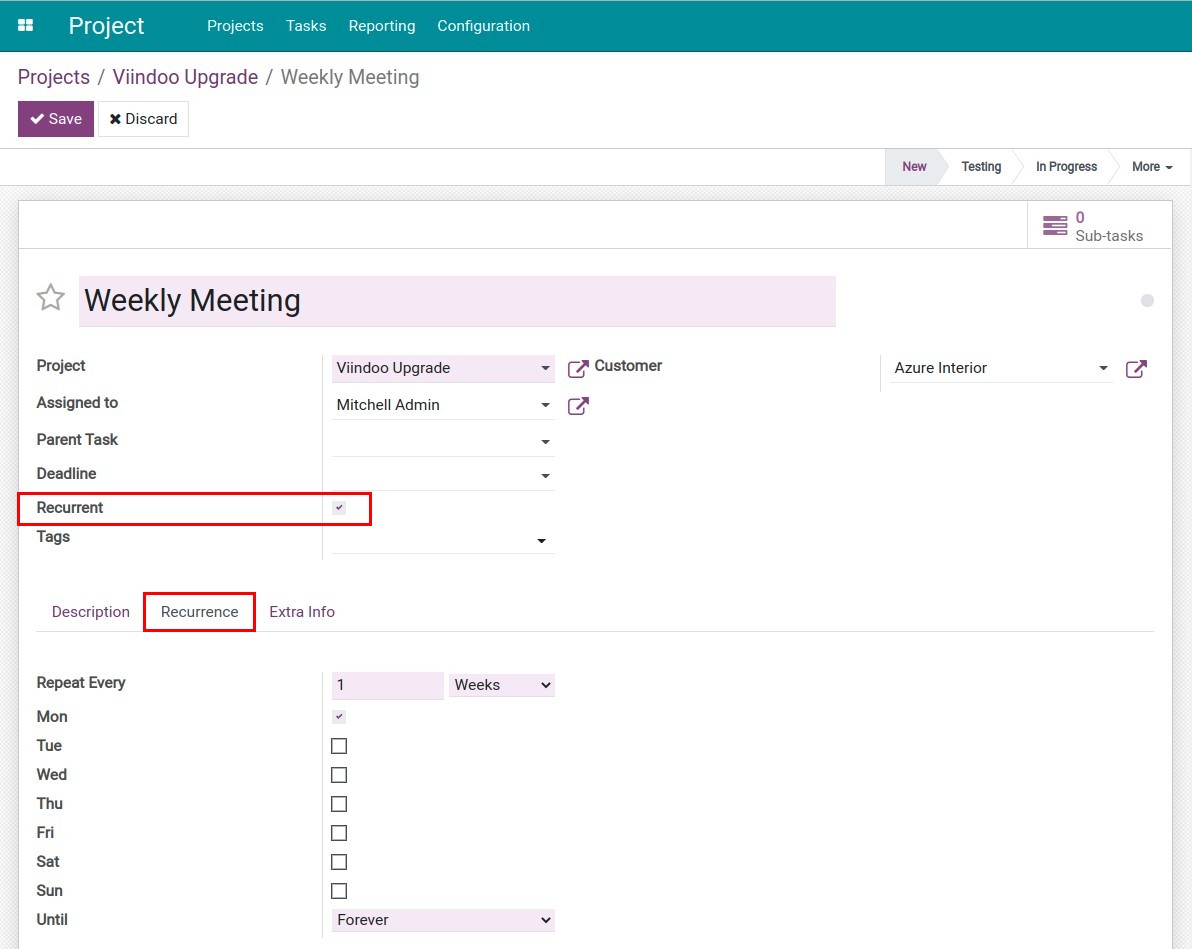
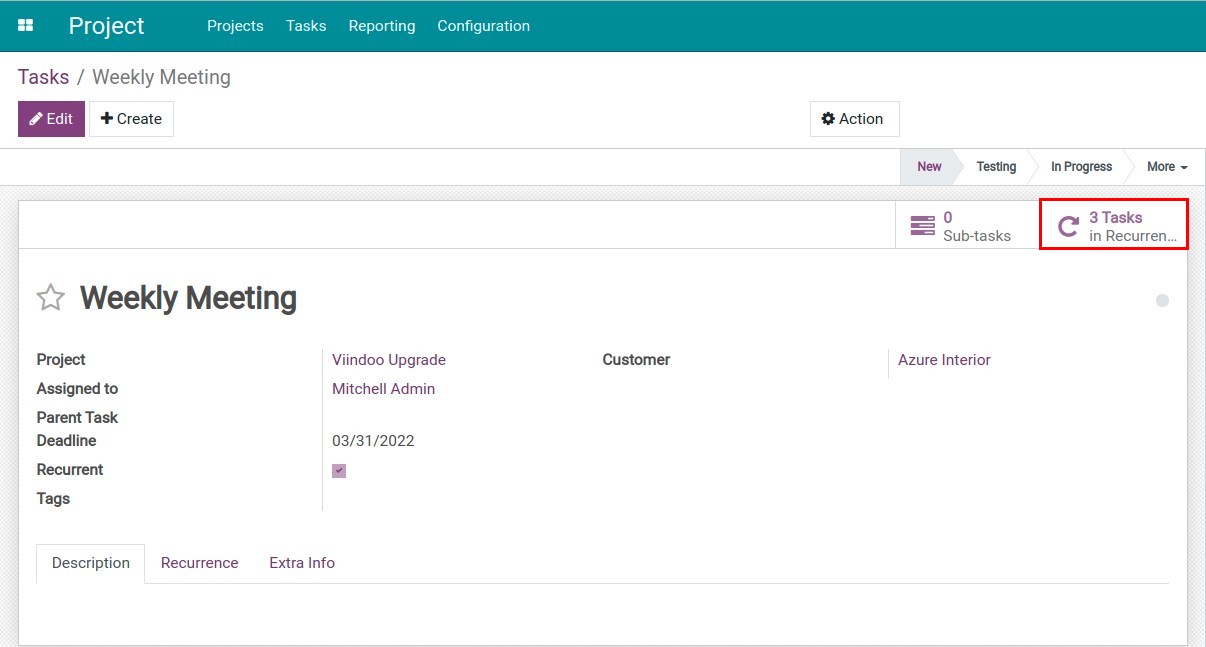
Back to the Project app overview, select the task that need to be configured recurrence and check on Recurrent ‣ Save. The Recurrence tab will be auto-displayed.
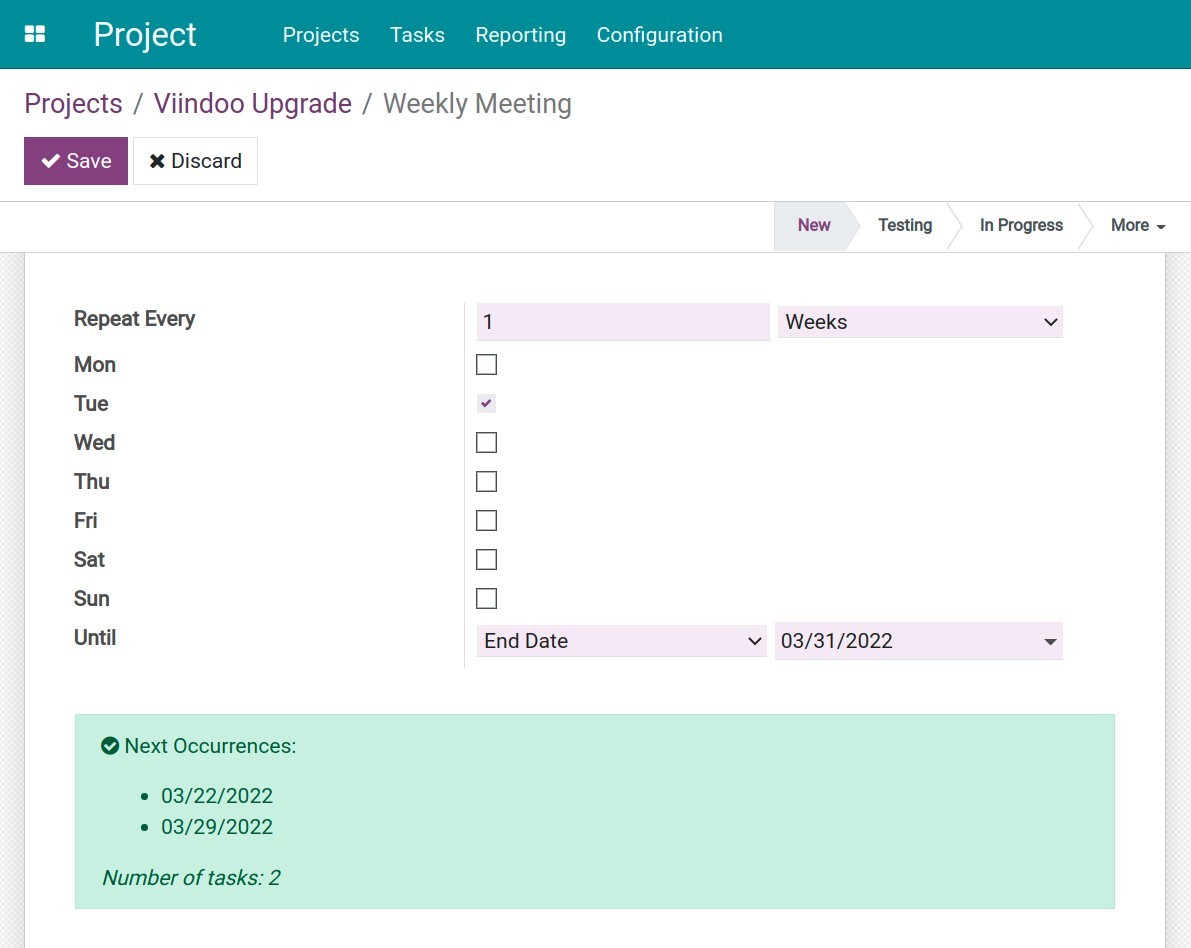
In the Recurrence tab, users could modify the repeat recurrence interval for tasks with the different options. For example, the Weekly Meeting task is created today, 03/21/2022, and will be repeated every Tuesday until the end date is 03/31/2022. The system auto-computes the next tasks generation dated 03/22/2022 and 03/29/2022.
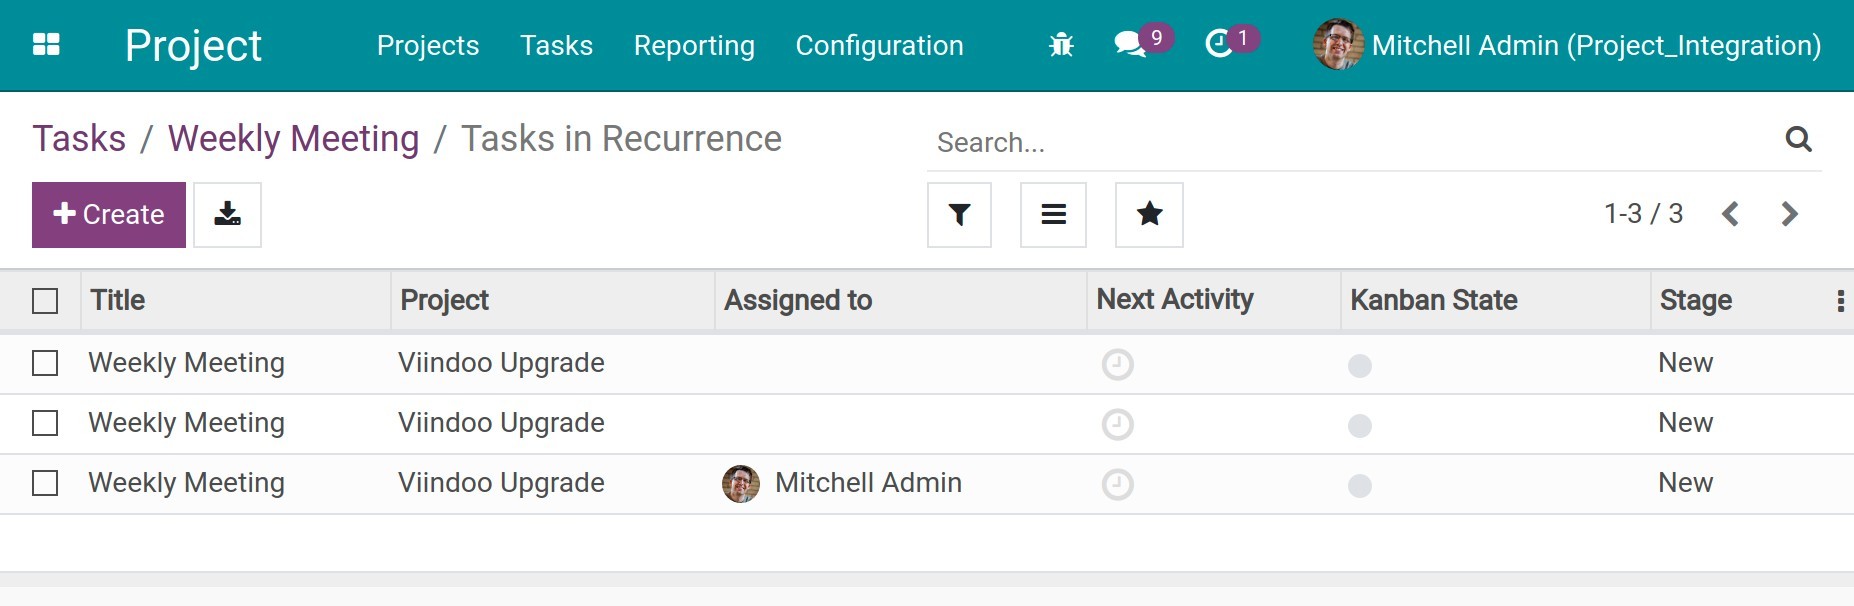
Click on Save to finish. The system will auto-generate the next tasks until the configured date. Click on the Tasks button to view the recurring tasks.
When clicking Edit, the system will bring the suggestion of recurring tasks edition or not.
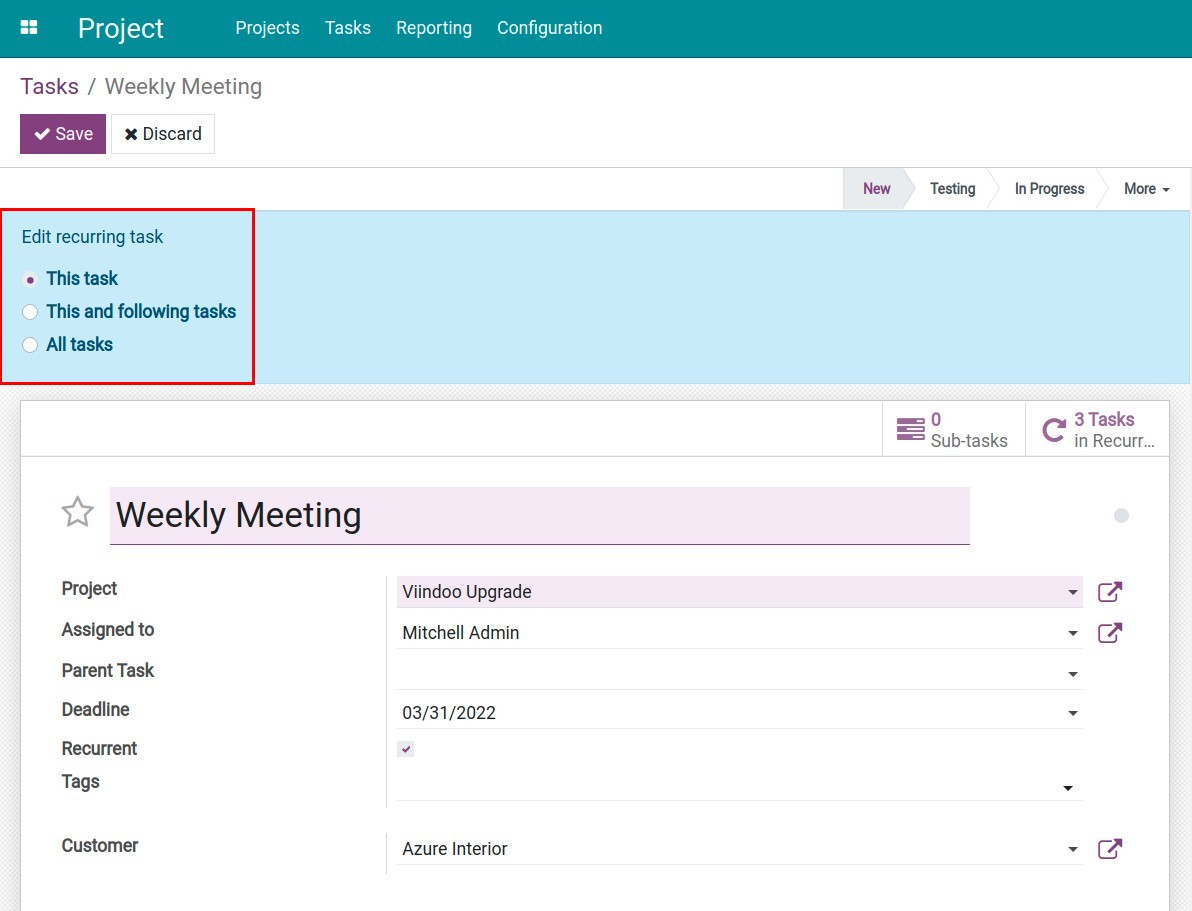
This task: The changes will be applied to the edited task.
This and following tasks: The changes will be applied to this task and the followings.
All tasks: The changes will be applied to all tasks of the project.
Sub-tasks
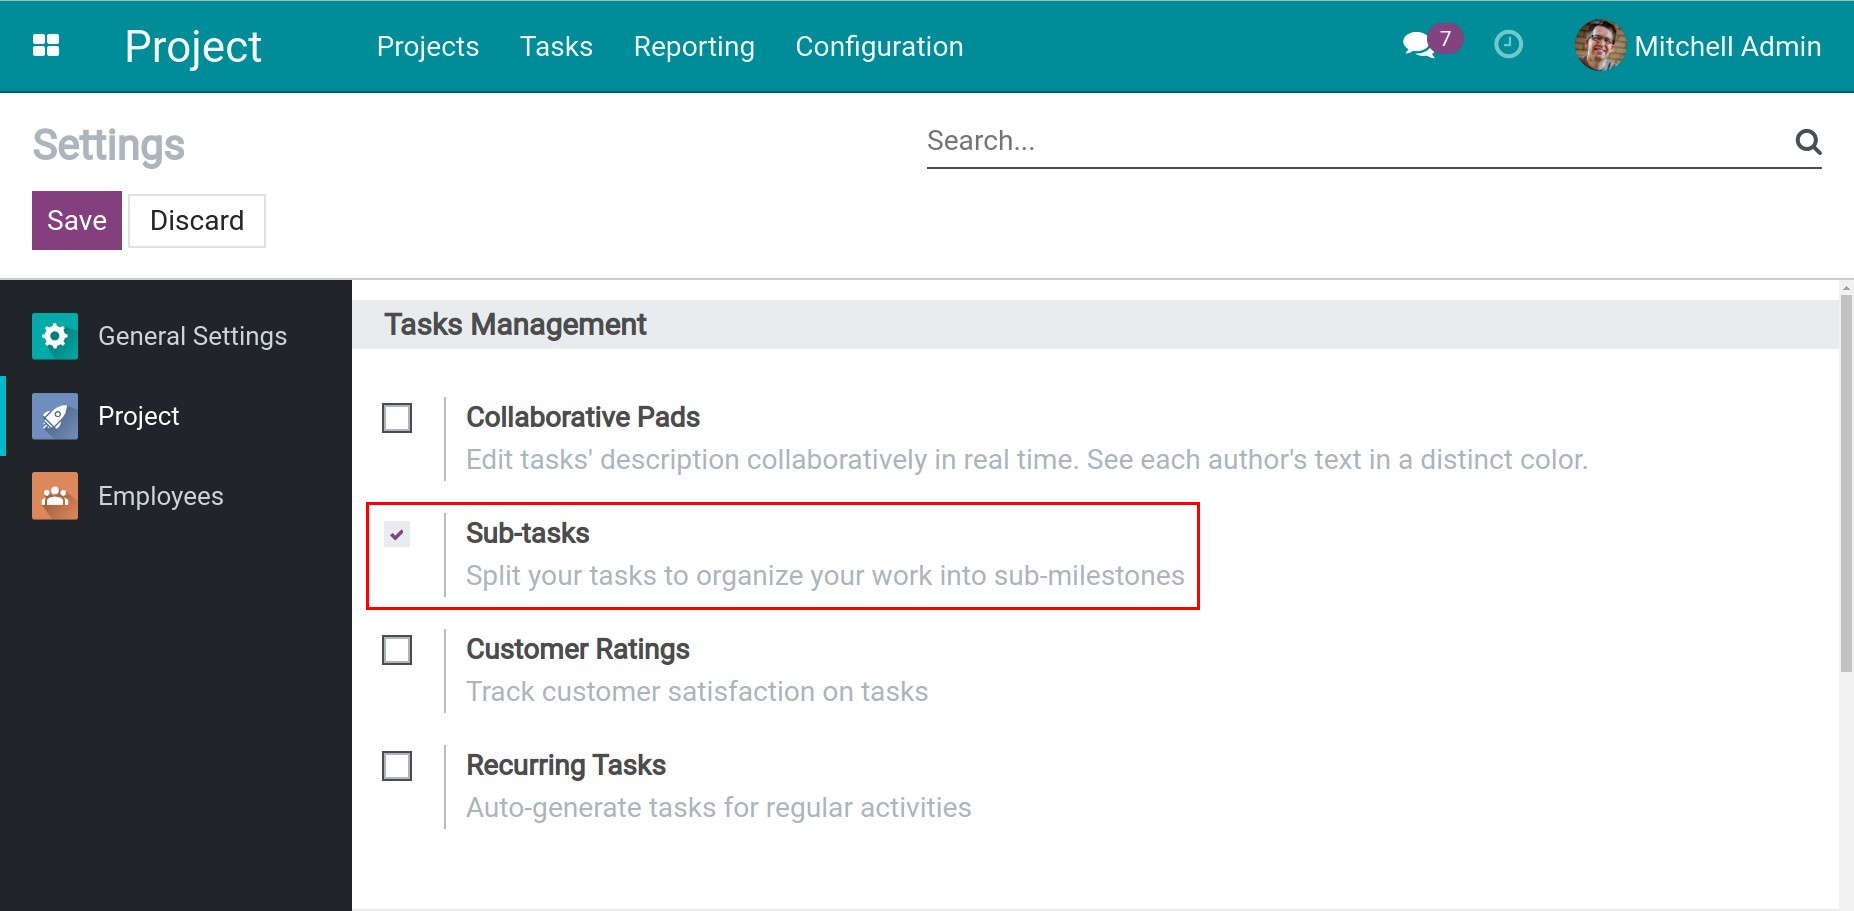
Sub-tasks feature is used to divide the work into many smaller tasks thereby also helping managers track work and progress more effectively.
Enable the Sub-tasks feature by navigating the Settings of Project app and check on the Sub-tasks ‣ Save.
There are 2 methods to create a sub-task.
Method 1:
Navigate to the Project app and select the task to create a sub-task. On the tasks interface, select Sub-tasks and click Create.
Method 2:
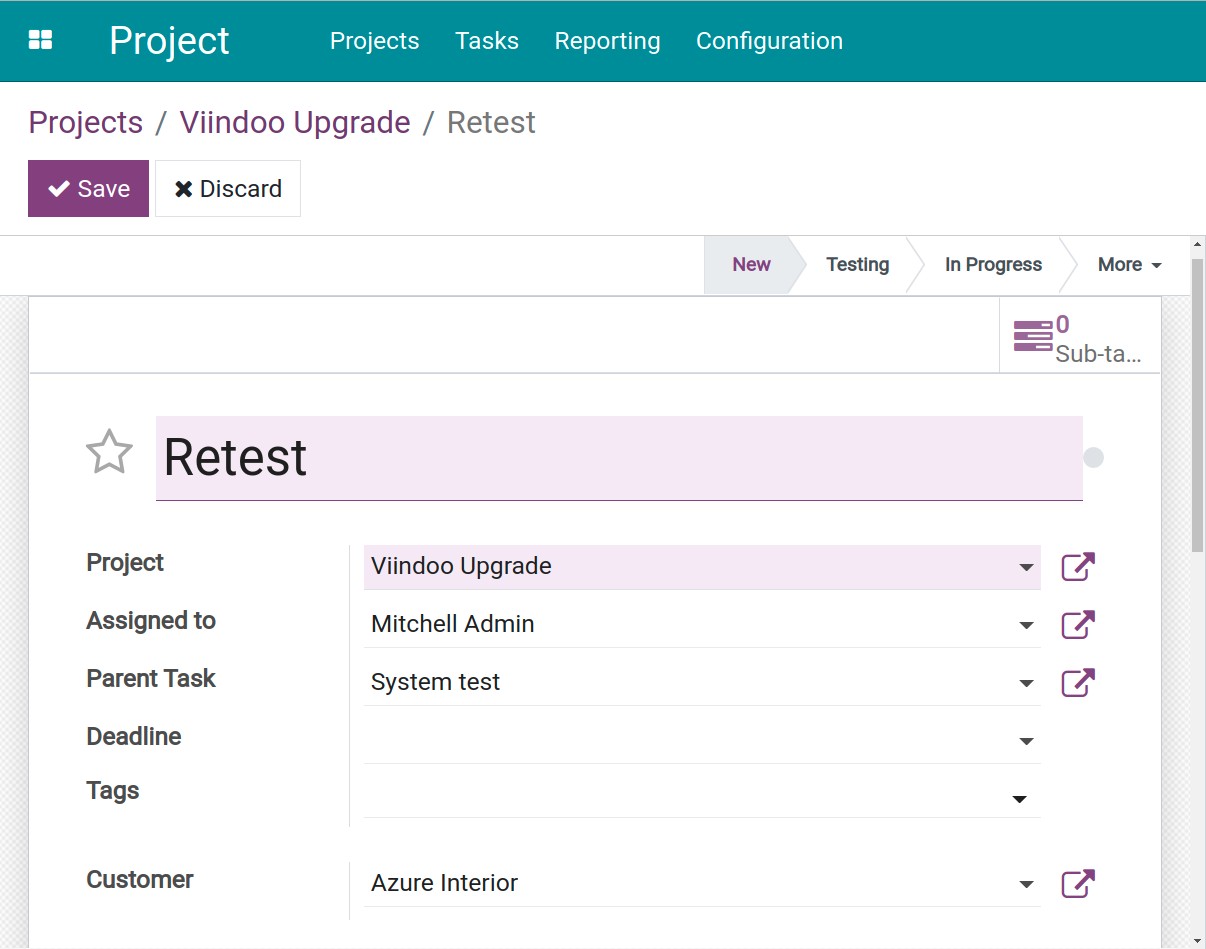
Navigate to the Project app and select the project to create tasks by clicking Create. Users can see the Parent Task in the view of task creation. Select the Project and fulfil the necessary information then click on Save.
![Select the parent task]()
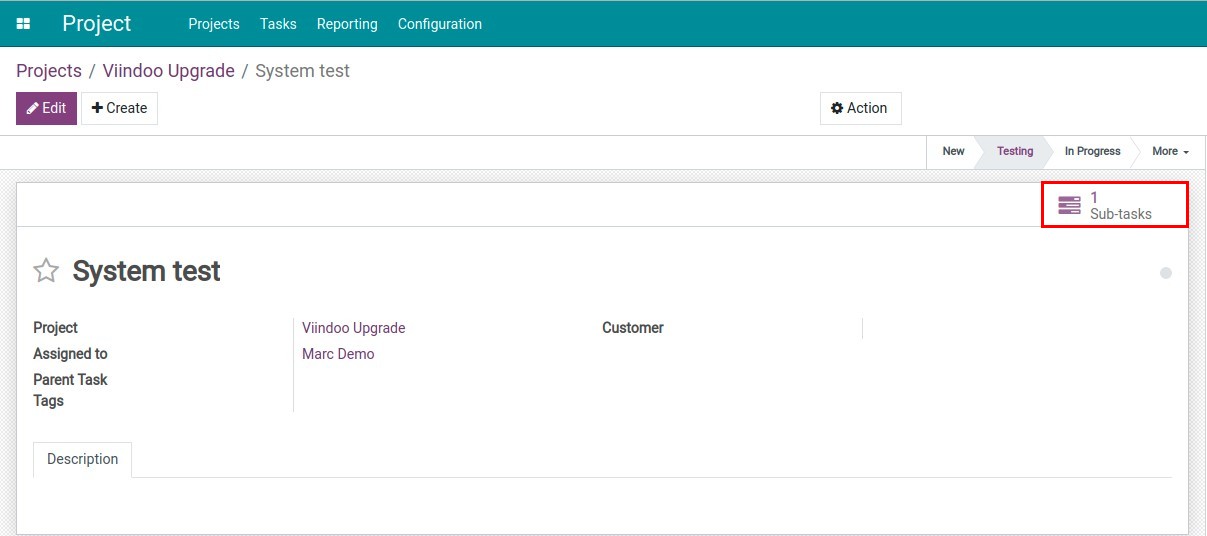
E.g. Create the Retest task, select the parent task is System test. After creation, the sub-tasks will be shown up in the task of System test. Click on the Sub-tasks icon to view the list.
![View the sub-tasks]()
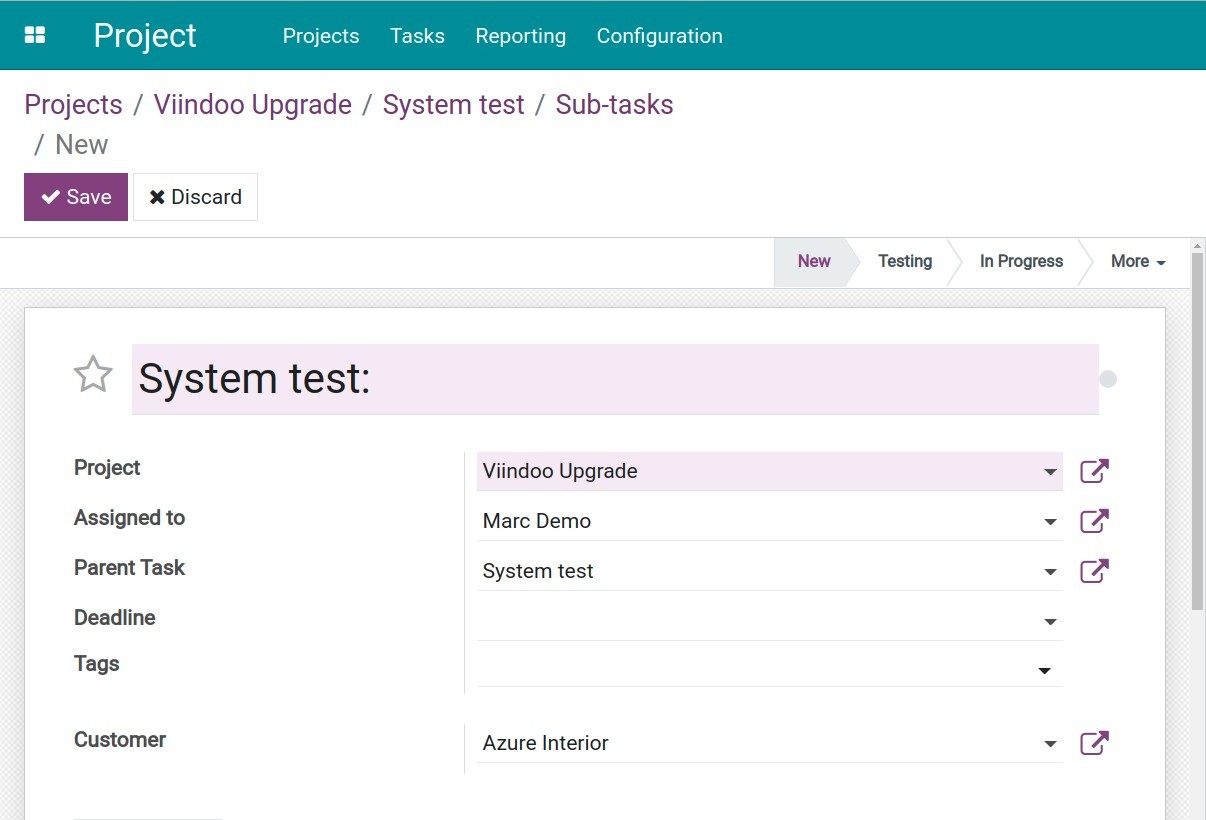
Users could create more tasks from the list of sub-tasks. When clicking Create, the project information such as: project name, assigned to, parent task, etc. be inherited. Users also change the information.
![Create more sub-tasks]()
This writing provides guidance on the advanced feature of the Project app to handle and manage efficiently the problems occured when carrying out tasks.