Upload documents to Viindoo
There are two ways to upload documents:
- Method 01: Upload documents directly from the Documents app interface.
- Method 02: Upload documents from the chatter of other apps.
This article will guide you to upload documents following the above two ways with Viindoo software.
Upload documents from the Documents app
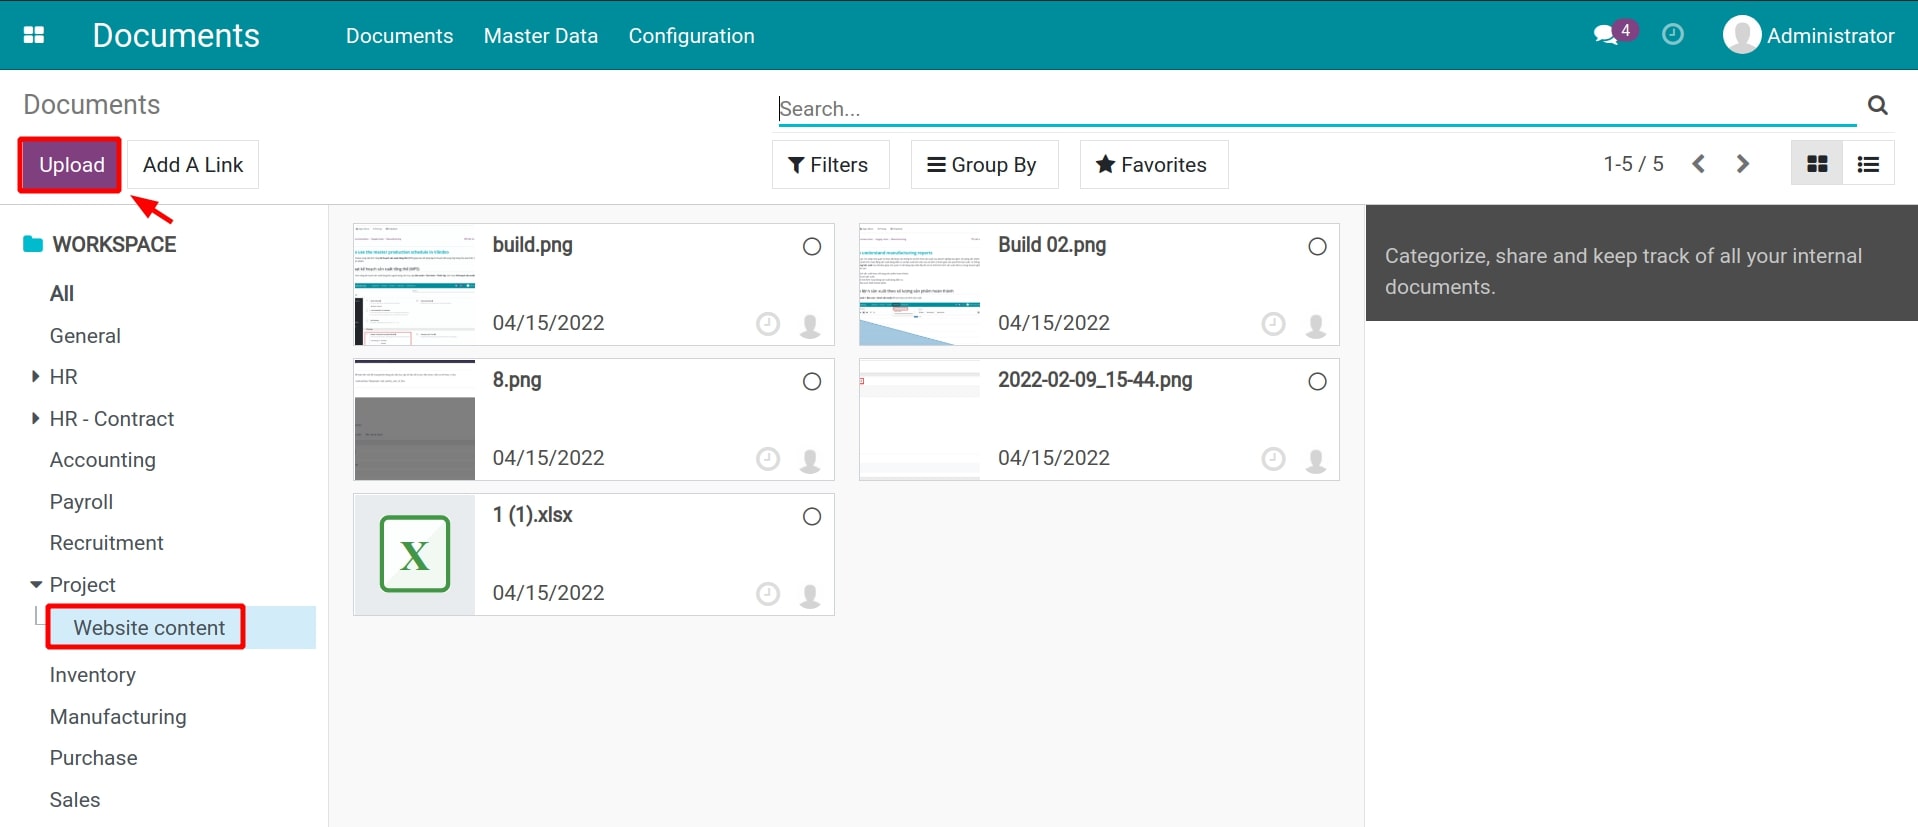
Navigate to Documents > Documents to access the documents management view.
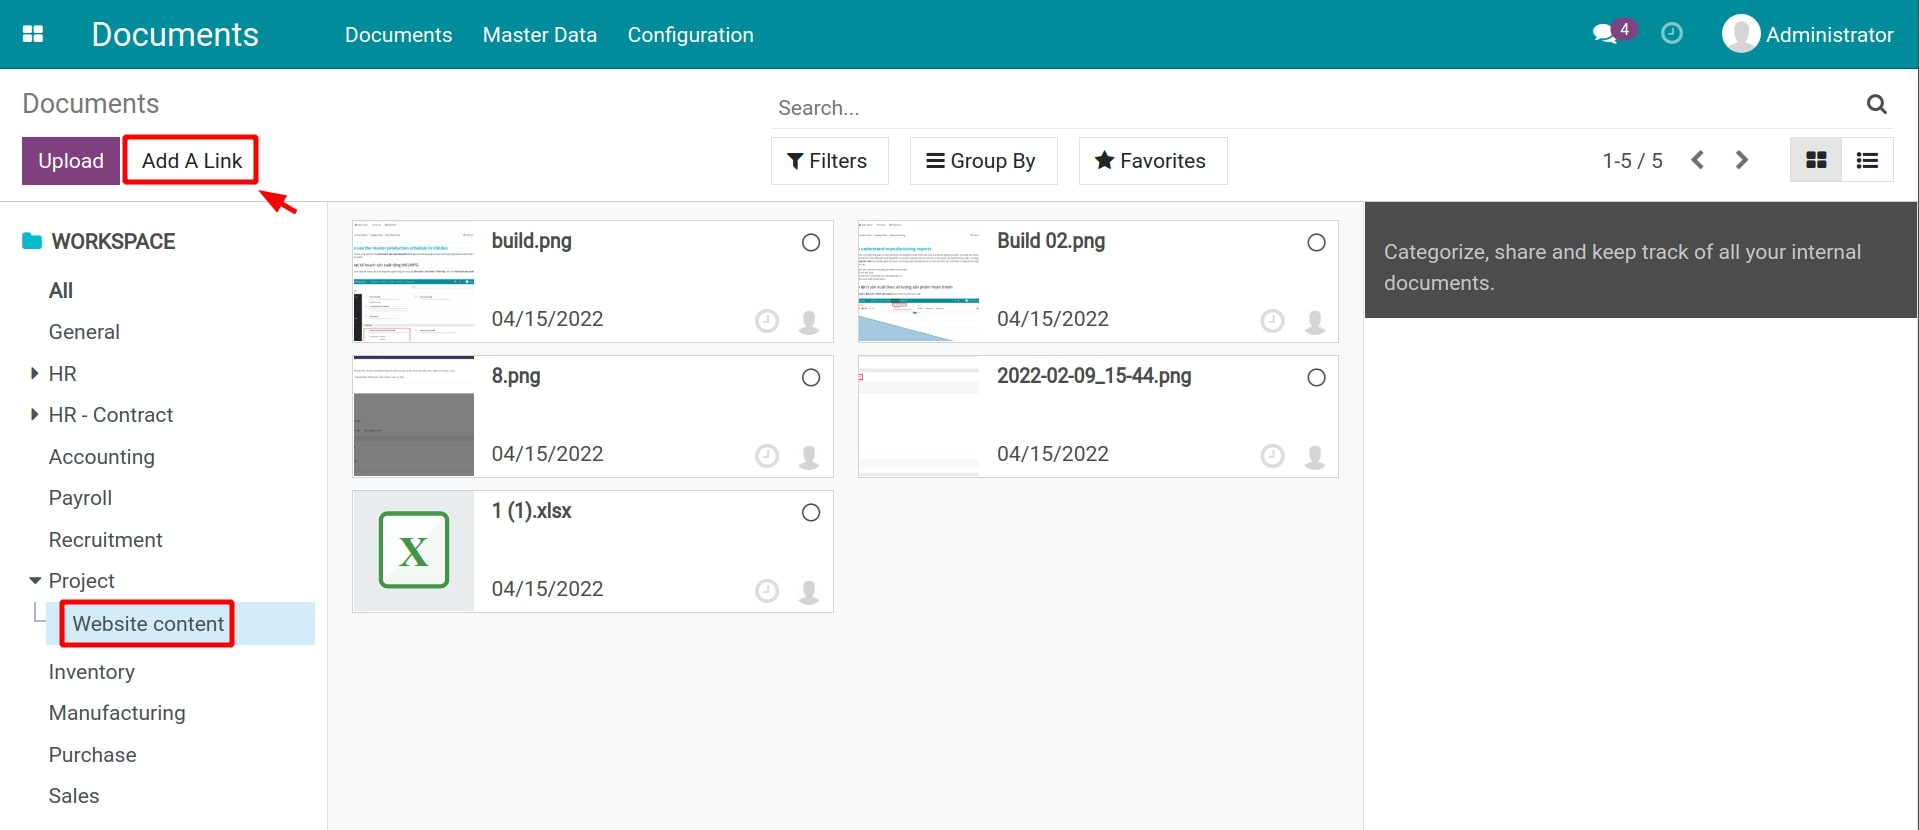
From here, select the Workspace where you want to upload documents to, which is located on the left side of the screen, then opt for one of the following options:
Select Upload to upload documents from your computer to the system.
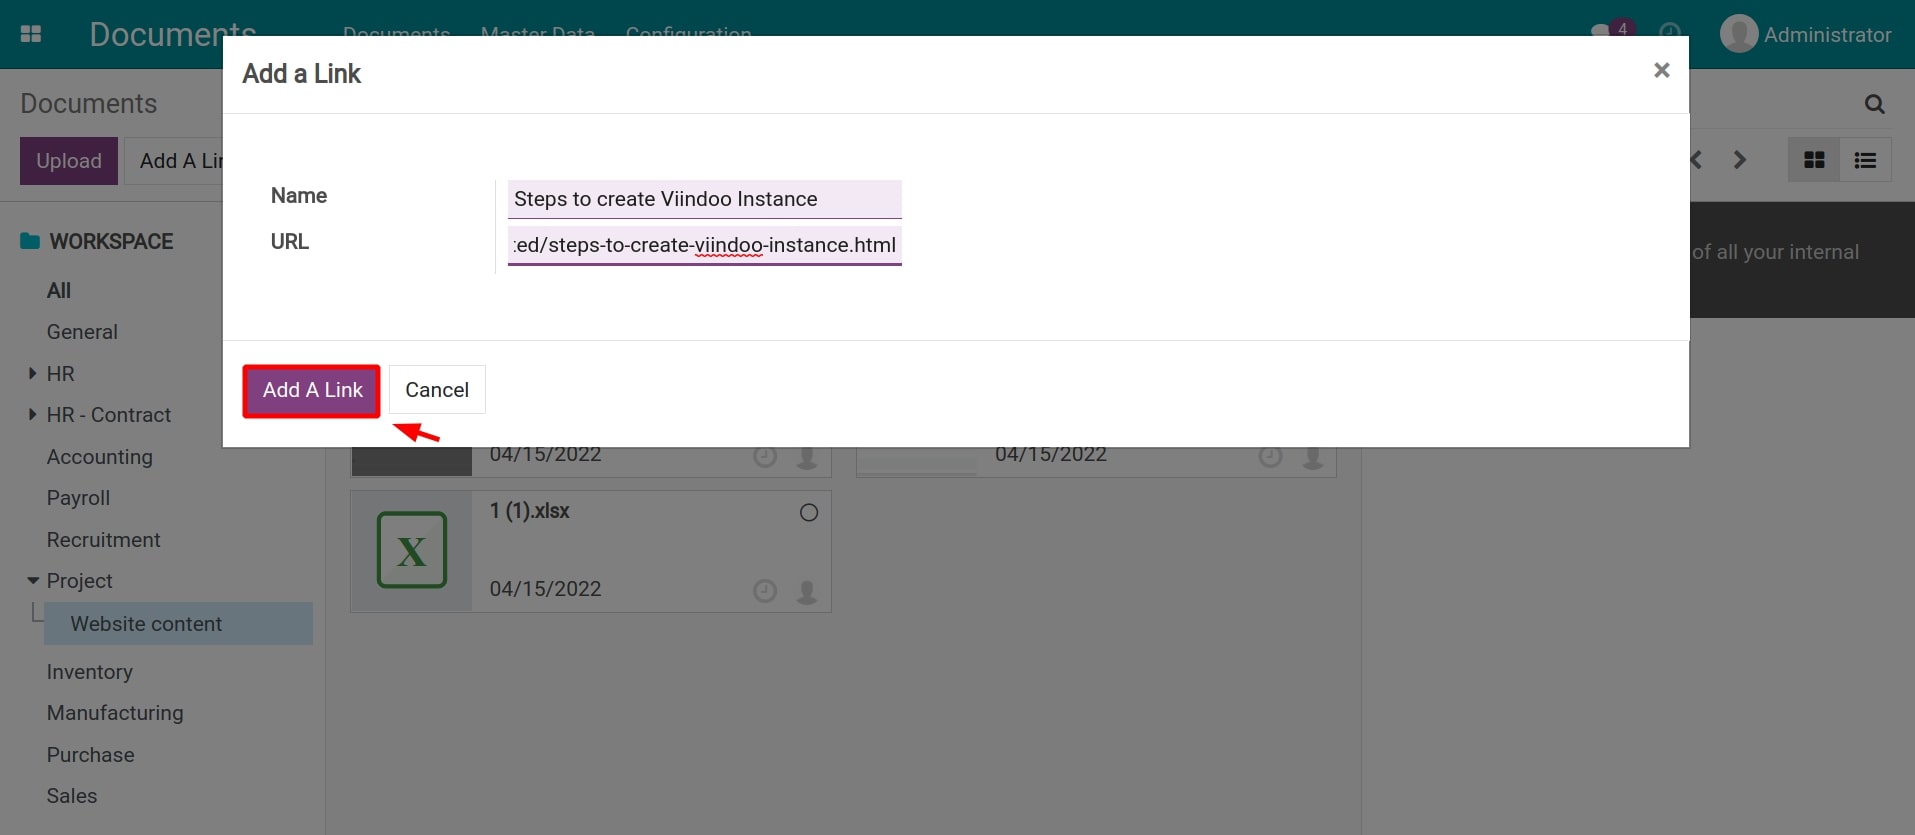
Select Add A Link to attach documents as a link.
You will be redirected to the interface to add information for this attached link including a name and its URL. Then press Add A Link to complete the operation.
Upload documents from the chatter section of other apps
Viindoo Documents app supports centralized management of attached documents scattered across chatters of other apps on a single interface. To do so, you need to set up a document generation rule which allows the synchronization of documents uploaded from other apps to the Documents app.
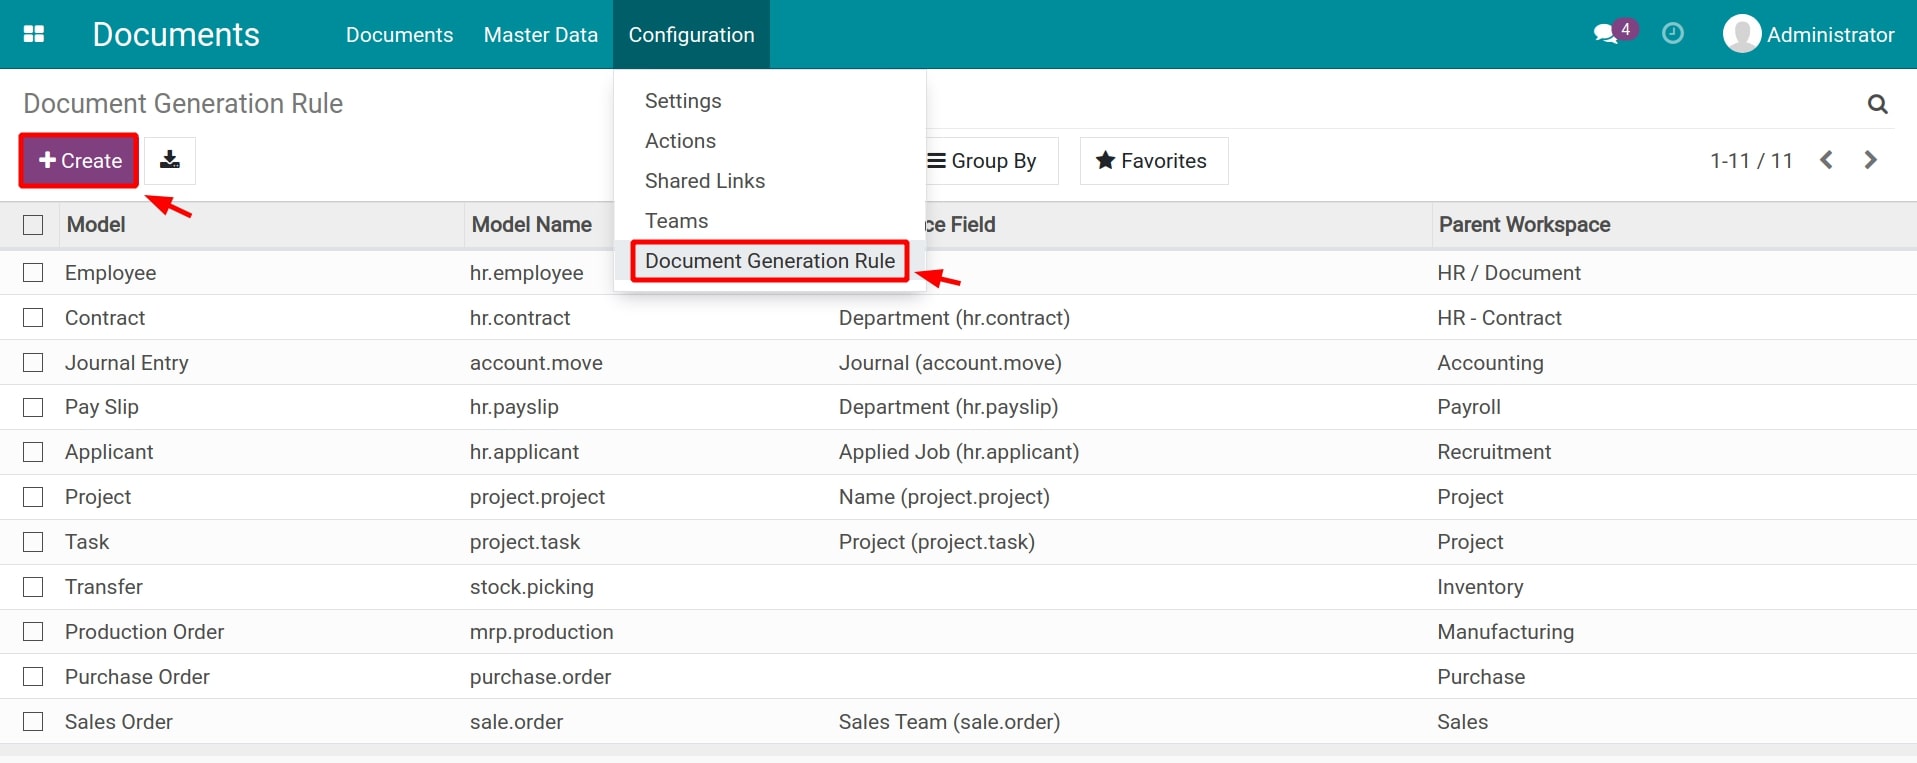
Navigate to Documents > Configuration > Document Generation Rule then press Create to set up a new document generation rule between the Documents app and other apps.
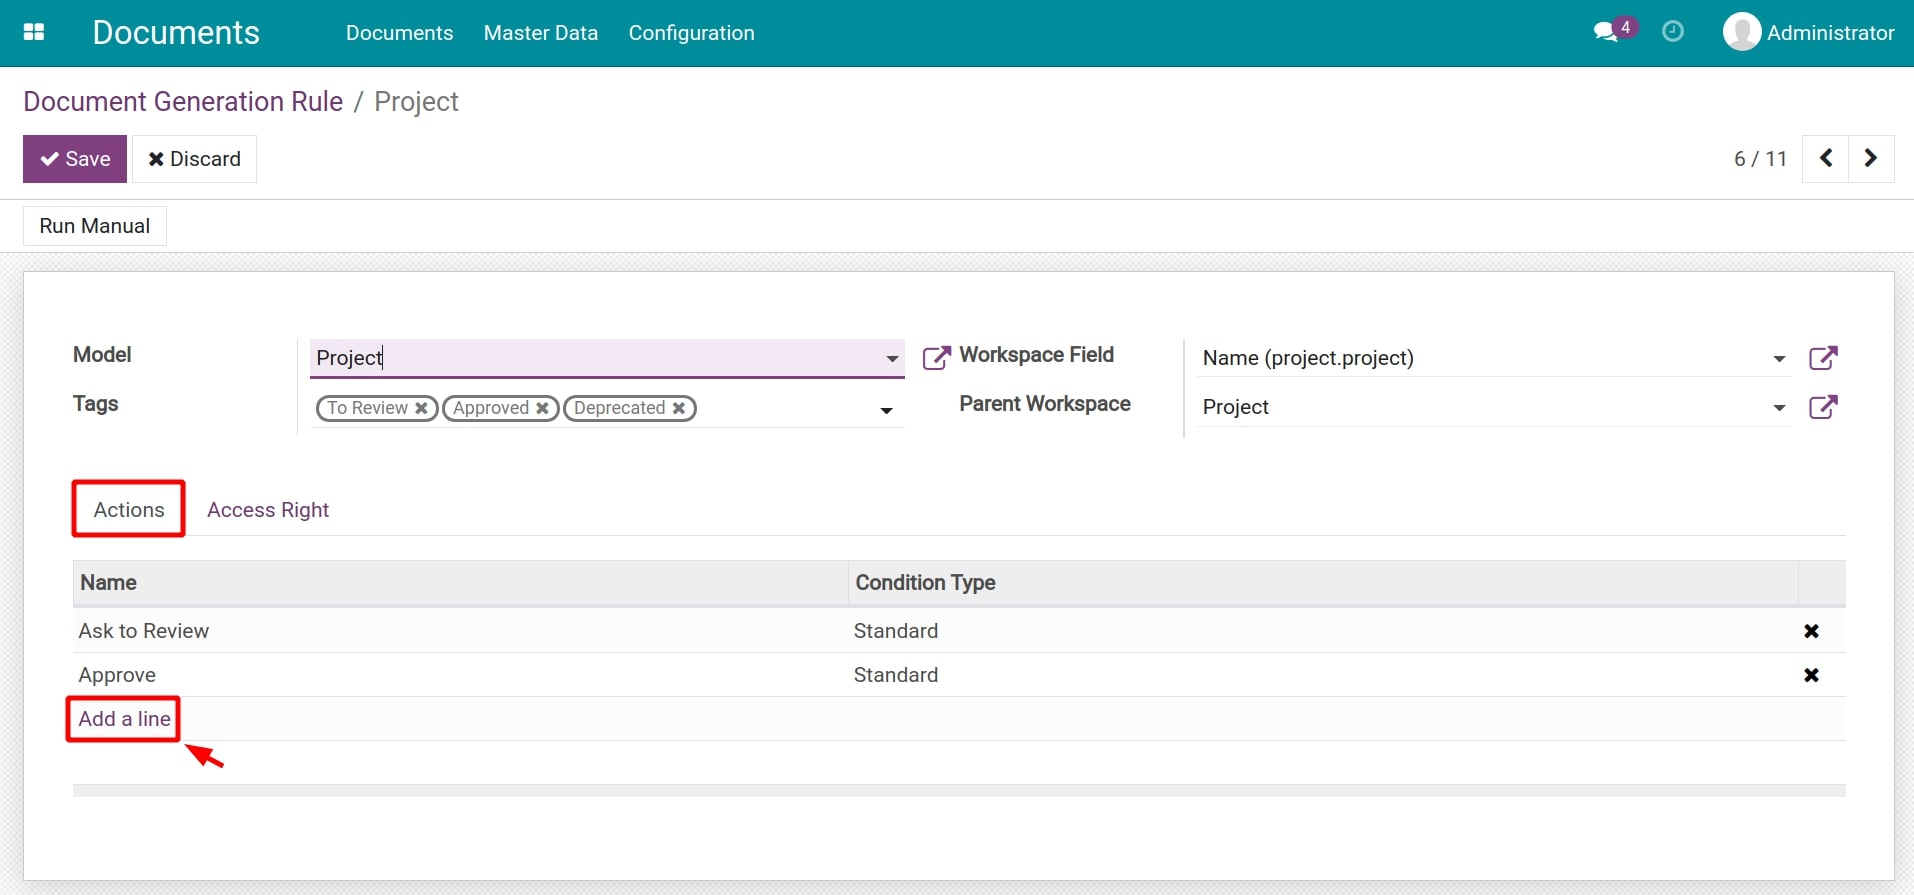
Next, insert the following information:
- Model: Select a model belonging to other apps in the system which need to be linked in order to centrally manage attached documents in the Documents app.
- Tags: Workpaces created by this generation rule will automatically have these tags attached to them.
- Workspace Field: Workspaces created by this rule will be categorized by the fields chosen from here.
- Parent Workspace: Workspaces created by this rule will be the child workspace of this chosen workspace.
- Actions tab: Press Add a line to insert new actions. Workspaces created by this rule will automatically have actions added from here.
- Access Right tab: Configure access rights for workspaces created by this rule.
Press Save to store the settings.
Documents uploaded from the moment the document generation rule for a certain model is created will be updated simultaneously on the Documents app. On the other hand, you can select Run Manual to update all the documents generated before the generation rule creation.
Let’s practice with the example below to have a better understanding of this generation rule.
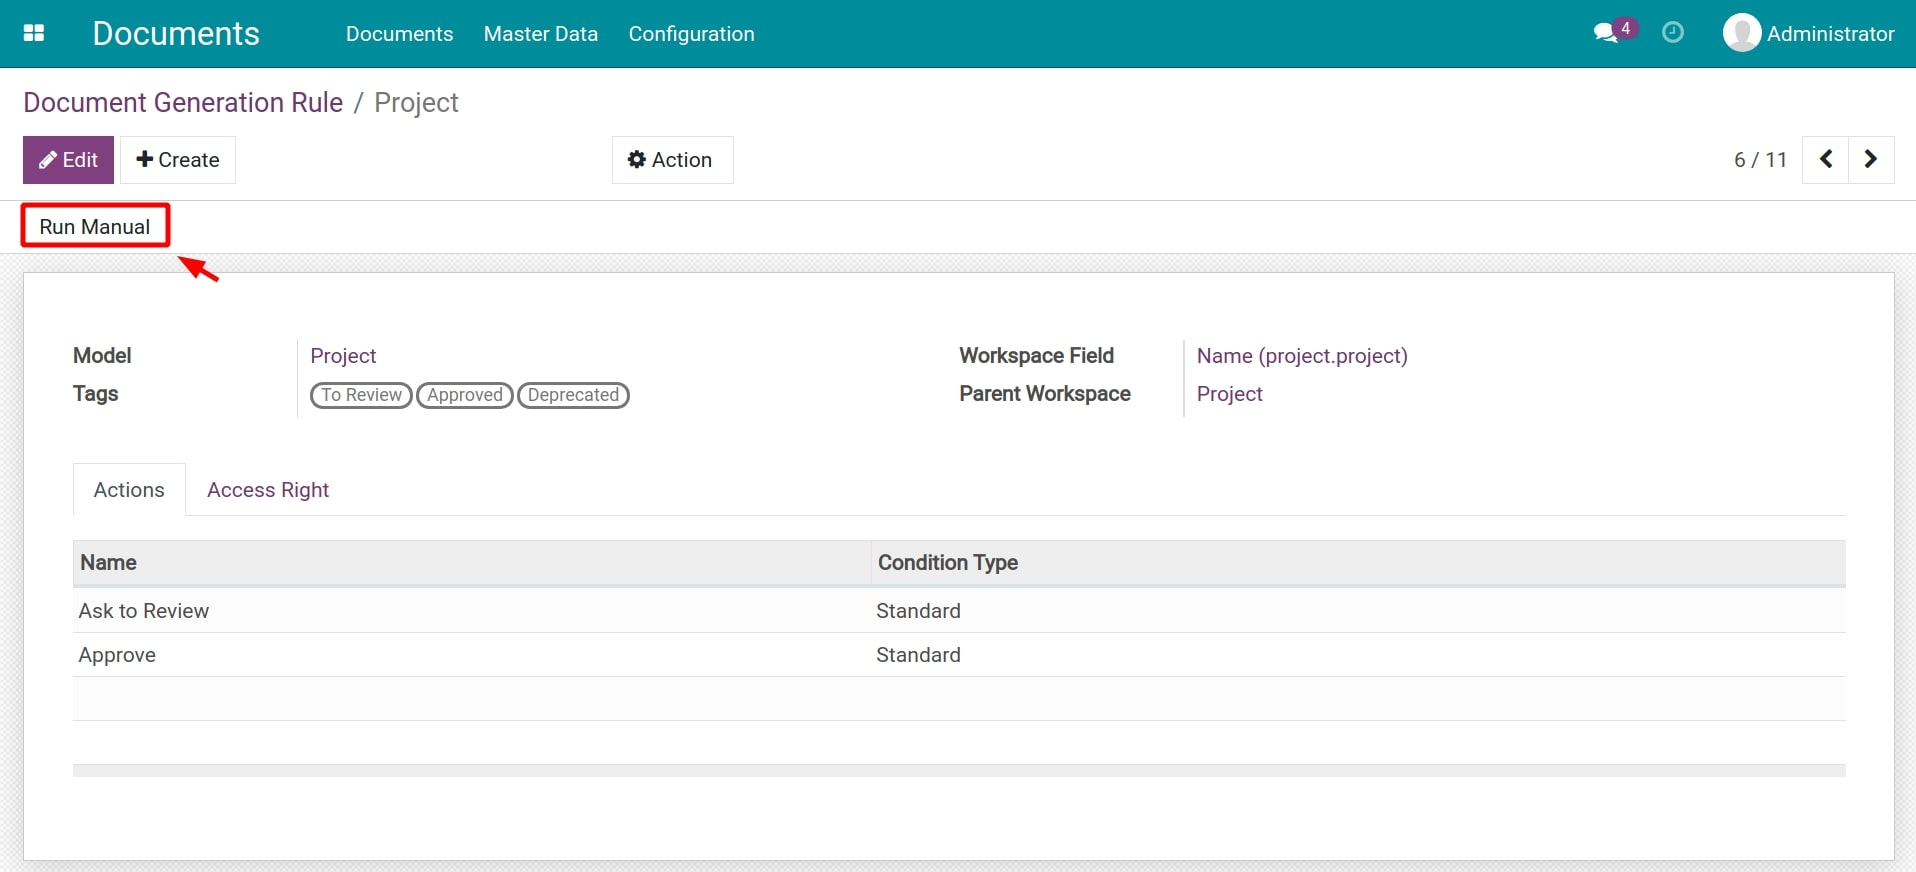
- Step 01: Configure a Document Generation Rule with the information below:
- Model: Select the Project model.
- Tags: To Review, Approved, Deprecated.
- Workspace Field: Name (project.project).
- Parent Workspace: Select the Project workspace.
- Actions tab: Add actions, including Ask to Review and Approve.
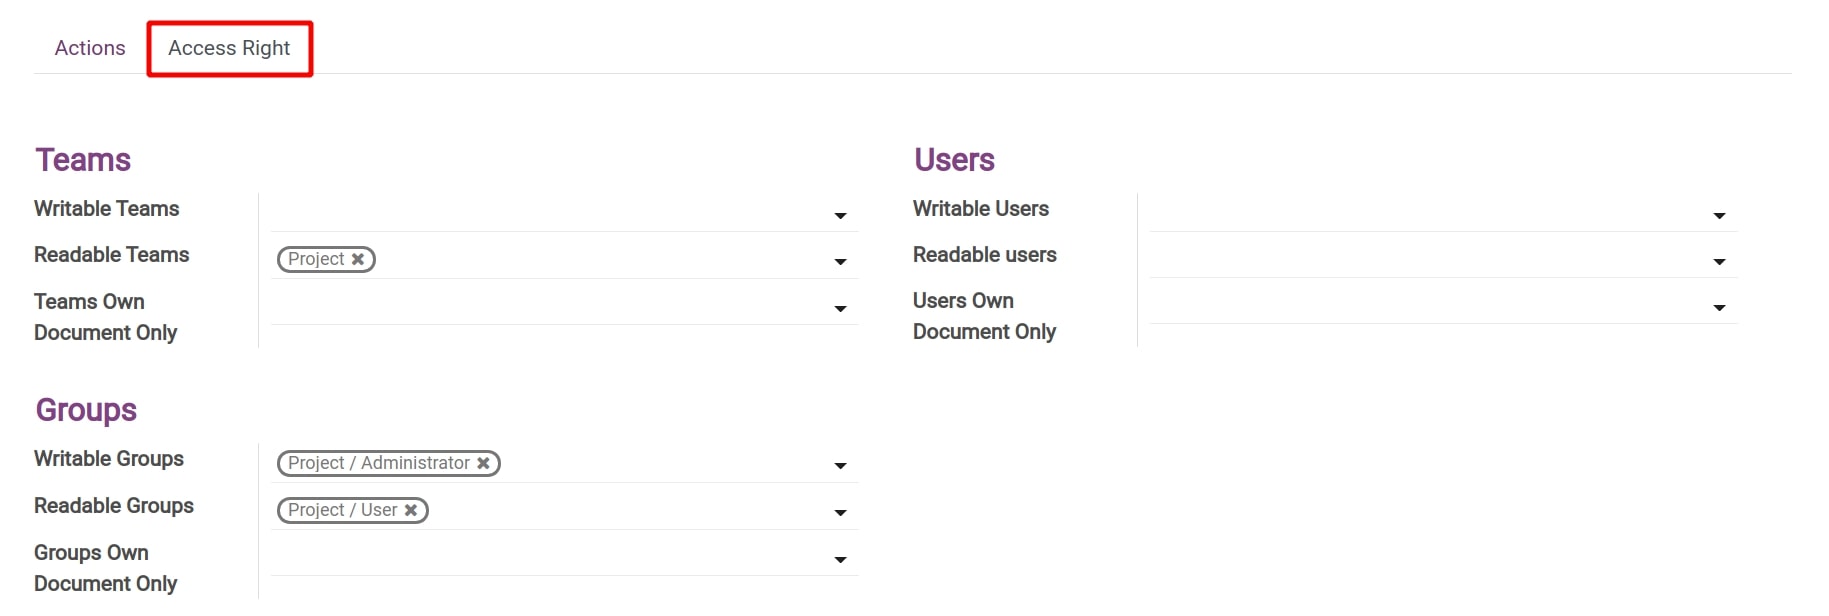
- Access Right tab: Set up the following access rights:
- Readable Teams: Select the Project team.
- Writable Groups: Select the Project / Administrator group.
- Readable Groups: Select the Project / User group.
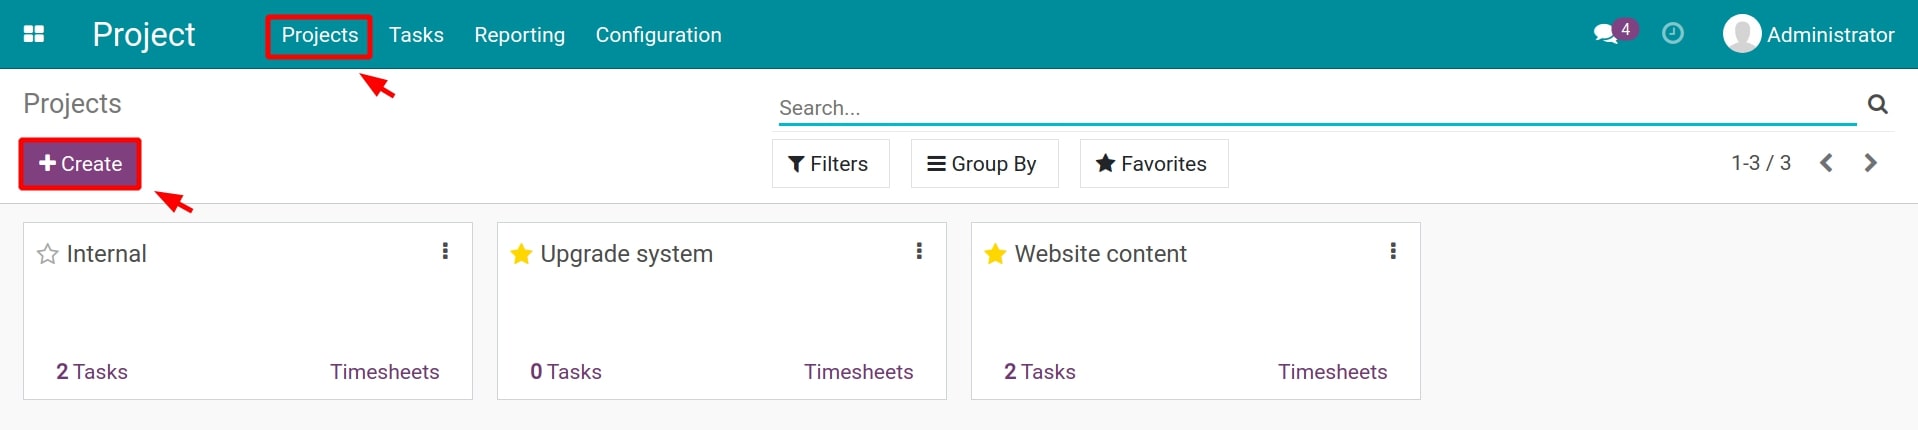
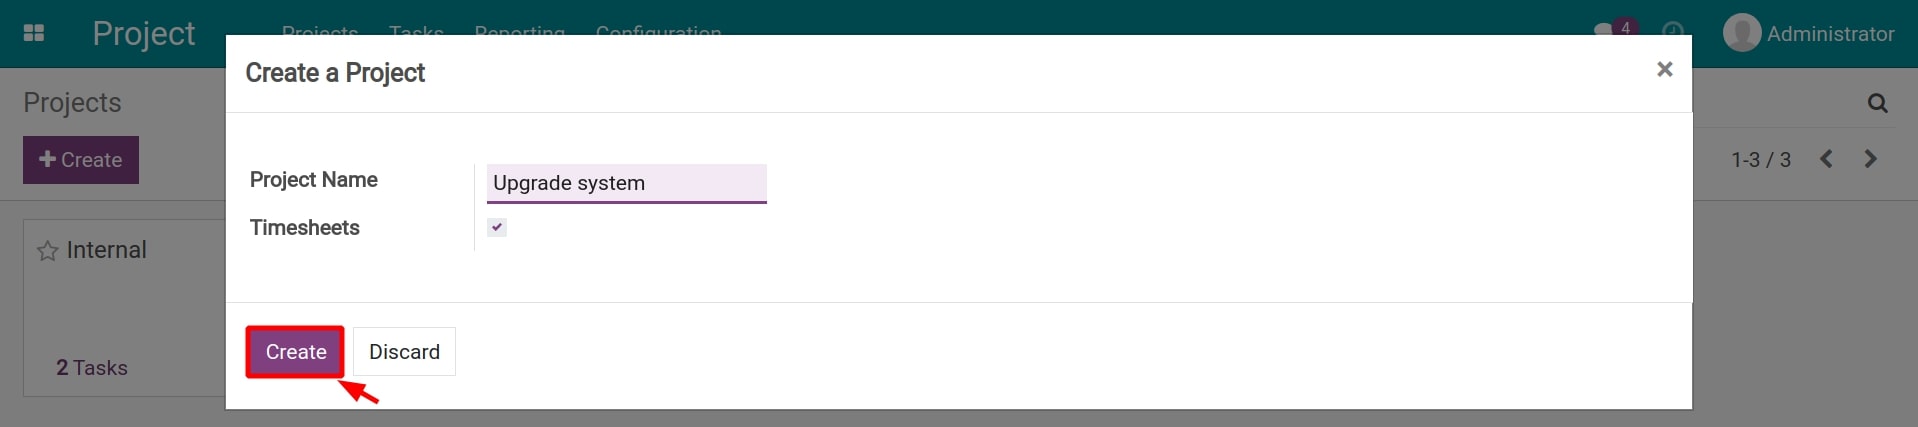
- Step 02: Navigate to Project > Project and select Create to set up a new project named Upgrade system.
- Step 03: On the newly created project view, choose the pin icon and Add attachments to attach new documents to this project.
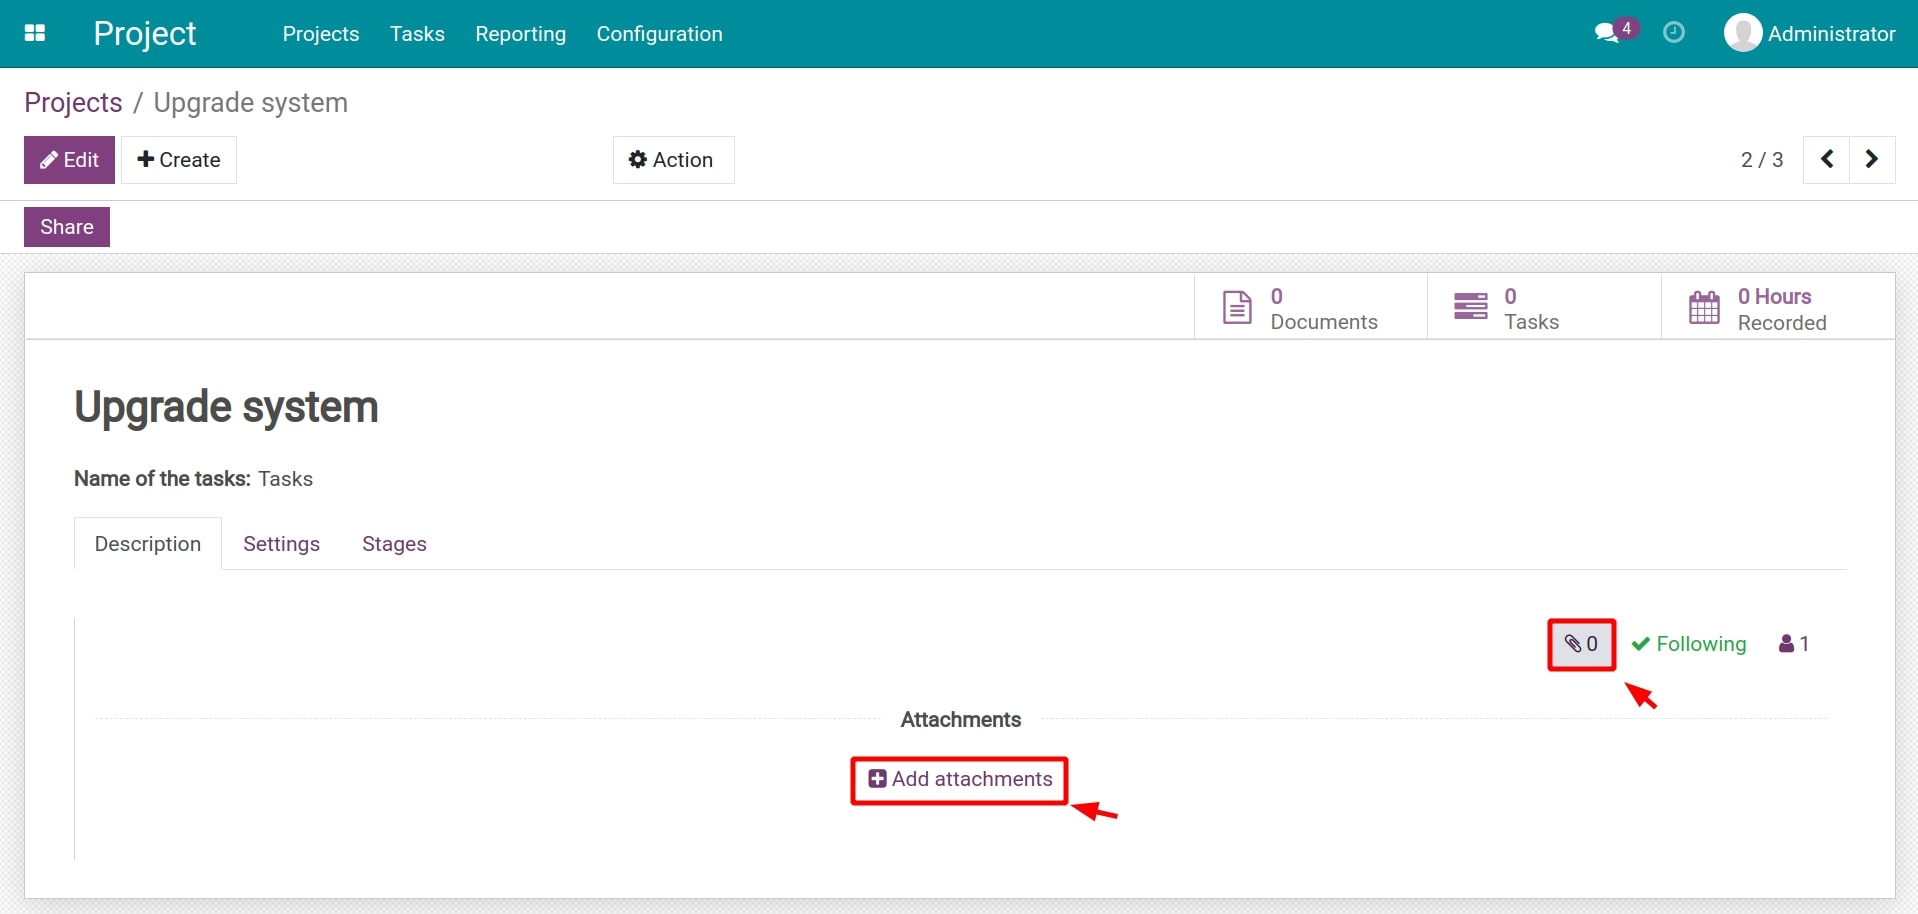
You can navigate to the Document icon on the project view to search for attached documents.
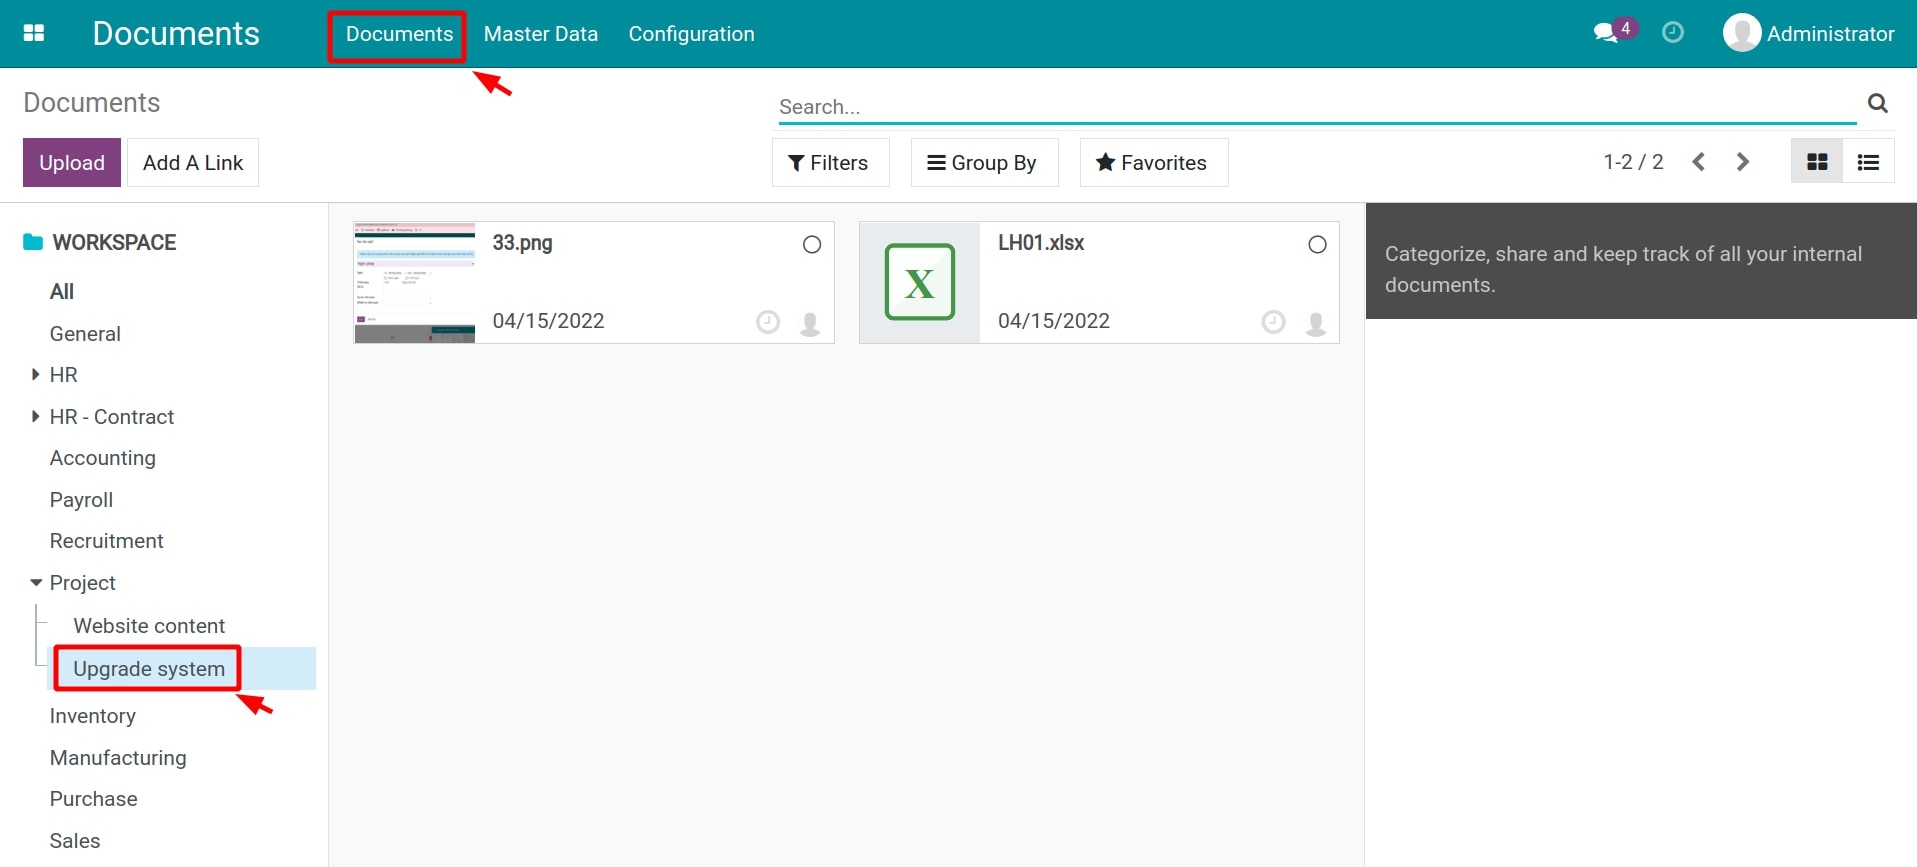
- Step 04: Review all the workspaces and documents automatically updated on the Documents app by the previously configured rule.
When the first document of this project is attached, the workspace of that document on the Documents app is also created. Navigate to Documents > Master Data > Workspaces to search for this workspace.
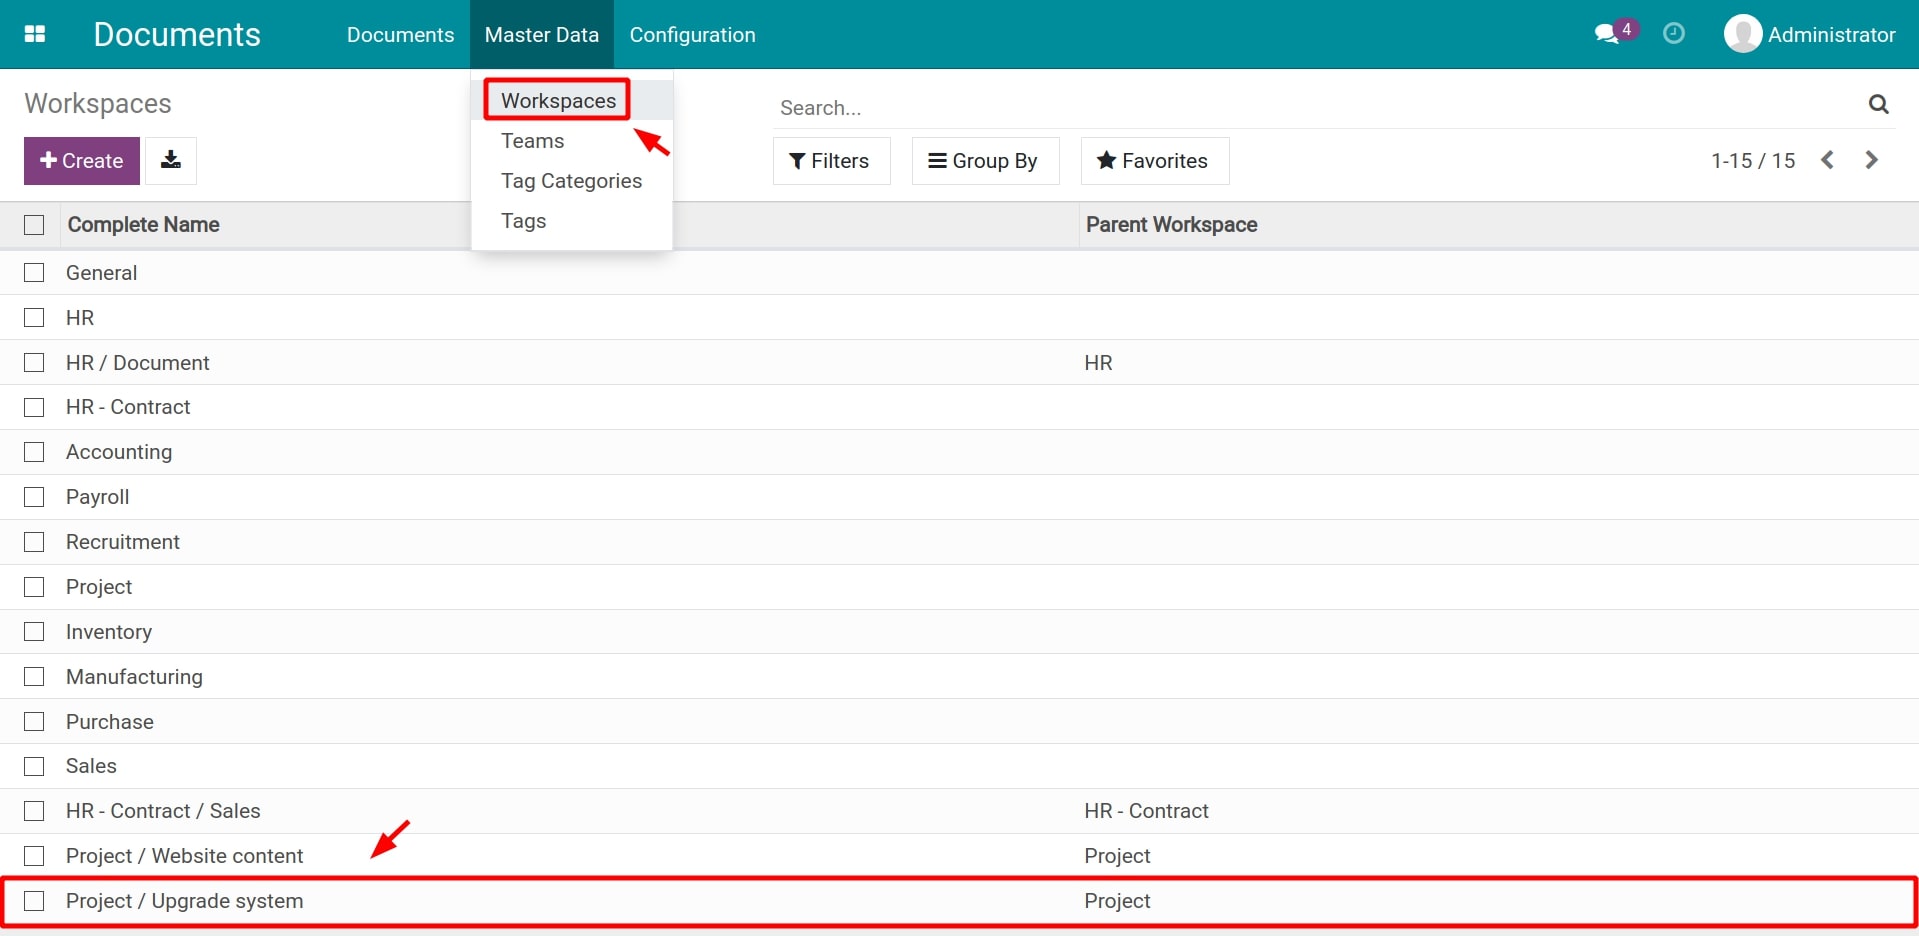
Information of this workspace is also pre-configured following the settings on the Document Generation Rule.
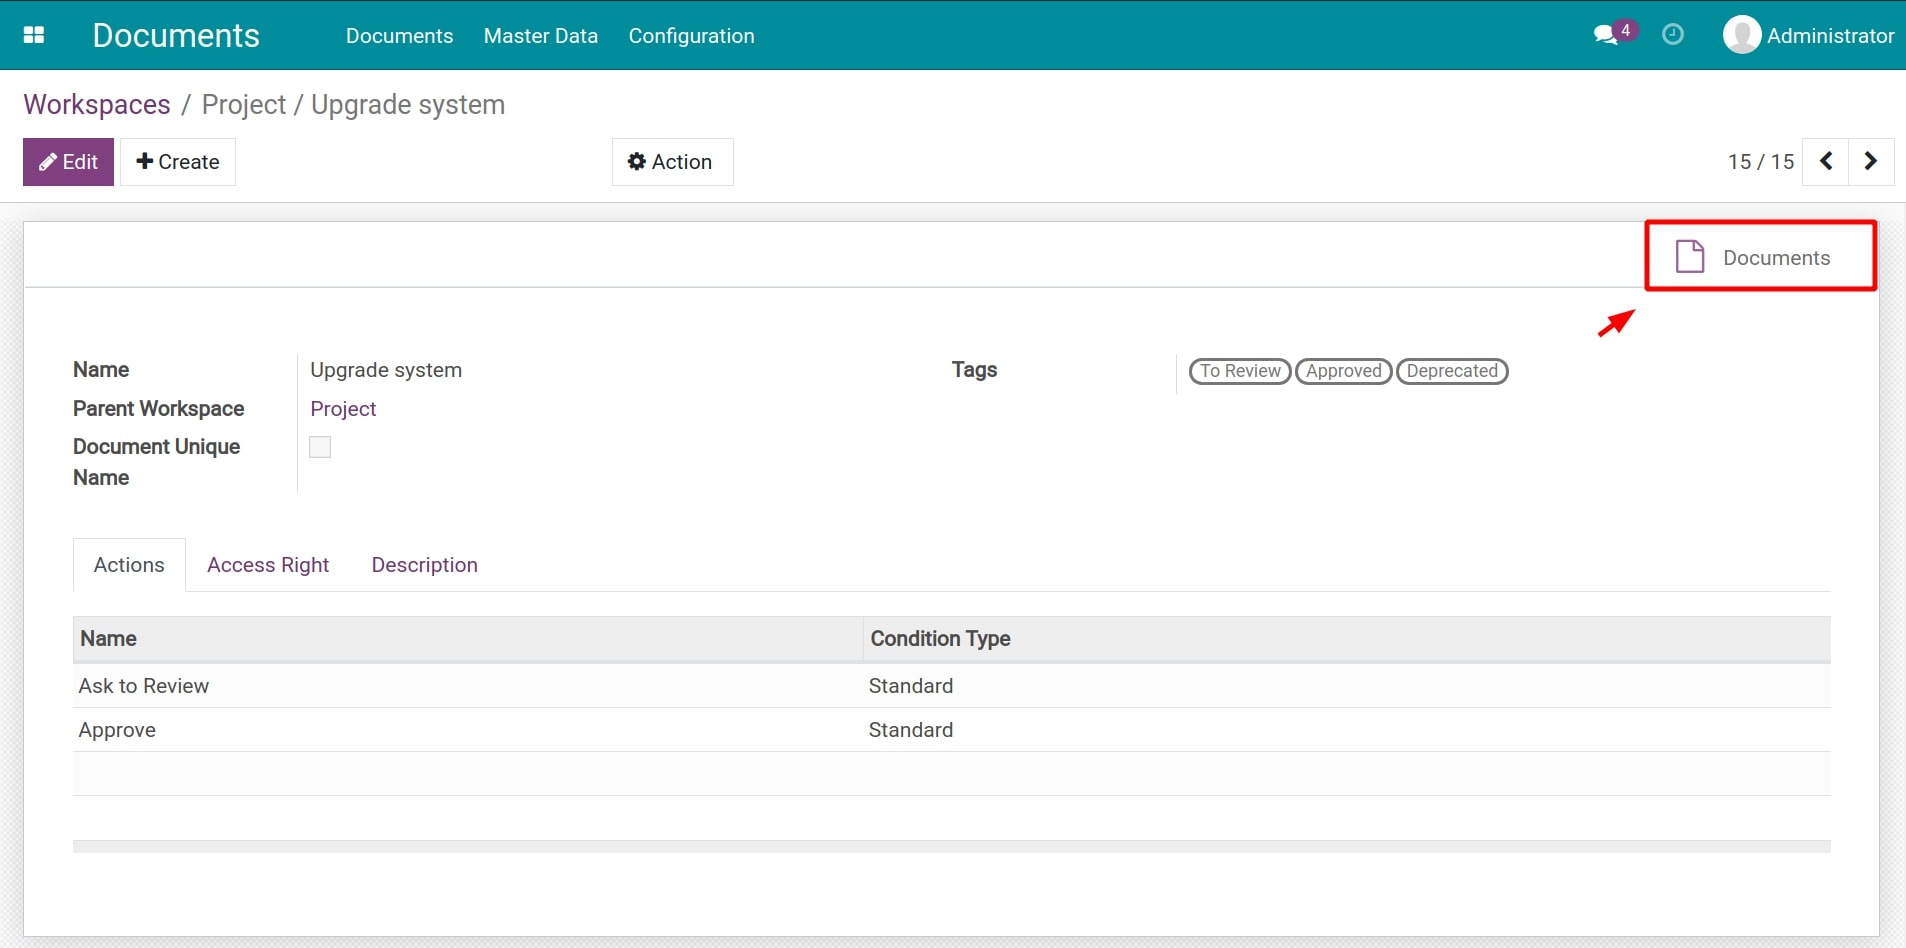
From here, you can also navigate to the Documents icon to view all the attached documents.
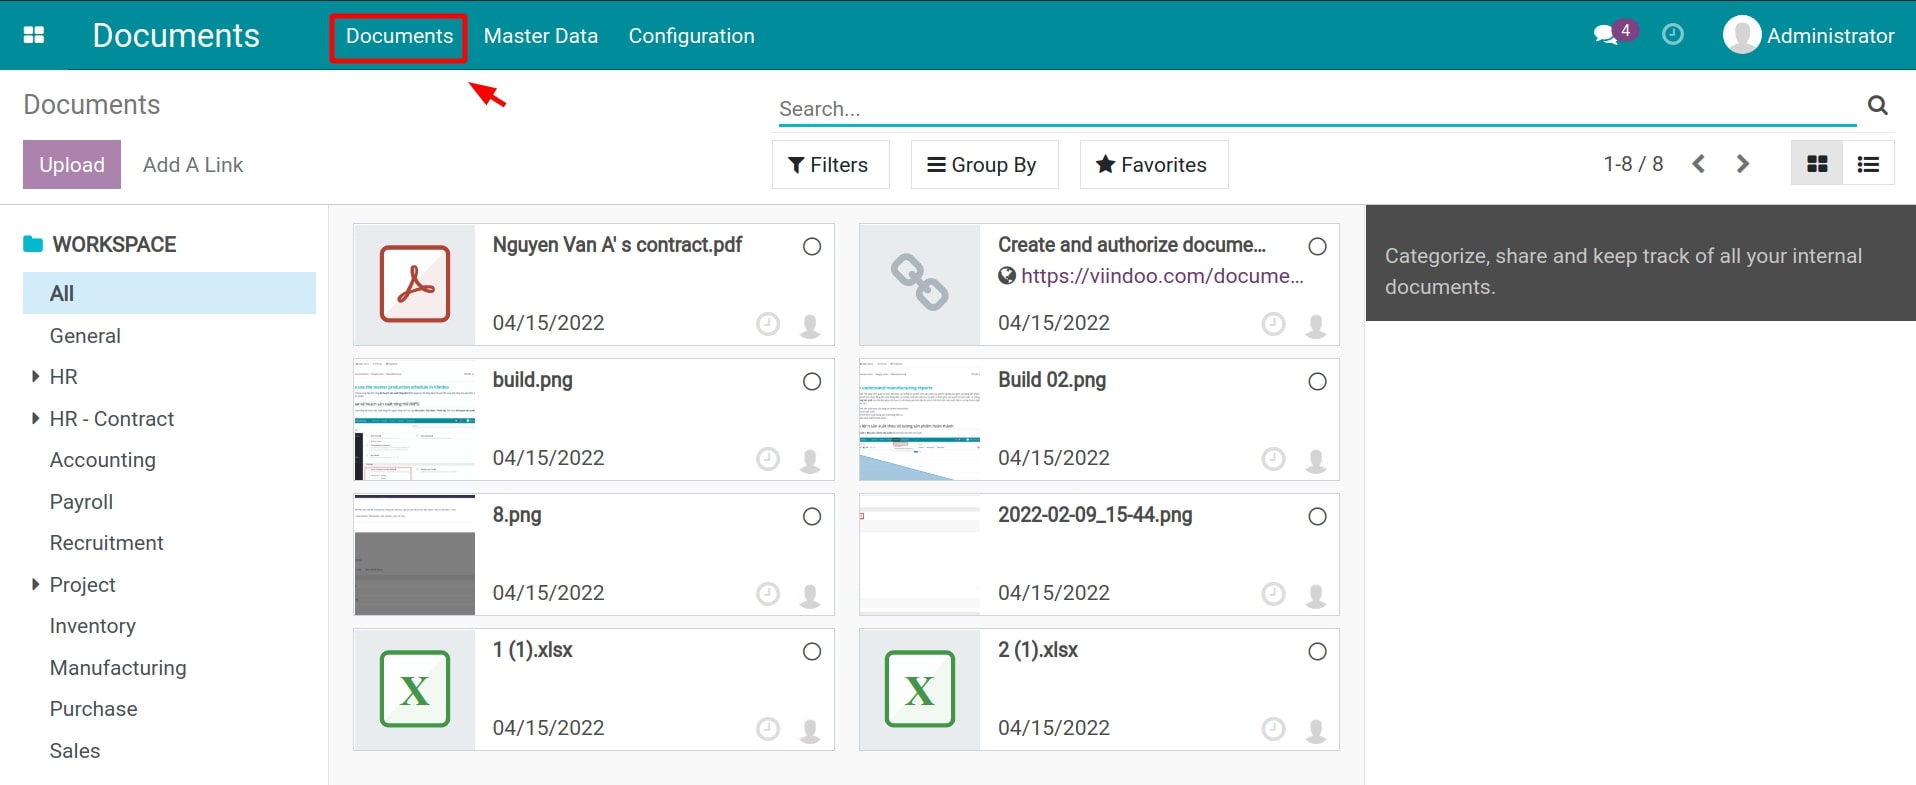
Besides, you can navigate to Documents > Documents to view information on workspaces and documents of the newly created project.