How the Customers check their account information on eCommerce website
Configuration
To follow all the information of sale orders, quotations, invoices,… and retrieve own transaction history, customer need a user account.
You navigate to , select one of two options as followings:
On invitation: You need to create accounts and send that information for your customers to access.
Free sign up: Customers create their own accounts to access websites.
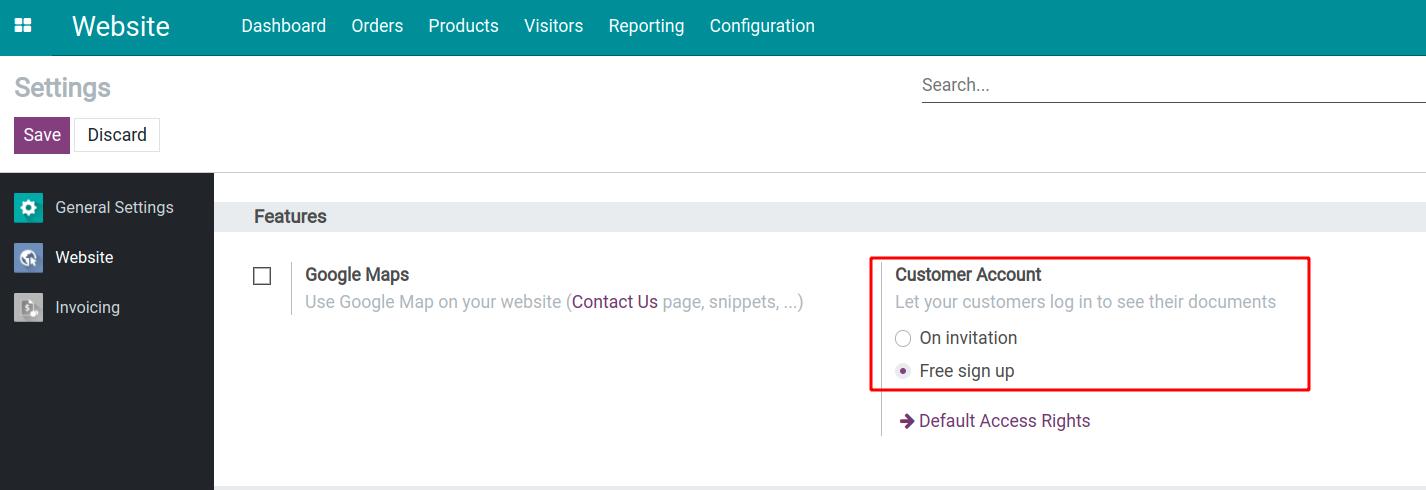
Click on User account: Setting and Management for more detailed.
This is a writing guide to access your account with the Free sign up feature.
Register an account
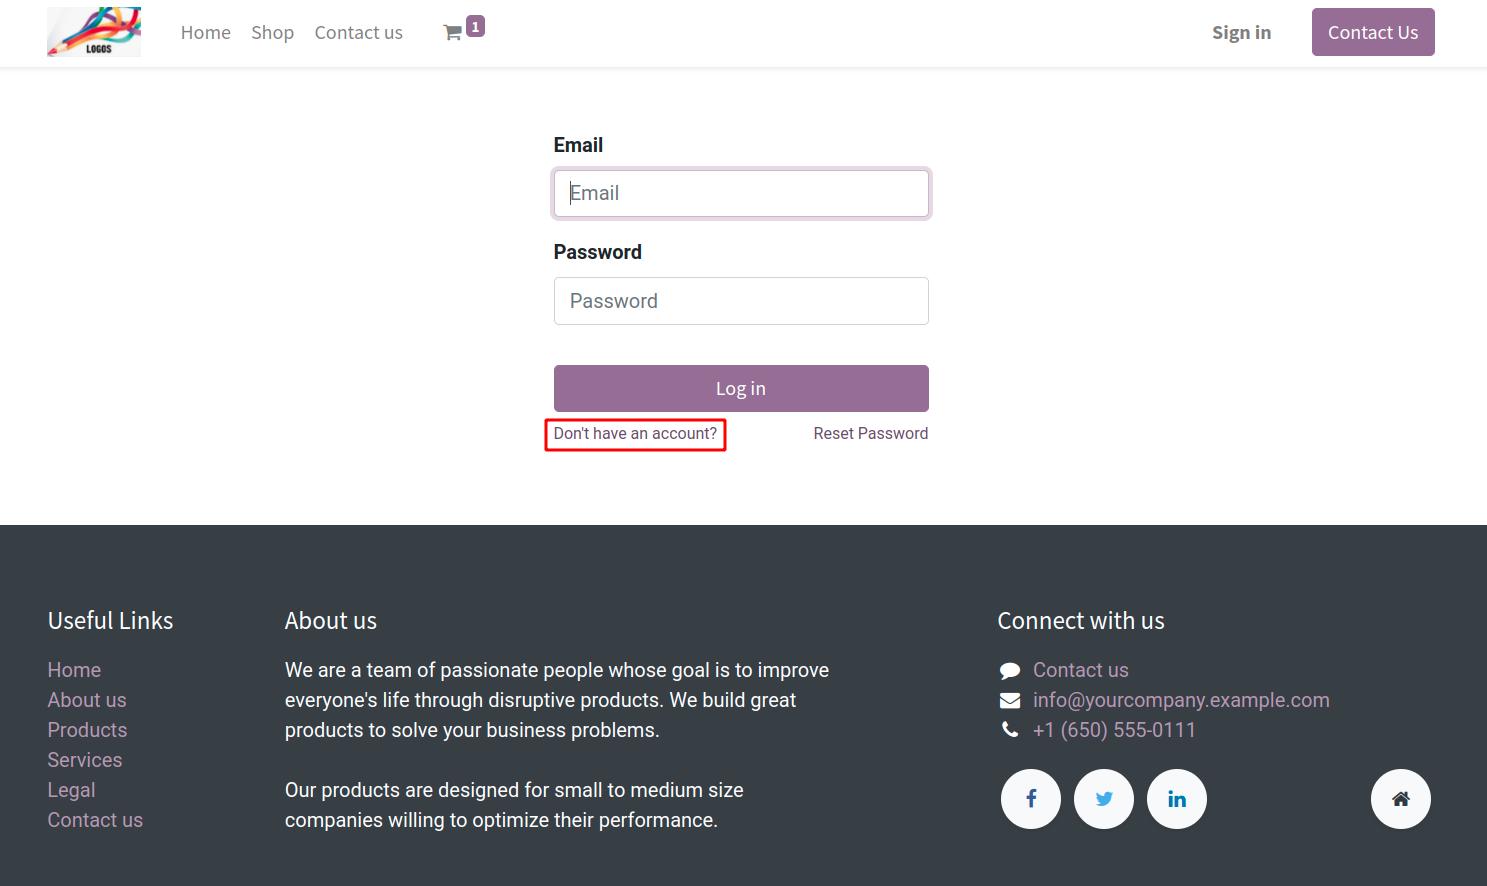
Access to the eCommerce website and click on Sign in button in the upper right corner, the login view will be displayed.

Click on the line of Don’t have an account to direct to the registration view.
Enter your name and email then click on Sign up.
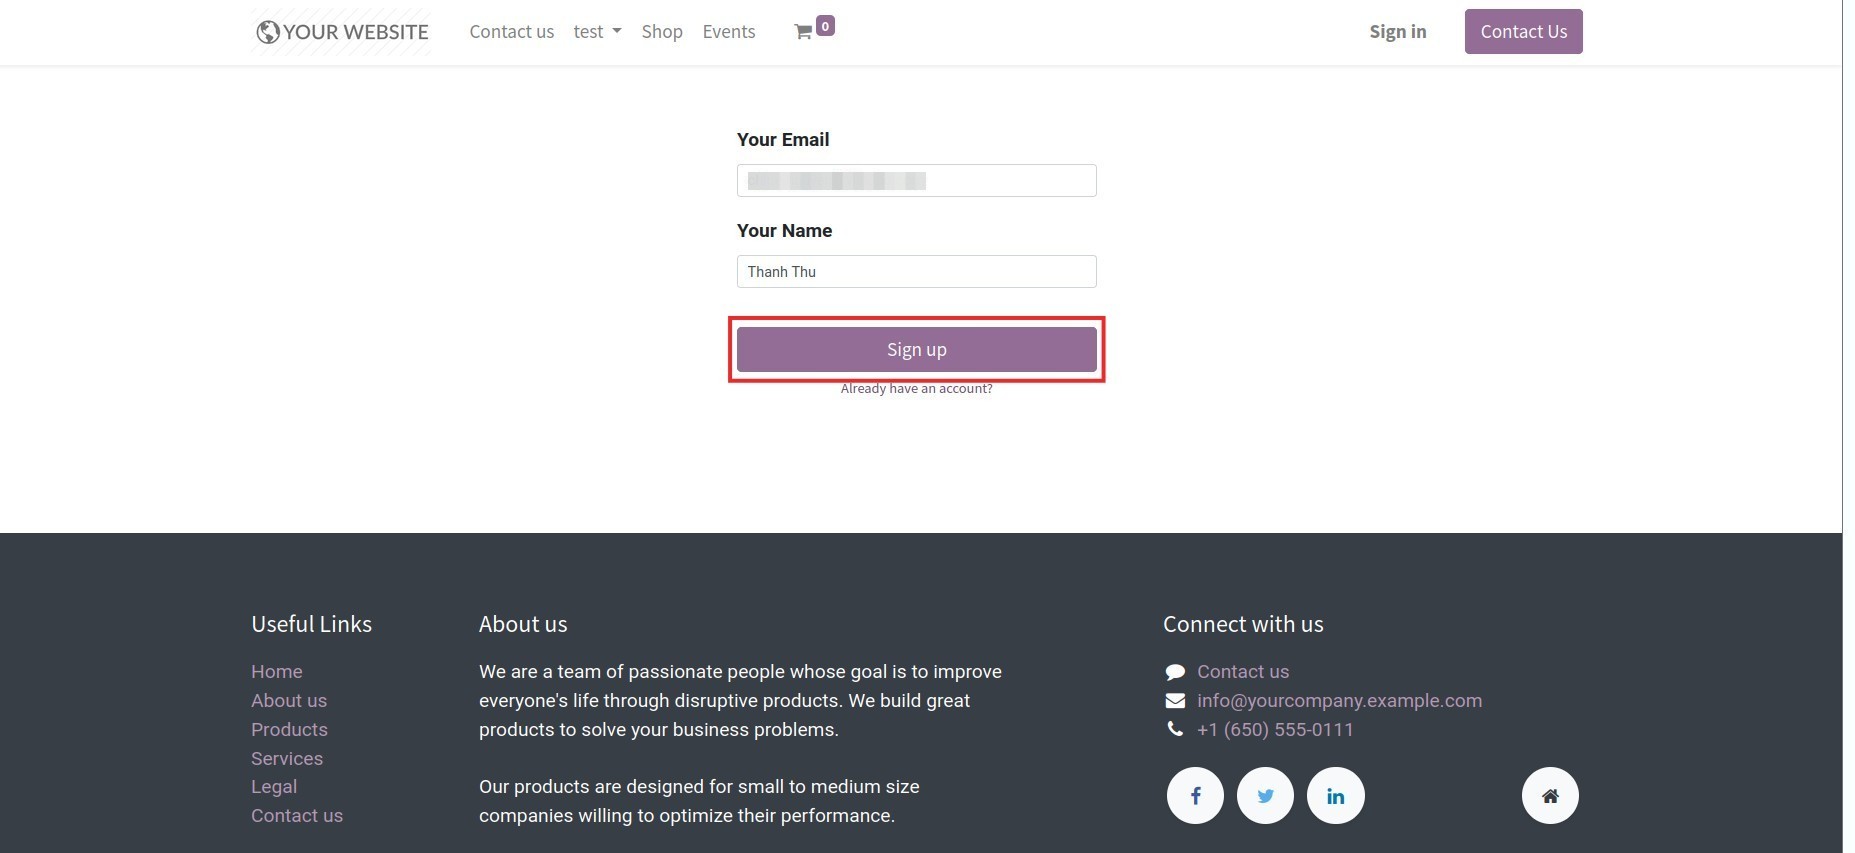
The system show your registration status is completed. Go to your email to verify then turn back to click on Back to Login.

Enter the required information such as: Email, full name, password, password confirmation and click on Confirm button.
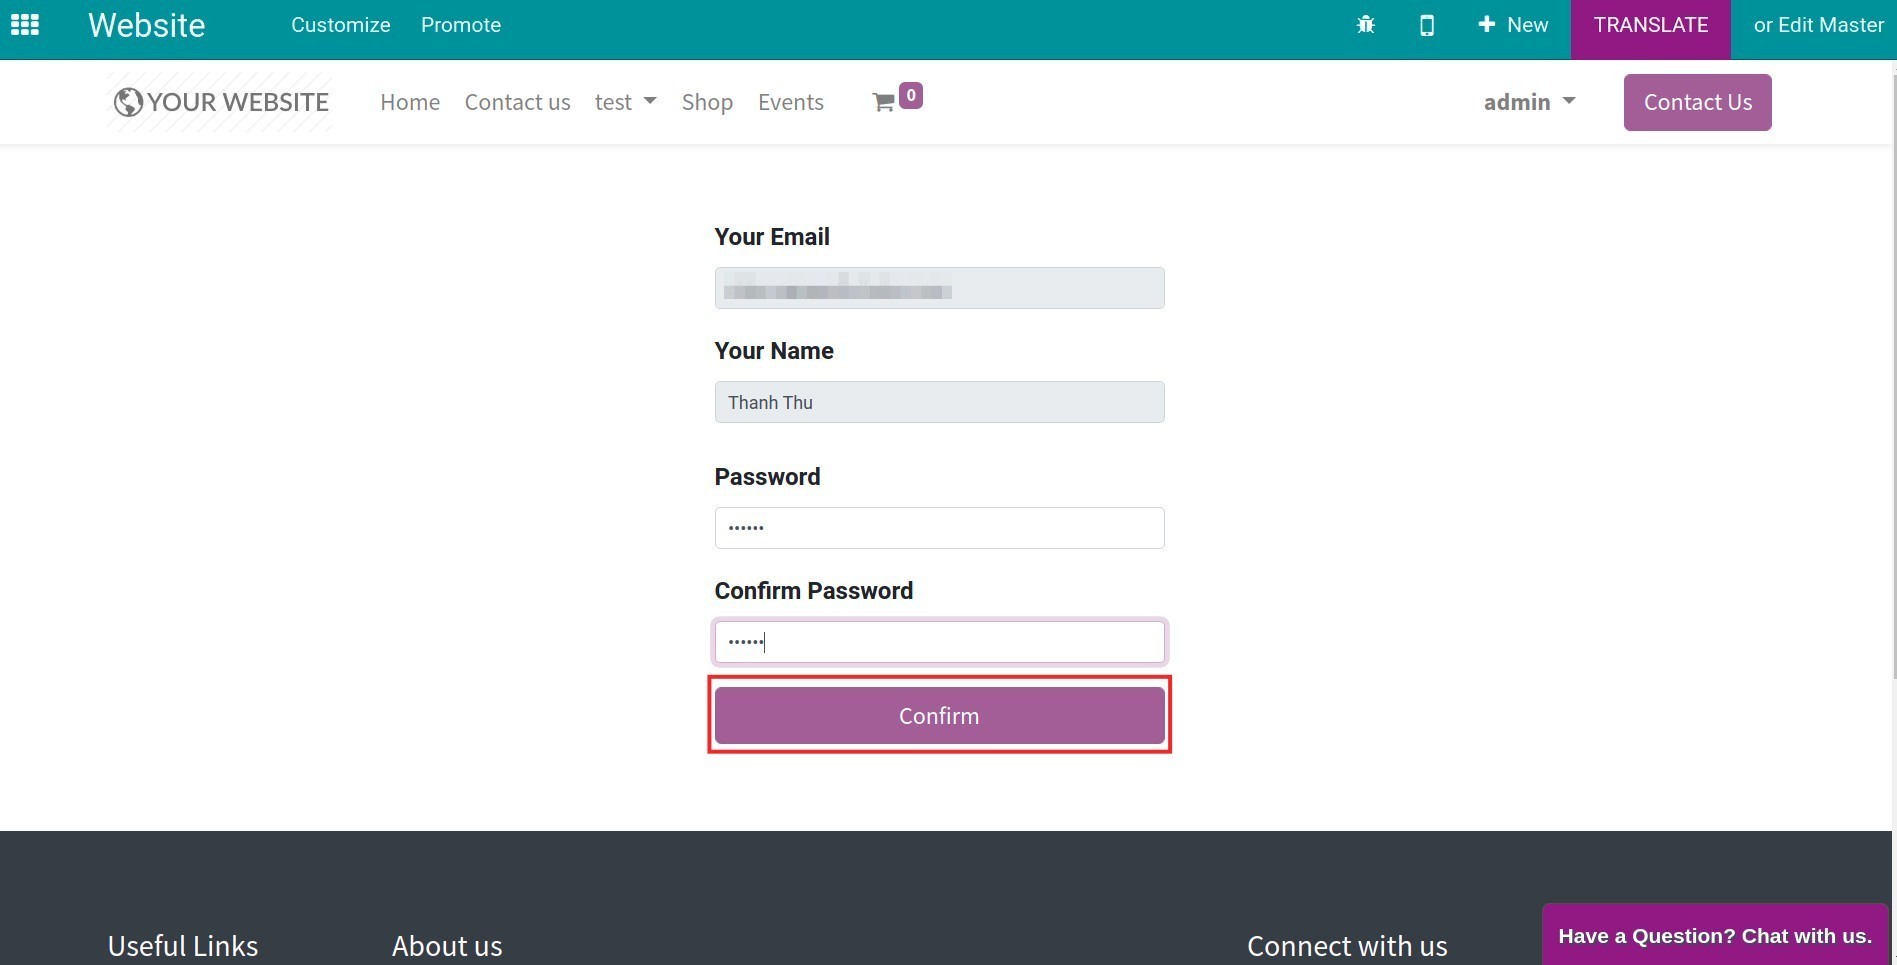
Finally, your account on the eCommerce website was created.
Account information
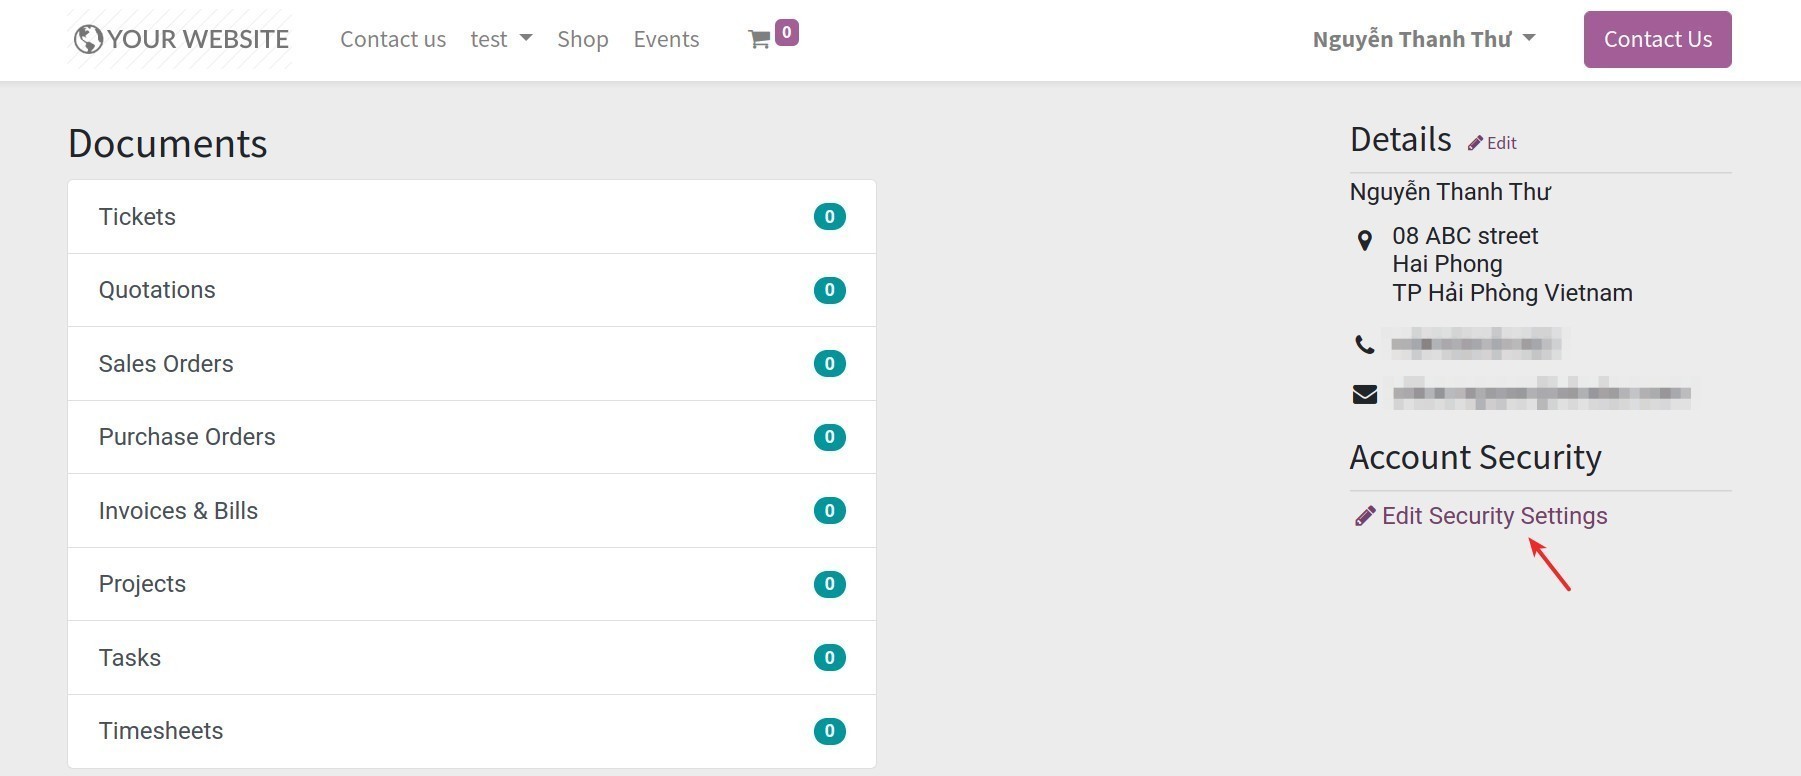
After completing registration, access the website system. Click on My Account in the drop-down menu when tapping your name in the upper right corner, your account information will be shown. All the orders and payments history are recorded here.

Click on Edit to edit your personal information as follows: shipping address, phone number,… After entering your personal information, press Confirm.

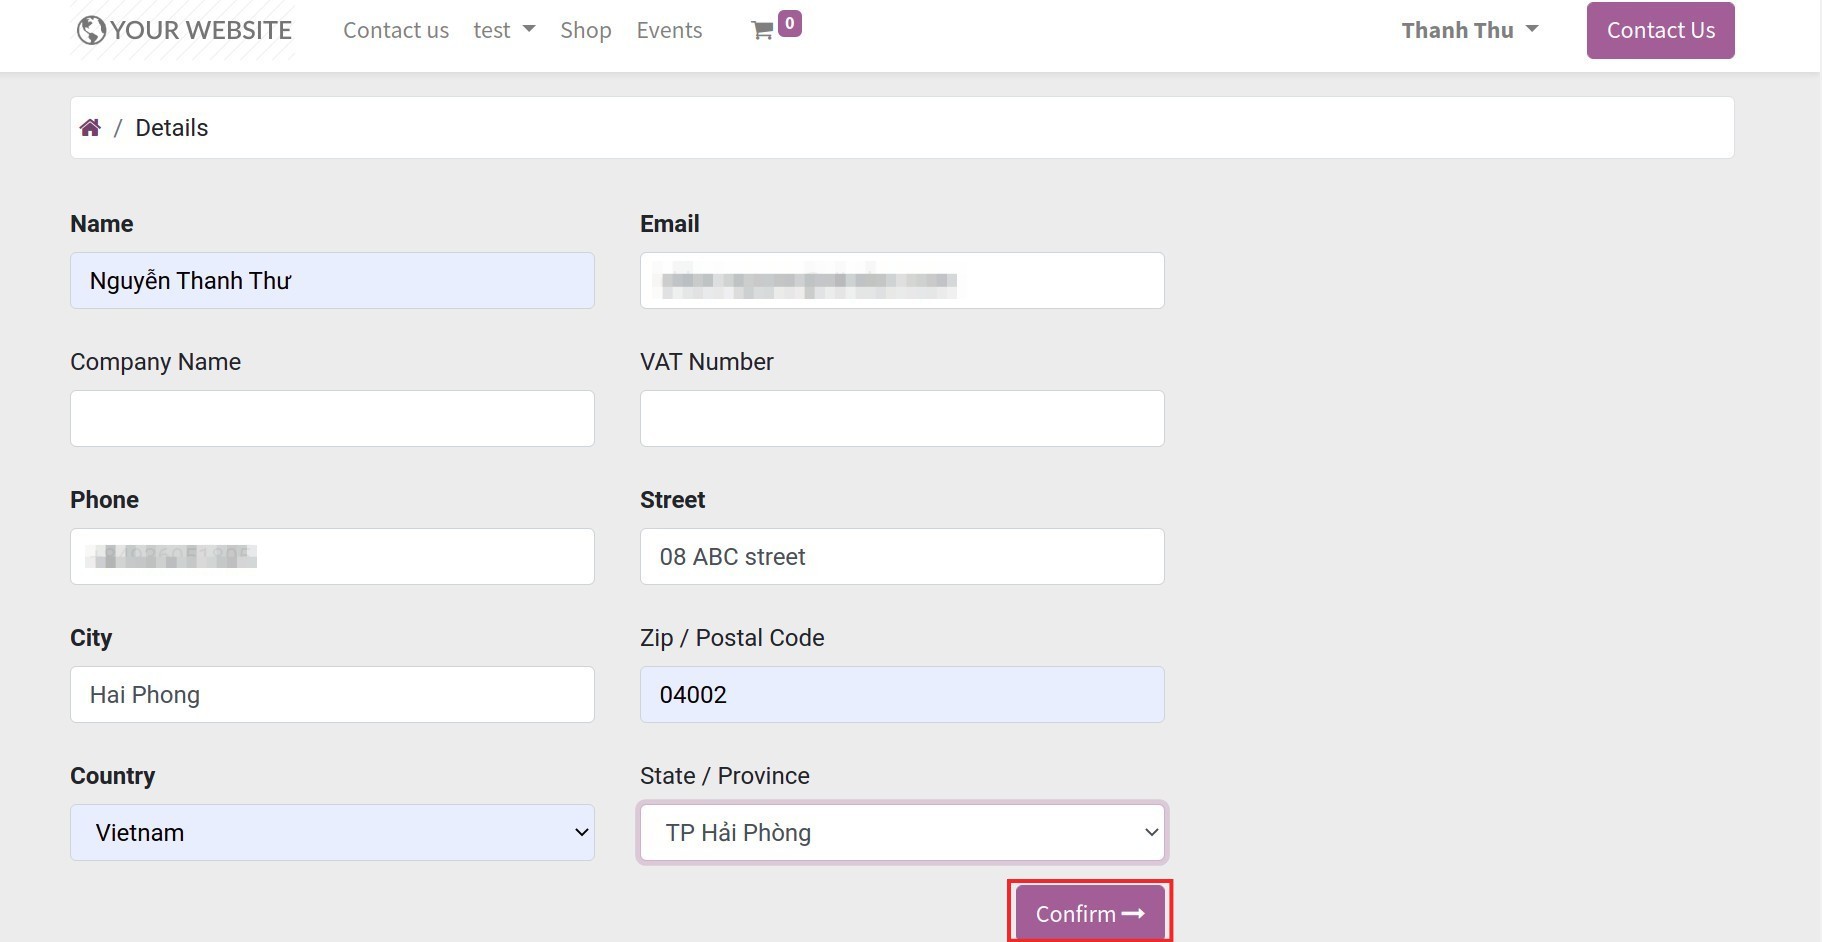
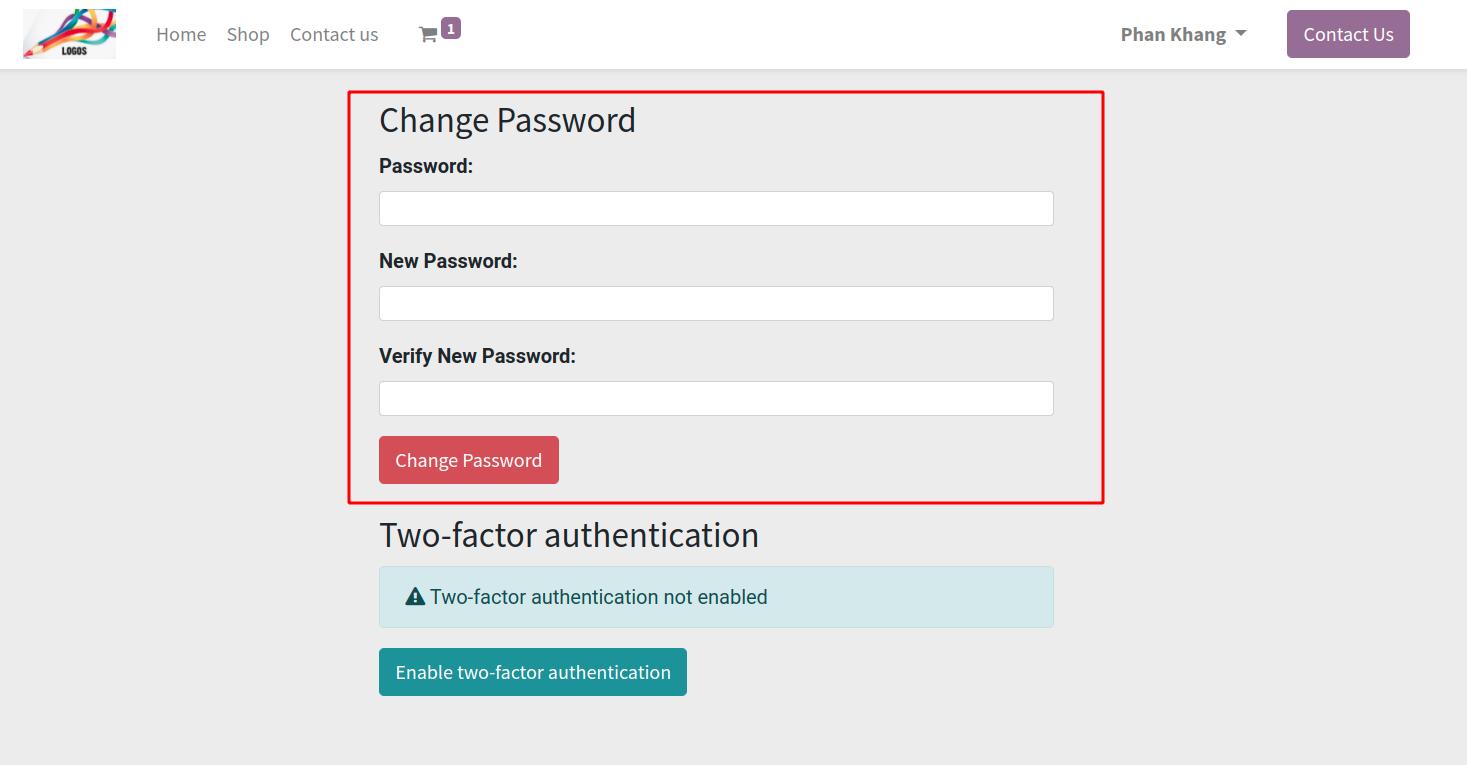
You will be backed to your account view, you can change your password by clicking on Edit Security Settings, entering all the information then clicking on Change password.
