User account setting and management
Warning
Only users have system setting rights can create and grant access rights to other users.
Create new user accounts with Viindoo
Viindoo software is a total solution that provides features to support the management of daily business operations. One of those features helps administrators create and grant access rights to users according to their roles in business.
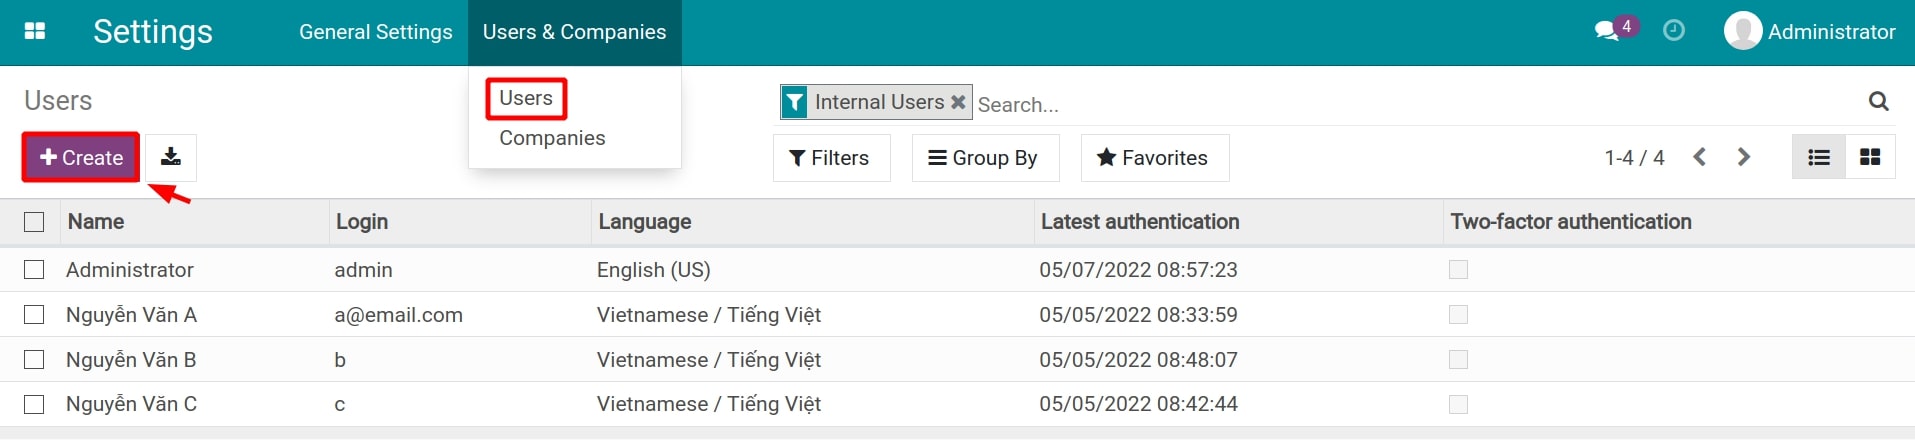
To create a new user account, you go to Settings > Users & Companies > Users and select Create.
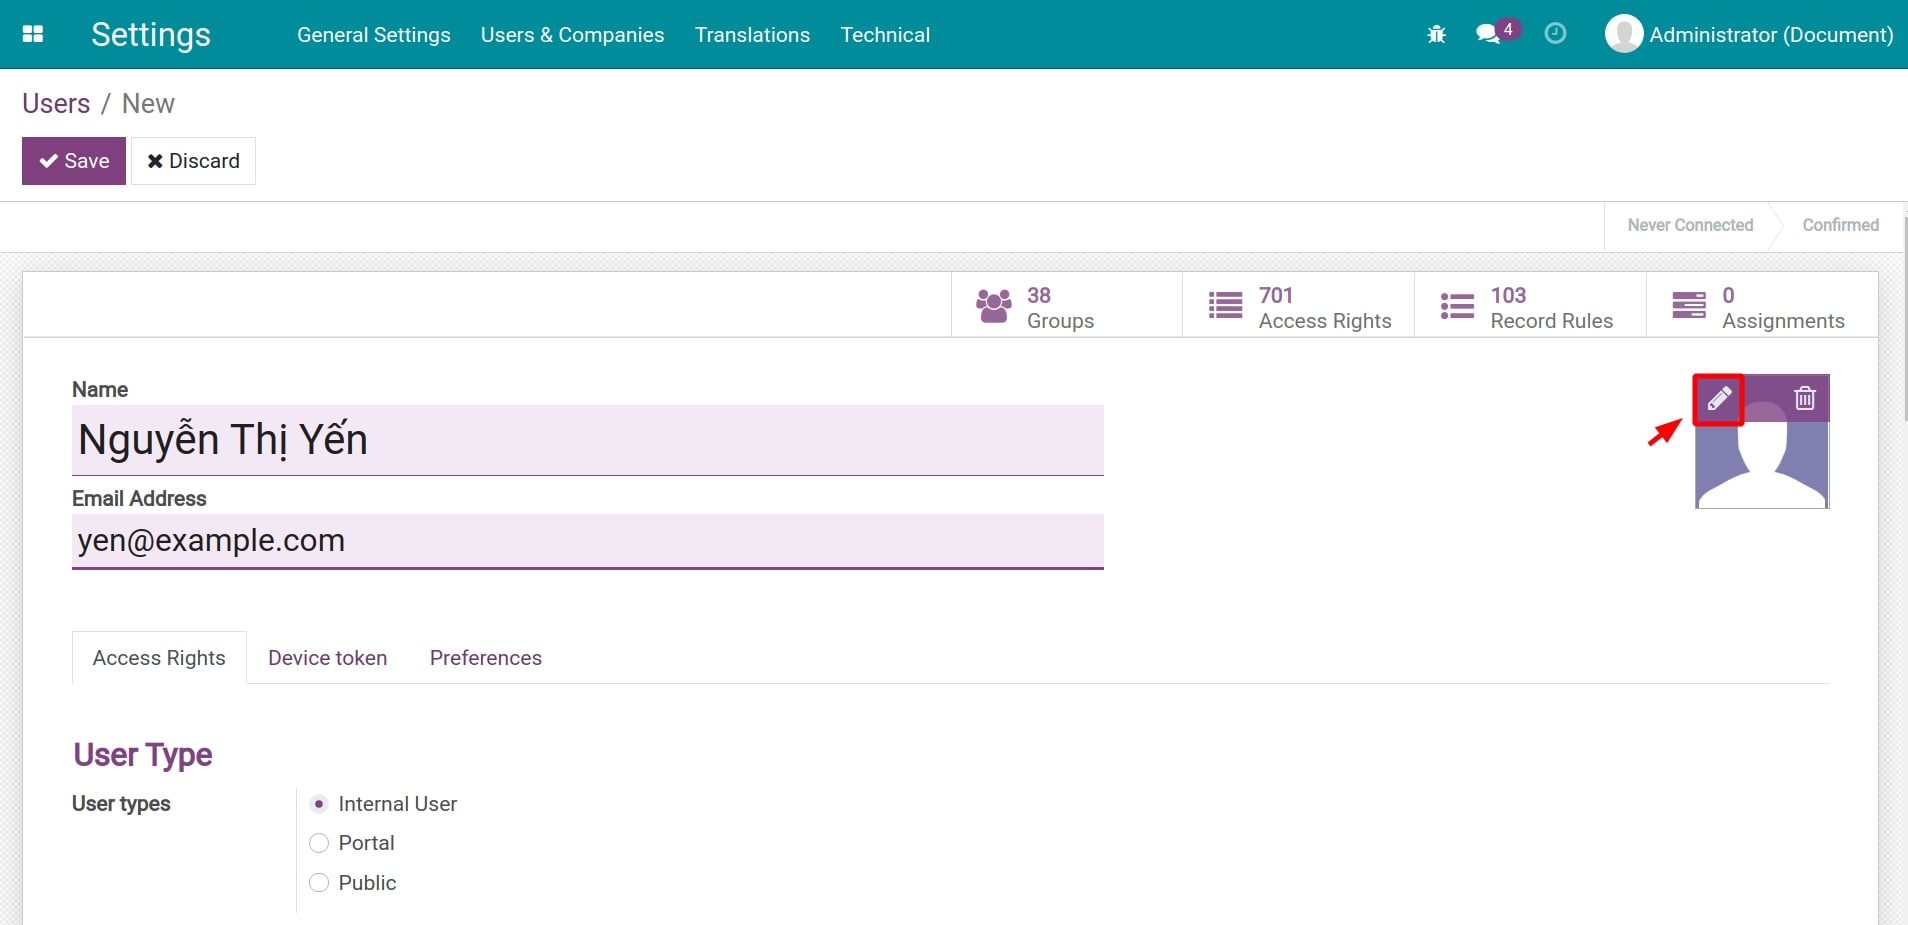
You fill the user information here:
Name: User’s name
Email address: User account login name.
Avatar: You click the pencil icon on the image in the right of the screen to add a new avatar for the user.
User Type:
Internal users: It is normally used for employees’ accounts, in addition, this type can be used for partners and experts of the company who need to participate in internal affairs.
Portal: Used for partner accounts that do not participate in the business’s internal affairs. With this setup, users can manage and interact with their related data such as purchase orders, sales orders, projects, etc. from the website.
Public: users can see all public data on the company’s website.
Note
To set up User Type you need to activate developer mode according to the following instructions Activating Developer Mode (debug mode).
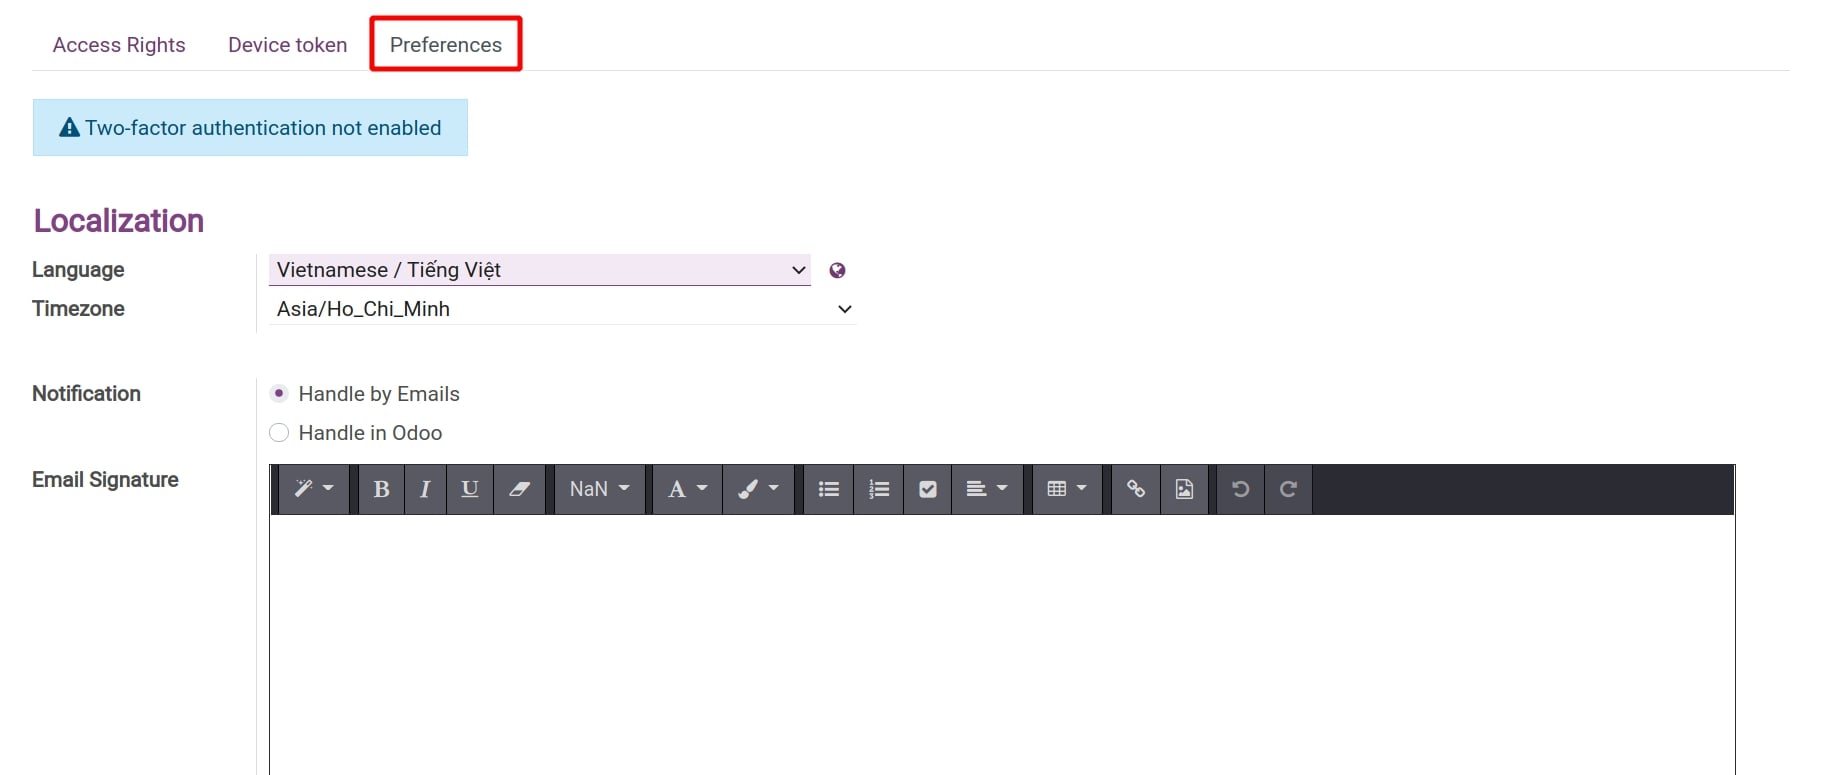
In the Preferences tab, you enter the following information:
Language: When logging in, the user account will use this default language.
Time zone: Select the appropriate time zone.
Notification: choose one of two ways to receive notifications:
Handle by Emails: With this option, the system will simultaneously send a notification message on the system and an email to your email. It is recommended to use as default for easy control and management of personal jobs.
Handle in Odoo: The system only sends notifications on the system with this option.
Email Signature: Viindoo software provides a basic set of text editors with some common features such as bold, italic, underline, insert images, etc. This signature will be used in all emails that you send from Viindoo system.
For the Portal and Public accounts, you can now select Save to complete the setup. With the Internal Users account, you will need to set up suitable access rights for their role in the system.
Granting access rights to internal user
Granting App access rights
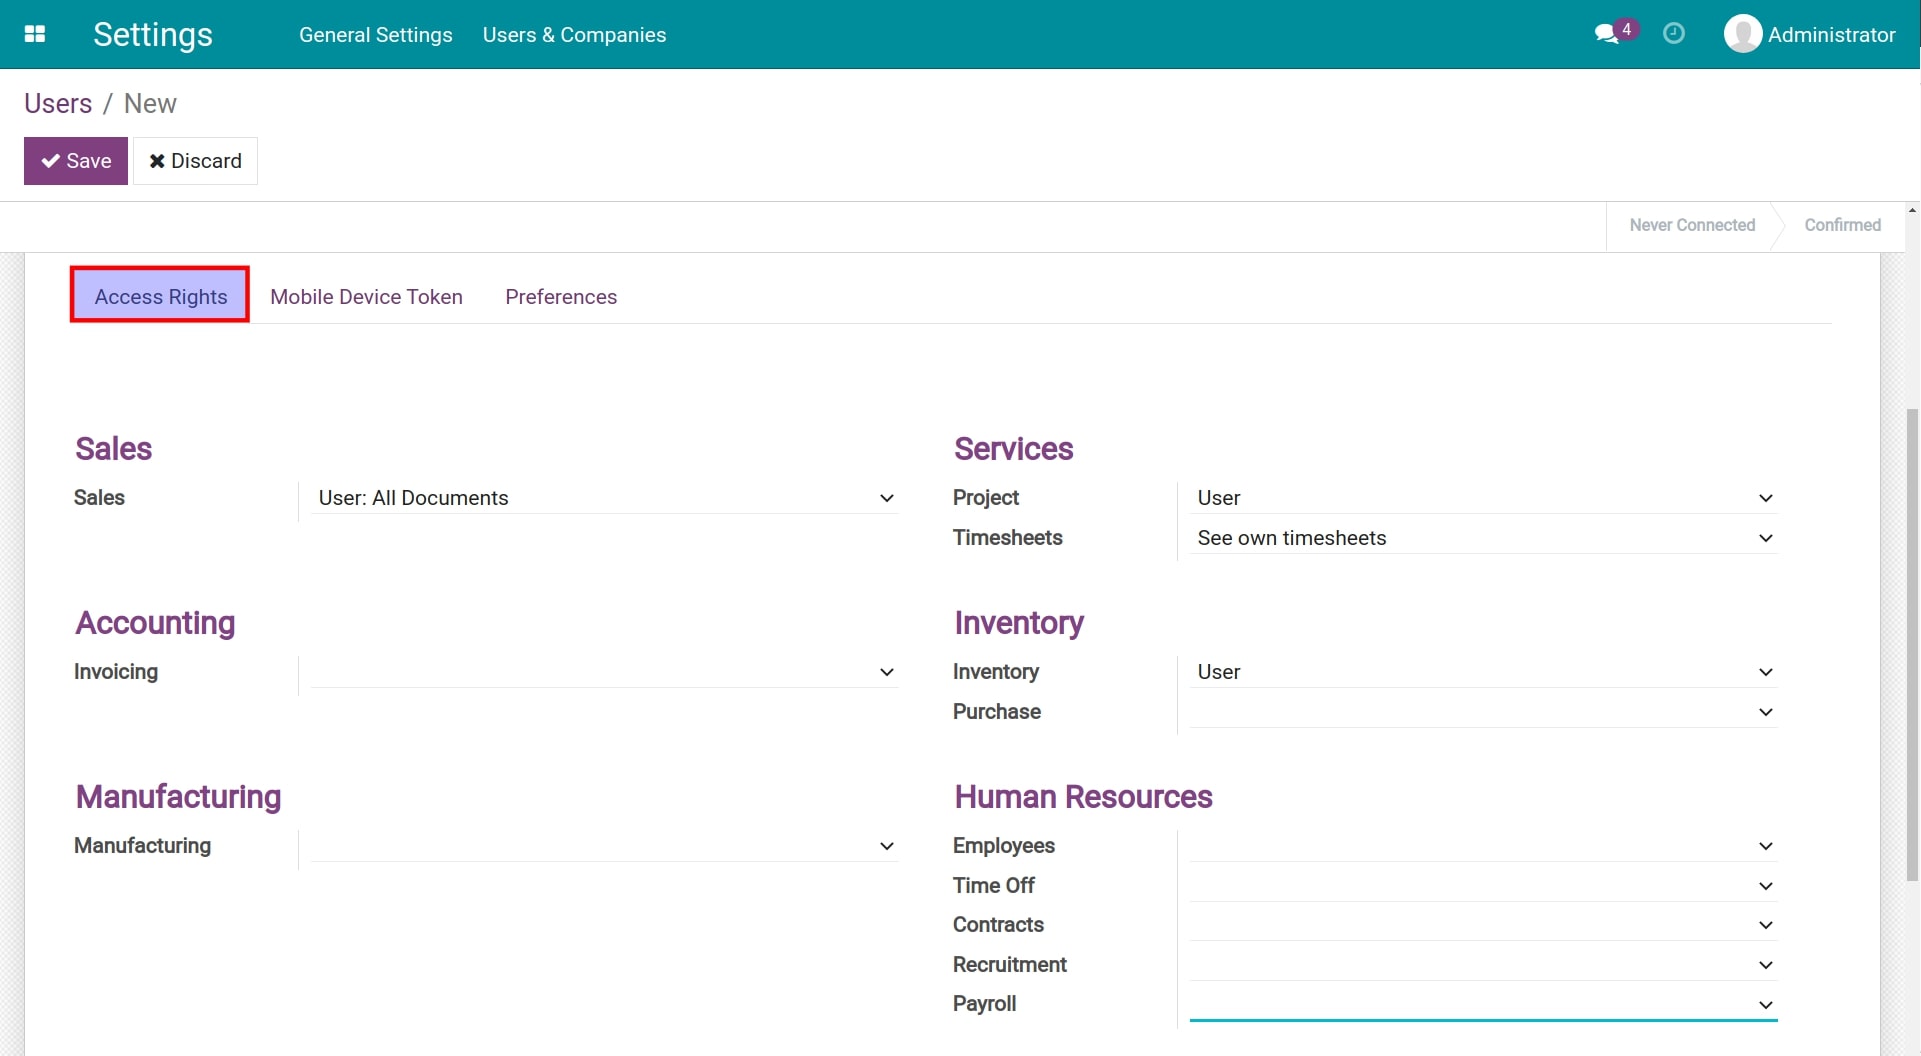
On the Internal Users account, Access rights tab, you can see the fields corresponding to the applications on the system that you need to authorize for this user. Each app has different permission options. Depending on the user’s role and position in the business, you will choose the appropriate ones.
Advance access rights settings
On Internal users, you enable debug mode to activate the advanced access rights settings.
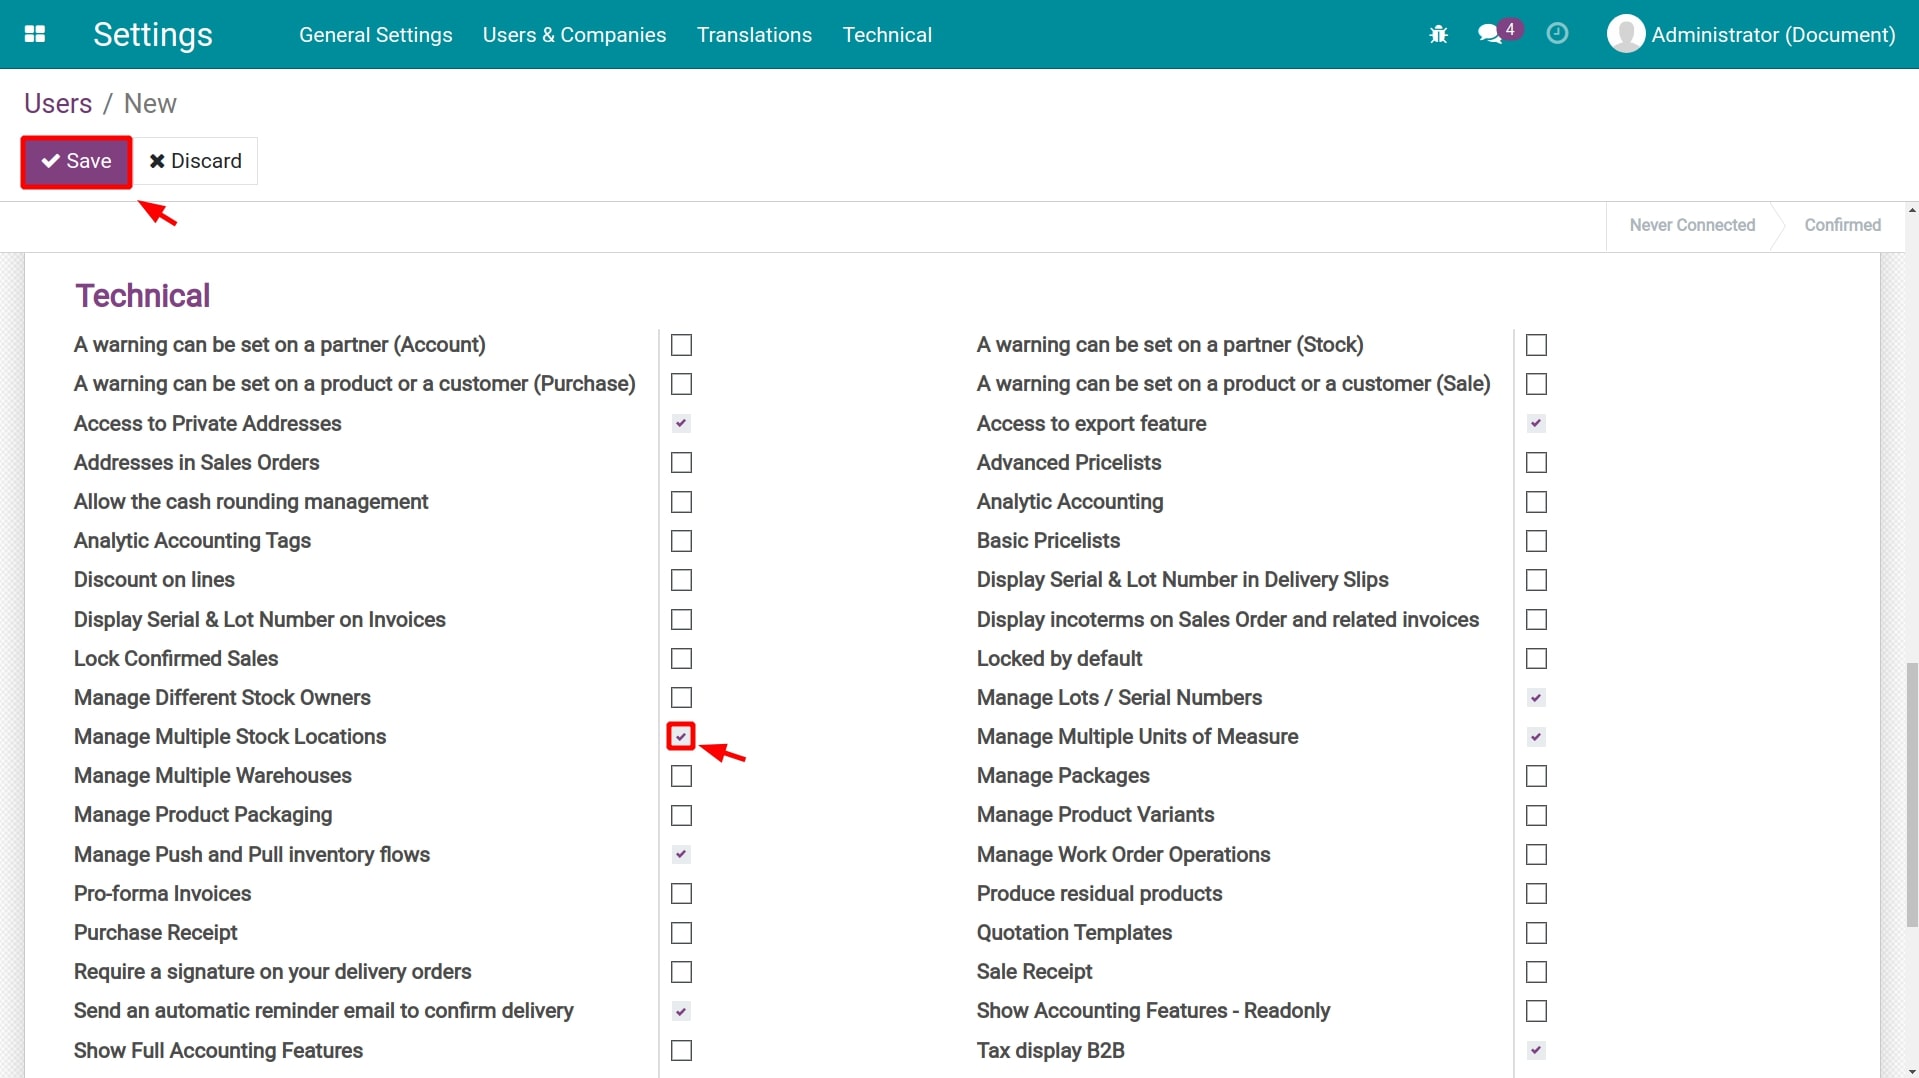
You tick the box at the end of each advanced authorization options to enable the appropriate permissions for the user account.
Warning
When the Portal user is granted access to a certain module, the advance access rights are activated automatically and vice versa.
Press Save to record the settings for the new Internal User account after configuring access rights for said account.
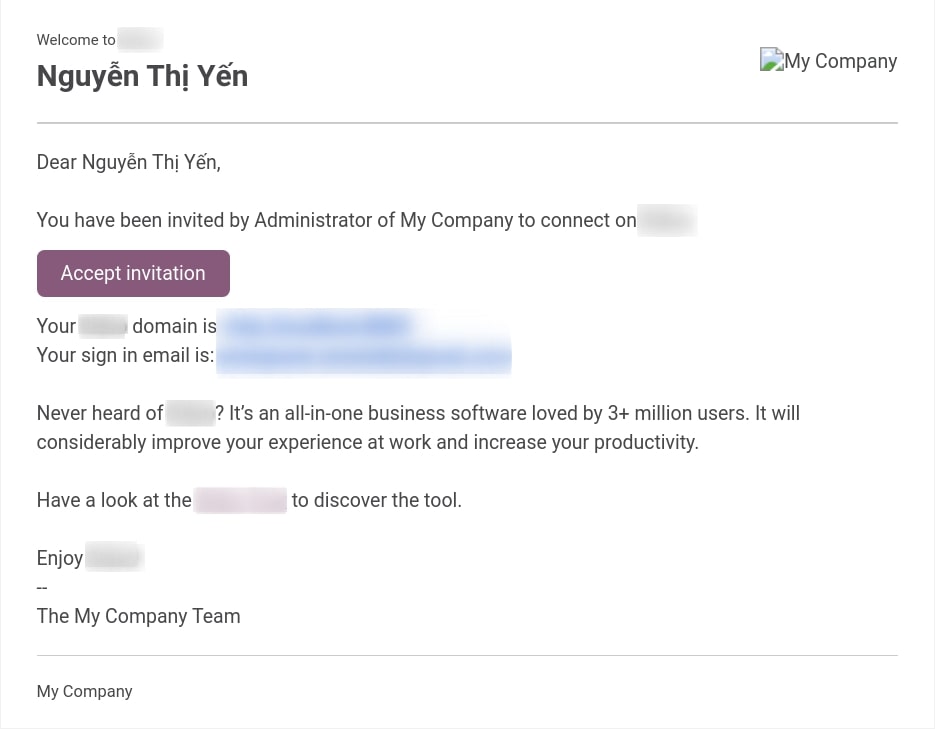
Send an Invitation Email
After creating the user, click on Send an Invitation Email. An email will automatically send to the user email.

The user will receive an email activate and click on Accept Invitation.
After accepting, the user can negative to homepage of system. Enter password and click on Confirm.

Confirm successfull, the user log in and start using Viindoo system.
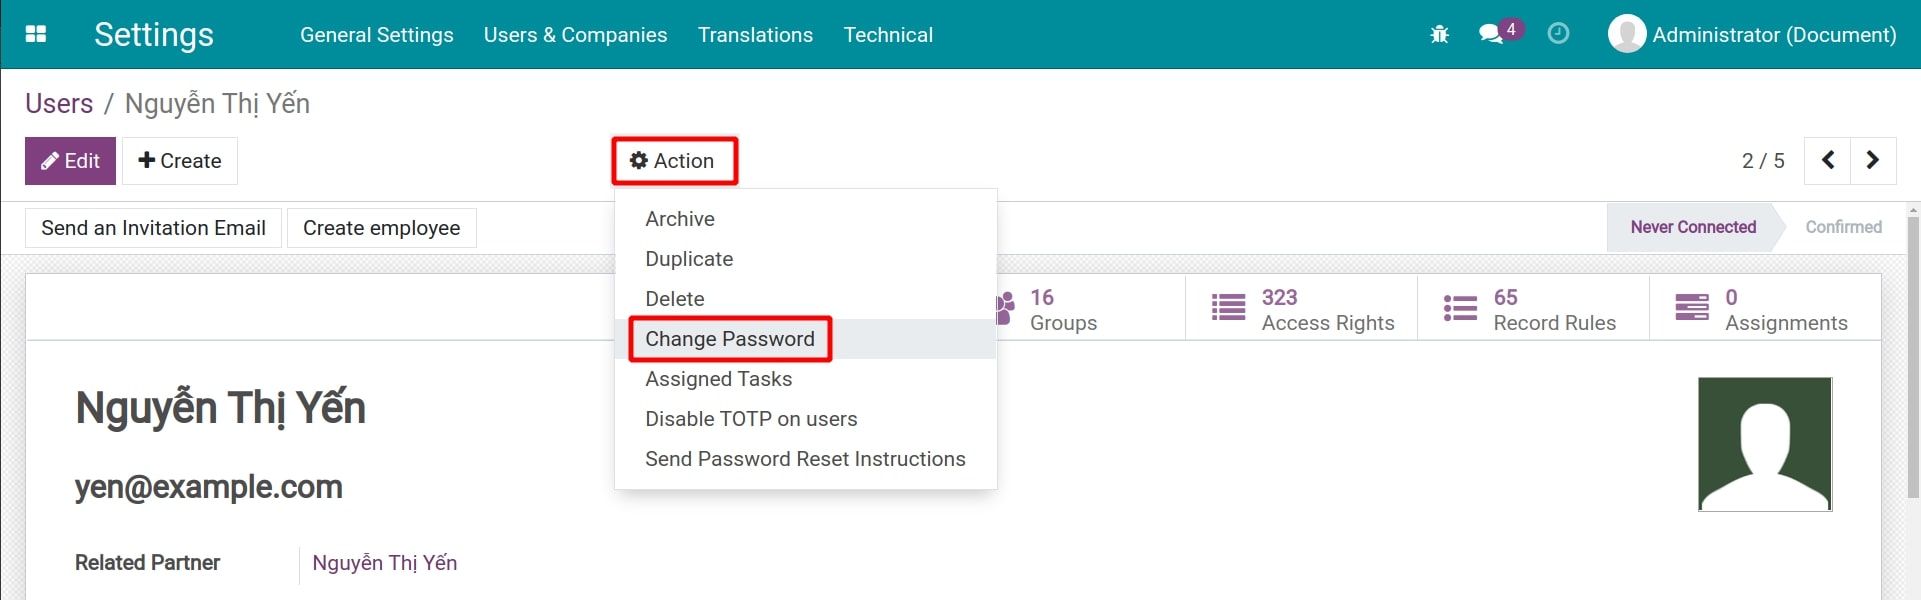
Change password and login a user account
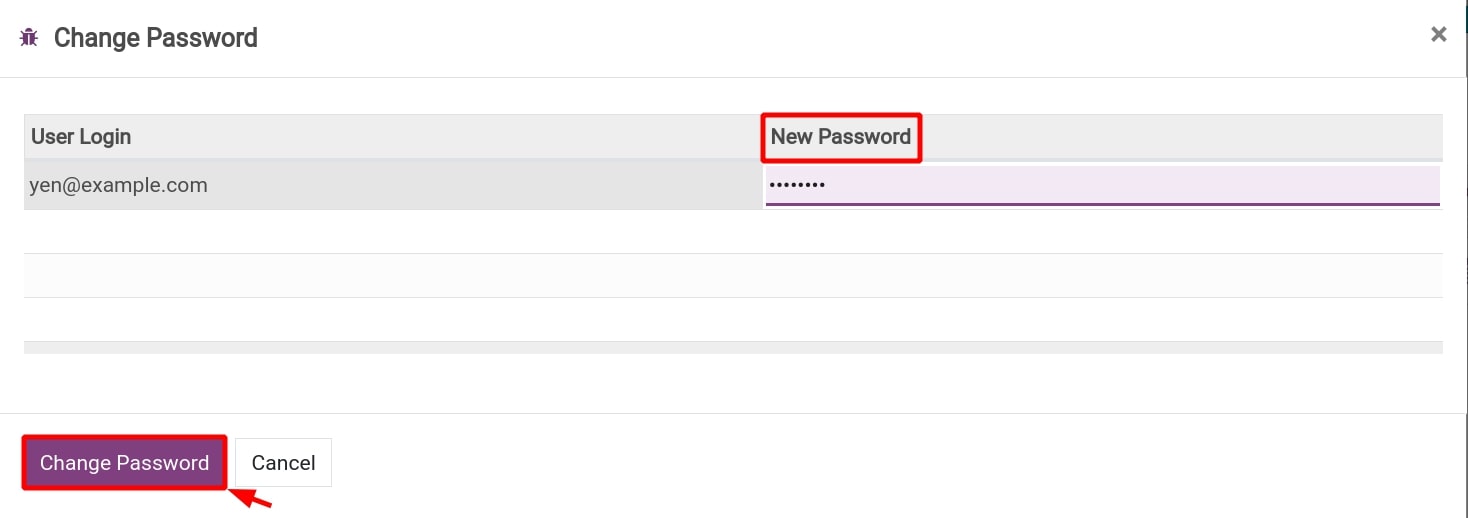
In addition, on the user account, you can change the password for the user by negative to Action ‣ Change Password, then enter a new password and press Change Password.
Note
The account with the system setting permission can change all user account passwords without knowing their old password.
Link with a user account
Link with contact
After successfully creating the user account, in developer mode, you can see the field Related partner.
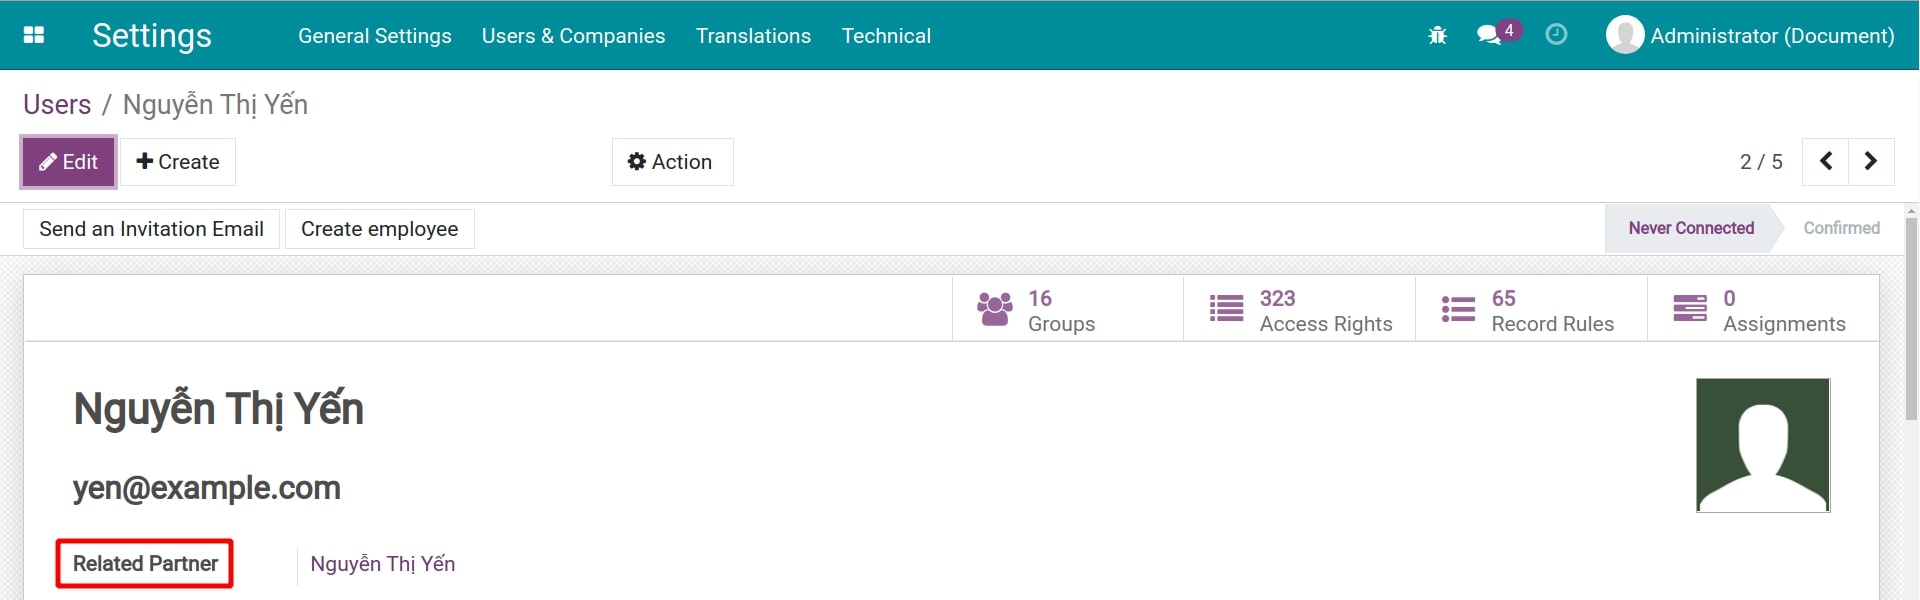
This field links the user account to a contact in the system. By default, when you create a new user account, the system will automatically generate contact with the same name and link them by this field. This link helps you to manage more information about the user (be it your company’s employees, customers, suppliers, etc.) supported on the contact form.
See also
Link with employee
Particularly for Internal Users, the system allows linking the user’s account with an employee account. Please refer to the following article to know more about this feature How to link Employees and Users.

In addition, after successfully creating a new Internal User account, you will see a Create Employee button on the user account form. The Employees created in this way will be automatically linked to the system user account.