Warranty management
This article will guide you through the creation process of a warranty claim to a vendor/customer.
Create a warranty claim
You can create a warranty claim in 2 methods:
Directly from the Lot/Serial Numbers section. See details in Set up and manage the warranty information of the products.
Create manually from the Warranty app interface.
For the second method, you can see detailed instructions for warranty claim creation in operation with a vendor or a customer.
Warranty claim to a vendor
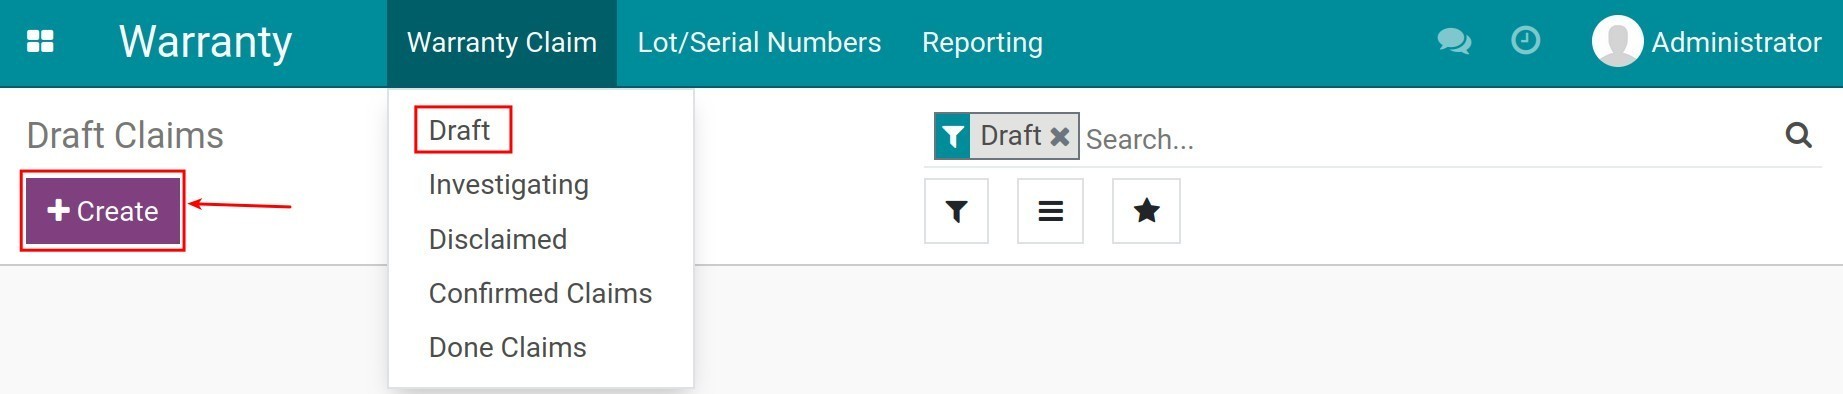
After registering products with respective lots/serial numbers, you can create a warranty claim to the vendor by navigating to , press Create to make a new warranty claim.
Add the following information:
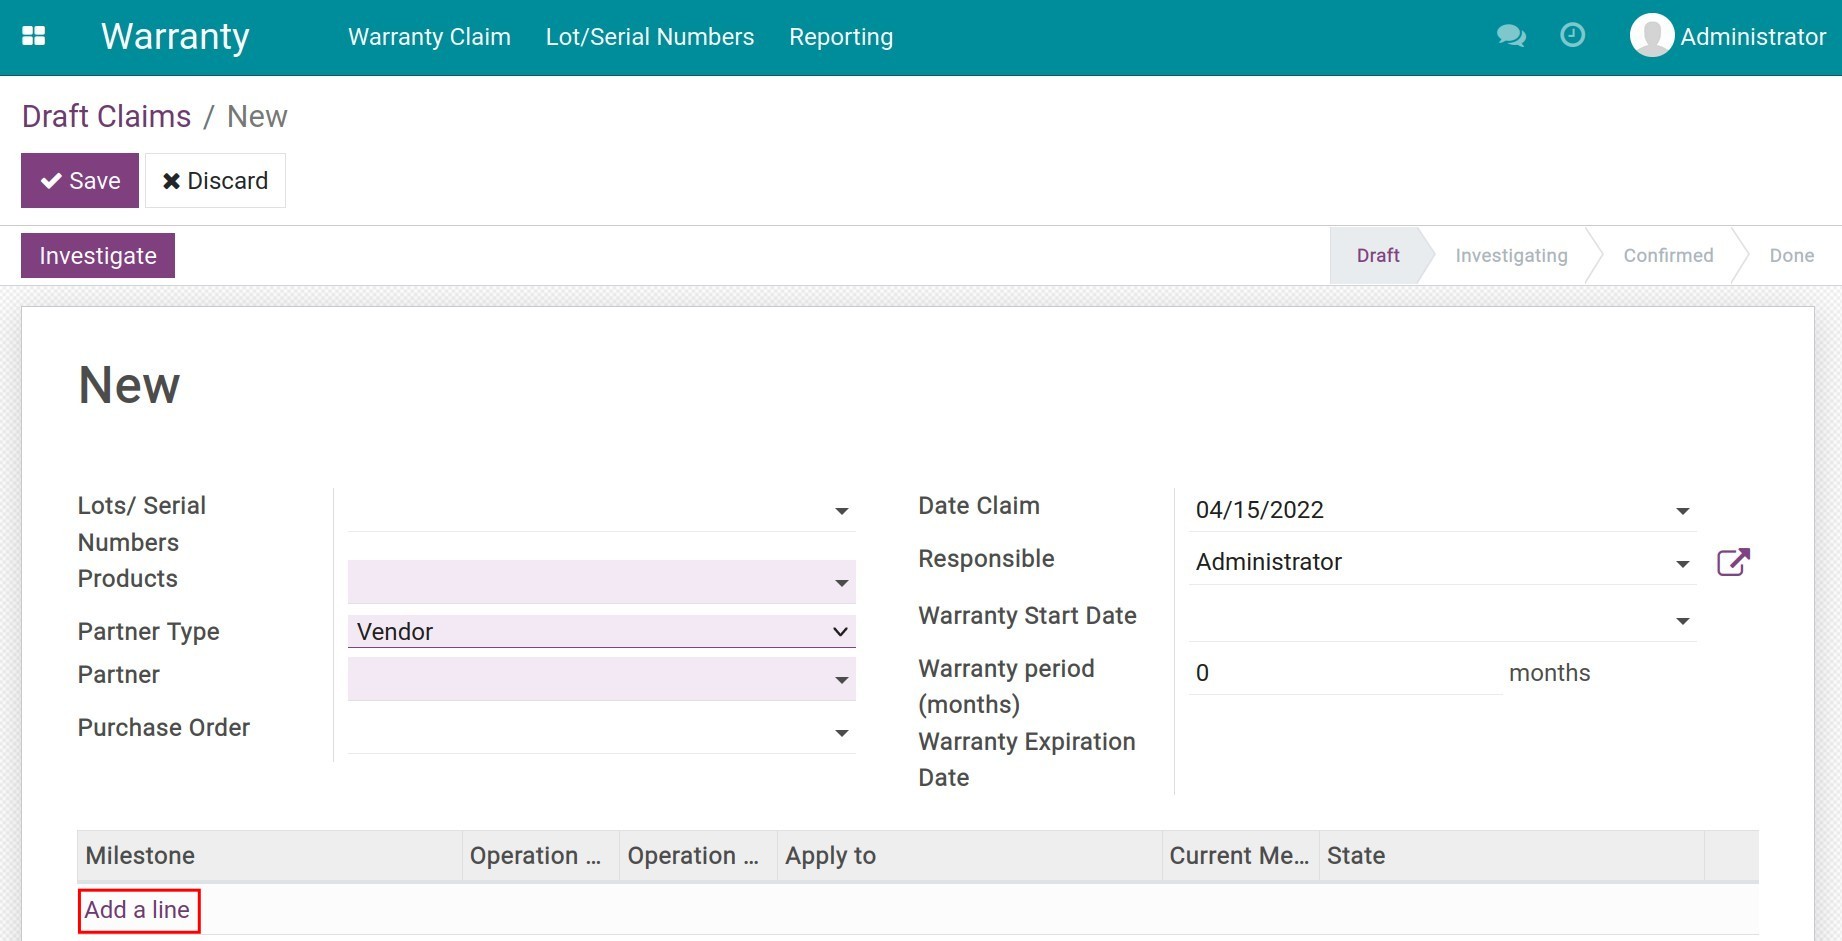
Lots/Serial Numbers: Insert the Lots/Serial Numbers of registered products.
Products: Select the product which is subject to this warranty claim.
Partner Type: Select the Vendor type.
Partner: Select contact details of the vendor who carries out the warranty.
Purchase Order: The purchase order corresponding to the chosen lot/serial number above will be displayed automatically here, or you can select from one of the purchase orders related to the chosen vendors.
Date Claim: By default, the system registers the warranty claim creation moment. However, you can edit this information accordingly.
Responsible: The creator of this warranty claim is recorded by default and you can also assign it to another user.
Warranty Start Date: The receiving products date.
Warranty period (months): The warranty period is suggested based on the product’s configuration. See more in Set up and manage the warranty information of the products.
Warranty Expiration Date: The expiration date is calculated based on the start date and the total warranty time.
Warranty milestone details: In this table, add corresponding details at the warranty claim creation. For example, the SH Mode motorcycle is under a 24 months warranty issued by a vendor. 2 months after receiving the product, you need to send the vendor a warranty claim. In the warranty claim, add the following details:
![Add milestone details to a warranty claim]()
Operation Start: Initial usage time at the receiving product-moment which is recorded at the Lots/Serial Numbers settings.
Operation End: Sum of the operation start and the product milestone time configured on the product itself. In this example, the system automatically calculates 24 months.
Current Measurement: Number of months in use of the vehicle starting from the receiving moment, in this example it’s 2 months.
State: If the current indicator still falls between the operation start and the operation end, then the state of the warranty is OK. Otherwise, the state is Not OK.
Note: Add the warranty reason.
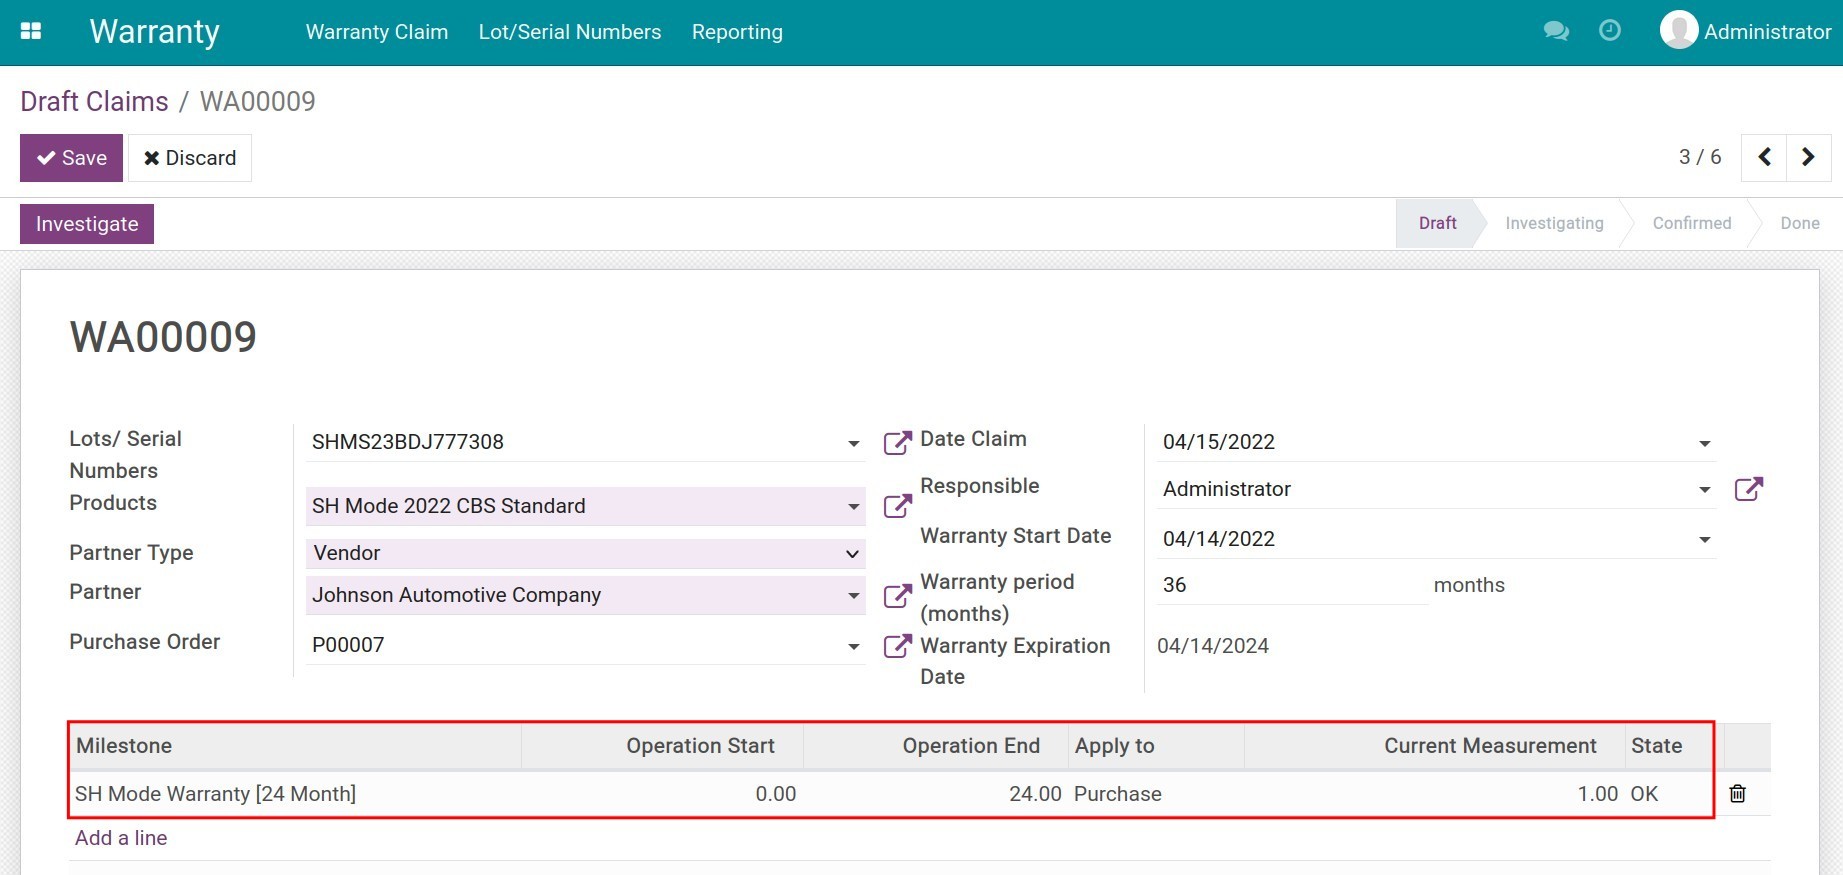
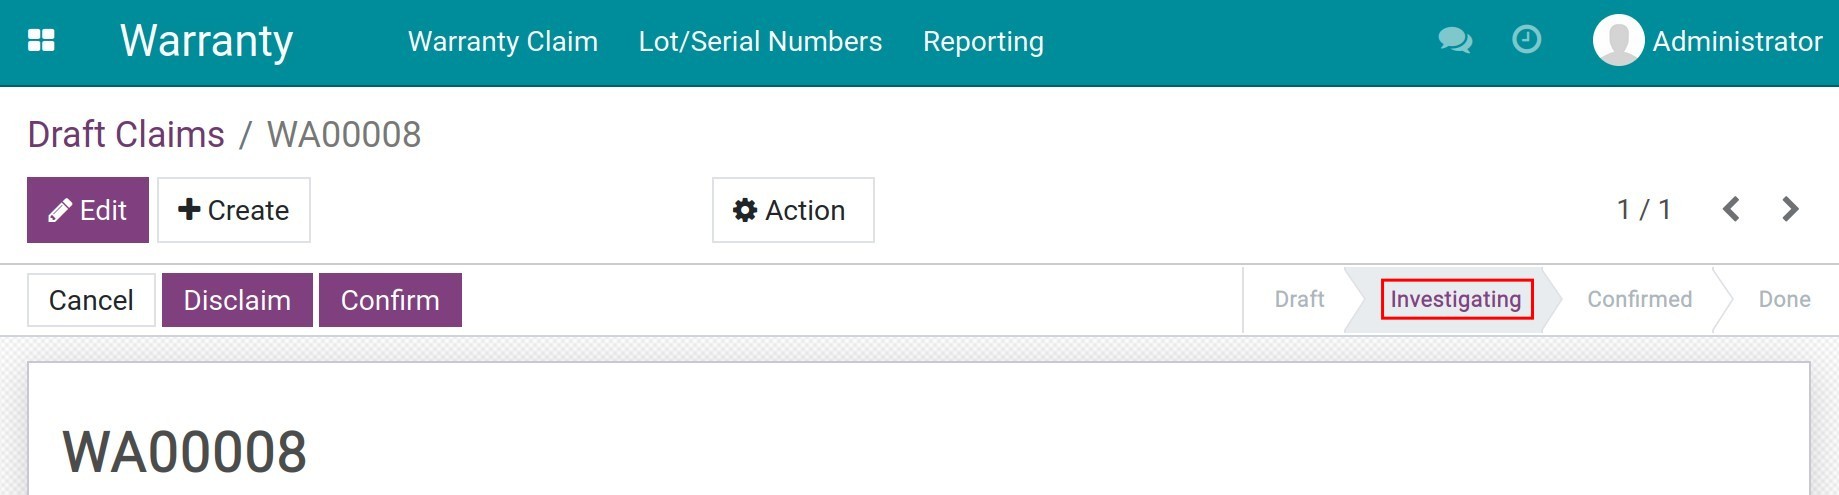
Press Save to register the information. After checking the details on the warranty claim and making sure that everything is correct, press Investigate to start the warranty claim investigation process. The warranty claim status now is changed to Investigating.

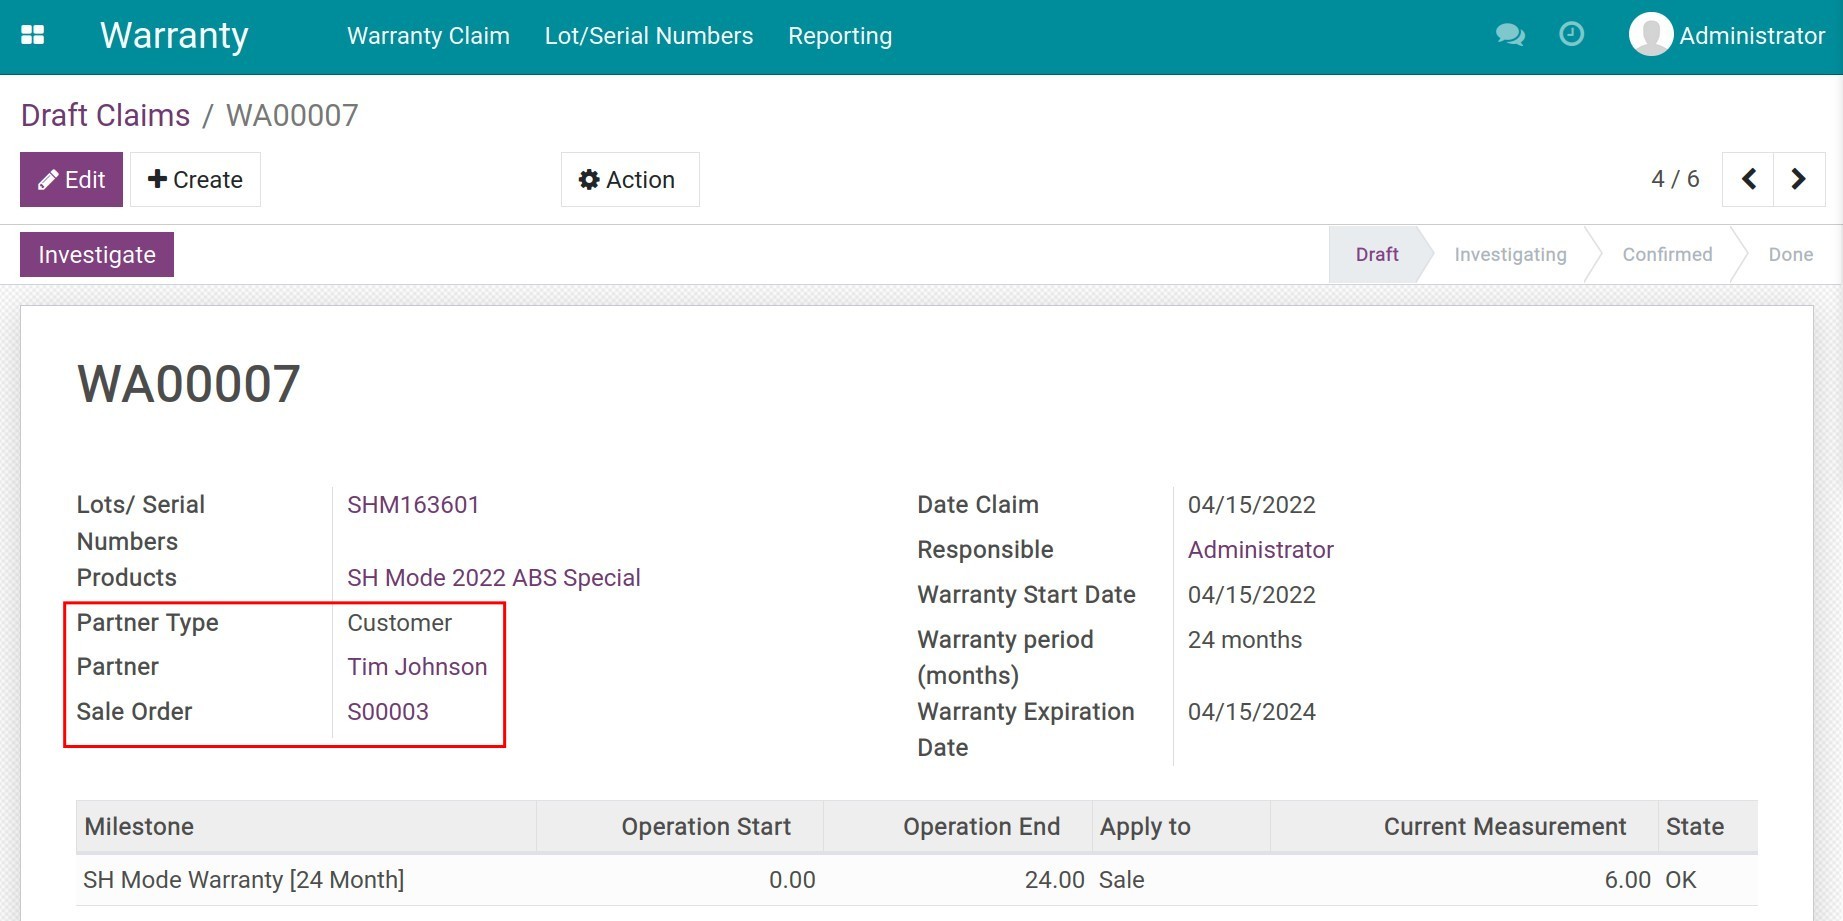
Warranty claim of a customer
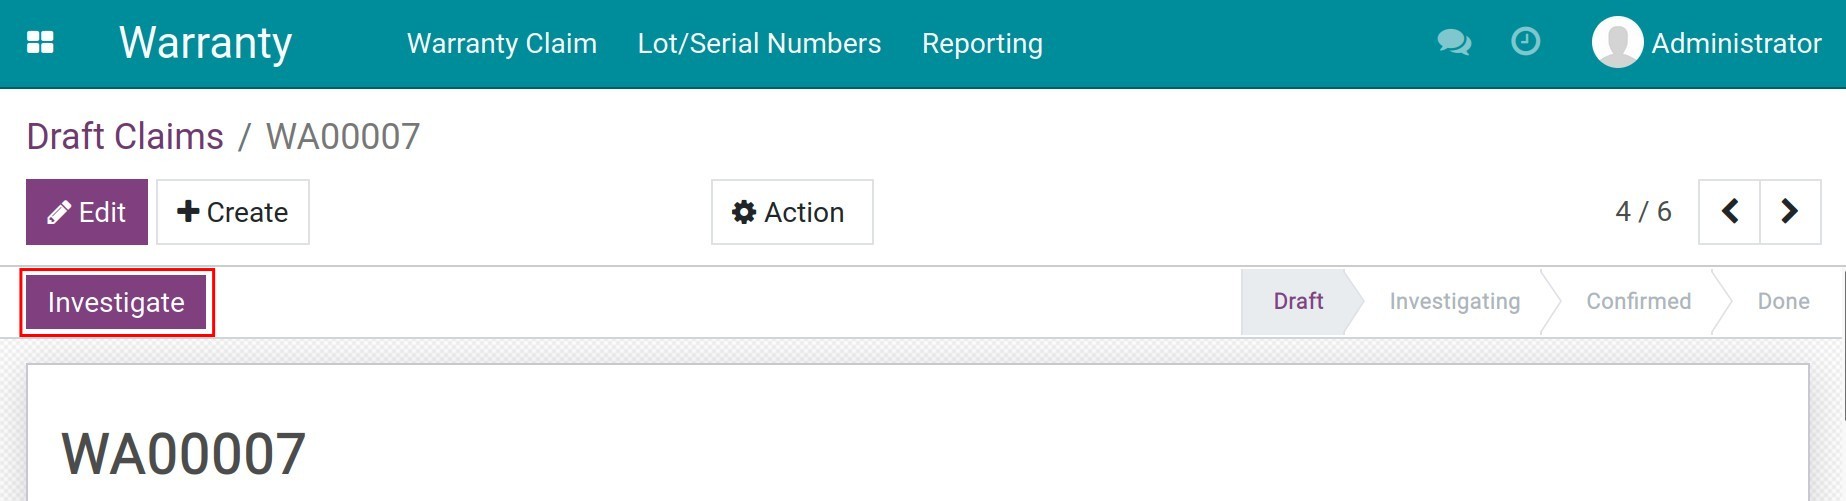
After confirming the delivery of products to the end customer, create a warranty claim for the customer similar to this. In this warranty claim, you need to change the partner type to Customer and select the respective Sale Order.
When you are done with filling out all the information, press Investigating to start the warranty claim investigation process.
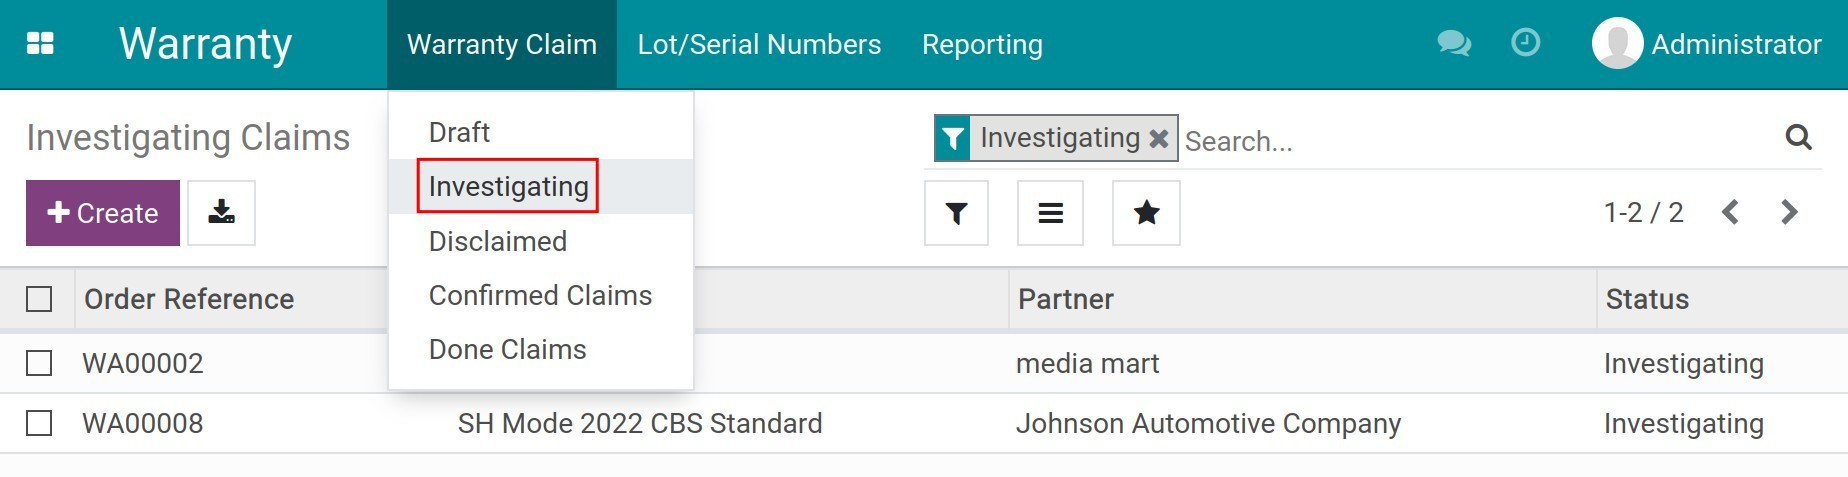
Investigating warranty claims
Navigate to . All the warranty claims to be investigated will be displayed in this section.
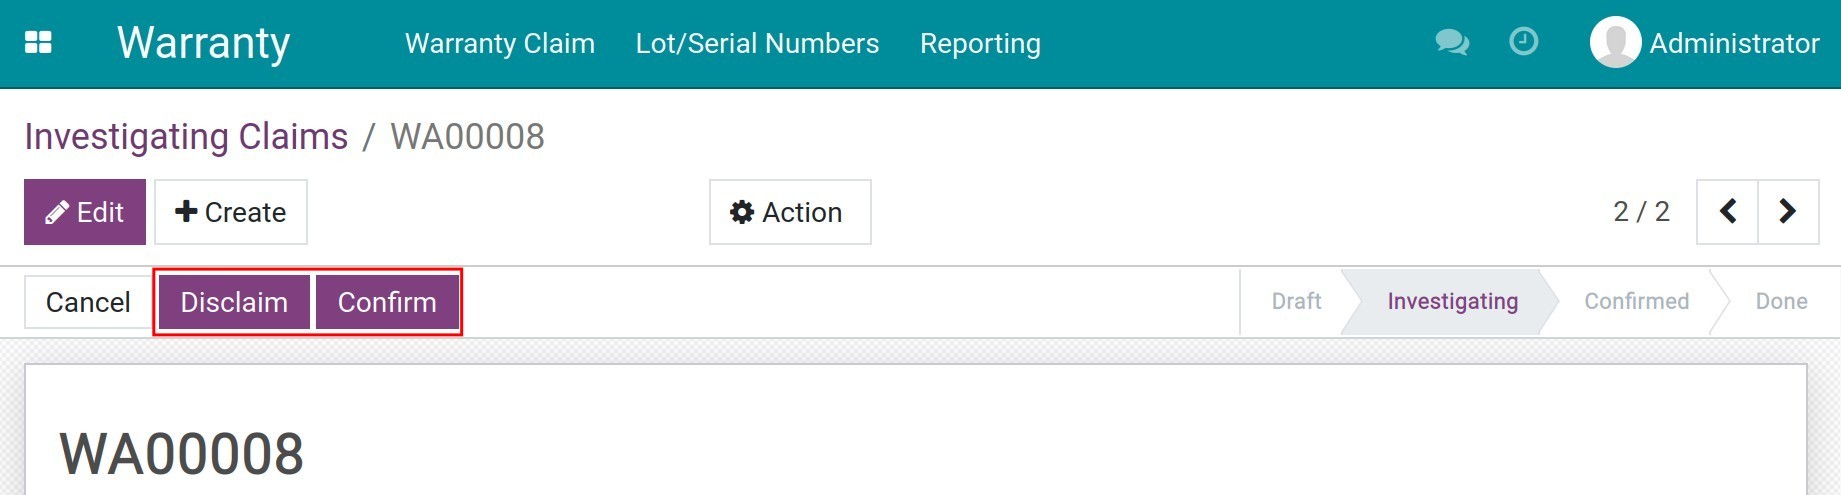
In each warranty claim detail, press on Confirm to accept the warranty claim or Disclaim to reject that claim. The warranty claim status will be changed to Confirmed or Disclaimed accordingly.
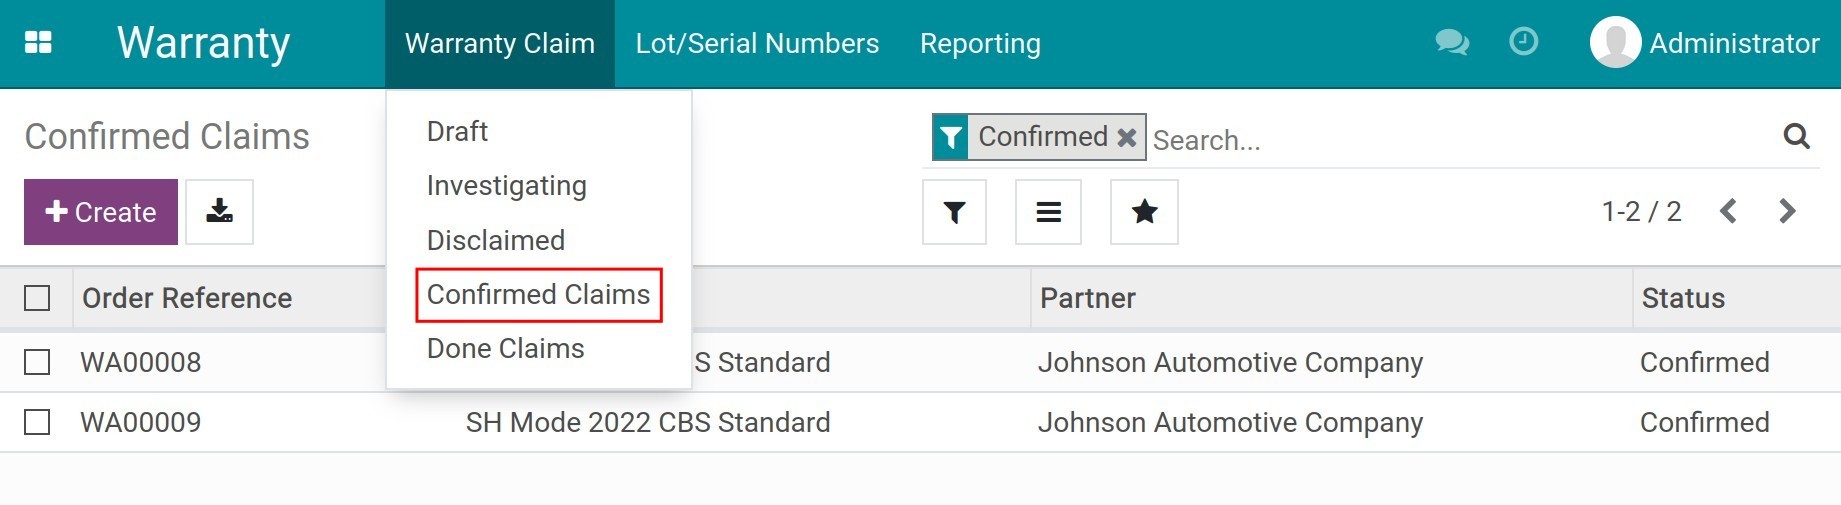
At this step, the person in charge of warranty operations can filter out the valid claims by navigating to .
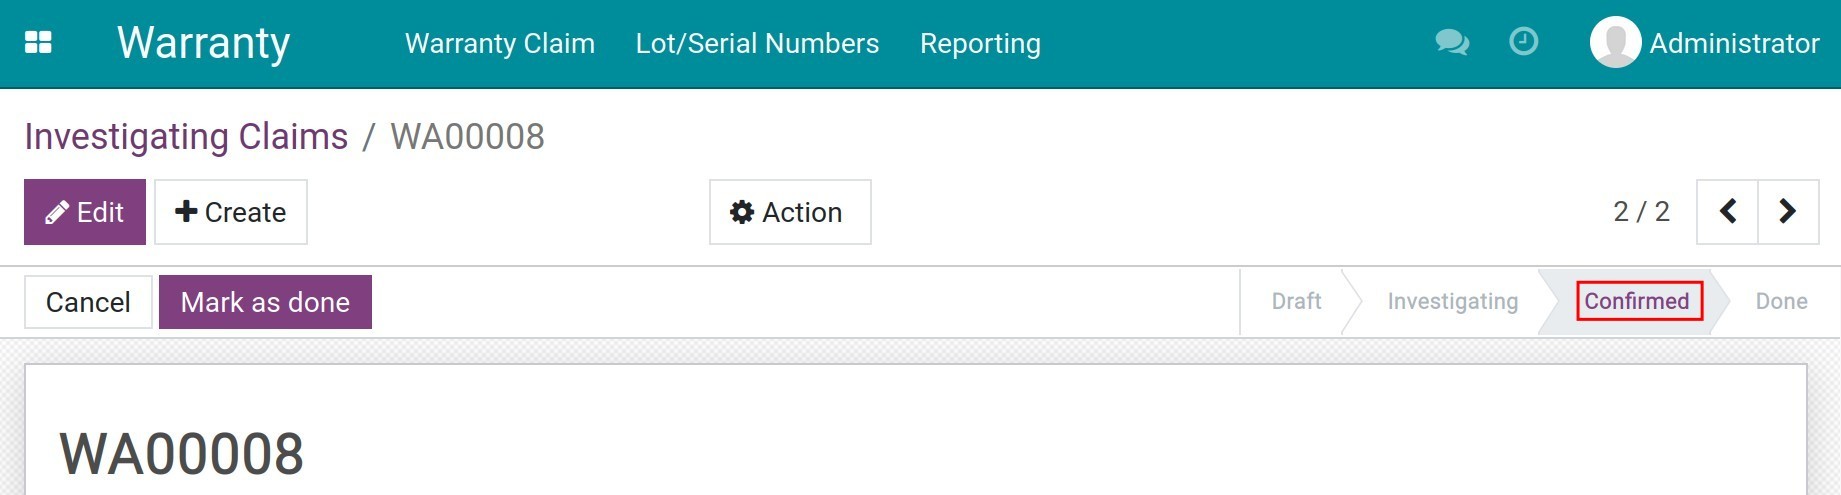
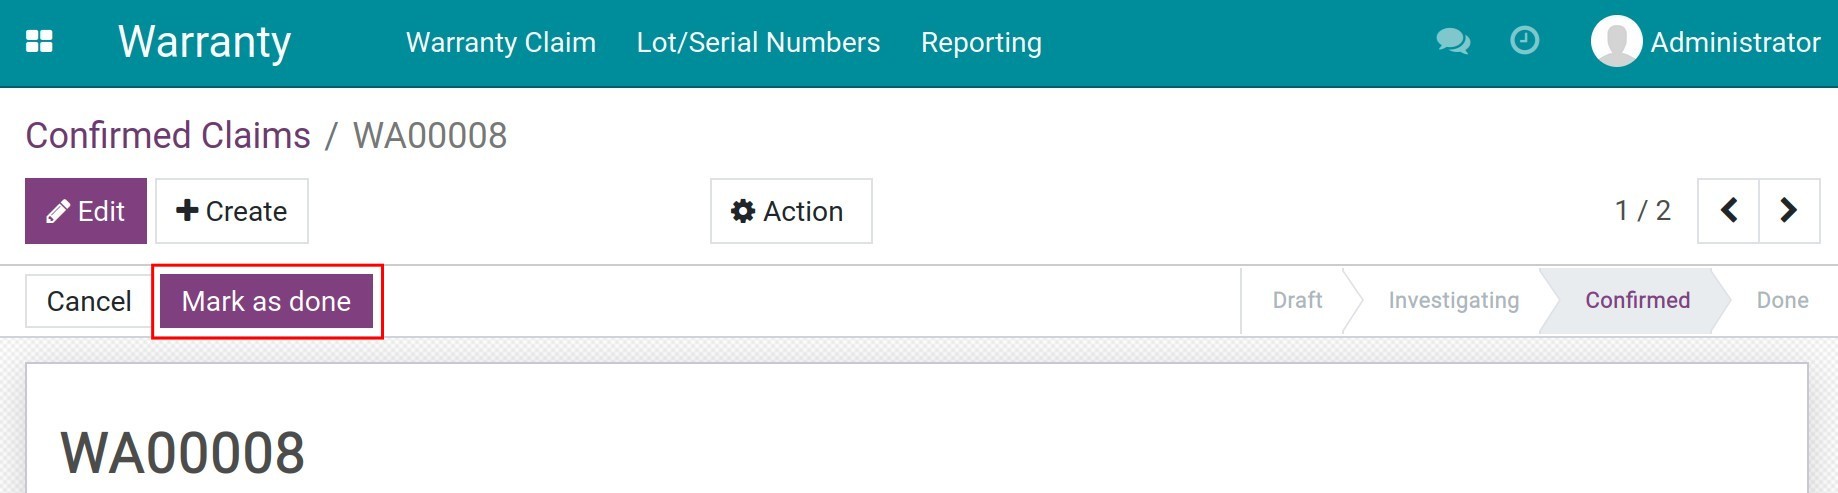
Once the warranty is provided, at the claim view, press Mark as done to complete the warranty process.
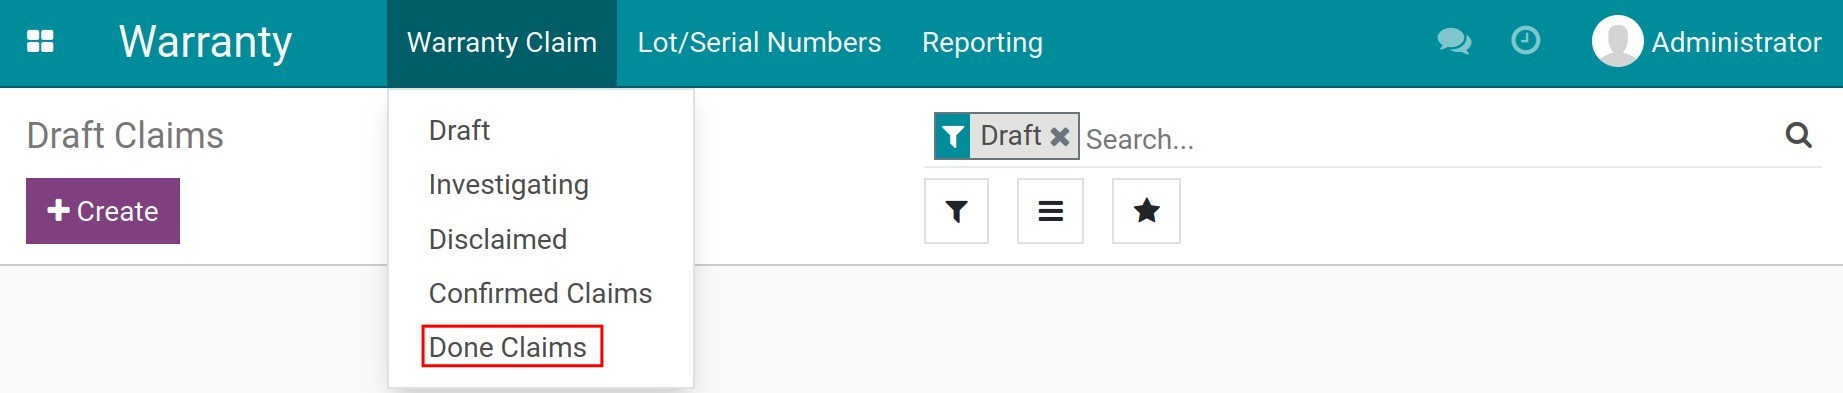
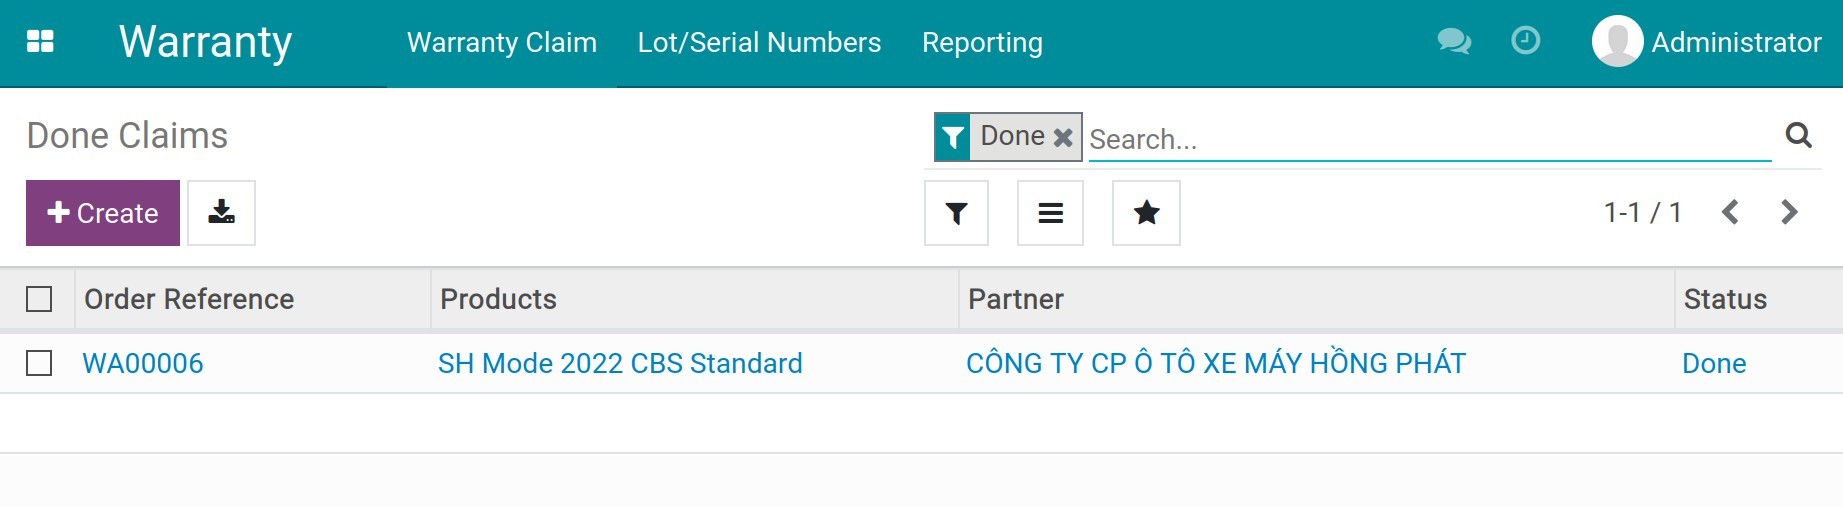
To view the done warranty claim, go to .