How to track your website’s traffic in Viindoo Dashboard
Follow this step-by-step guide to track the website’s traffic in Viindoo Dashboard:
Step 1:
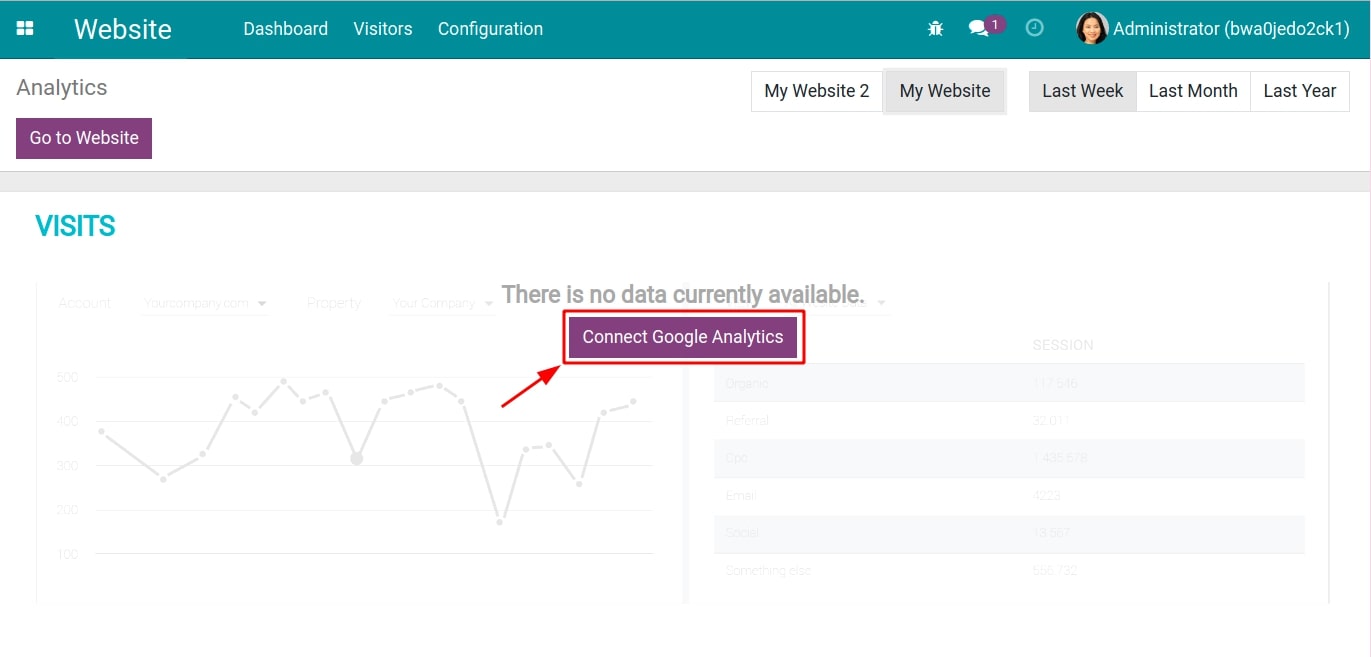
Navigate to Website app, click on the Connect Google Analytics button.
![Connect the analytics in Viindoo Website app to Google Analytics]()
At this stage, the system requests for Tracking ID and Client ID to integrate Viindoo Dashboard with Google Analytics.
![Asking Tracking ID and Client ID in Viindoo]()
Step 2: Create a Tracking ID. Further details can be found at How to connect your website with Google Analytics.
Step 3: Create a Client ID.
Navigate to Google APIs platform and login with the Google account.
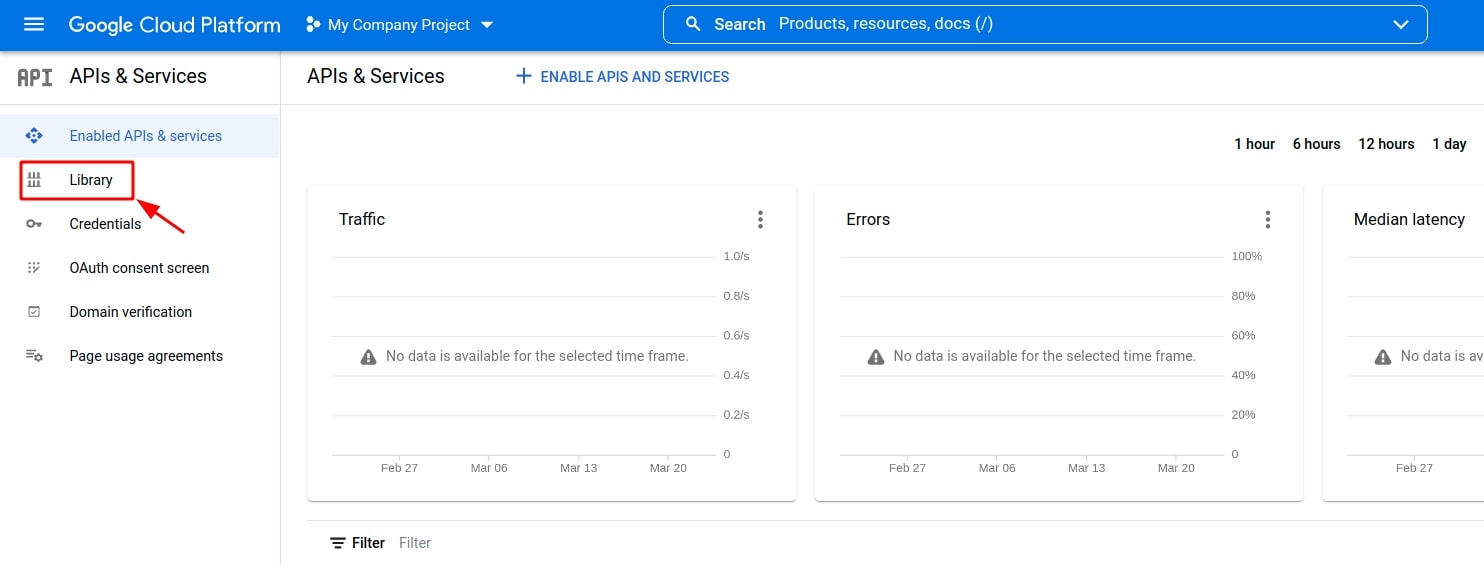
Click on the Library tab.
![Library tab in Google APIs platform]()
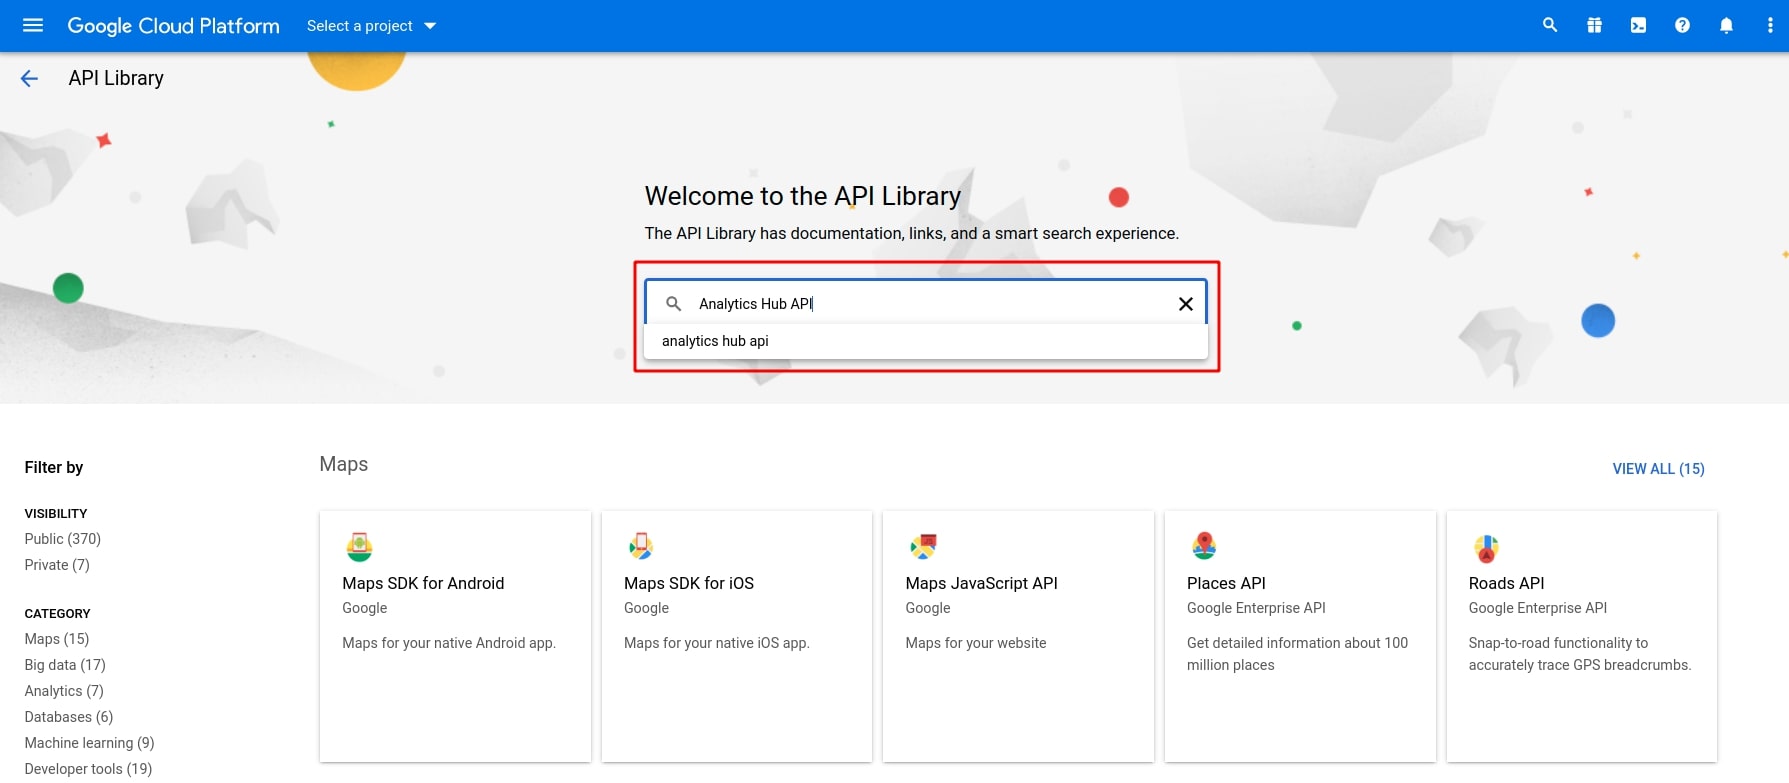
Type “Analytics Hub API” in the search bar.
![Search Analytics Hub API in Google APIs platform]()
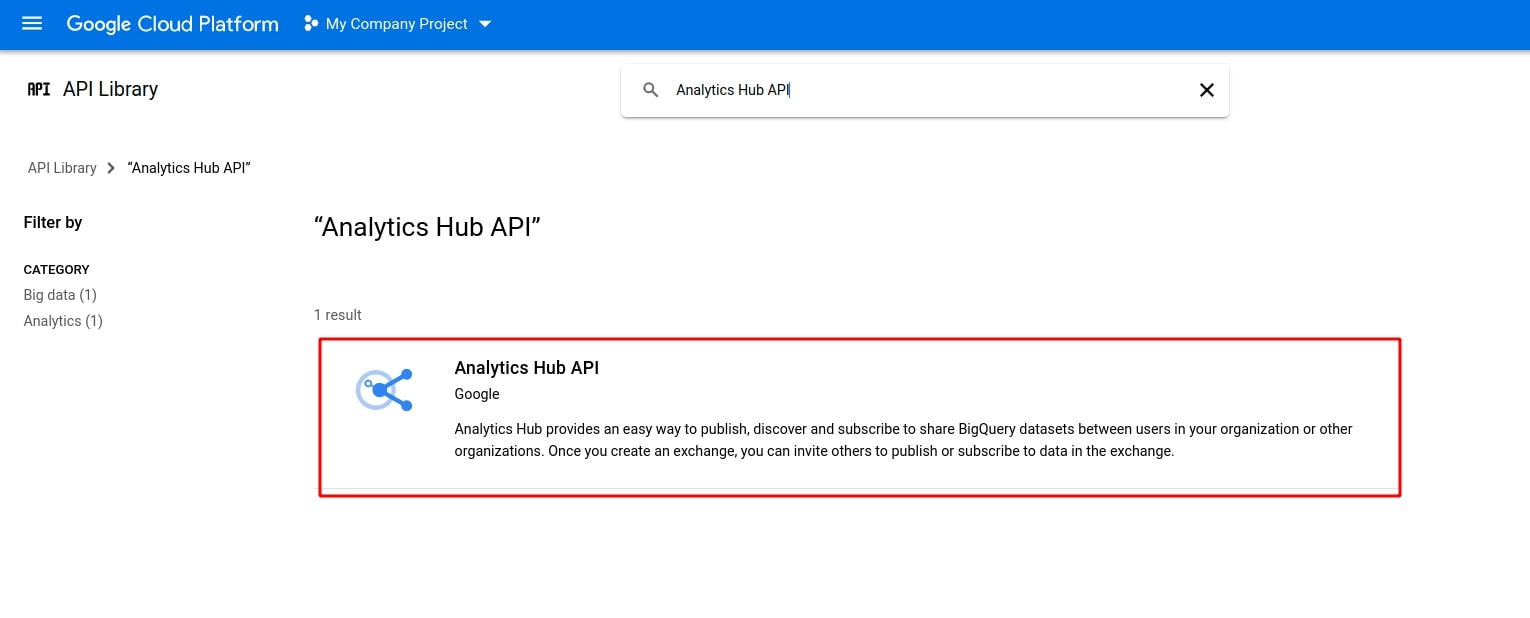
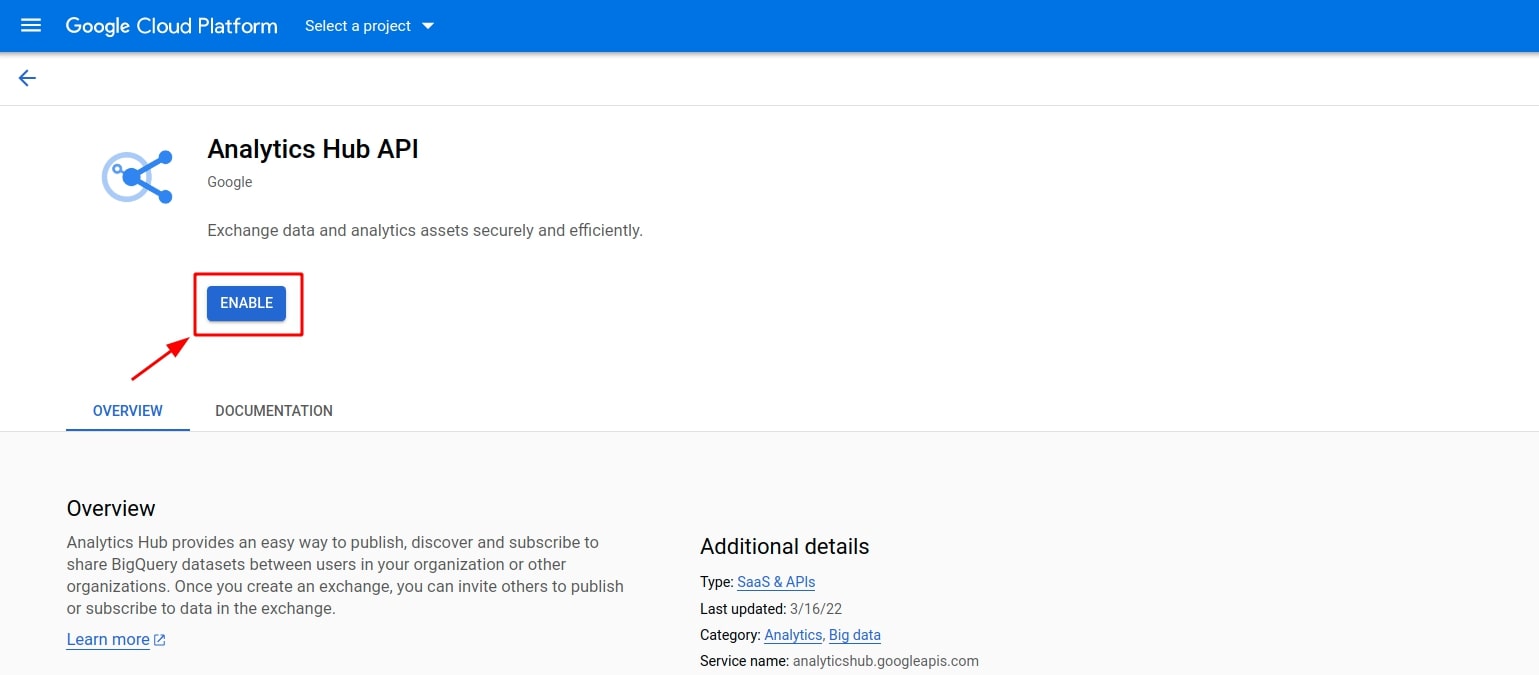
Select Analytics Hub API.
![Analytics Hub API in Google APIs platform]()
Click on the Enable button to enable Analytics Hub API.
![Enable Analytics Hub API in Google APIs platform]()
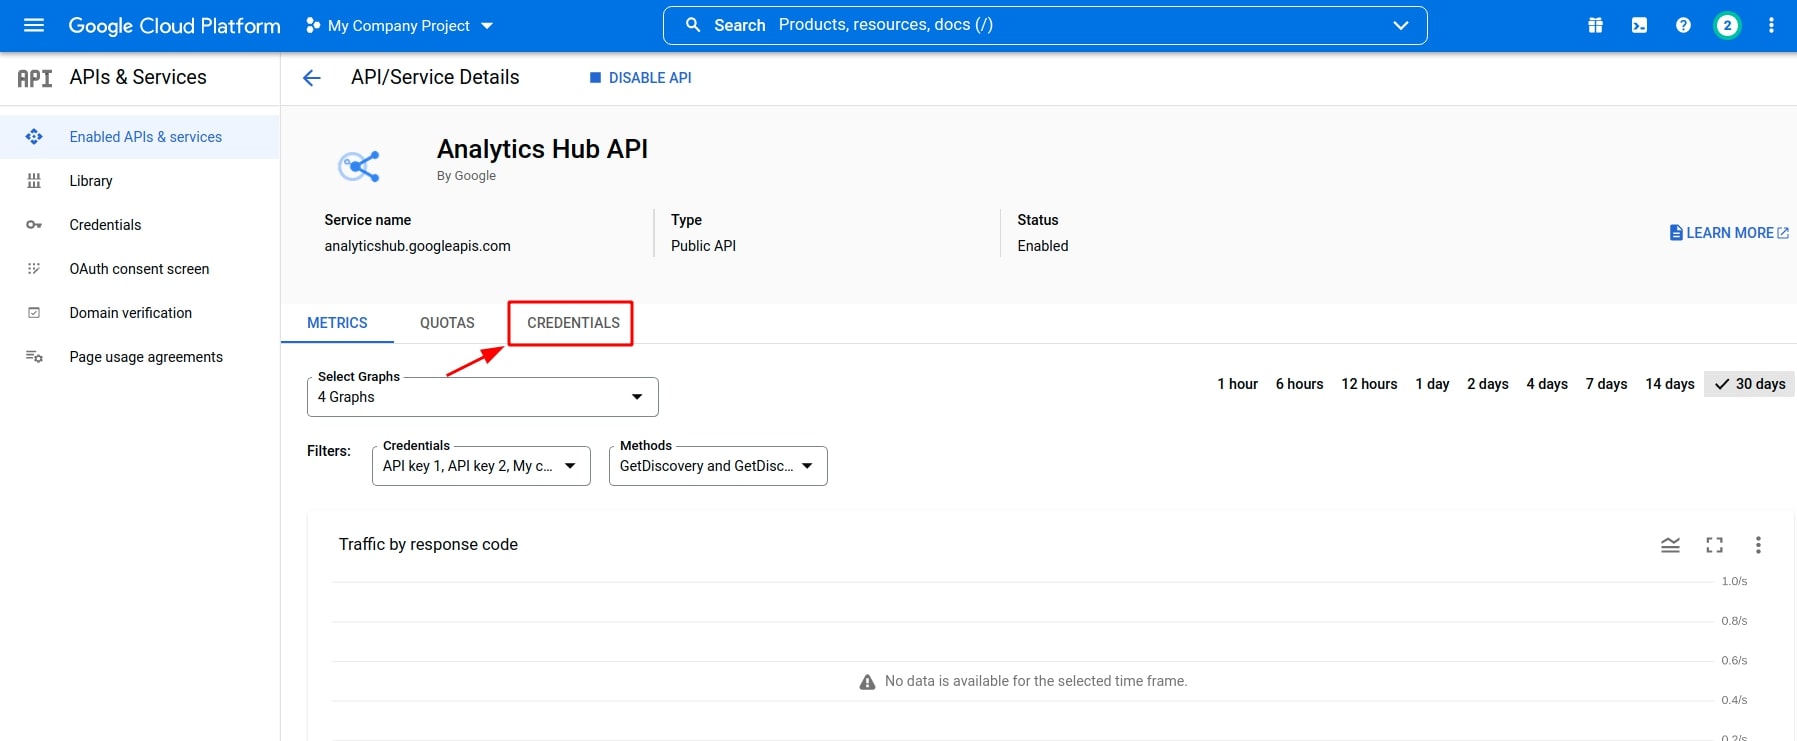
Navigate to the Credentials tab in API/Service Details.
![Tab Credentials in Google APIs platform]()
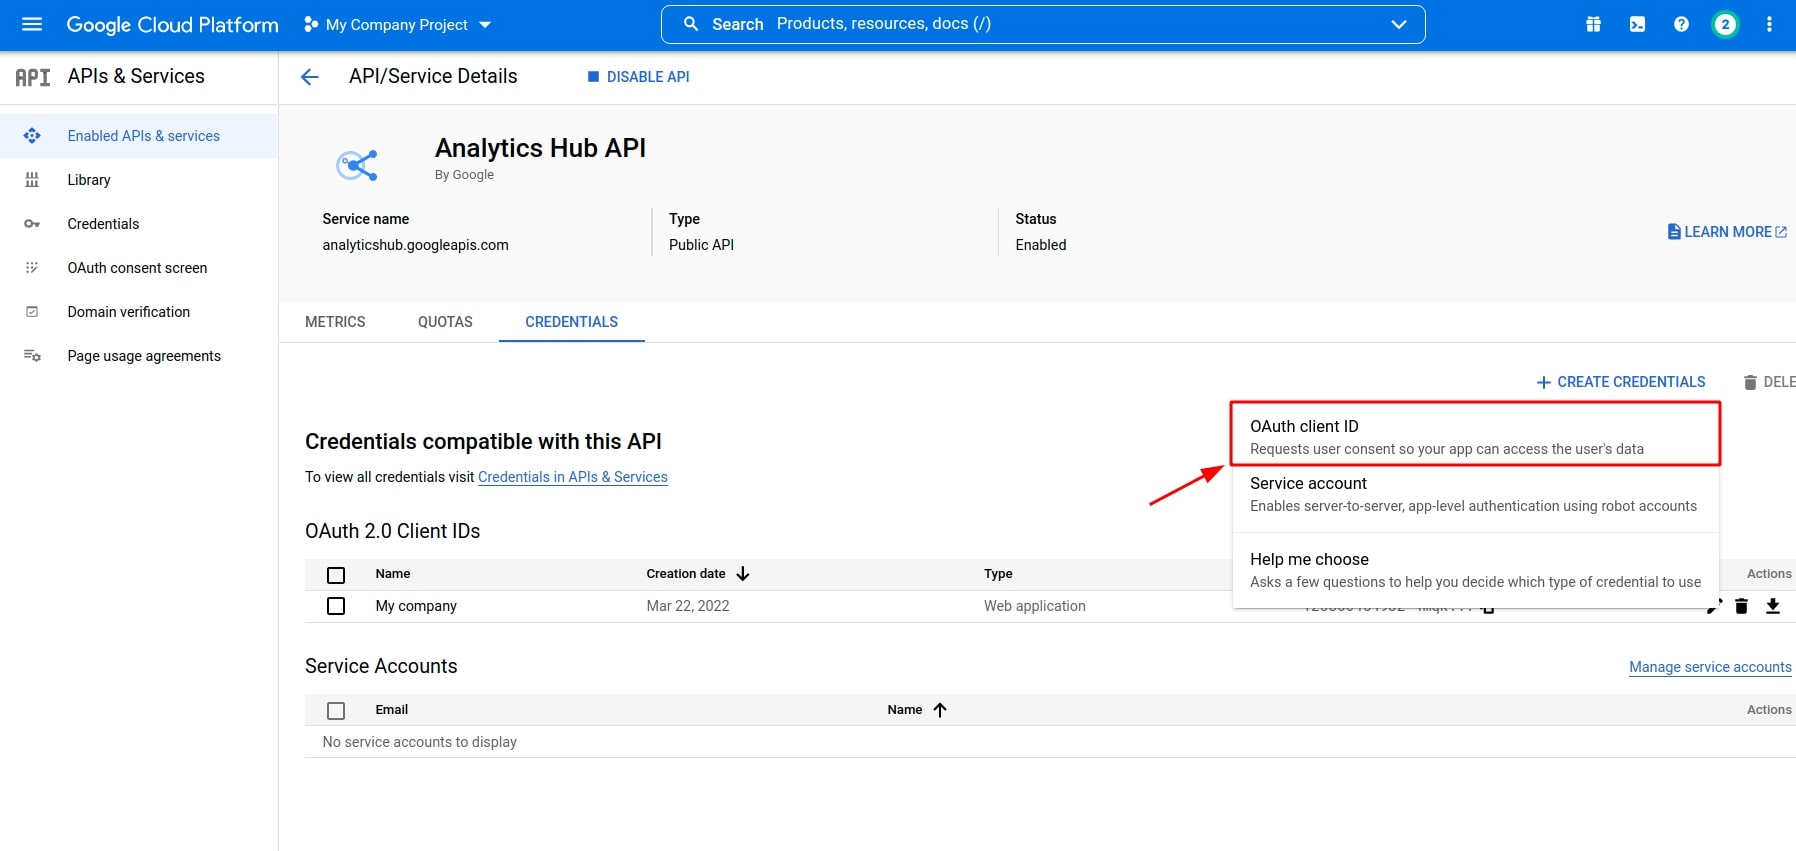
Click on Create Credentials ‣ Oauth client ID.
![OAuth client ID in Google APIs platform]()
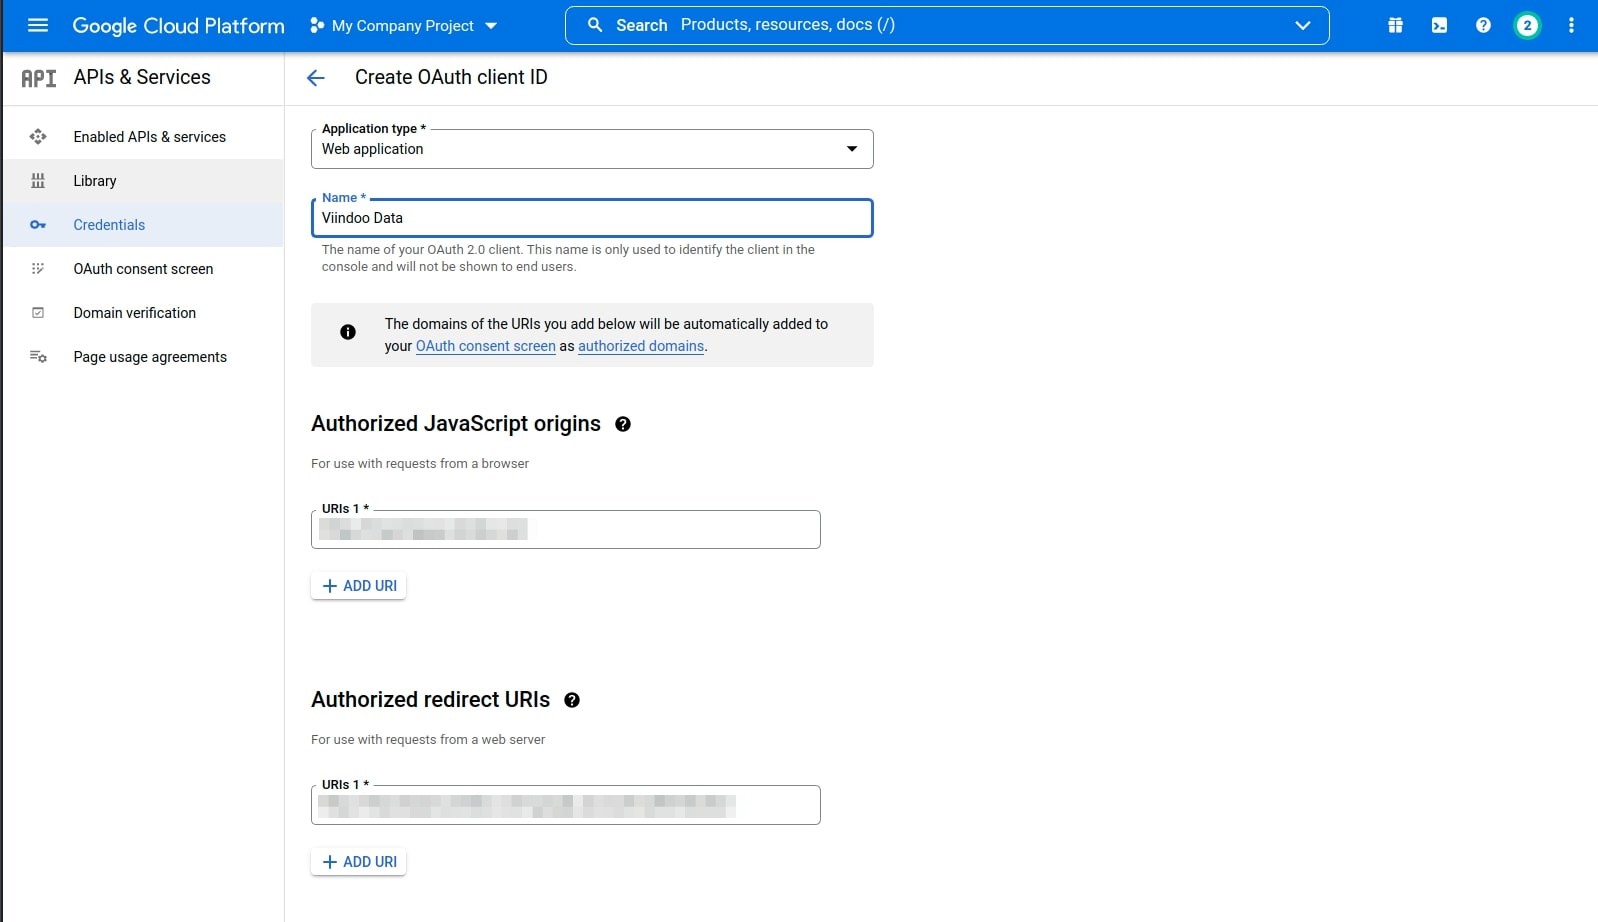
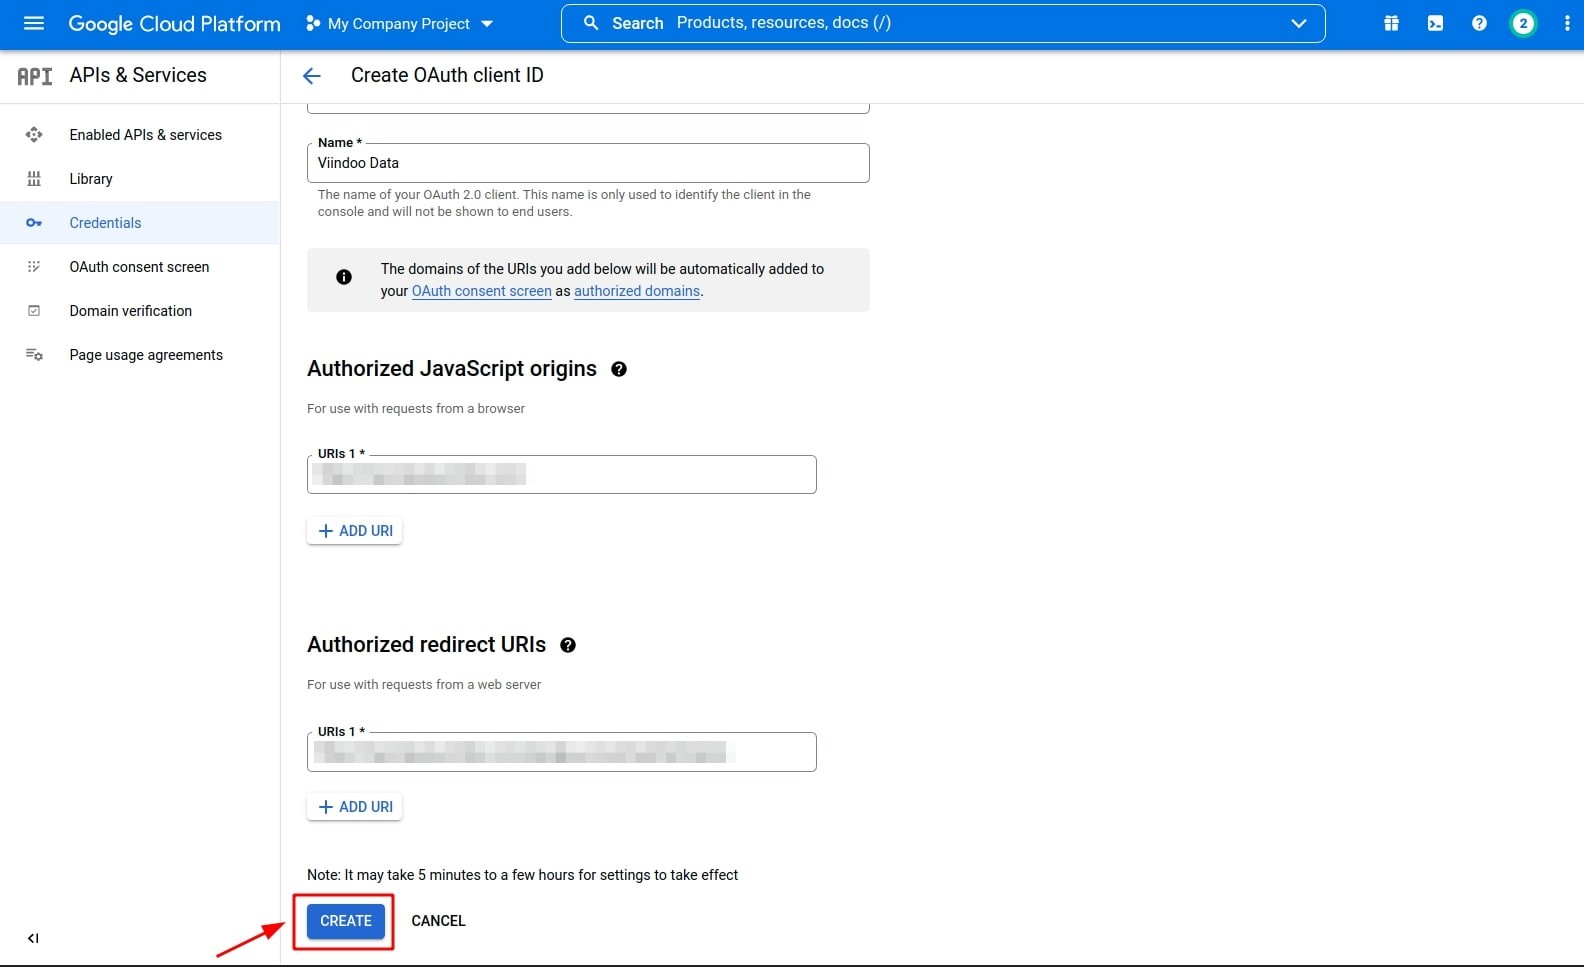
In Create OAuth client ID, fill in the information as follows:
Application type: Select Web application.
Name: Enter the name of your OAuth 2.0 client app. (E.g. Viindoo Data).
Authorized JavaScript origins: Enter the URL of instance Viindoo that you are using.
Authorized redirect URIs: Enter the URL of instance Viindoo that you are using with “/google_account/authentication” at the end of the path.
![Enter OAuth client ID information in Google APIs platform]()
Click Create to complete the Client ID creation.
![Create OAuth client ID]()
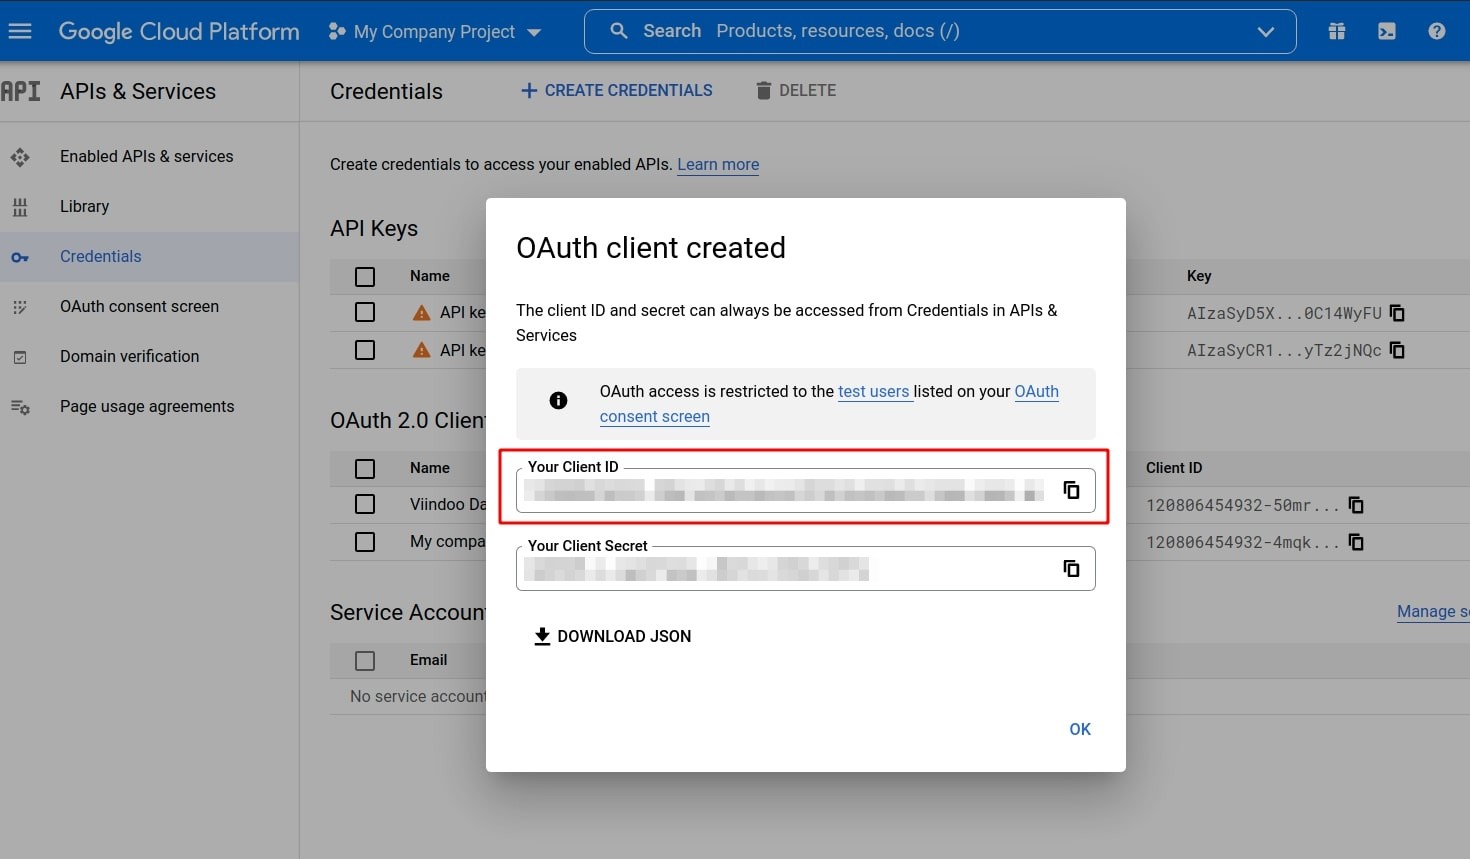
After that, the created Client ID will be in OAuth client created.
![OAuth client ID created by Client ID]()
Step 4: In Connect Google Analytics of the Viindoo Website app, perform as follows:
Copy the Tracking ID and Client ID and paste to Your Tracking ID and Your Client ID.
Click on Save to finish the Analytics integration process in Viindoo Website app.
![Save Tracking ID and Client ID in Viindoo Website app]()
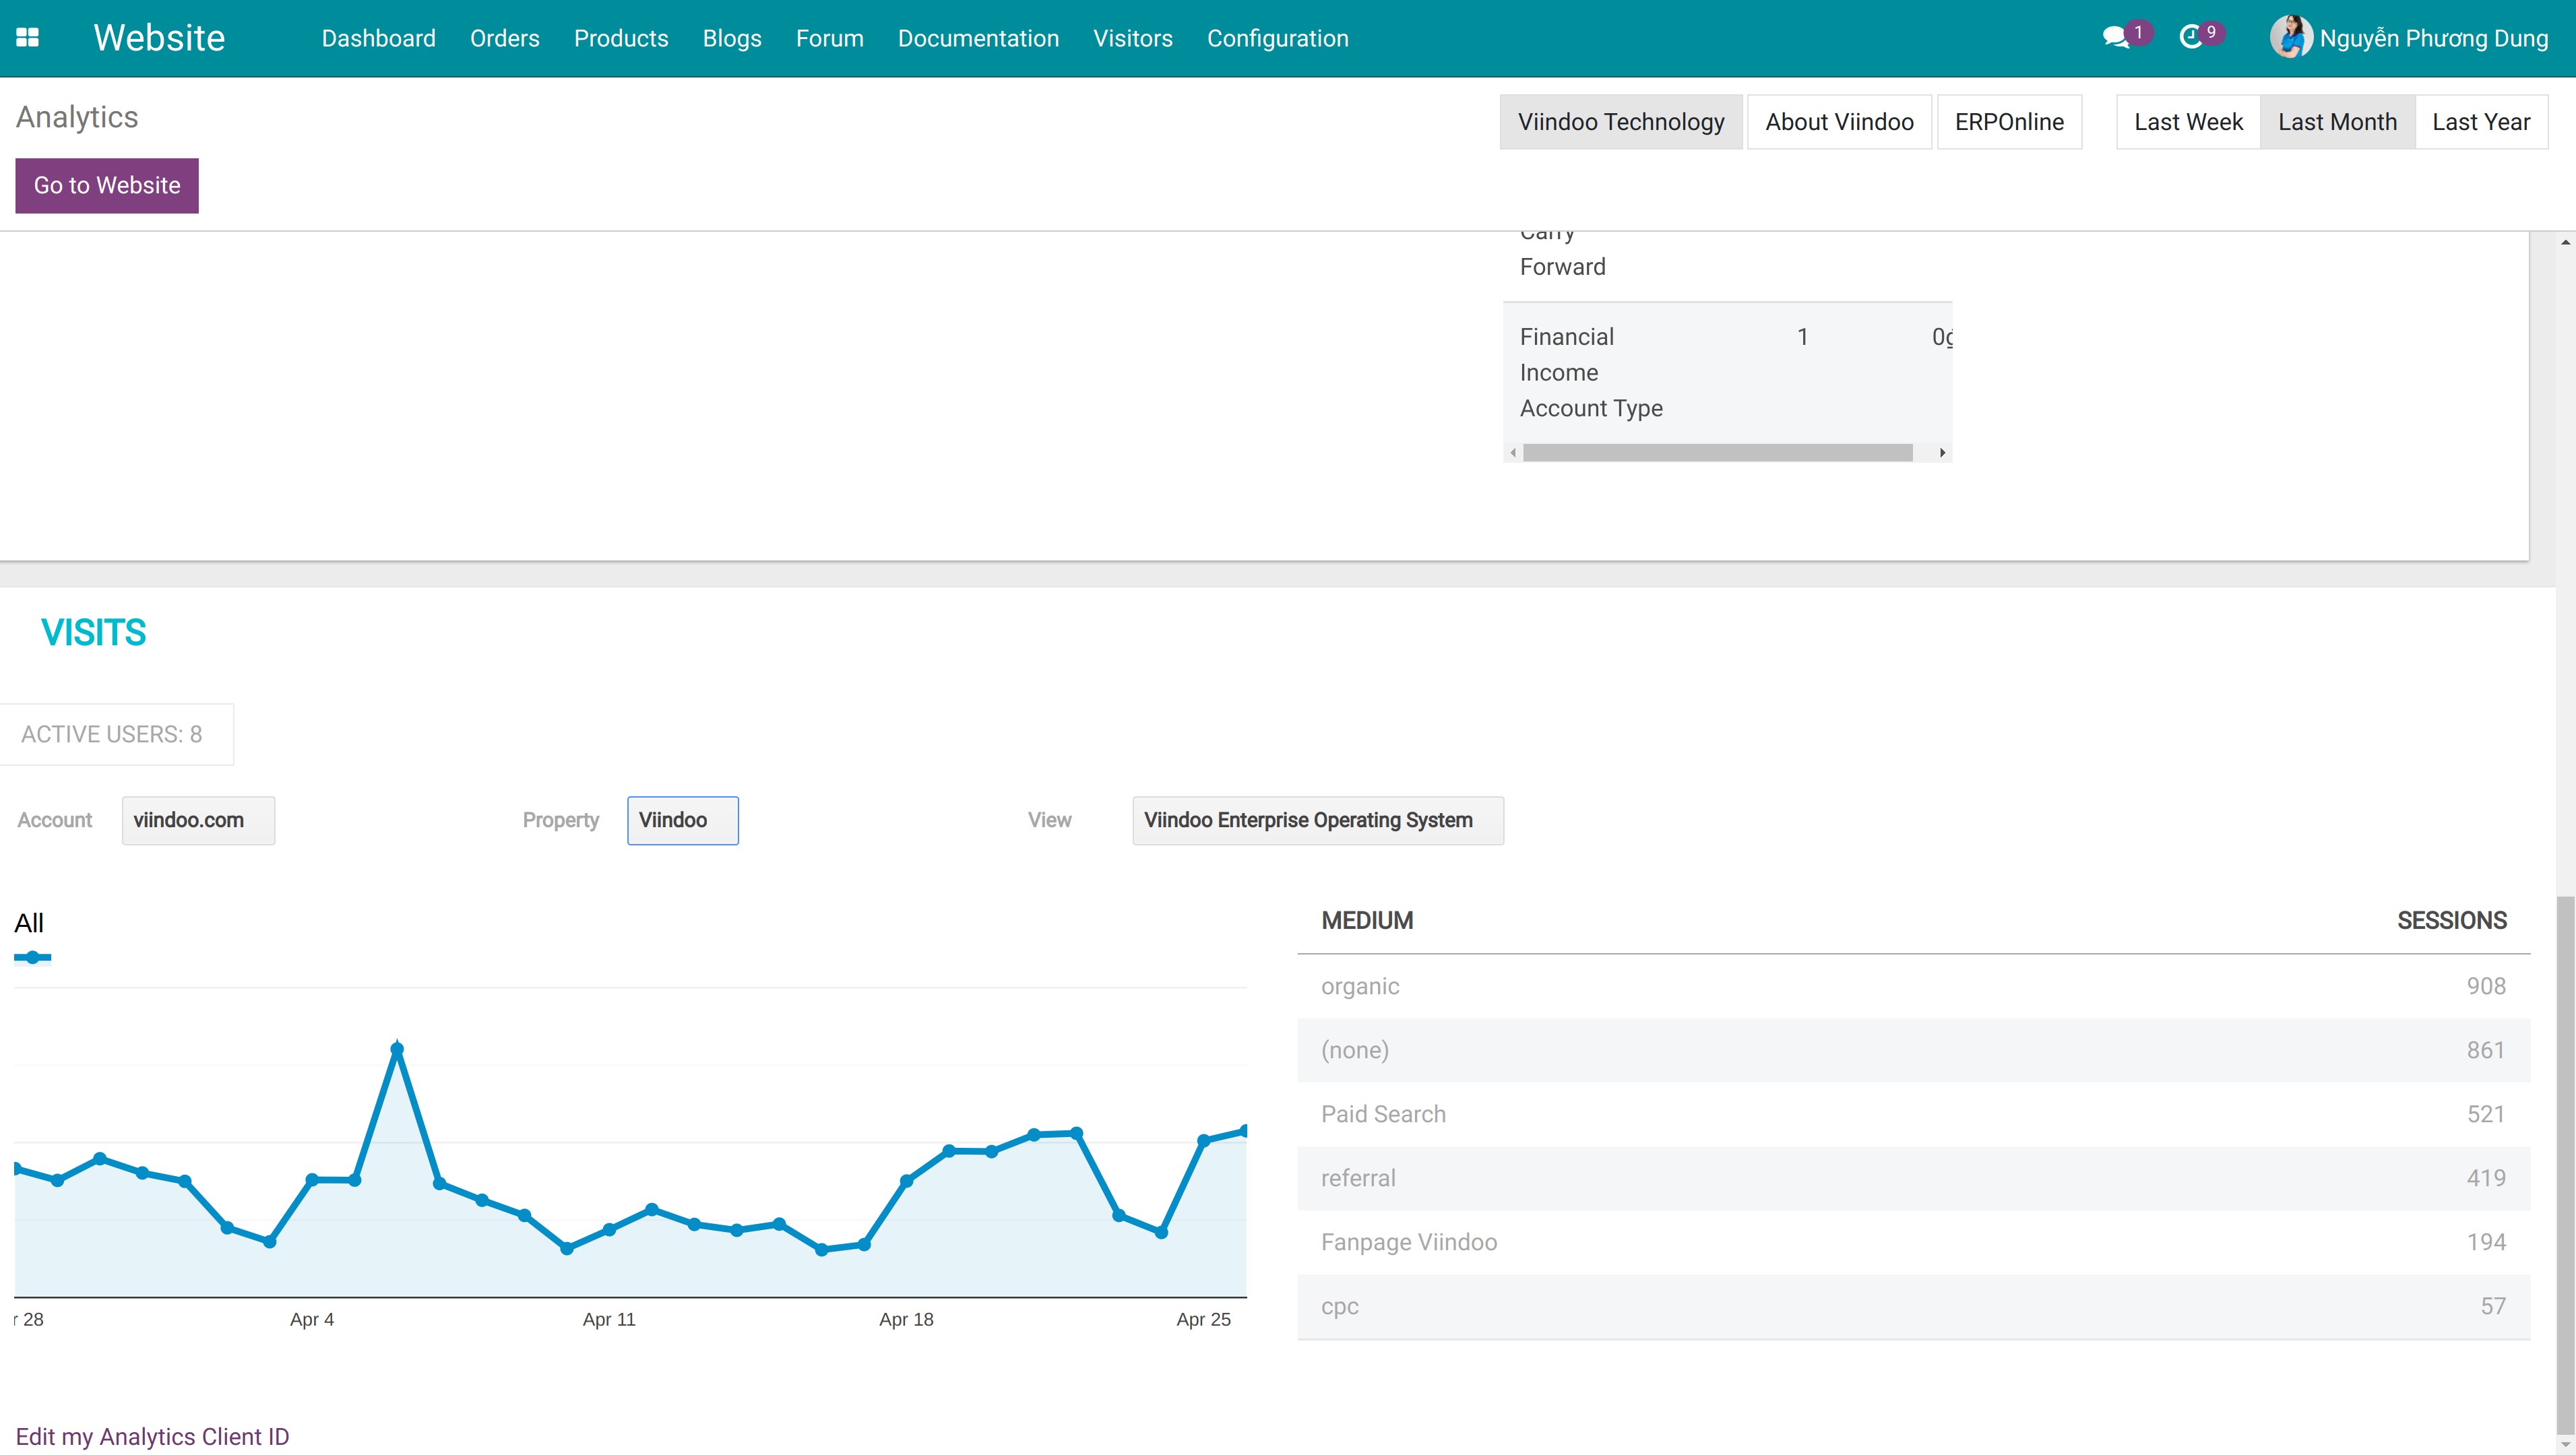
Returning to the website interface, you will see the updated results as shown below:
![Analysis results on dashboard]()
