How to organize cross-docking in a warehouse
Cross-docking is a cargo delivery system that removes storing and picking from the the warehouse’s main functions. Goods are received at the transit zone, re-arranged into means of transportation then shipped to customers. This article is to show you the Cross-docking function in Viindoo Inventory.
Configuration
System configuration
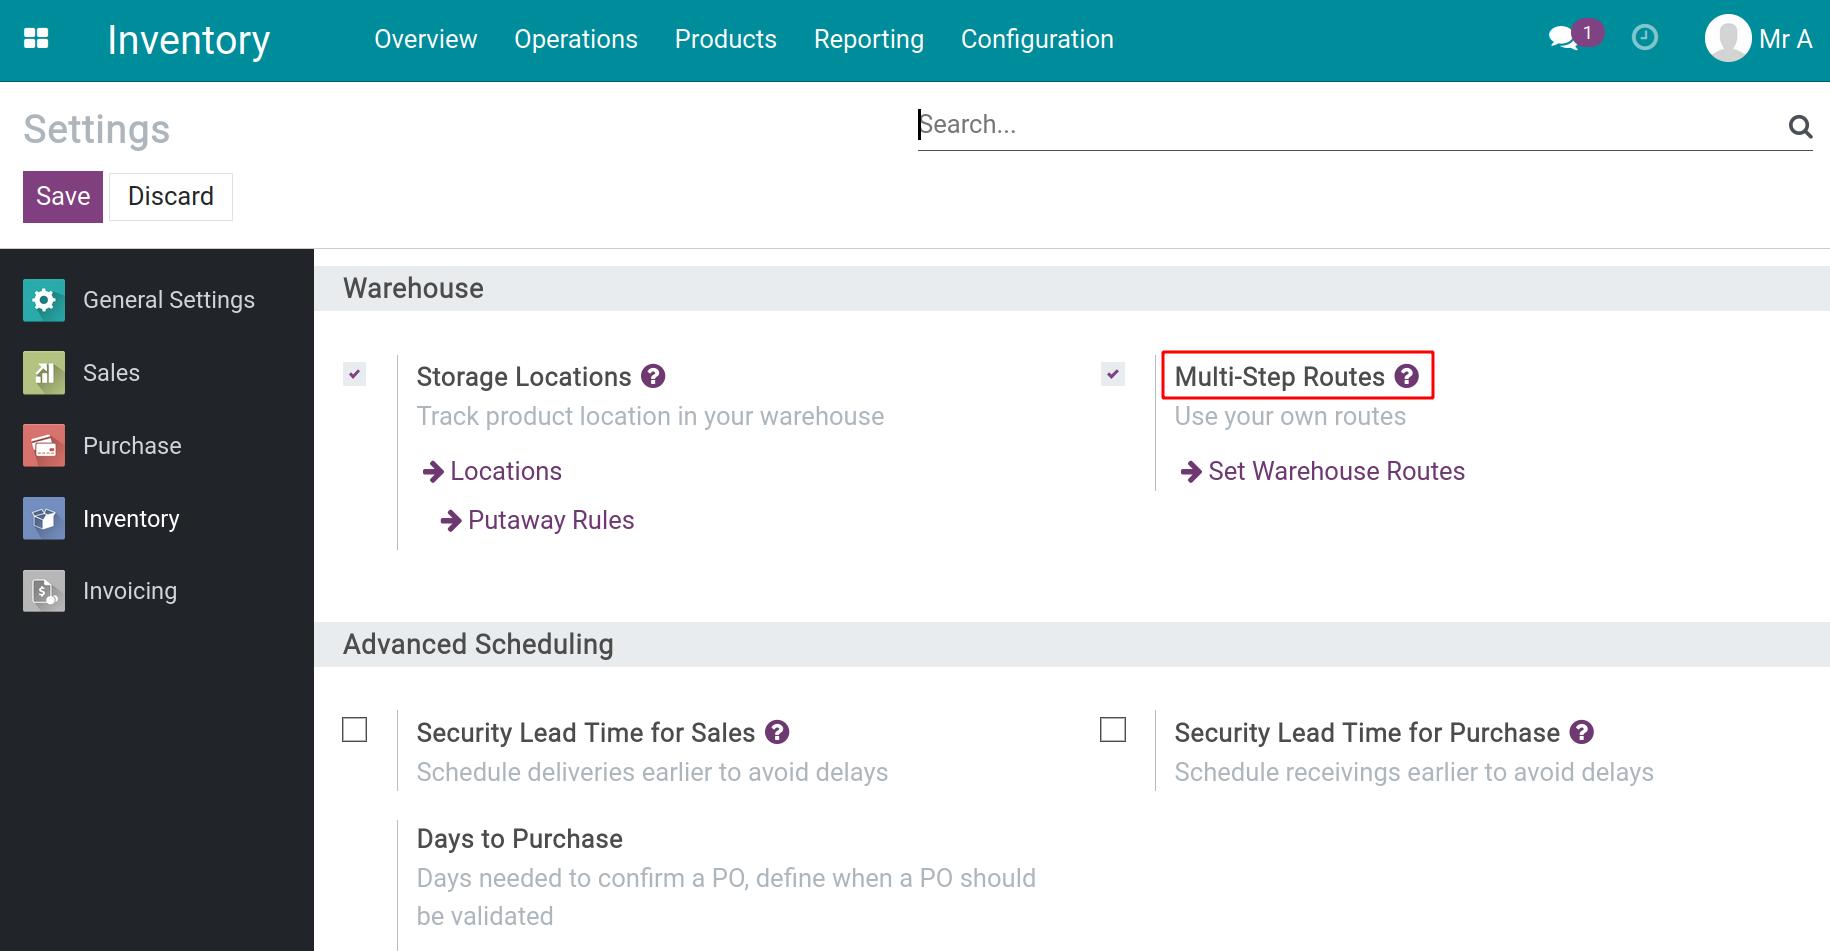
Firstly, go to Inventory ‣ Configuration ‣ Settings, in Warehouse check the box Multi-Step Routes then click on the Save button to activate it.
Note
Storage Locations function will be auto-activated at the same time with Multi-Step Routes.
Next, you need to set the two-step process at Inventory ‣ Configuration ‣ Warehouse and select the necessary warehouse. Let’s change the configuration of the tab Warehouse configuration as below:
Incoming Shipments: Receive goods in input and then stock (2 steps).
Outgoing Shipments: Send goods in output and then deliver (2 steps).
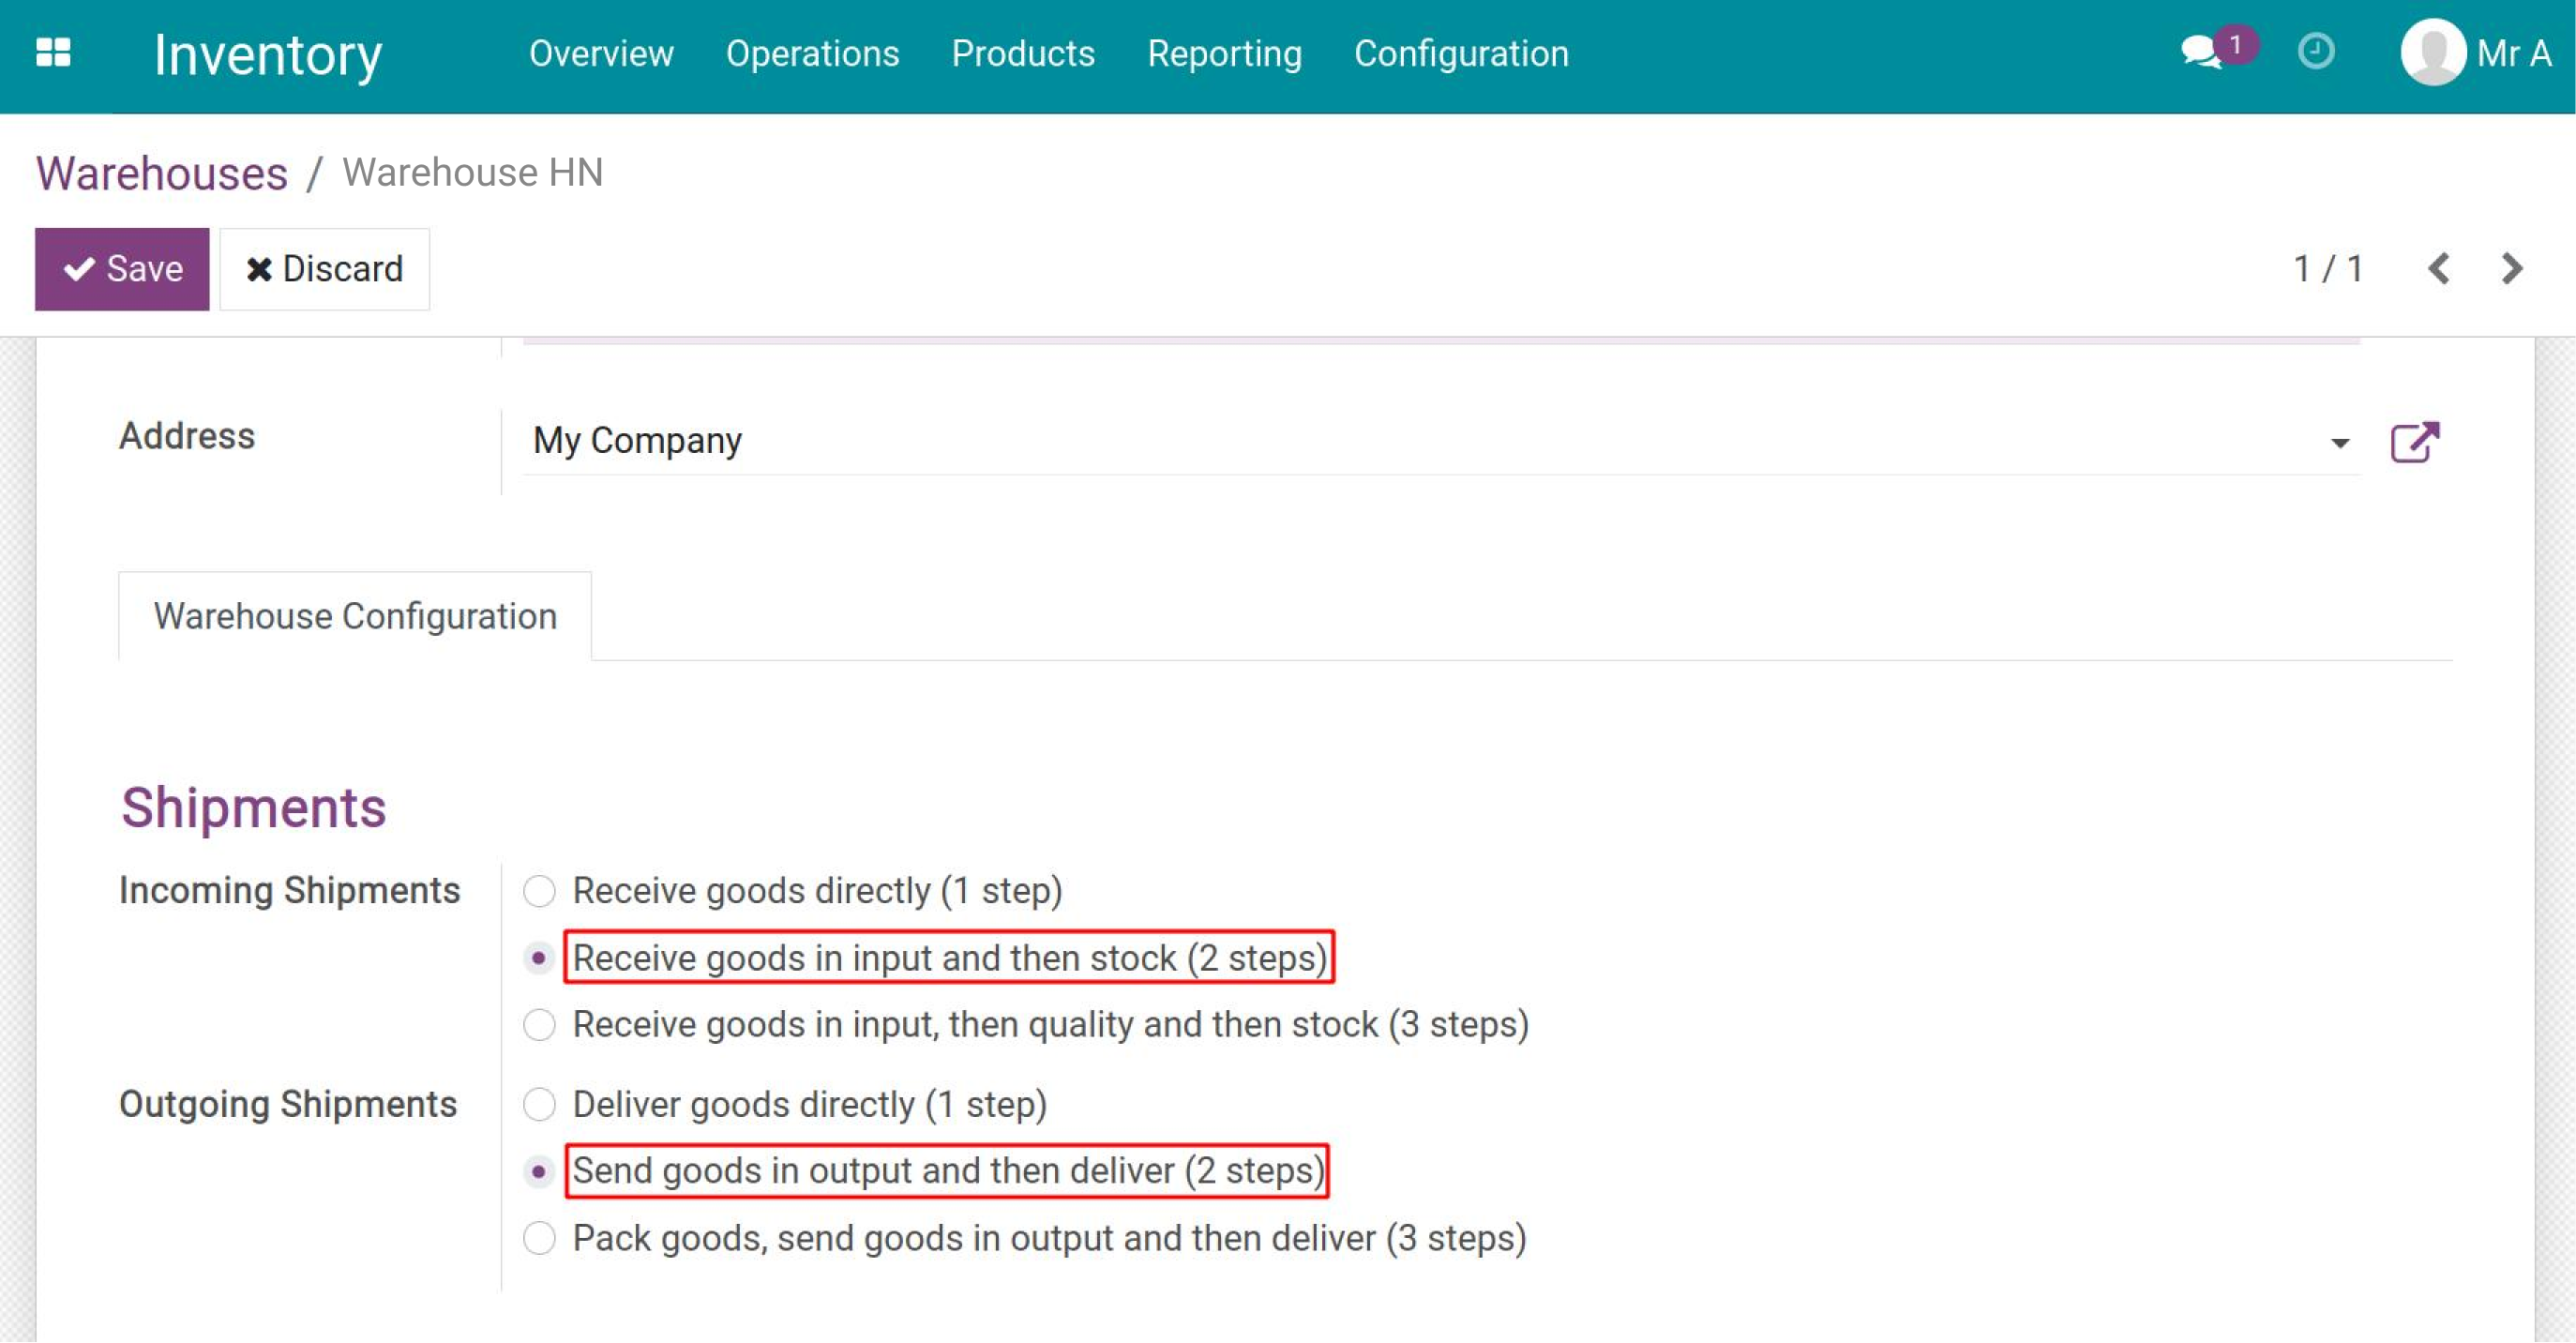
Click on the button Save to finish the setting.
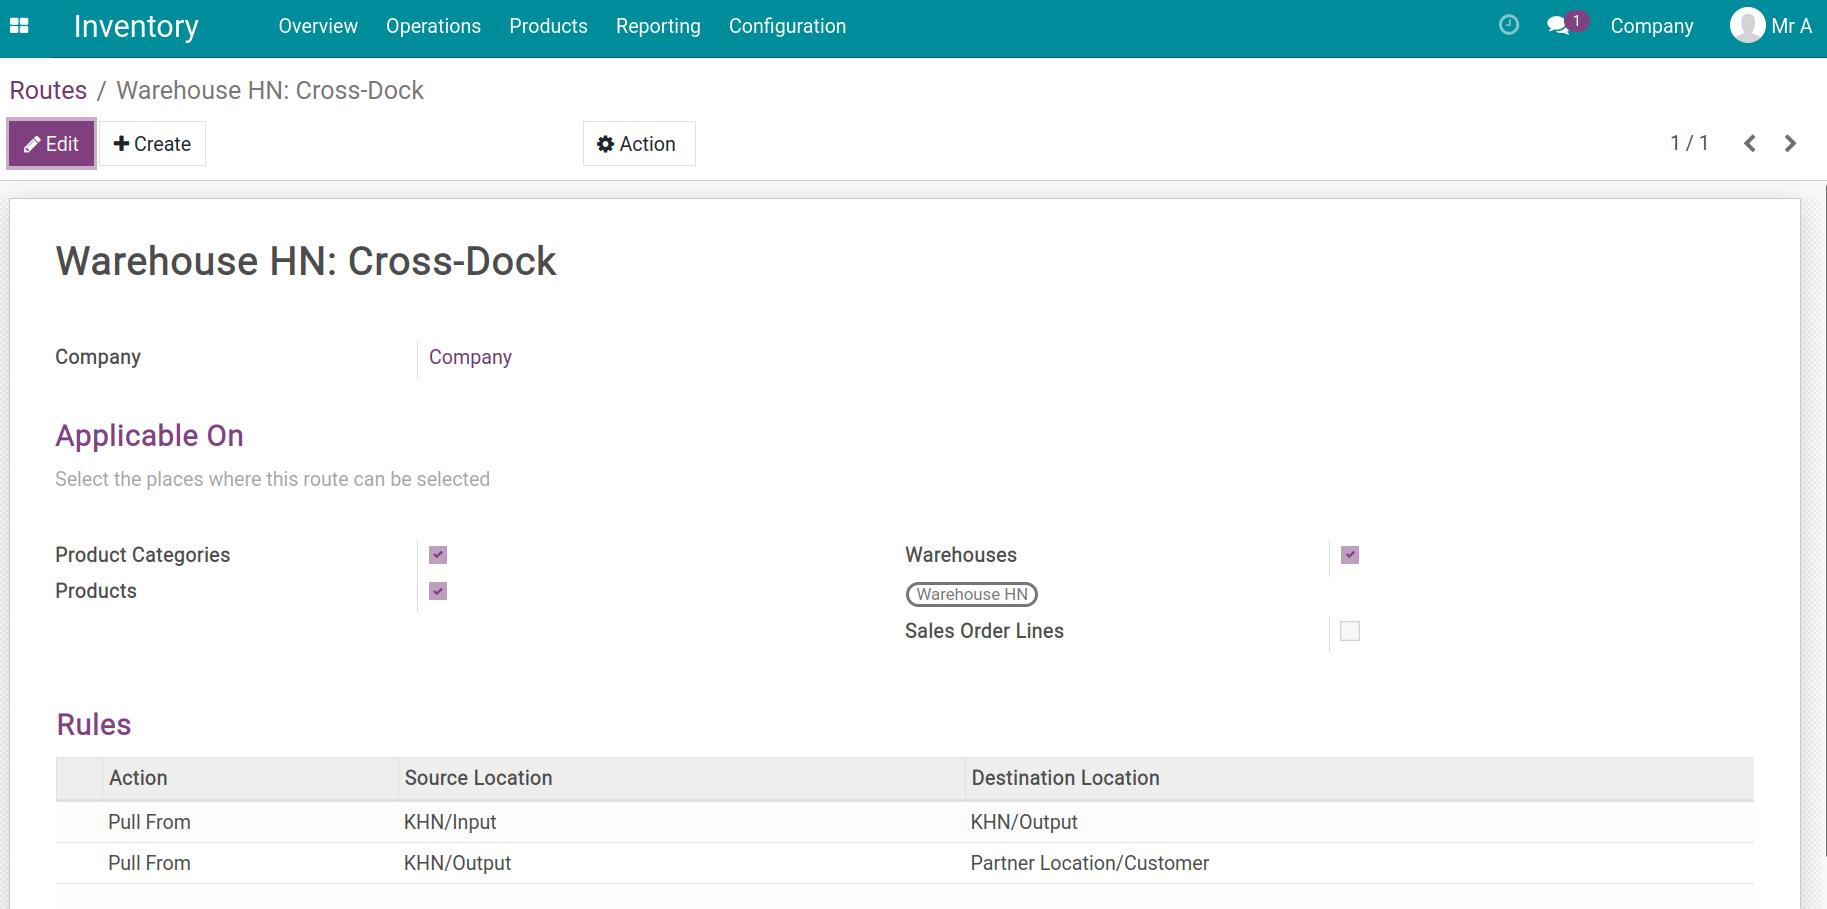
Now the system will generate a new route named Cross-Dock. Go to Inventory ‣ Configuration ‣ Routes, select Warehouse HN: Cross-Dock to check the details.
Product configuration
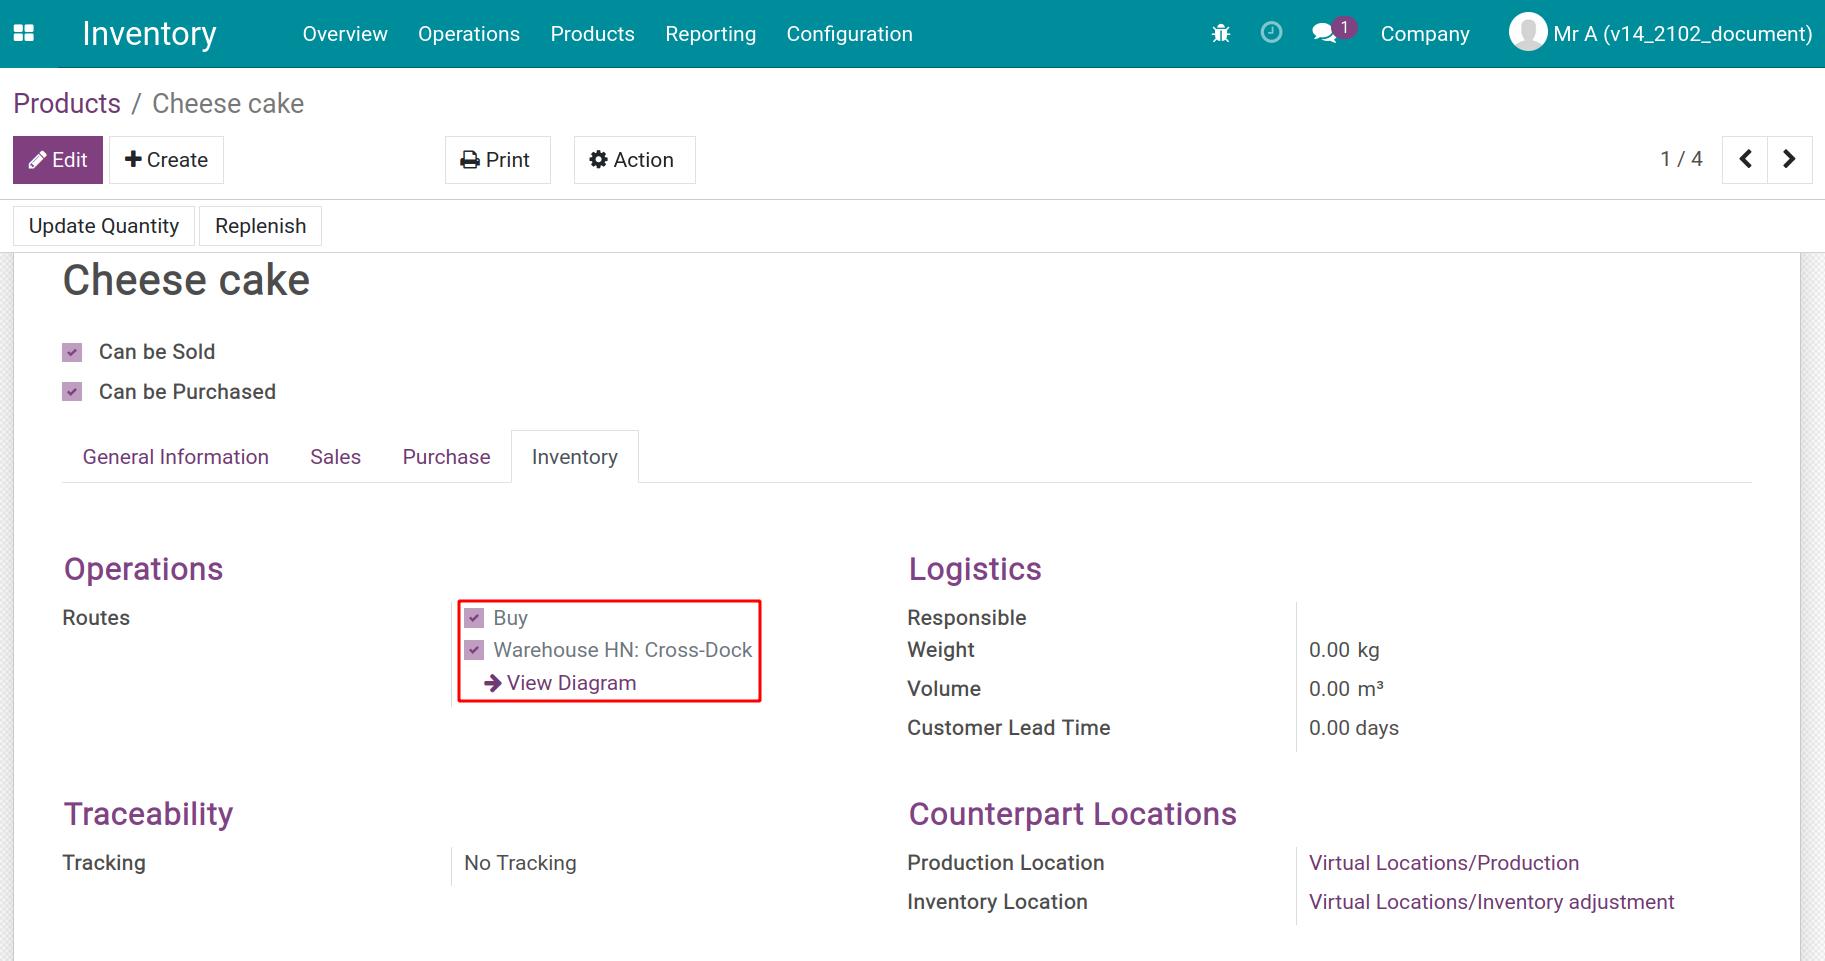
On a product form, click on the Inventory tab, and select two routes:
Warehouse HN: Cross-Dock;
Buy.
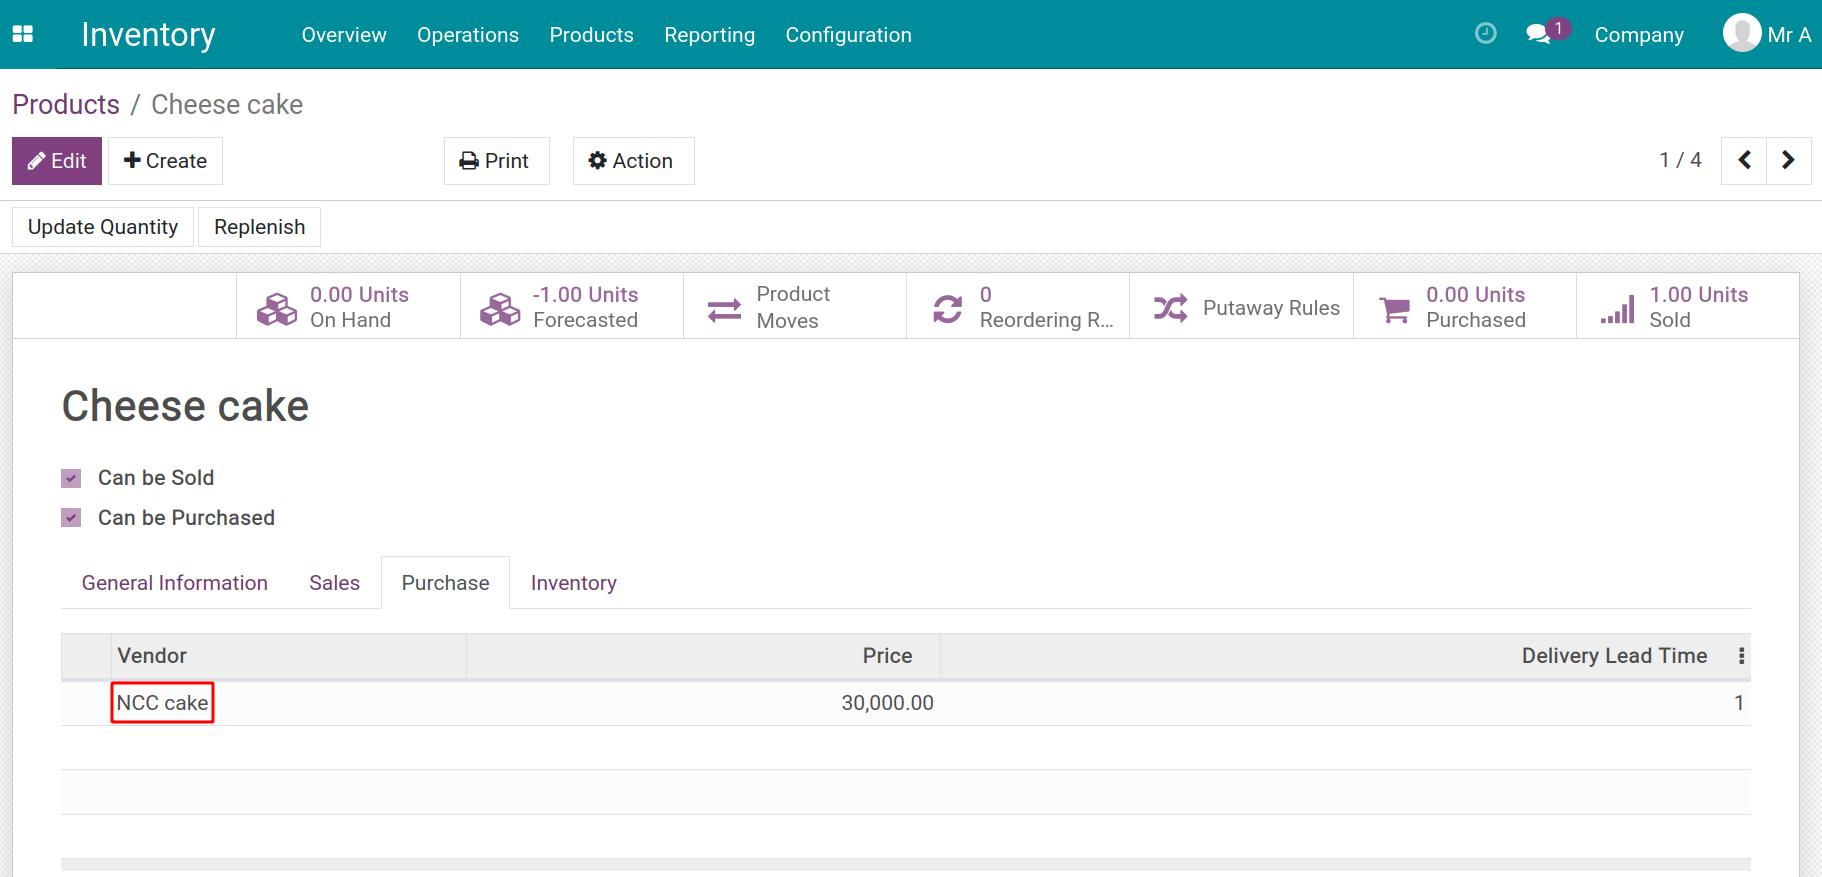
On the Purchase tab, let’s create vendors and the prices they offer.
Note
Tab Purchase only appears on the product form if the Purchase app has been installed before.
Refer to the Steps to create a new product article.
Remember to click on the Save button after creating vendors’ information.
How to apply cross-docking in Viindoo Inventory
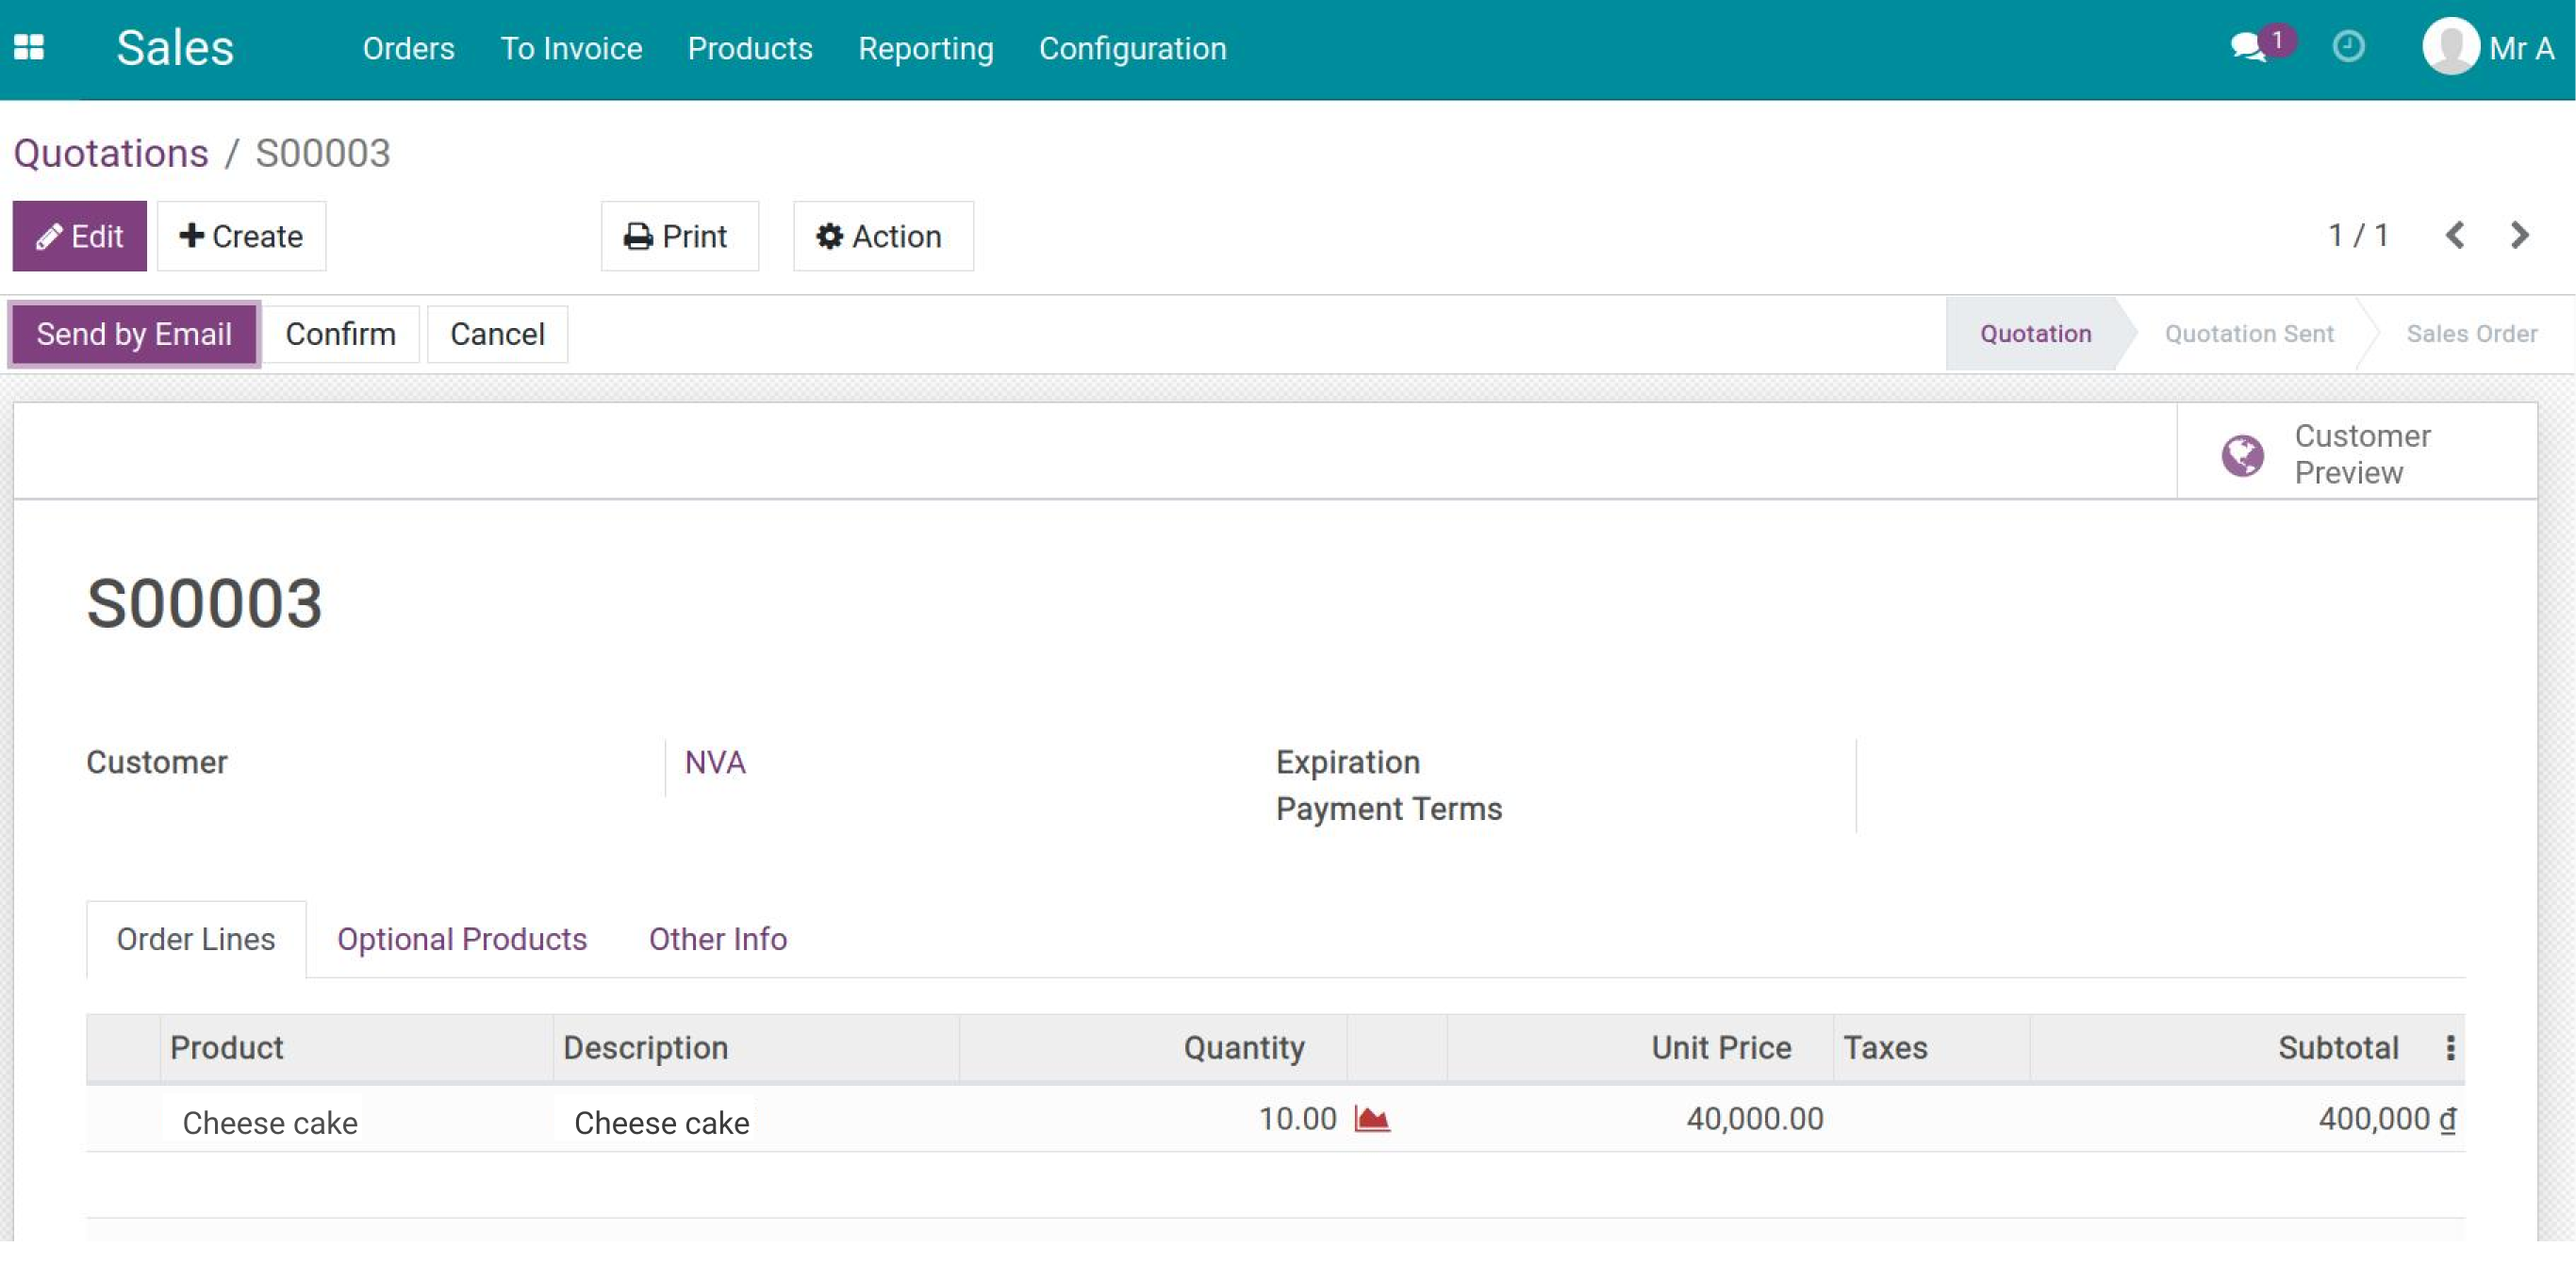
Let’s start with a Sales Order to understand the flow of cross-docking in Viindoo. First, create a sales order as below:
Product: Cheesecake;
Quantity: 10.
Note
Make sure you have installed the Sales application before. For details, check the content How to create sales order.
After the sales order is confirmed, Viindoo will generate 2 related deliveries. Click on Delivery to see the deliveries.
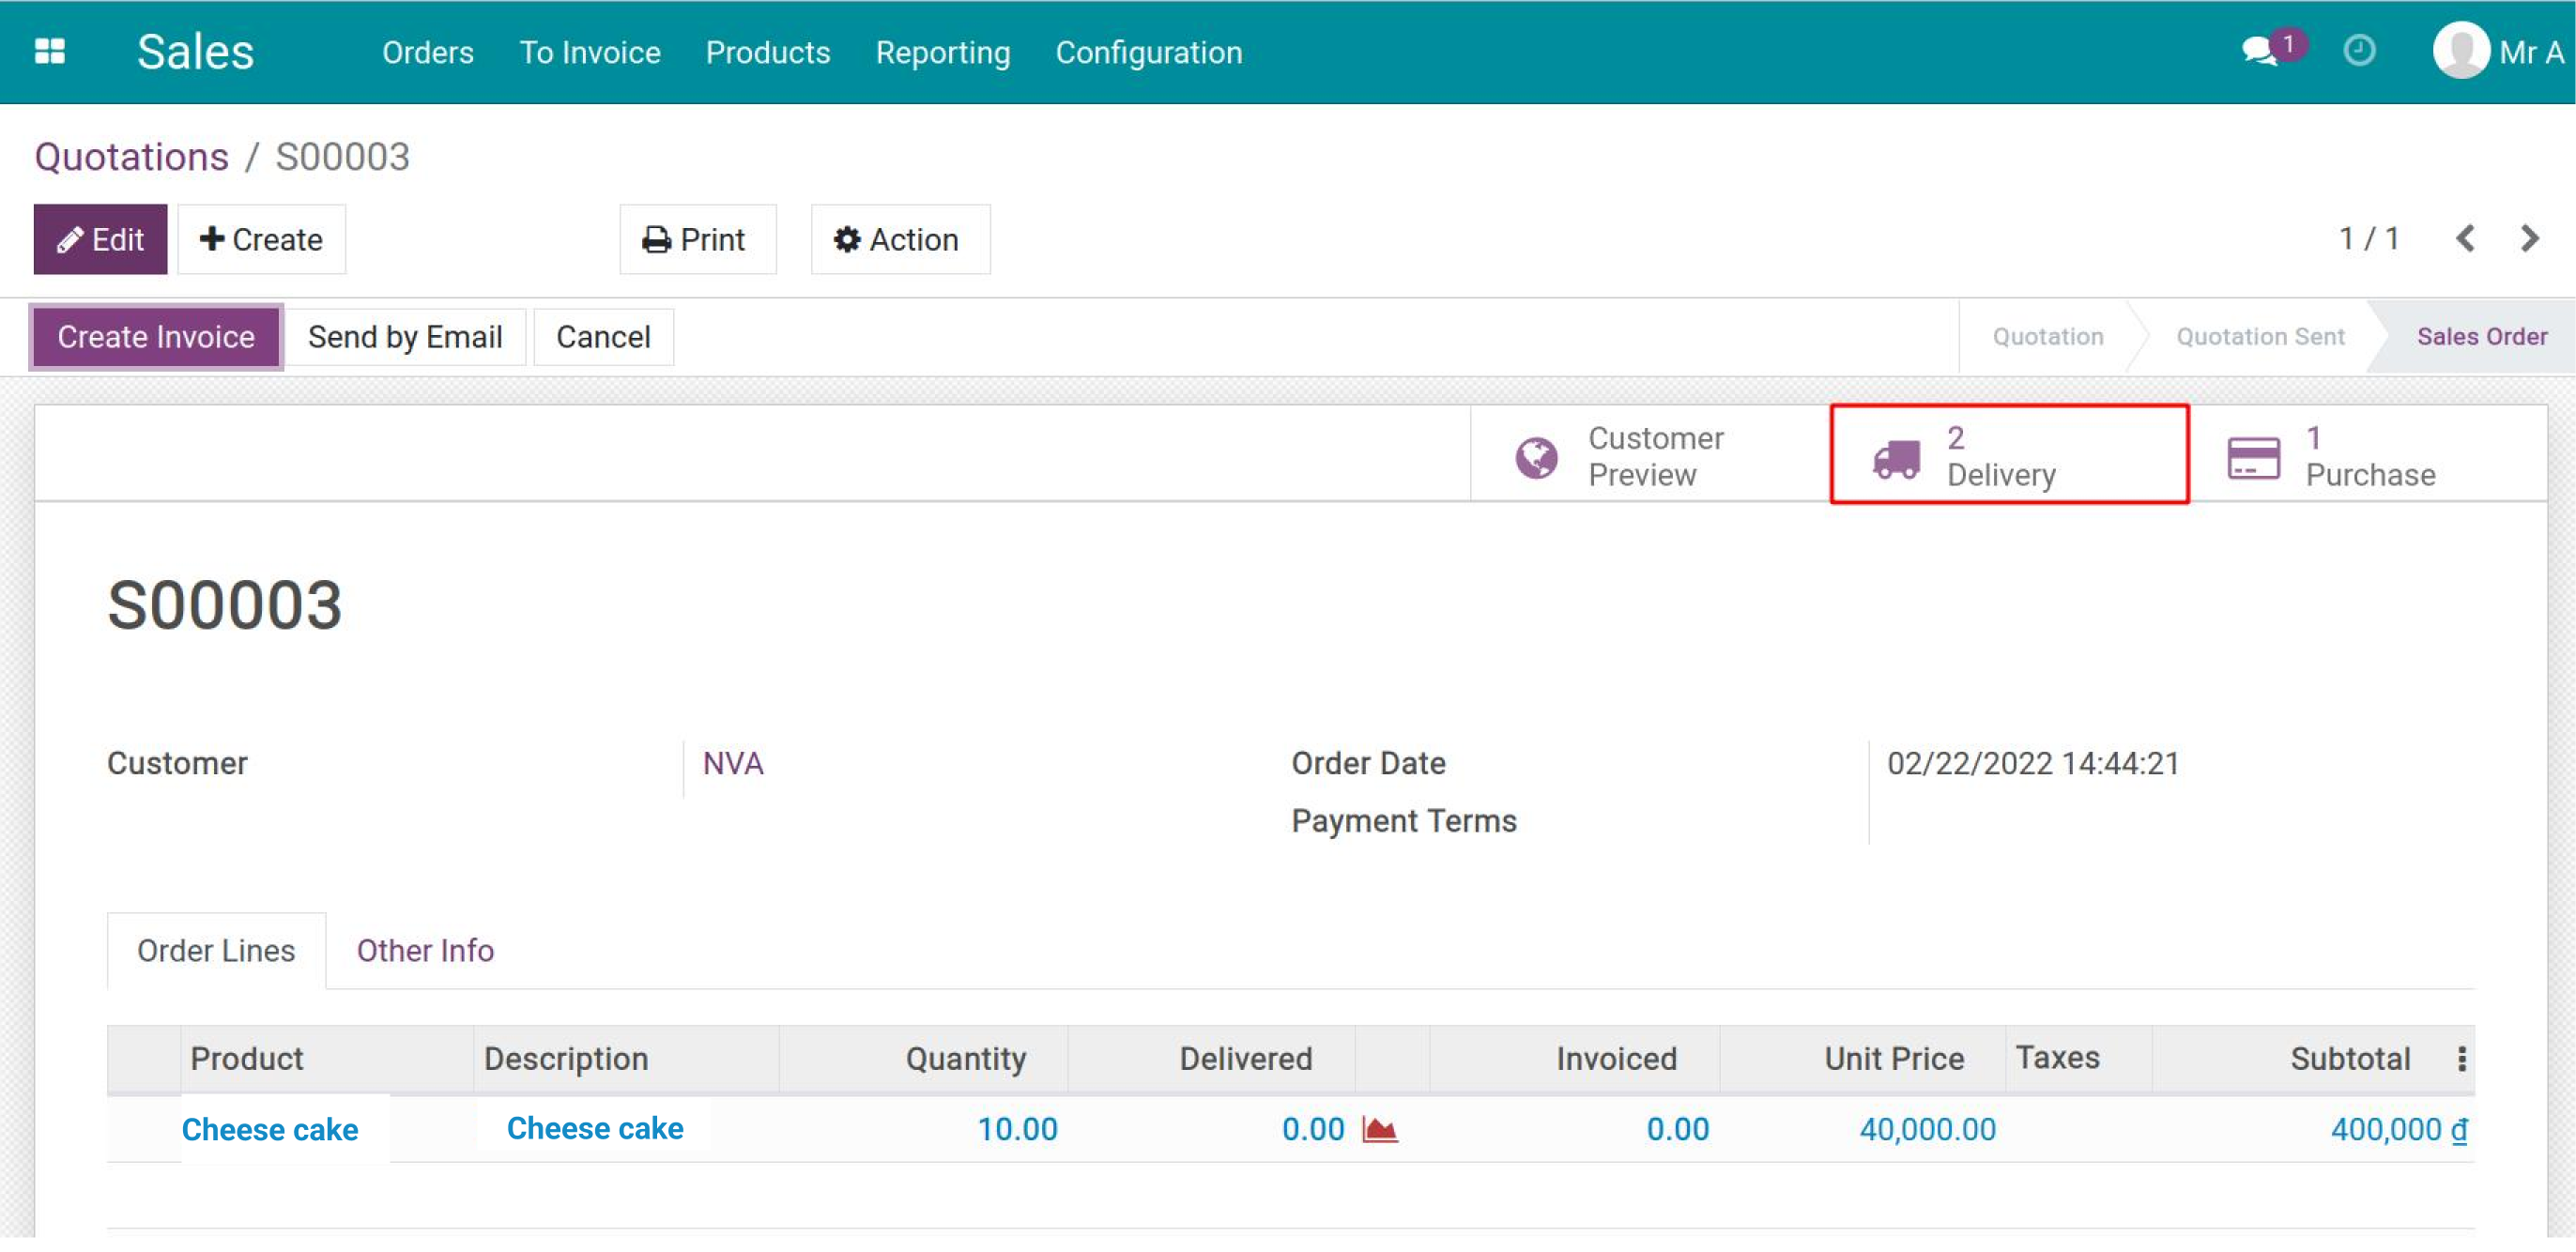
The first transfer is from Input (KHN/Input) to Output (KHN/Output). The second one is from Output (KHN/Output) to Customer (Partner Location/Customer). Both are at status Waiting Another Operation.

Meanwhile, a purchase order will be auto-generated and its source document is the sales order. Refer to the How to create a Purchase Order article.
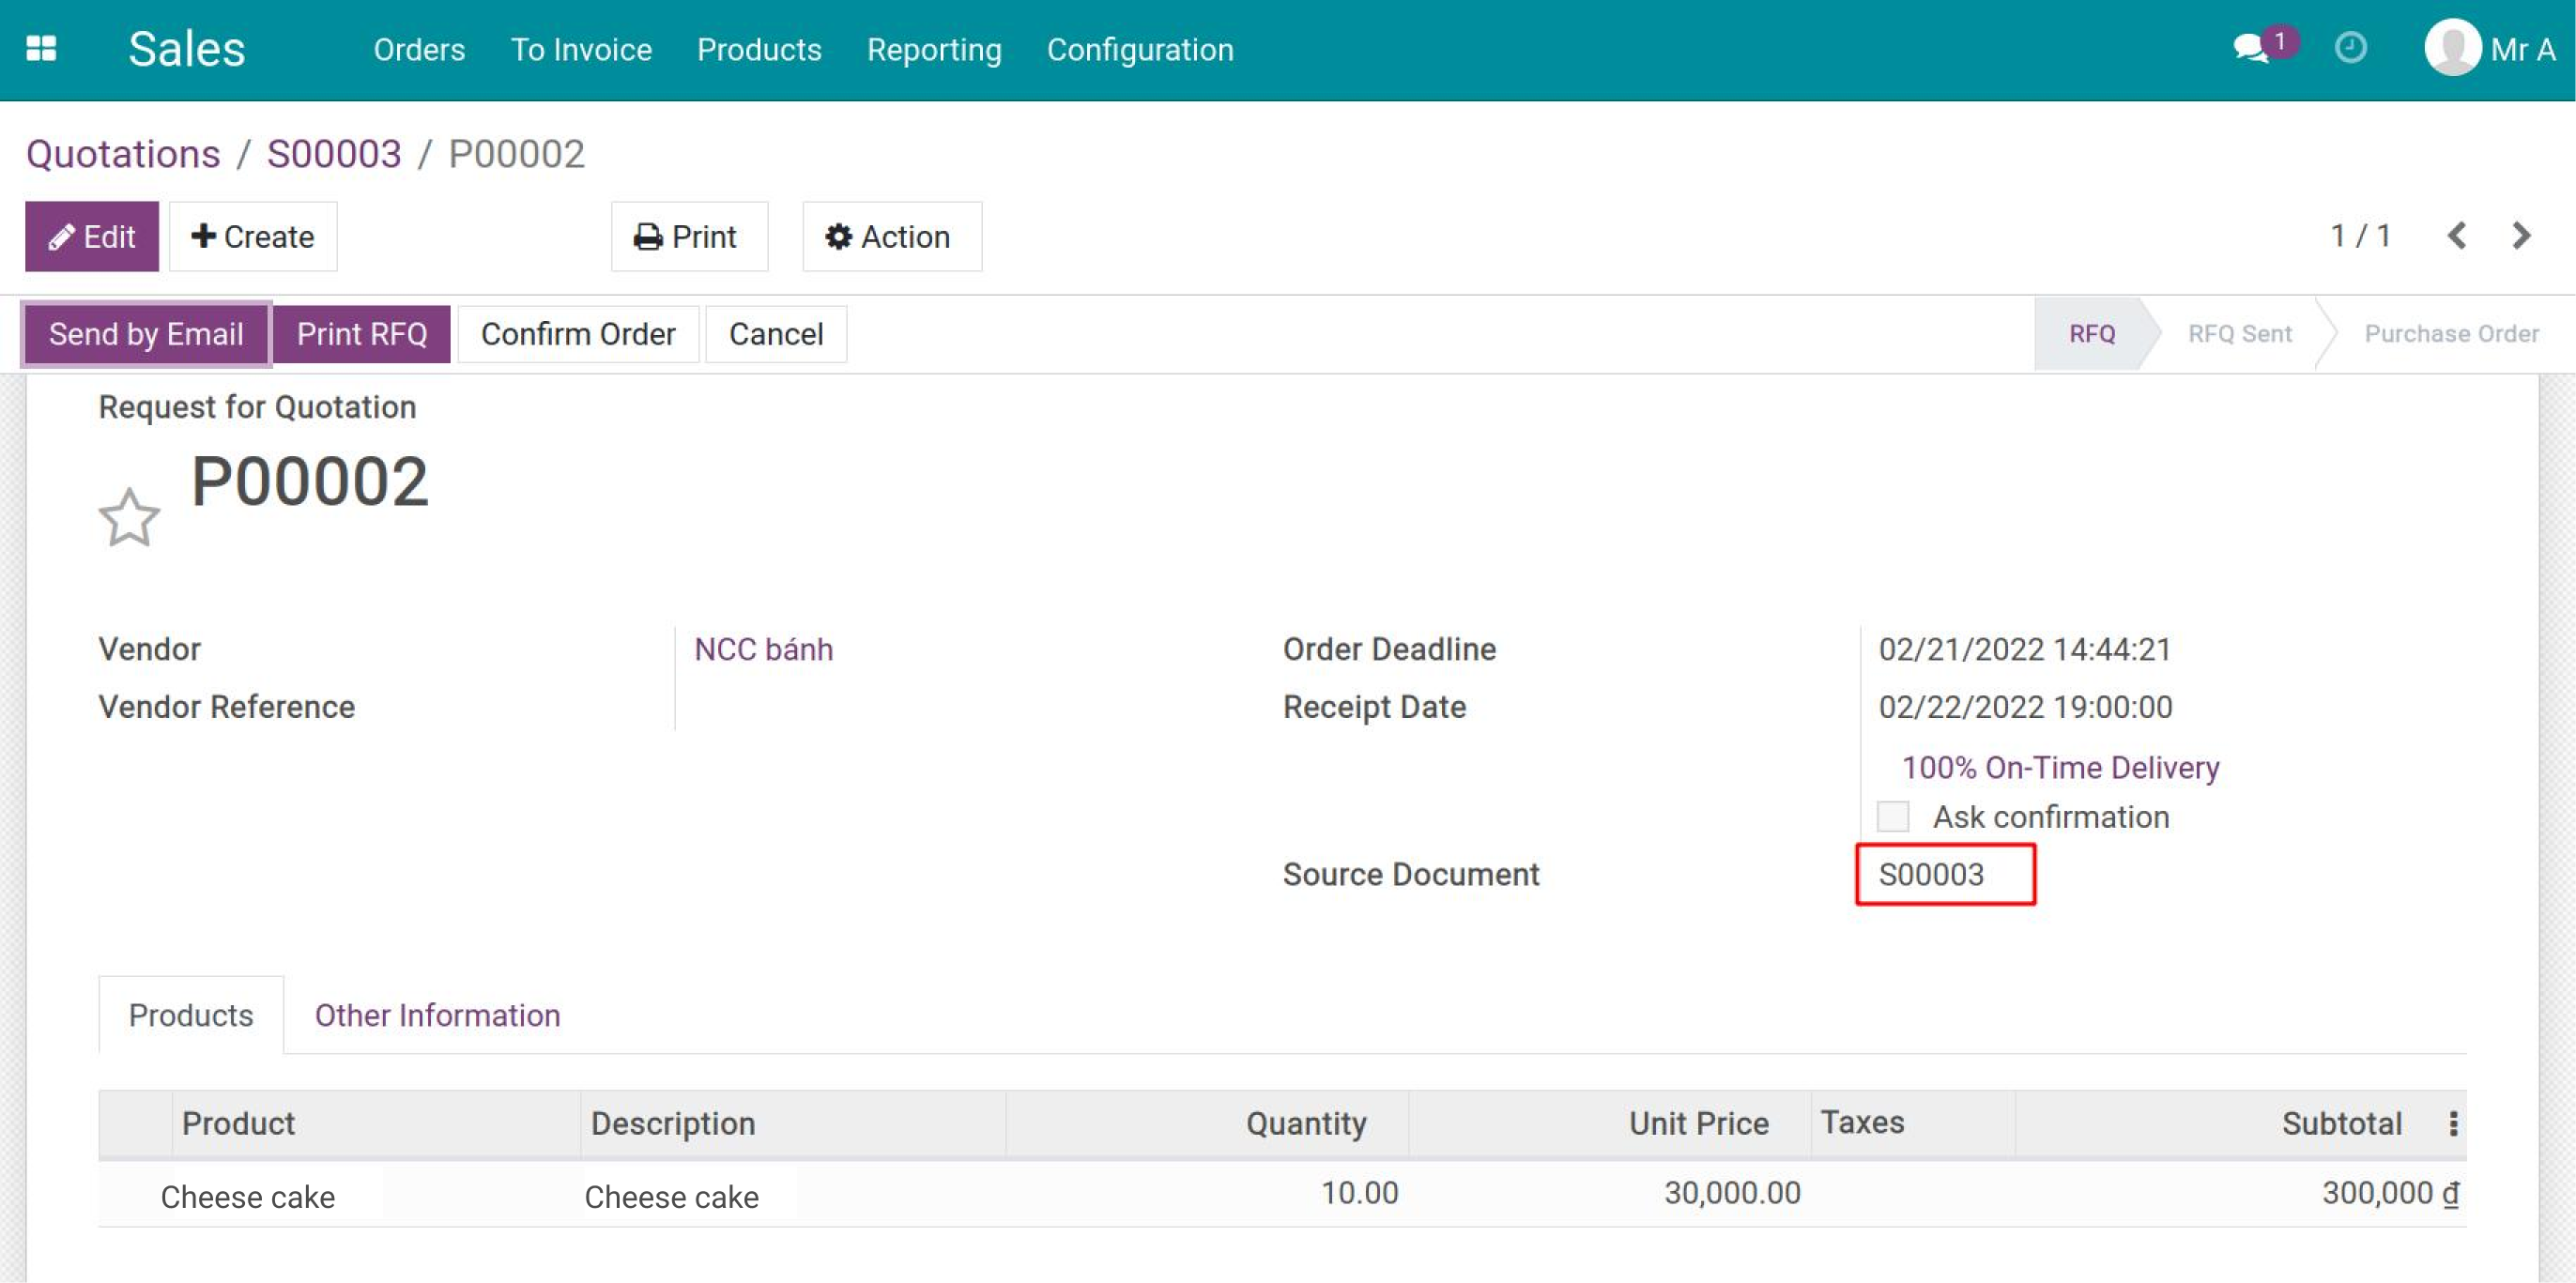
Now let’s confirm the purchase order. The first transfer’s status will be changed to Ready.

After the first transfer is Confirmed, the second one from Output to Customer will be Ready.

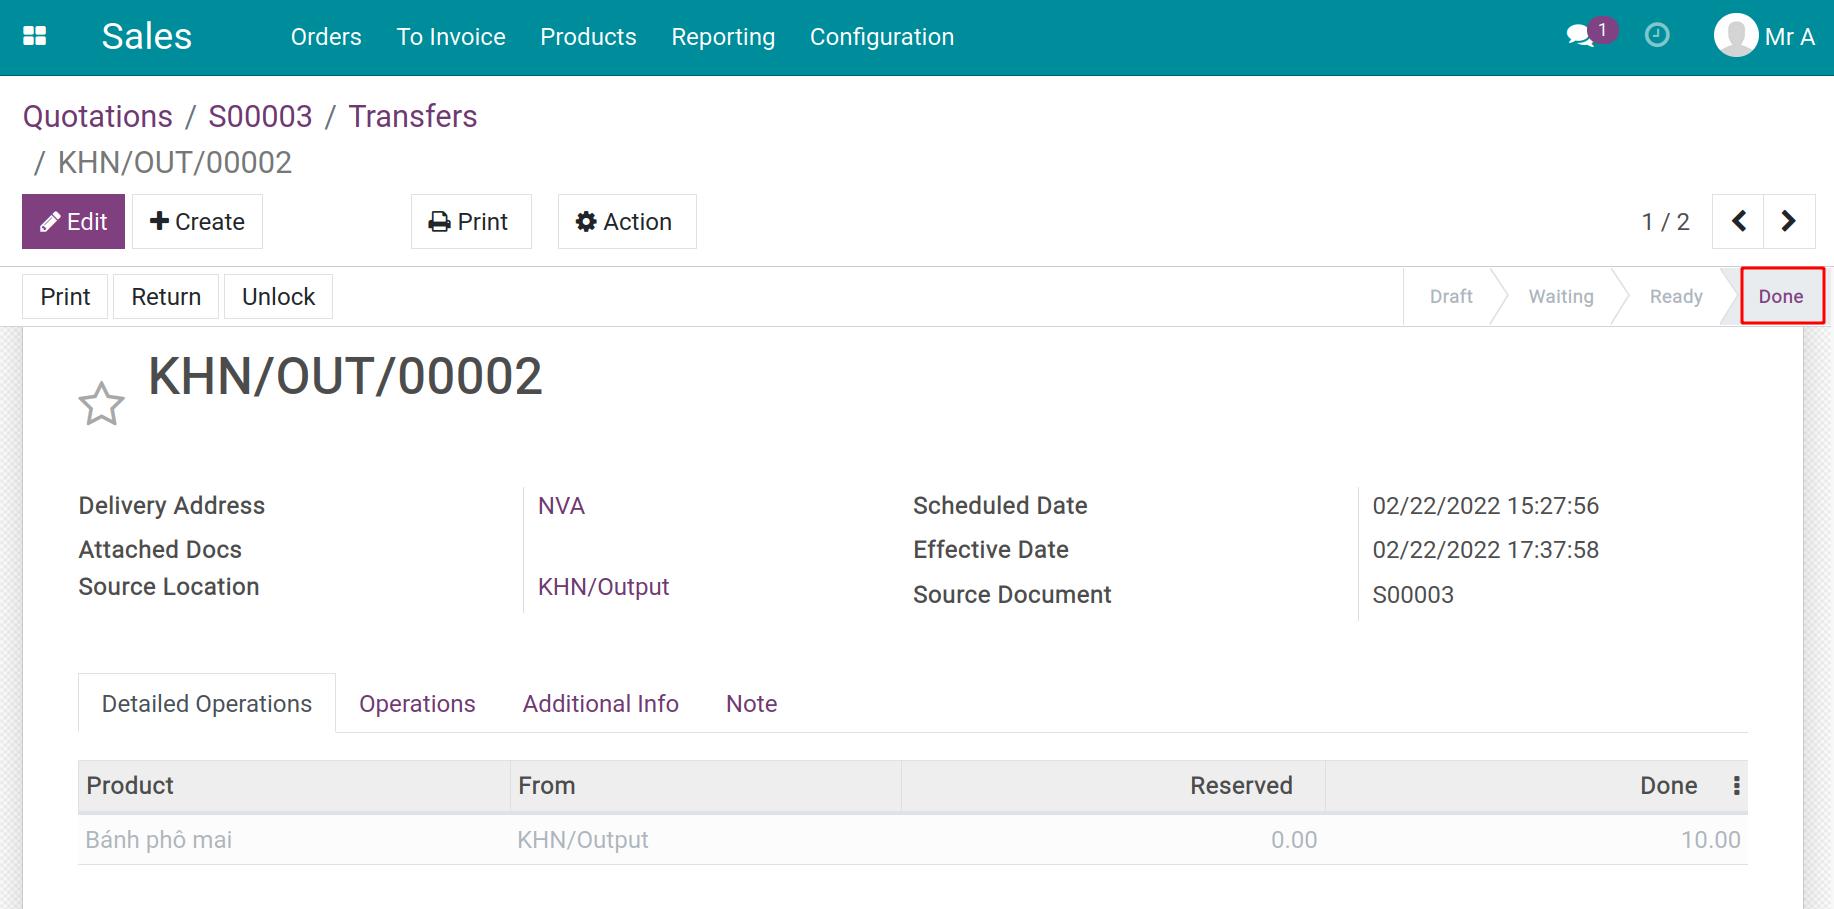
When you Confirm, the second transfer’s status will be changed into Done status. That means goods are delivered to customers.
