
Import Process in Viindoo
Normally, during the process of importing goods from other countries, you need a lot of information such as:
Foreign trade partner;
Vendor currency;
Taxes applied for the imported goods;
The purchase order with the vendor;
Stock receiving;
Import custom clearance request;
Taxes payment, etc.
The Viindoo Foreign trade management software will assist you in managing this information during the import process.
Requirements
This tutorial requires the installation of the following applications/modules:
Foreign Trade Import, Logistics - go to Apps, search viin_foreign_trade_import and click Activate. The import customs clearance request, the buttons Confirm Customs Clearance, Allocate Expenses and Taxes Payment and the extra expenses come from this module, which also brings Purchase and Inventory.
The people who prepare the customs clearance requests need the Foreign Trade: User access right.
Initial Configurations for Import Process
Manage the foreign trade partners list
To create a foreign trader partner, navigate to Purchase ‣ Orders ‣ Vendors ‣ New:

Check out the similar steps to create a contact. However, in the Sales & Purchase tab, in the Foreign Trade group, you need to enable the Foreign Trade Partner feature:

Note
In case the vendor’s country is different from your company’s, the system will automatically mark the vendor as a Foreign Trade Partner.
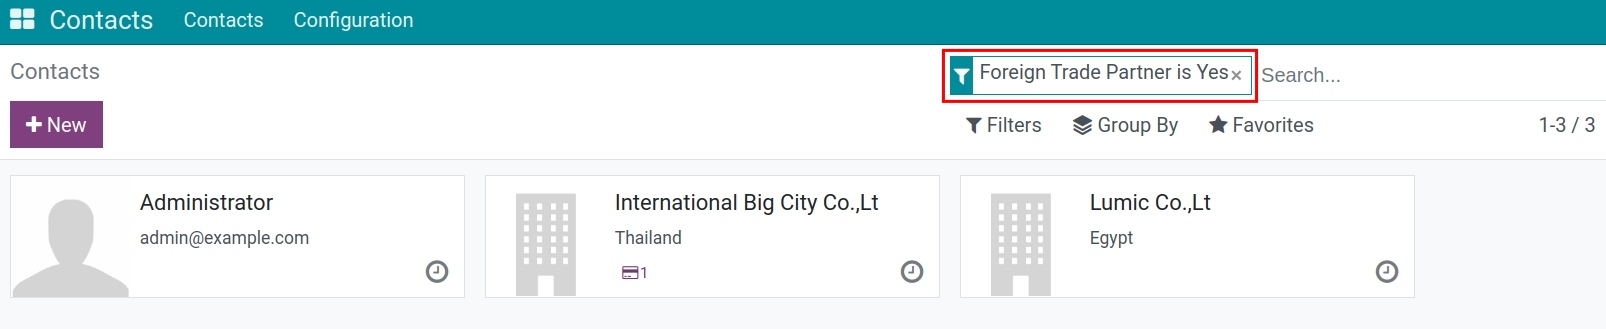
You can group the vendors by Country to see where your vendors are located and find the foreign trade partners:
See also
Vendor’s currency
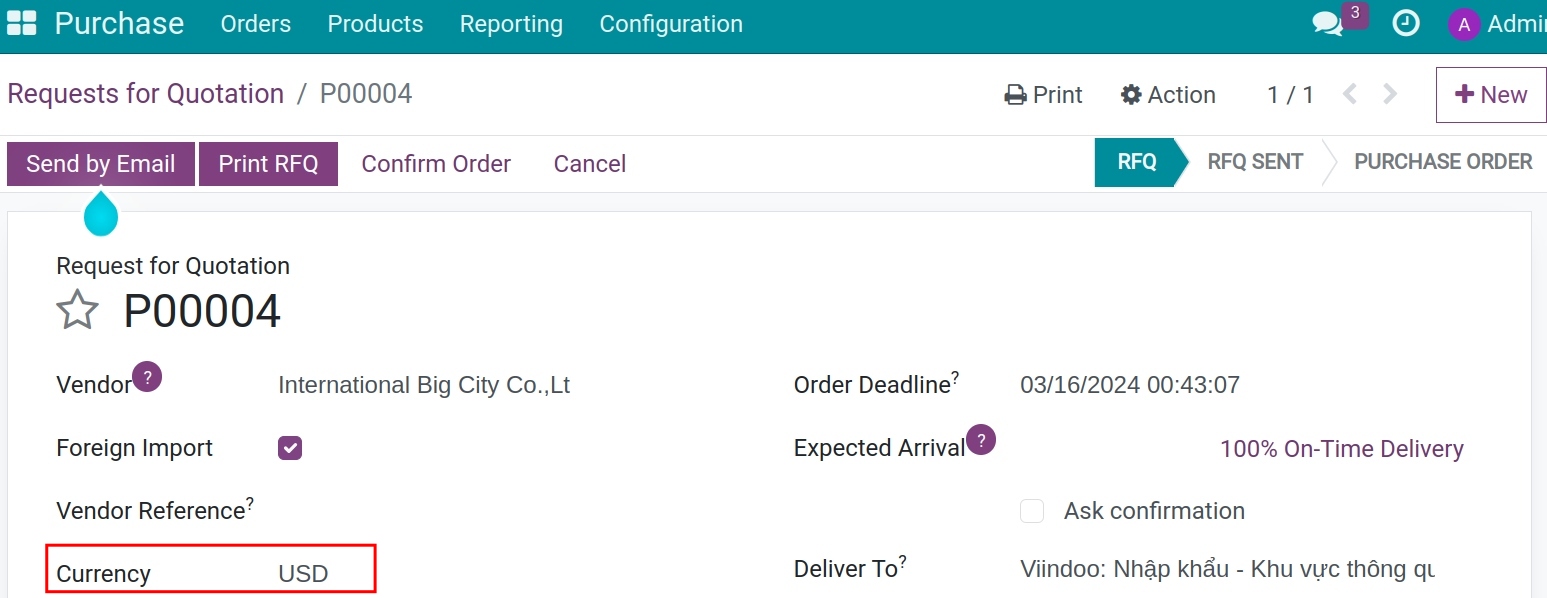
When the Multi-currencies feature is activated, you can set the default currency for each vendor by navigating to Purchase ‣ Orders ‣ Vendors, choose the vendor and move to the Sales & Purchase tab, choose the default currency at Supplier Currency field. Or choose directly at the purchase order of that vendor:

Set up taxes for each product
When importing, depending on each product, you will need to set up importing taxes, special consumption taxes, environment taxes, etc. You can refer to the Apply import/export taxes to products article for more information.
You can configure the default import taxes of each product by navigating to Purchase ‣ Products ‣ Products, find the product needs to be configured, stay on the General Information tab, find the Foreign Importing Taxes field and select the taxes that should be applied when importing this product. A new product receives the default import taxes of the company:

Note
The customs taxes become part of the cost of the goods through landed costs, which need a perpetual valuation. The category of an imported product must have the Costing Method First In First Out (FIFO) or Average Cost (AVCO) and the Inventory Valuation Perpetual (at invoicing). You set them in Purchase ‣ Configuration ‣ Products ‣ Categories. Otherwise the transfer of the product cannot be declared.
Imports Process
Import Purchase orders
To create a purchase order for importation, navigate to Purchase ‣ Orders ‣ Purchase Orders then add all the information similar to when you create a normal purchase order. However, on the purchase order view, you need to pay attention to the following fields:

Foreign Import: Is automatically checked if the vendor above is a Foreign Trade Partner;
Deliver To: The Import - Custom Zone operation type of the warehouse is set as the first delivery location by default. In case your company has various import custom warehouses, you need to choose the operation type again;
Incoterm: On the Other Information tab, select the suitable Incoterms from the list.
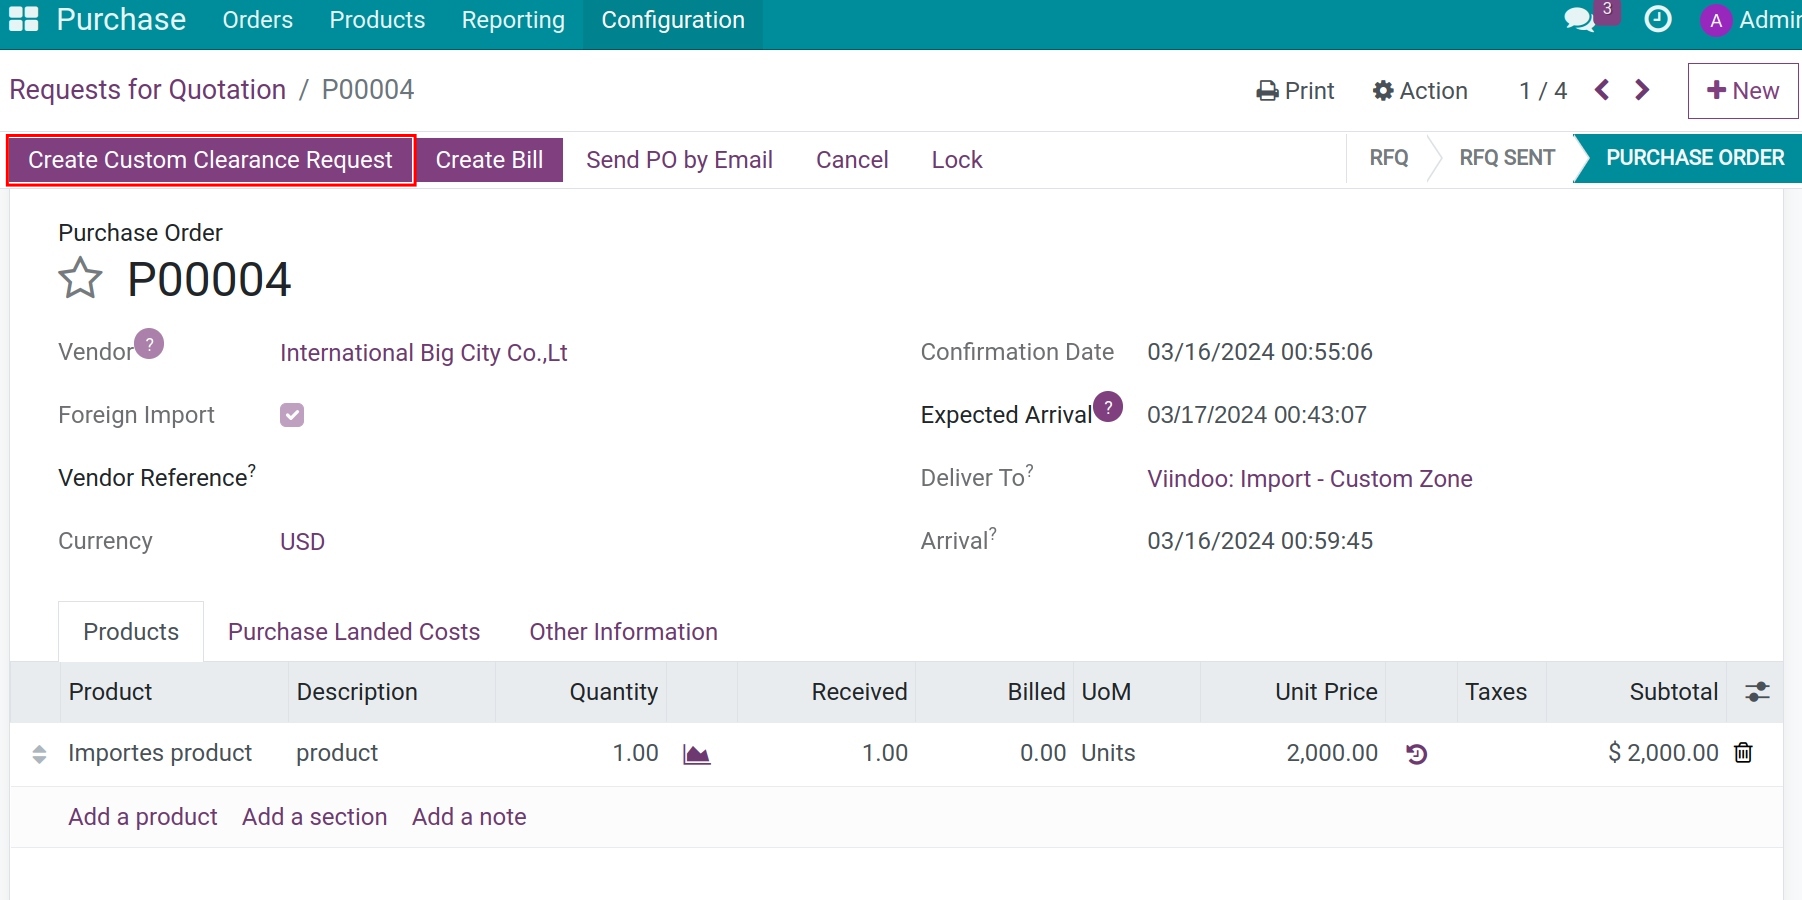
Once Confirm Order is pressed, on the purchase order view, the Create Customs Clearance Request button will appear to create an import declaration form for this order:

Warning
On the purchase order for the importation, you don’t need to declare the applicable taxes on the purchase order, only do this on the custom clearance request. The taxable value on the import declaration form will be calculated by the value of this order.
Payments
For payments related to import transactions, they are similar to regular payments; however, the key difference is that they are made in foreign currency. Therefore, you will need to enter the exchange rate on the payment date before proceeding to create the bill and the payment for the import order.
To input the exchange rate, please see the article of Exchange rate.
The Purchasing Staff will create a draft bill from the import purchase order.
The Accountant will validate the bills and make payments.
Note
If the exchange rate on payment is different from the exchange rate on the bill date, the system will generate the difference journal entries automatically to make sure the partner debts are accurate.
Customs rate and vendor bill rate
When the order is in a foreign currency, the Currency Rate field of the customs clearance request shows the rate to your currency on the clearance date. You can correct it while the request is a draft, and the taxes follow it. The goods are valued at the transaction rate of the vendor bill. The customs clearance request adds only the customs taxes that are not VAT and the extra expenses, through landed costs, and it books no exchange difference between the customs rate and the rate of the bill: the exchange difference between the bill and the payment of the supplier is booked by Accounting when you pay the supplier.
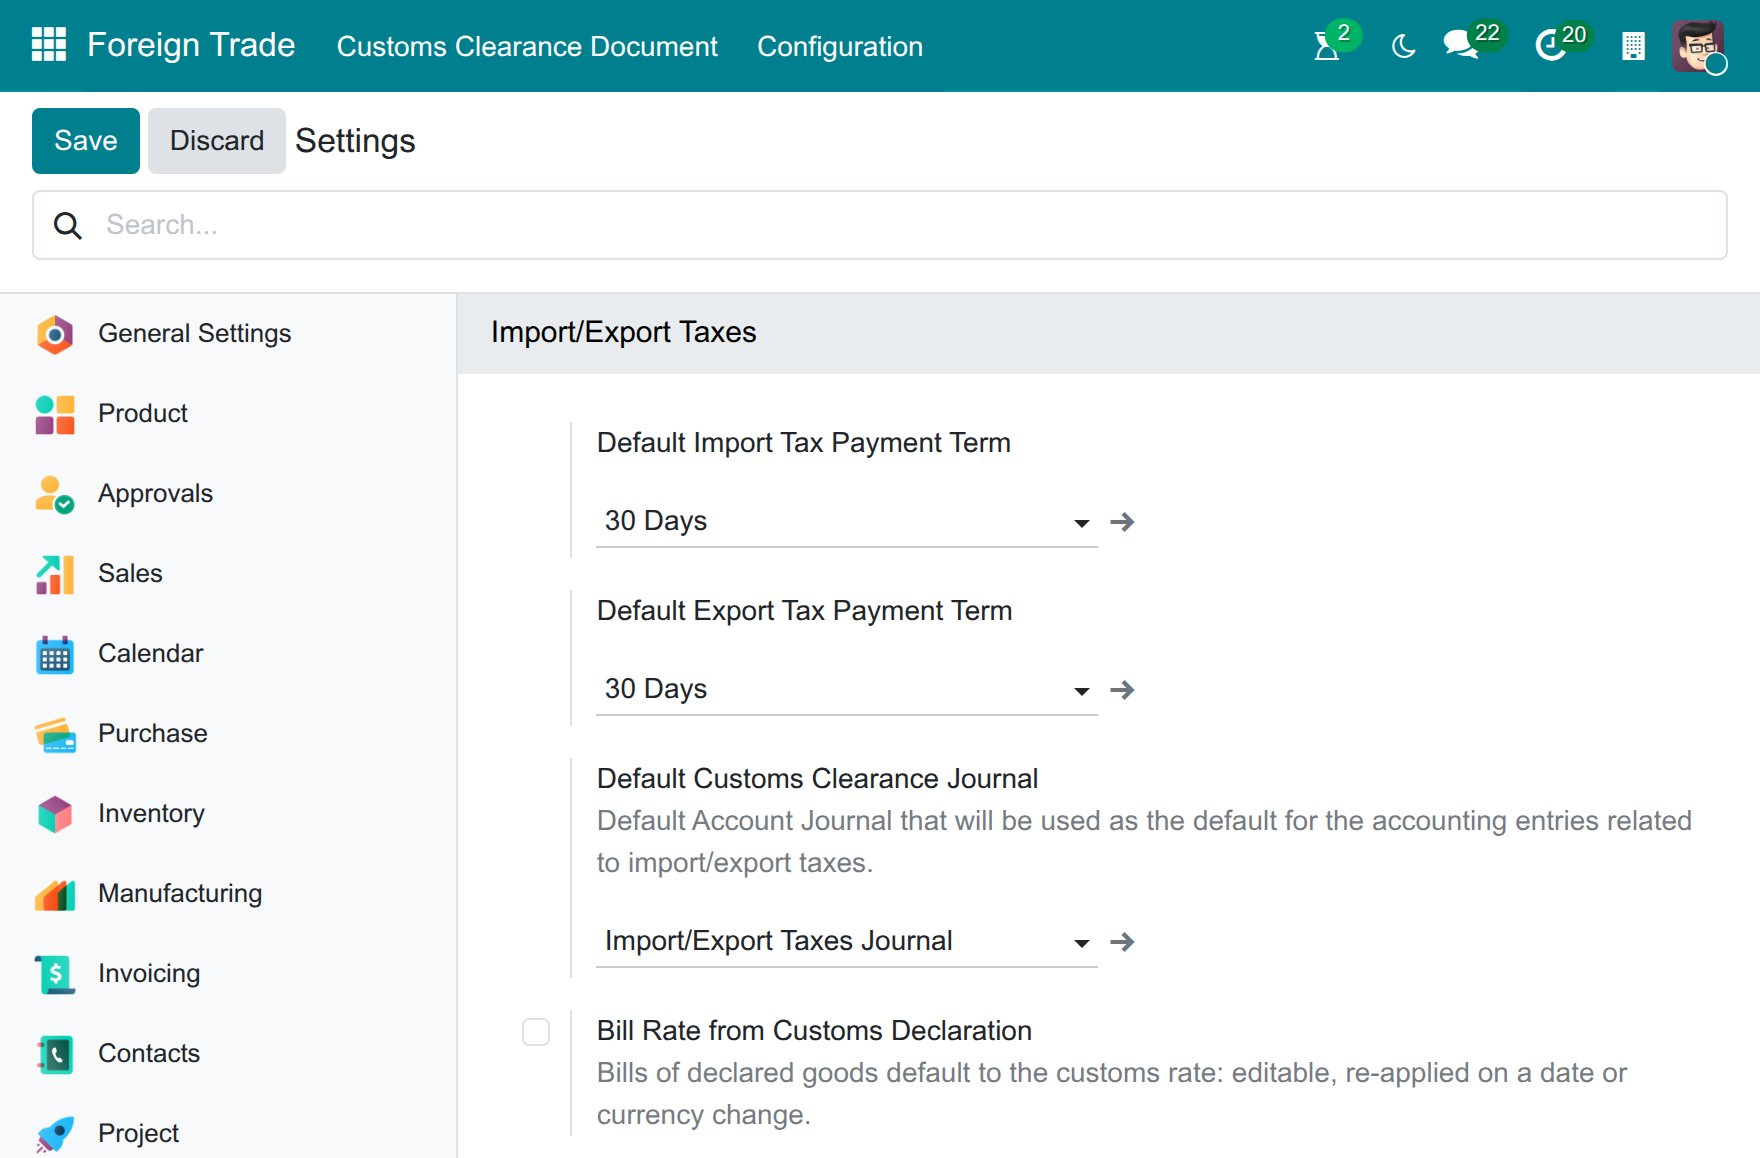
To make the customs rate the starting rate of the vendor bills, open Foreign Trade ‣ Configuration ‣ Settings, tick Bill Rate from Customs Declaration and click Save. A draft vendor bill of declared goods then takes the customs rate; you can still edit it, and it is applied again when you change the bill date or the currency. The option is off by default.
Receiving stocks at custom zone
When stocks are delivered to the custom zone, the warehouse employee is responsible for validating the delivery by navigating to Inventory ‣ Operations ‣ Transfers ‣ Receipts:

Remove the default filter, and then use the filters to search for the order receipt. The receipt goes from the vendor to the custom zone and is in the Ready status. Open it and press Validate:

The system then generates the second transfer, from the custom zone to the stock warehouse:

Transfer from vendor to custom zone: In the Done status;
Transfer from custom zone to stock warehouse: In the Ready status, but it cannot be validated until the import customs clearance request of the goods is confirmed.
Note
Once the customs clearance request is confirmed, the warehouse employee will validate the transfer from the custom zone to the stock warehouse to finish the import process.
Customs Clearance Management
After the receipt is validated, you can press the Create Customs Clearance Request button on the purchase order or on the receipt to create the import custom clearance request. You can also open Foreign Trade ‣ Customs Clearance Document ‣ Import Customs Clearance Request and press New.
On this view, add the following information:
General information:
![General information on custom clearance request - Viindoo foreign trade app]()
Customs Authority: Choose a custom authority as the recipient. The system remembers it for the next requests;
Internal Reference: The customs clearance request number that the system generates for internal tracking;
Tax Payment Term: The payment term applied to the taxes of the request;
Customs Doc. Number: The number on the custom clearance request;
Purchase Orders: The Purchase order will be automatically filled in here, in addition, you can add other purchase orders of the same vendor that need to be declared in this import custom clearance request;
Transfers: The respective transfers of the declared purchase orders above;
Vendor Bills: Select the respective vendor bills of the purchase orders;
Request Date: The import custom clearance request creation date on the system;
Clearance Date: The date customs clear the goods;
Customs Clearance Journal: Record import and export journal entries. The Import/Export Taxes Journal will be used by default, but you can use other journal to track the activities;
Currency: Automatically use the purchase order currency. When the order is in a foreign currency, the Currency Rate field shows the rate to your currency on the clearance date.
Operations information:
![Product information on the import custom clearance request - Viindoo foreign trade management]()
The product information is inherited from the receipt of the declared purchase order above.
Product;
Quantity;
UoM;
Taxes;
Unit Price;
Subtotal.
Besides, there are other fields such as:
Expense: Record the costs created during the import process (landed cost) that you declared on the Extra Expenses;
Taxable Value: The value that is being used to calculate the taxes amount. This value is equal to (Subtotal + Expense) * Currency Rate.
Extra Expenses:
Here is where you can declare the list of extra expenses of the import transaction. To add it, click on Add a line to add the following information:![Extra expenses on the import custom clearance request - Viindoo foreign trade management]()
Related Cost Journal Item: Choose the journal item of extra expenses that be declared on vendor bills; without a bill, you only choose the product of the expense;
Product Expense: The service product of the expense;
Applied Products: Select products that incur the chosen landed cost, leave it empty to apply the expense to all the products;
Expense Amount: The value of the landed cost, it will come from the related cost journal items;
Split Method: Select one of the three split methods that the system supports: By Quantity, Equal, and By Taxable Value.
Then press on the Allocate Expenses button to allocate the landed cost to the taxable value of the corresponding purchase order.Taxes Computation:
Taxes Computation tab: See the taxes list and the respective value of each type applied to a determined product in each order as well as the total tax payable for the whole request.
![Calculate taxable value on the custom declaration form - Viindoo foreign trade app]()
Tax Groups tab: To view the list of applied tax groups and the total taxes amount of each one.
![Tax groups - Viindoo foreign trade management]()


After adding all the required information to the request form, press Open at the top of the custom request view. The request is then Waiting Confirmation by Custom.
Import Expenses Control
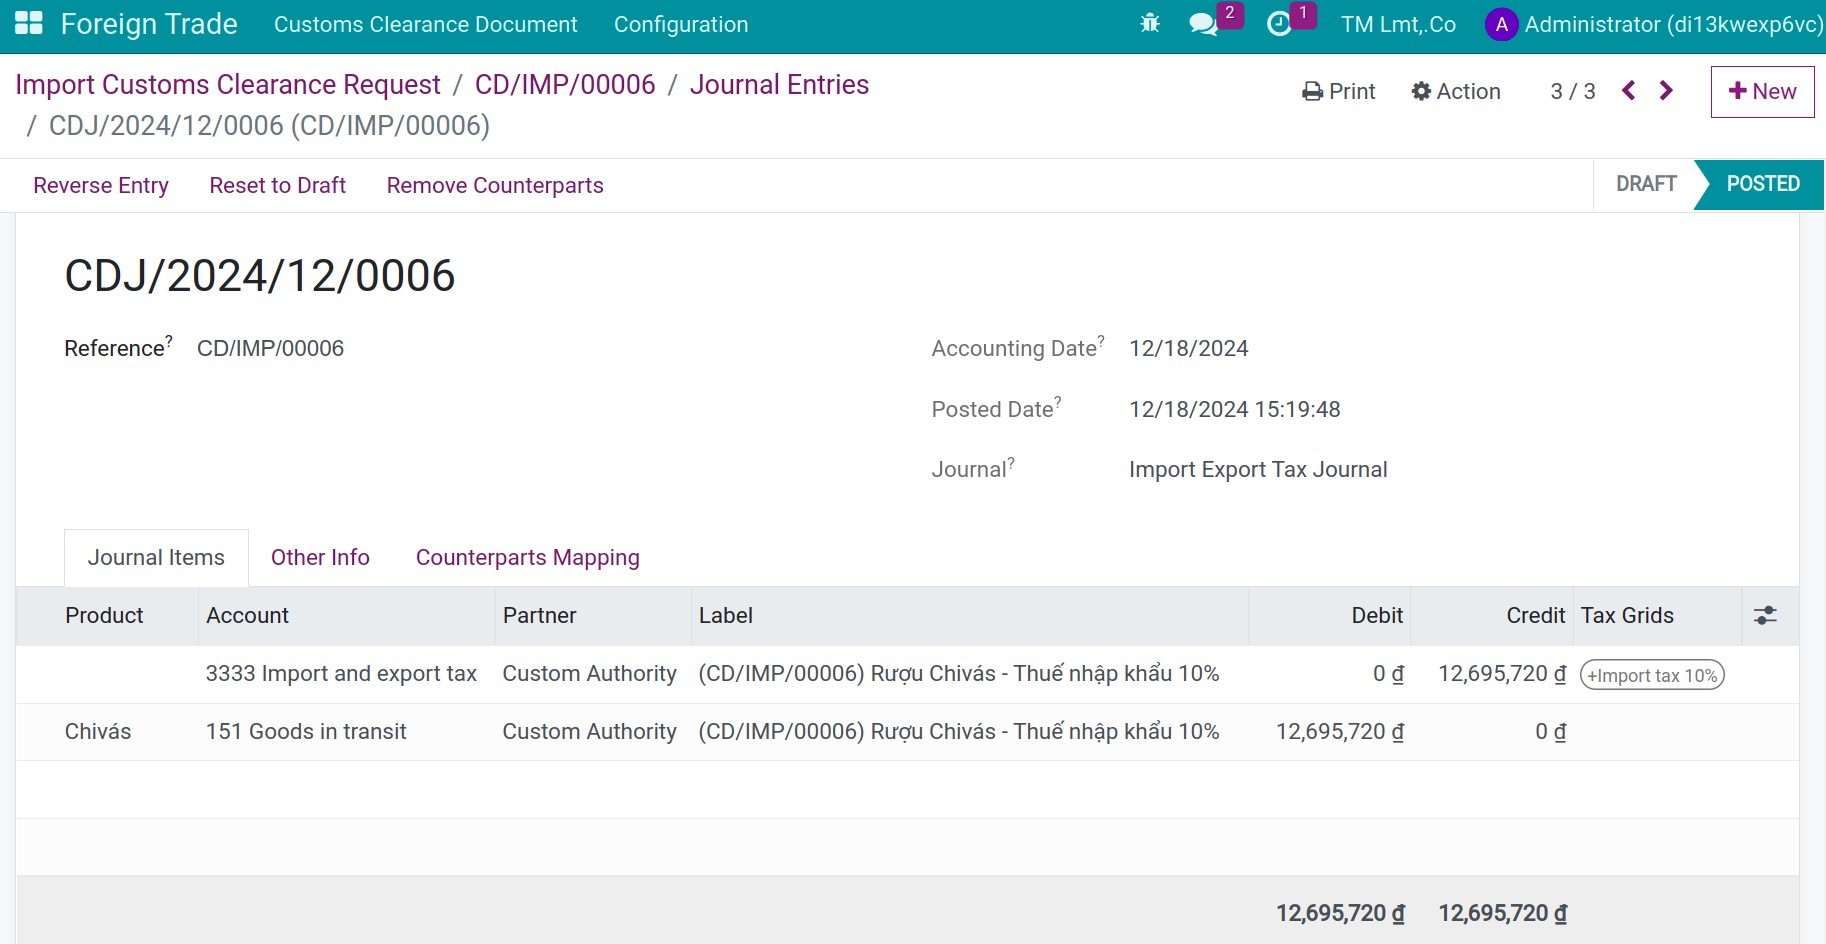
When customs accept the request, you press the Confirm Customs Clearance button. The system posts the journal entries of the taxes and creates the landed costs, which you open with the Journal Entries and Landed Cost buttons of the request. The request is then Confirmed by Custom.

The journal entries of taxes such as import tax, excise Tax or VAT for import goods, etc: one journal entry for each tax, in the Import/Export Taxes Journal;
![Journal items of the import tax entry]()
![Journal items of the VAT entry for import goods]()
The landed costs for allocating value to the goods’ valuation:
The value of the import taxes that are not VAT and of the extra expenses will be allocated to the goods valuation. The VAT is not added to the value of the goods, since it is deductible. The landed costs are created and posted by the system.![Landed costs of the customs clearance request]()


Taxes payment
When you press on Taxes Payment, a payment window will pop up where you need to add the following required information:

Partner: The custom authority selected on the import custom clearance request is set by default;
Journal: Select a bank or cash journal;
Payment Type: The payment method of the journal;
Amount: The payment amount stated on the Taxes Computation tab;
Payment Date: Choose a taxes payment date;
Memo: The taxes payment description.
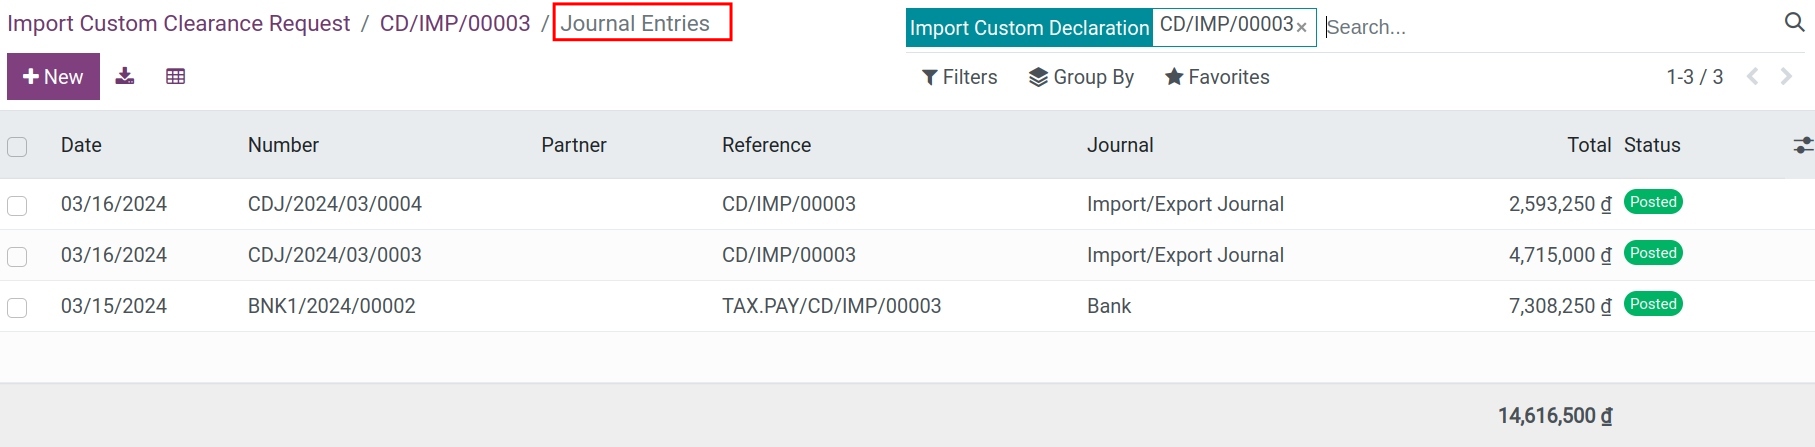
Press Pay. The request becomes Done. Press the Journal Entries button of the request, then open the payment entry to view the details of the payment:
See also
Related article
Optional module