
Contacts app: overview and configuration
The Viindoo Contacts app is the single list of every customer, vendor, bank, authority and other partner your company deals with. Sales, Purchase, CRM, Inventory, Accounting, Employees, Project and the other apps all use this list, so each contact is entered once and reused everywhere. To set it up: install Contacts in Apps, decide who may create contacts with the Creation right of Contact, then prepare the shared lists (tags, industries, countries, banks) in Contacts ‣ Configuration.
Who |
An administrator (the Configuration menu and access rights are visible to administrators only). |
App |
Contacts, Settings |
How do I install the Contacts app?
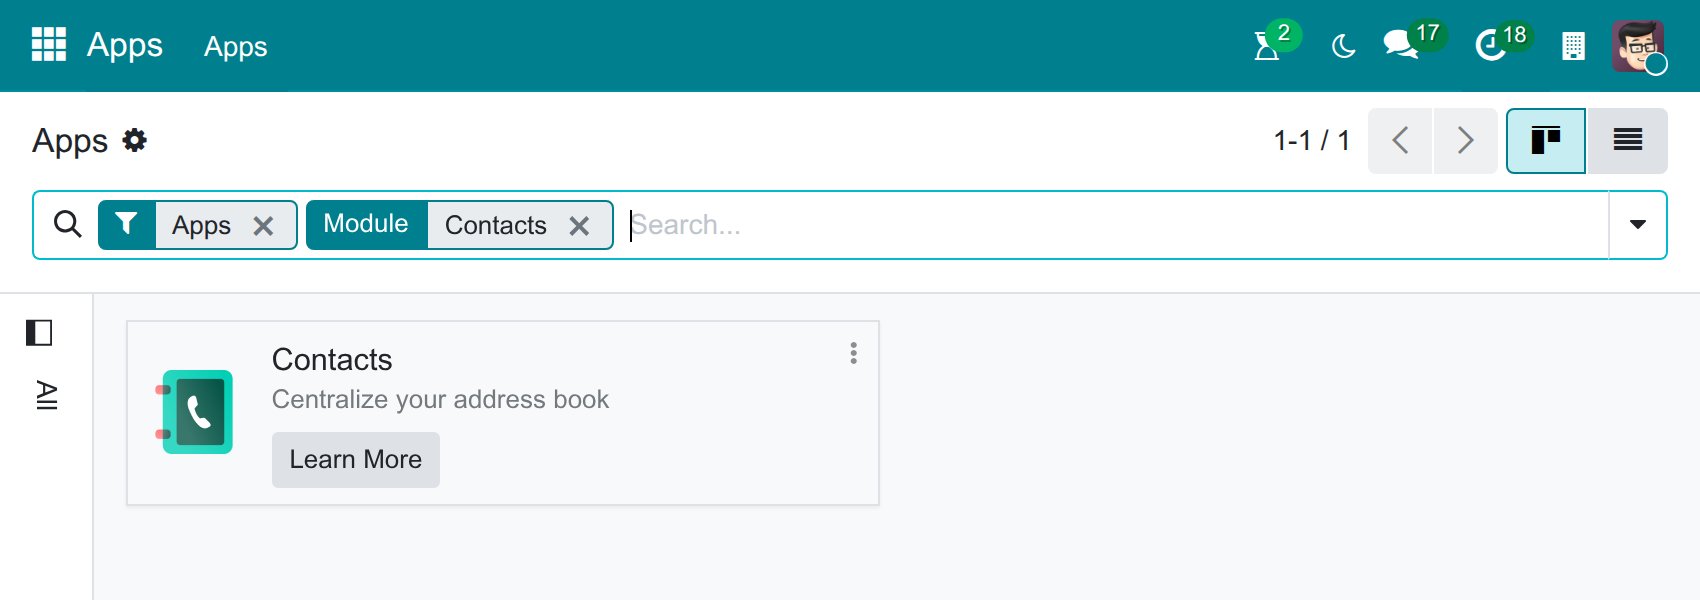
Go to Apps and search for Contacts. If the Contacts card shows Activate, click it; an app that is already installed shows Learn More instead.
![Contacts app card in the Apps menu]()
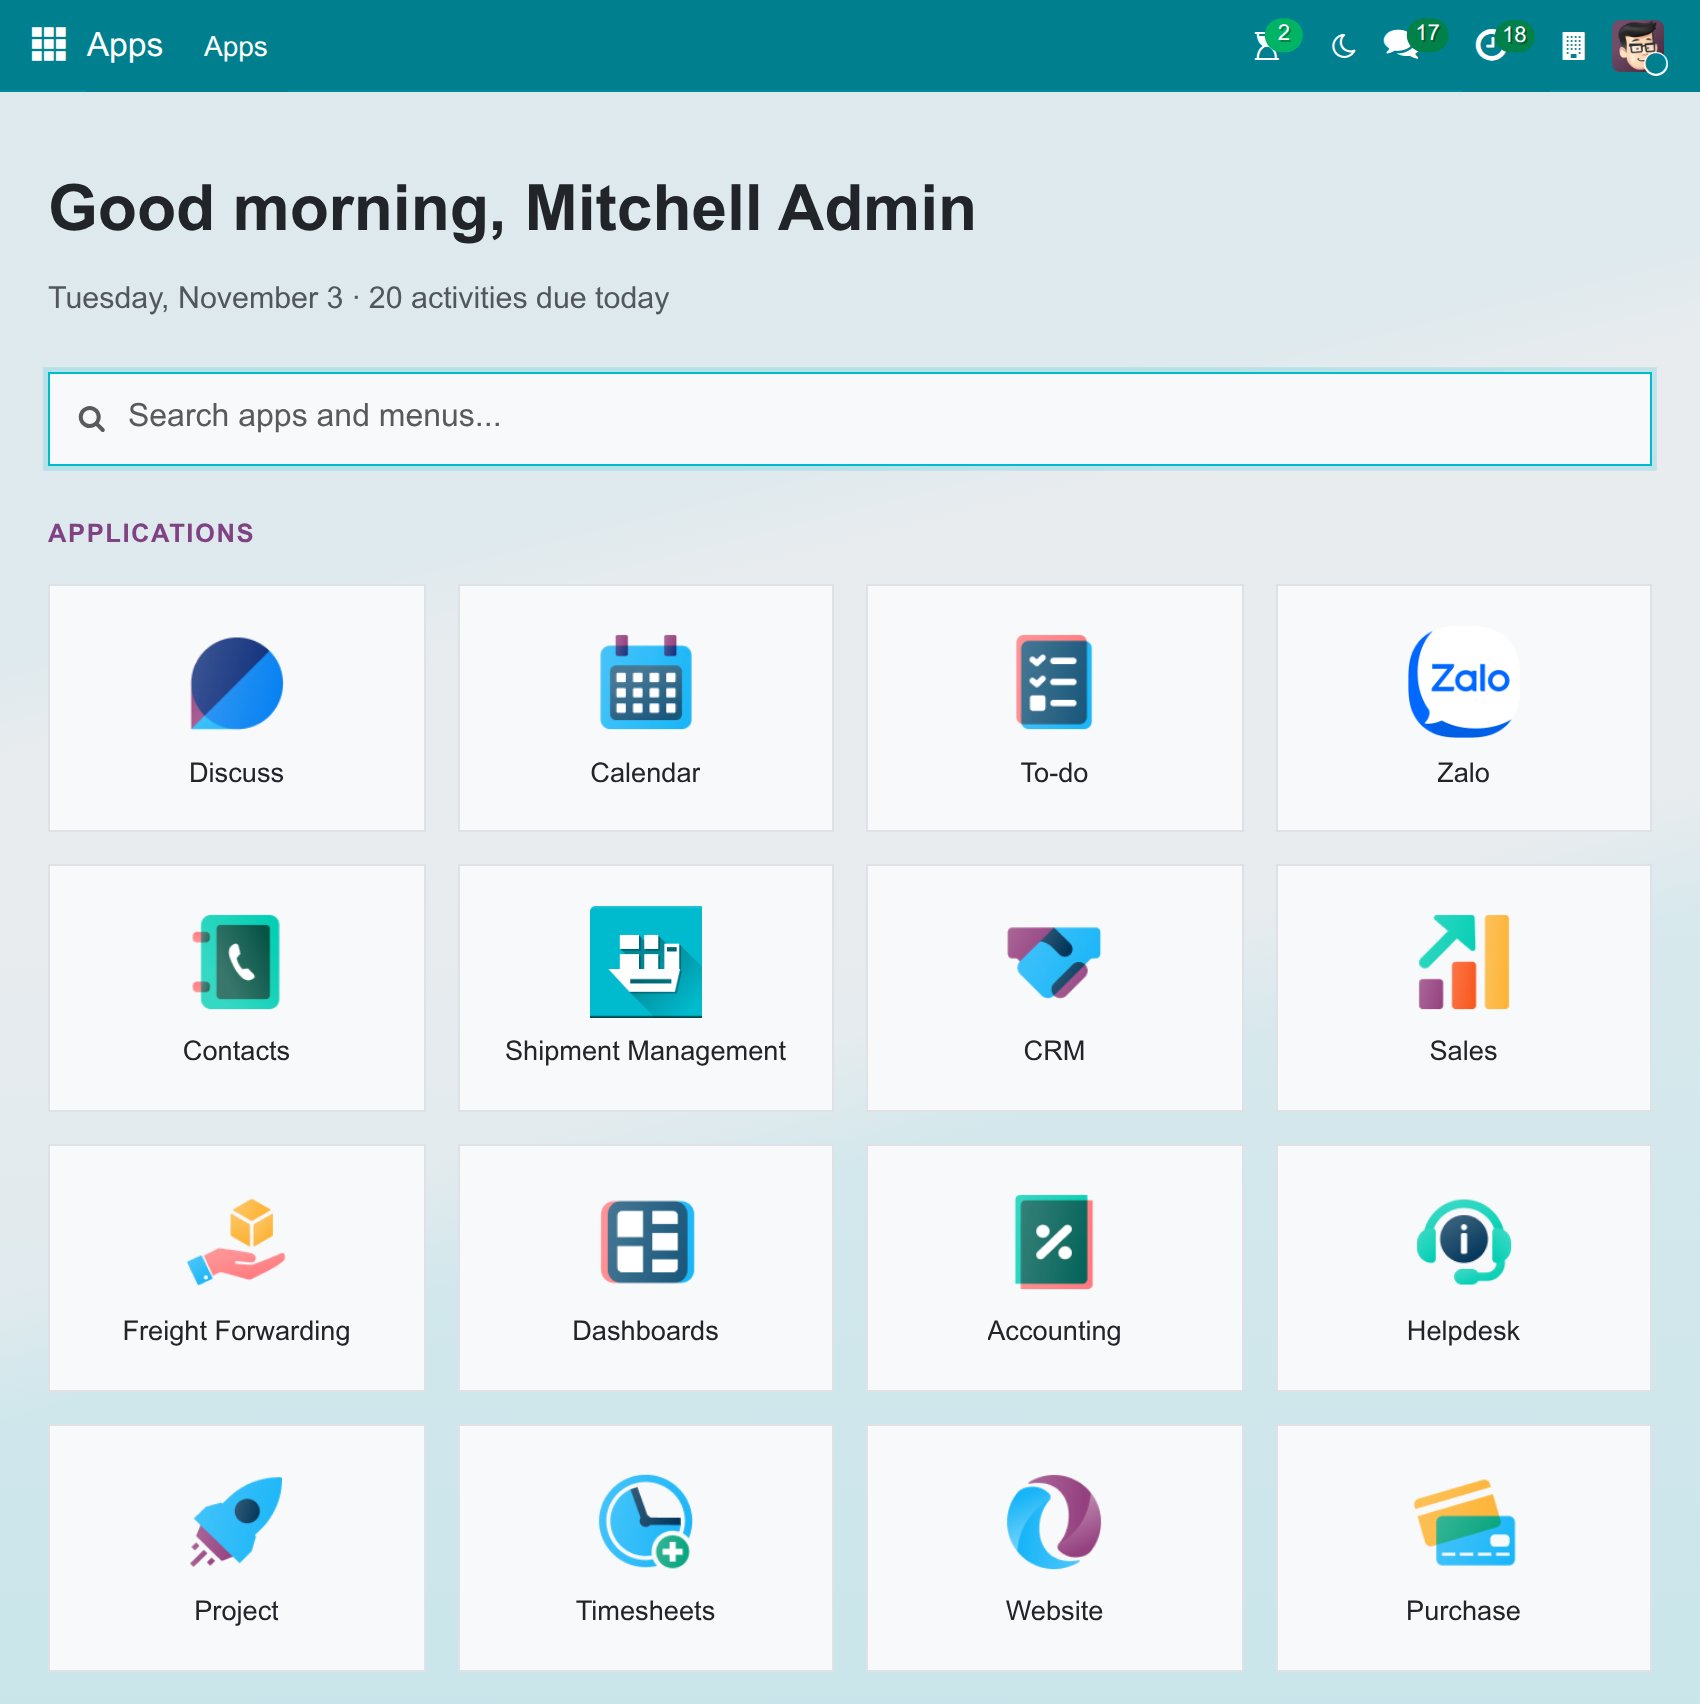
When the installation is done, Contacts appears on the home screen.
![Viindoo home screen with the Contacts app]()
Note
Installing some apps, such as CRM, installs Contacts at the same time.
Who can create and edit contacts?
Every internal user can view contacts. Users who hold the Creation right of Contact can create, edit, archive and delete them (administrators of apps such as Purchase and Inventory can also create and edit).
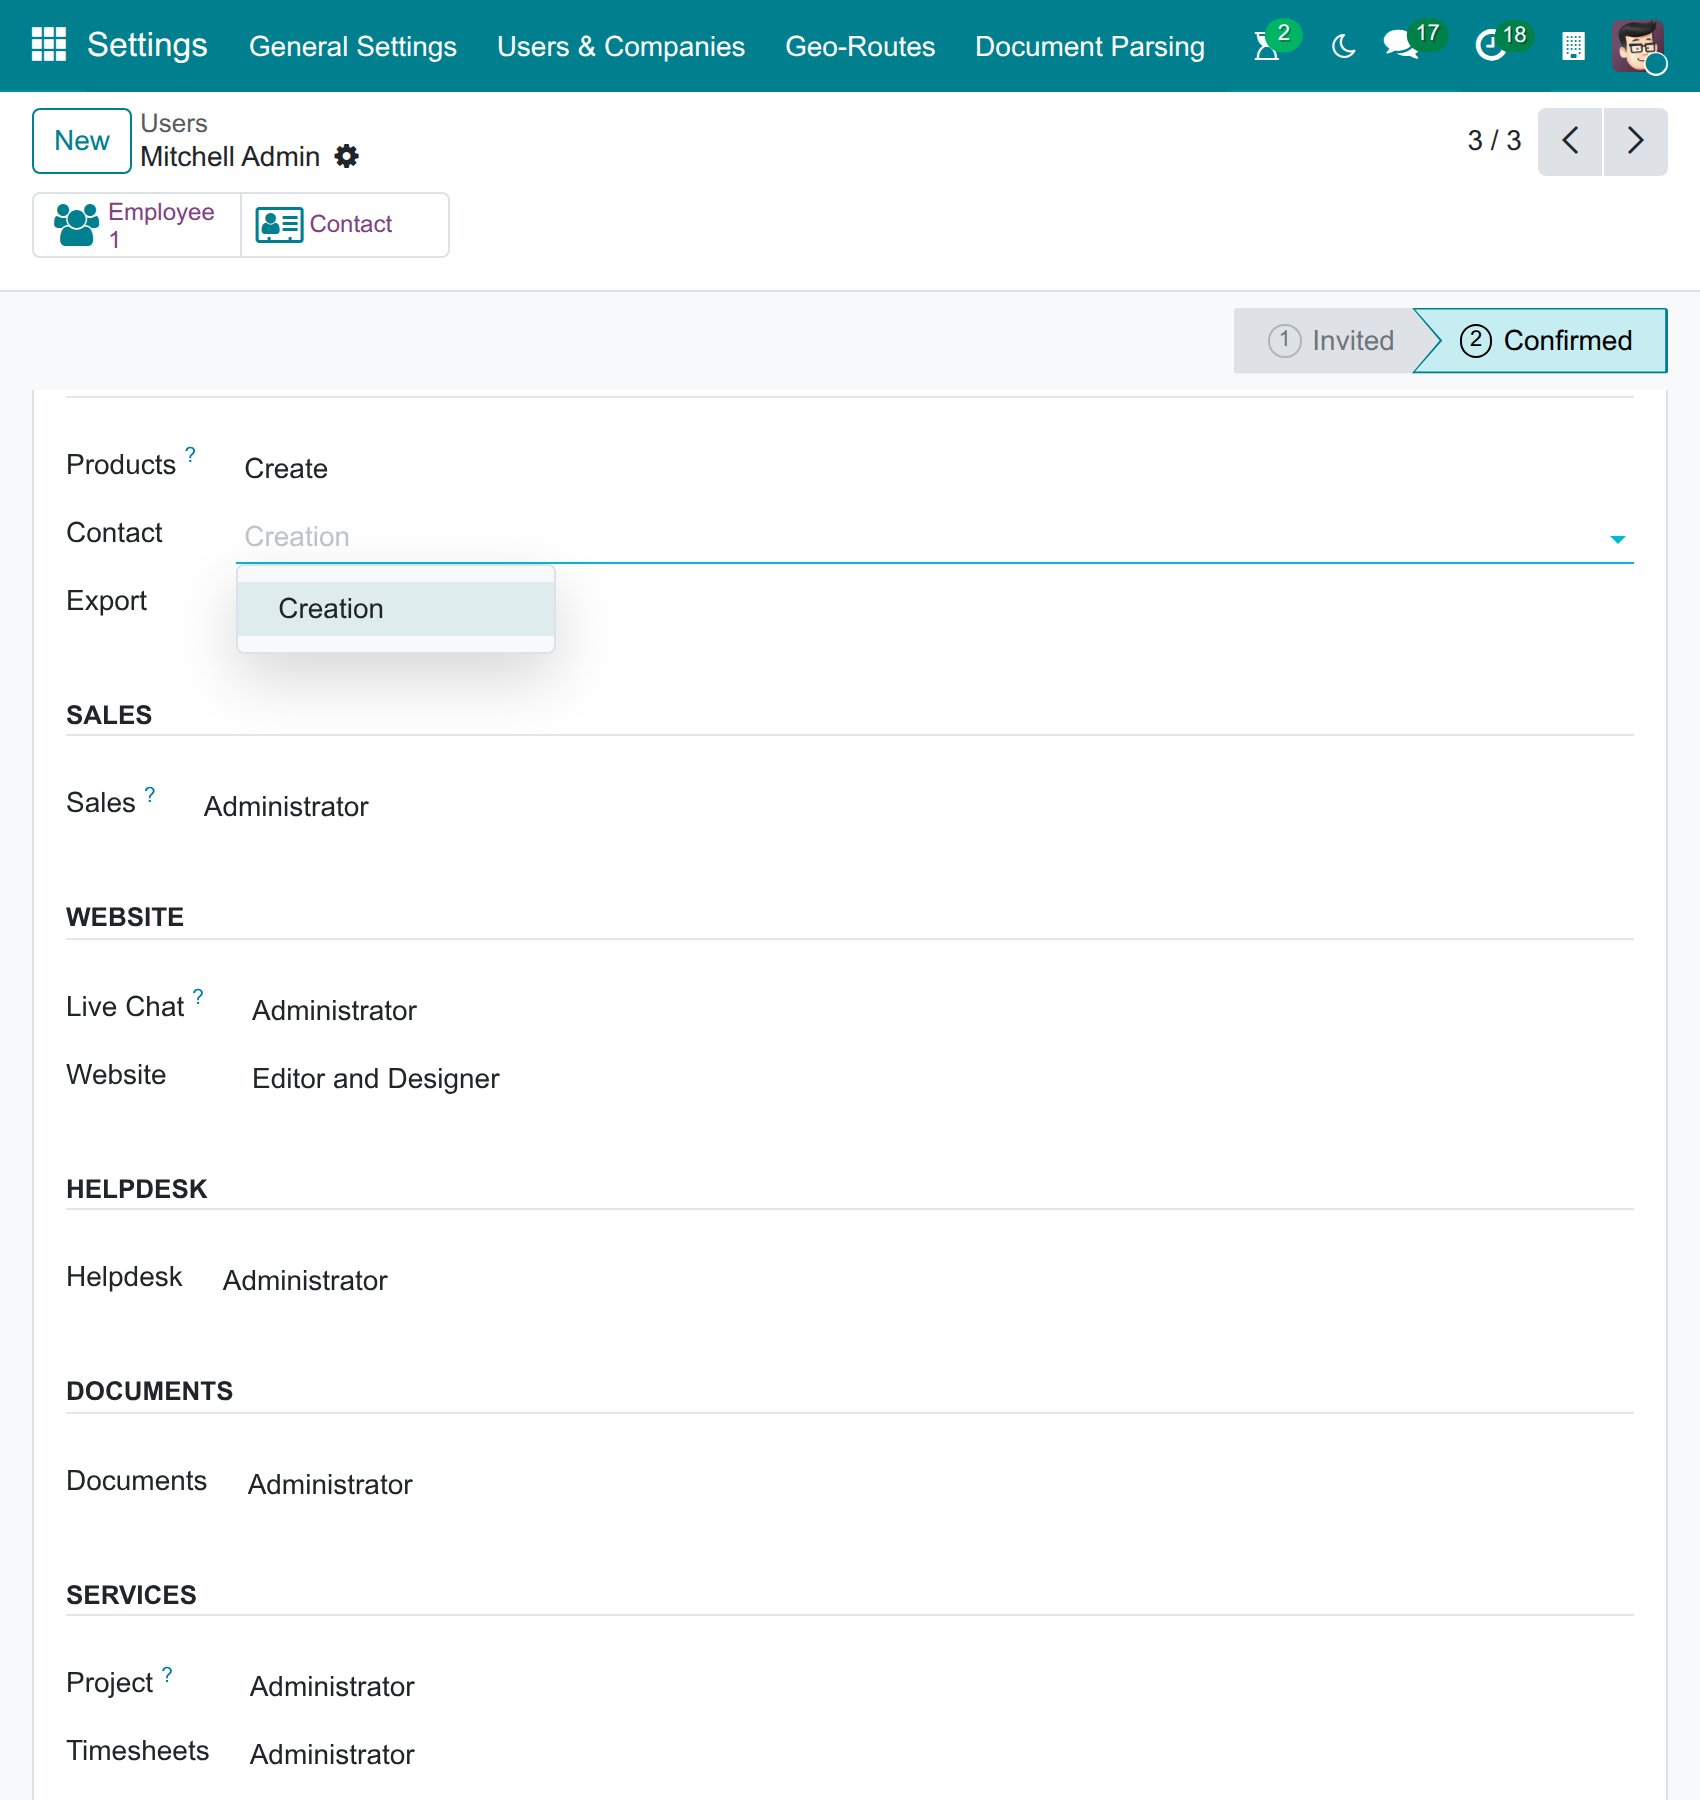
Go to Settings ‣ Users & Companies ‣ Users and open the user.
In the Access Rights tab, under Master Data, set Contact to Creation.
![Contact option set to Creation in the Master Data rights of a user]()
Tip
If your company has no strict rule on who creates contacts, give this right to everyone who sells or buys, so that contacts do not have to wait for a few people.
What can I configure in the Contacts app?
Go to Contacts ‣ Configuration. The menu is visible to administrators only.

Menu |
What it holds |
|---|---|
Settings |
Optional contact features you can activate (see Which optional features can I activate?). |
Contact Tags |
Labels to group and filter contacts (see How do I create a contact tag?). |
Industries |
Business sectors used to classify companies. A standard list is created by Viindoo; you can edit it or add sectors. |
Localization ‣ Countries |
All countries of the world, created by Viindoo. |
Localization ‣ Fed. States |
States and provinces of many countries, created by Viindoo. To add one, click New and enter its name, code and country. |
Localization ‣ State Groups |
Regions that group provinces, for example Northern, Central and Southern Vietnam (see How do I group provinces into regions?). Shown when the Country State Group module is installed. |
Localization ‣ Country Group |
Groups of countries (for example ASEAN, EU) to filter contacts or apply a pricelist per region (see How do I create a country group?). |
Bank Accounts ‣ Banks |
The banks your company and contacts use (see How do I add a bank and a bank account?). |
Bank Accounts ‣ Bank Accounts |
The bank accounts of your company and contacts (see How do I add a bank and a bank account?). |
Note
Countries and states are created automatically when the Contacts app is installed.
Tip
You can also create tags, banks and bank accounts directly from the contact form, without opening the configuration menu.
Which optional features can I activate?
Contacts ‣ Configuration ‣ Settings lists optional contact features, grouped in Partner, Partner Check Unique VAT, Partner Shareholder and Partner Business Nature Management, for example partner gender, birthday emails, nationality, multilingual partner names, equity range and the unique tax code check. Tick a feature and click Save to install it.

How do I create a contact tag?
Tags group contacts by any criteria you need (region, customer type, dealer level…). A contact can have several tags.
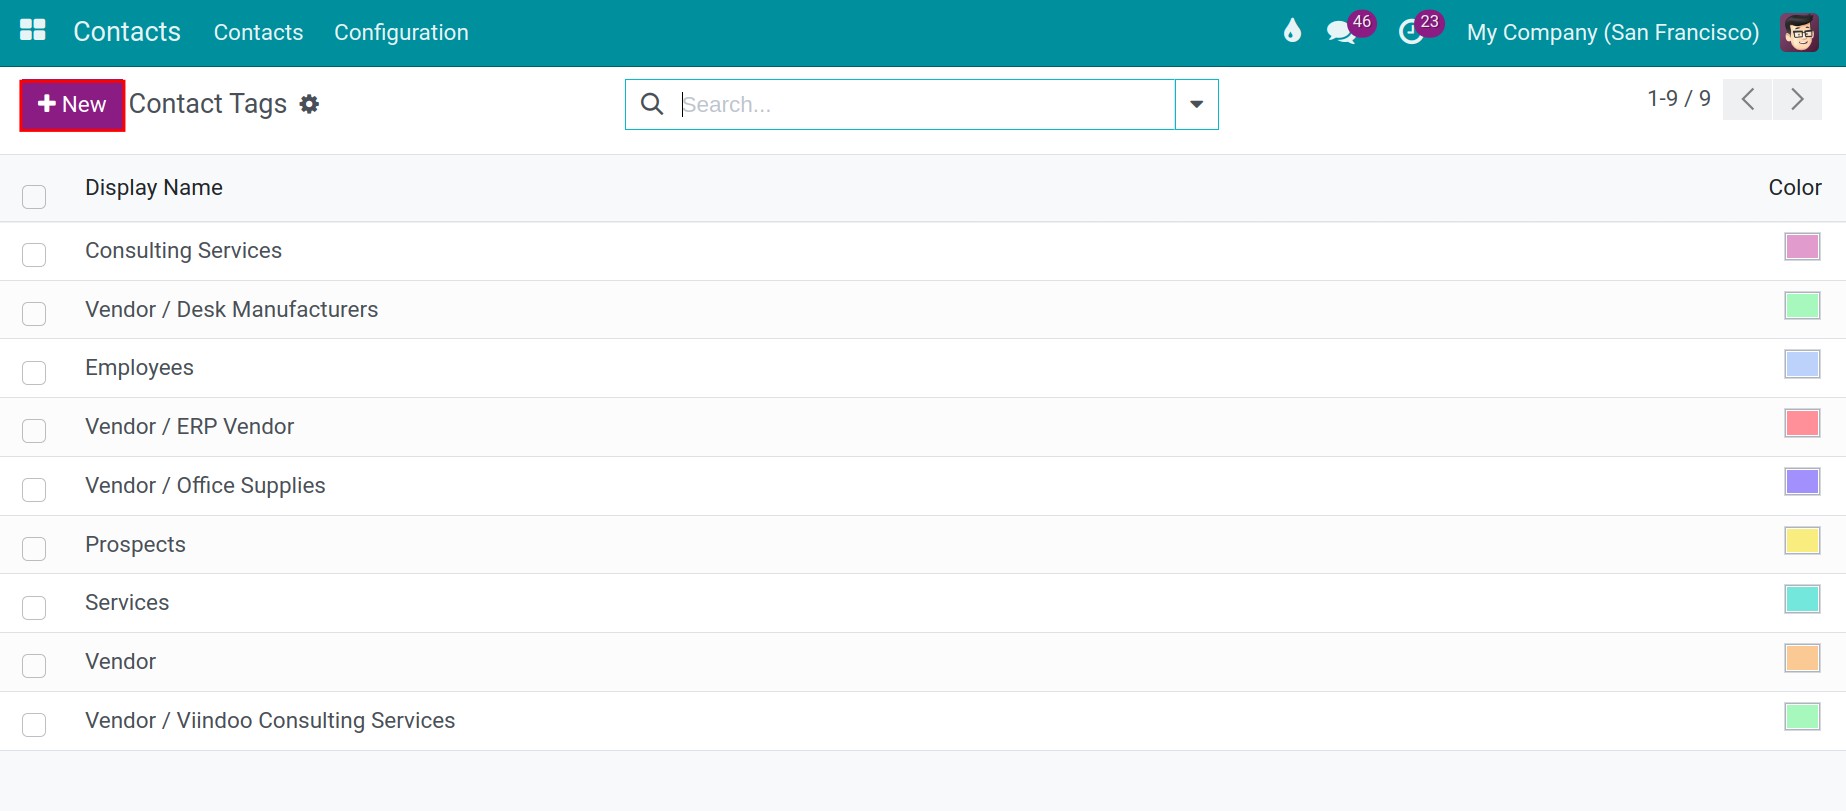
Go to Contacts ‣ Configuration ‣ Contact Tags and click New.
![List of contact tags with the New button]()
On the new line, fill in the tag:
Name: the tag name.
Category: a parent tag, to build a tree of tags (optional).
Color: pick a color circle; it is the color of the tag on contact forms and cards.
![New contact tag line with Name, Category and the color circles]()
Click Save. The tag can now be chosen in the Tags field of contacts.

How do I group provinces into regions?
Regions let you filter, group and report contacts by area, for example to split customers between sales teams. They come with the optional Country State Group module, which also creates the regions of Vietnam. Install it from Apps first: without it, the State Groups menu and the State Group field of contacts are not shown.
Go to Contacts ‣ Configuration ‣ Localization ‣ State Groups and open a region, or click New.
Fill in:
State Group Name and State Group Code.
Parent: the larger region it belongs to, for example Northern Vietnam for Red River Delta.
Country and States: the provinces in the region. A province belongs to one region only.
![State group form with its name, code, parent, country and provinces]()
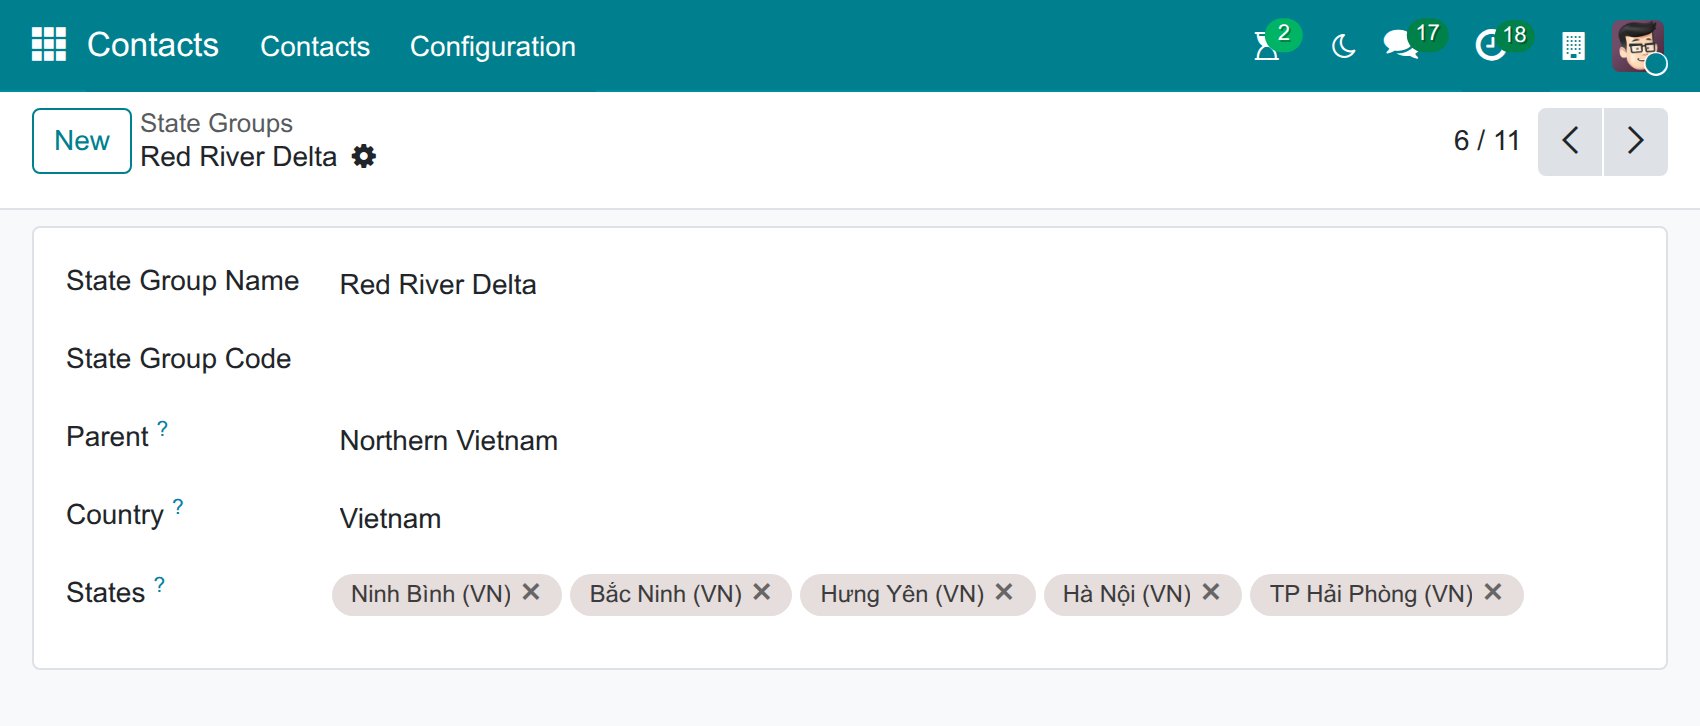
Each contact then shows its State Group from its province, and you can group the contact list by State Group in the search options.
How do I create a country group?
Go to Contacts ‣ Configuration ‣ Localization ‣ Country Group and click New.
Fill in:
Group Name: for example European Union, and its Code.
Countries: the countries in the group.
The table below lists the pricelists used for customers in these countries; click Add a line to add one (see How to set several prices for the same product).
![Country group form with group name and countries]()

How do I add a bank and a bank account?
Go to Contacts ‣ Configuration ‣ Bank Accounts ‣ Banks, click New and fill in:
Name: the bank name.
Bank Identifier Code: the SWIFT/BIC code used for international transfers.
Bank Address, Phone, Email: the bank’s contact details.
![List of banks with name and bank identifier code]()
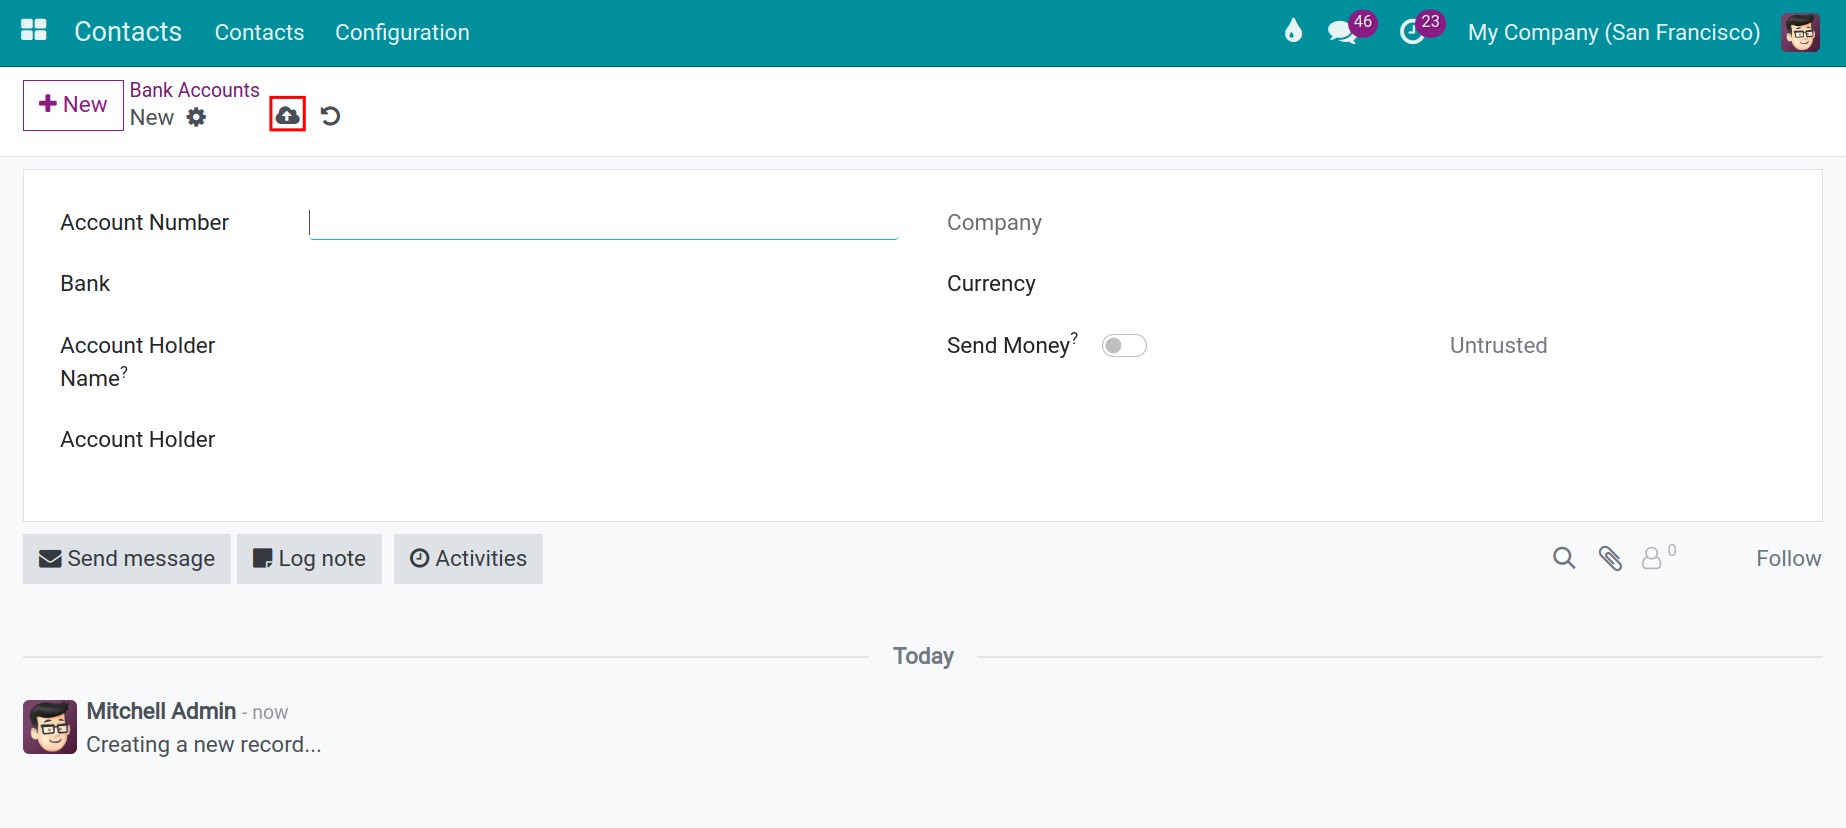
Go to Contacts ‣ Configuration ‣ Bank Accounts ‣ Bank Accounts, click New and fill in:
Account Number: the bank account number.
Account Holder: the contact (or your company) who owns the account.
Bank: the bank of the account.
Account Holder Name: the name registered at the bank, if different from the account holder.
Currency: the currency of the account, shown when several currencies are in use.
Send Money: tick if this account can be used for outgoing payments.
![List of bank accounts with account number, bank and Send Money]()

Note
Bank accounts entered elsewhere (on employee profiles, in the Accounting app…) also appear in this list.
Next steps
How to create a new contact: create your first customers and vendors.
How to find and merge duplicate contacts: keep the contact list clean.
How to archive, restore or delete a contact: archive contacts you no longer use.