
How to connect Viindoo to your own mail servers
To send and receive emails with your own company domain, go to Settings ‣ General Settings, tick Use Custom Email Servers in the Emails section, then create an outgoing (SMTP) server in Outgoing Email Servers and an incoming (IMAP or POP) server in Incoming Email Servers, and set your Alias Domain. Viindoo then sends quotations, invoices and notifications from your domain and attaches the replies to the right documents.
Who |
An administrator, with the connection details from your email provider (server name, port, encryption, username and password). |
App |
Settings |
Before you start
You have a Viindoo instance, see How to sign up and create your Viindoo instance.
If you use Viindoo SaaS, email servers are already set up: you only need to change the Alias Domain if you want to use your own domain.
How do I set up an outgoing mail server?
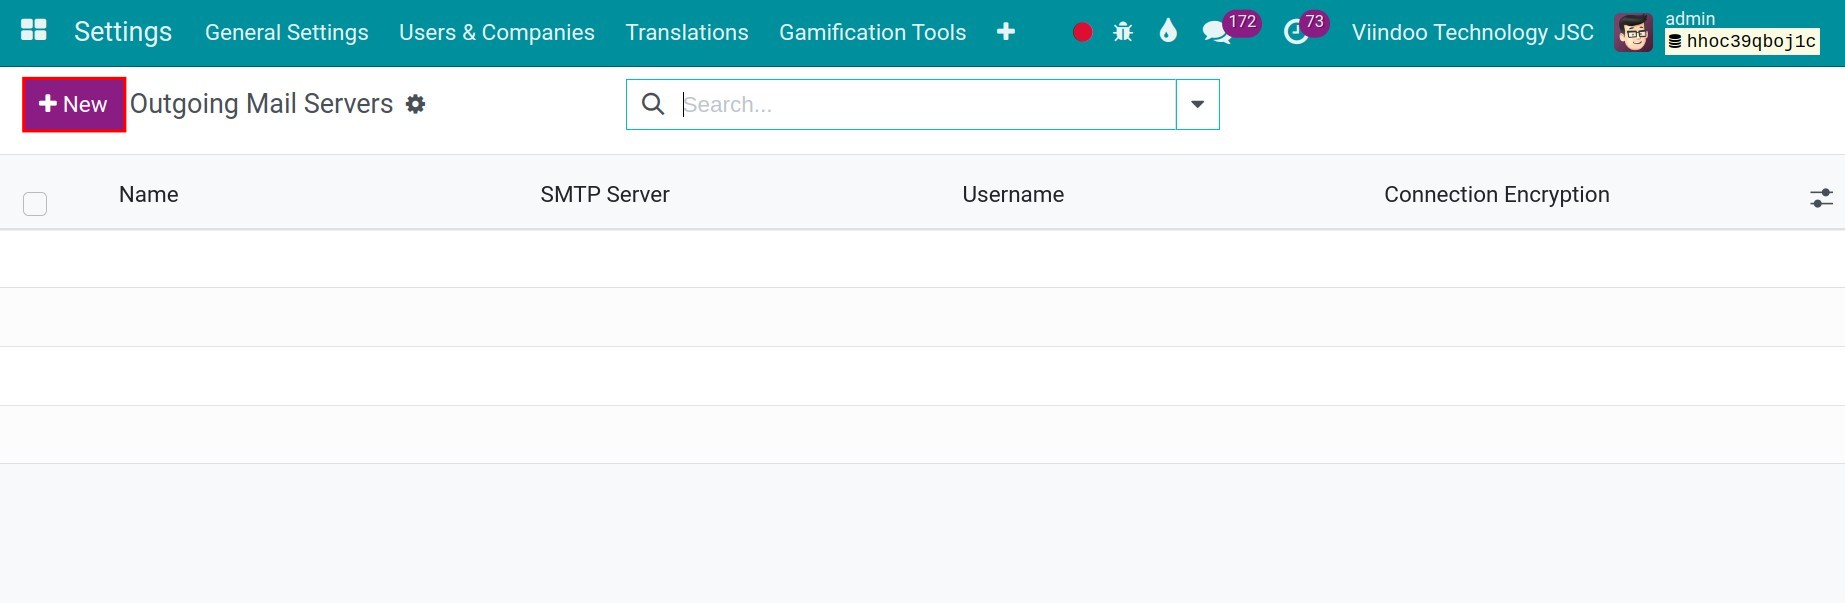
Go to Settings ‣ General Settings, tick Use Custom Email Servers in the Emails section and click Outgoing Email Servers. In developer mode you can also use Settings ‣ Technical ‣ Email ‣ Outgoing Mail Servers.
![List of outgoing mail servers with the New button]()
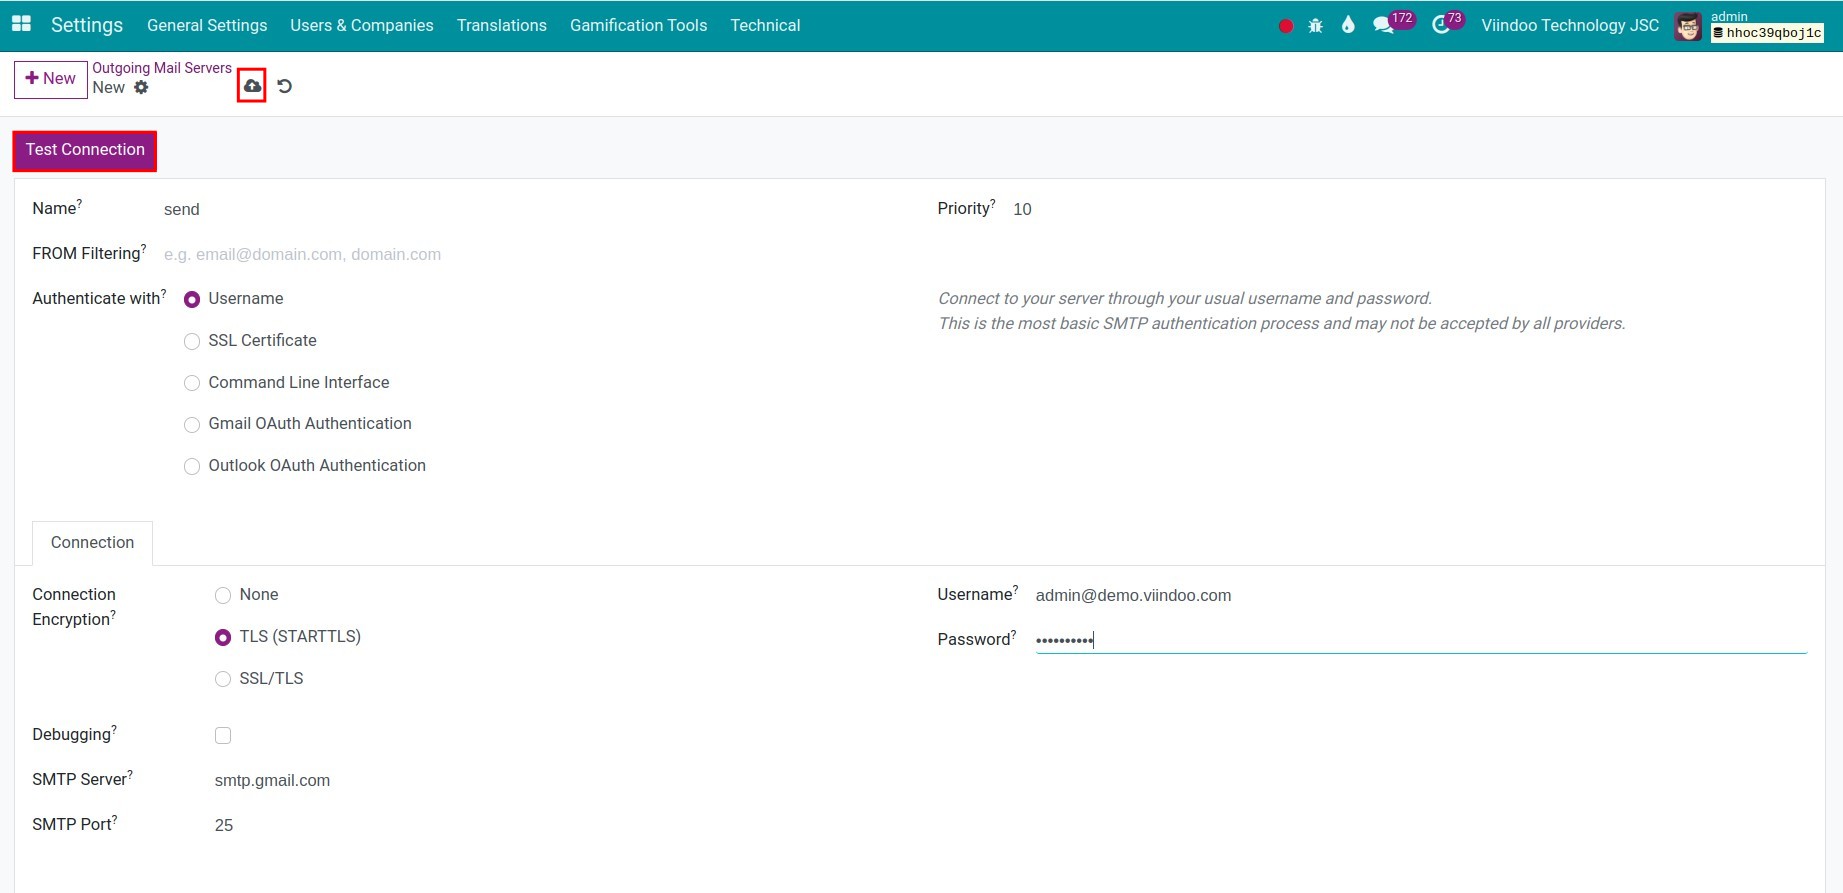
Click New and fill in the fields described in Which outgoing server fields do I need?.
![Outgoing mail server form with name, FROM filtering, authentication, connection encryption, SMTP server and port]()
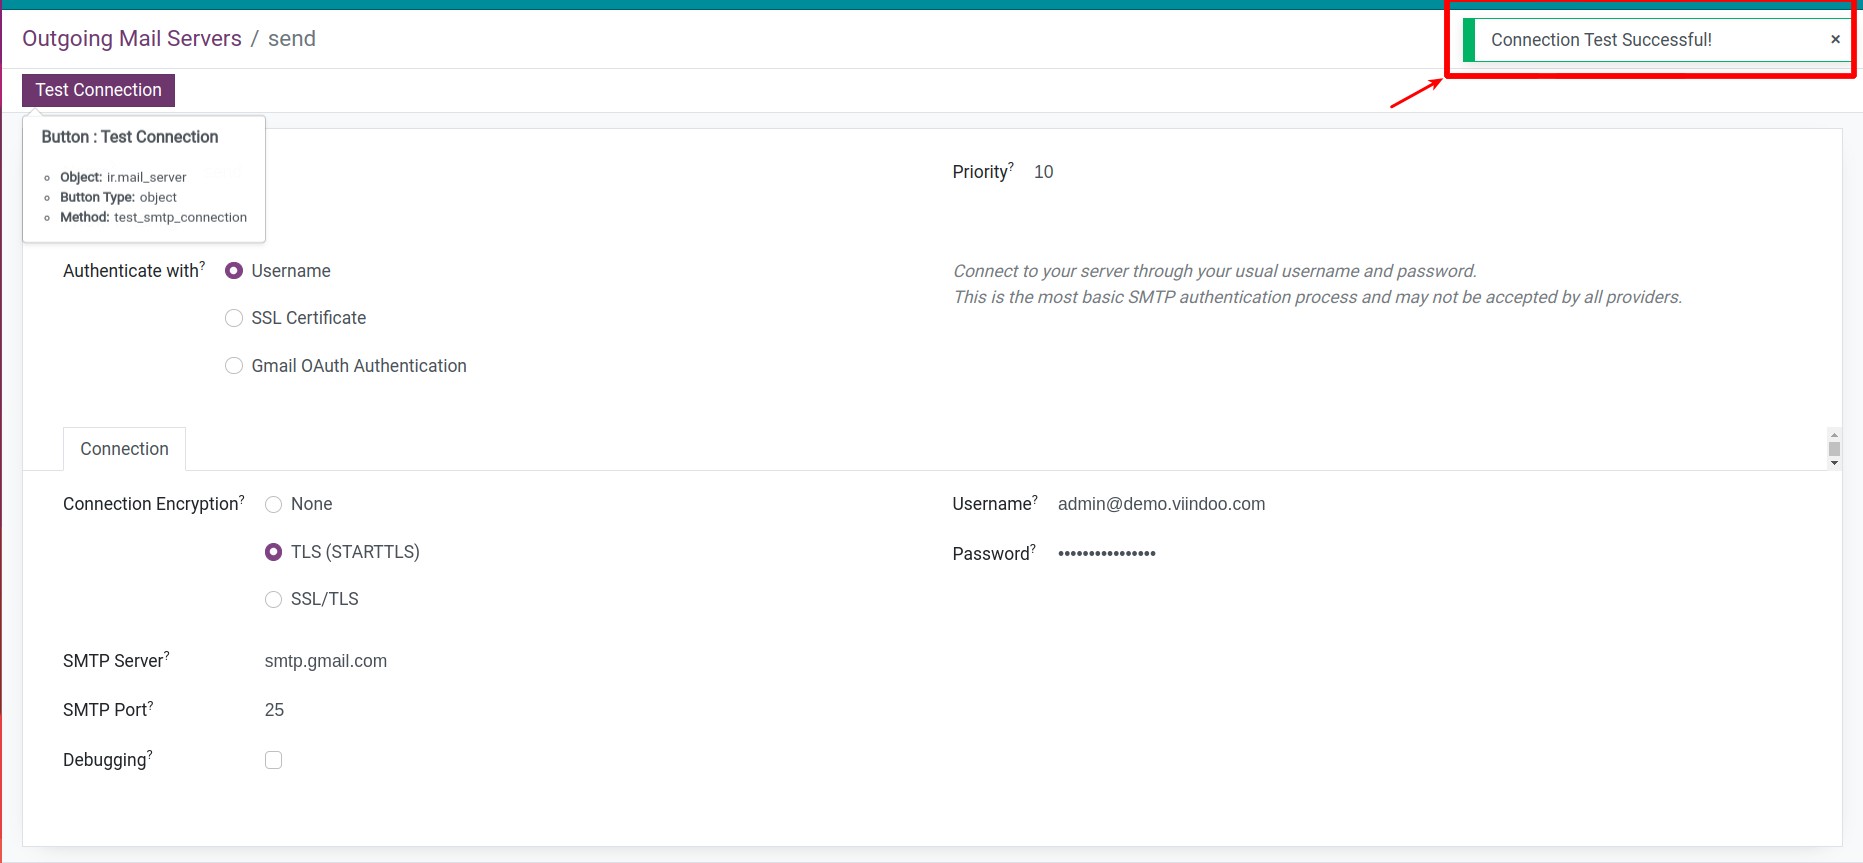
Click Test Connection. If the details are correct, Viindoo shows Connection Test Successful!.
![Connection Test Successful message]()
Which outgoing server fields do I need?
Field |
What to enter |
|---|---|
Name |
A name to recognize the server, for example Company SMTP. |
Priority |
When several outgoing servers can be used, the one with the lowest number is used first (default 10). |
FROM Filtering |
The email addresses or domains this server may send from, separated by commas, for example example.com. |
Convert attachments to links for emails over |
Maximum size, in MB, of the attachments sent in the email itself. Larger attachments are replaced by download links. Click Detect Max Limit to let Viindoo find the limit of the server. 0 keeps every attachment in the email. |
Authenticate with |
Username (username and password, the usual choice), SSL Certificate (certificate and private key), Command Line Interface (settings of the server configuration file), Gmail OAuth Authentication or Outlook OAuth Authentication (see the Gmail and Outlook options of General Settings in the Emails section). |
Connection Encryption |
TLS (STARTTLS), encryption and validation (recommended, usually port 587), SSL/TLS, encryption and validation (usually port 465), the two variants encryption only, which encrypt without checking the server certificate, or None (no encryption). |
SMTP Server, SMTP Port |
Host name or IP address and port given by your provider. Usually 465 for SSL/TLS and 25 or 587 otherwise. |
Username, Password |
The login of the mailbox used to send. |
Debugging (developer mode) |
Writes the full SMTP conversation to the server log. Use it only to find a connection problem: the log may contain confidential information. |
How do I set the alias domain?
The alias domain is the domain of your incoming addresses (for example sales@example.com) and of the reply address of the emails Viindoo sends.
Activate the developer mode, go to Settings ‣ Technical ‣ Email ‣ Alias Domains and click New.
Enter the Domain (for example example.com) and, if needed, the bounce alias, catchall alias and default From address.
Go back to Settings ‣ General Settings and choose the record in Alias Domain (the field after @) in the Emails section.
![Emails section of the settings with Use Custom Email Servers, the Incoming Email Servers and Outgoing Email Servers links and the Alias Domain field]()
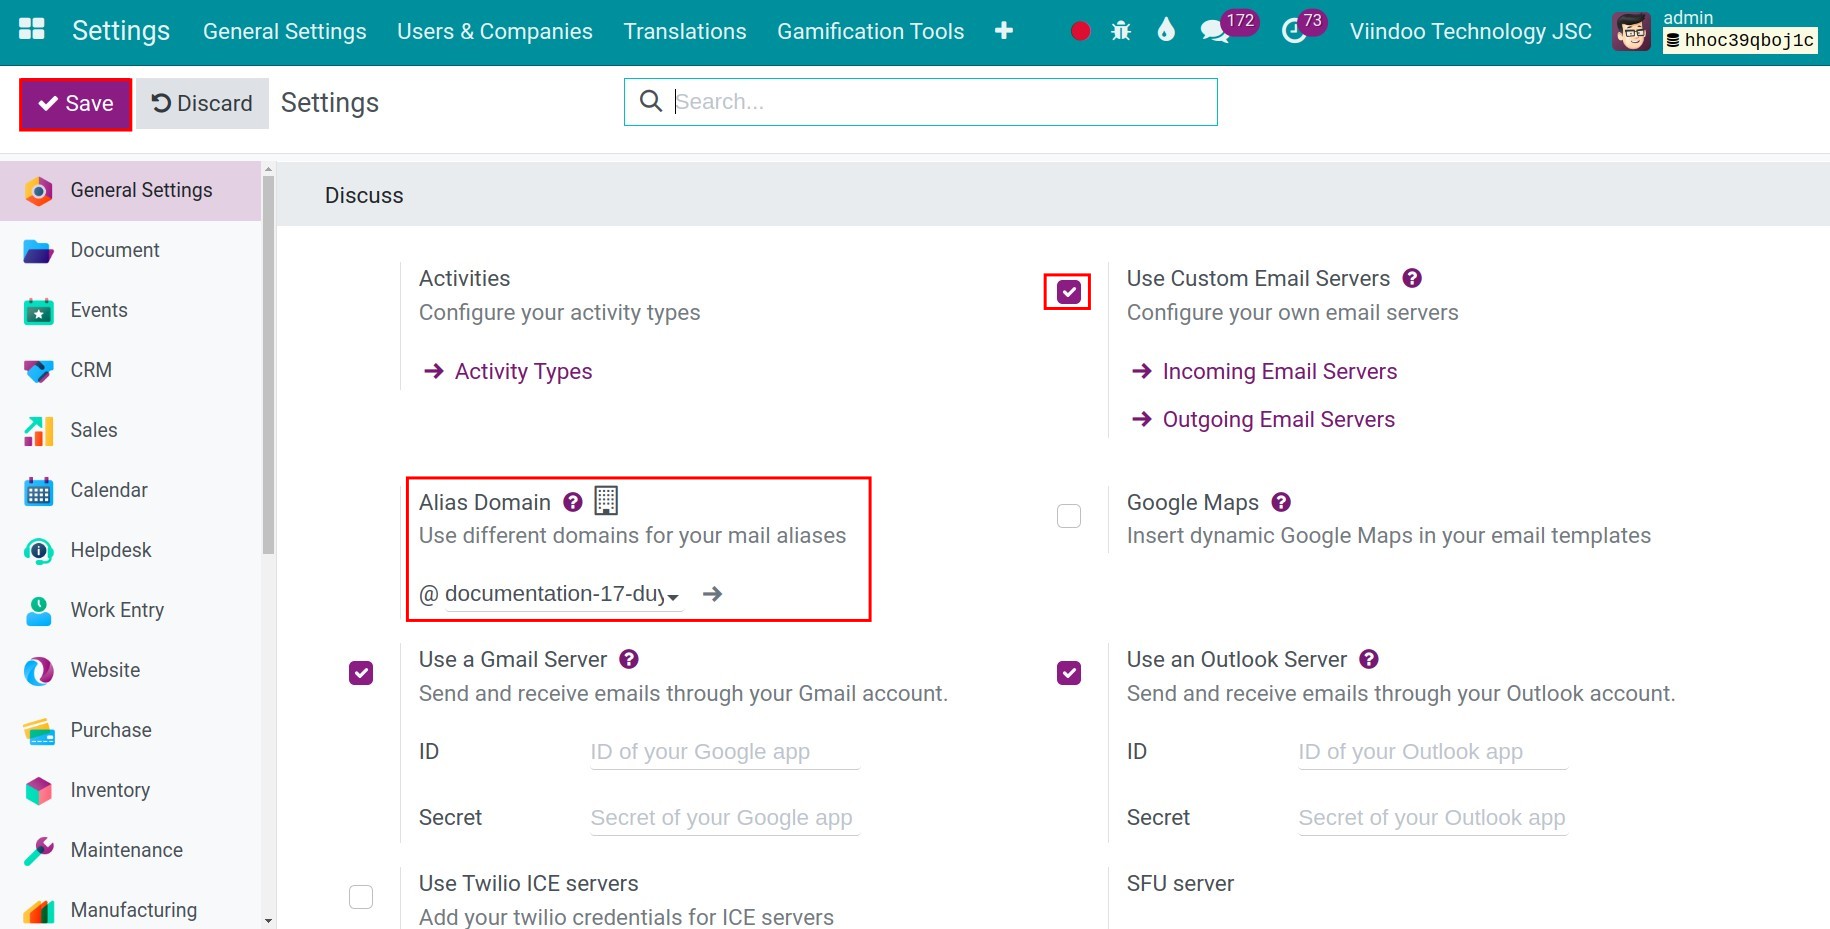
Emails sent to the catchall address of this domain are received by Viindoo and attached to the document they answer, when it can be recognized.
How do I set up an incoming mail server?
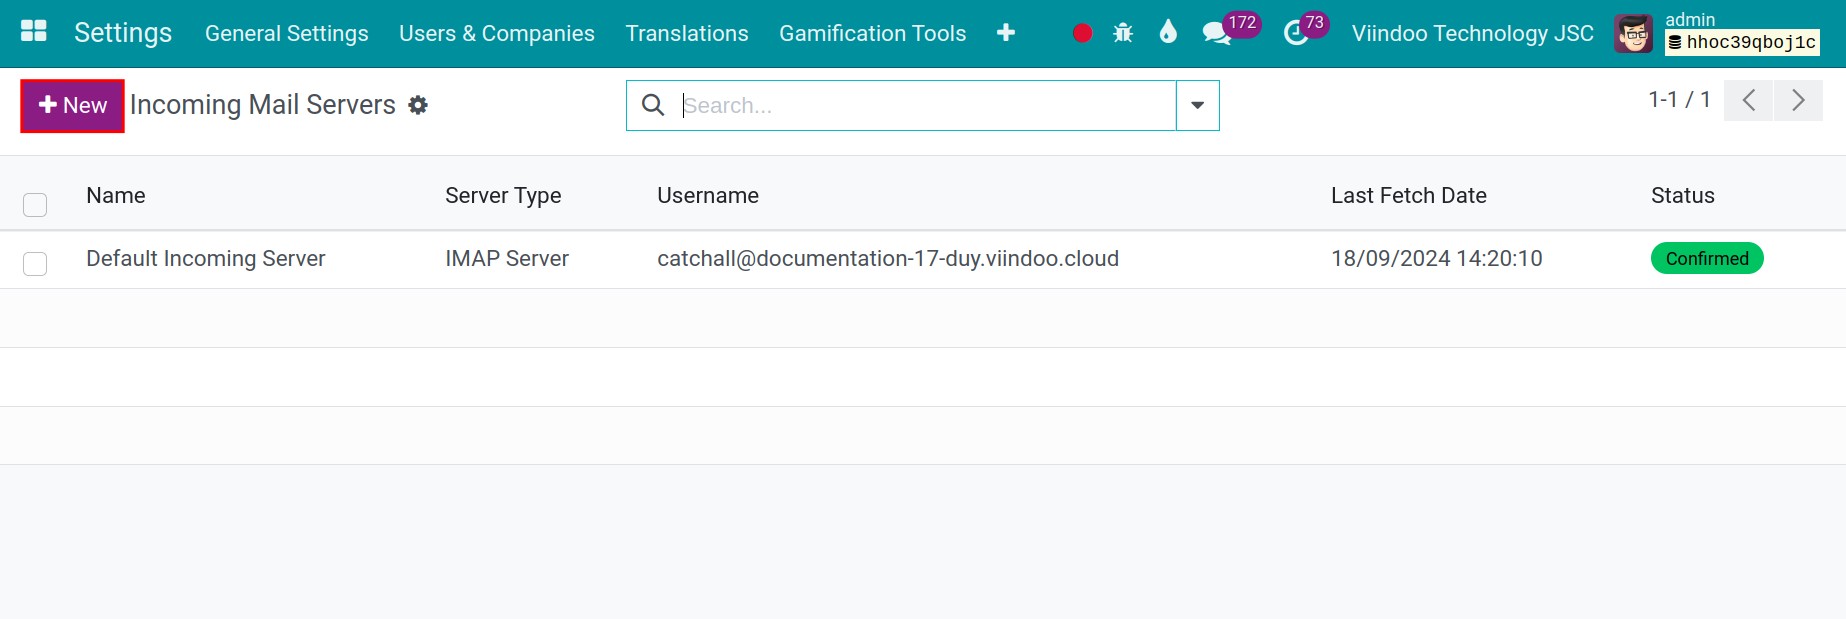
Go to Settings ‣ General Settings, tick Use Custom Email Servers and click Incoming Email Servers. In developer mode you can also use Settings ‣ Technical ‣ Email ‣ Incoming Mail Servers.
![List of incoming mail servers with the New button]()
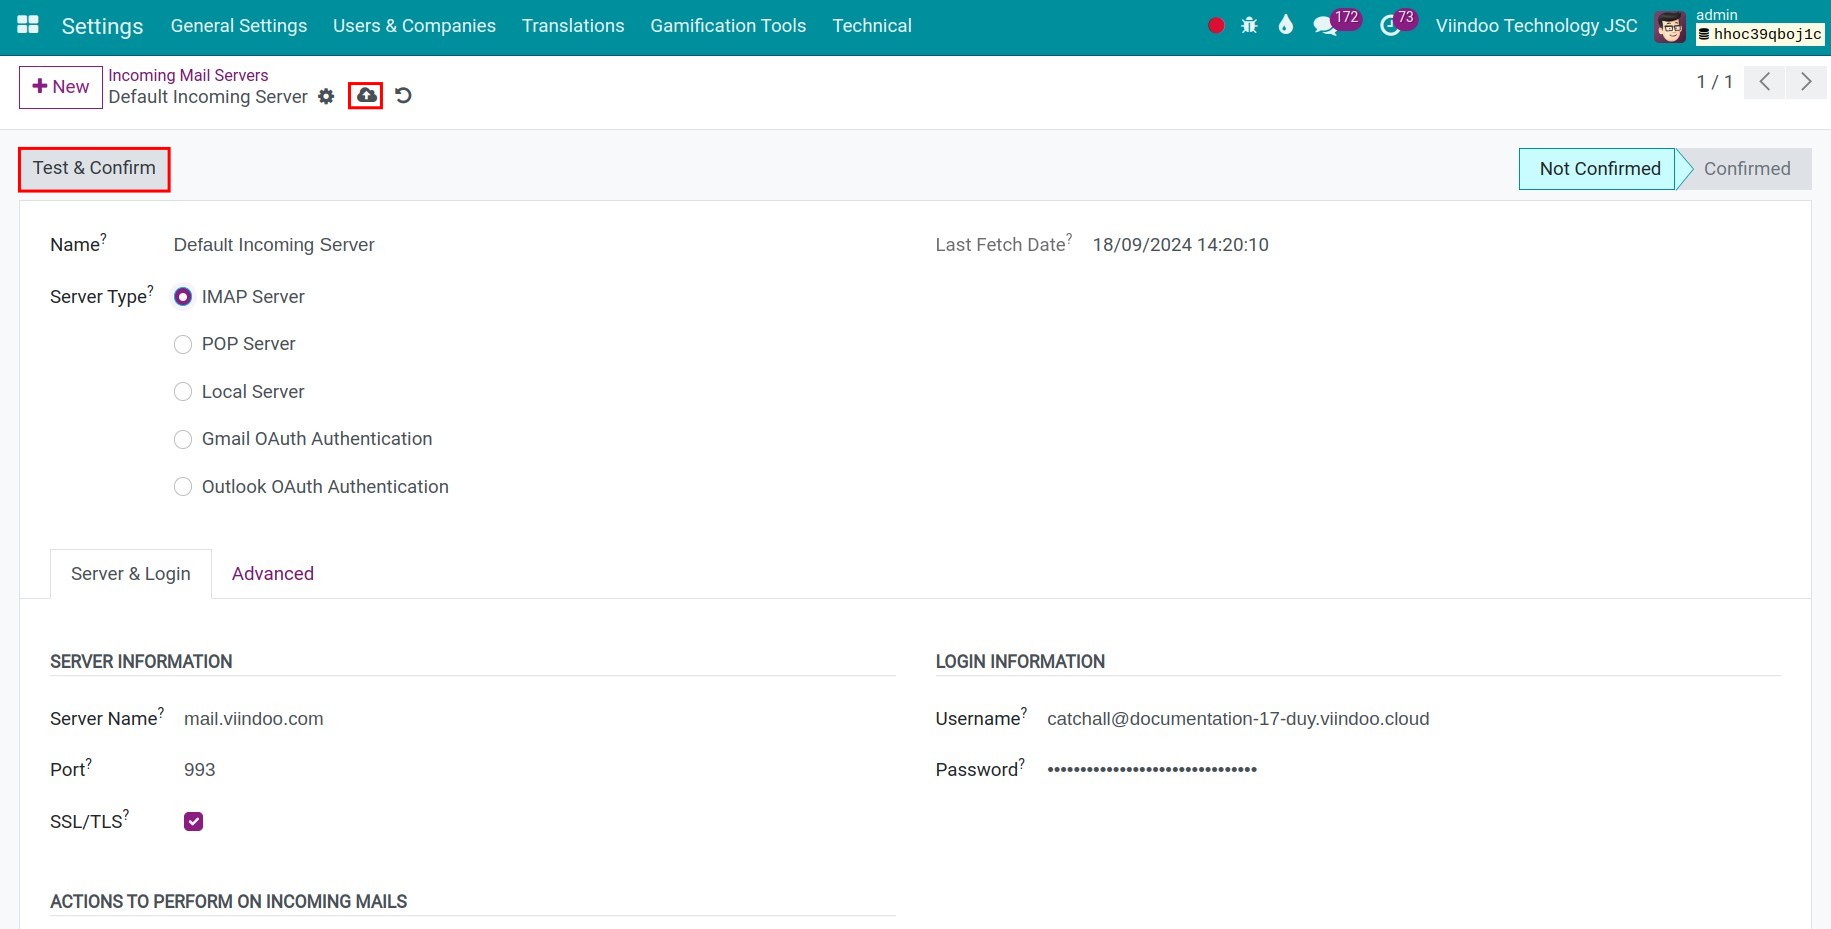
Click New and fill in the fields described in Which incoming server fields do I need?.
![Incoming mail server form with server type, server name, port, SSL/TLS and login]()
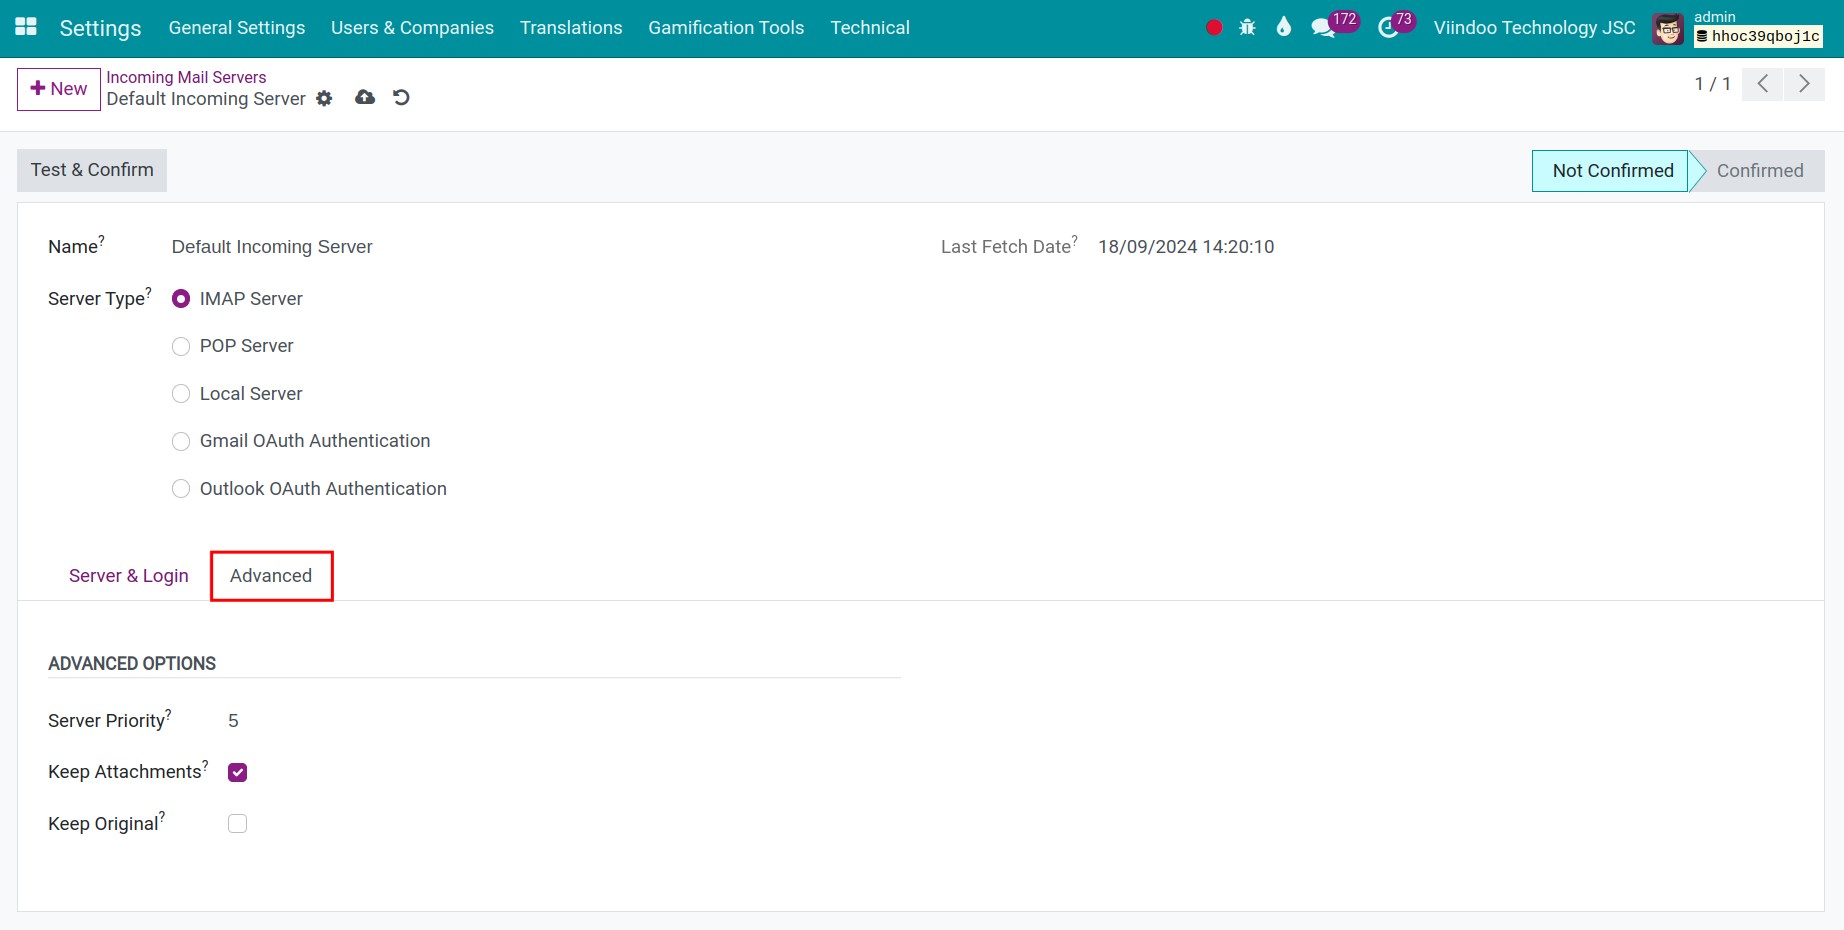
In developer mode, adjust the Advanced tab if needed. The form opens on the Server & Login tab.
![Advanced tab with server priority, keep attachments, keep original and the last error]()
Click Test & Confirm. If the details are correct, the status changes to Confirmed.
![Incoming mail server in the Confirmed status]()
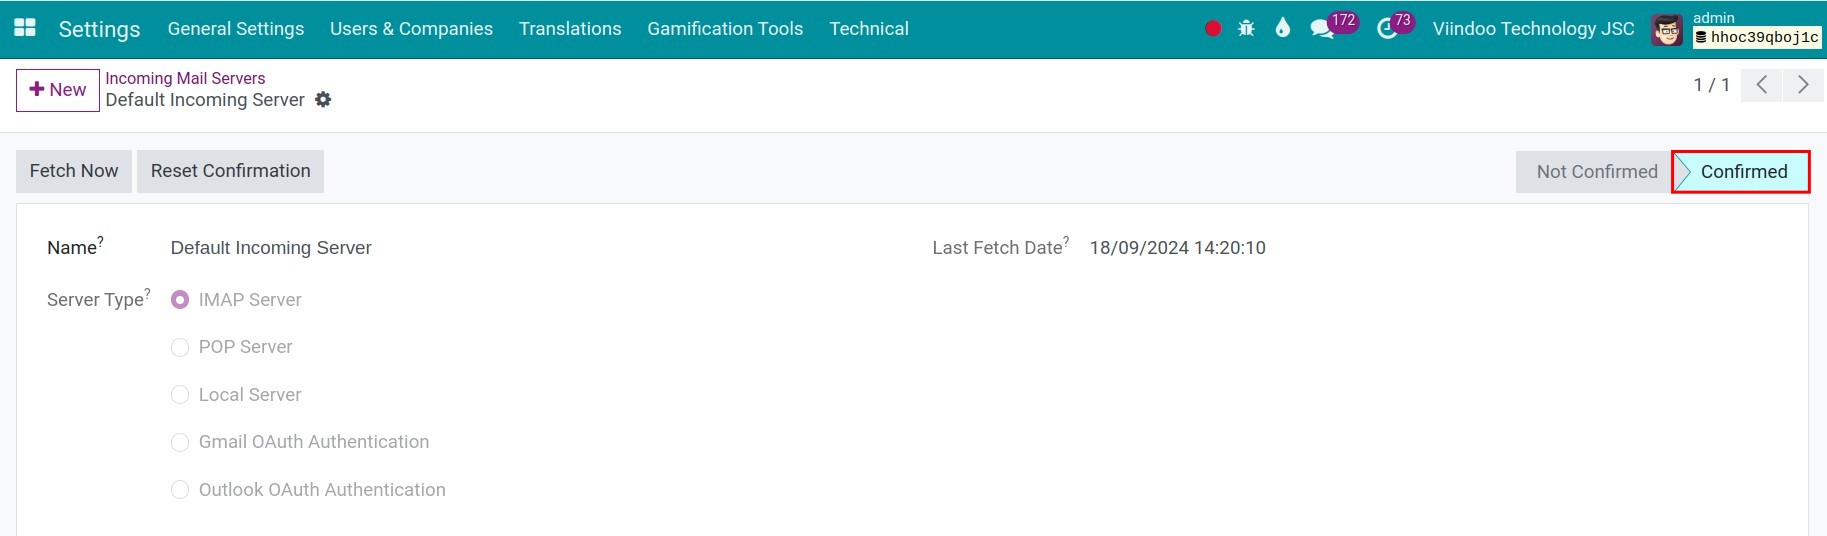
Viindoo now fetches the emails of this mailbox regularly. Click Fetch Now to fetch them immediately, or Reset Confirmation to change the settings.
Which incoming server fields do I need?
Field |
What to enter |
|---|---|
Name |
A name to recognize the server. |
Server Type |
IMAP Server, POP Server, Local Server, Gmail OAuth Authentication or Outlook OAuth Authentication. |
Server Name, Port |
Host name or IP address and port given by your provider. |
SSL/TLS |
Tick to encrypt the connection through a dedicated port (by default 993 for IMAP, 995 for POP3). |
Username, Password |
The login of the mailbox to read. |
Create a New Record (Actions to perform on incoming mails) |
The type of document to create when an email does not answer an existing document, for example a lead or a helpdesk ticket. Replies to existing documents are attached to them. Leave empty to route emails by the alias they were sent to. |
Server Priority (Advanced) |
Order in which servers are processed; the lowest number first. |
Keep Attachments (Advanced) |
Untick to drop the attachments of incoming emails. |
Keep Original (Advanced) |
Keeps a full copy of each email on the document. Uses more storage. |
Last Error Date, Last Error Message (Advanced) |
Filled in automatically when the last fetch failed: when it happened and why. |
Common errors
Message |
What to do |
|---|---|
Connection Test Failed! Here is what we got instead: … |
Check the SMTP server, port, encryption, username and password with your provider. The text after the message gives the cause. |
Invalid server name! |
The server name cannot be found. Check the spelling of the host name. |
Connection test failed: … (incoming server) |
Check the server type, port, SSL/TLS, username and password. Some providers require an application password or enabling IMAP in the mailbox settings. |
Next steps
How to keep email threads together and move them: move an email to the right document.
How to create and edit email templates: prepare email templates.