How to use
Instruction video: Foreign Trade, Logistics
1. Access rights
After installing the module, you need to set up users access right and proceed with the import/export process.
2. Configuration
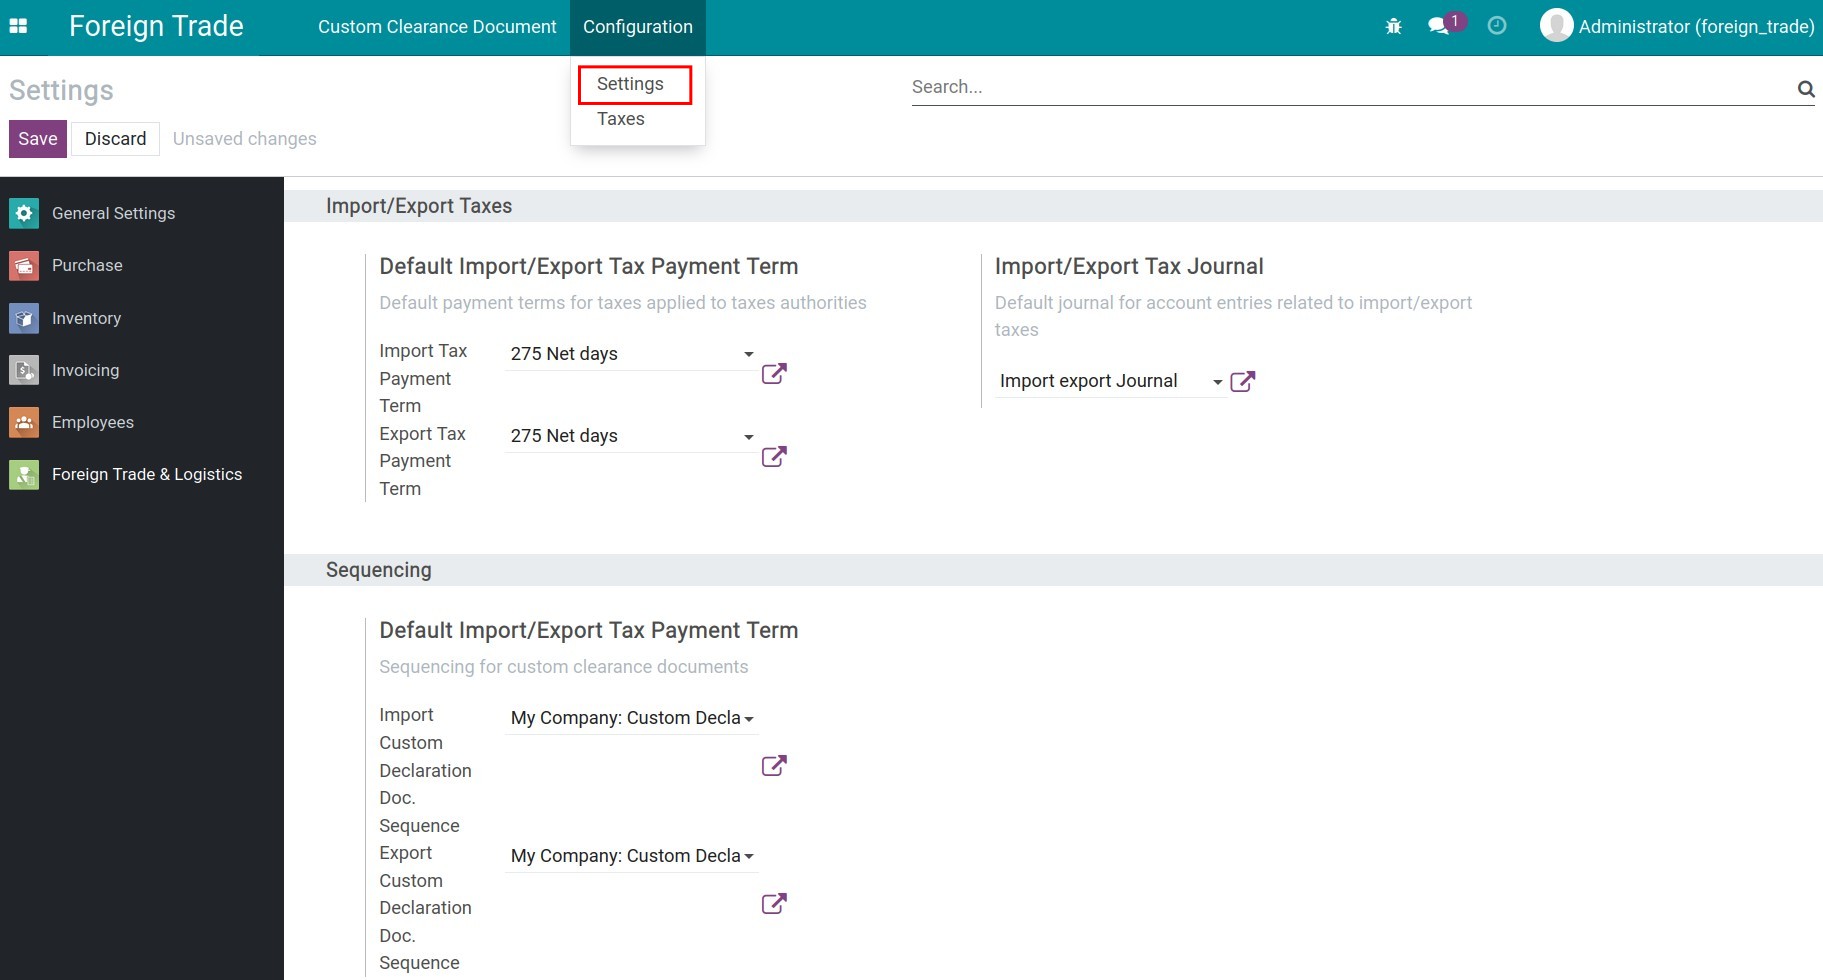
Navigate to Foreign Trade > Configuration > Settings, and configure the general settings for the Viindoo foreign trade such as:
- Default Import/Export Tax Payment Term;
- Import export journal.
3. Configure import/export tax
Navigate to Foreign Trade > Configuration > Taxes, press Create to create the new taxes such as:
4. Steps to import goods
To import goods, follow the steps below:
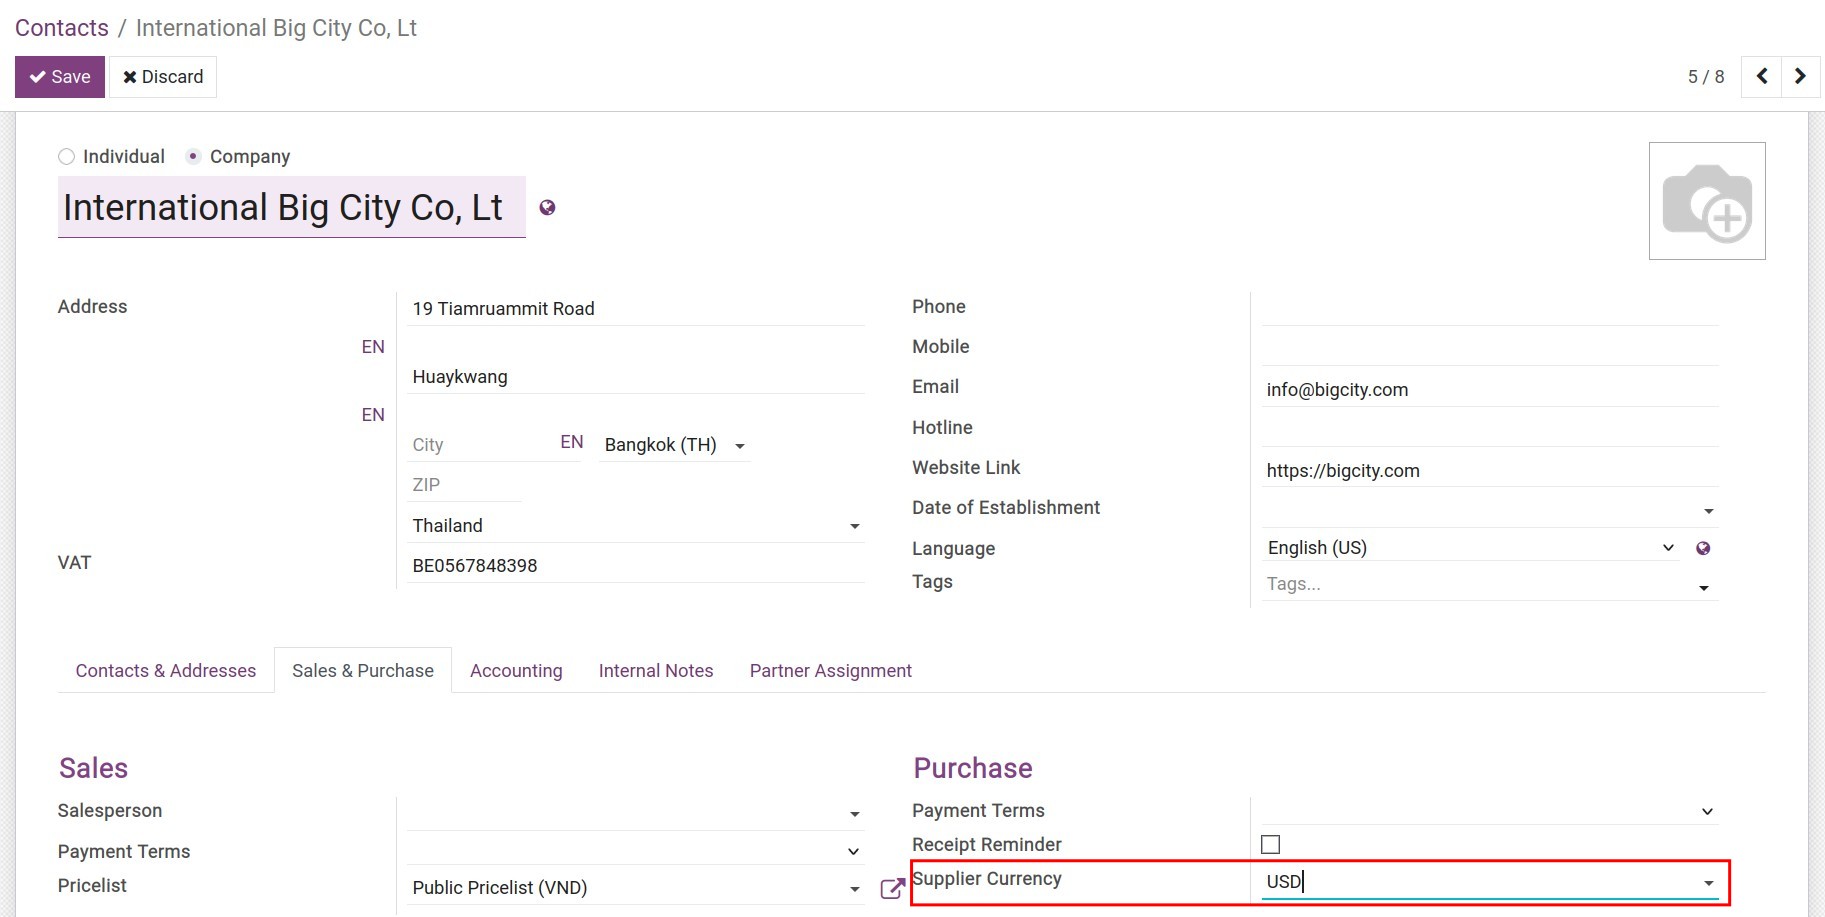
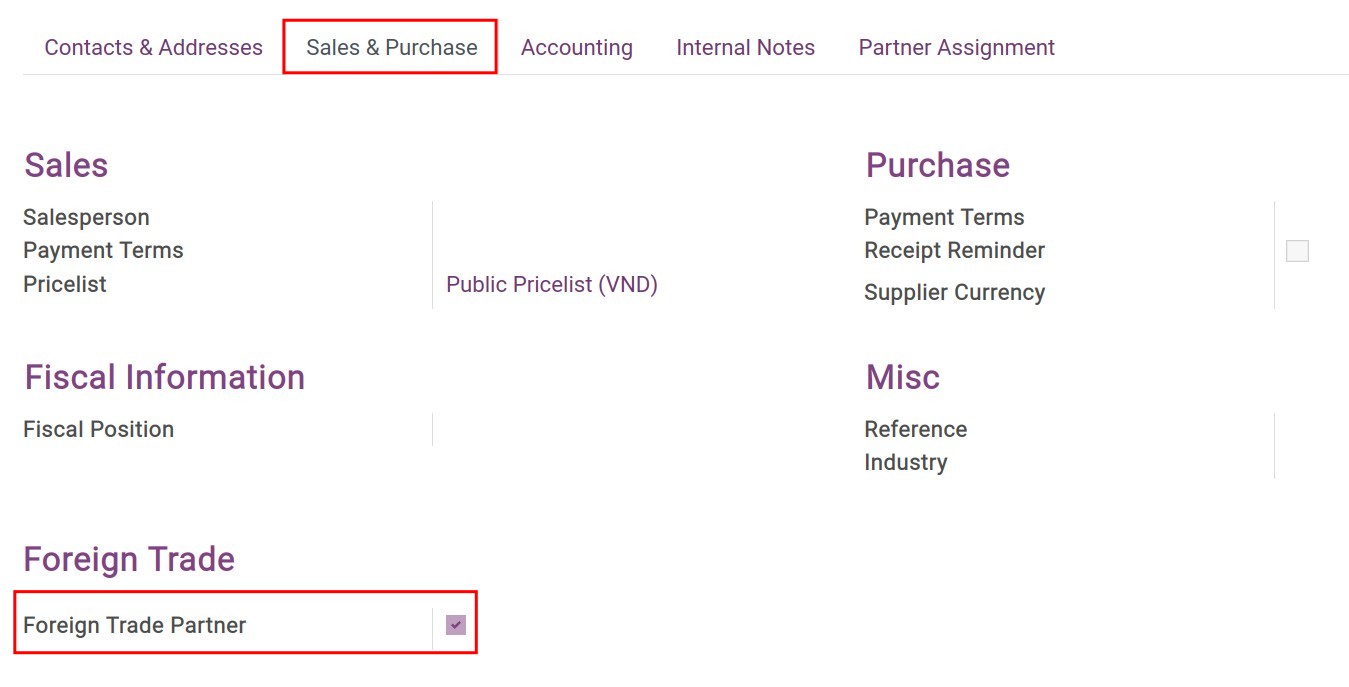
Step 1: Create and set up a foreign supplier and the default currency when working with this supplier.
Navigate to Purchase > Orders > Vendors, press Create to create a new contact for this vendor. Set up the supplier currency and check the Foreign Trade Partner field at the Sales & Purchase tab.
Step 2: Set up the import taxes.
Navigate to Purchase > Products > Products, and select the needed import taxes for this product at the Purchase tab.
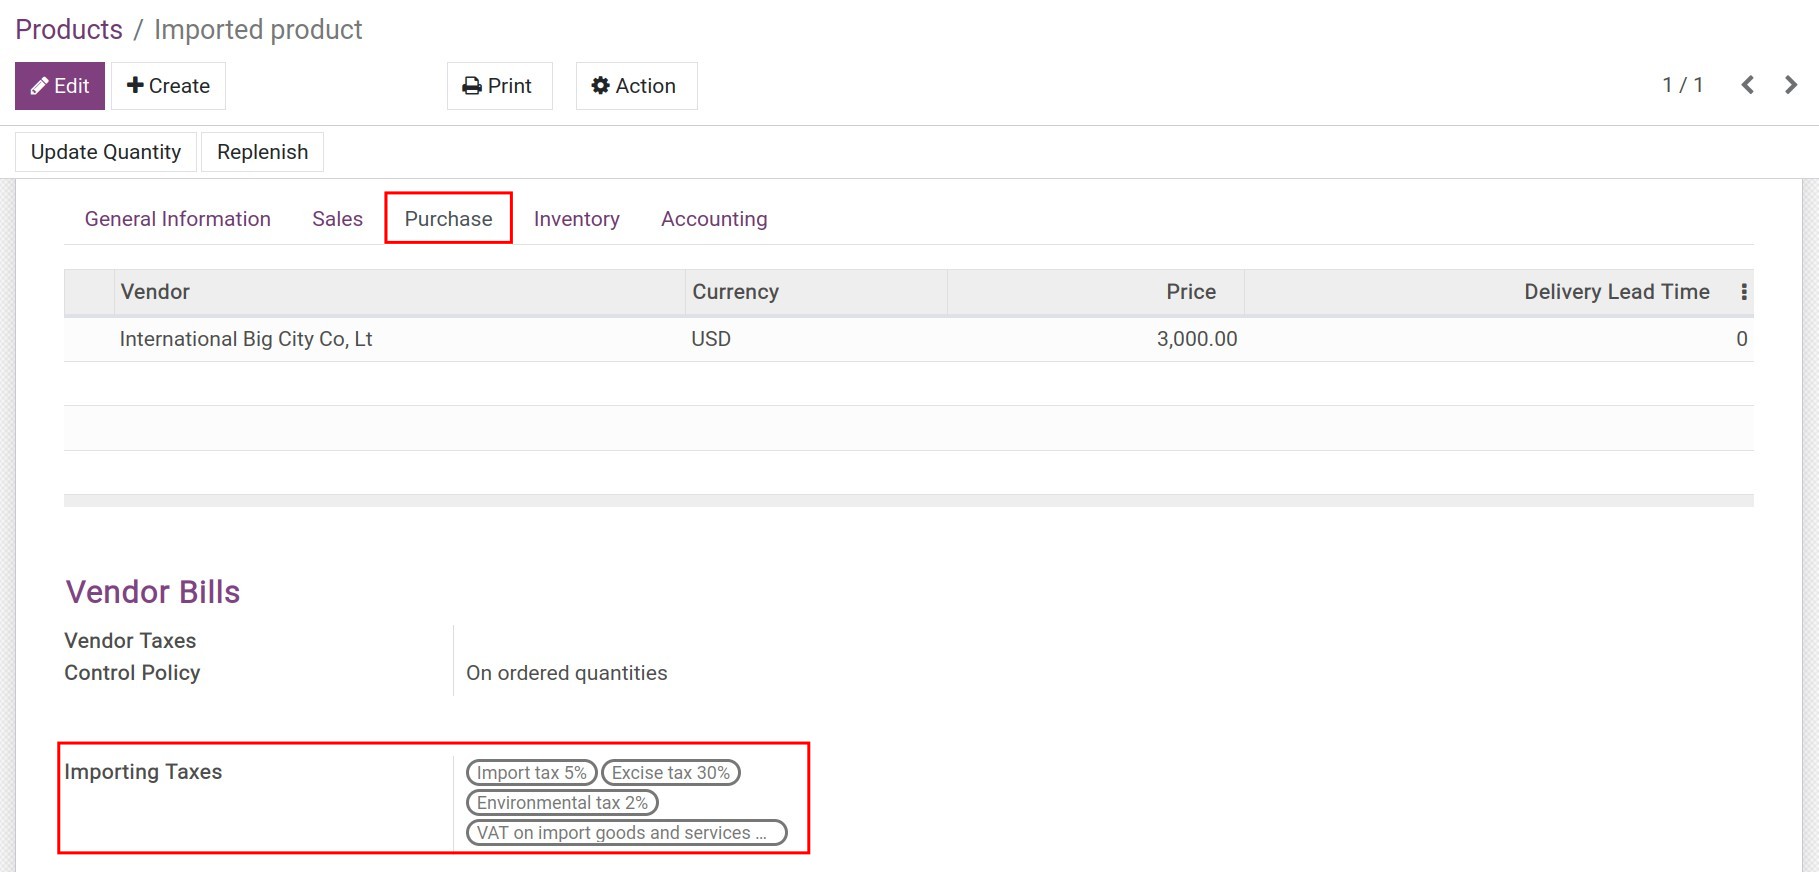
Step 3: Create Foreign Import purchase order
Create a purchase order for the product and fill in the following information:
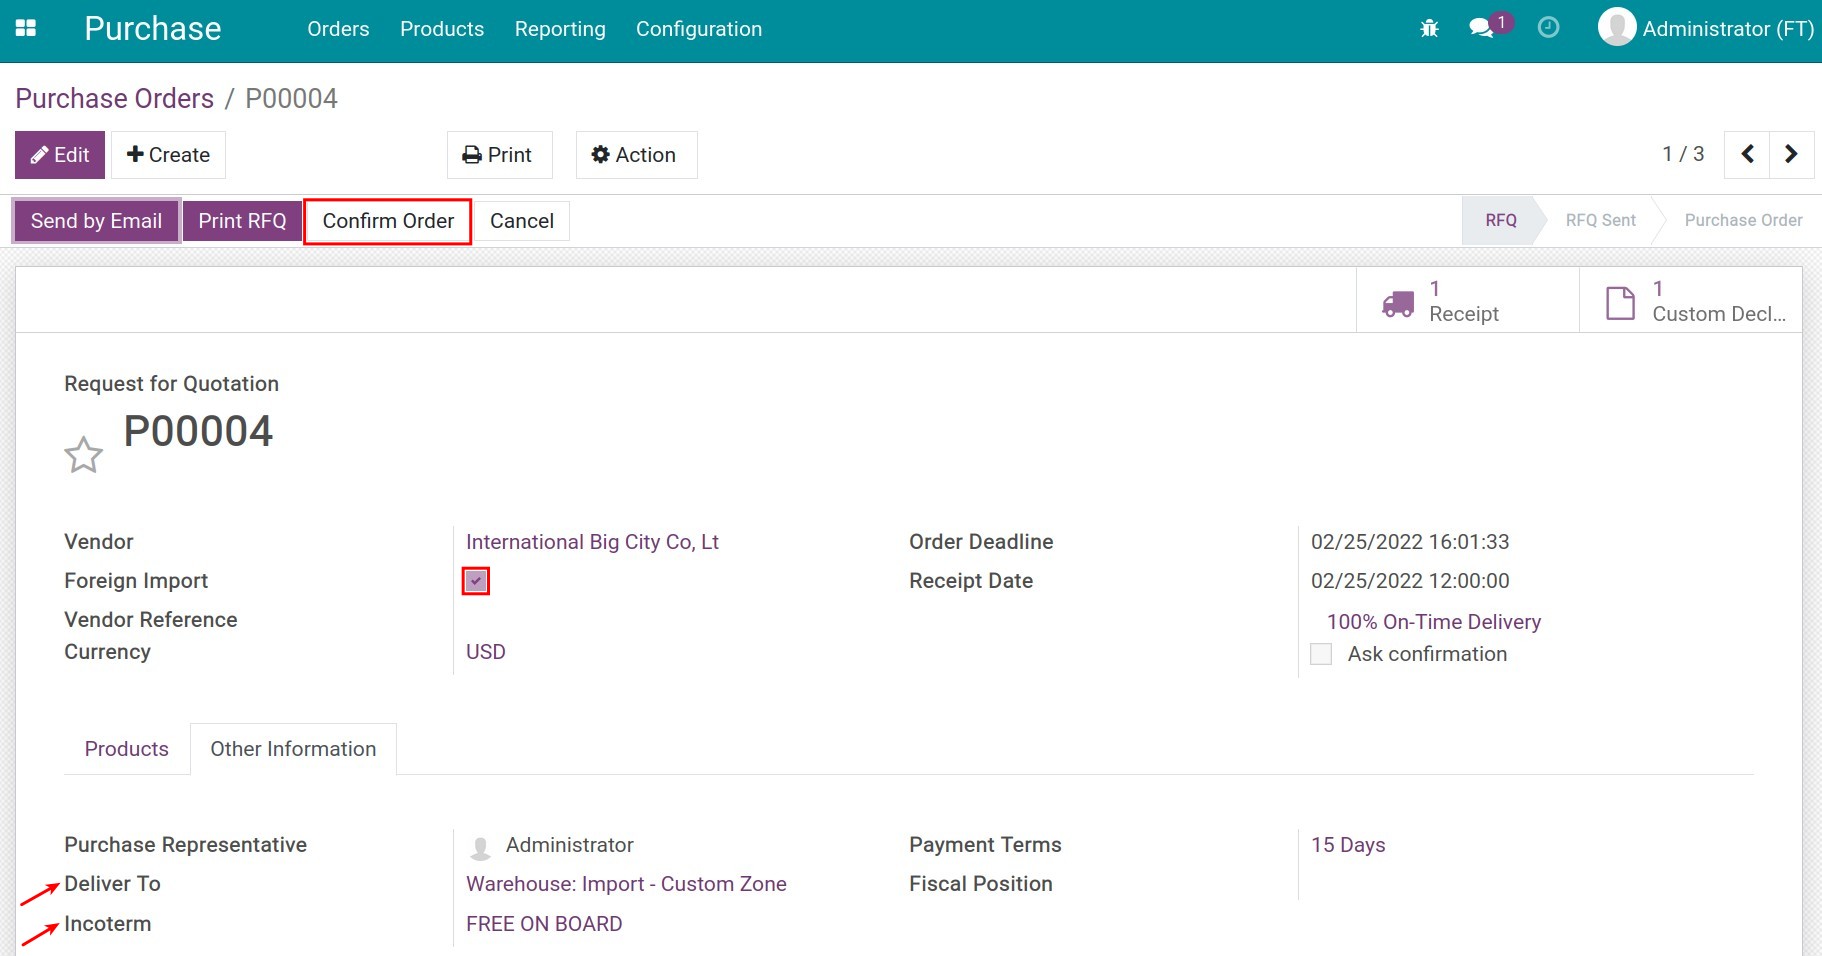
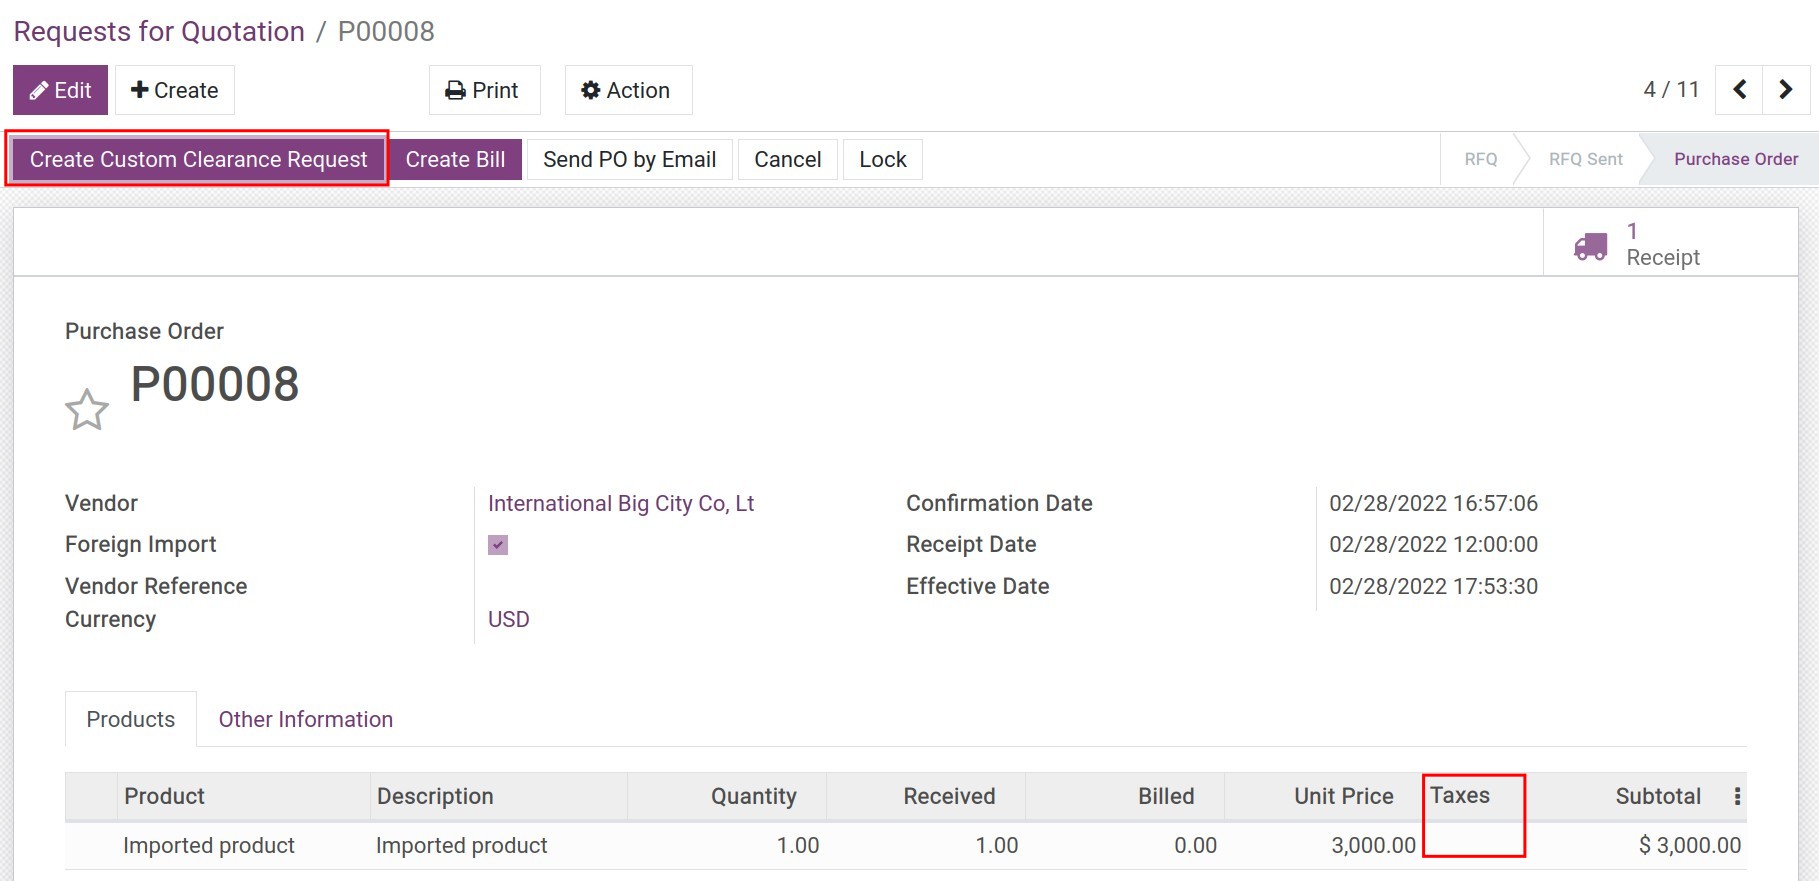
After pressing Confirm Order, the system will suggest you to Create Customs Clearance Request for this purchase order.
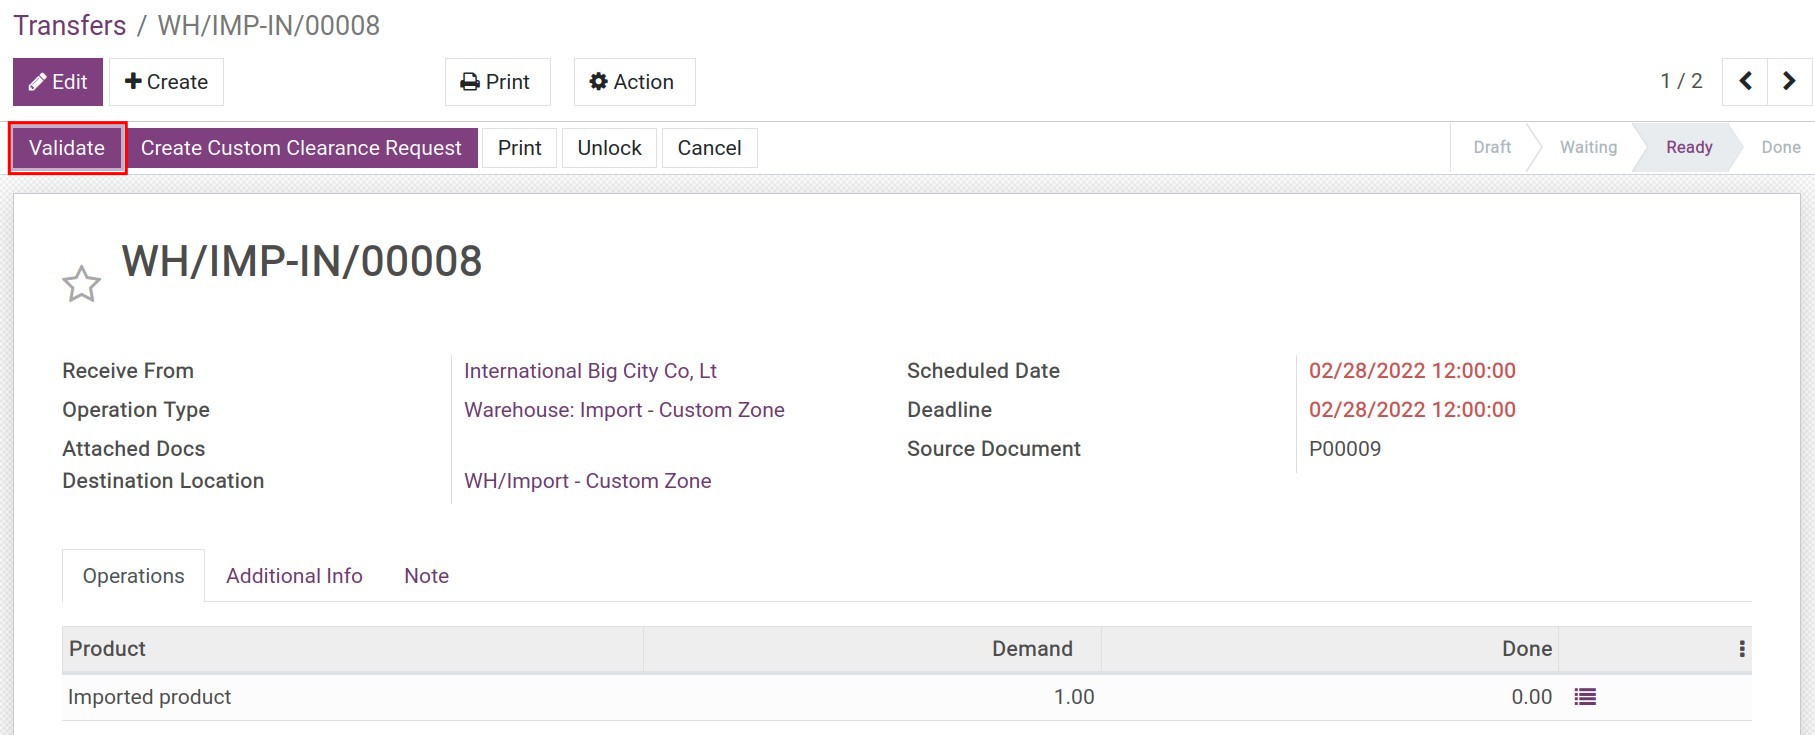
Step 4: Receiving stocks at custom zone
When the stock is transferred to the customer zone, the employee will validate the transfer.
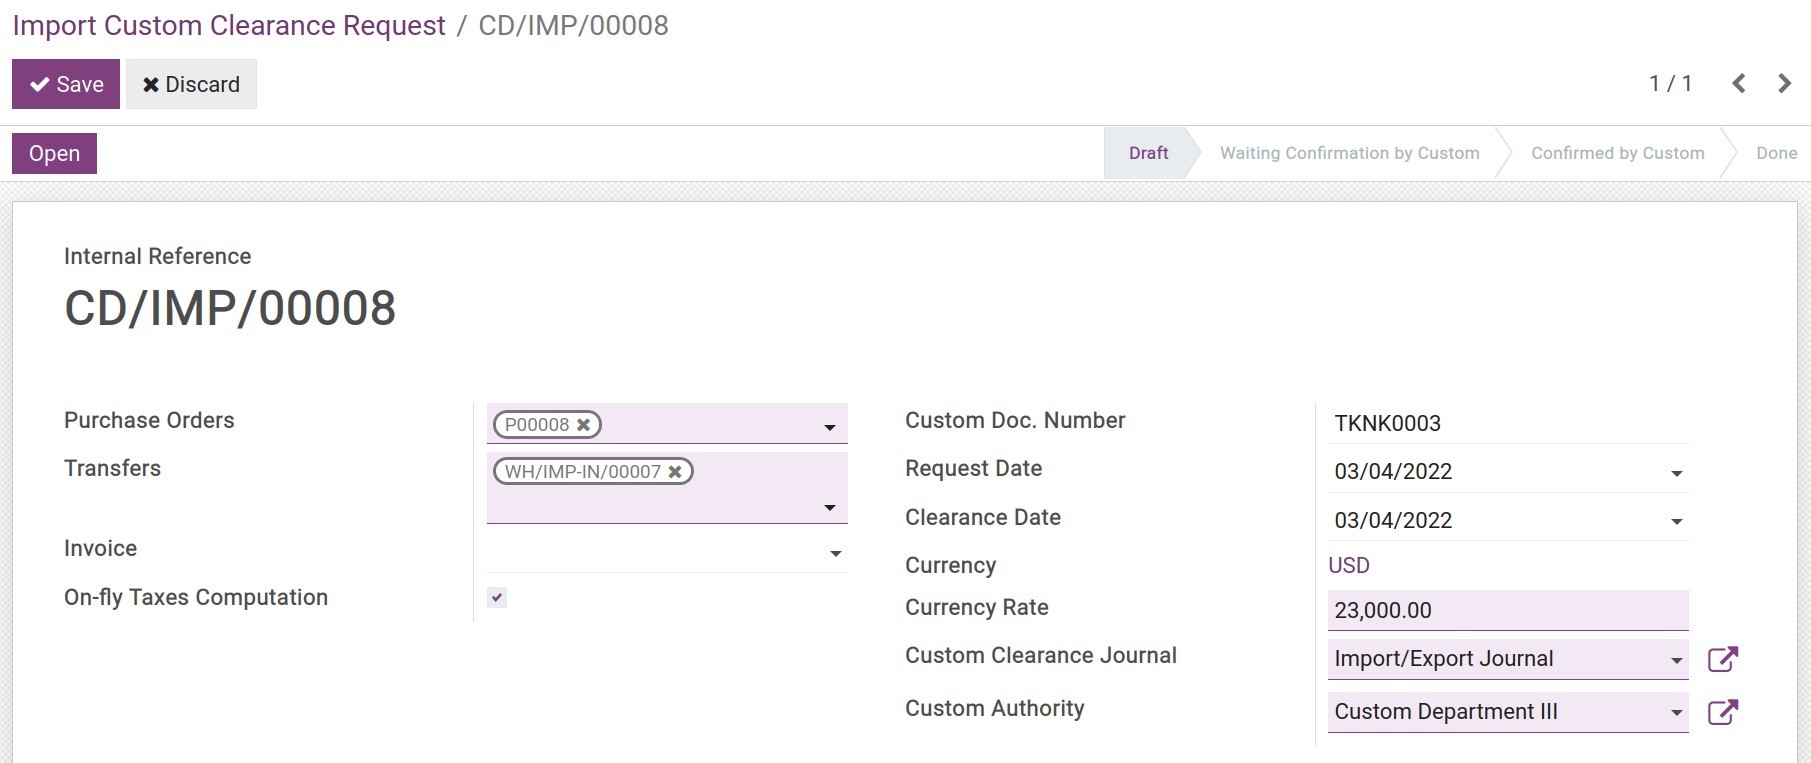
Step 5: Import customs clearance request
You can create customs clearance from the receipt or the purchase order. Here, you can add the extra expenses for receiving the stock and check the taxes for clearance.
Step 6: Taxes Payment
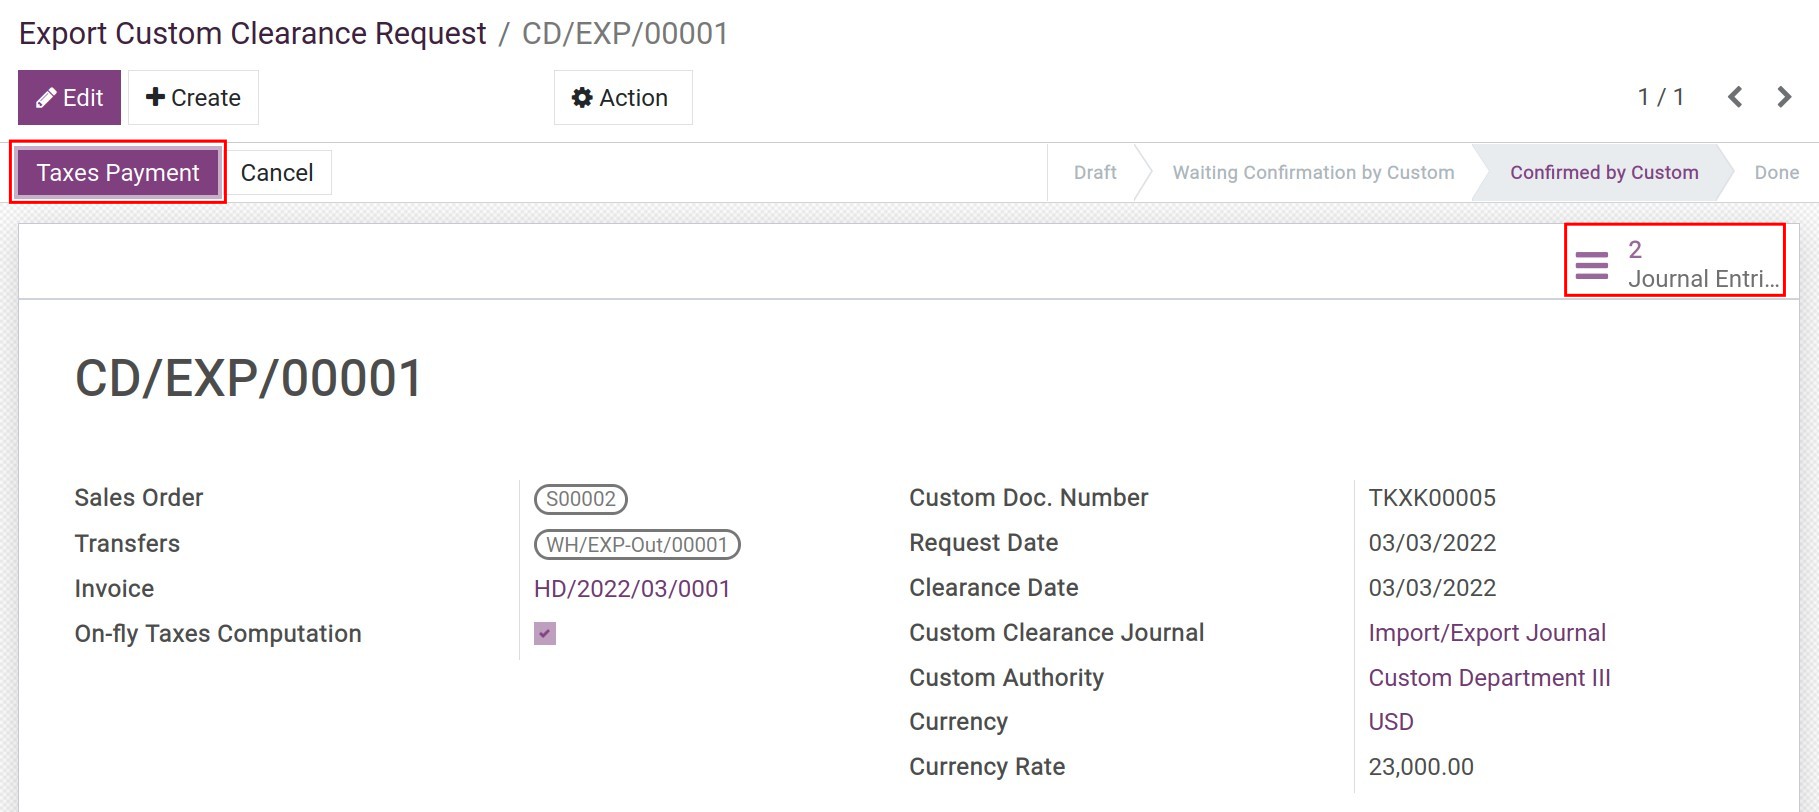
On the clearance, press the Taxes Payment button and pay.


5. Steps to export goods.
To export goods, follow the steps below:
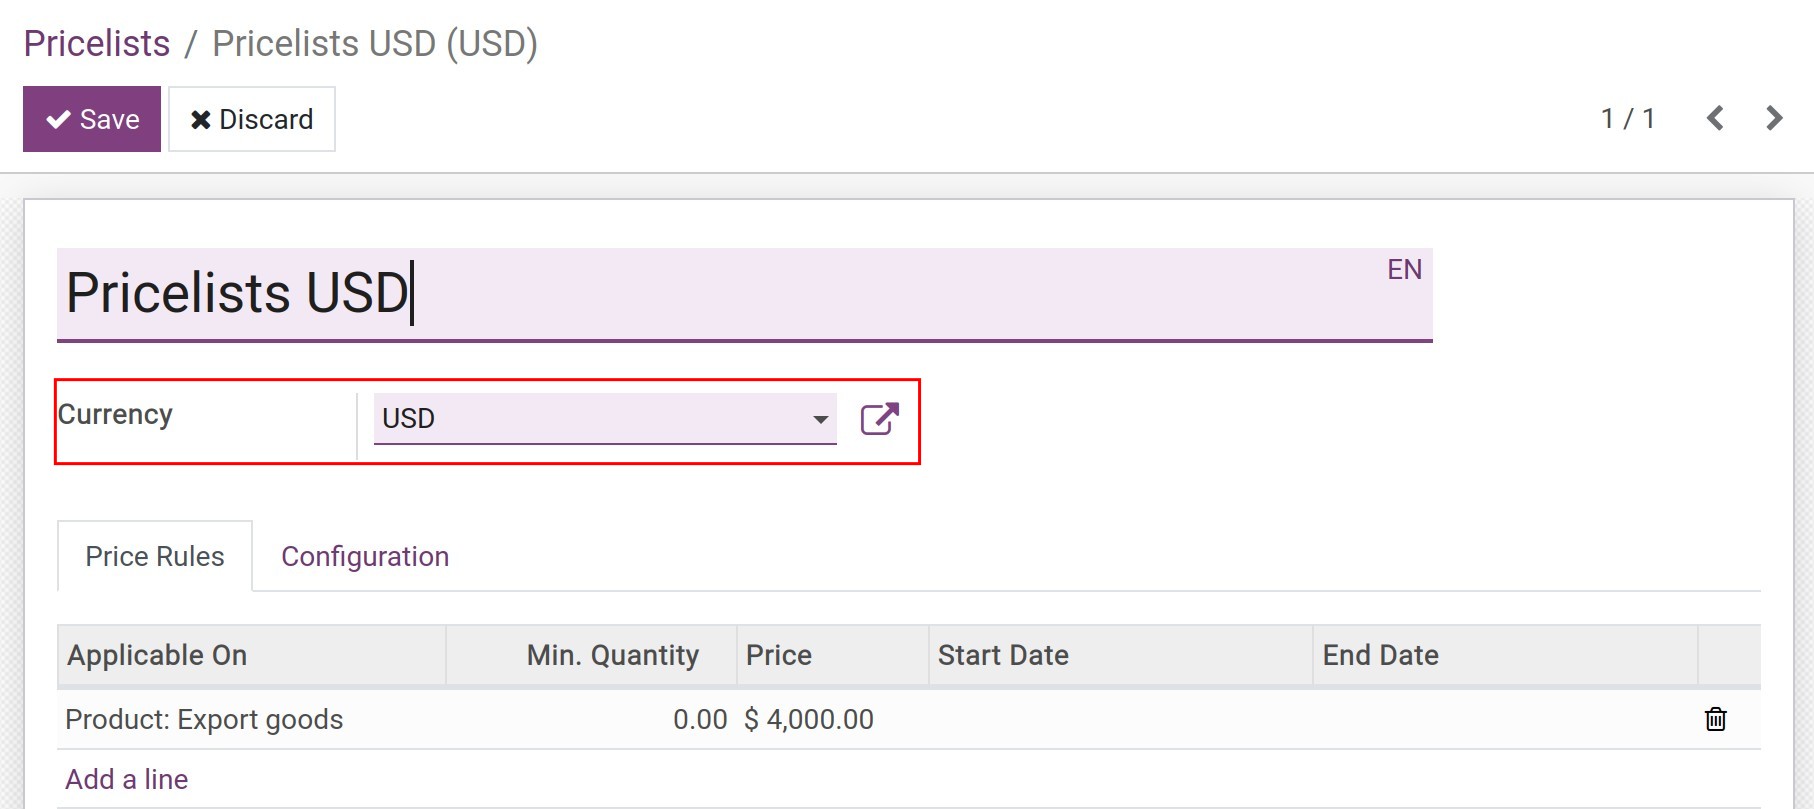
Step 1: Set up export price list
Navigate to Sales > Products > Pricelist, and press Create to create the price list with the export currency.
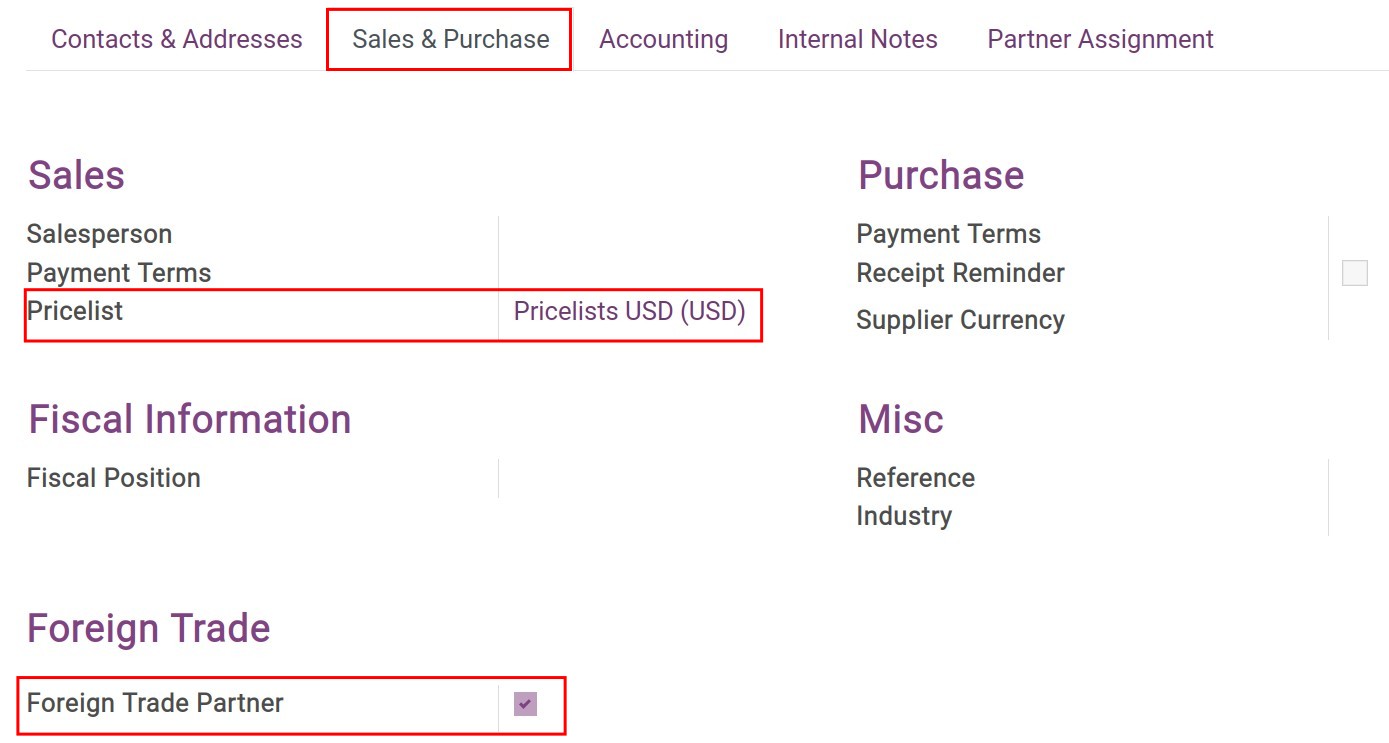
Step 2: Create export partner
Create a contact for the export partner and check on Foreign Trade Partner at the Sales & Purchase tab.
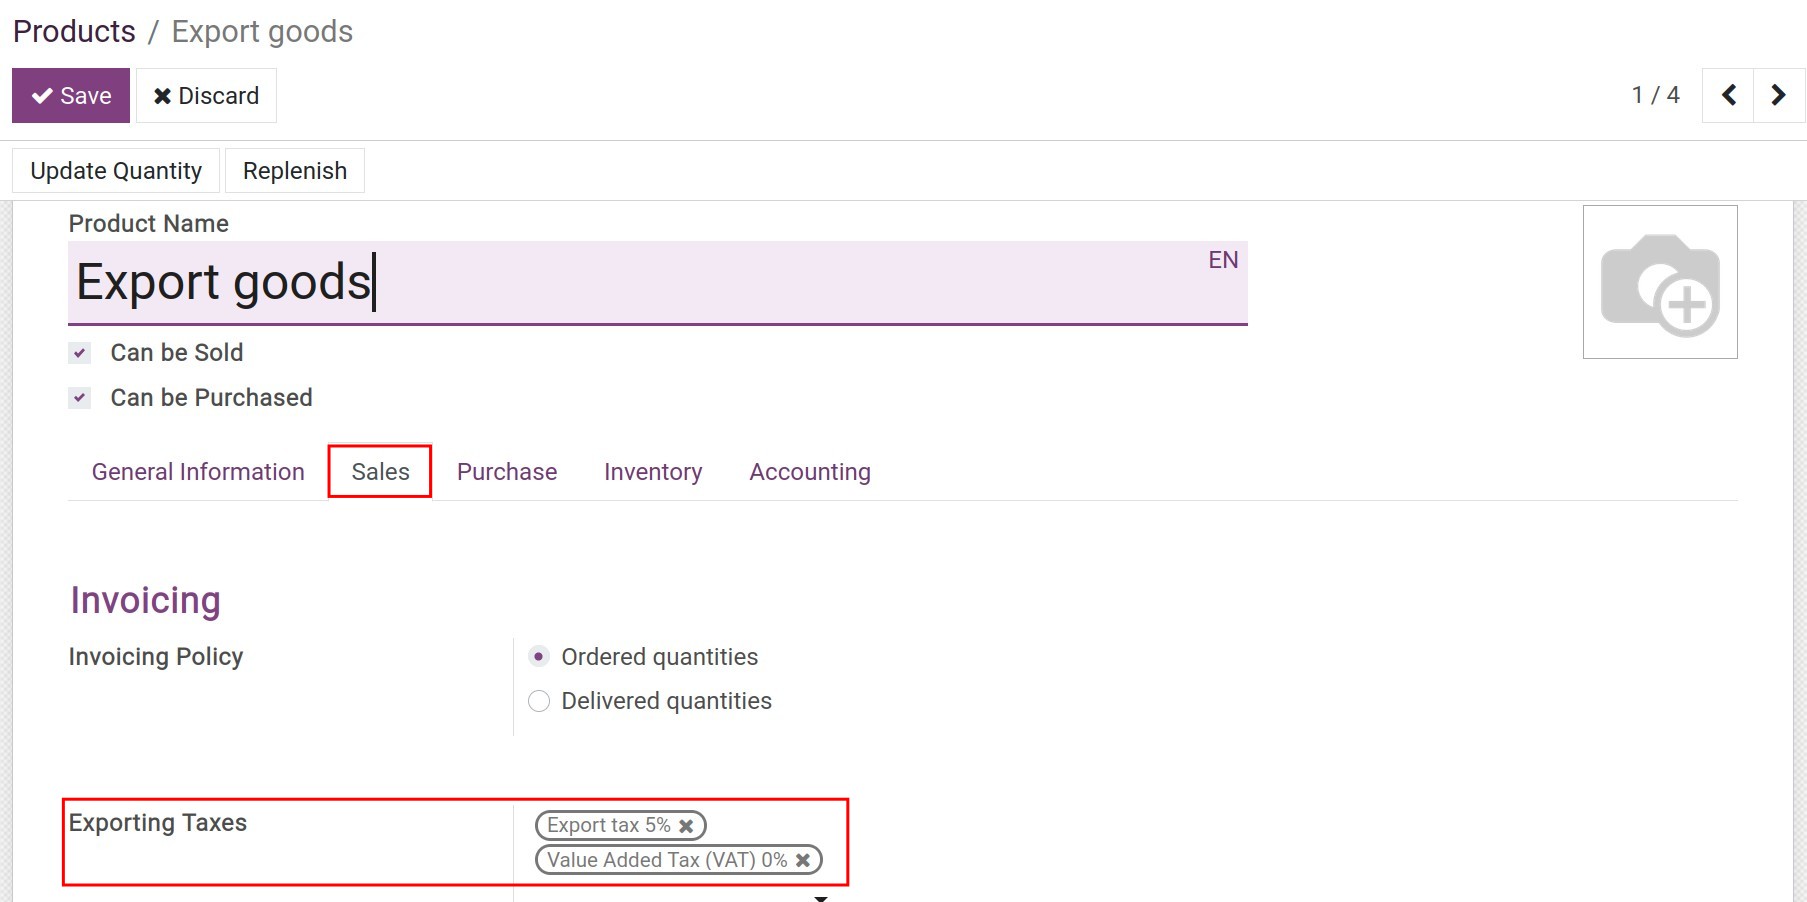
Step 3: Set up export taxes for the product
At the Sales tab, apply the default taxes for the product.
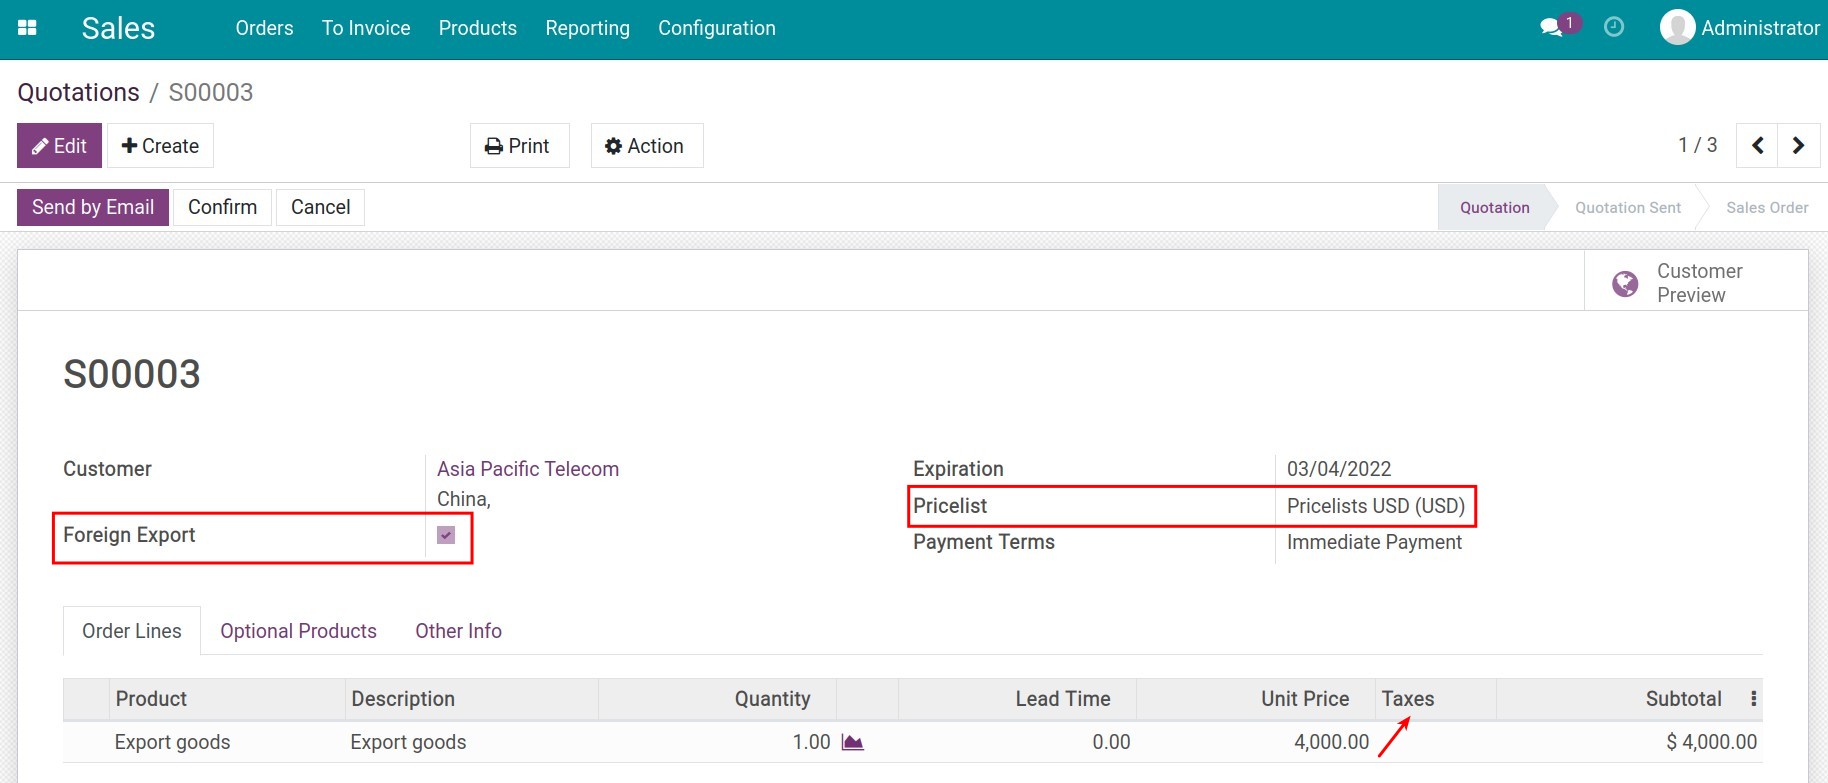
Step 4: Create export order
Create a sales order and notice the following fields:
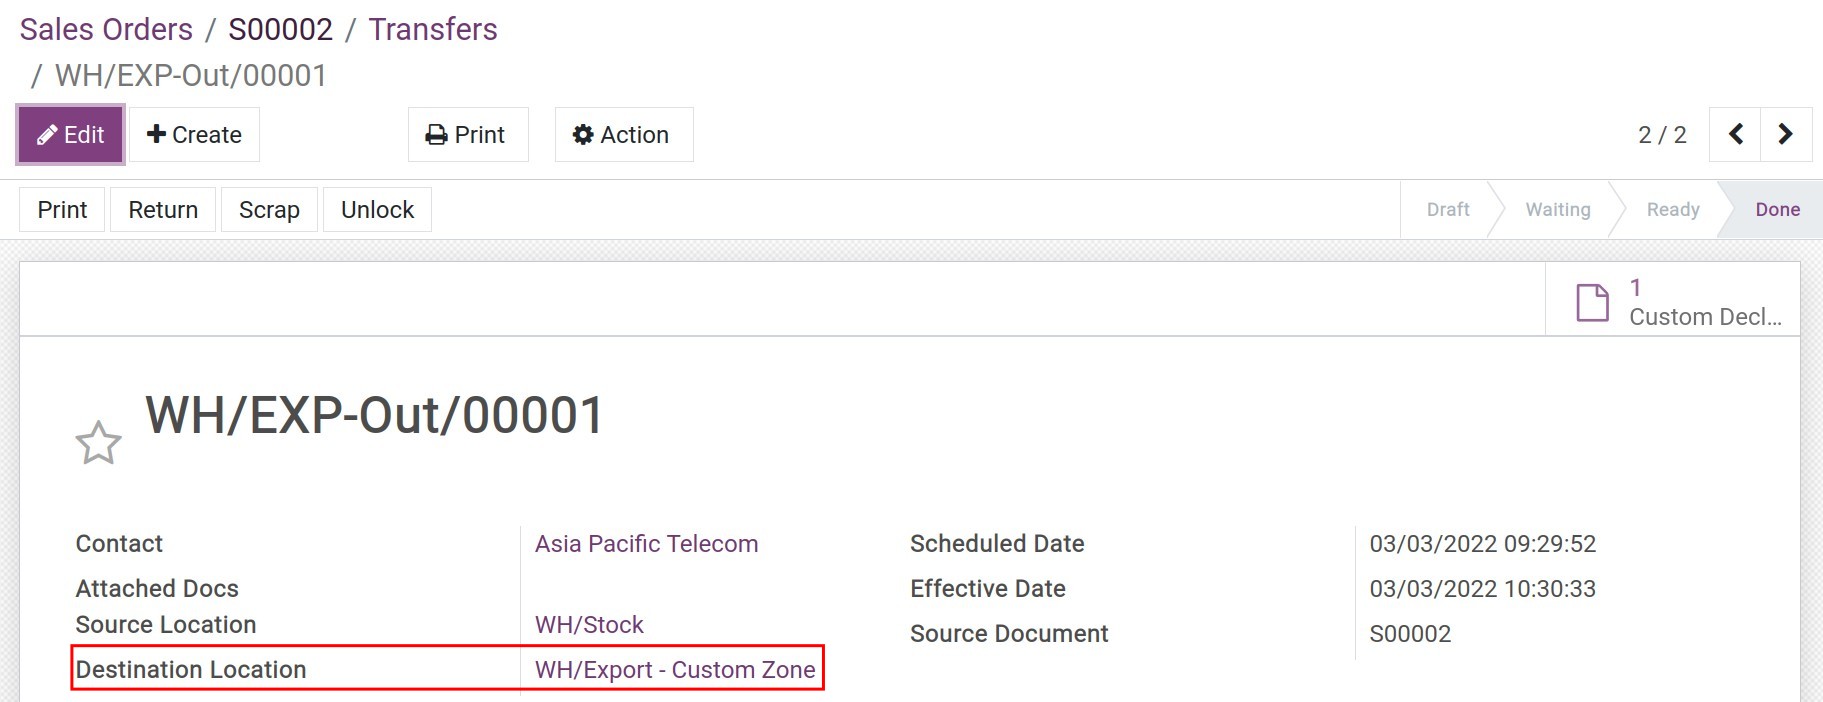
Step 5: Confirm the order and export goods
After confirming the sales order, you create the invoice and export goods for this transaction. At the output sheet, the default destination will be the custom zone.
Step 6: Export Customs Clearance Request
Navigate to Foreign Trade > Customs Clearance Document > Export Customs Clearance Request, press Create to create a customs clearance, and fill in the information:
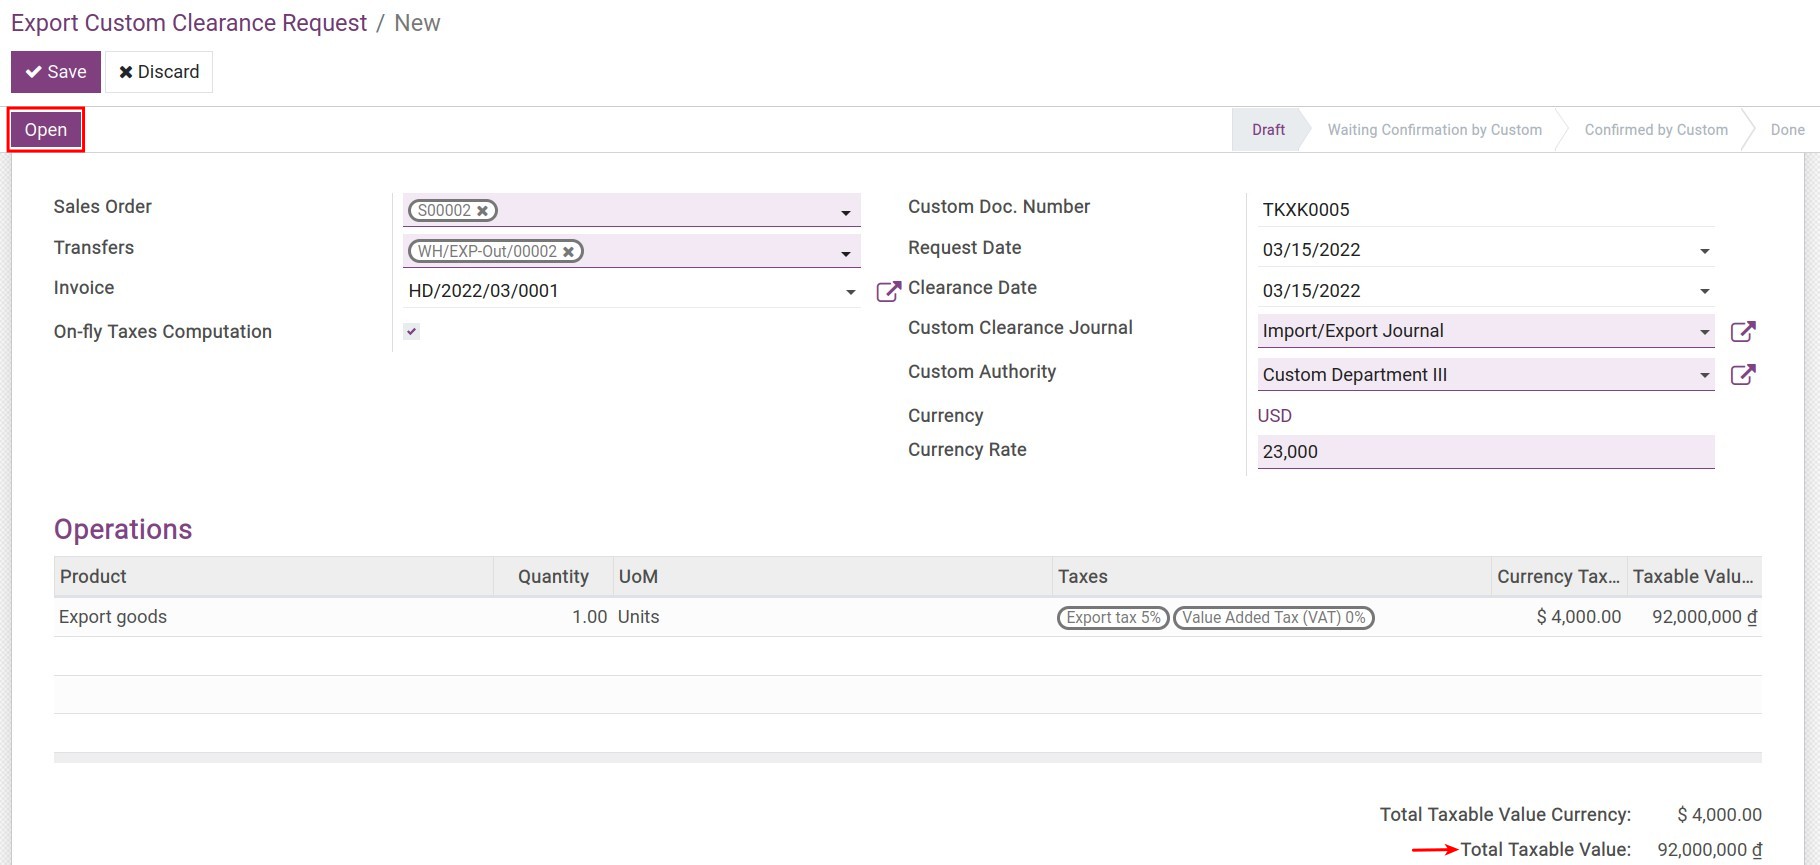
After filling in the information, press Open to open the customs clearance. Once approved, press Confirmed by Custom to finish opening clearance.
Step 7: Taxes Payment
Press Taxes Payment and pay the tax.
