IoT Quality
by Viindoo
| Lines of Code | 1457 |
| Technical name | viin_iot_quality |
| License | OPL-1 |
| Website | https://viindoo.com/apps/modules/17.0/viin_iot_quality |
| Read description for | |
| Required Apps | Discuss (mail) |
| Included Dependencies | Quality Internet Of Things |
| Extensions | Quality Control IoT for Manufacturing |

Quality measurements read straight from the instrument
Control points nominate an instrument (or manual entry); the check wizard reads the measure or captures a picture from the device, records which instrument and when, and handles reading timeouts.
IoT Quality (technical name viin_iot_quality) is an Odoo 17.0 app for Odoo Community and Odoo Enterprise and Viindoo Cloud, built for quality inspector.
At a Glance
The facts of IoT Quality, version 0.1, in one place. Published by Viindoo.
How It Works
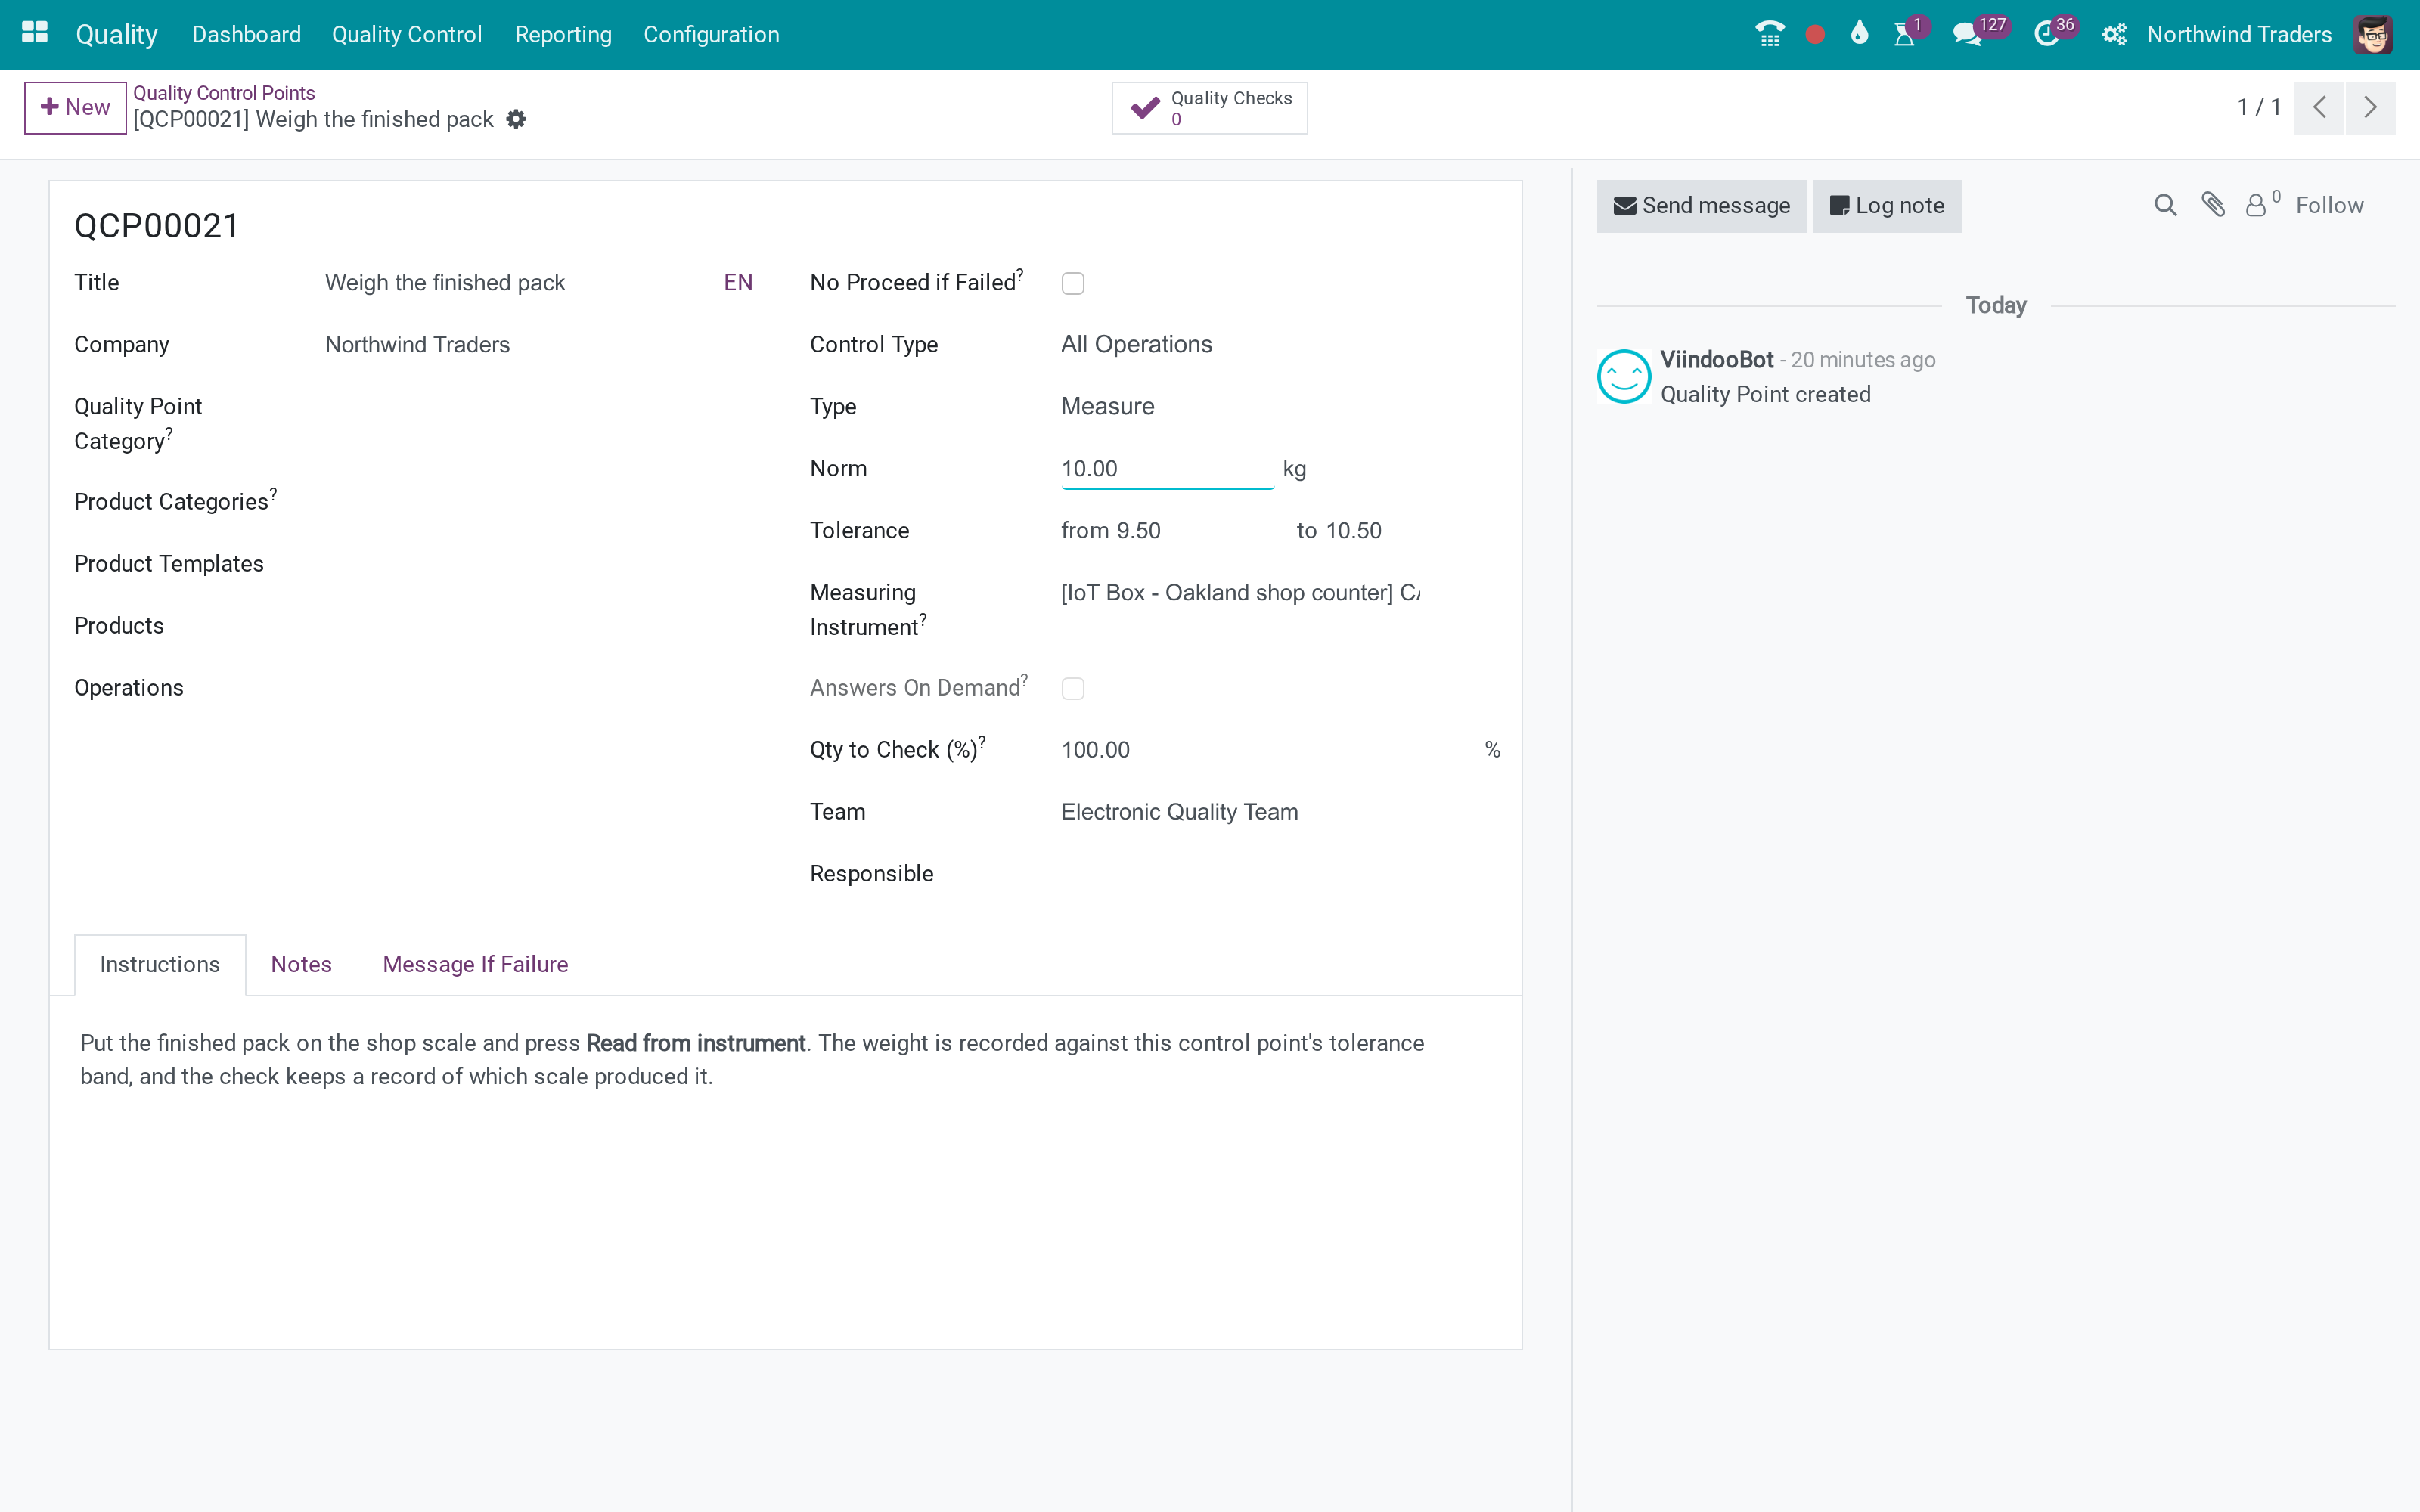
Set the instrument on the point; read in the check.
Point
Instrument.
Check
Source and time.
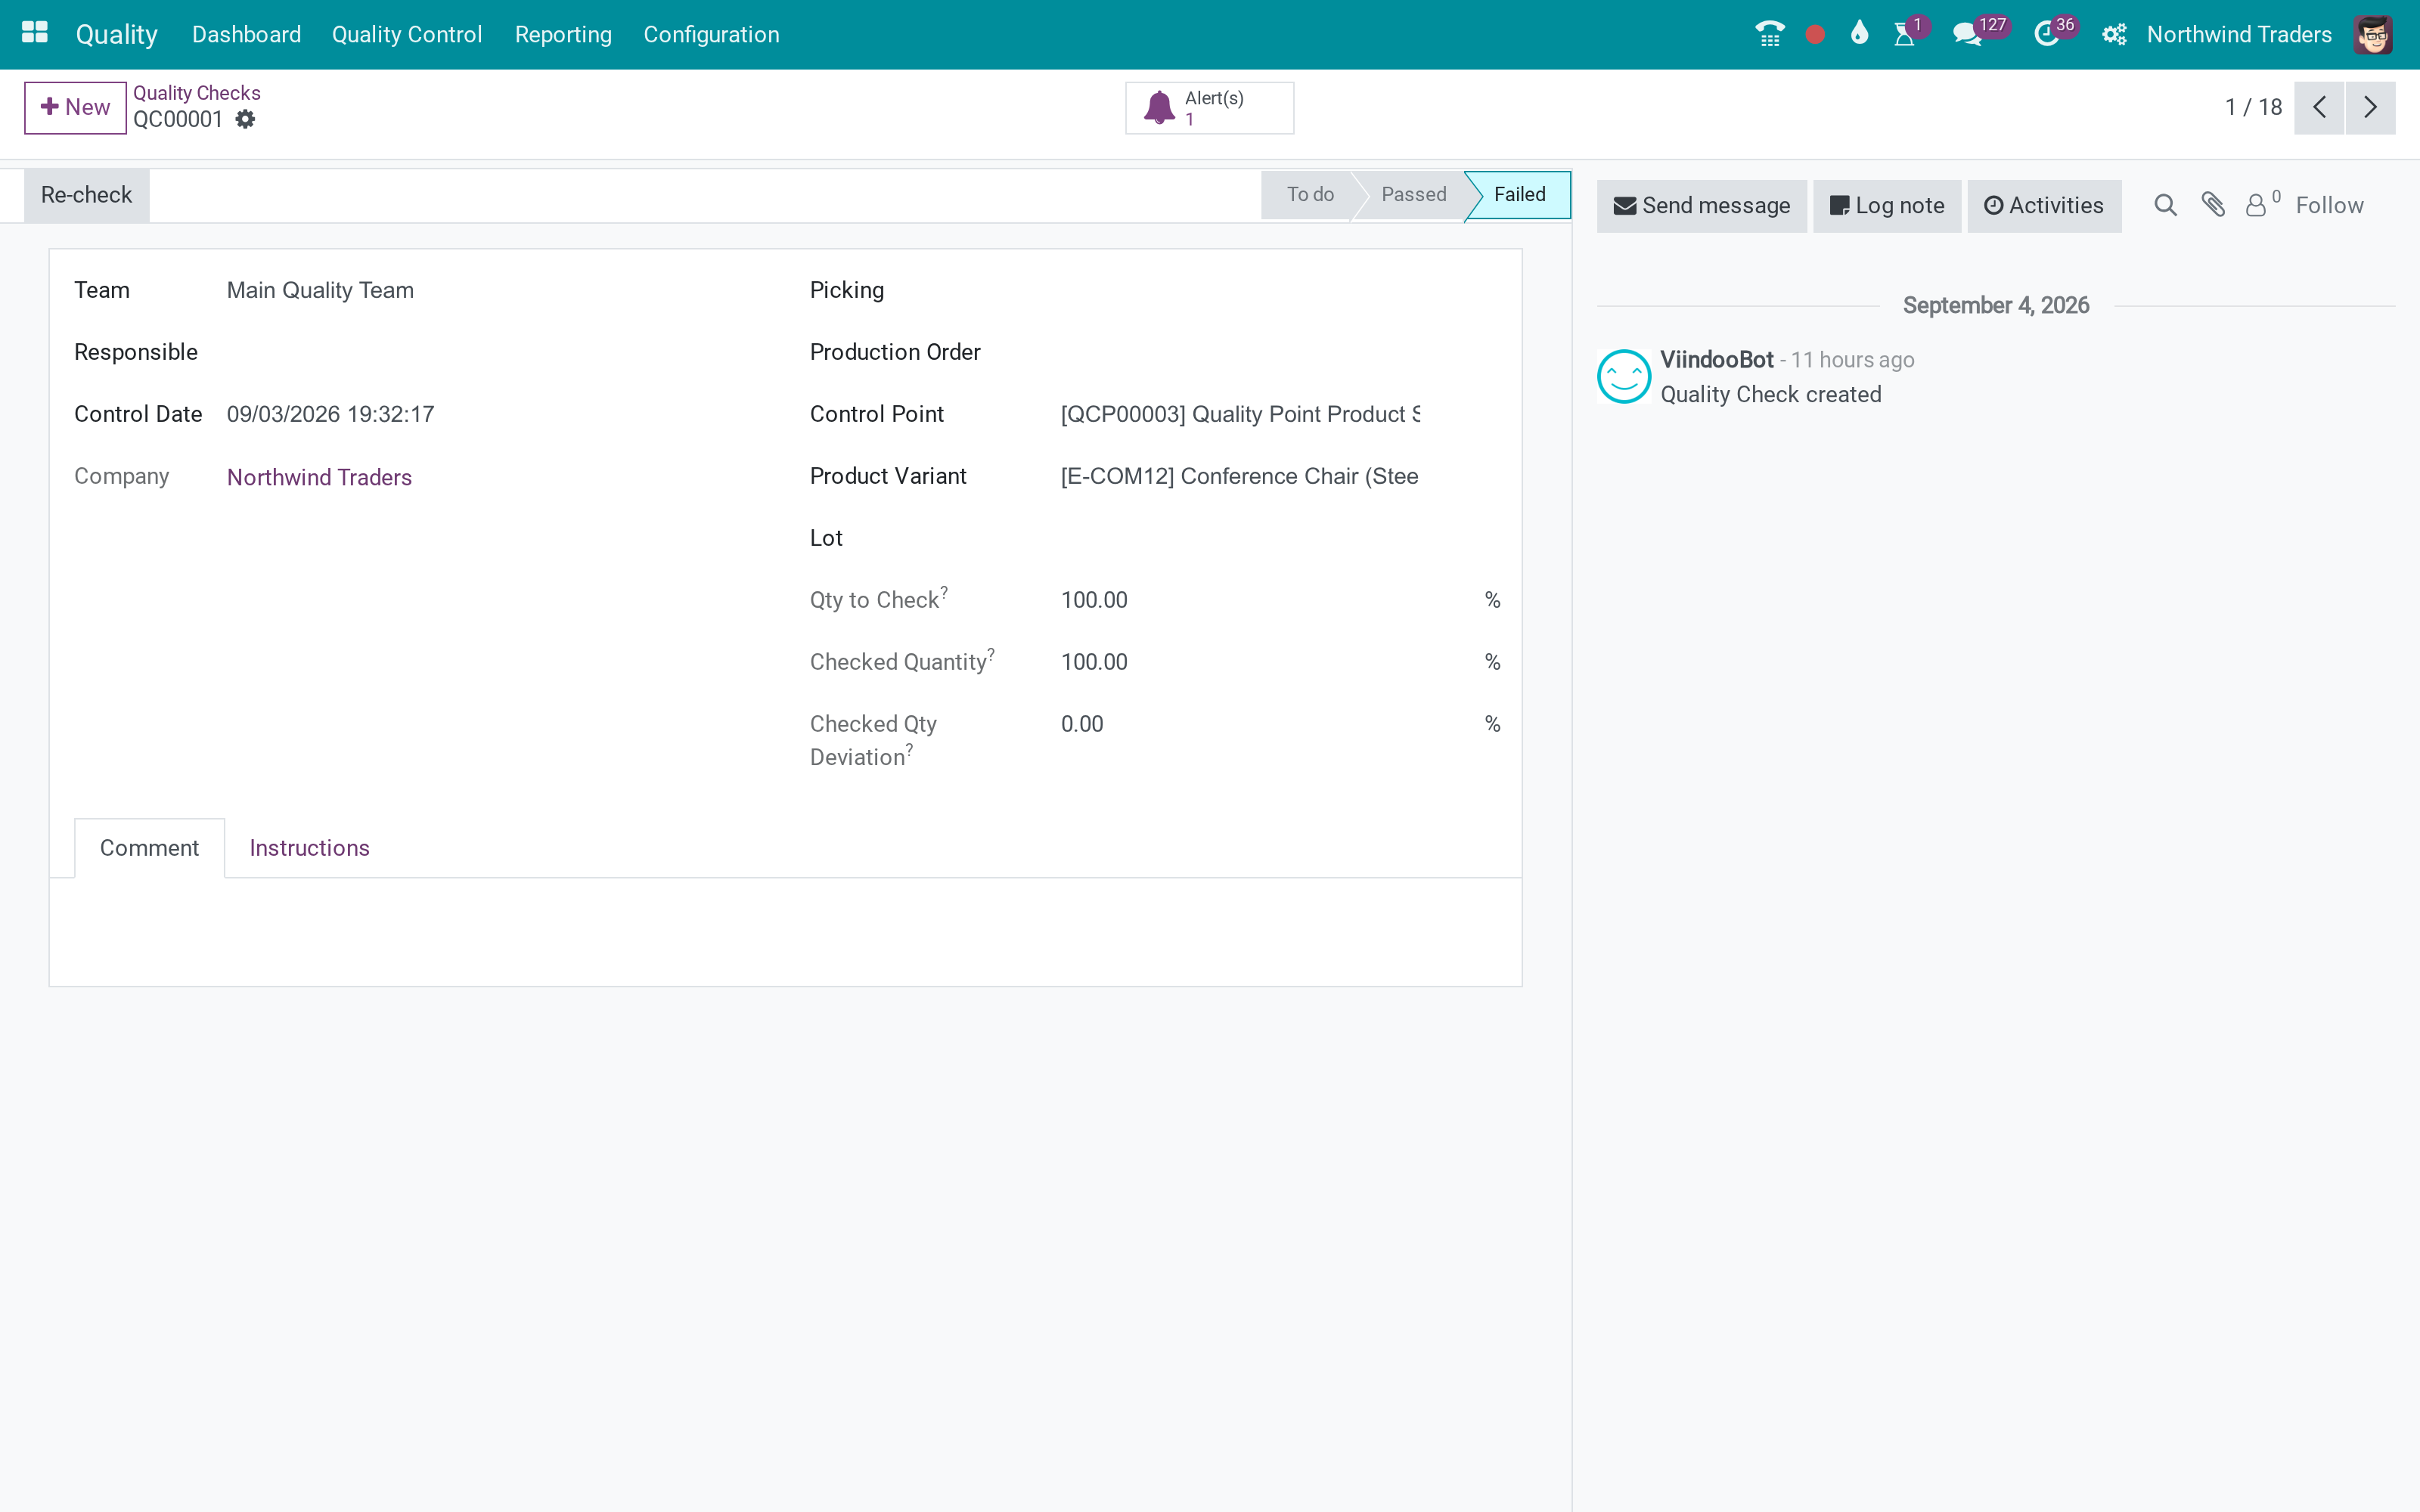
Device
Device record.
What You Get
Instrument per control point
Read measure in the wizard
Capture a picture
Source and time recorded
Timeouts handled
What This App Does Not Do
Read this before you buy. Everything below is something the app deliberately leaves to another app or to you.
Manual entry otherwise.
Works Well With
Apps from the same stack, built to fit this one:
Who Should Use IoT Quality?
Quality inspector
The weight comes from the scale, not the keyboard.
Frequently Asked Questions
What does IoT Quality do?
Control points nominate an instrument (or manual entry); the check wizard reads the measure or captures a picture from the device, records which instrument and when, and handles reading timeouts.
What does IoT Quality not do?
Readings need a live box. Manual entry otherwise.
Who is IoT Quality for?
Quality inspector: The weight comes from the scale, not the keyboard.
Which Odoo version and editions does it support?
Odoo 17.0 - Odoo Community, Odoo Enterprise, Viindoo Cloud. Upgrades to a newer Odoo series are a separate purchase for that series.
What does it depend on?
It installs on top of: viin_iot, to_quality. Odoo installs them with it.
How do I set it up?
Set the instrument on the point; read in the check.
What works well with it?
IoT (viin_iot): Required. IoT - Quality - MRP (viin_iot_quality_mrp): Instrument from the work centre.
Can I try it before buying?
Yes - the Live Preview button at the top of this page opens the module's own screen on a working database.
How do I get support?
Write to apps.support@viindoo.com with your Odoo version and the technical name viin_iot_quality; pre-sales questions go to sales@viindoo.com.
See IoT Quality in Action
Quality measurements read straight from the instrument
Need help with IoT Quality?
For questions, implementation support, or consulting services, contact Viindoo.
Pre-Sales & Partnership
sales@viindoo.comWhen contacting us, please include:
- Odoo/Viindoo version (Odoo CE / Viindoo Editions).
- Number of users and business scope.
- Other modules currently in use.
Technical Support
apps.support@viindoo.comFor faster troubleshooting, please provide:
- Order number or app reference.
- Odoo/Viindoo version & edition.
- Steps to reproduce the issue.
- Screenshots/logs if available.
Upgrades to a newer Odoo series are a separate purchase for that series.
Technical Requirement
Changes log
0.1 - Latest on the 17.0 line
- Aligned with the 17.0 models and views.
IoT Quality
Note
Extends viin_iot - see its documentation.
A quality control point defines a target value and a tolerance band, but normally the number that goes into a quality check is whatever an operator typed in from an instrument's display. This module lets a control point name the registered measuring instrument that supplies its reading, so an operator can pull that reading straight into the check with one click - and every measurement this module records keeps a note of which instrument produced it and when.
The pass/fail verdict does not change: it stays the control point's own tolerance rule. This module only supplies the number, and only when an instrument is named on the control point - a control point with no instrument named is filled in by hand exactly as before this module was installed.
Installation
This module bridges two applications and installs itself automatically the moment both are present, so you rarely need to install it by hand.
- Open Apps.
- Search for and install IoT (skip if already installed).
- Search for and install Quality (skip if already installed).
- IoT Quality installs itself once both are active.
It has no menu and no app icon of its own - it only adds fields and a button inside the Quality application - so it will not show up in Apps unless the Apps-only search filter is removed first. The more direct way to check whether it is active, or to turn it on or off, is the IoT application's own settings:
- Open Settings ‣ IoT.
- Under IoT Integrations, find IoT Quality.
- Switch the toggle on to install the module, or off to remove it.

Configuration
Two roles play a part here, and they do not have to be the same person.
Registering the physical instrument itself - pairing an IoT box and adding a device to it - is done in the IoT application, and normally needs Administrator (or IoT Box Creator) access there; see the viin_iot documentation for that step.
Naming an already-registered instrument on a control point is done in the Quality application, and needs Administrator access to Quality Control:
- Open Quality ‣ Quality Control ‣ Control Points and open the control point to configure (or create a new one).
- Set Type to Measure or Take a Picture - the Measuring Instrument field only appears for these two types.
- In Measuring Instrument, pick the instrument that should supply this control point's reading. The list only offers instruments of the matching kind - a scale for Measure, a camera for Take a Picture - that belong to this control point's own company.
- Leave Measuring Instrument empty to keep filling this control point's checks by hand, exactly as before this module was installed.

Once an instrument is named, Answers On Demand shows, read-only, whether the operator has to press a button to get a reading from it, or the instrument sends its values on its own - this comes from how the instrument itself is registered in the IoT application.
No extra permission is needed after that to actually use the instrument: any ordinary Quality user can already see its name and press the button that reads from it, because this module extends the Quality user's own access rather than asking for a separate IoT permission.
Usage
Take a measurement from the instrument
- Open the quality check for a control point that names an instrument (Quality ‣ Quality Control ‣ Quality Checks), and click Measure.
- In the dialog, click Read from instrument.

- Wait for the reading. An instrument that answers on demand is asked once; an instrument that streams its own values is asked to start streaming. Either way, the Measure field fills in with the value the instrument reports, and the dialog shows where the request stands.
- Click Validate. The measurement, the instrument, and the time the instrument took the reading are all recorded on the check.
If you type a value into Measure yourself, instead of pressing the button - or type over a value the instrument already supplied - that value is recorded as entered manually, not as read from the instrument. Only a value that arrived from the instrument and was never overwritten is recorded as coming from it.
When the instrument does not answer
A request to an instrument can fail as well as succeed, and this module is careful never to present a failed request as a successful measurement.
If the instrument cannot be reached at all - for example, its box is offline - Read from instrument reports that immediately: the dialog shows No reading, with a message naming the instrument and saying it is not connected.

If the instrument is reachable but simply never sends a value, the dialog waits for roughly a minute before giving up: it moves from Waiting for instrument to No response yet - which is late, not yet a failure - and finally to the same No reading outcome if nothing arrives. In no case does the dialog show a measurement that was never actually taken, and in no case is a stale value left standing on the check.
See where a measurement came from
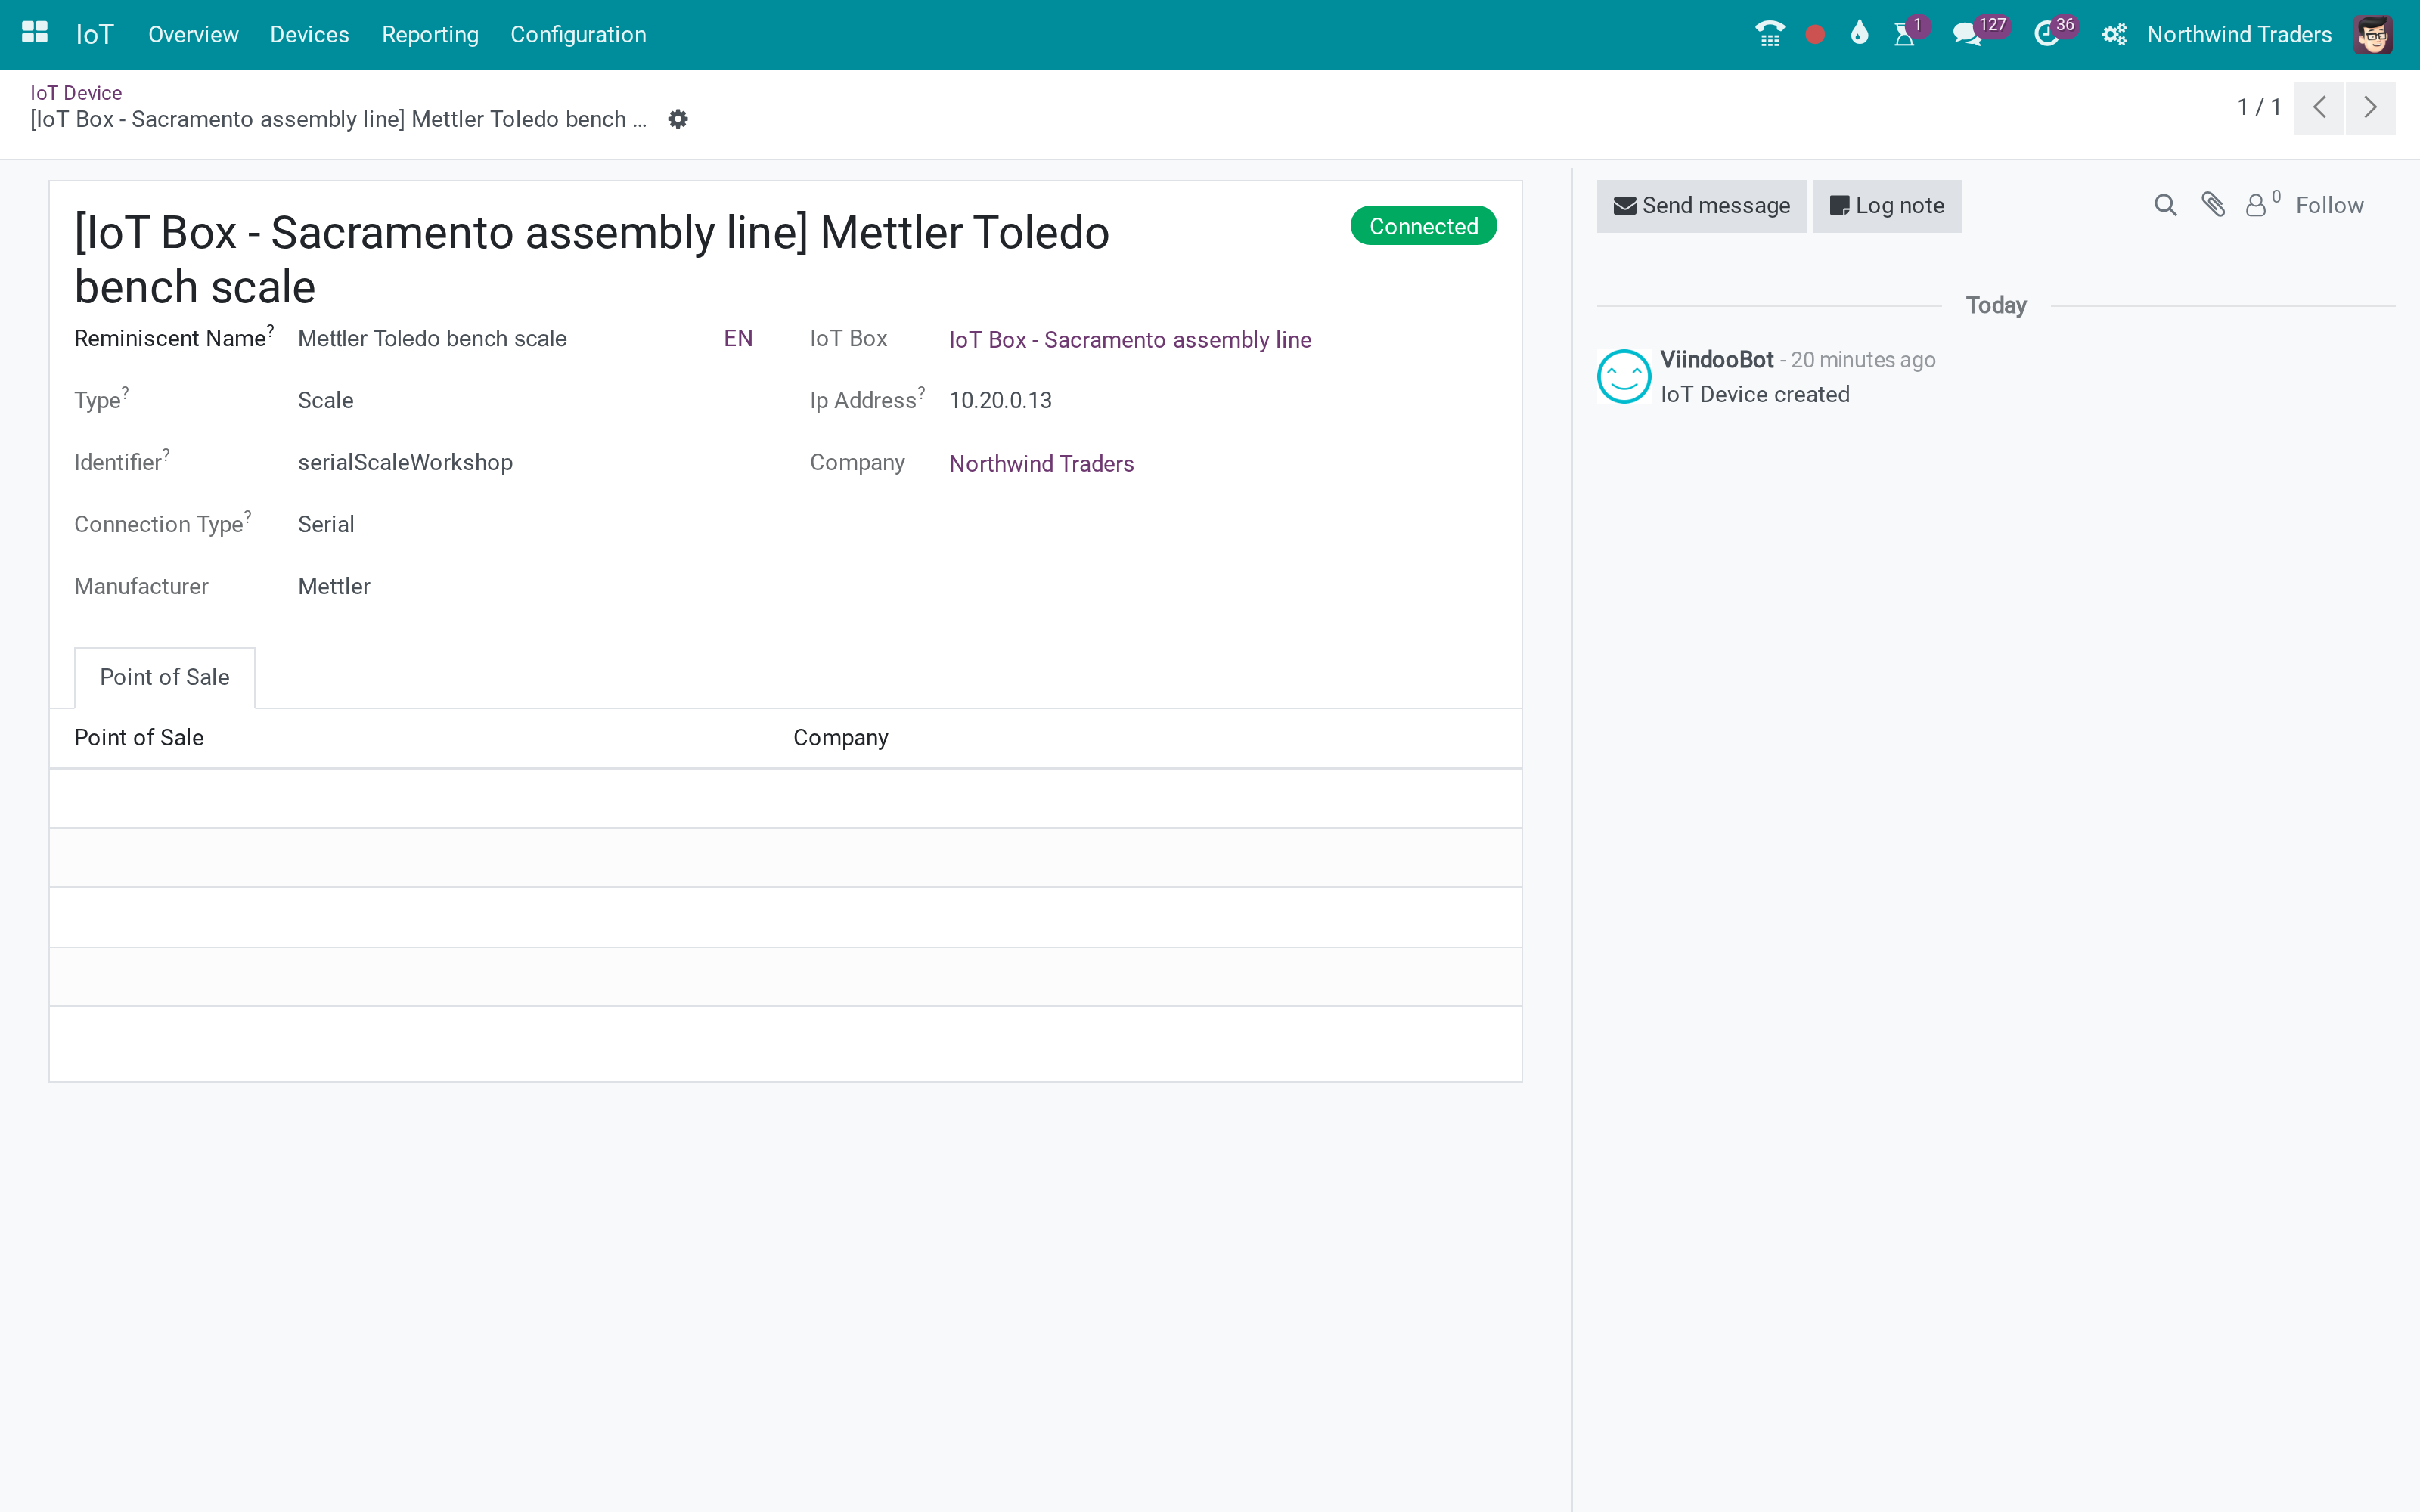
Every quality check keeps a record of whether its measurement was entered manually or read from an instrument, and - when an instrument was involved - which one, and when it took the reading. On the check's own form, this shows only once an instrument has actually supplied a value; a hand-filled check looks exactly as it always has.
The same information is available, column by column, on the Quality Checks list: open the column options (the icon at the right of the column headers) and add Measurement Source and Measuring Instrument. Both are hidden by default, so an existing list looks unchanged until you choose to show them.

Capture a picture from a camera instrument
A control point whose Type is Take a Picture can, in the same way, name a registered camera instrument, and the check dialog then offers a Capture from camera button beside the attachment area. No camera driver was available to exercise this path while writing this guide, so it is described here as a specified capability rather than a demonstrated one - confirm it works against your own camera hardware before relying on it.
Troubleshooting
- Measuring Instrument does not appear on the control point.
- It only shows for control points whose Type is Measure or Take a Picture. Change the type first.
- The instrument list is empty.
- The list only offers instruments of the kind this control point's type needs - a scale for Measure, a camera for Take a Picture - and only ones that belong to this control point's own company. Register a matching instrument in the IoT application first, or check its company.
- Read from instrument always shows No reading.
- Confirm the instrument's box is online and the instrument itself shows as connected in the IoT application. A pre-flight check refuses the request immediately when the instrument is not connected, rather than waiting out the full timeout.
- The check shows a warning about the unit the instrument reported.
- The control point's unit is free text, so this module cannot convert between units on its own. It warns rather than guessing - check the value yourself before validating.
- A note about a reading that never arrived shows up on a check I already closed.
- A late timeout can be reported after you close the dialog. The check itself keeps the note so you still find out; nothing was recorded as measured.
FAQ
- Does this module decide whether a check passes or fails?
- No. The tolerance rule stays the control point's own. This module only supplies the number that rule is checked against.
- What happens if I type over the value the instrument gave me?
- The check is recorded as entered manually, not as read from the instrument. Only the instrument's own, un-overwritten value counts as an instrument reading.
- Does removing or replacing a control point's instrument change past checks?
- No. Provenance already recorded on a check never changes; only which instrument the NEXT check reads from changes.
- Can I use this module without any instrument at all?
- Yes. Leave Measuring Instrument empty on a control point and it is filled in by hand exactly as before this module was installed.
- Do I need any special permission to press Read from instrument?
- No, beyond ordinary Quality user access. This module already extends that access to cover reading the instrument's name.
This software and associated files (the "Software") may only be used (executed, modified, executed after modifications) if you have purchased a valid license from the authors, typically via Odoo Apps, or if you have received a written agreement from the authors of the Software (see the COPYRIGHT file).
You may develop Odoo modules that use the Software as a library (typically by depending on it, importing it and using its resources), but without copying any source code or material from the Software. You may distribute those modules under the license of your choice, provided that this license is compatible with the terms of the Odoo Proprietary License (For example: LGPL, MIT, or proprietary licenses similar to this one).
It is forbidden to publish, distribute, sublicense, or sell copies of the Software or modified copies of the Software.
The above copyright notice and this permission notice must be included in all copies or substantial portions of the Software.
THE SOFTWARE IS PROVIDED "AS IS", WITHOUT WARRANTY OF ANY KIND, EXPRESS OR IMPLIED, INCLUDING BUT NOT LIMITED TO THE WARRANTIES OF MERCHANTABILITY, FITNESS FOR A PARTICULAR PURPOSE AND NONINFRINGEMENT. IN NO EVENT SHALL THE AUTHORS OR COPYRIGHT HOLDERS BE LIABLE FOR ANY CLAIM, DAMAGES OR OTHER LIABILITY, WHETHER IN AN ACTION OF CONTRACT, TORT OR OTHERWISE, ARISING FROM, OUT OF OR IN CONNECTION WITH THE SOFTWARE OR THE USE OR OTHER DEALINGS IN THE SOFTWARE.