Instructions
Instruction video: Purchase Warranty
1. Access rights settings
Go to Settings > Users & Companies > Users, select an existing user, or press Create a new one. Once the user is granted access rights to the Purchase app, the Warranty User Purchase option is also enabled.
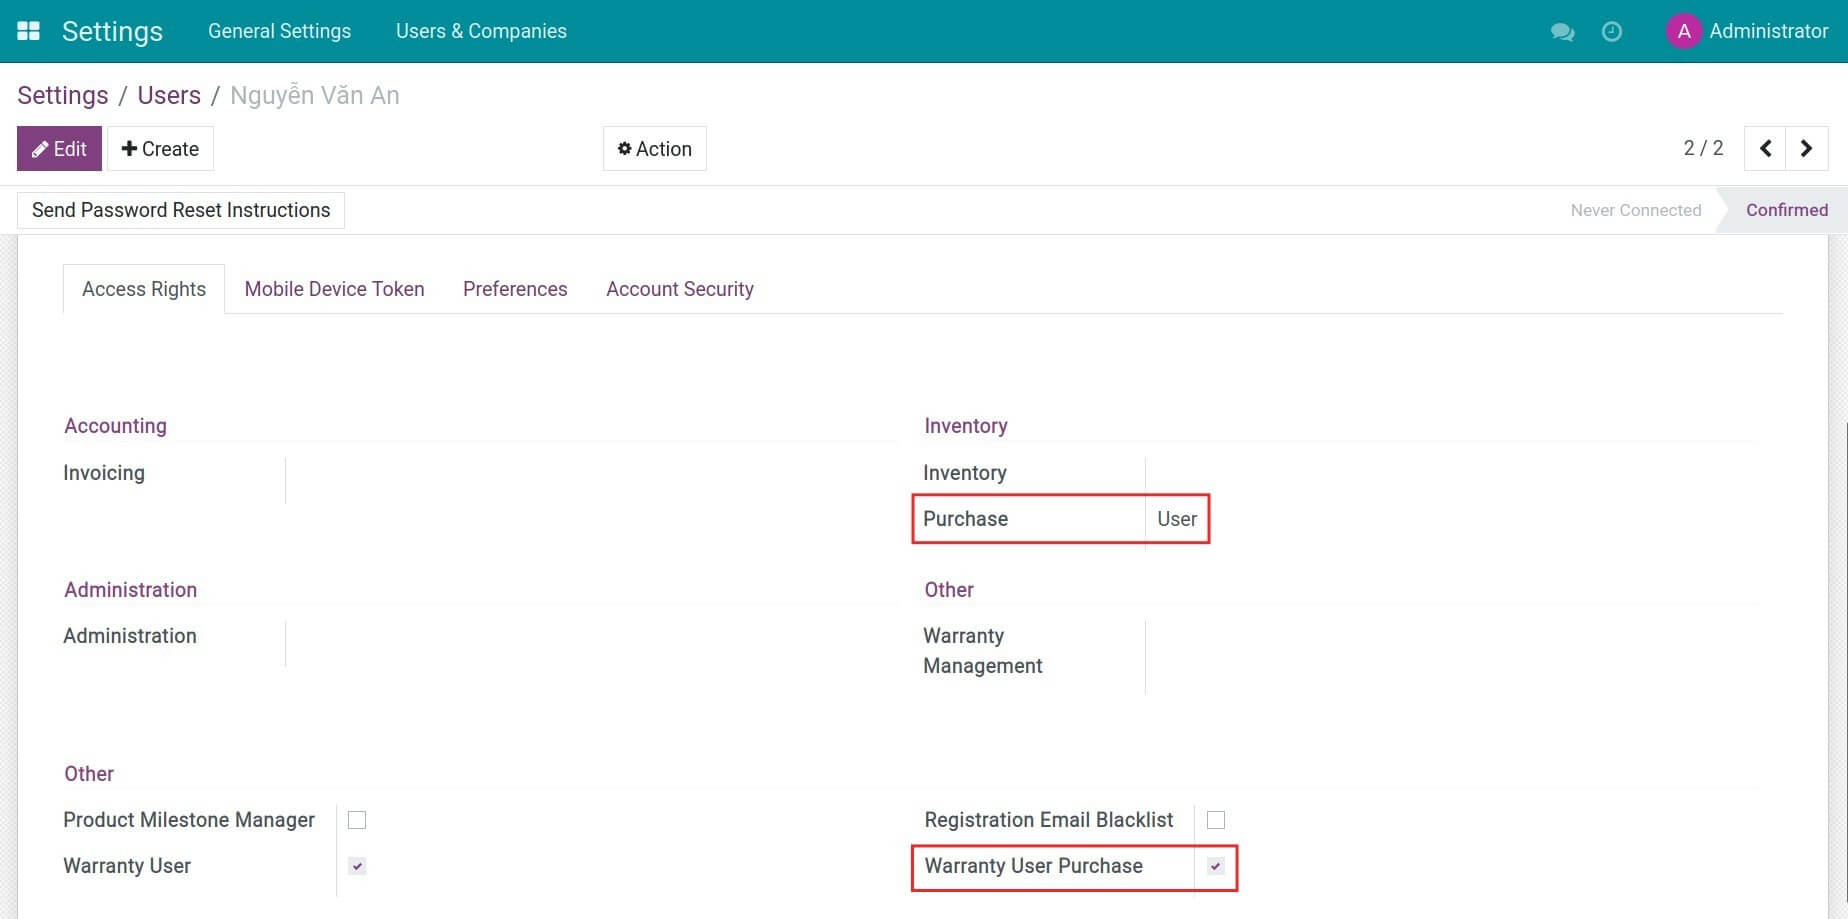
With this permission, employees who have the creation/edition rights can work on the warranty forms for purchase orders.
2. Manage product warranty information
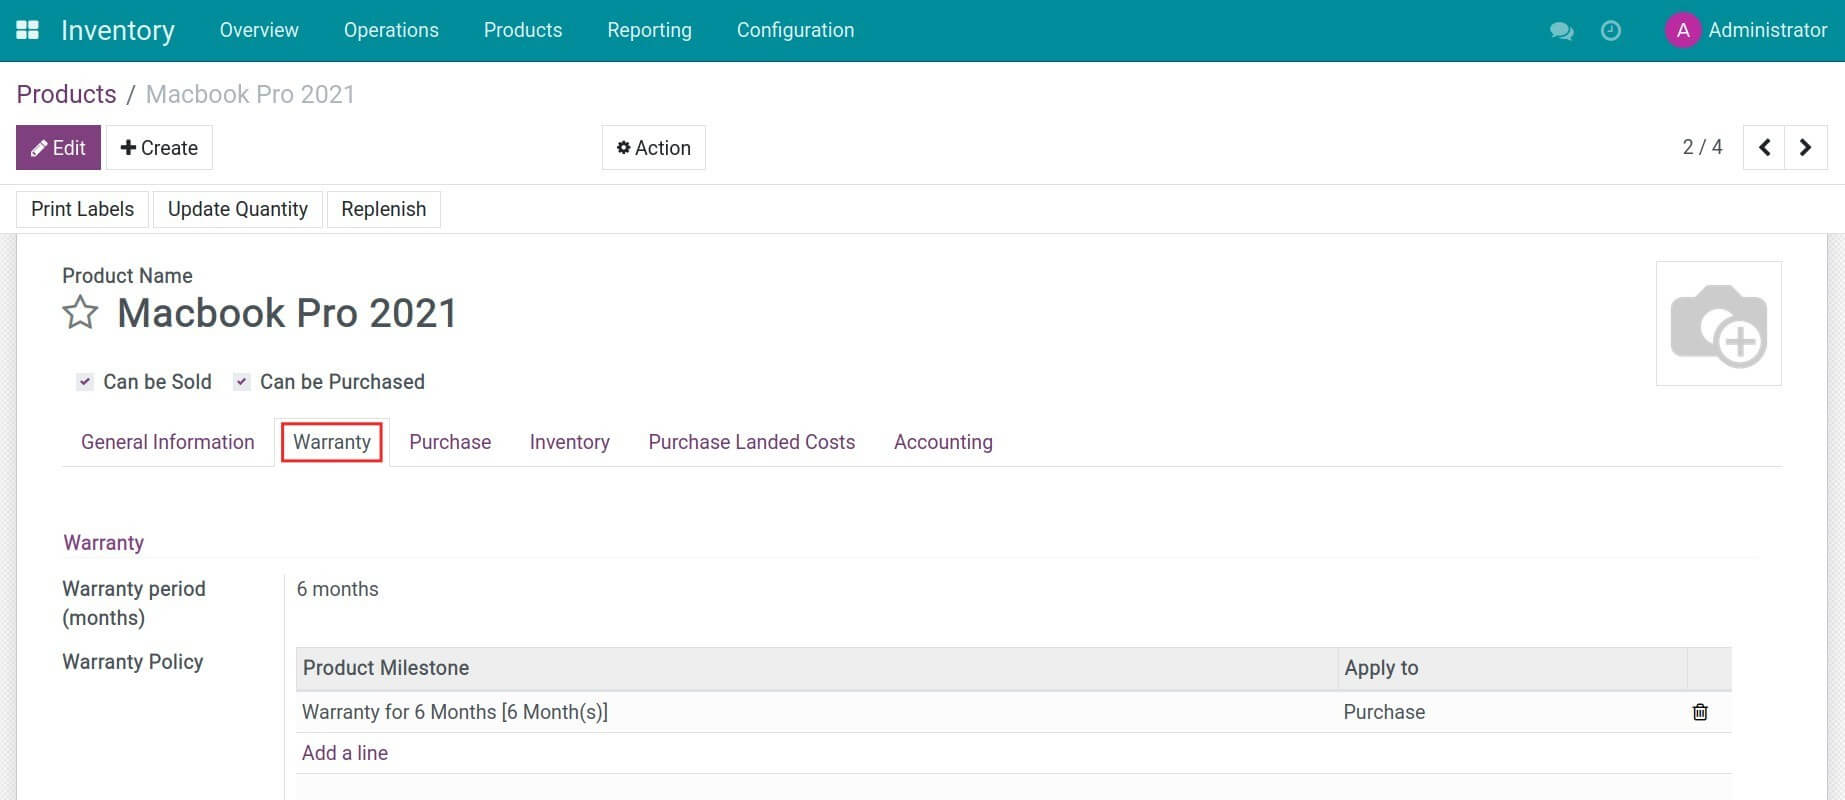
Create a new product and set up vendor warranty information such as warranty period, warranty milestones.
3. Create a purchase order and receive products in the warehouse
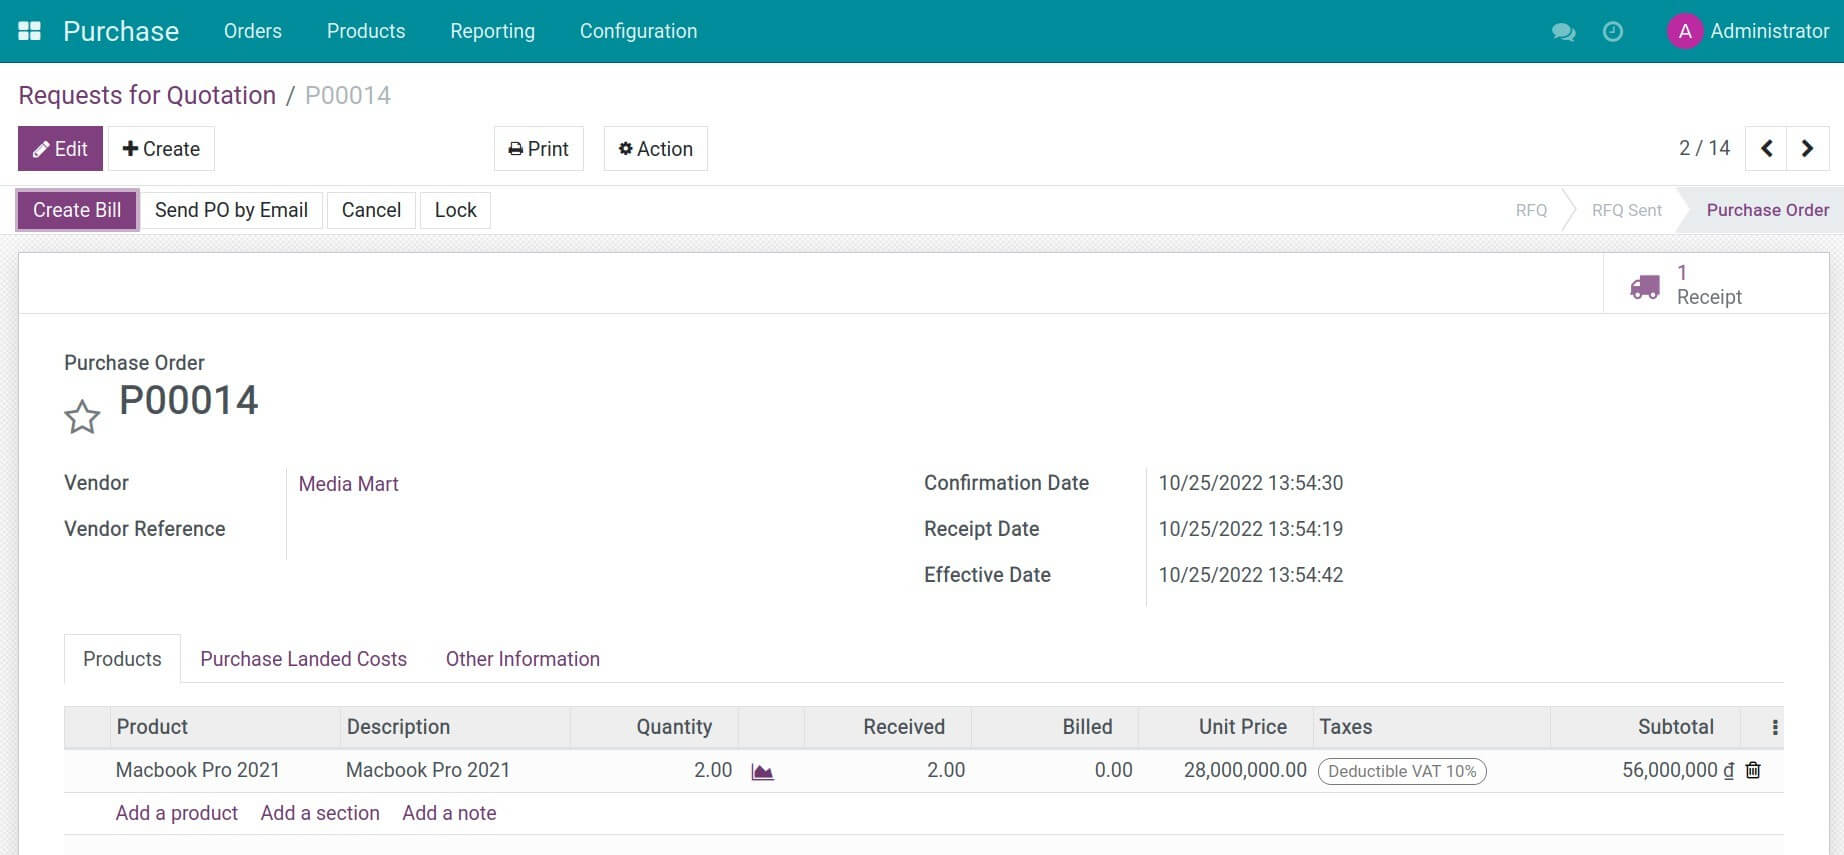
Navigate to Purchase > Orders > Request for Quotation, and click Create to generate a request for quotation. Once adding all the necessary information, press Confirm and start processing incoming products at the warehouse.
4. Create and manage warranty claim
Go to Warranty > Warranty Claim > Draft, press Create a new warranty claim to vendor. The warranty policy of the product is displayed on the purchase order to the selected vendor.
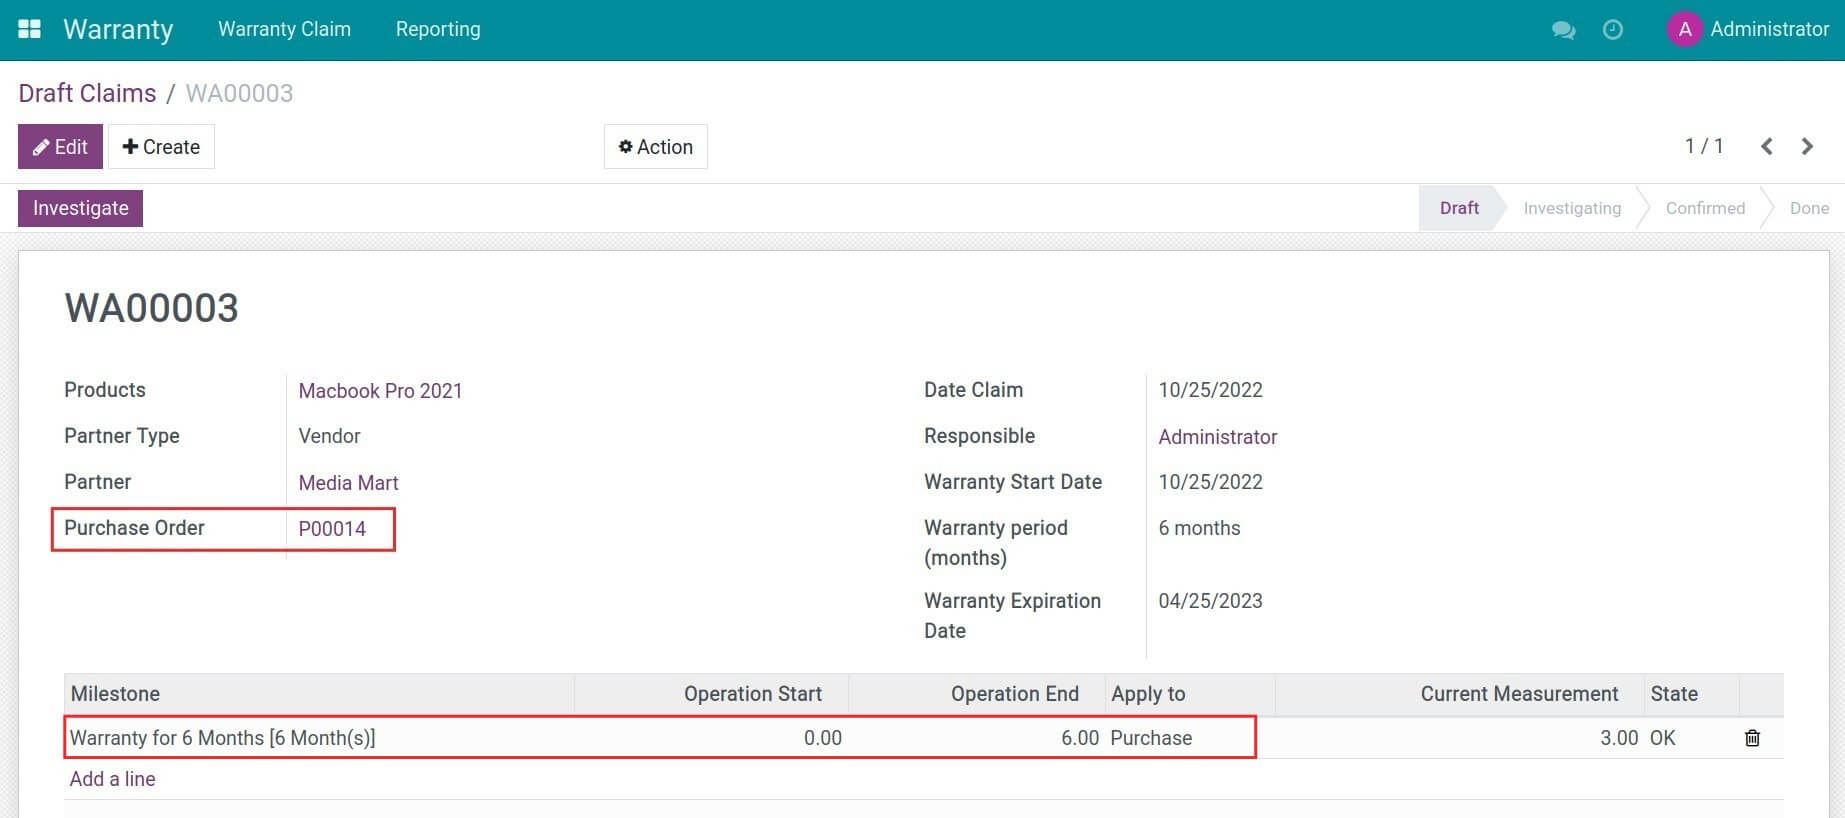
Press Save to store the information. After verifying all the information on the warranty request, click Investigate to start evaluating the warranty claim.
5. Track warranty claim on a purchase order
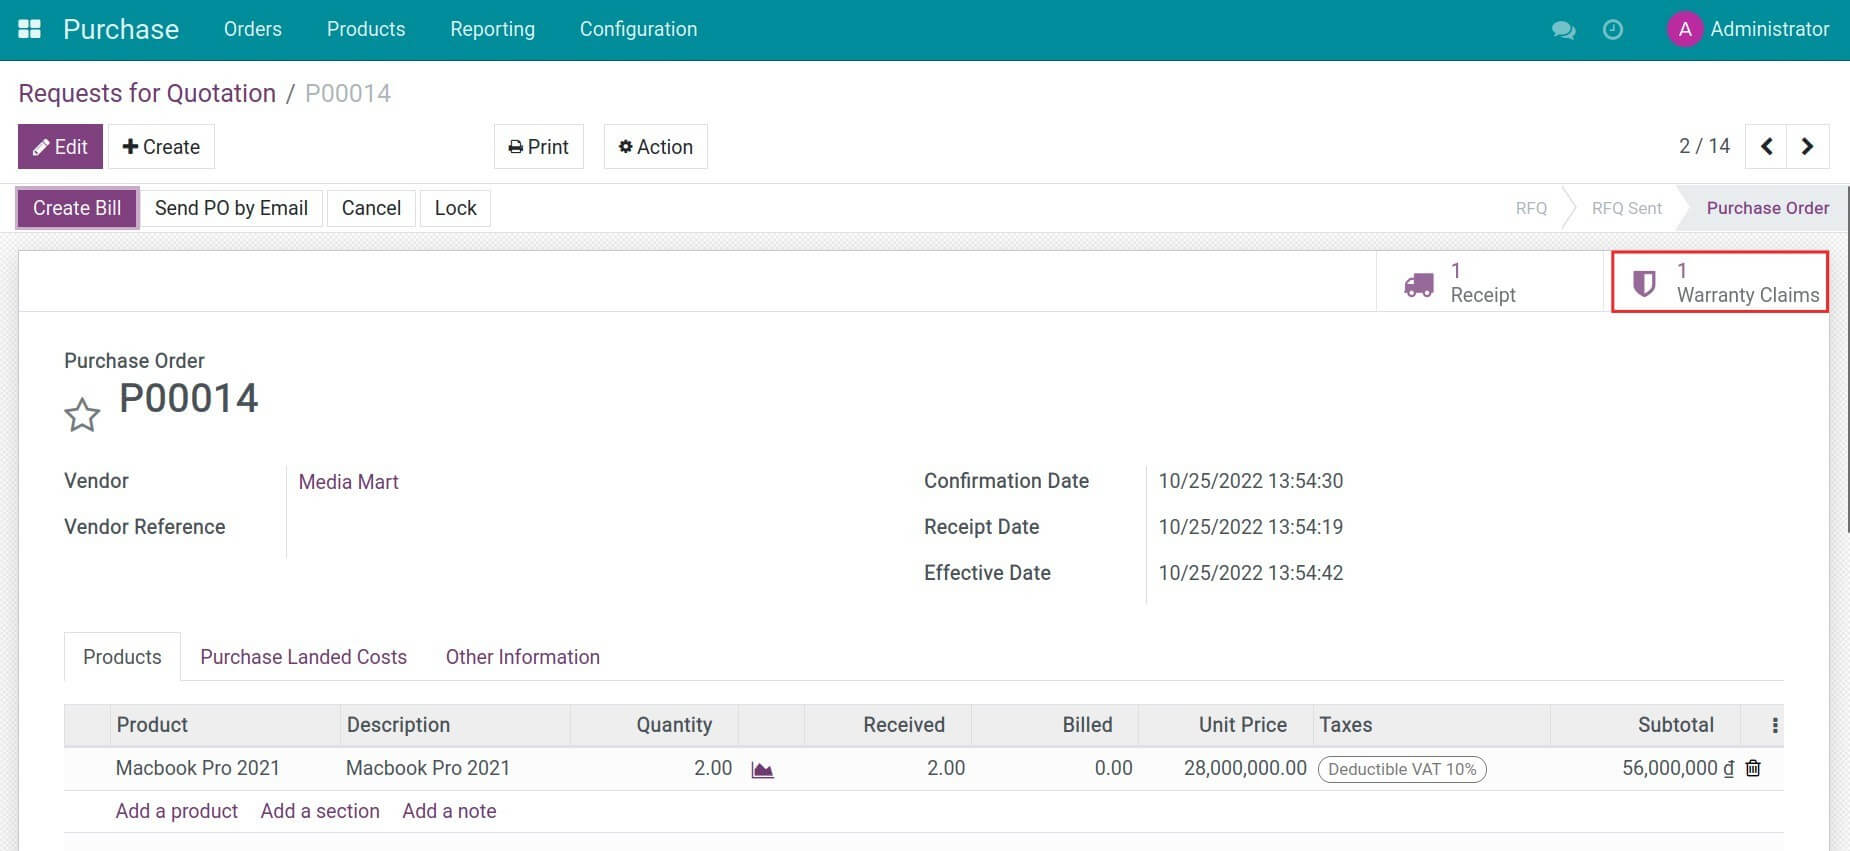
Go back to the newly created purchase order, you can track the number of warranty claims related to this purchase order.
