
Steps to import goods with Odoo/ERPOnline
Step 1: Configure import taxes
First of all, you need to create import taxes that will be applied to the Customs Clearance Document for certain products. Refer to Configure import/export taxes for detailed instructions.
Step 2: Apply import taxes to products
By configuring import taxes for imported products, you will see these taxes shown and calculated automatically on the Customs clearance documents of that product. Refer to Apply import/export taxes to products for detailed instructions.
Step 3: Create Requests for Quotation & Purchase Order
As a normal purchasing process in Odoo/ERPOnline, you need to create a Requests for Quotation and confirm it to turn in to Purchase Oder.
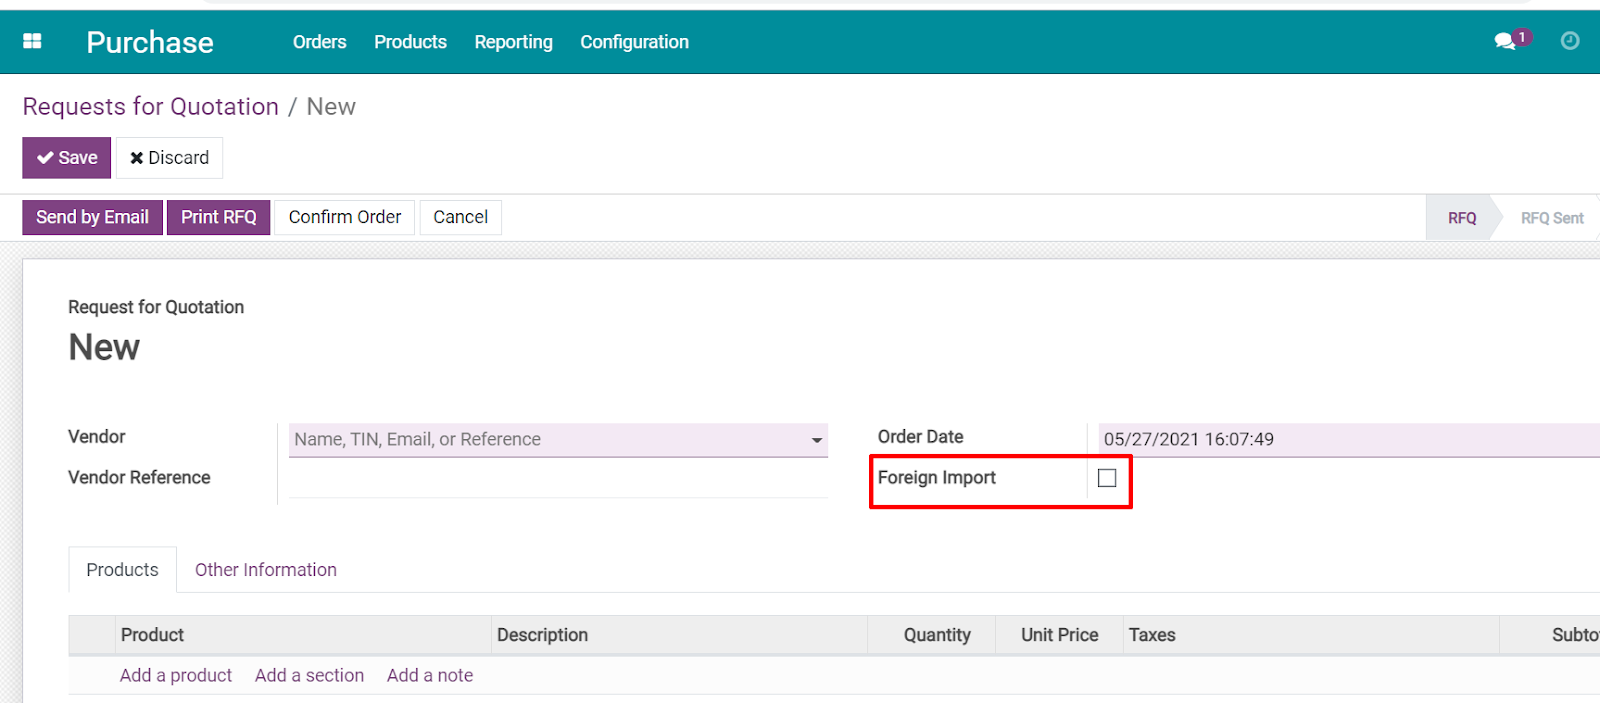
1. Create requests for quotation (RFQ)
To apply the Customs clearance procedure, you need to make sure that the Foreign Import field on the RFQ is checked.
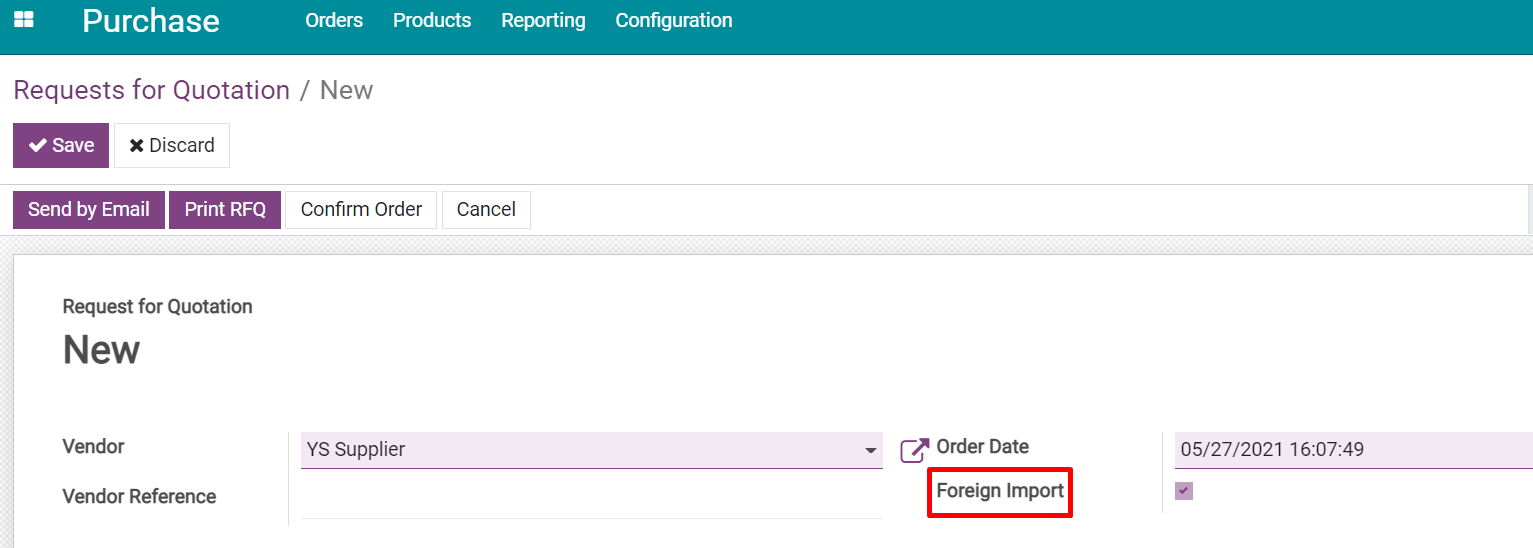
If the vendor you choose is based outside your country of residence, the “Foreign import” checkbox will automatically be checked.
For example, you choose “YS Supplier” as the vendor in the RFQ, this vendor’s address is set to be in Singapore.

Thus, the “foreign import” checkbox will be automatically checked and cannot be unticked
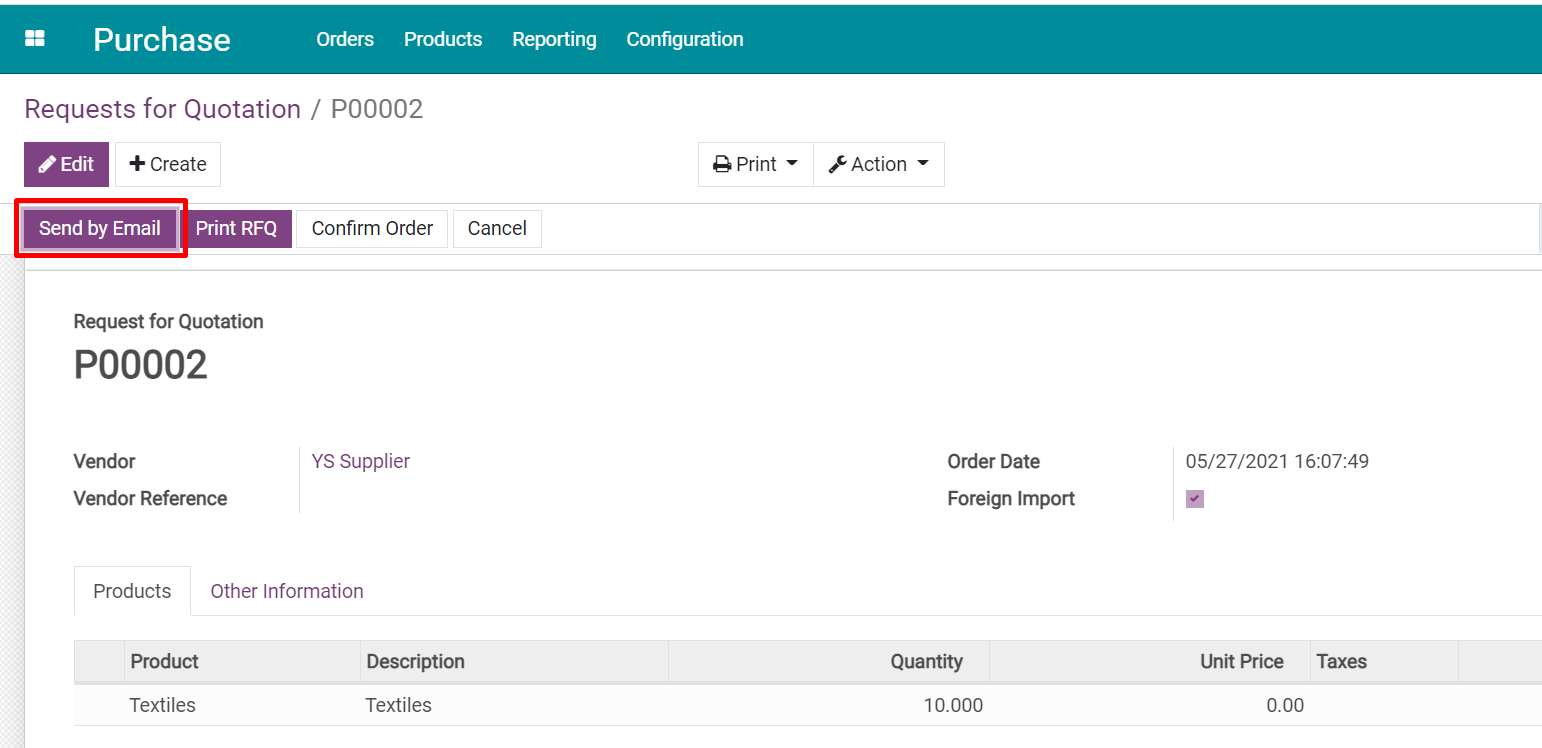
2. Send RFQ to the vendor
Add in products’ information and click “Save” >> Select “Send by Email” to send RFQ to the vendor
3. Confirm order
Once received the information of unit price, make changes on the RFQ form and select “Confirm Order”.
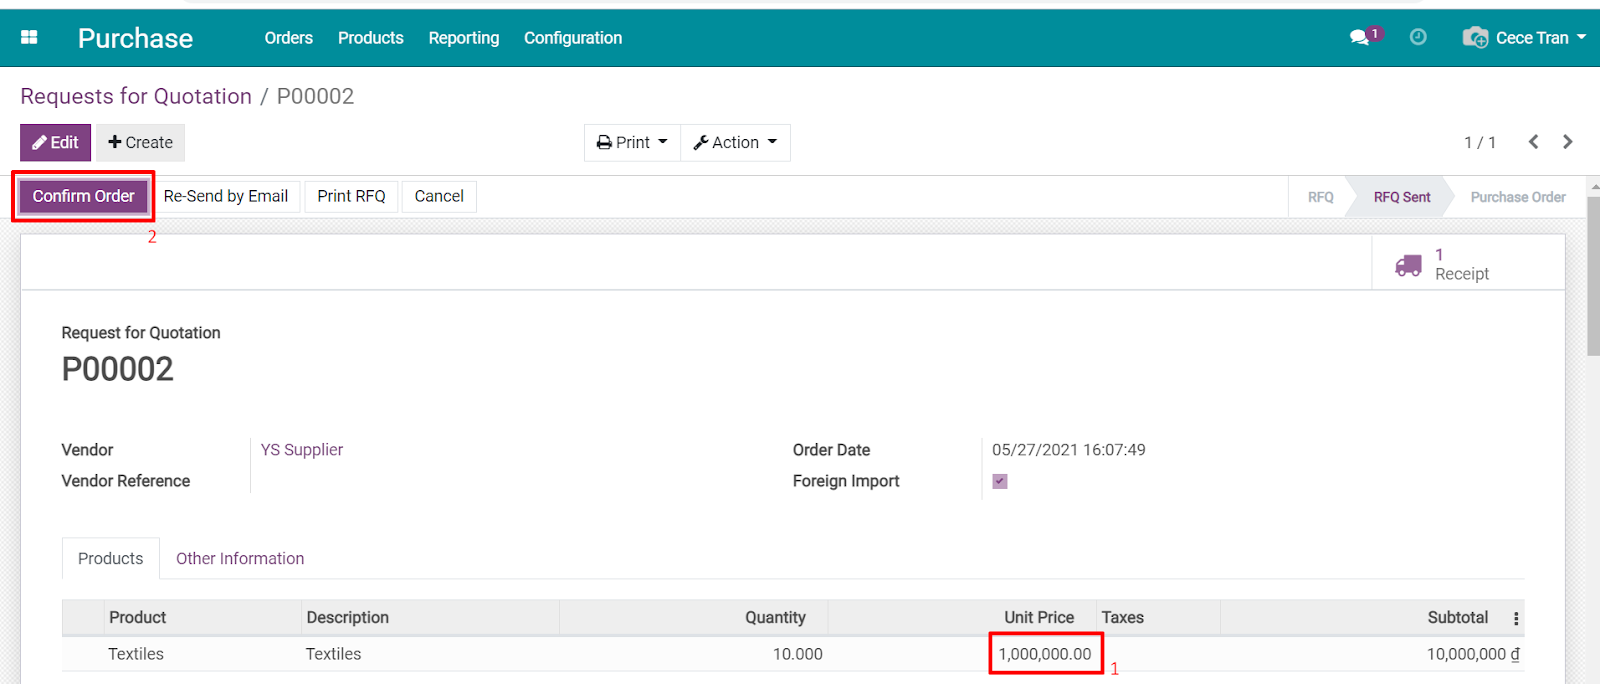
Once the RFQ is confirmed, you will see the "Create Custom Clearance Request' and 'Receive Products' buttons highlighted in purple, which means that this Purchase Order is ready for the customs declaration process.

Step 4: Stop imported products at the Custom Zone for custom declaration
You can see on the receipt of the Purchase order, the destination location is automatically filled with the Custom Zone, not your warehouse.

Once the batch of goods arrives at the custom zone, change the number in the “Done” tab to the number of goods actually arriving at the custom zone. Ideally, the number in the “Done” tab and “Demand” tab should be equal, this means the number of goods you order all arrive at the custom zone. Then, select “Validate” to validate the receipt to verify that the batch of goods has arrived at the custom zone.

Step 5: Create Customs clearance document and payment for import taxes
You can create a Customs clearance document at different positions in the system:
On a Purchase Order with the "Foreign Import" field ticked;
On a Receipt with the route from Vendor location to the Import - Custom Zone or;
Go to Foreign Trade App, navigate to Customs clearance document menu and click "Create"
Once the Import Custom Clearance Request is confirmed, you can check the Journal Entries and Landed Cost generated from that request. You can also add an invoice of the tax amount and make payment for it. Refer to Make payment for import/export taxes for detailed instructions.

Step 6: Receive products at your warehouse with flexible logistics routes
Once your custom clearance document has been approved and your batch of goods has already transferred from Custom Zone to your warehouse, go to Inventory App, navigate to the "Operations" menu, select "All transfers" to find the stock-picking to be verified:


You can also apply the flexible routes for the imported products by enabling Incoming Shipments in Warehouse configuration: Go to Inventory App, navigate to Configuration menu, select Warehouses submenu, and then choose a warehouse that you want to apply.
Click "Receive goods in input and then stock (2 steps)" to apply the following routes for the whole importing and clearance process:
Vendor location -> Import - Custom Zone -> Input -> Stock
Click "Receive goods in input, then quality and then stock (3 steps)" to apply the following routes for the whole importing and clearance process:
Vendor location -> Import - Custom Zone -> Input -> Quality Control -> Stock
